Fall officially arrives today, and I don’t know about you but I love this time of year. As much as I enjoy summer, I don’t enjoy frizzy hair on humid days, the way my upper arms jiggle in sleeveless shirts or how the weeds take over my garden in what feels like a day!
Ironically it’s going to be 90 and humid today in the Twin Cities, so frizzy hair and jiggly arms it is for at least one more day. But I’m looking forward to long sleeves, good hair days and not feeling guilty about reading a book on the sofa instead of weeding the garden. Oh, and a trip to Disney World. Yep, my sister, niece and I are going to Disney World for Halloween. Mr. Q will stay home and man the fort. I think he’d rather poke his eye out with a sharp stick than go to Disney World. Anyway …
Last year I made some petite book page banners to say hello to fall for my occasional sale.
I thought they were pretty adorable. At least a couple of other people must have thought so as well because the items I added them to sold really quickly.

So I made some more to sell at Reclaiming Beautiful this year, and while I was at it I thought I would do a tutorial for you guys. Be sure to read all the way to the end of this post even if you don’t want to know how I made them because I’m giving a couple away.
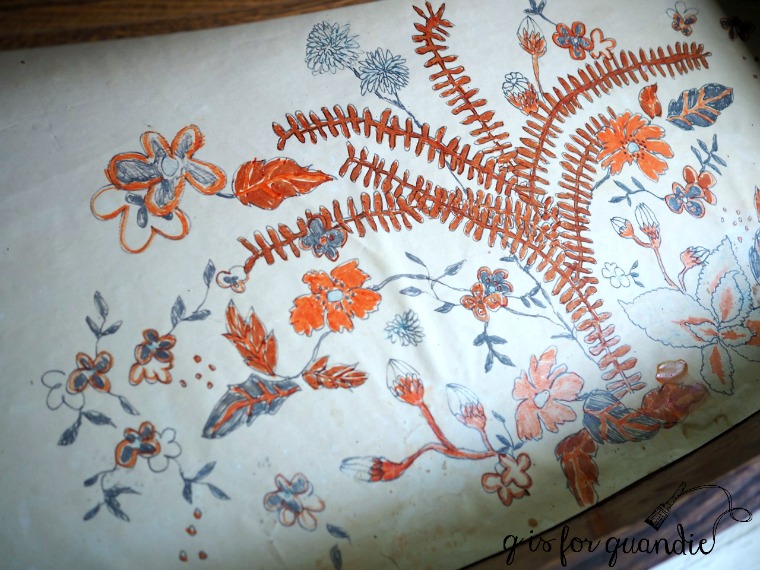
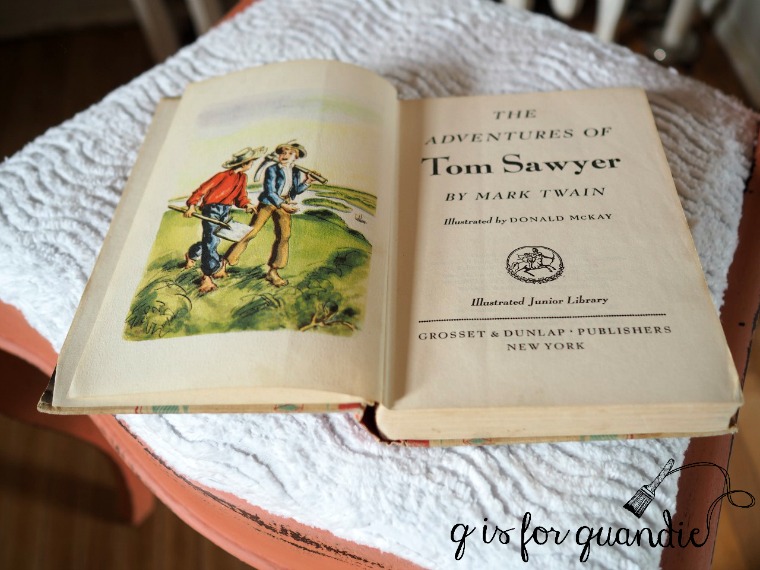
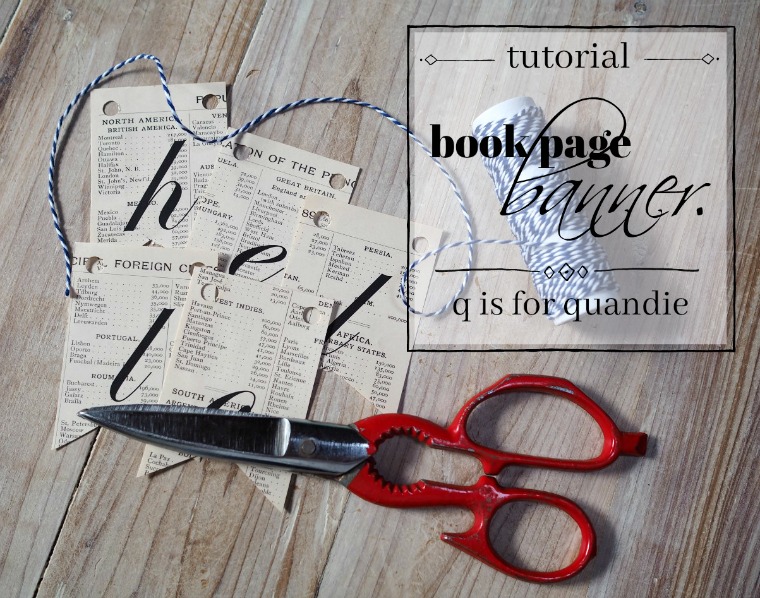
step 1. Print your message on vintage book paper.
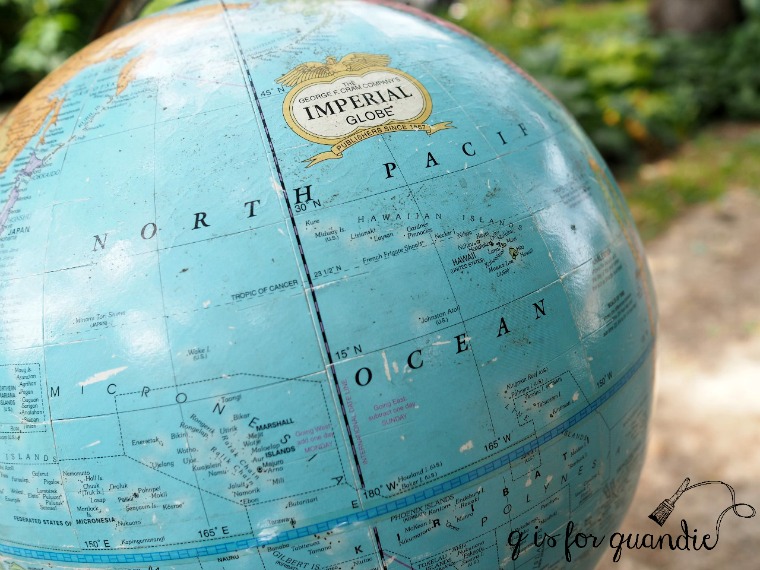
I use pages from some old atlases for my banners.

The pages are a little bit bigger than 8” x 10”, so I trim them down to size. Then I use the manual feed option on my printer and print directly onto the book page. Click this link to open the word document that I used to make my banners: hello fall

Q-tip: you can play around with fonts and sizes as much as you want to, but be sure to leave enough spacing to cut your letters into flag shapes. I recommend practicing on plain paper until you have the spacing just right so you don’t waste any of your book pages.
My doc will fit on an 8” x 10” page, and the end result will be 2” x 3” ‘flags’ for each letter.
step 2. Cut out your flags.
For a uniform look to your banner, remember that you want your flags to all be the same size and you want the letter centered on each one. I use my larger paper cutter at first to cut each strip of letters to 3″ tall ….
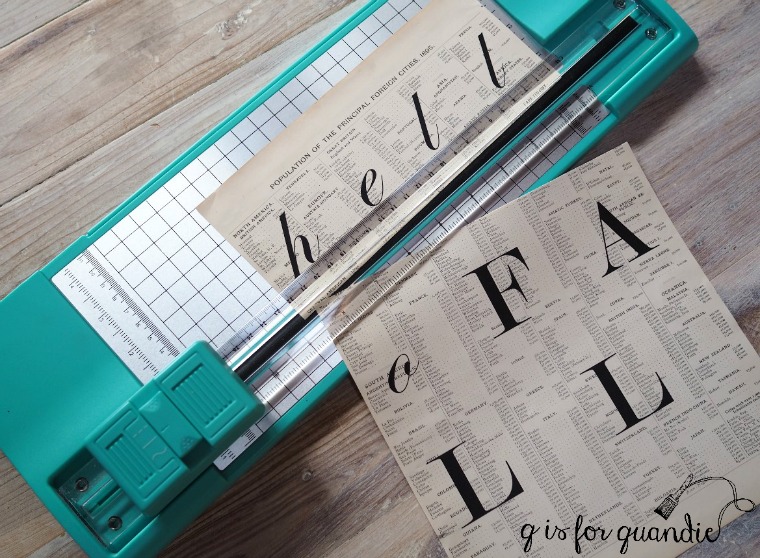
Then I switch over to my smaller Creative Memories paper cutter to cut them down into 2” wide pieces.

Finally I just free-hand the notch out of the bottom to give them a flag shape.

step 3. Add string.
Use a hole punch to add holes to the top of each flag, string them on some pretty striped baker’s twine and you’re done!

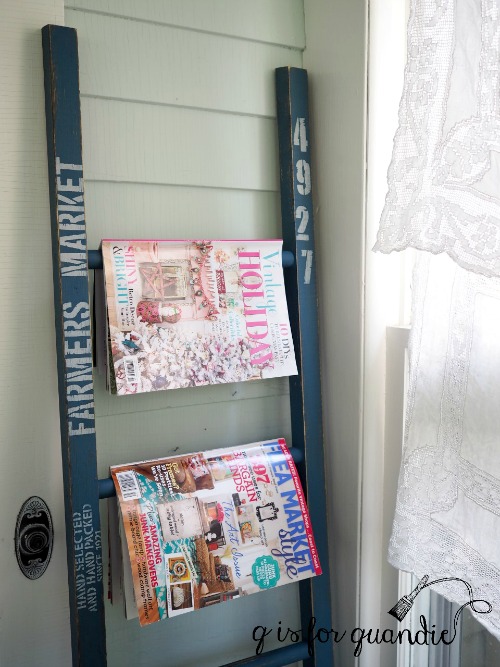
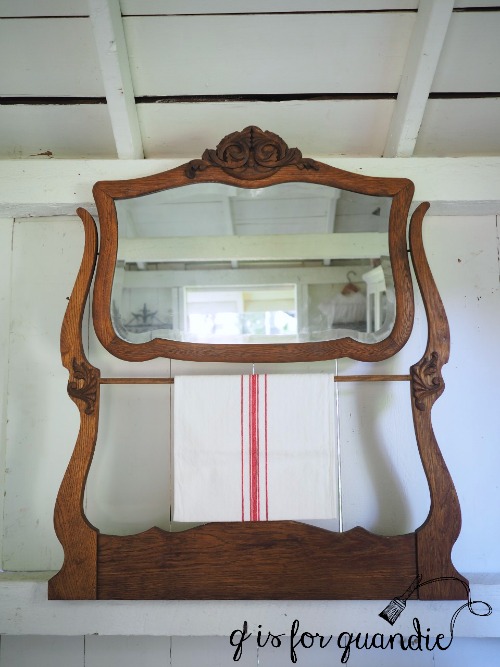
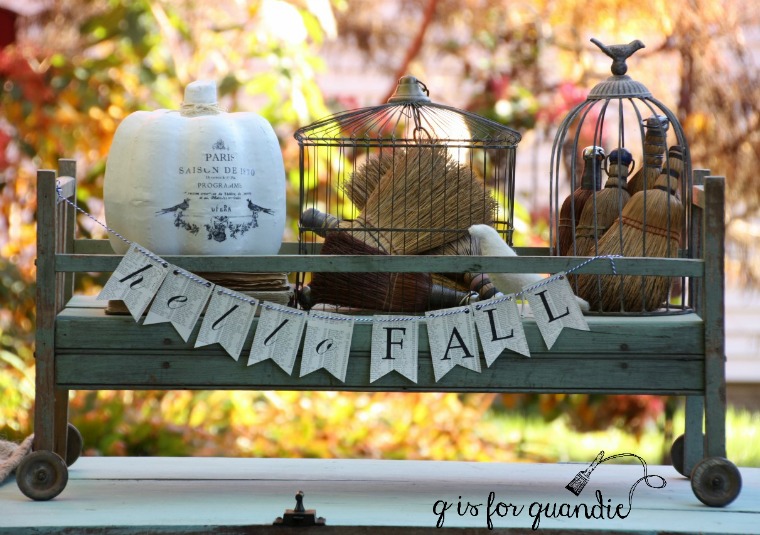
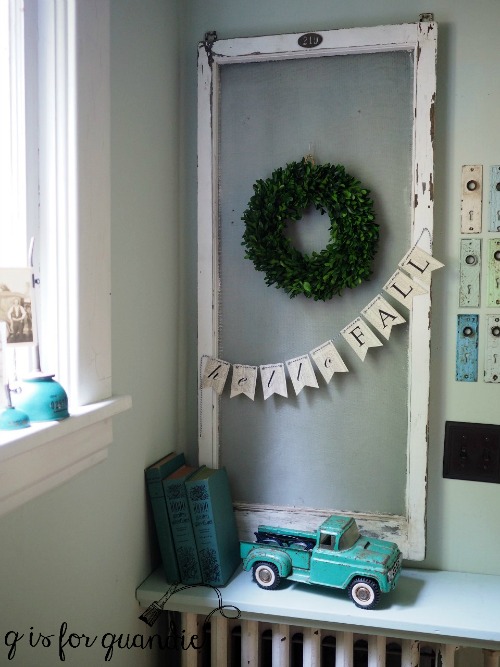
Now all you have to do is find the perfect spot for your banner. I have mine draped across an old window screen that is just hanging on the wall .
But it also looked great on my chalkboard door.
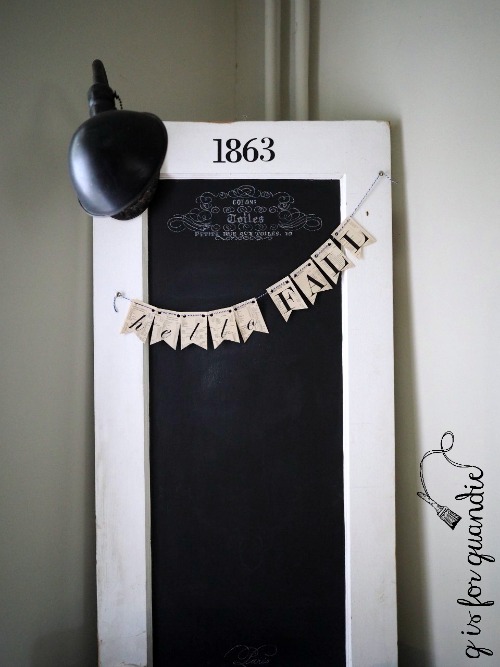
So many options.
And speaking of options, you have some options for getting your own ‘hello fall’ book page banner.
Option 1, make your own.
Option 2, if you’re local, go buy one of mine at Reclaiming Beautiful ($12 each, while supplies last).
Option 3, win one! I have a couple of extras, so I’ll be drawing the names of two winners from comments left on this blog post by Saturday (September 23, 2017) at midnight (central time). So leave a comment to be in the running to win, best of luck!