Did you happen to catch my blog post over on the Reclaiming Beautiful blog yesterday?

If not, you should pop over there and check it out!
I used Fusion paint and transfer gel to upgrade an old bucket. But I didn’t want my own blog readers to feel left out, so I did a second paint & transfer gel project for you guys too.
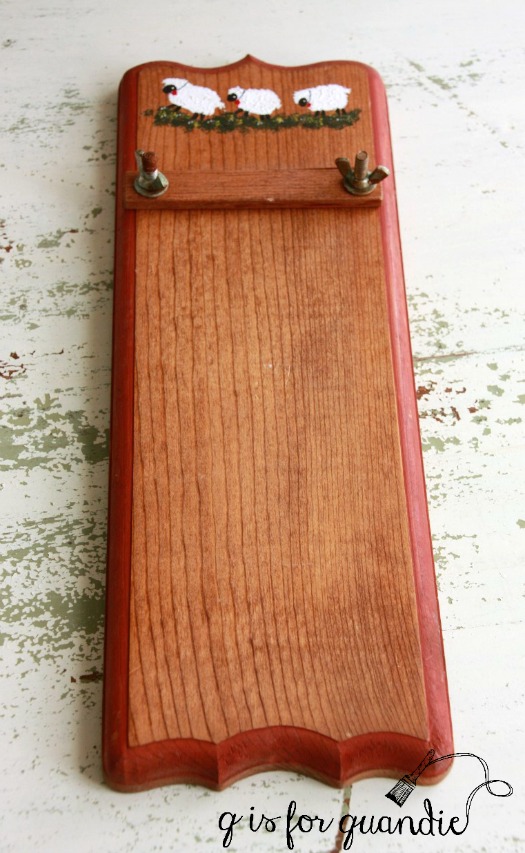
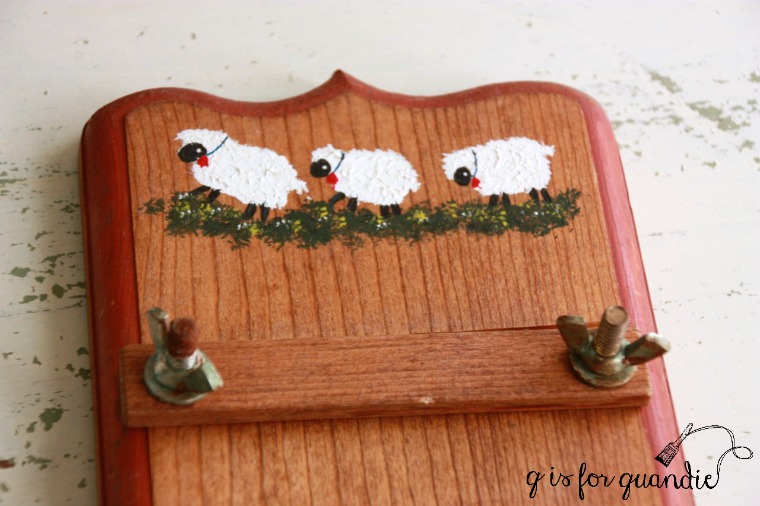
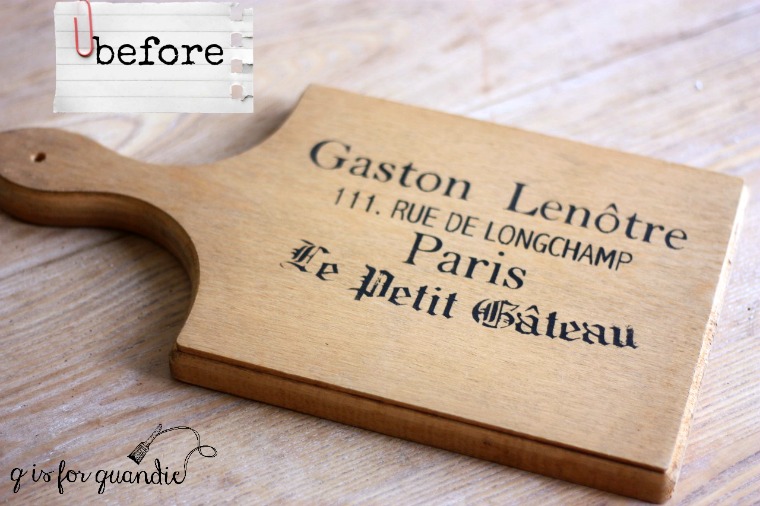
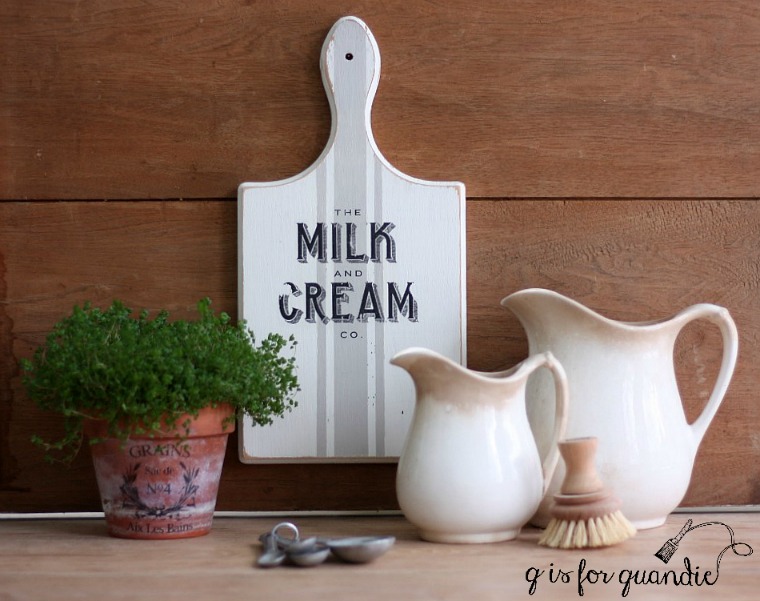
Every once in a while I throw in the towel and decide something needs a do-over. In this case, it’s a cutting board that I added a stencil to. I probably did this two years ago or so. I’ve had it for sale at my occasional sale, but there were no takers. So, I decided to pull it out and try again.
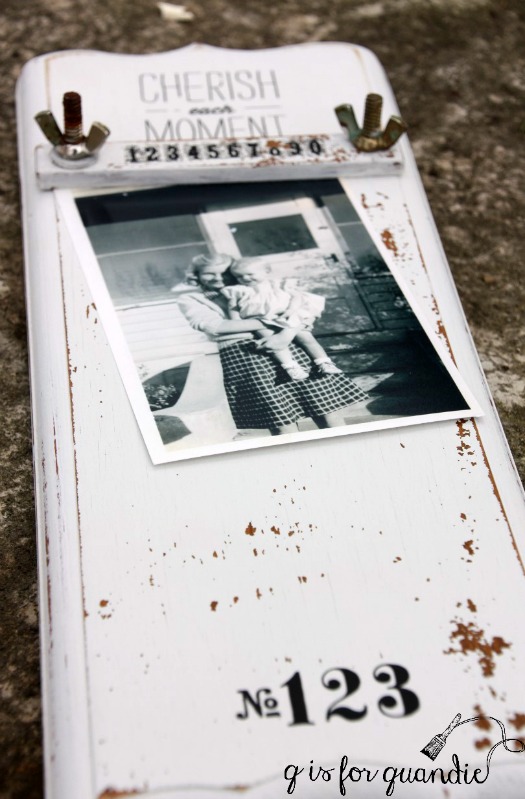
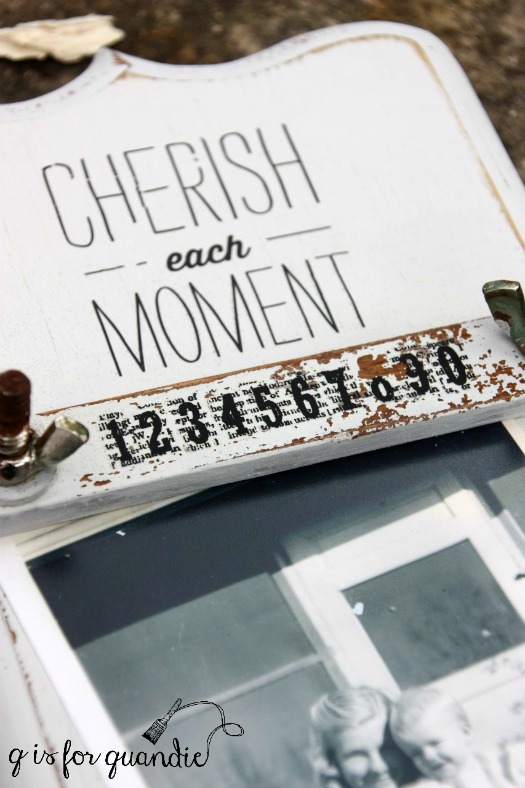
First I gave the entire board a coat of paint in Fusion’s Limestone. I was surprised to find that only one coat was enough to cover the black stencil. Nice.
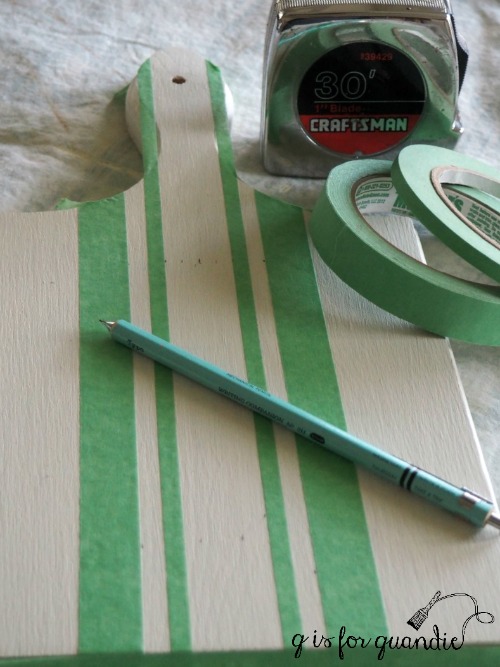
Next I taped off some grain sack style stripes using my favorite skinny tape (Painter’s Mate, .23″ wide).
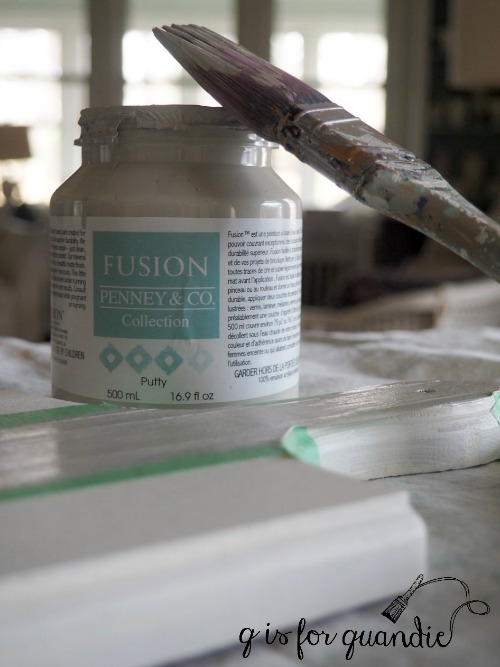
I painted the stripes with some of Fusion’s Putty.
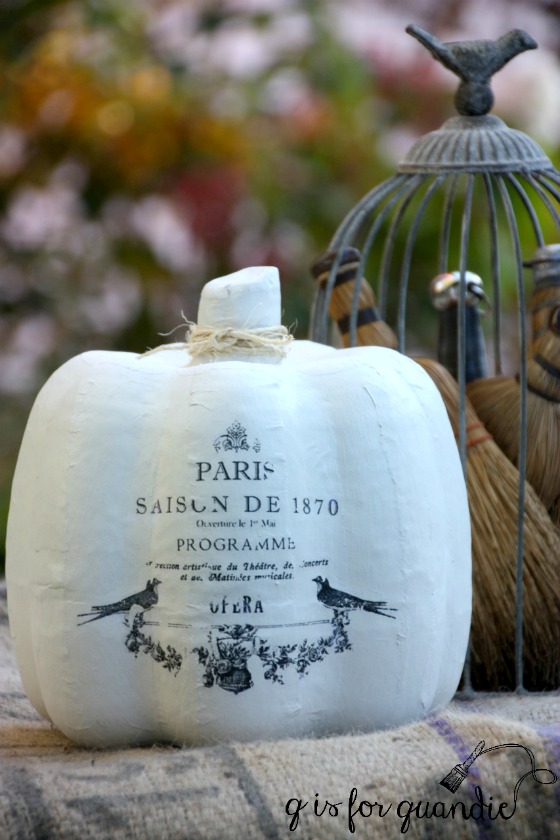
Next I used Fusion’s Transfer Gel to transfer a graphic I found on pinterest.
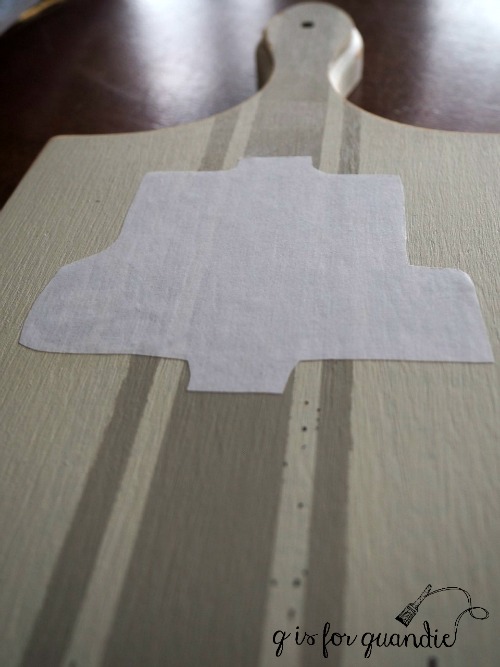
This time I tried a new technique. Instead of adding the transfer gel to the cutting board and then placing the paper on it, I brushed the transfer gel onto the face of the paper and then placed it on the board. This was far less messy.
I did end up with a couple of spots where the transfer didn’t ‘take’ real well though. Mainly the “C” and the “M” of cream.

It may be that I had air bubbles in those two spots, or perhaps I didn’t have enough gel in those spots, I’m not really sure.
But regardless, I am still quite happy with how it turned out. I like a distressed look.

This little cutting board is perfect for leaning against the back-splash on your kitchen counter (and if you’re wondering, no, I would no longer use this as a cutting board, I don’t think it would hold up well to a sharp knife).
You can always check the “where to buy” page on the Fusion website to find a local retailer for both the paint and the transfer gel.