One of my favorite things about blogging is when other people interact with my posts by leaving comments. When I posted about my South Dakota relatives on Wednesday I didn’t know I would get such great stories from my readers in return. It was definitely an unexpected bonus! If you don’t normally read the comments, I highly recommend that you go back to that post and read them (click here). Several people left some great family stories of their own! Maybe you’d like to leave one too, it’s not too late.
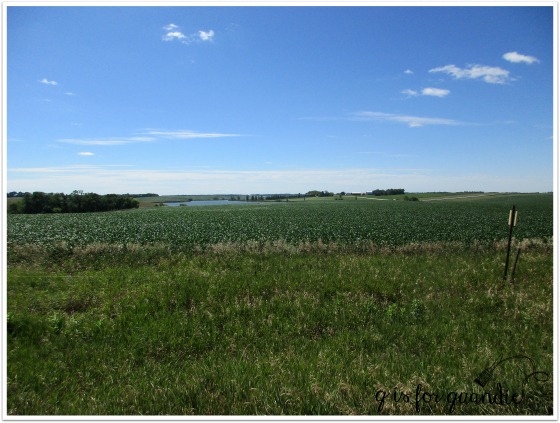
Although my family’s farm is in Arlington, when we visit we usually stay about 20 miles east in Brookings, South Dakota with my cousin Yvonne. Arlington’s population is 894, Brookings’ population is 22,943. So obviously Brookings has a little bit more to offer.
Brookings is home to South Dakota State University as evidenced by the numerous people milling around in Jackrabbit attire. It definitely has a ‘college town’ feel, but with a ‘farm town’ twist. By the way, in 2015 Brookings was ranked as the safest college town in the United States, so if you have a kid that will be going to college soon maybe give this one some thought. Although we’ve been to Brookings many times, Debbie and I have never really explored the place at all. So we decided to change that last weekend and be tourists for a day.
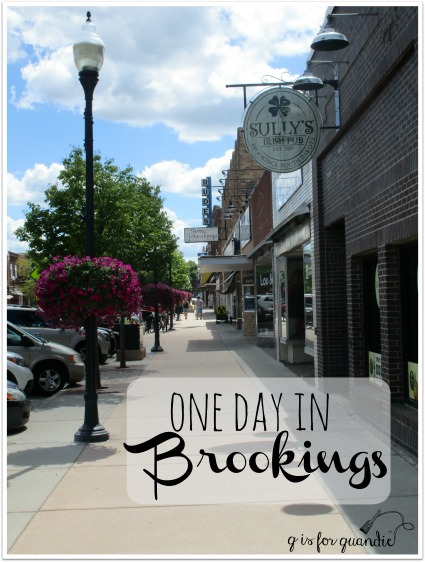
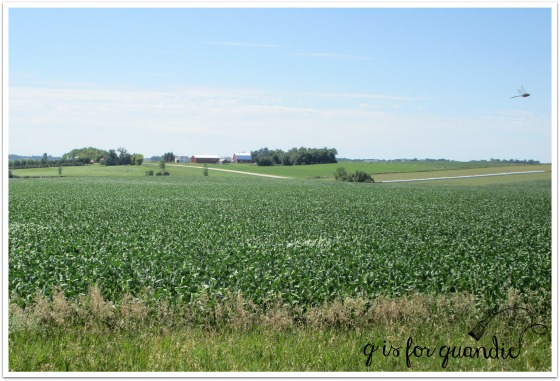
I have to confess, the addition of the title on that photo was a little tongue in cheek. You see so many of these sorts of lists on pinterest, 10 things to see in Amsterdam or 1 day in Paris. But hey, if you are ever going to be in Brookings, be sure to pin that photo!
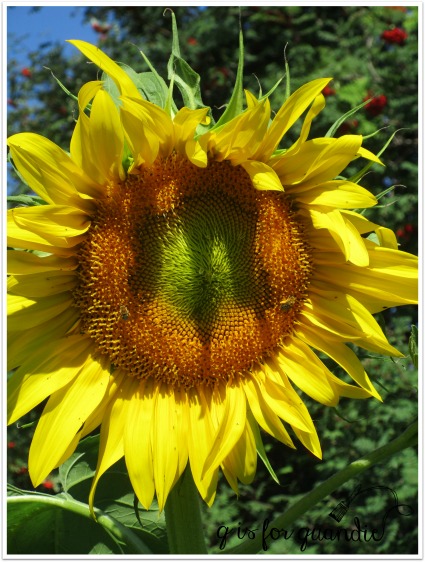
We started our day with a visit to McCrory Gardens, a botanical garden and arboretum that is operated by the University. They have 25 acres of formal display gardens and another 45 acres of arboretum. Debbie and I only visited the formal display gardens, which were quite lovely. I especially liked some of their more unique plant pairings, like these ornamental grasses planted with ornamental cabbage.

They had an area devoted to interesting color combinations too.

My sister really liked the sunflowers …
and these ornamental grasses …

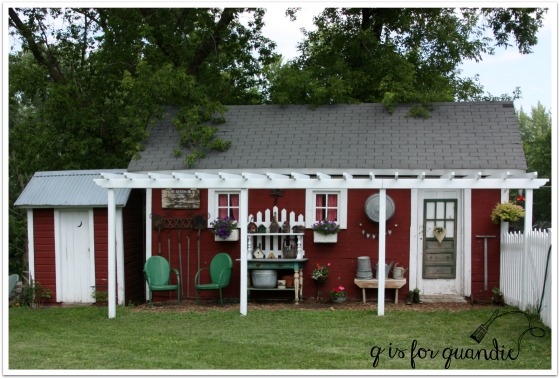
I think Debbie’s garden style leans more towards a prairie garden with wildflowers, while I am more a fan of cottage gardens. This spot with its little cottage and white picket fence was definitely my favorite.

After touring the gardens, we met back up with my mom and her cousins Elaine & Yvonne for lunch at a locally famous hamburger joint called Nick’s. The burgers really were delicious!

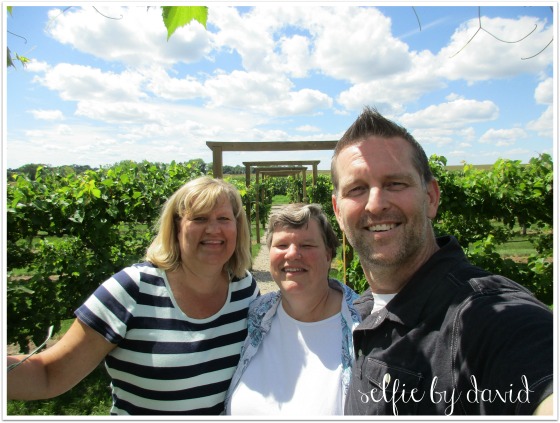
Before heading out to the family farm for the afternoon, our cousin David picked up Debbie and I and we stopped off at the local winery that was on the way, Schade’ Vineyard & Winery in Volga, South Dakota.

We admired their grape vines…

took a selfie with our cousin David (he was trying to help us improve our selfie skills, he says it’s all about finding your good angle, but I still haven’t found mine) …
and we tasted some wine, including some interesting local specialties like Buffaloberry wine (hmmm, no) and Strawberry Rhubarb. All of their wines are made with locally grown fruit. I did bring home a few bottles of the Raspberry-Apple wine.
In addition to the wine, I also brought home some sweet corn from the family farm and a chest cold. The corn is long gone but the chest cold has been lingering all week so I haven’t gotten much done out in my workshop. But I’m definitely starting to feel better today and the temps are supposed to drop back into the 70’s this weekend, so it should be a good time for me to get a few pieces of furniture done. So be sure to stay tuned next week!

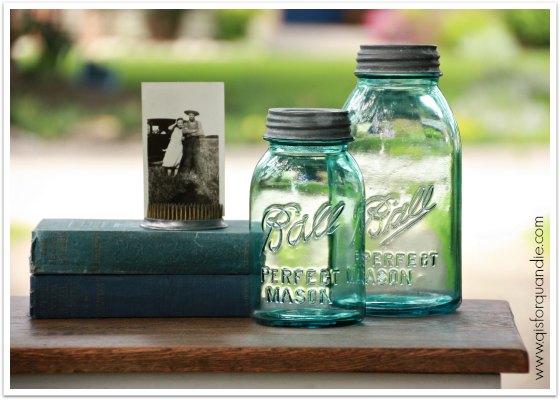


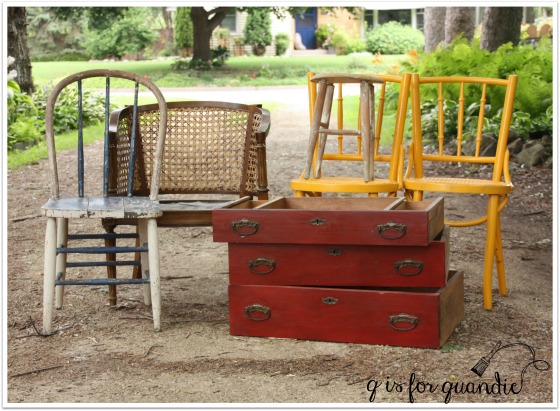


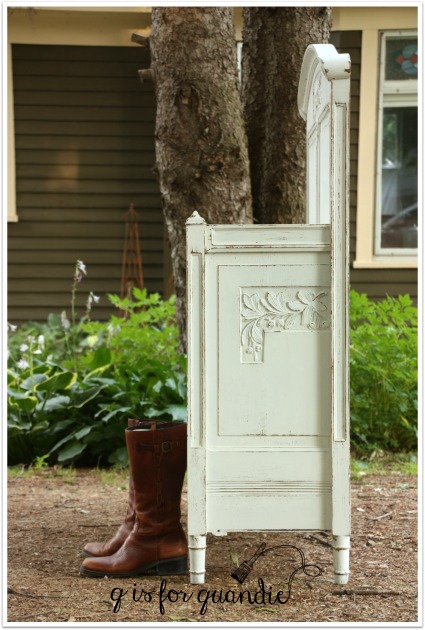
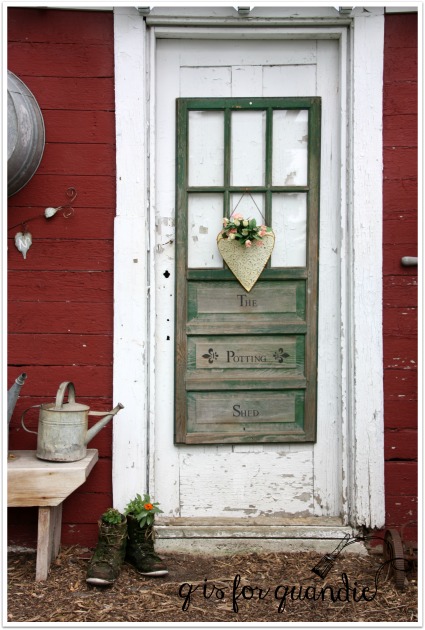
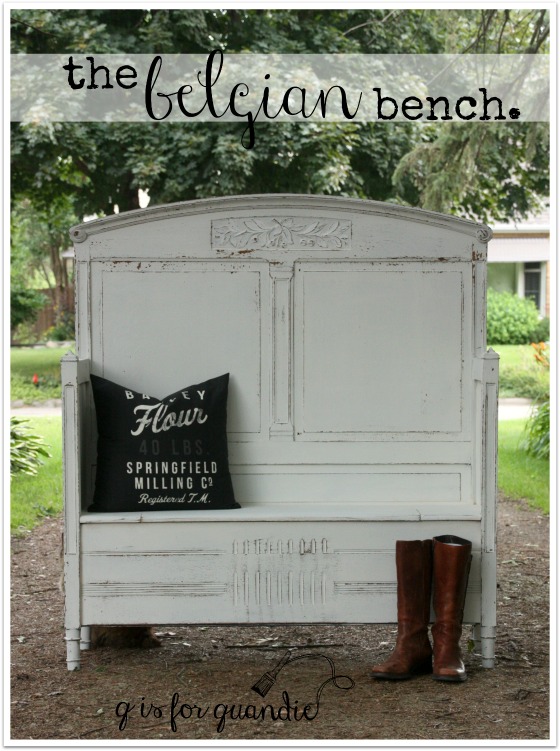 Can you see my little photo bomber in the picture above? Behind the left side of the bench?