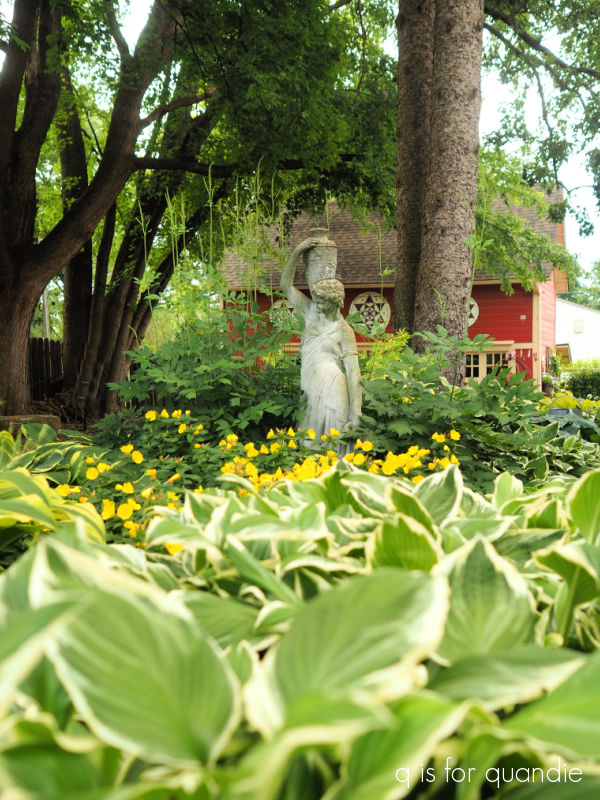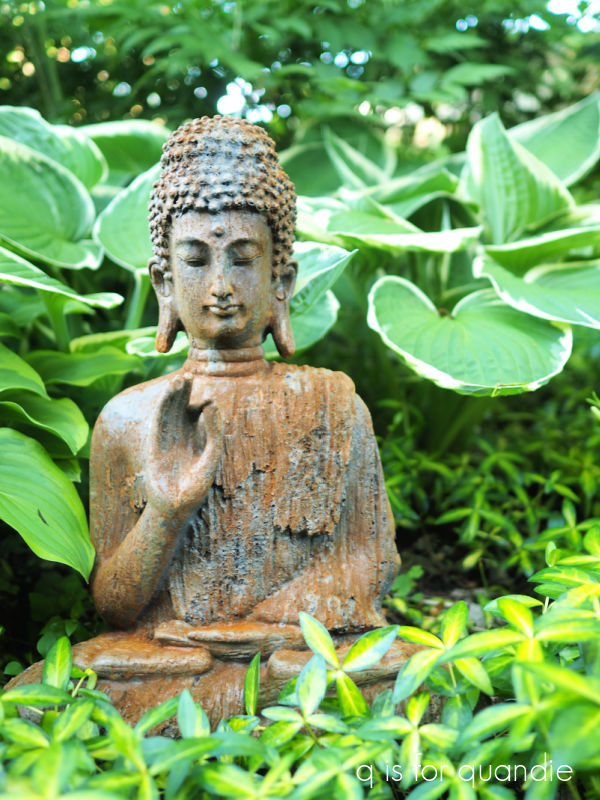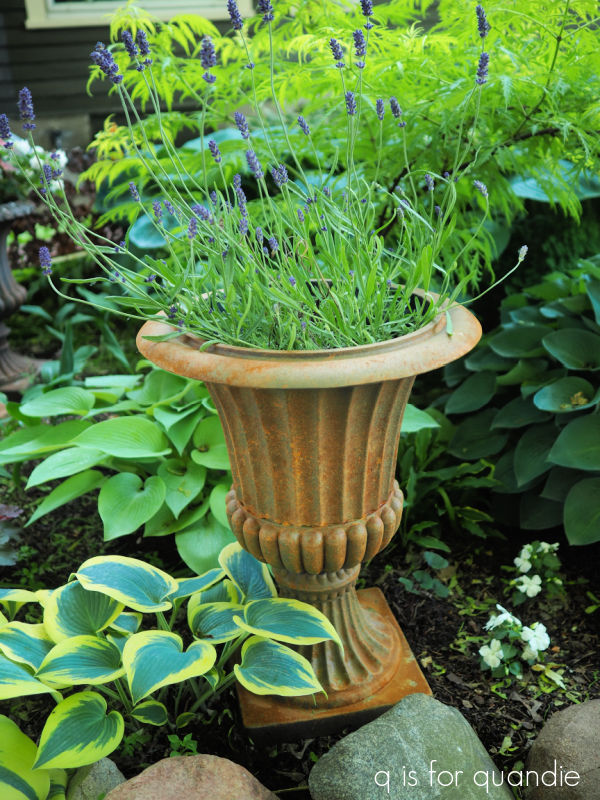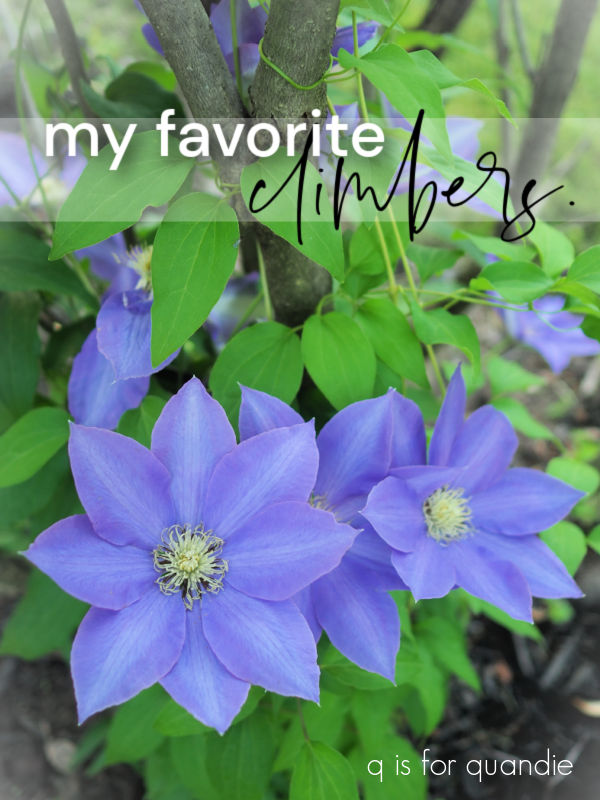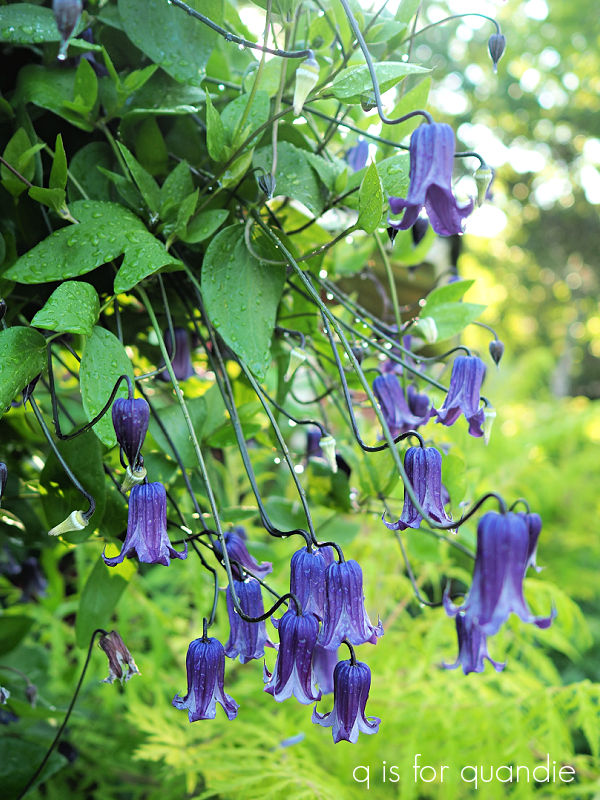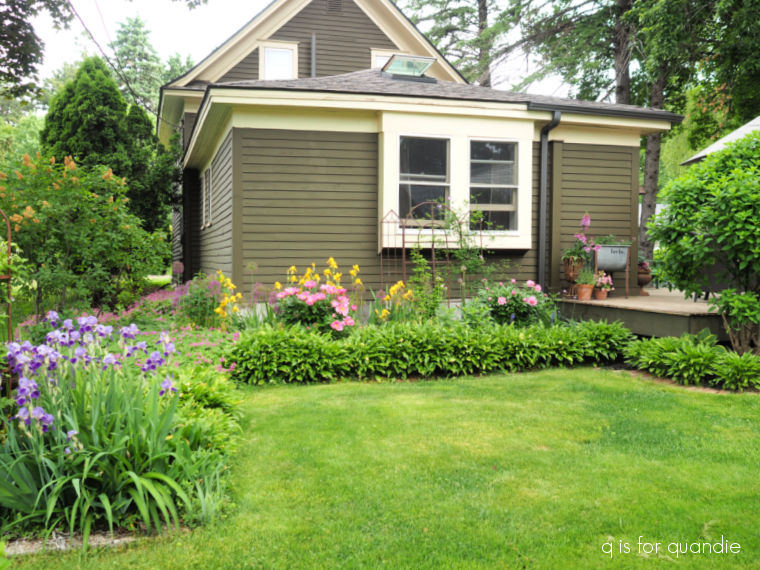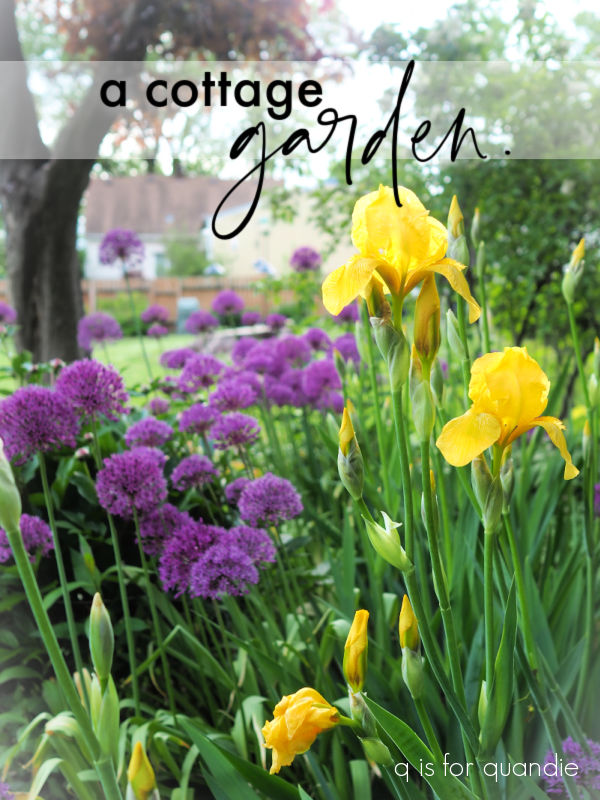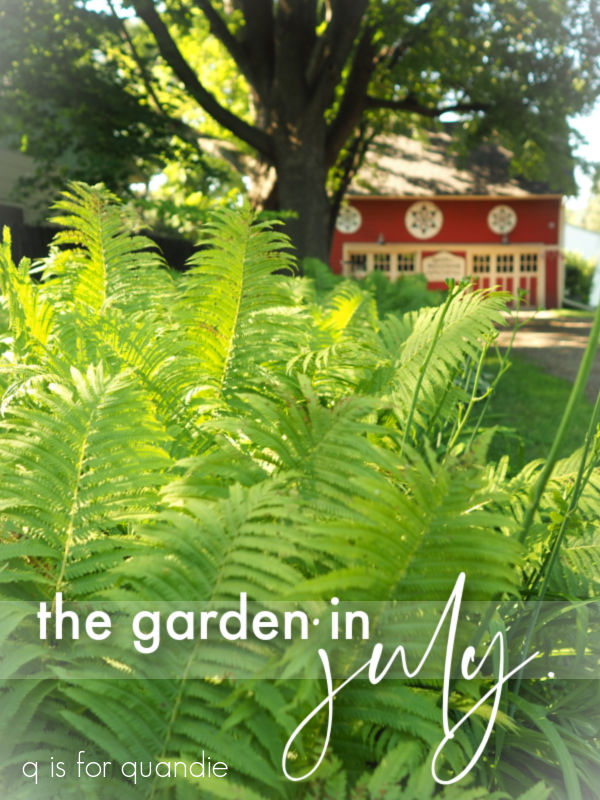
Good morning from the garden!
I think I’m beginning to realize that June is my favorite time in the garden. Everything looks lush and green. As long as we’ve avoided getting any hail damage that is. It was touch and go this year, but so far all of the hail storms have missed my garden (knock on wood, summer isn’t over yet).

But then July arrives, and so do the garden pests.
After a big rain storm the other day, I decided to take a stroll around the garden to see how everything came through the storm. I was relieved to see that there wasn’t any damage at all … from the storm that is.
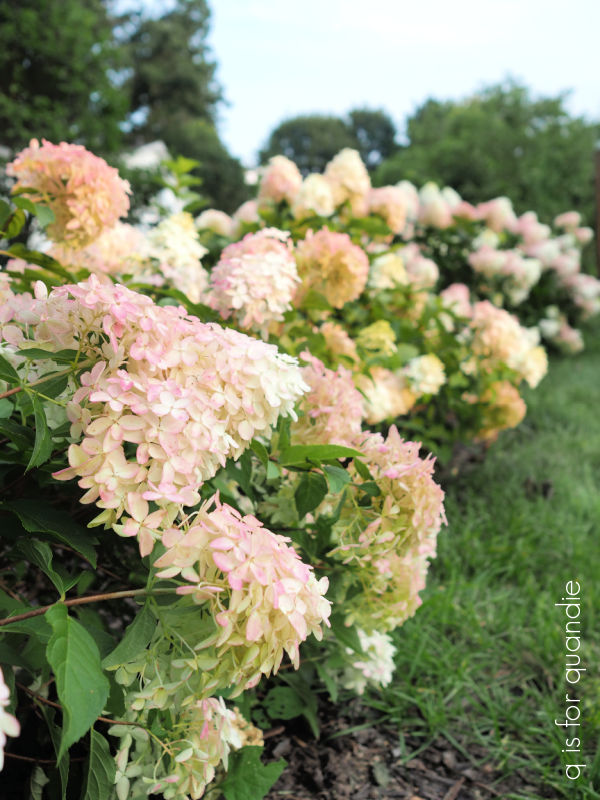
But then I started looking closer. I wondered, ‘why does it look like I did such an uneven job pruning my Quick Fire Fab hydrangeas?’ I didn’t remember them looking quite so chopped off after I did that back in April.
That was when I realized it wasn’t me, it’s the damn deer! They’d been eating the buds off my Quick Fire Fab. Argh!
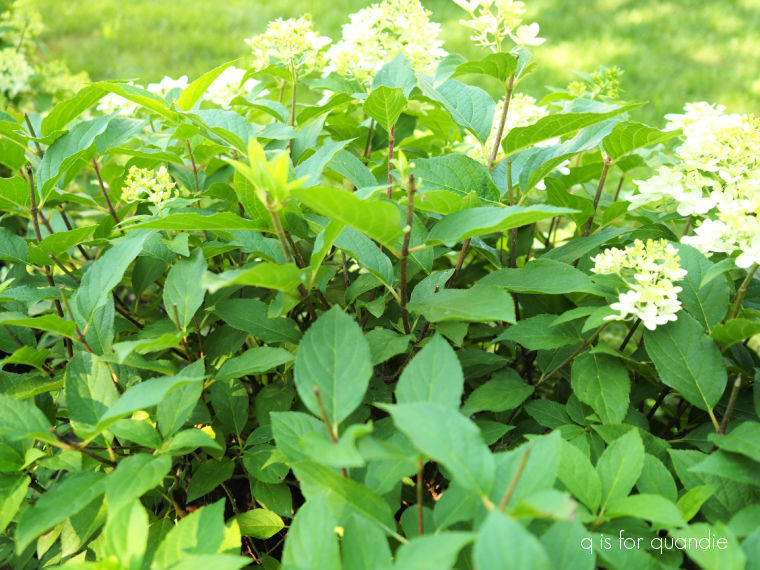
Now I’ve had paniculata hydrangeas in my garden for probably around two decades. As you know, I have several Limelights and a Strawberry Vanilla. The deer have never once munched on those. Why this one? And why have they waited until I put in an entire hedge of them? So frustrating.
Fortunately now that the flowers have opened up a bit, they seem to have lost interest. I guess they only like the tasty new buds.
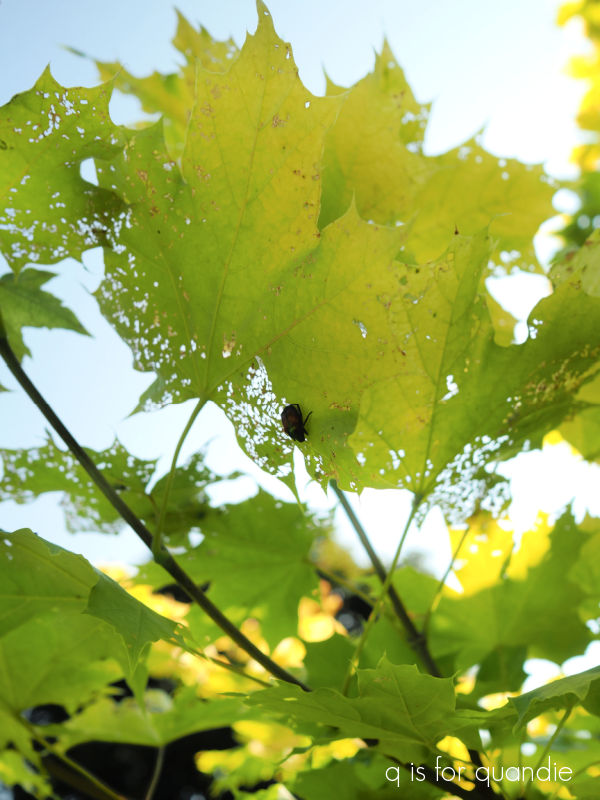
As I was walking away from the hedge, a flying insect caught my eye. Sure enough it was a Japanese Beetle. Yep, they’ve arrived as well.
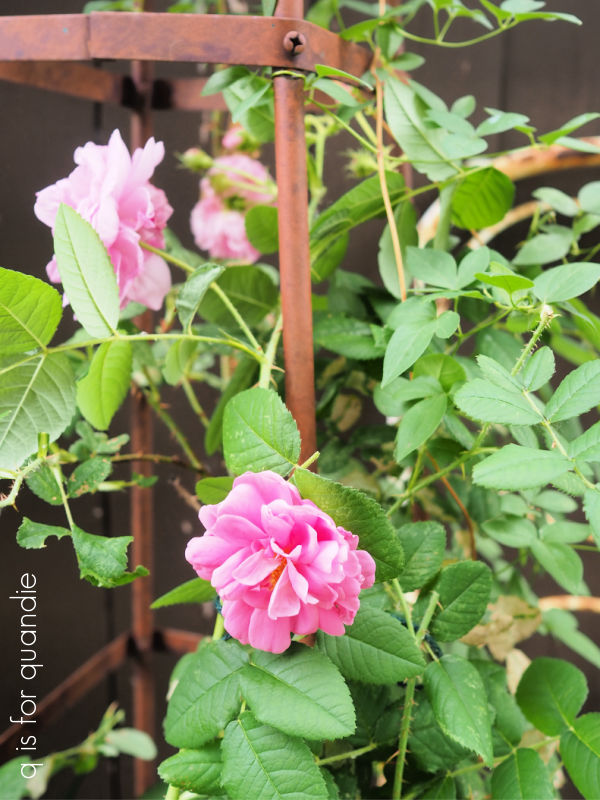
Over the years I’ve tried to eliminate the plants that they like best. I’ve pulled out roses, grape vine, Virginia Creeper, a weeping cherry tree and hollyhocks. A couple of years ago I thought perhaps I was free of them. But then I discovered them on my ferns.
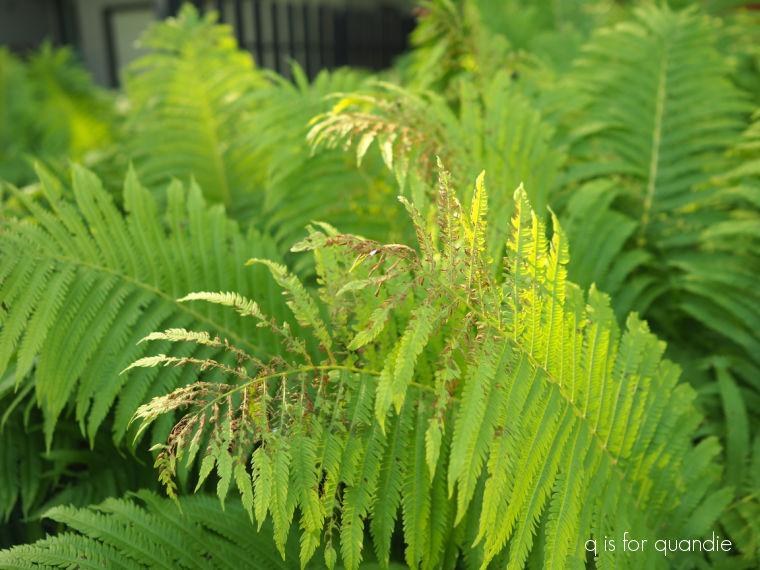
What the heck? Nothing online says that they like ferns. In fact some sources specifically say they don’t like ferns. I beg to differ. Perhaps they are choosing them as a last resort since I removed everything that they like.
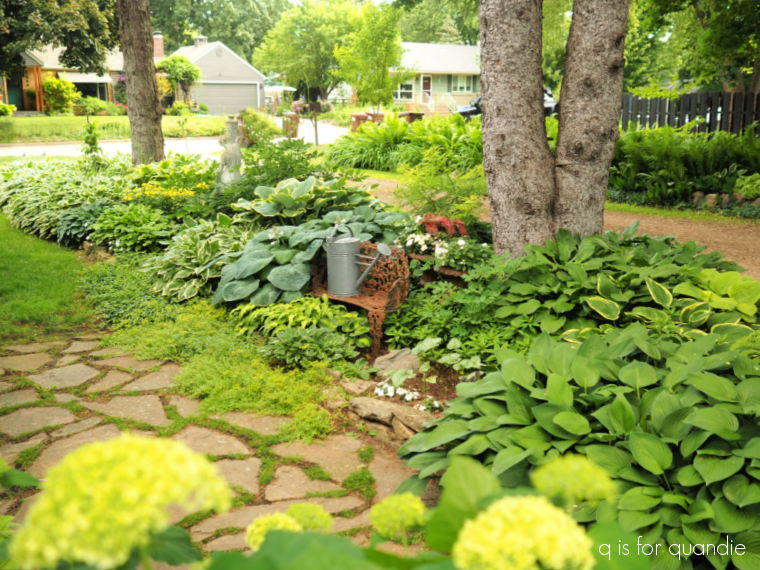
I have a very large bed of ferns.

Removing them would be a massive undertaking. Plus, I really like them where they are. So I definitely won’t be taking them out. So I have to admit, I’ve resorted to spraying for the beetles.
In addition to the ferns, the Japanese beetles are also attacking my Princeton Gold maple.
I just planted that tree in June of last year. When I was in the process of choosing what tree to plant, I purposely tried to avoid those that attract the beetles like Linden trees for example. Back when I had the day job there was a row of Linden trees outside my office window that were absolutely loaded with the beetles every summer. It was gross.
Having read that Japanese beetles don’t really go for maple trees, I thought I was safe with this one. It’s only now that I have read that although beetles don’t bother red maples, they love this one.
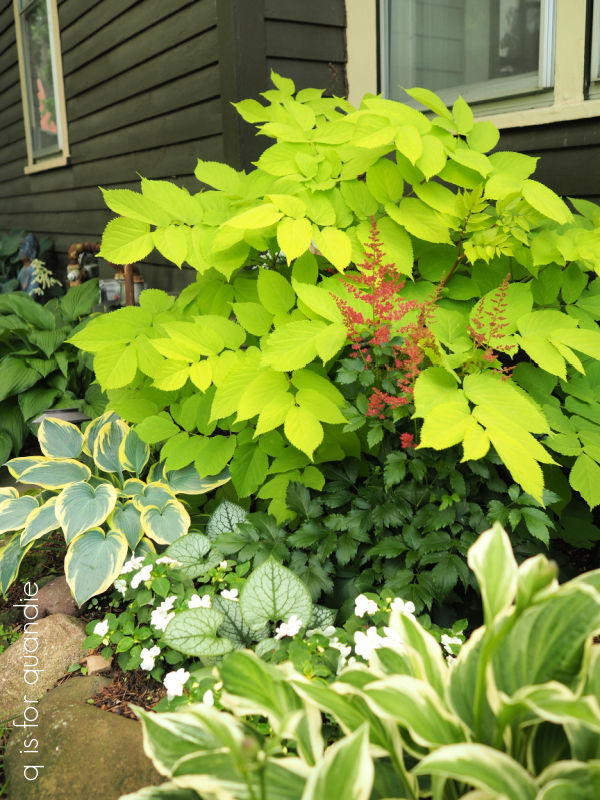
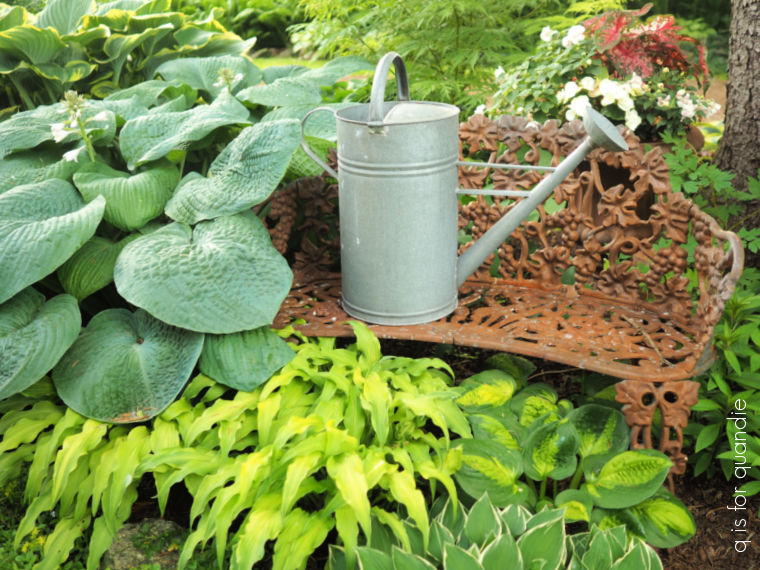
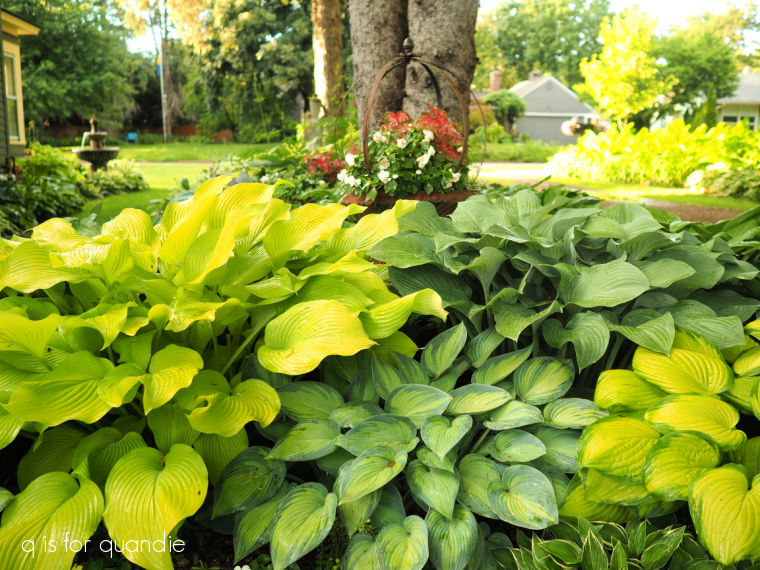
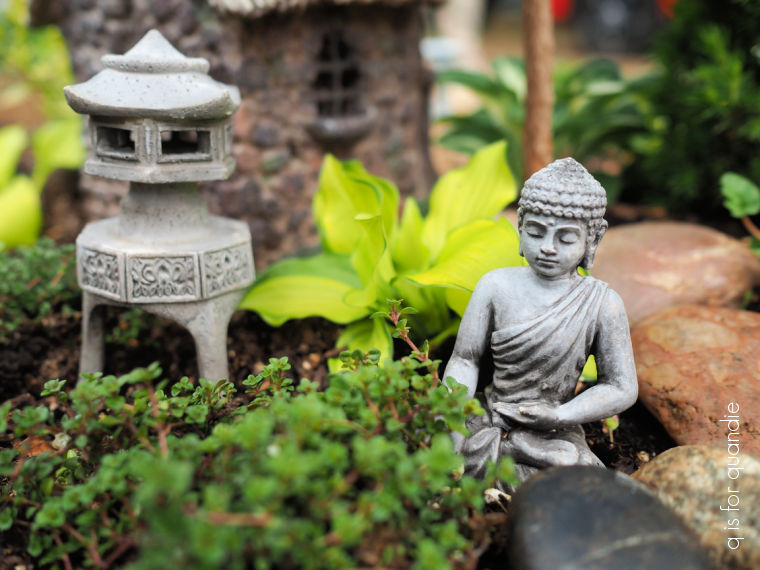
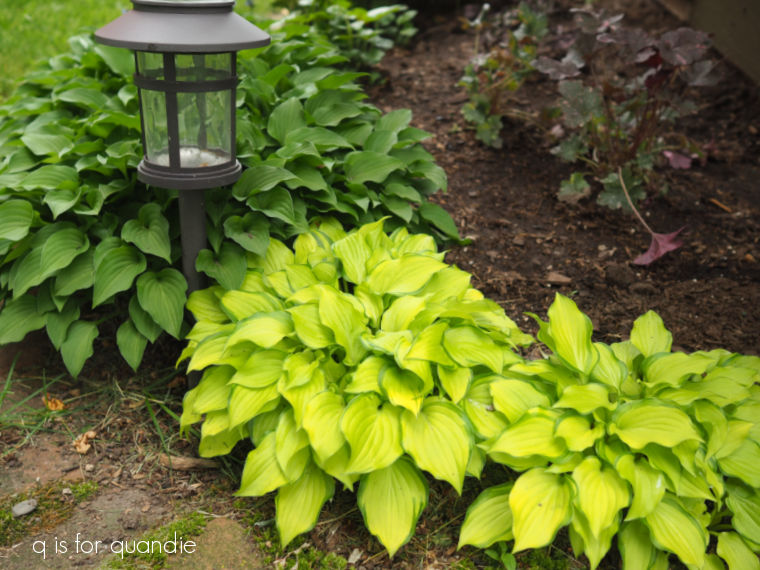
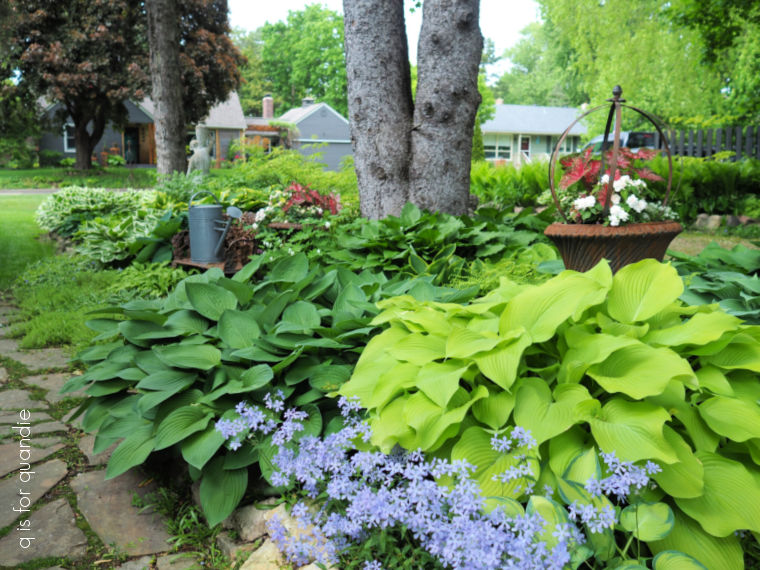
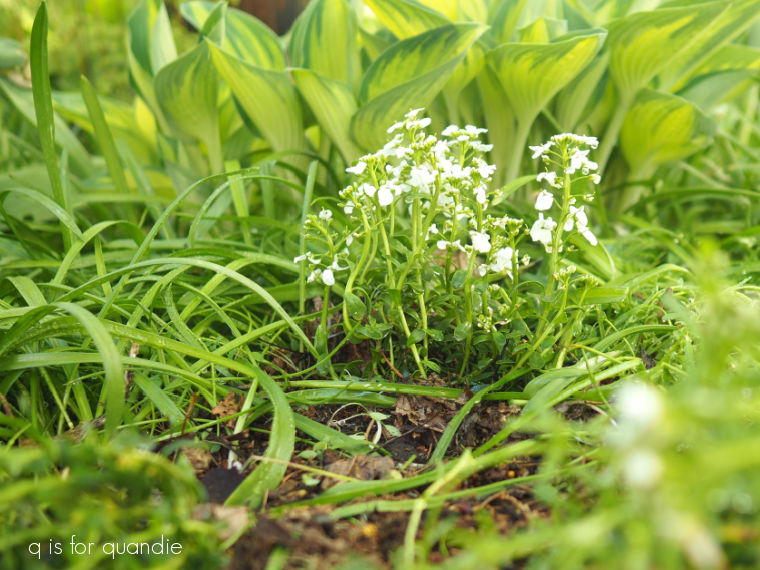
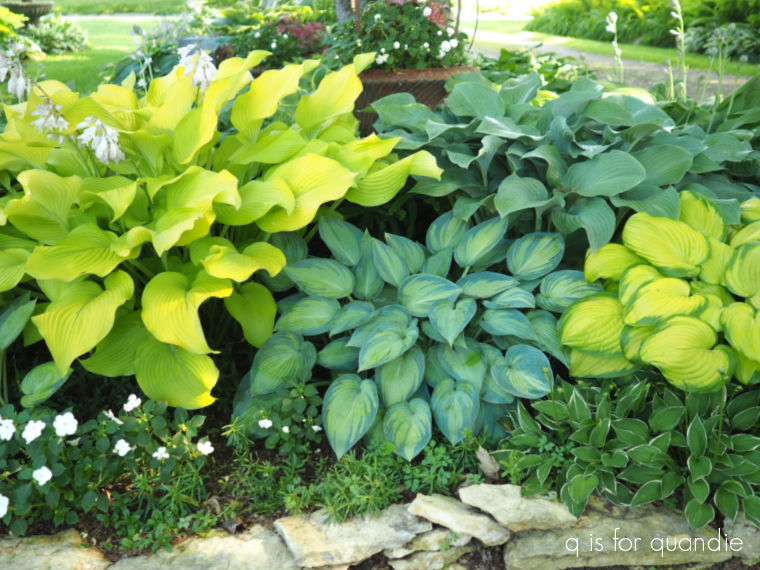
I’ve also noticed that I’m starting to see some damage on my hostas now. I used to always think it was slugs that ate my hostas, but now I believe it’s earwigs.
Apparently slugs leave a visible slimy trail (ewwwww!), and I don’t see much of that. Plus, I’ve seen the earwigs, so I know they are present.
After a particularly bad year for hosta damage two summers ago …

I switched from using regular Sluggo to Sluggo Plus which has Spinosad added. The Spinosad is for the earwigs. As a result I had significantly less damage on my hostas last year. I definitely need to keep that up this year.
Lastly, let’s talk about the worst of my garden pests, the jumping worms.
Jumping worms hatch in late spring, but they are too small to be noticeable at first. They grow to full maturity by mid to late summer. It has only been in the last week or two that I have started noticing them in the garden while weeding.
If you aren’t familiar with jumping worms, here is an excellent article giving detailed information about them. But summarized, the worms are bad and you don’t want them in your garden. And once you have them you are screwed.
OK, maybe that’s not quite exactly what the article says. But so far the only way to minimize the impact of the worms on your garden is to handpick them, place them in a sealed container, set them in the sun to die and then dispose of them. Gross.
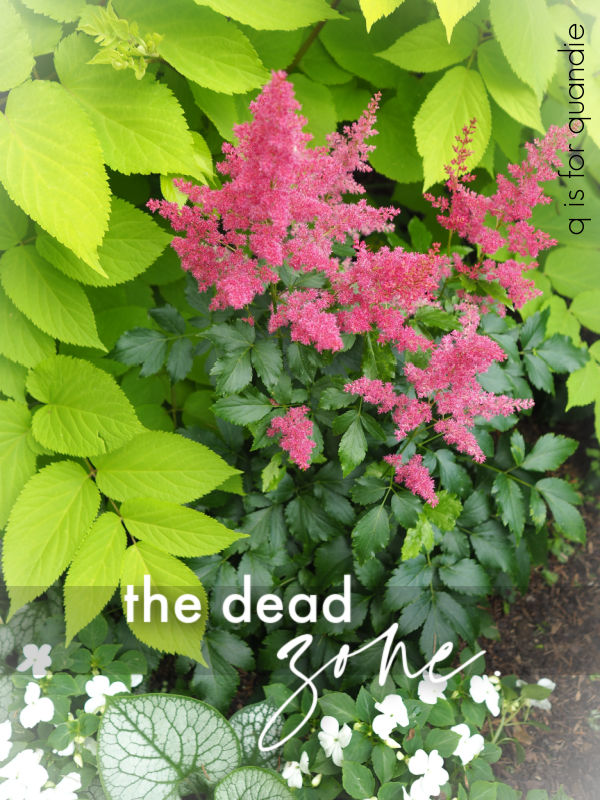
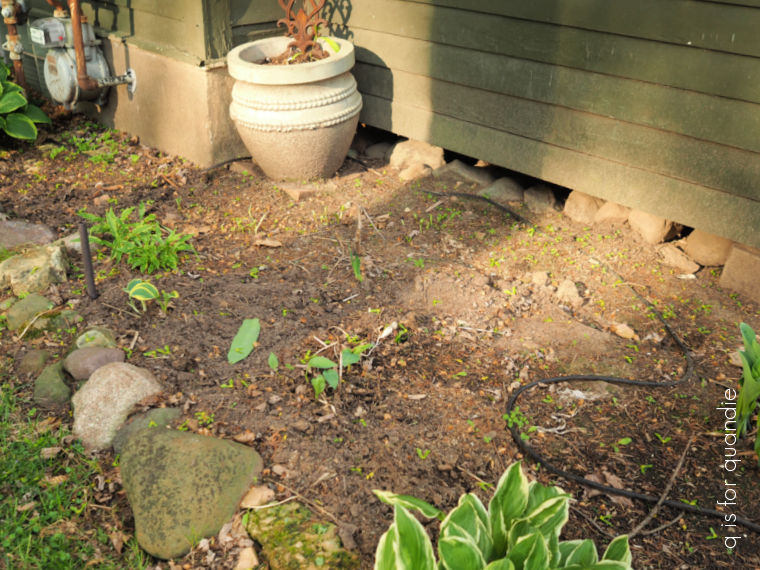
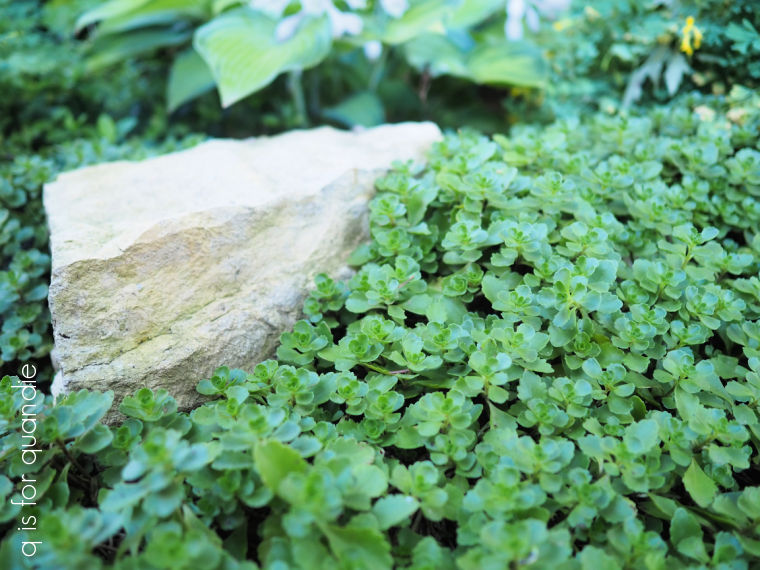
However, contrary to popular belief, the worms do not eat your plants, or the roots of your plants. They do rob your soil of nutrients though, and they also change the texture of the top 2″ or so. This change causes your soil to dry out much more quickly. It makes germinating plants from seed tricky. It can also make it difficult for shallow rooted plants like Stonecrop to thrive. I had a patch of stonecrop that went from this …
to this …
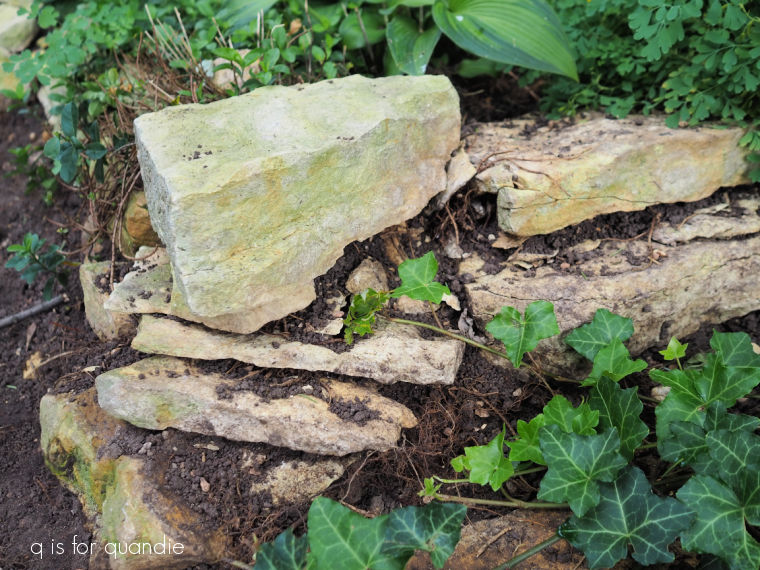
In other words, it all died.
That being said, most of the plants that I have in my shade garden are doing just fine despite the worms. That area is filled with lots of well-established hostas that don’t seem to be suffering at all.
So this post isn’t all doom and gloom.
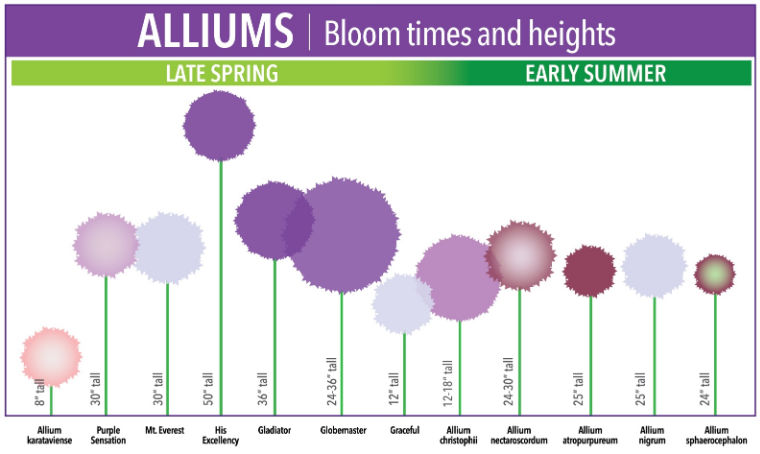
I’ll leave you with a couple of the things that are looking really good right now starting with this Sphaerocephalon Drumstick allium.

I planted that back in fall of 2022 as a bulb (ordered from Longfield Gardens), and this is the first year that it has actually looked good. I will warn you that they do require some support or they just flop over. But now that they are a little more established, I am loving them. Also on the plus side, all alliums are fairly pest resistant. Deer and rabbits won’t touch them, and it seems that neither will Japanese beetles or earwigs.
My Hummelo Betony is looking pretty darn good this year too.

I planted those in 2023. Clearly it’s true what they say about most perennials, they don’t really fill out and look their best until year 3.
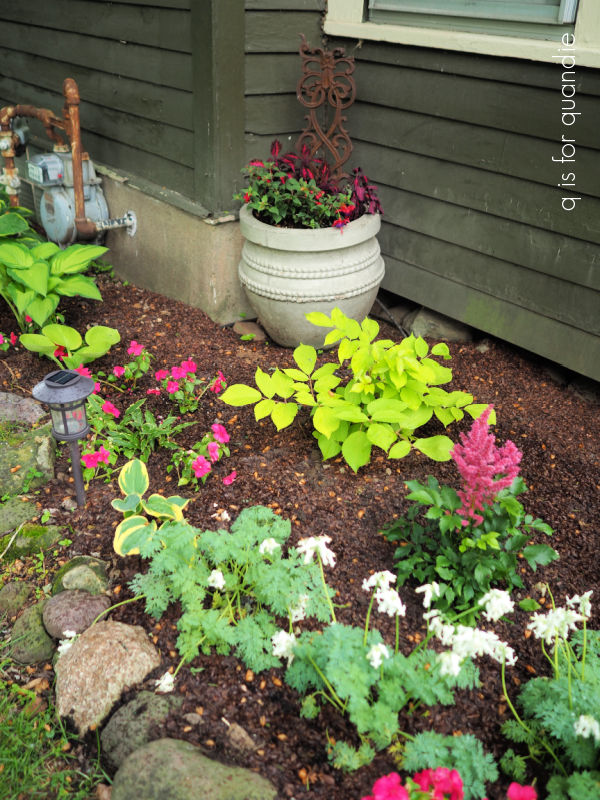
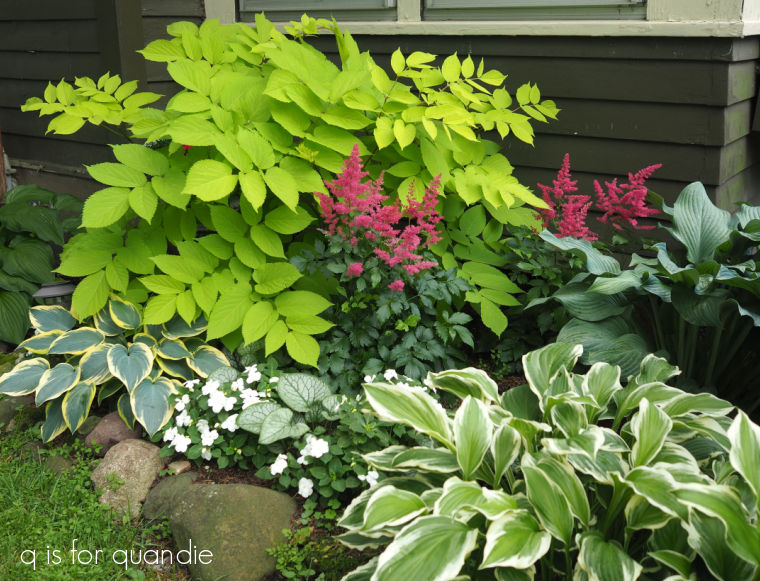
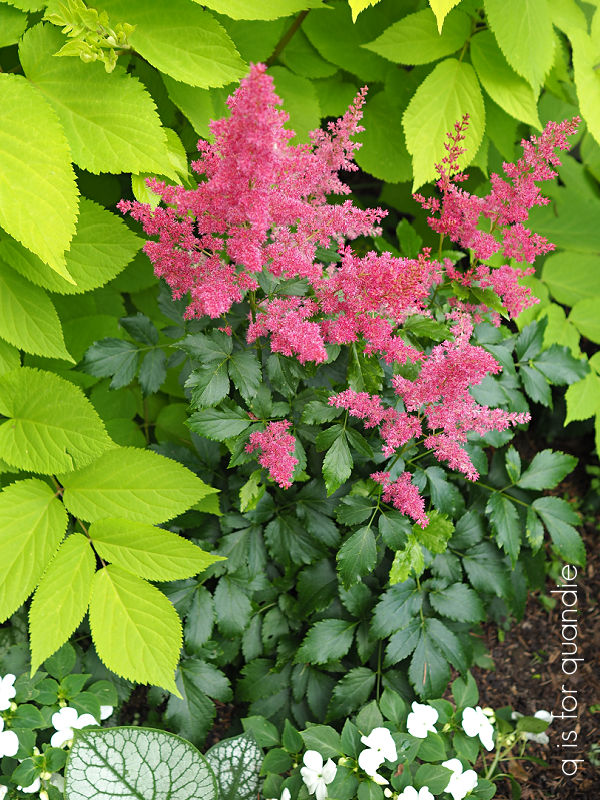
Also looking fantastic right now is the astilbe in my front garden.
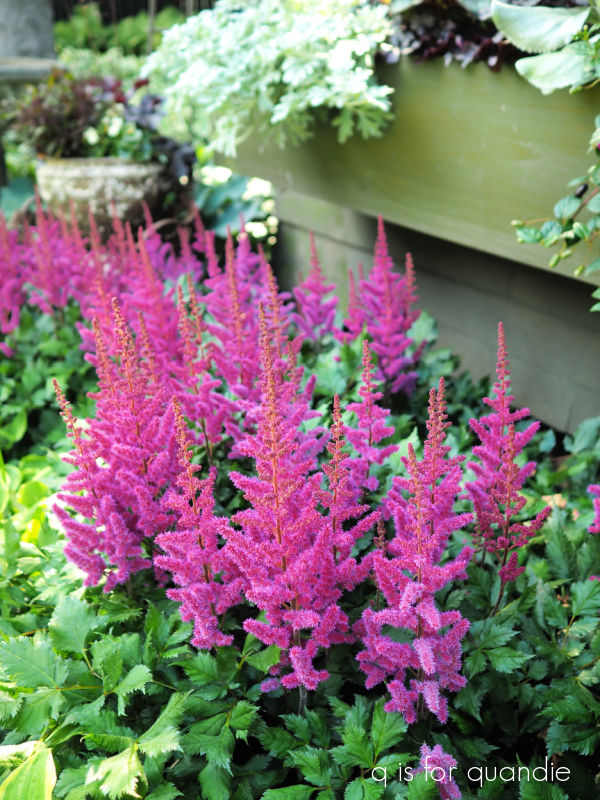
I’ve had this particular astilbe for many years (and sorry, I did not keep track of its name), and it had been moved around quite a few times. It wasn’t until I put it in this north facing, somewhat wet shade with a bit of evening sun that it really took off. I’ve divided it a few times and now have a fairly good sized patch of it.
Lastly I’ll share what has become one of my favorite annuals this year.
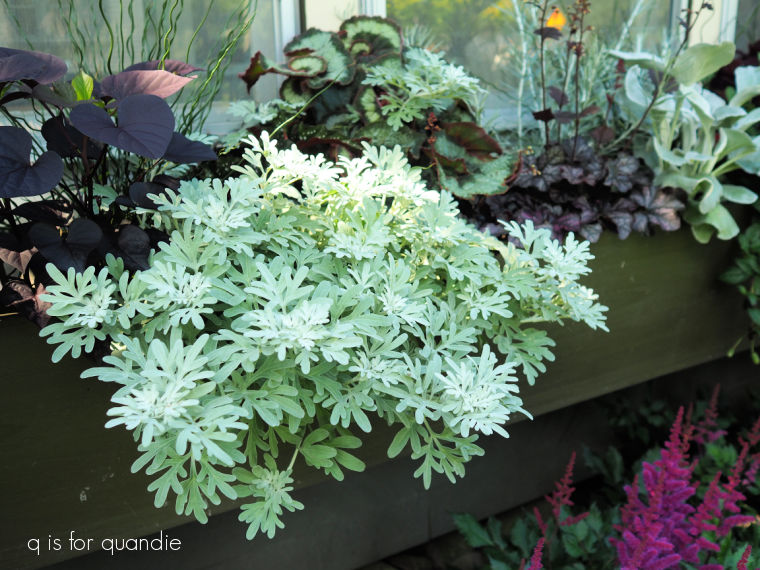
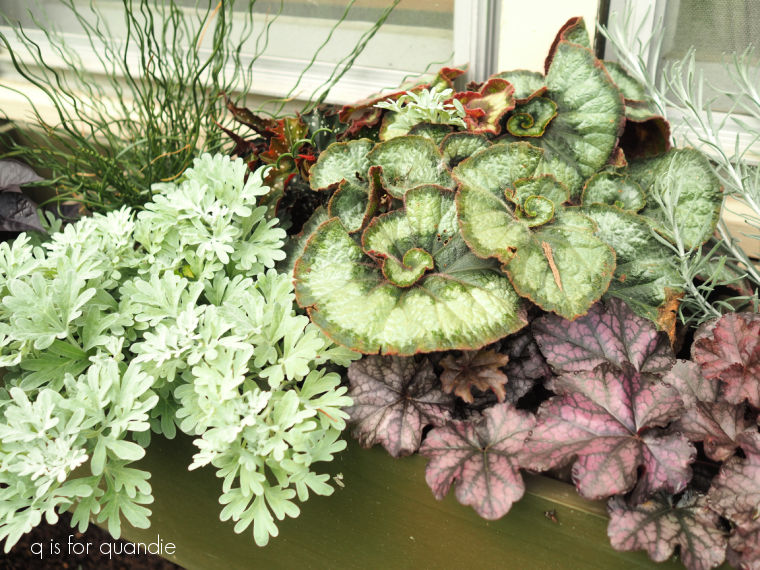
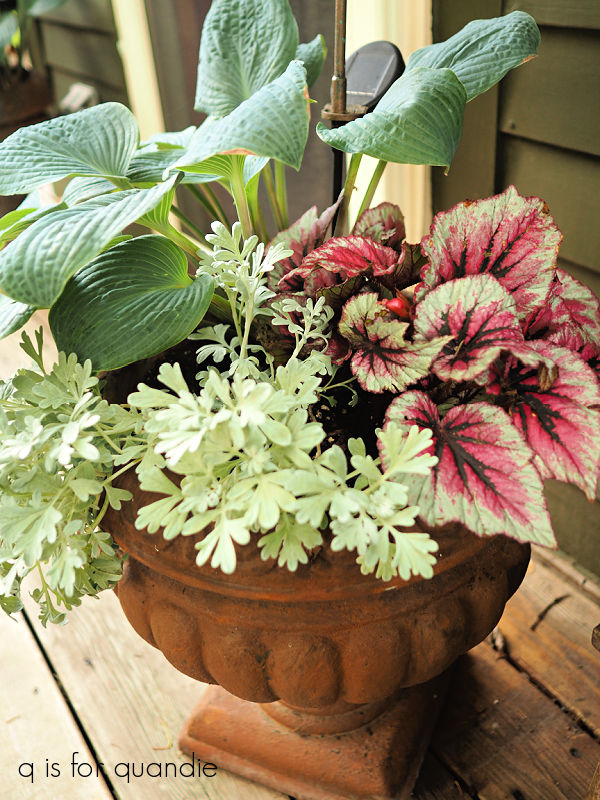
That is called Sea Salt artemesia (Artemisia ludoviciana), and I just love it. It supposedly thrives in hot, full sun but I have it in my front window box (just above those astilbe) which is mostly in the shade and it seems to be loving life there.
I also put it in the planters on my deck which are mixed sun and shade, and it seems to love that spot too.
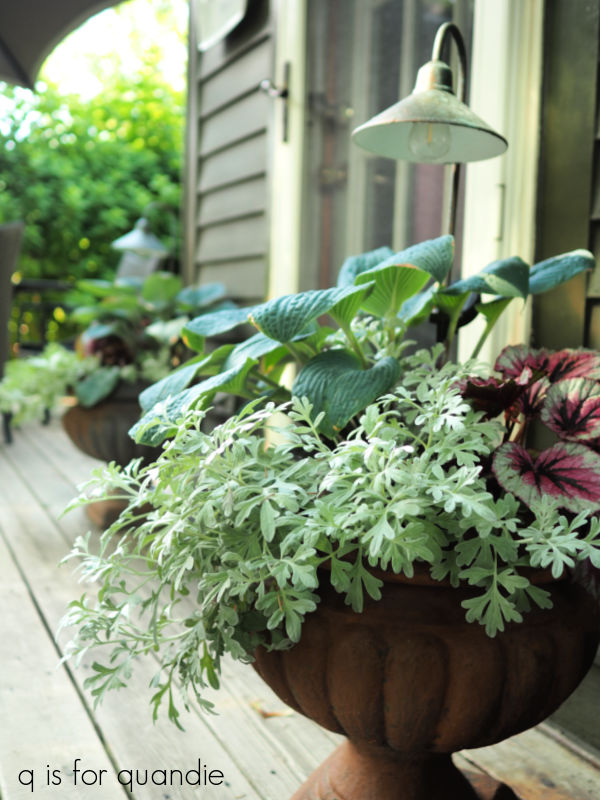
I have noticed that they don’t like to be too wet, but I think pairing them with a water-hogging hosta in this pair of planters has worked out well.
With that, I need to get out in the garden and battle some more pests before it gets too hot. We’re expecting a high of 94° today. That’s way too hot for my northern blood, how about you?