If you’ve followed my blog for very long, you know that I love painting small kid sized wooden chairs. I’ve done about a bazillion of them.
But it never occurred me to to paint any with a Christmas theme … that is, until now.
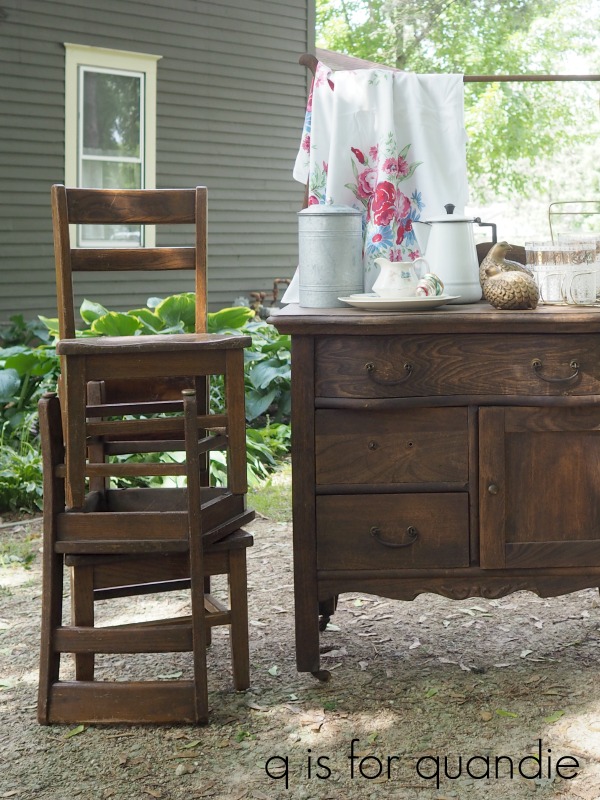
I picked up three of these chairs last summer at a garage sale. Apparently I forgot to take a separate ‘before’ picture of them, but here they are with the rest of the haul from that day.
I did each chair in a different design.
The first chair started out getting a paint job using Dixie Belle’s Honky Tonk Red. I sanded it to distress the edges and smooth out the finish, then I added a stenciled design using Dixie Belle’s Drop Cloth.
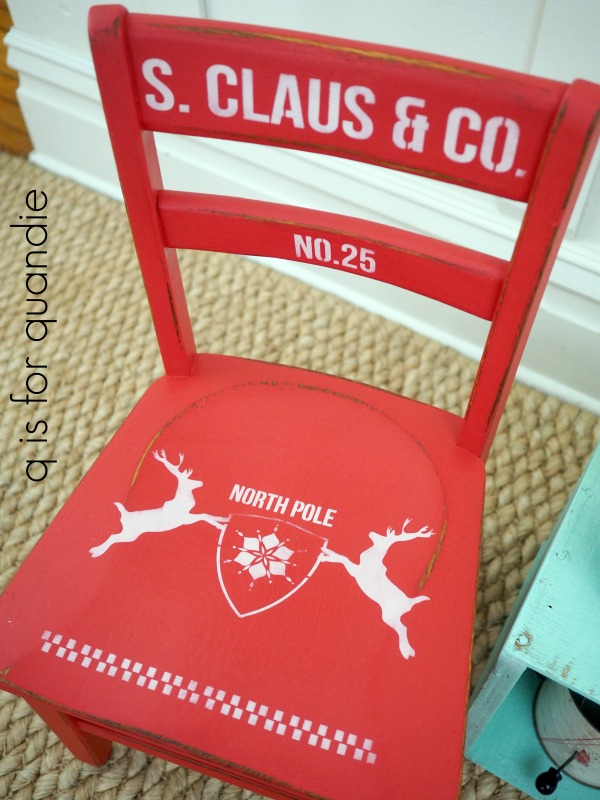
I think this one has a sort of Scandinavian look, don’t you?
The red in that first photo looks just a little bit brighter than it does in person, this next picture is a little more true to color.

The Honky Tonk Red is the perfect cherry red, just right for Christmas. I’ve always loved pairing red and turquoise so I staged it next to a wooden crate painted in Fusion’s Laurentien.

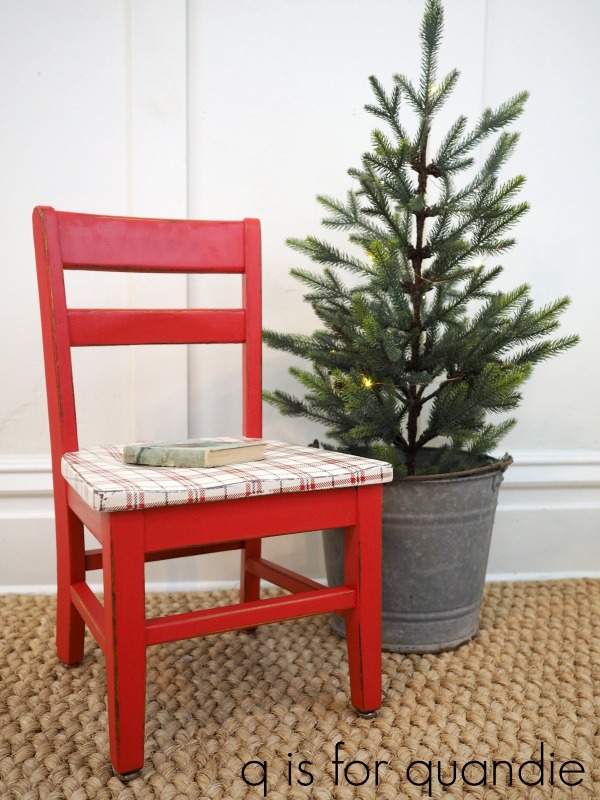
The second chair received two coats of Honky Tonk Red on everything except for the seat. The seat got two coats of Drop Cloth. I have to say, I’m very impressed with the coverage I got with both of these colors. Reds and whites can both be really tricky and often require 3 or even 4 coats to get good coverage, but two coats were plenty with these.
Once the paint was dry, I sanded to distress the edges and then added Prima Marketing’s Gingham Red transfer to the seat. For those of you who may be wondering, the transfer is the black and red lines, the white that you see is the Drop Cloth paint on the chair. So if you want this look you do need to paint your item white first.

The Gingham Red transfer set comes with two different red plaid designs.
![]()
There are two sheets of each plaid in the package, and each sheet measures 8.5″ x 22.5″ for a total of 17″ x 22.5″ of each plaid.
And the second plaid is positively adorable on this chair.

I used the other version of the plaid on a sled that I’ll be sharing next week, so be sure to stay tuned for that.
Last, but definitely not least, I painted the third chair using Drop Cloth and then added another Christmas stencil. By the way, I purchased both of the stencils I used at Maison de Stencils.
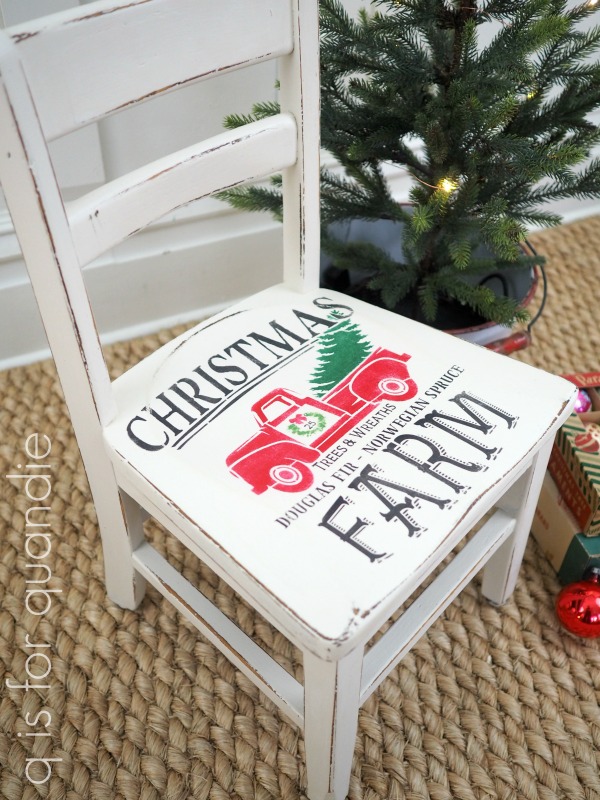
Seriously. How adorable is that? Had I done that one first I think I might have been tempted to do all three chairs the same. I predict that this chair will get snapped up quickly at Reclaiming Beautiful.

It did take a bit more time to do the stenciling on this one. I had to mask off the sections of the stencil for each different color using painter’s tape. I used black, red and two shades of green craft paint for the stenciling.

I used Dixie Belle’s Big Mama’s Butta for the final finish on all three of the chairs.

At first glance you might wonder why I’d paint furniture with a seasonal theme like this, but these chairs are small and would work great as holiday decor. Any one of them would be absolutely adorable sitting beneath your Christmas tree.

Or possibly placed in the foyer to welcome your Christmas guests. Maybe with a small boxwood wreath hung from the chair back.

They’d be super cute hung from a nail or two up on the wall. Even if you don’t have any small kiddos at your house I bet you could find a way to decorate with one of these chairs!
Normally I try to post my furniture items here on the blog to see if any of my local readers want to purchase them before I take them to Reclaiming Beautiful. However, this time I had a bunch of holiday stuff ready to go and I took it all in on Wednesday evening. Reclaiming is gearing up for a holiday open house that is coming up on Nov. 16 so I wanted to get the bulk of my holiday merch down there. If you’re local, be sure to pop in this weekend and see the rest of the stuff I brought in!

As always, thank you to Dixie Belle Paint Co and Prima Marketing for providing the supplies used for these chairs.
If you’re looking for Dixie Belle products you can find them here.
If you’re looking for Prima Marketing products you can find local retailers here, or online sources here.
So tell me, how would you use one of these adorable chairs?


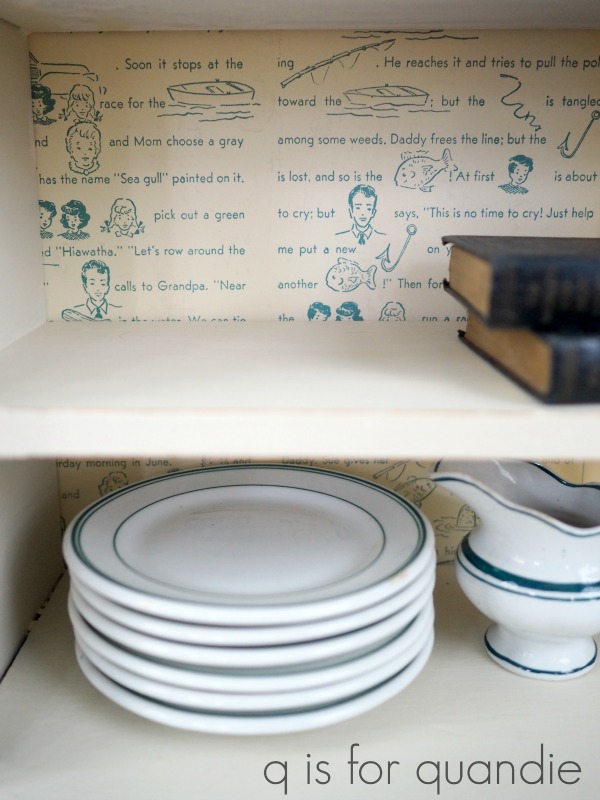
 Step one was to replace the existing back. I’m pretty sure it was not original to the piece, especially since it wasn’t actually quite big enough to cover the entire back (notice how you can see through the bottom shelf?).