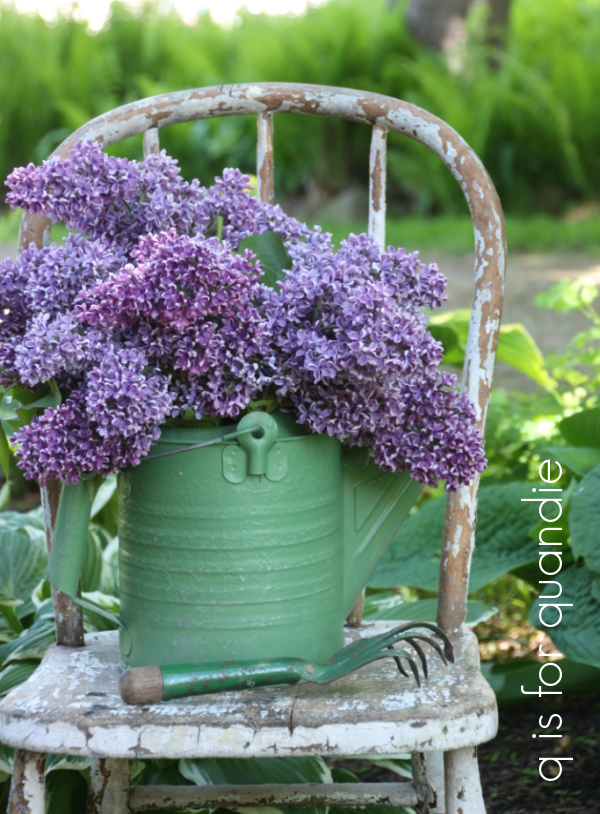
This week my Sunday mornings in the garden post isn’t coming to you from my own garden, instead I’m sharing the Minnesota Landscape Arboretum in all of its glory.
The Arboretum, or the Arb for short, was founded in 1958 by some local community sponsors in partnership with the University of Minnesota. Their mission is to ‘welcome, inform and inspire all through outstanding displays, protected natural areas, horticultural research and education’.
If you’ve ever enjoyed a Honeycrisp apple you can thank the Arb for that. It was developed here by the U of M, and was later named the Minnesota State Fruit. I have to admit that their newer Zestar and SweeTango apples have taken over as my favorite varieties though.
My niece, Kris, had a day off mid-week last week and wanted to do something fun so she suggested a visit to the Arboretum. I usually get out there about once a year, and every time I go I think “I should get out here more often!” It really is worth the 50 minute drive.
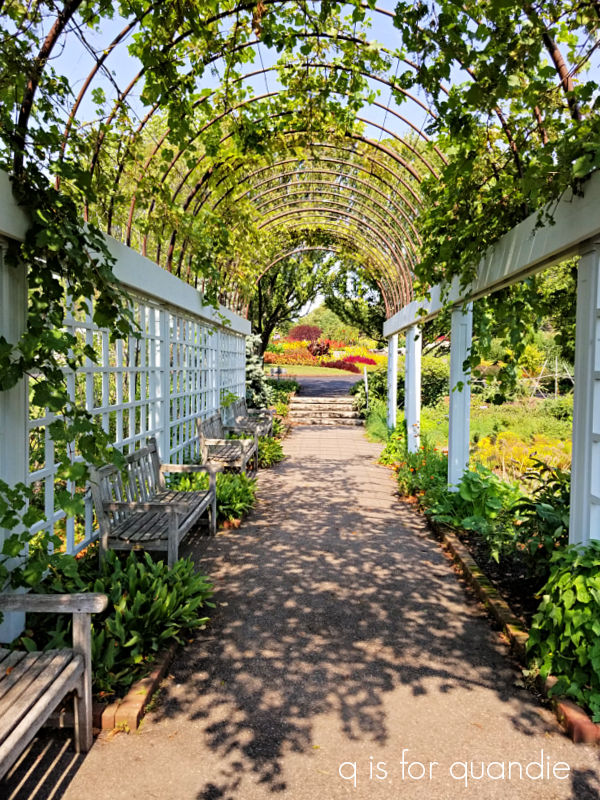
There are two things I love about the Arb.
No. 1 – it’s simply a beautiful place to walk around and admire the lovely gardens.
One of my favorites is the Japanese Garden.
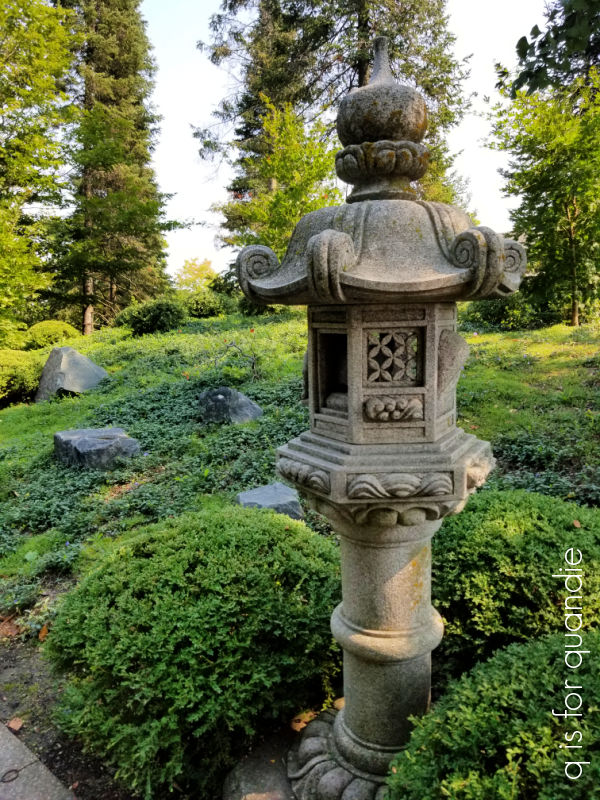
It’s so serene, and you know me, I like a garden that is mainly just green.

I was recently telling my bff that I’d like to visit Japan one day, but my problem is that I’d expect the entire country to look just like that photo. I strongly suspect that it doesn’t though.
If you love color, the Annual Garden stands out in stark contrast to the Japanese Garden.

Every year the Arb does a different design for the annual garden and this year landscape designer Duane Otto decided to go with bright yellows, reds and oranges.
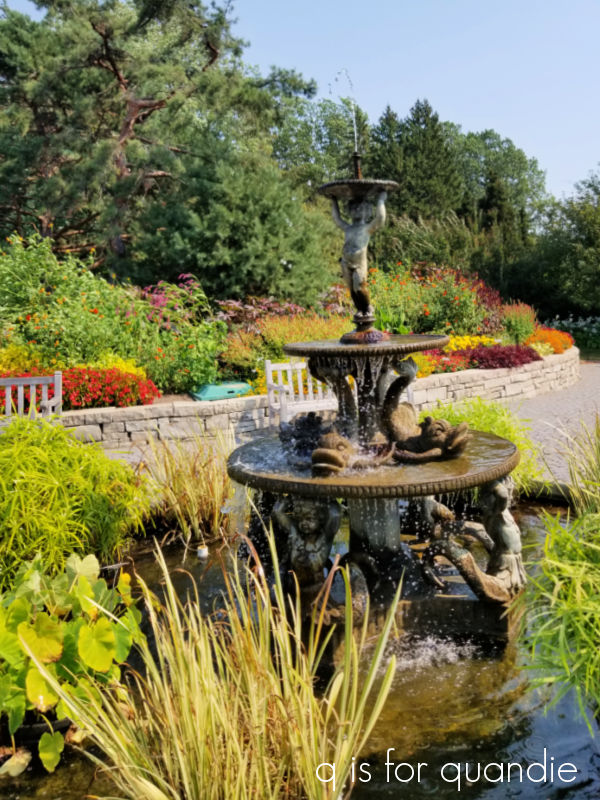
They’ve carried these colors to the area around the front of the visitor center building as well.

While I fully admit these beds of annuals are pretty darn spectacular, they aren’t my style at all. I have very few bright colors like this in my own gardens, and when I do have color I tend to prefer the cooler versions rather that these hot colors.
Another favorite of mine though is the Knot Garden.

I’ve always loved the symmetrical and somewhat formal look of a knot garden.
The Rose Garden is really lovely as well.

I’d kind of like to know what they are doing to keep the Japanese beetles at bay though. I saw very little damage from beetles on their roses, although there was some.

I don’t know that this next area has a specific name (at least not on the map I have), although it seems to be mainly conifers.

It has a ‘north woods’ feel to me for sure.
It also reminds me a lot of the Japanese Garden, but with a more natural feel.
The thing that all of these gardens have in common is that I won’t likely ever have a space like them in my own garden, but I still enjoy admiring them.
And that brings me to the 2nd thing I love about the Arboretum.
No. 2 – In addition to providing beautiful eye candy, the Arb also aims to educate. It is part of the University of Minnesota after all. I get lots of ideas for plant varieties, or plant combinations to add to my own garden when I visit.
Kris and I spent a bit of time checking out the Herb Garden.

I was trying to pick out some different herbs to add to my herb planter next year.

Although my herbs grew really well this year, the reality is that I don’t cook much so they felt really rather wasted. So as we were going through the herb garden, especially the section with the scented herbs, it occurred to me that I might enjoy growing some herbs for their scent rather than for cooking.
My herb planter is situated right next to our outdoor dining table on the deck and I’ve noticed how the scent of the basil and the mint drift over while I’m seated there.
So next year I’d like to try growing some lemon balm, lemon verbena, and definitely one of the scented geraniums, like the chocolate mint.
I also thought this Society Garlic plant looked really nice in a clay pot.
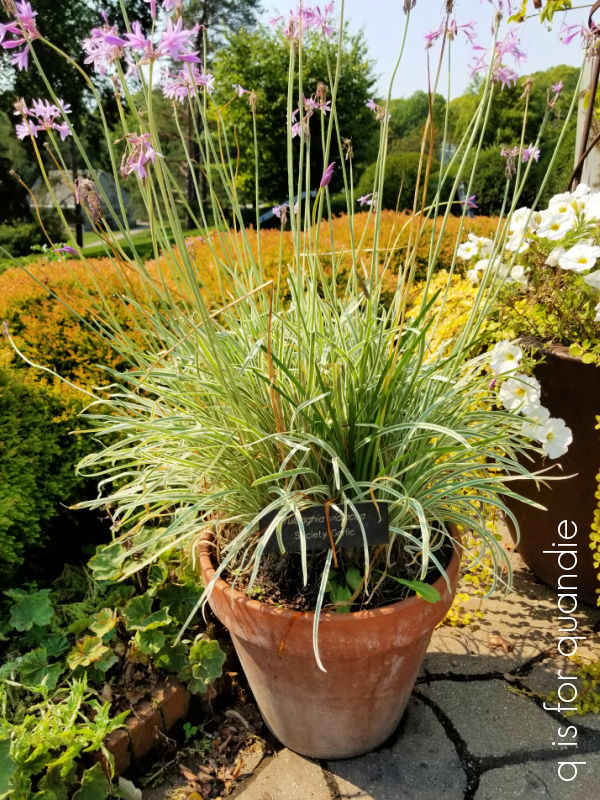
That would be a fun addition to my deck as well.
I’ve never really grown hostas for their flowers, but while in the Japanese garden I noticed a hosta that had a deep purple flower that was really pretty en masse.

I was able to locate that hosta in the hosta glade where it was labeled as hosta clausa.

So now I can add that one to my wish list of plants for my garden.
I’d recently been wondering if I could grow a Japanese Forest Grass, or Hakonechloa.

I’d done some cursory research online and mostly found varieties that grow in zones 5 to 9. I wasn’t sure if I could put one in my zone 4 garden. But hey, if the Arb can grow it, so can I (theoretically). Further research online tells me that this particular species, H. macra, is the most cold hearty of the bunch. This is also one of the few ornamental grasses that perform well in the shade. This plant is also definitely being added to my plant wish list.
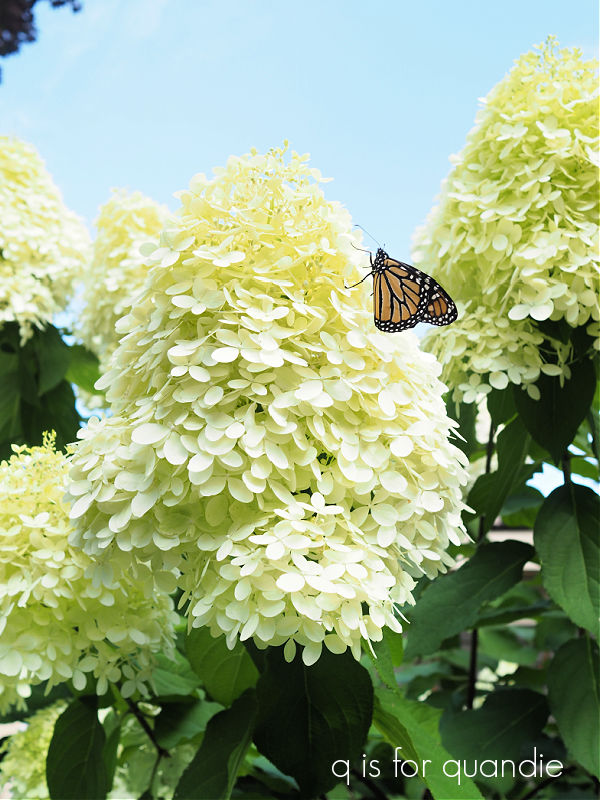
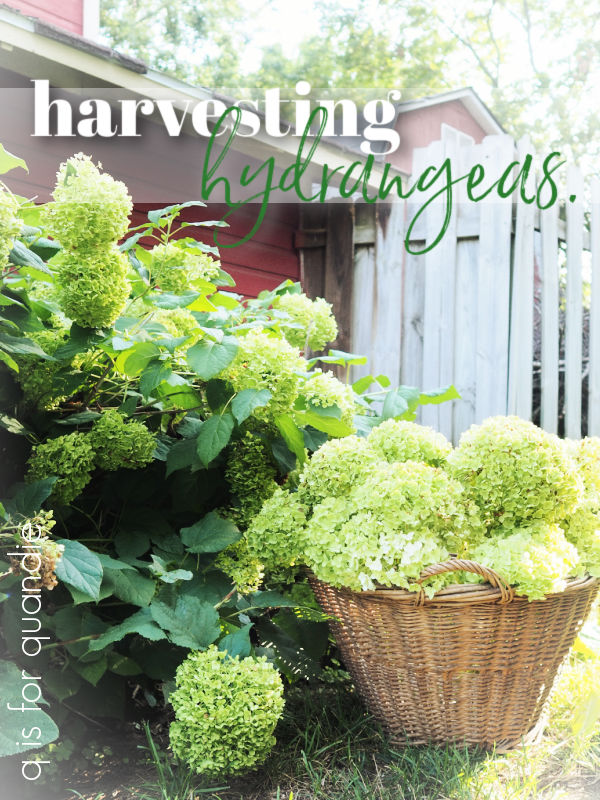
In addition to the garden layouts in the central part of the arboretum, they also have educational and demonstration areas further out including a hedge display that showcases different varieties of plants suitable for use as hedging, the shrub walk to show different varieties of shrubs that will grow in our area, a weeping tree collection, an azalea and rhododendron collection, a crab apple tree collection, an iris garden, a peony garden, a section showing varieties of ornamental grasses, and one of my favorites, a hydrangea collection.
I had to laugh when I saw this in the hydrangea area …

What you’re looking at in the foreground is the Endless Summer hydrangea which is supposed to be a macrophylla hydrangea that blooms on new wood, and thus will bloom in our northern climate. Behind it are all of the paniculatas that actually do bloom well in our climate. I feel like this one picture says it all and I can get off my Endless Summer soap box. Apparently even the Arb can’t get it to bloom!
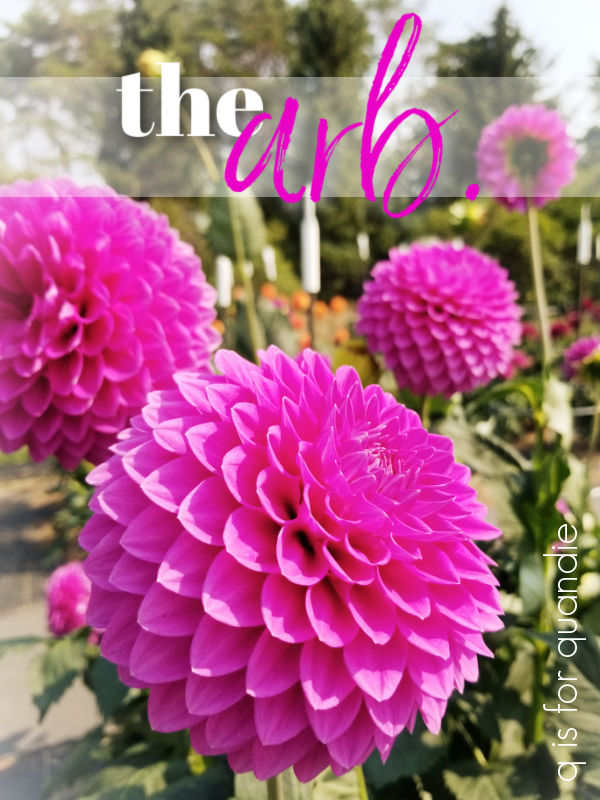
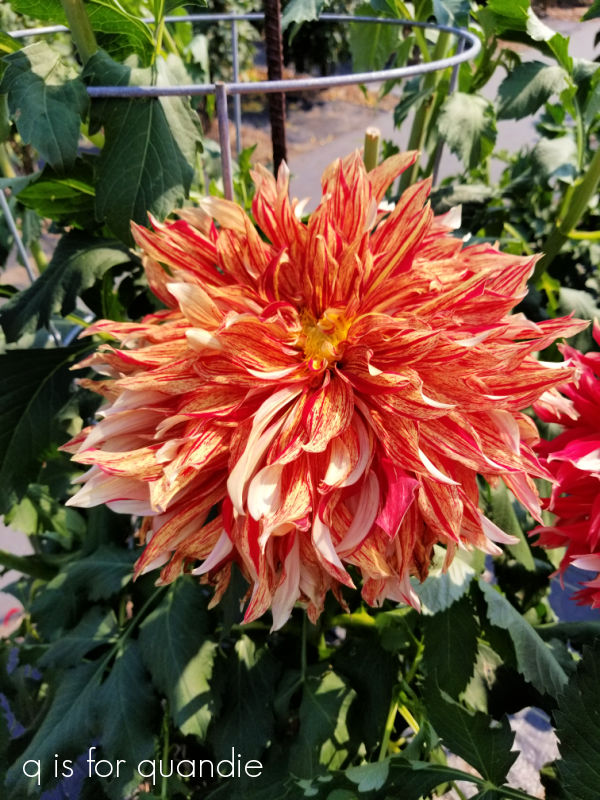
They also have a dahlia trial garden at the Arb, and although I don’t grow dahlias myself (they are way too high maintenance for me), I couldn’t resist stopping to take a look.

I can definitely see why dahlias have seen a resurgence in popularity lately though.

They certainly can be magnificent.
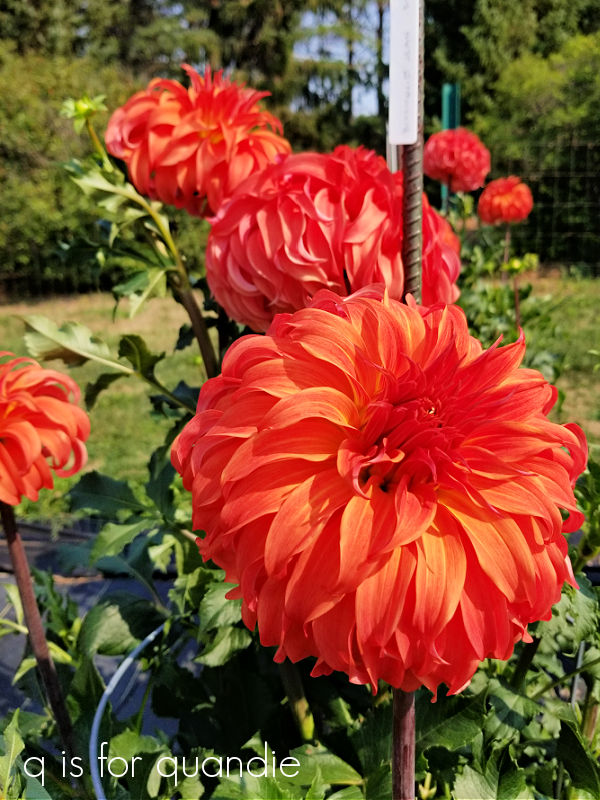
Some of the flowers on these are the size of dinner plates.
How about you? Do you grow dahlias?
There is so much more to see at the Arb than what I’ve touched on here, but I figure this post has gotten long enough. I hope to make another visit there when the fall colors arrive, so stay tuned for a potential post on that.
The MN Landscape Arboretum was named the Best Botanical Garden by USA Today in 2017 and 2019. It really is pretty dang fabulous. The next time I am whining about the fact that we don’t have any amazing gardens here in Minnesota like the one I visited at Dunrobin Castle in Scotland …

would you please remind me that although we may not have any castles here, we do still have some pretty amazing gardens!


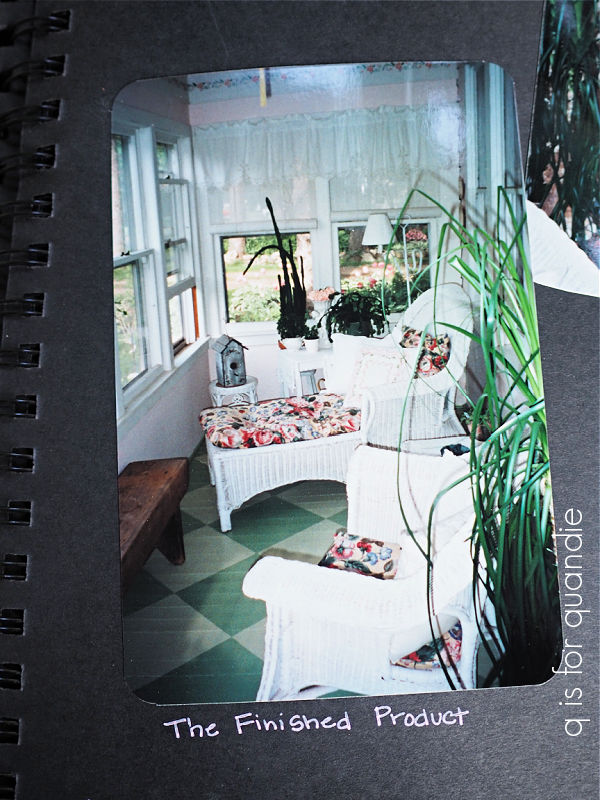

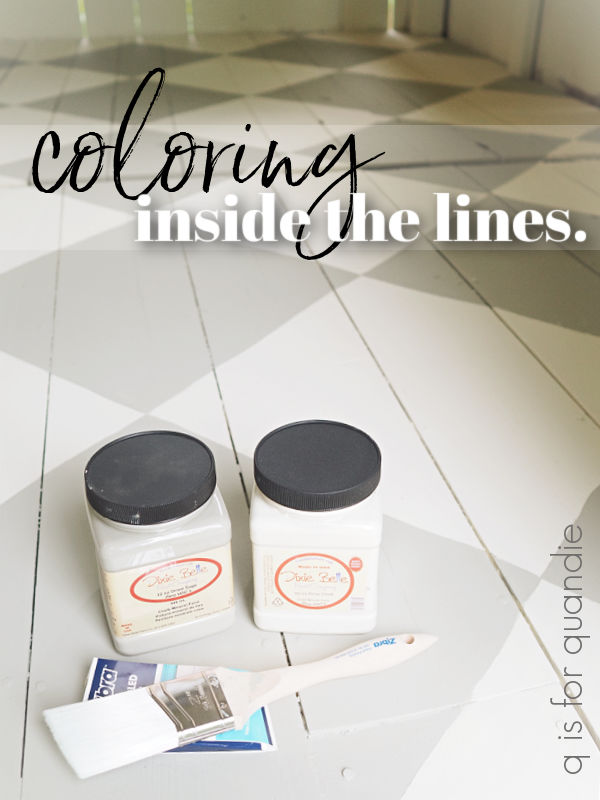
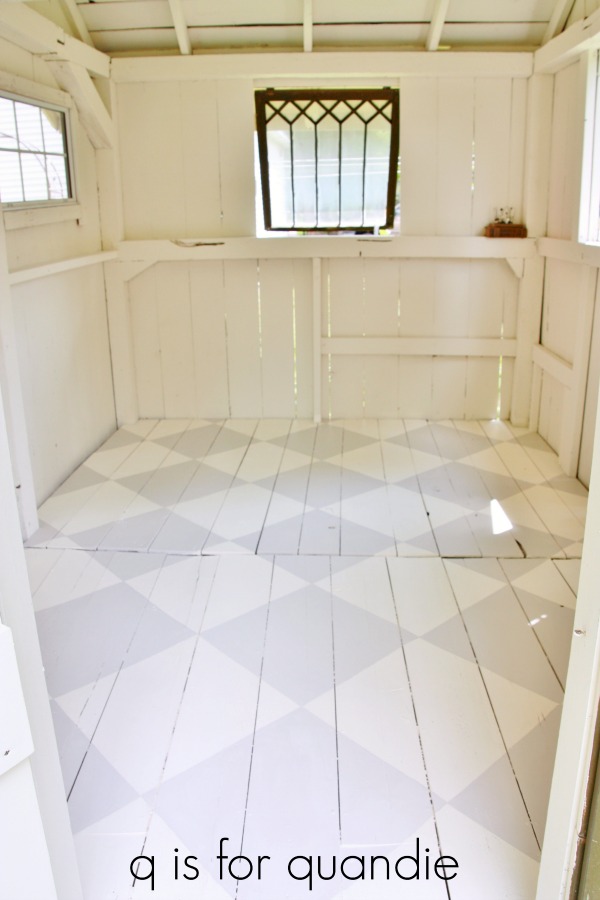
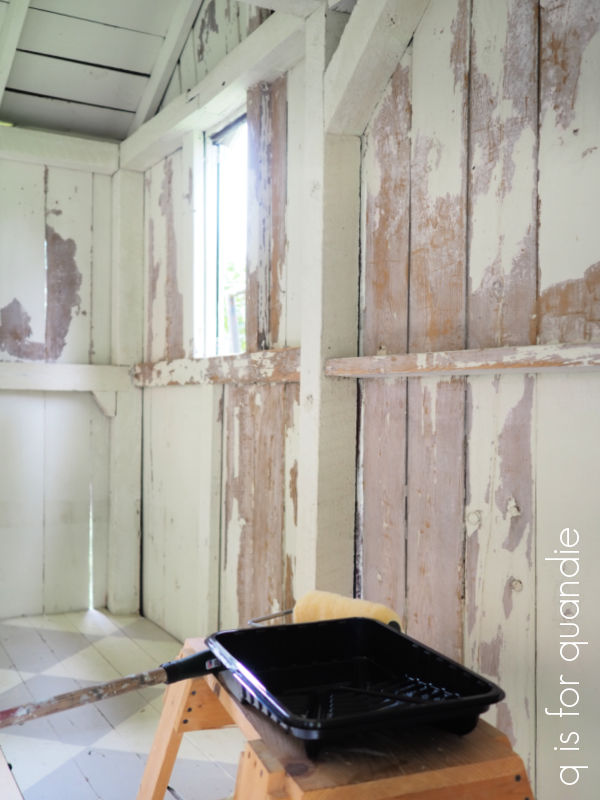
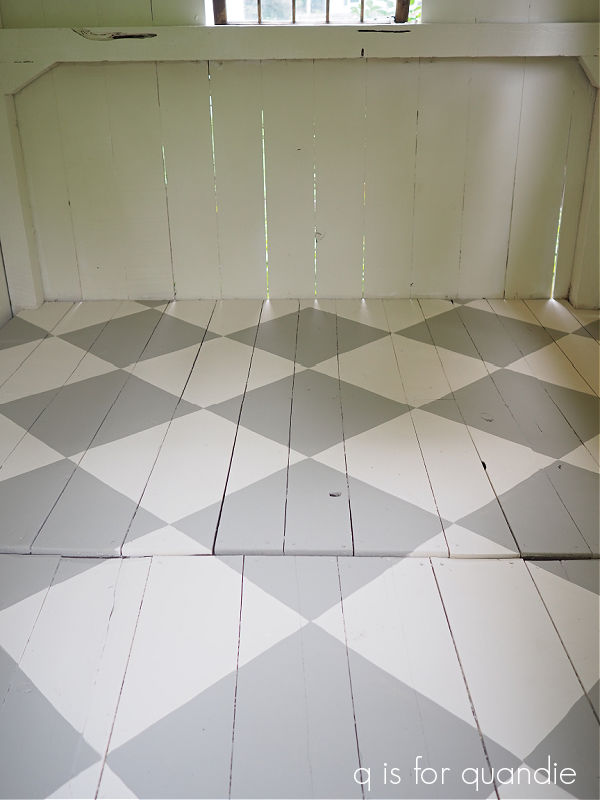
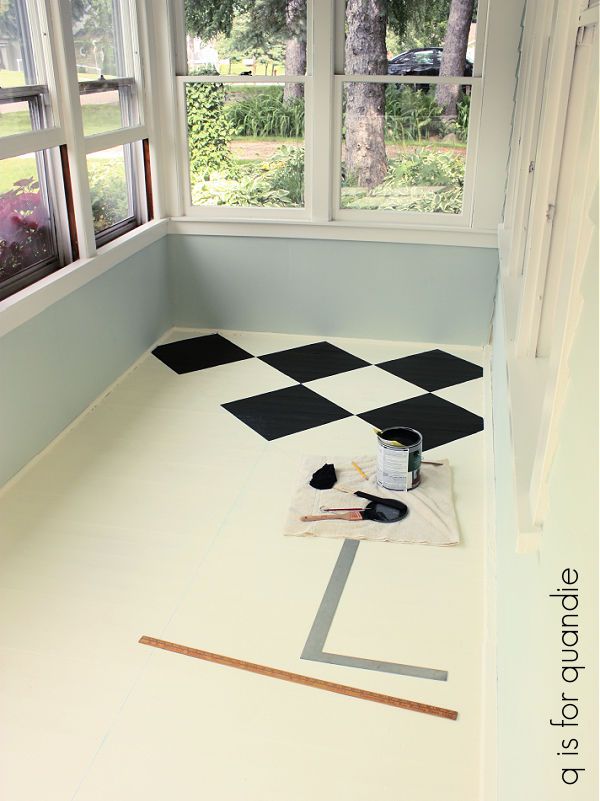 I remember specifically wanting to make the squares bigger this time around, for some reason I thought those initial green squares were too small.


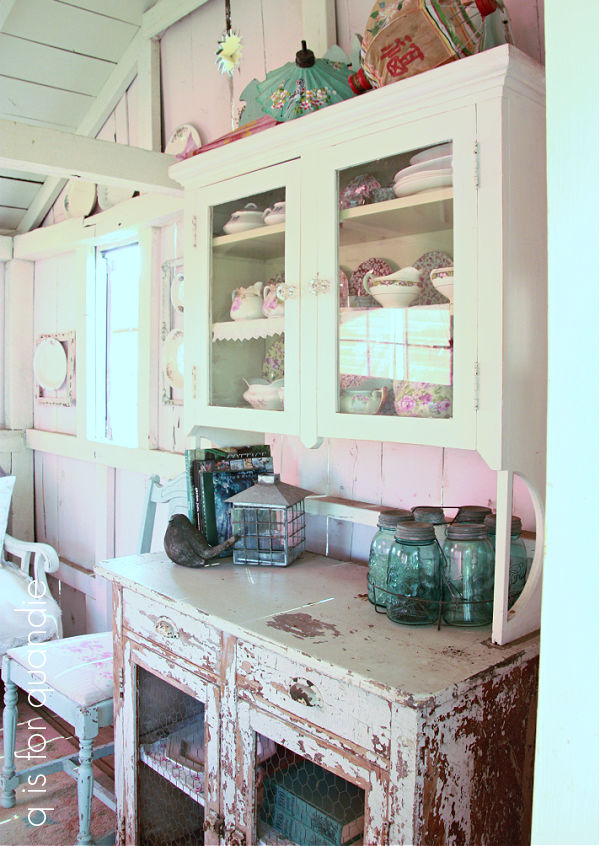
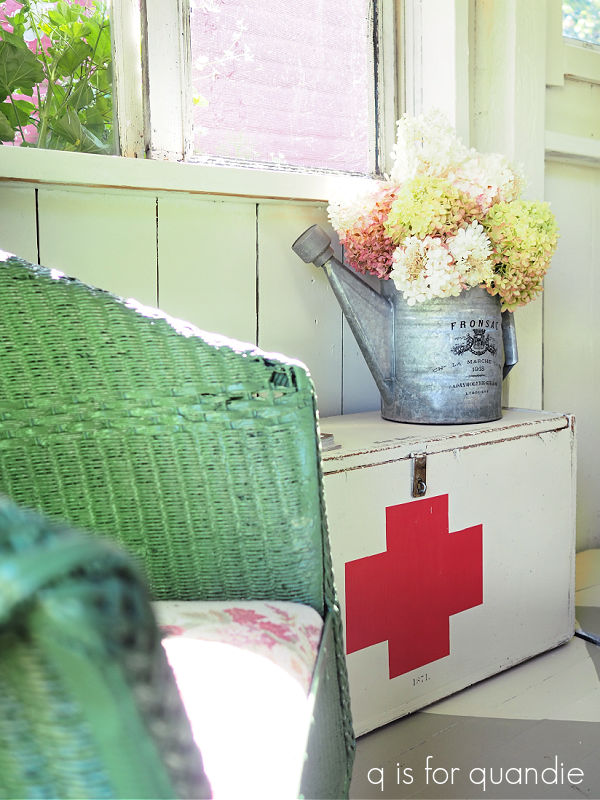
 I’d also changed out the washstand at this point. It’s not a very obvious change, but if you look at the drawer pulls above you’ll notice that this is different one than the one that was in this space in 2011. I’ve also swapped out the piece in between the chairs for a chippy old trunk, and recovered the chaise lounge cushion in something more neutral.