I recently did some searching on Etsy for Christmas stockings made out of authentic grain sacks. There are some fabulous examples out there, that’s for sure. The authentic ones seem to range in price from $50 to $100 or more each. I don’t doubt that they are worth every penny.
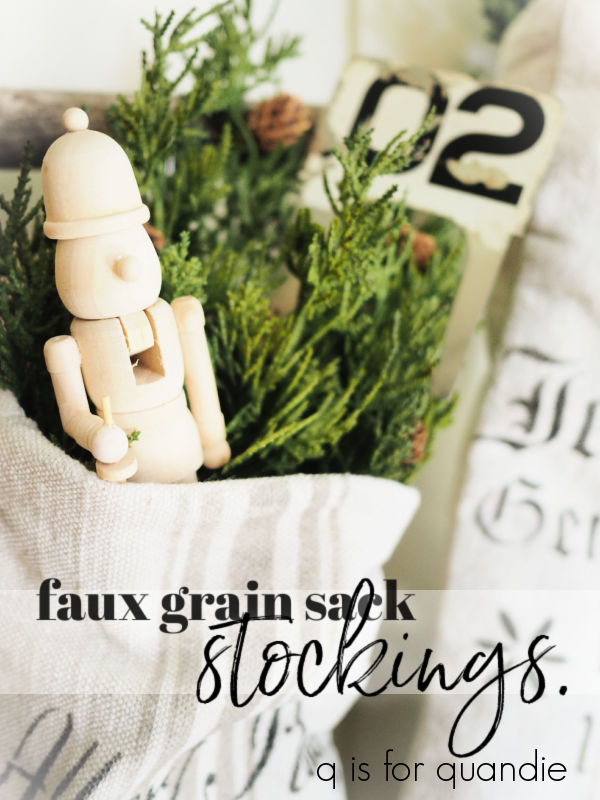
But if you want a similar look at a more affordable price point, I suggest making your own with drop cloth fabric and paint.
It helps if you can sew, or you have a friend who is willing to sew for you. By now you all know that I can’t sew. However, my friend/picker Sue was happy to sew up some stockings for me. I washed up the drop cloth first so it would be more pliable, and then she took it from there.

They are just basic stocking shapes, but Sue also lined them with some simple cotton fabric.
She made a prototype first out of a linen fabric she had on hand, and then went on to make four of the drop cloth versions.
I decided to use the prototype to help me decide what color of paint to use. I was thinking it might be more Christmas-y to have a red grain sack stripe, so I pulled out a grain sack stripe stencil and used some of Dixie Belle’s Honky Tonk Red to add it to the prototype.
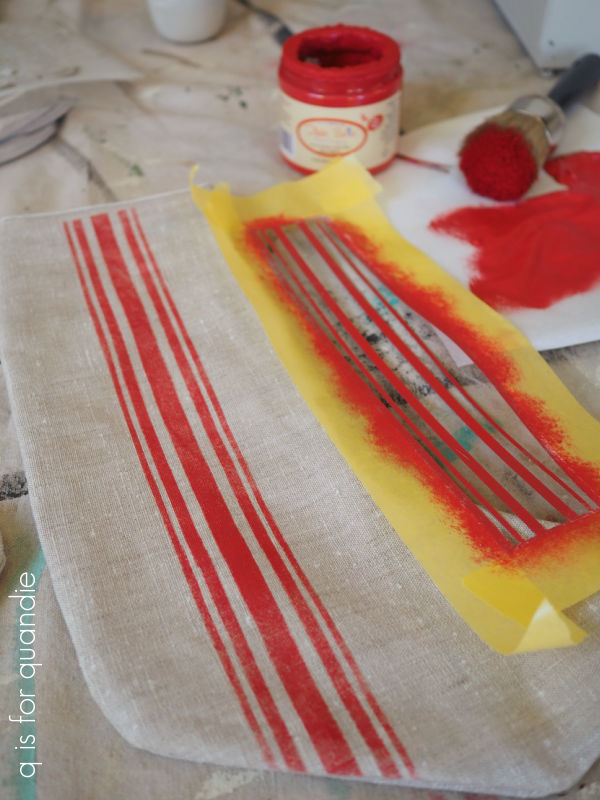
Here’s a quick bit of advice, if you think you’ll stencil lots of grain sack stripes in your lifetime then a stencil like this is totally worth the money. It’s so much faster than taping off all of those lines, and you don’t have to fill up the landfill with tape. Don’t worry if your stencil isn’t as long as your item, it’s easy to just line it up and continuing stenciling the length of your piece. I can’t remember where I got mine anymore, but you can find them out there. JRV Stencils has a nice set of three for $22.95.
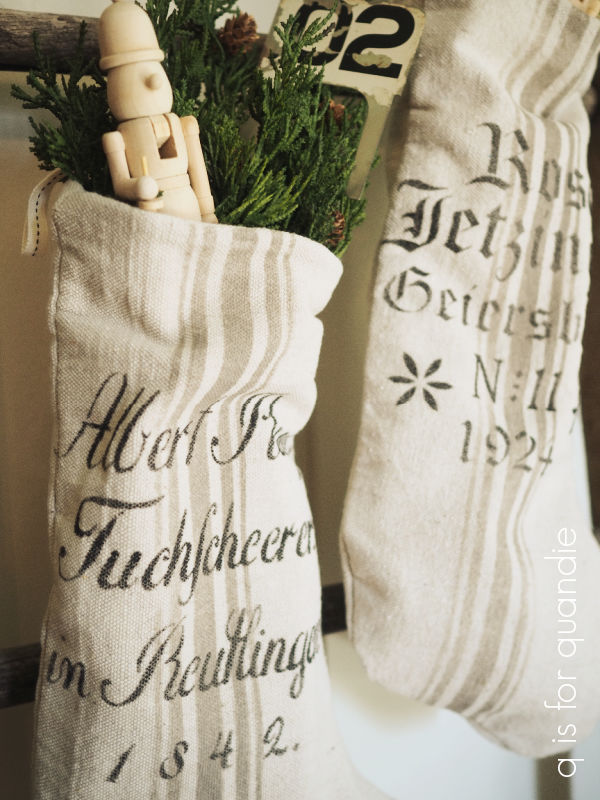
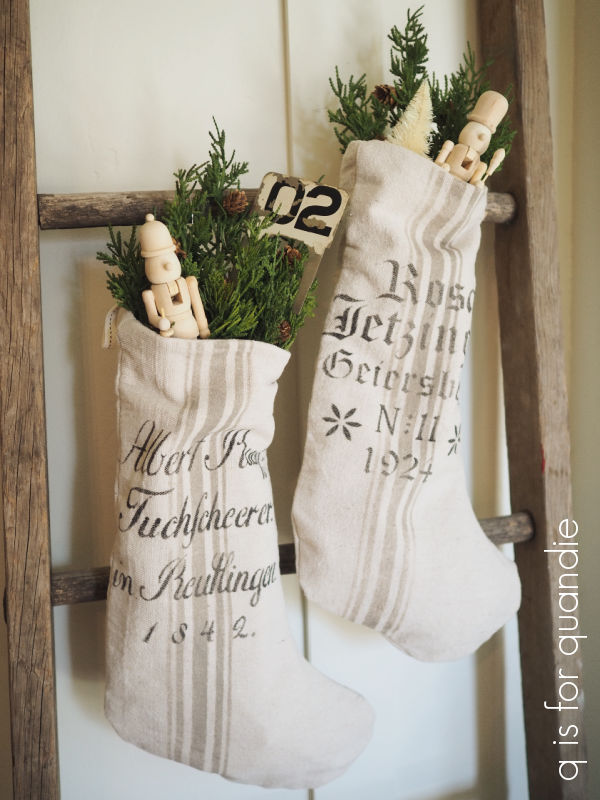
Next I pulled out my set of 4 German grain sack stencils from Ellen J Goods.
I chose one and added it over the red grain sack stripes using Dixie Belle’s Caviar.
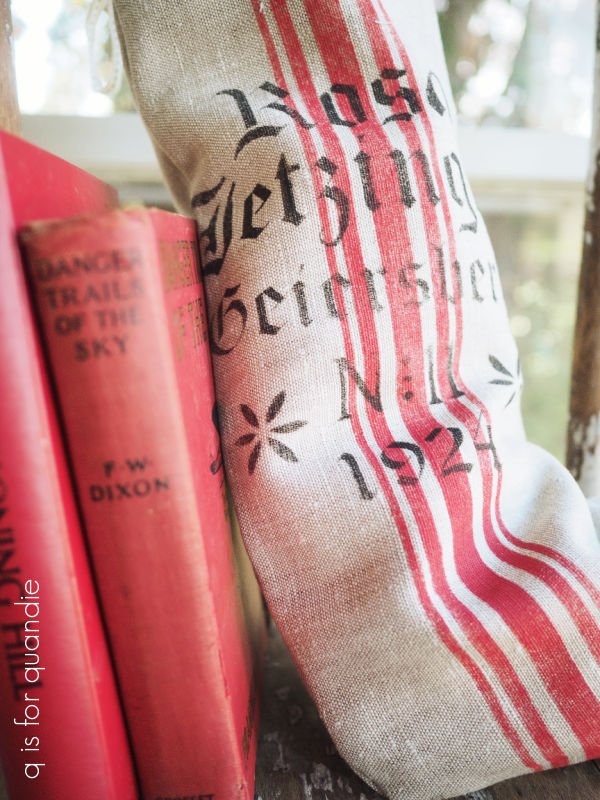
Then I hemmed and hawed and dithered and tried to make up my mind whether or not to use the red on the four drop cloth stockings.

I mean, I like it. It certainly adds a bit of traditional Christmas color. But when it came down to it, I just knew that I would prefer a more neutral look.
So instead of red grain sack stripes, I opted for Dixie Belle’s French Linen for the stripes which gave me a much more neutral look.

I used one of each of the four German grain sack stencils on each stocking.

Now I realize that I should have asked Sue to make a bunch more of these for me, so that I could sell some and also keep some for myself.
So I checked with her and she’s willing to make more for me, so I took this set of four into the shop to sell earlier this week. If any of you locals are interested, you can pop into Reclaiming Beautiful in Stillwater this weekend to see if they are still there. Or, leave a comment and let me know. I will be making more of them.
These stockings might not be made out of authentic antique grain sack, but I think they look pretty fabulous.
What do you think?
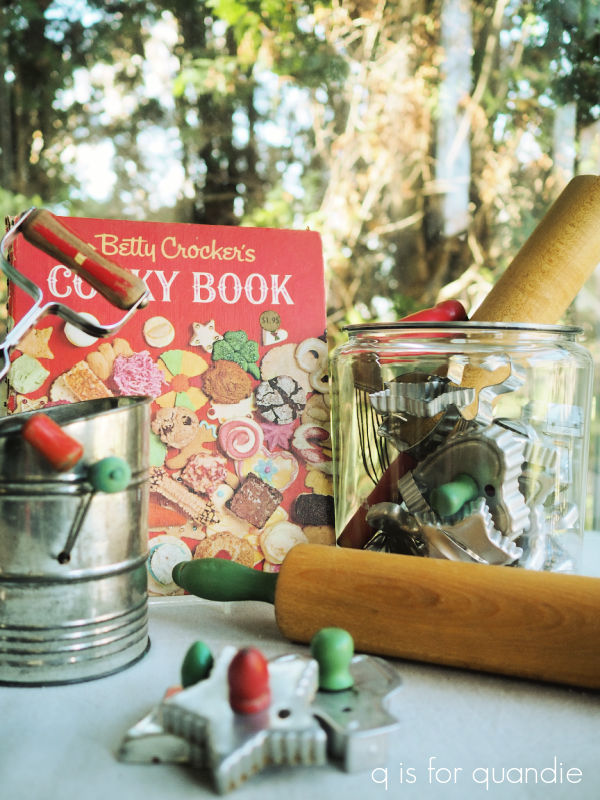
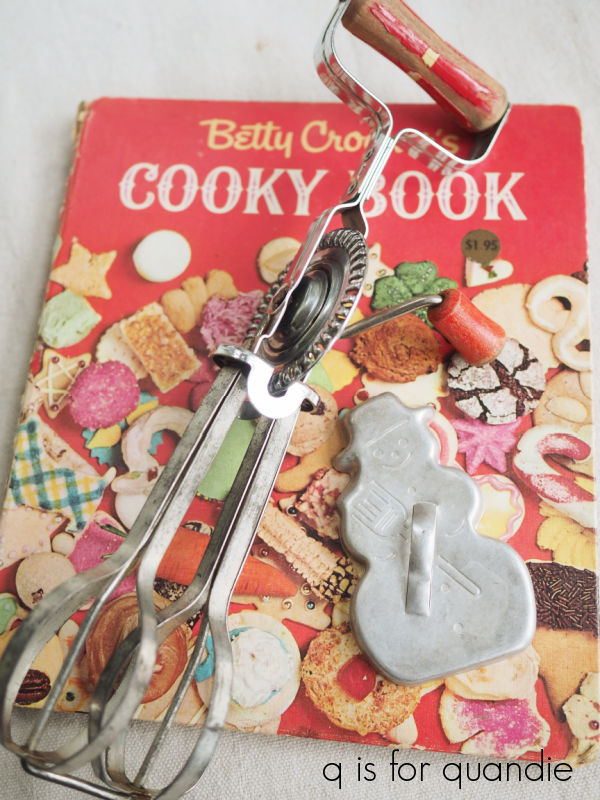
Before I let you go today, I just had to share this with you. Remember the vintage ‘Cooky Book’ that I shared along with the rest of the baking supplies on Monday?
Well, in another Baader-Meinhof moment while out shopping the next day I came across this in a local gift shop (Patina, if any of you locals want to go look for it).
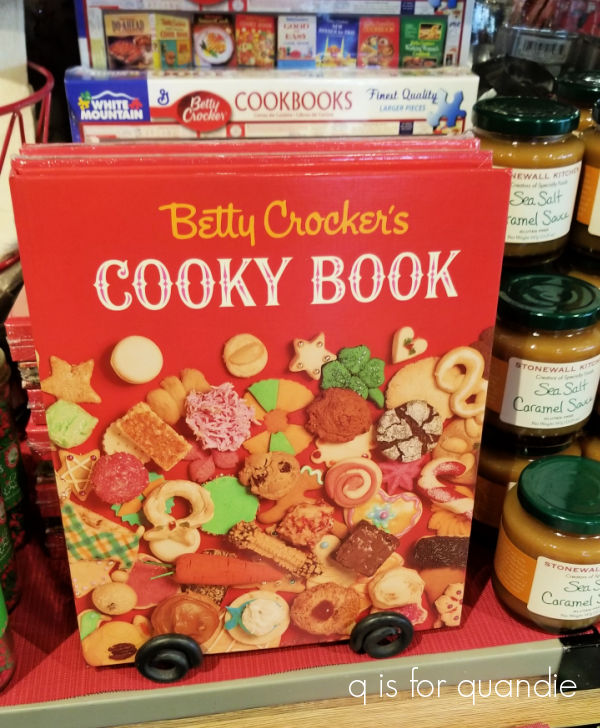
Apparently they re-issued it! There was a sticker on one of them that said “the original 1963 classic version”. I didn’t look at the price, but I’m betting it was not the $1.95 on the sticker on my book.
Thank you to Ellen J Goods for providing the German grain sack stencils and to Dixie Belle Paint Co for supplying the paint used on these stockings. And a huge thank you to Sue for sewing them up for me!