On Monday I shared a photo of the holiday stuff I was bringing to Reclaiming Beautiful …
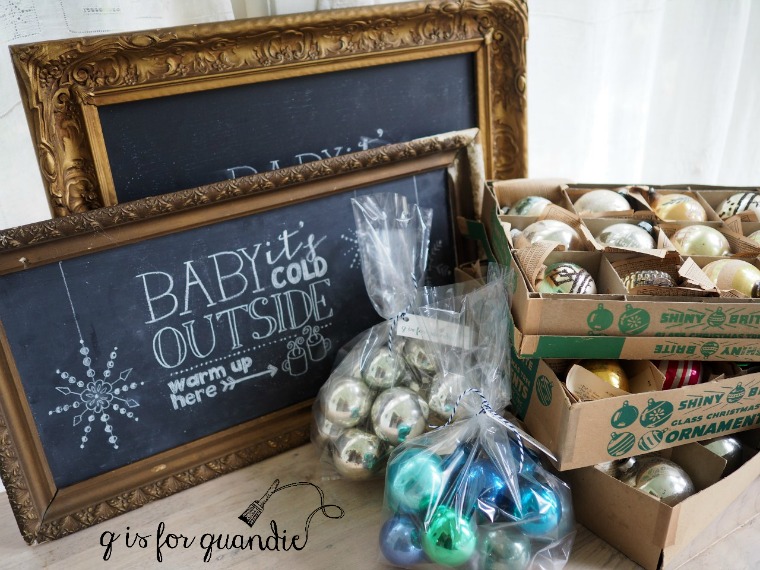
And Laura suggested I share a tutorial on how I lettered those chalkboards.
Great idea Laura!
Actually, I’m sure I’ve shared this method before, but I couldn’t find that post and if I can’t find it, it stands to reason that you guys probably can’t find it either. So that means it’s high time for another post about it, right?
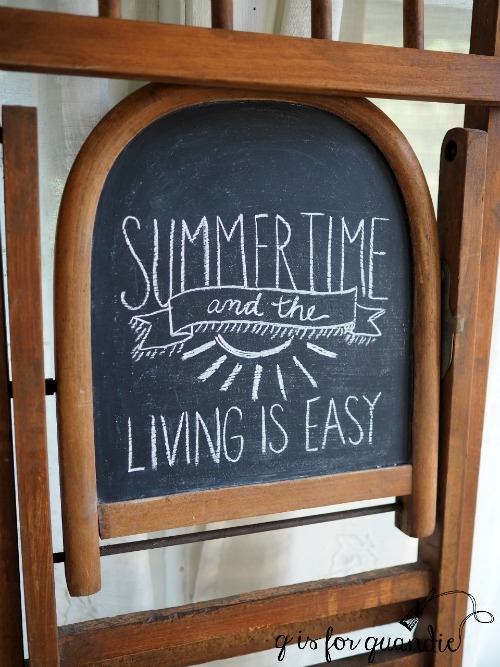
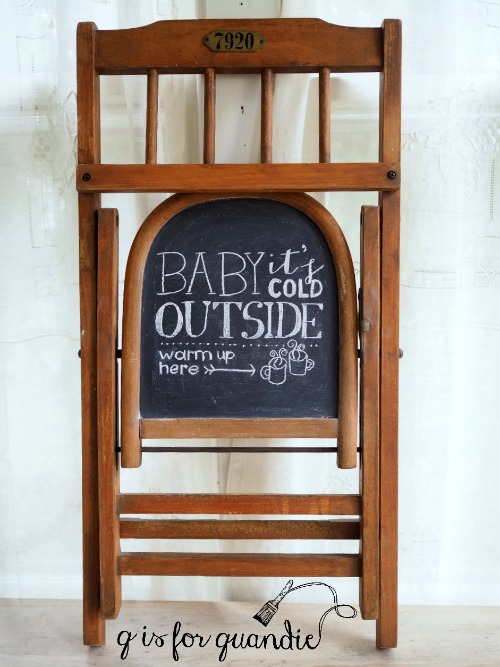
It was perfect timing anyway, because obviously I needed to freshen up the message on the chair chalkboard that hangs in my kitchen …
Hmmmm.
Time flies doesn’t it? It feels like I was just changing this up for summer, and here we are looking winter square in the eye.
So let’s get started.
The previous design on my chalkboard chair was drawn with regular chalk, so I just used a damp rag to wipe it clean again.
Sometimes I use a chalk pencil or even a chalk pen on my chalkboards, both of which can be harder to remove. A Mr. Clean Magic Eraser (or generic equivalent) will work well to remove those. But in this case the damp rag was all I needed.
Once the board was dry, I re-seasoned it. To ‘season’ a chalkboard you simple rub chalk all over it …

And then wipe it off again with a dry cloth.
Next I print my design on paper. I often find chalkboard designs on pinterest, but the design I’m using today was a free download from yellowblissroad.com. Don’t confuse this with printing a design for a transfer, you do not want a mirror image for this method.

Next rub chalk all over the back of the piece of paper that has your design on it.

Place your paper design side up, chalk side down, over your chalkboard. You can tape it down if you are worried about it shifting while you work. Now just trace the design with a pencil, pressing down with a little firmness (not so much that you tear through your paper though).
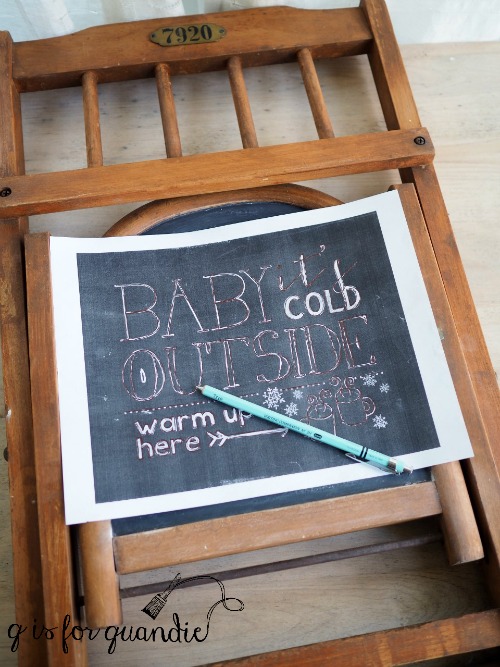
When you lift the paper back off your chalkboard, you’ll see a faint outline of your design.
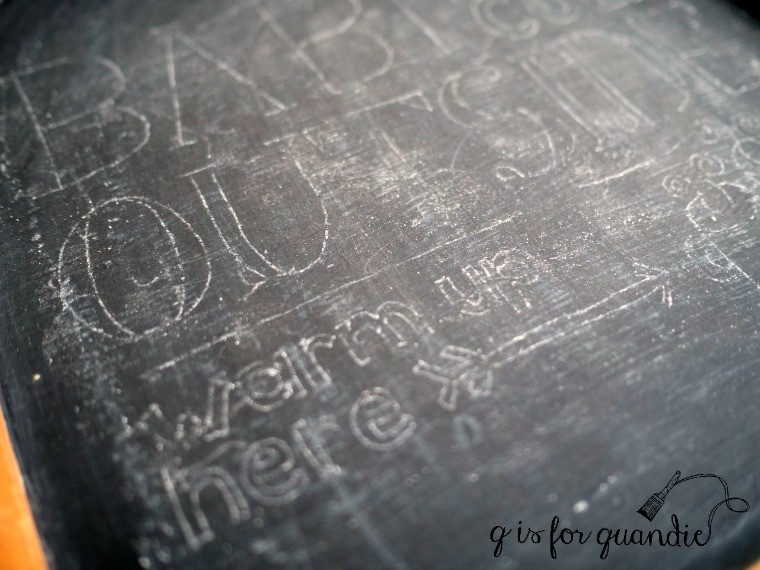
This is your guideline for going back in and filling in the design with chalk.
This will be easier if you sharpen your chalk. An old lip pencil sharpener will work well to sharpen regular sized chalk.

I use a piece of notebook paper to rest my hand on while I’m filling in the design. It serves two purposes, first to keep me from leaving hand prints on my seasoned chalk board and second to keep my hand from smearing that faint outline of my design.

 Today’s q-tip: use a q-tip to clean up any messy areas or touch up mistakes (sorry, I couldn’t resist)!

I wasn’t too happy with that last ‘e’ in ‘here’ so I erased it with the q-tip and tried again.
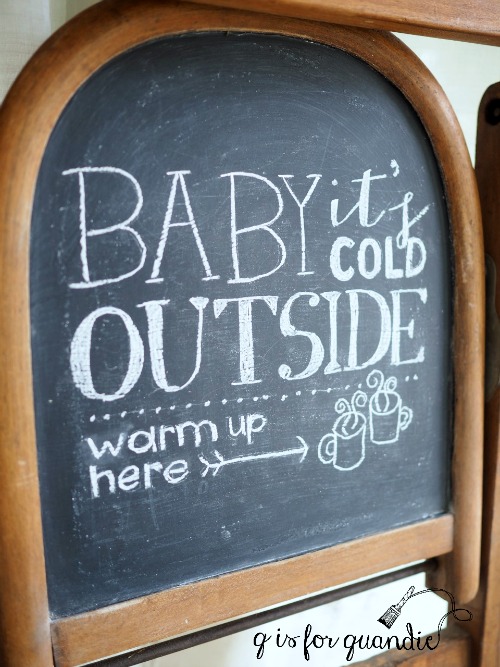
And now my chalkboard chair is all set for winter.
This really is my favorite method for a chalkboard. I’ve tried teaching myself to do free-hand designs, but in the end I’m never really happy with how they turn out. I sometimes use stencils to create an outline for a chalkboard, but then you are limited by whatever stencils you happen to own. I once tried the Martha Stewart Erasable Liquid Chalk with a stencil and that was a total fail. So ultimately this seems to be the method that I fall back on the most.
I think it works pretty well, and if you are like me and you just aren’t satisfied with the results you get trying to draw free-hand, give this method a try on your next chalkboard!