miss mustard seed workshop.

I know that many of you guys also follow Marian Parsons, or Miss Mustard Seed.

If so, you know that she moved to Minnesota a couple of months ago.

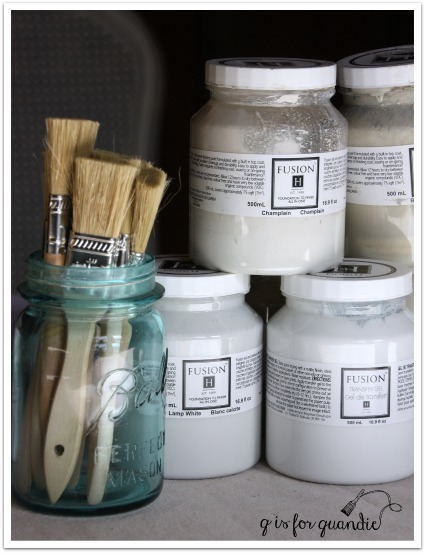
I swear I’m not like a creepy stalker or anything, but I am a huge admirer.  I really love pretty much anything she does.  My own style is very much influenced by her work.  And I’m sure it goes without saying that I love her milk paint.  I’ve used it on so many of my own pieces, like my Belgian bench which is painted in Farmhouse White.

Or my fabulous Specimens cabinet, painted in Linen.

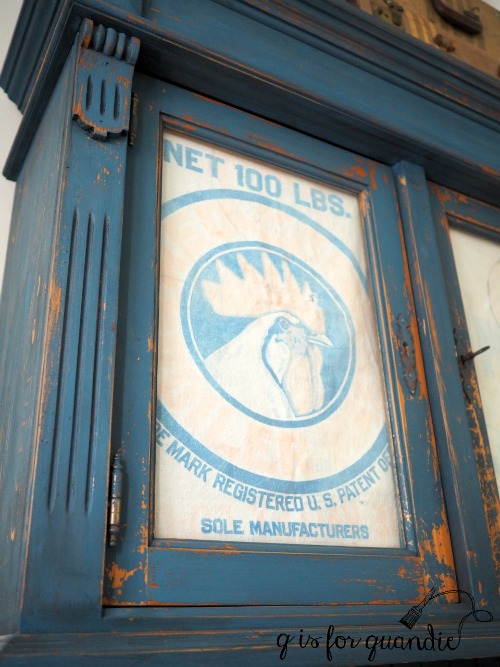
How about my Rooster cupboard, painted in Flow Blue.

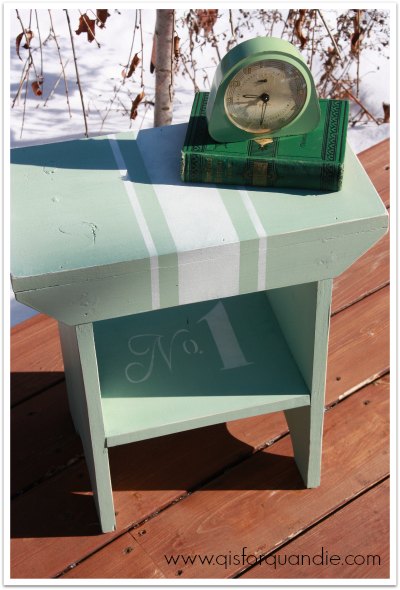
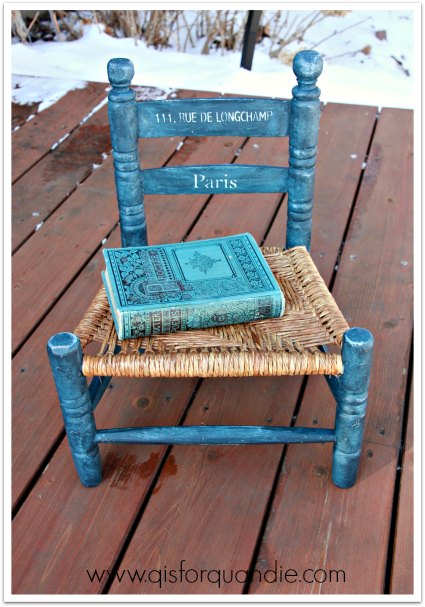
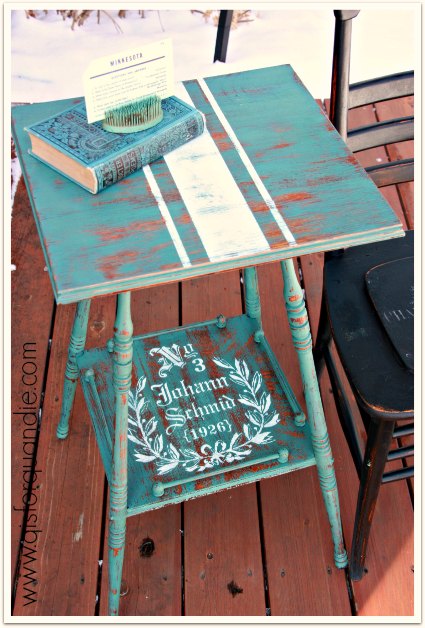
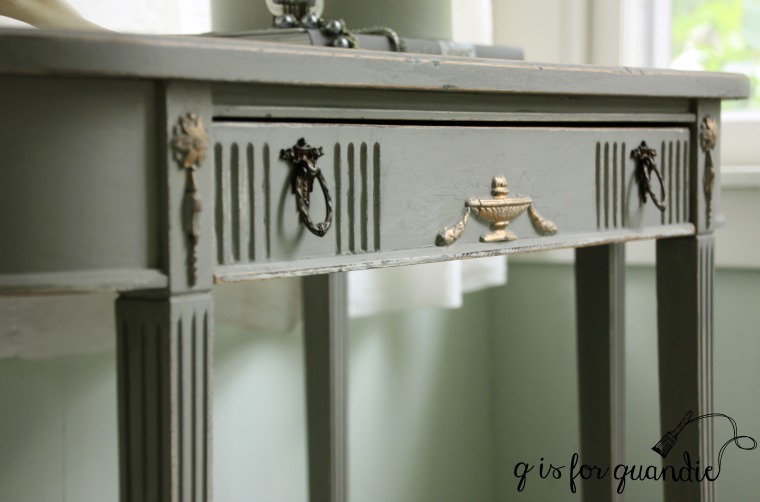
Not to mention countless pieces that I have sold over the years, like this pretty french desk painted in a mix of Schloss and Trophy.

When I heard that Miss Mustard Seed was moving from Pennsylvania to Minnesota I have to admit I might have done a little happy dance in the privacy of my own home.

I was mainly thinking two things.  First, that I would now have the opportunity to buy a piece from her.  For the last several years I’ve drooled over her posts with all of the amazing things she was bringing to Luckett’s, or even just selling out of her studio, and wished I lived close enough to buy one.  Like that amazing sofa she did …

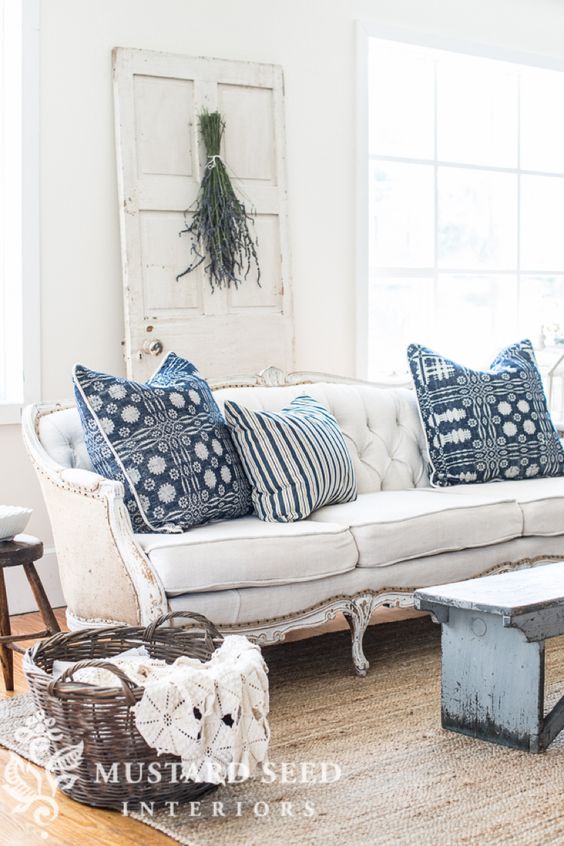
I would have snatched that up in a heartbeat.  And those fantastic landscape dressers, part furniture, part art …

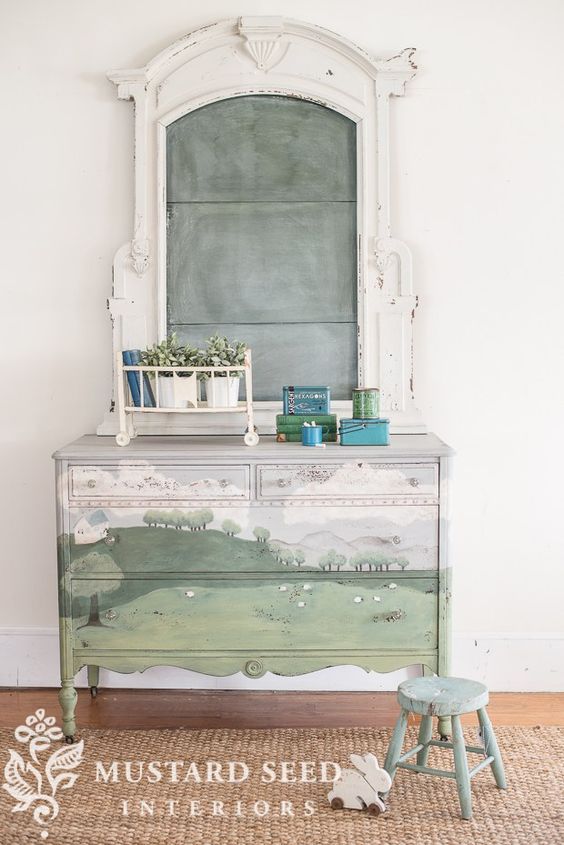
And now buying one is entirely within the realm of possibility!

Second, I also thought that perhaps I’d get an opportunity to take a workshop from her.  Who wouldn’t love the opportunity to learn from the master?

Just to be neighborly I sent an email to Marian to welcome her to Minnesota shortly after she moved.  If she lived closer to me I would have brought her a hot dish, probably a tater tot hot dish (it’s a Minnesota classic).  But she’s still a little over an hour away, so that wasn’t really practical.  And it would seem kind of stalker-ish to drive that far with a tater tot hot dish.  Plus, who am I kidding, I don’t know how to make a tater tot hot dish.  So I went with an email instead.

Marian was kind enough to get back to me and to invite me to her upcoming workshop with Carver Junk Co!

It takes place on October 21 and there is a morning session and an afternoon session.

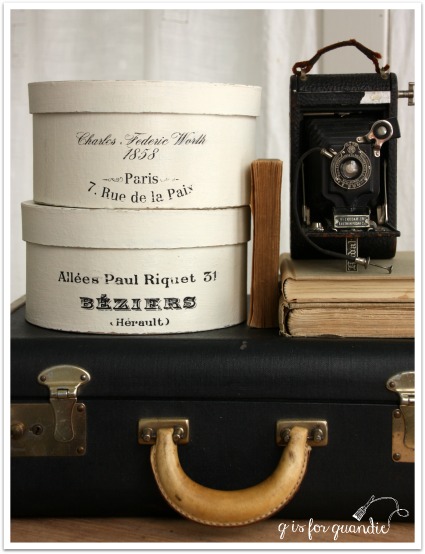
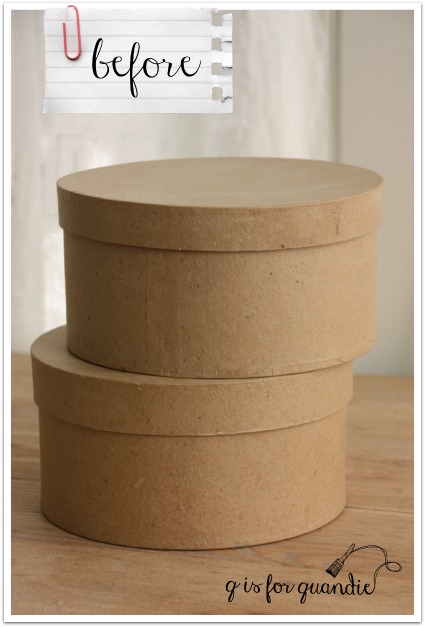
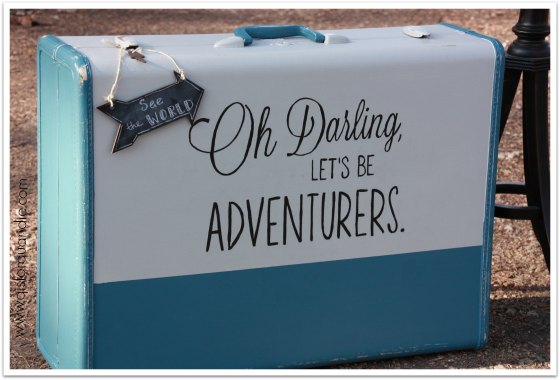
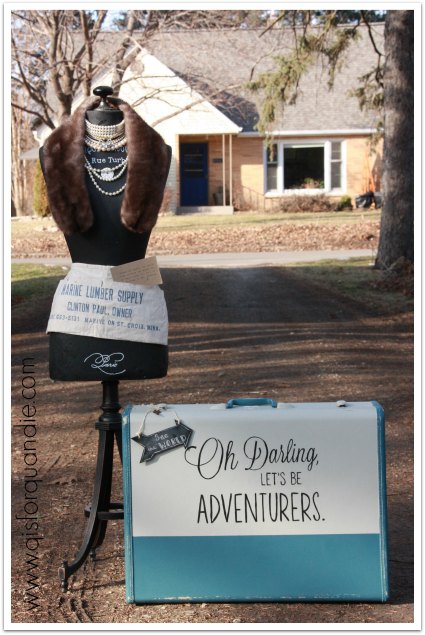
You will go home with an adorable shiplap-style sign.

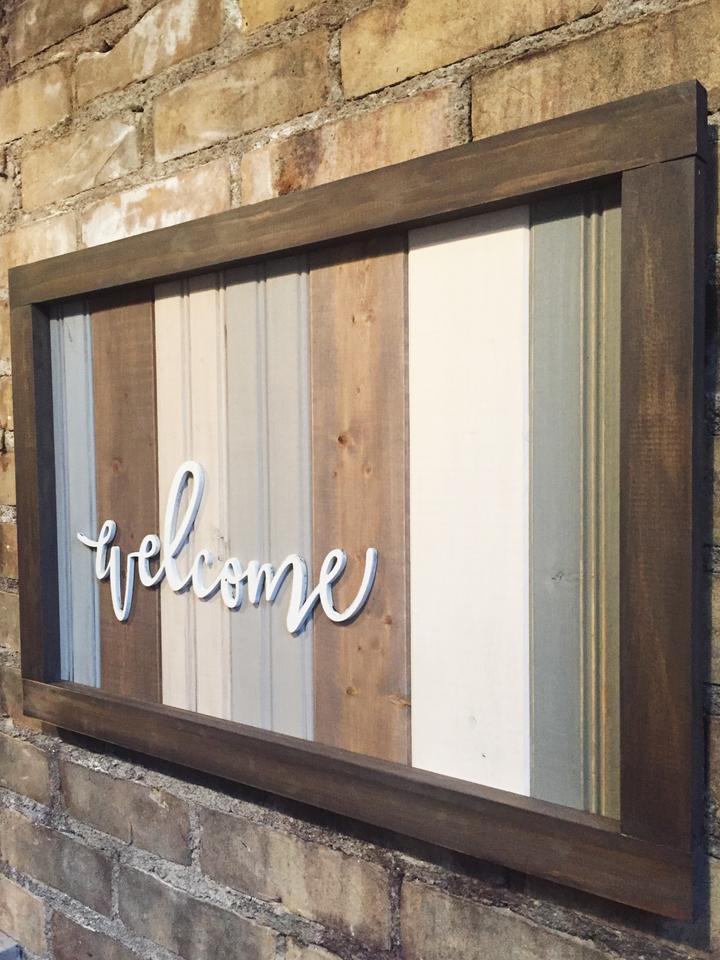
And check out this little detail …

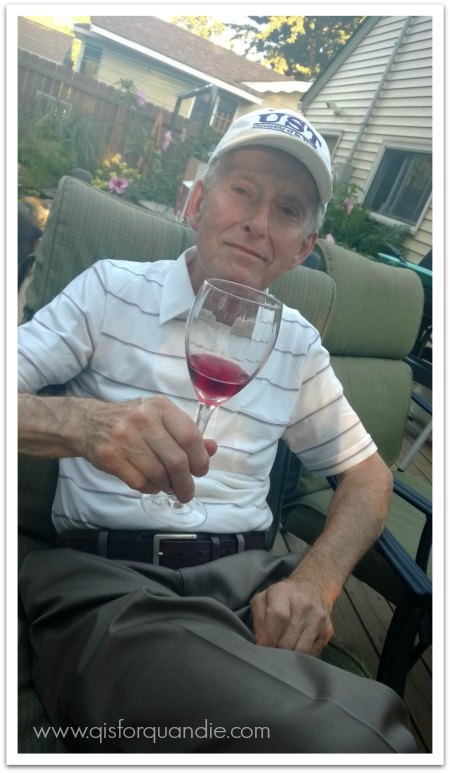
Drinks (mimosas, bloody marys, wine & beer), breakfast or lunch (depending on which class you take), instruction and all supplies are included!

Hmmmm …. mimosa’s in the morning or wine in the afternoon?  How do I choose?

As it turns out, I don’t have to choose because I offered to stay all day and lend a hand, and they took me up on it!

So for those of you who are local or even just semi-local, here’s your chance to learn from the master as well.  {Here’s} the link to the Carver Junk Co website where you can sign up.  And if you do, please be sure to seek me out at the workshop and say hello.  I’d love to see you there.

bright and sunny.

Last Saturday dawned bright and sunny here in the Twin Cities.

bright and sunny

Kind of crazy for us to have sunshine and highs of 60 in February!  But not to worry, we returned to snow, clouds and highs in the 30’s on Sunday.  It seems that the beautiful spring-like day was special ordered just for my hat box party.  Sunlight was streaming in through the windows, we even had them open to add a breath of fresh air.

I had everything all set up and ready to go for my guests.  Everyone received printed instructions and a tiny hatbox that was ready to have the paper removed from the transfers.

hat box directions

hat box supplies

Quarters were a little tight unfortunately.  I wish I had a ton of space for stuff like this, but I just don’t.  I had made the decision to include all 9 of the ladies who wanted to attend rather than limit the numbers.  We squeezed in and made do.

hatbox class

hatbox party 2

Everyone started out by painting their hatboxes with Fusion paint.  I had a few options for colors including Bedford, Linen, Champlain, Lamp White, Limestone, and even Laurentien.

hat box party 1

(thanks for the photos Kim!)

Once the paint was dry we used Fusion’s Transfer Gel to apply the transfers.  From that point, the gel has to dry for six to 12 hours, so I pulled out a hatbox I had prepped the night before and gave a demo on how to remove the paper.

hat box transfer demo

Just look at the rapt attention on their faces!  They were all very diligent students!

Once I demonstrated how to remove the paper, everyone got the chance to remove the paper from their tiny hatbox samples.  These turned out so cute!

tiny hatboxes

In addition to playing around with hatboxes, I also had a bunch of tester pots of Fusion paint colors available.

fusion paints

I wanted to give people the opportunity to play around with some color mixing and maybe create their own custom color for Fusion’s contest.

custom color contest

Unfortunately, I kind of missed the fine print on the contest not realizing that it ended on Monday.

Update:  due to some confusion over the deadline for submitting your custom color, the contest has been extended.  You now have until March 31, 2016 to submit the recipe for your color, the name of your color and a photo of something painted in it.  Submit your entries on Fusion’s facebook page here.

Fusion paints 2

Woops!  Oh well, my sister came up with some nice blues anyway …

debbies colors

I think the highlight of the class was that everyone got to meet my favorite handyman Ken!

Ken

I happened to have a dresser on hand that he had recently fixed for me (come back on Friday to see it finished), and as I was talking about the amazing work he does a couple of ladies said they’d love to meet him.  So I phoned him and ask him to pop over.  I think he was torn between mortification at being the center of attention, and being a little bit tickled about all the attention!  I told him that he now officially has a fan club!

I think that everyone had a great time.  Most of the attendees have reported back that their hatboxes turned out great once the paper was removed the next day.  A huge thank you goes out to Fusion for providing the paint and transfer gel that we used, plus some extras for door prizes.  And a big thank you to all of the ladies who attended, it was a really fun afternoon!

an invitation.

Who would like to make their own faux french hatboxes?

repeats 2

A couple of my friends have mentioned that they’d be interested.  So I’ve decided to host a hatbox painting party!

class title

And since I have three extra spots at the table, I thought I’d open the invitation up to my local readers.

Here’s how it will work.  I will provide everything except the hatbox, including paint, transfer gel, transfer images (unless you want to bring your own, remember it must be a mirror image), snacks and lots of laughs.

You just need to bring a hatbox (or two if you like).

repeats before

You can find these at Hobby Lobby, Michaels and JoAnn Etc. in various shapes and sizes.

The party will be held at my house on Saturday, February 27 at 2 pm.

This is a party, not a paid-for class.  There is no charge.

Why?  Since the Fusion people have incredibly generous with some transfer gel and paint samples, I am paying it forward.

transfer gel

Even though I’m not calling it a ‘class’, you will learn how to layer paint colors and how to use the transfer gel.  Keep in mind that the gel takes 6 – 12 hours to set, so you won’t be going home with a fully completed project.  You’ll finish your hatbox up to applying the transfer.  I’ll have some samples ready that are already set so that we can get some hands on experience removing the paper after your transfer has set.  So you’ll get a feel for the process, but you’ll have to remove the paper on your own hatbox at home the next day.

I wish I had room for more people, but sadly I don’t.  So if there are more than 3 people who want to join, I will have to draw names.

Finally, since I don’t want those of you who aren’t local to feel left out, I’m also going to draw names and give away two ‘faux hatbox kits’.  The kits will include the hatbox, as well as transfer graphics and enough paint and transfer gel samples (compliments of Fusion) to finish your hatbox.

And before I let you go, I just wanted to give you all a heads up on Fusion’s custom color contest!

custom color contest

Fusion is having a contest, where you, yes YOU, can combine existing Fusion paint colors to create your own custom color. To enter, simply head over to their Facebook page and comment there with a picture of your custom color on a piece of furniture, its name and recipe.

They will choose 8 favorites entered in the months of February and March and then the fans will vote on the final 8 colors to ultimately decide on the winning color recipe! The winner will receive a custom Fusion giftpack valued at $350.  Nice!  So get creative and have fun inventing your own color.

And for those attending the hatbox party, rather than watch paint dry on our hatboxes, we can play around with my Fusion paint and make up some fun colors of our own in between steps on our hatboxes.

So, who wants to make a hatbox while simultaneously inventing a new paint color?

Here’s what I need you to do; leave me a comment.  If you want your name in the running for the party, make sure to mention that you are available to attend (I am located in a suburb of St. Paul, MN in case you didn’t already know that).  If you can’t attend the party, just any old comment will do.  The winners of the hatbox kits will be chosen at random from all comments excluding those selected to actually attend the party.  Please have your comments in by Sunday, February 14 at midnight to be eligible for the drawings.  Best of luck to you!

repeats 1

oh darling, let’s be adventurers.

A while back Denise from Denise … on a whim left a comment for me, so I wandered off to check out her blog and came across this …

adventurers suitcase

And I fell madly in love.  Isn’t it fab?

You know I love a good painted suitcase, and the message just spoke to me.

So I left a comment for Denise in return and long story short, she offered to send me the artwork for her design.  How absolutely generous and kind of her, right?

That meant I needed to paint up a suitcase so I could use it!  I knew this would be another great test for Fusion paint.  Plus, one of Fusion’s promo photos for the Fusion paint included a suitcase that I just loved and I knew I could re-create the look of it myself with their paint.  I decided to combine these two features; Denise’s design with Fusion’s color scheme.

fusion suitcase

By the way, before I continue about my project, when my sister was visiting I showed her this picture and she remembered that my parents had a suitcase just like this and I used it to store my Barbie doll paraphernalia.  As soon as she said it, I remembered it and realized that is probably why I find it so appealing.  All of those happy hours spent dressing my Barbie in fabulous clothes!

OK, back to my project.  I started out with one of the suitcases that my friend Meggan grabbed for me at Goodwill, one of the thrift store unicorns!

unicorn

First I painted the top ¾ of the case in Fusion’s Bedford.  I used two coats, but if I had painted more carefully I probably could have gotten away with just one.  I let that dry overnight and then taped off a straight line on both sides and painted the lower part of the case, as well as the sides and the handle, using Seaside (again, two coats).  When I pulled the tape off, the Bedford was still in pristine condition underneath.  I have had trouble using tape with both chalk and milk paint.  With milk paint you can pretty much count on a good deal of paint coming off with your tape.  It is less of a problem with chalk paint, but you do still get some paint coming off.  So if you are going to do a project that requires taping (a stripe for instance, or maybe a union jack design) Fusion is a great choice for you.

Honestly, the suitcase was completely darling already at this point.  I could have left it alone and been quite happy with it.  It was amazing how ‘genuine’ it looked.

But I really wanted to use Denise’s artwork.  I’m too cheap to pay to have a stencil cut, so I decided to try my old technique.  I printed the design on regular paper, then used tracing paper to trace it onto the suitcase.

oh darling tracing

Then I filled in the design with black acrylic craft paint using a small brush.  This method takes a bit longer than using a stencil, but I accomplished it in less time than one episode of Fixer Upper, which was playing in the background while I painted.

oh darling close up

So, what do you think?  Cute as pie?

oh darling angled

I added a chalkboard arrow tag and as you can see this suitcase still has its key.

oh darling arrow

Lula is dressed and ready to take off on an adventure.

oh darling with Lula

And tucked into her pocket …

oh darling quote

So how about it?  Are you the kind of adventurer who needs a painted suitcase of your own?   There are still spots available in my Painted Suitcase class at the end of the March (click here for details).  If you are interested, be sure to send me an email at oakdalecarriagehouse@gmail.com or just leave me a comment and I’ll get back to you.

painted suitcase class.

As promised, it’s time to plan a Painted Suitcase class!

painted suitcase class

I love a good painted suitcase and have done quite a few.  My all time favorite was my travel quote suitcase.

travel quote suitcase

That one was a little time consuming to do.  I printed the wording on paper, then used white transfer paper to trace the design onto the suitcase.  Then I painted in the lettering by hand.  It sounds tricky, but isn’t too bad if you have a steady hand and the right paintbrush.

But there are a lot of other options if you don’t trust your ability to pull that off.  This suitcase was painted black with MMS milk paint, and then I added the wording using a stencil.  Much quicker and nearly as fab.

painted suitcase 3

These next two suitcases were also painted using milk paint, and then stenciled.

painted suitcase 4

If you aren’t a fan of stencils or wording on your suitcase, you can always go old-school with a simple stripe.

carriage house dress form

Another fun option is to turn your suitcase into a chalkboard.  That way you can change up your message whenever you like.

painted suitcase 2

painted suitcases 1

All of these options and more are possible at my upcoming painted suitcase class!

To see more painted suitcase inspiration, check out my pinterest board.

Here are the details:

When:  Saturday, March 28 at 10 a.m. (class will last approx. 4 hours, but may go longer if we are waiting for pieces to dry)

Where:  Casa Q (that’s my house, which is in Oakdale near the intersection of hway 36 and 120)

What:  The goal of this class is to send you home with a fully finished painted vintage suitcase.  In the process, you will learn about both milk paint and chalk paint, plus the many different top coats that are available for them.  You’ll learn which pieces do well with milk paint, and which ones are better off with chalk paint, as well as how those products with react with different pre-existing finishes.  You’ll also learn some stenciling tips as well as some chalkboard tips.  Also, this just in, I have been provided with some samples of the new line of mineral paint from Homestead House (they make the Miss Mustard Seed milk paint) called Fusion.  I will be inviting you all to play around with this paint a little during class, and I’ll be sending each person home with a free sample size jar of the paint.

Included:  a vintage suitcase plus all supplies necessary to re-fab it, snacks and beverages.

Cost:  $115 per person

I only have suitcases for a maximum of 5 students, and I need a minimum of 3 to hold the class.

If you are interested, please send me an email at oakdalecarriagehouse@gmail.com to hold your spot!


painting 101.

I held my second pop up painting class last weekend, and it was a blast!  I had 4 students, and they all brought some really cool pieces of their own to work on.

painting 101

Patty brought a sweet little black chair.  She wanted to keep it black, but someone had stuck a bunch of masking tape all over the seat.  She removed that with some Goof Off, and then went over the whole chair with some MMS milk paint in Typewriter.  Then she added some stencils, distressed and waxed with the Cece Caldwell Aging Cream.

Here she is sanding away.

Patty sanding

And here is the finished product.

pattys chair

She’s going to use this chair in her bathroom, so she added a little tongue in cheek stencil to the back rest.

pattys chair detail

Ruth brought a cute little bench to paint.

class bench

She was the most experienced of my students, so she was comfortable with mixing up her own custom minty green milk paint using a combination of the MMS Eulalie’s Sky and Luckett’s Green.  Then she added a stenciled grain sack stripe to the top, and a no. 1 to the little shelf below.  She finished her piece with the MMS white wax.  She had always wanted to try the white wax, so this was a good opportunity for her to try it without having to purchase a whole can of it.

painted bench

Isn’t it sweet?

Jenny brought a little Mexican chair with a rush seat to paint.  She said she’s had it since she was a young girl, but the original yellow and red paint job just wasn’t cutting it for her.  Since she didn’t want to see any sign of that original color, she painted a base coat of Annie Sloan chalk paint in Louis Blue on her chair first.

jennys chair before

Then she added a coat of MMS milk paint in Artissimo.  When it came time to distress her piece, I showed her the technique of using a wet paper towel to very gently distress just down to the chalk paint layer.  This worked beautifully for her.

Jenny with her chair

Jennys chair close up

She opted to not paint the seat, but instead just refreshed it with some MMS hemp oil, which I think was a great choice for this little chair.

jennys chair after

Finally we have Kim’s fabulous table.  First I have to tell you that she brought 3 potential pieces along with her because she just couldn’t decide which one to paint.  So we all weighed in.  I wish I had taken pics of all three of her pieces to share, but I didn’t think of it.  Drat.  The first was a little wooden child sized chair that belonged to her grandfather.  I think we were all in agreement that she shouldn’t paint it.  Now you all know me, I will paint most anything.  But this chair had the most beautiful patina and was absolutely lovely as is.  Her next option was an old short step ladder.  Had she just brought that, it would have been a great piece to work on, and I know she would have enjoyed transforming it.  But she also brought a fab small antique side table.  It had been poorly refinished at some point in its life with a not so great shade of stain.  We all agreed that this should be her piece for the class.

She wanted to really go for it, so she chose one of my favorite colors for her table, the MMS Kitchen Scale.

Here is the table before a top coat has been applied.  You can also see the first coat of the Louis Blue on Jenny’s chair in the background.

Kim's table

You can see how much the top coat changes the look of the color in this next picture.

class table closeup

She added more distressing to her piece than the others, and I love the results.

class table

So four great painted pieces went home with four great students!  Plus I think everyone learned a lot about many of the numerous products that are available out there.  And we all had a great time.

Kim sent the nicest email afterwards saying:

“Thank you so much for opening your home, sharing your expertise with us, and allowing us to make a colossal mess in your dining room on Saturday.  My daughter and I are now eagerly planning our first projects.  Since Saturday I have realized the true value of attending a workshop, at least for me: I had to learn a new skill AND complete a project within set time constraints. Left to my own devices, that little table would have taken me three days to complete as I would have dithered over every step, overthinking, rereading directions and trying to anticipate the outcome before acting.  The truth for me is that the most pleasing artistic results seem to come from spontaneity, NOT overthinking.”

And she is so right!

I’m planning to offer a painted suitcase class next.  I’ll be posting more on that next week, so stay tuned!

pop up painting class.

I’m hosting another BYOP (bring your own piece) pop up painting class!

class title

Here are the details:

When:  Saturday, February 21 at 10 a.m. (class will last approx. 4 hours, but may go longer if we are waiting for pieces to dry)

Where:  Casa Q (that’s my house, which is in Oakdale near the intersection of hway 36 and 120)

What:  The goal of this class is to send you home with a fully finished painted piece (that you brought with you) of some kind.  Your piece needs to be small enough to fit on top of a table.  For example, a stool, a small chair, a mirror frame, a small side table, a plant stand, a magazine rack, a doll sized dresser, a metal tool box, a vintage suitcase …

painting class collage 1

painting class collage 2

you get the idea.

You will learn about both milk paint and chalk paint, plus the many different top coats that are available for them.  You’ll learn which pieces do well with milk paint, and which ones are better off with chalk paint. as well as how those products with react with different pre-existing finishes.  If someone wants to stencil her piece, I have a multitude of stencils available for your use.

Included:  all supplies necessary to finish your piece, snacks and beverages.

Cost:  $95 per person

I only have room for a maximum of 4 students, and I need a minimum of 3 to hold the class.

If you are interested, please send me an email at oakdalecarriagehouse@gmail.com to hold your spot!

Update:  I have 3 signed up, only one spot remains!  Let me know if you want it.