Many moons ago I took you all on a tour of my friend Meggan’s house. I once said that I consider Meggan to be a master thrifter. Now that I know her a bit better, I think it would be more accurate to say she has her doctorate in thrifting. I’m not sure what her doctoral thesis was, possibly the guest post she wrote for us last year about packaging Christmas gifts in vintage suitcases.

I’m sure she could quite easily defend that thesis before a panel of thrifting experts!
Time flies, and we both have busy lives, but Meggan and I try to get together every now and then for a thrifty Thursday. Meggan’s favorite thrift shop is just down the street from me, so she swings by to pick me up and we spend the evening thrifting.
Historically our thrifty Thursdays have always fallen on bitterly cold winter days. As in below-zero sorts of days. But we got lucky this time and last Thursday was a balmy 40+.
Not only did we get lucky with the weather, but we also got lucky with some great finds.
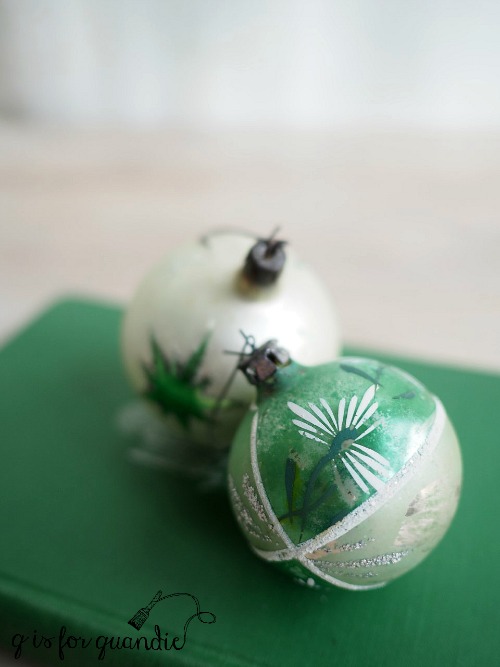
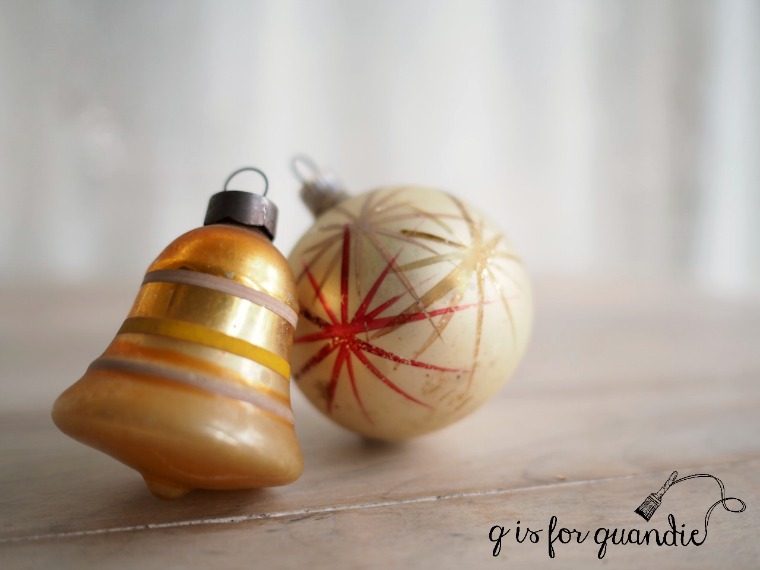
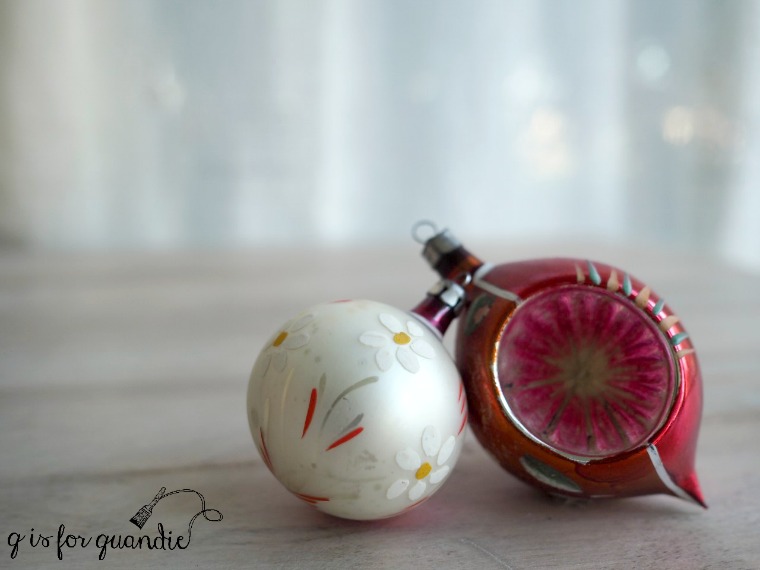
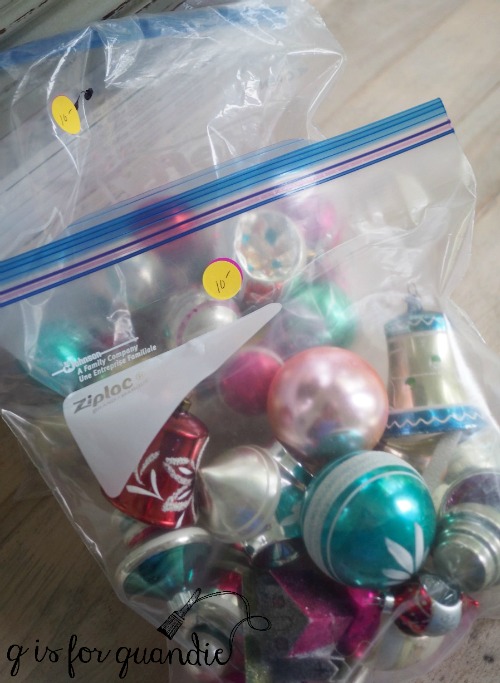
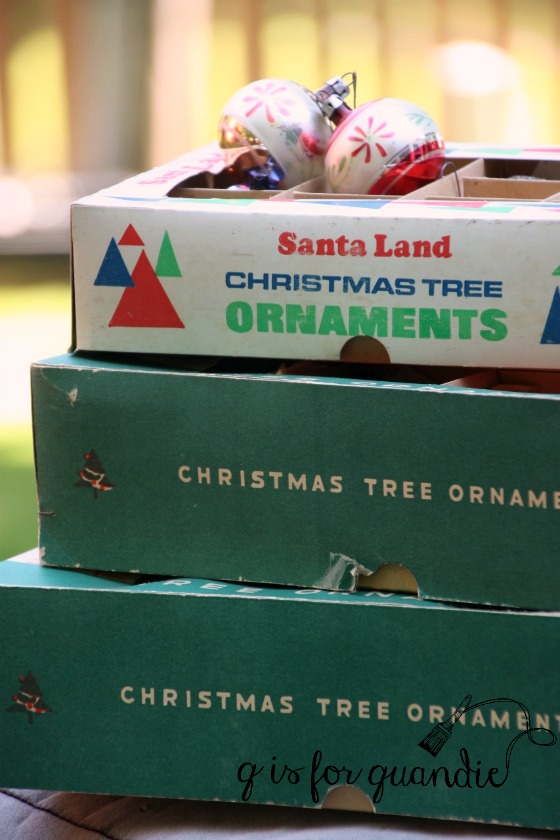
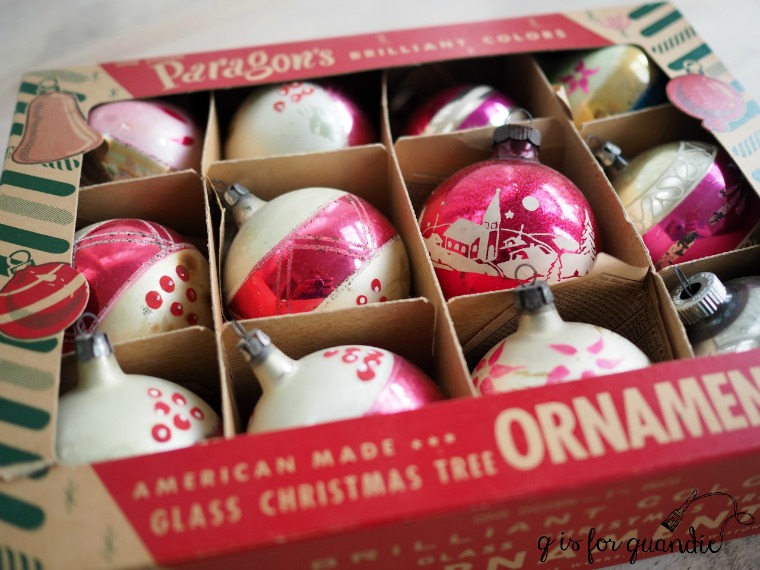
Ironically, I didn’t buy a single Christmas item. Which isn’t to say they didn’t have plenty to choose from. We did get a laugh or two out of making fun of some of the tackier items. And I have to say, if you collect a Christmas village you should be heading to your local thrift store. There were lots of village pieces including several pieces from the various Dept 56 villages.
I keep eyeing up those little houses because I absolutely loved the way Amy displayed some in her house last year on a pile of giant books.

Looking at that photo makes me think I should head back to the thrift store and buy Ebenezer Scrooge’s house after all! Amy’s display proves that you don’t need an entire village, just a few choice pieces can create an adorable vignette.
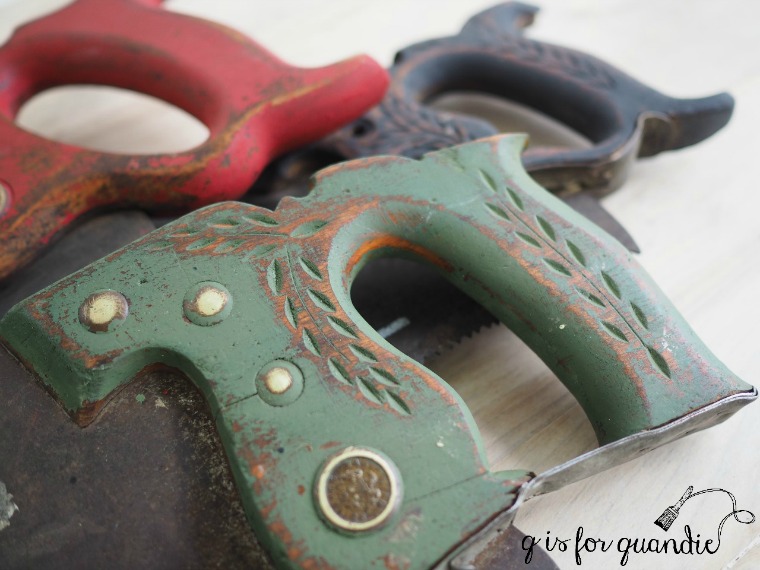
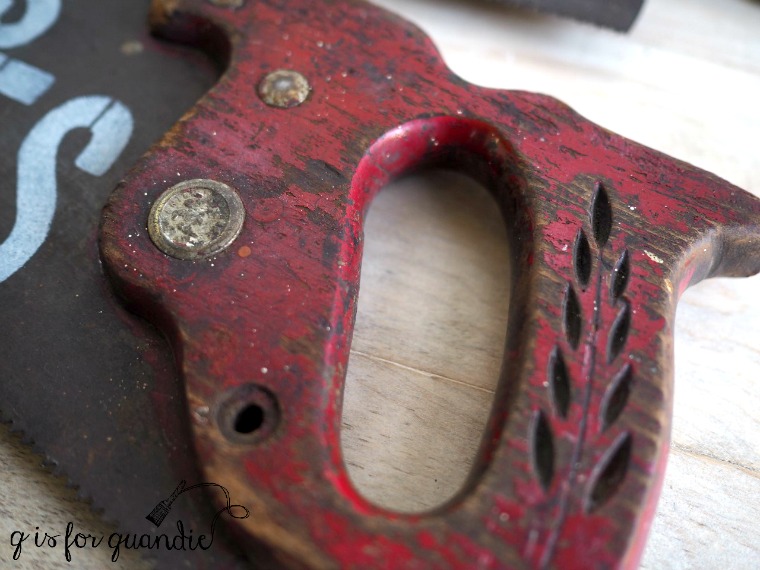
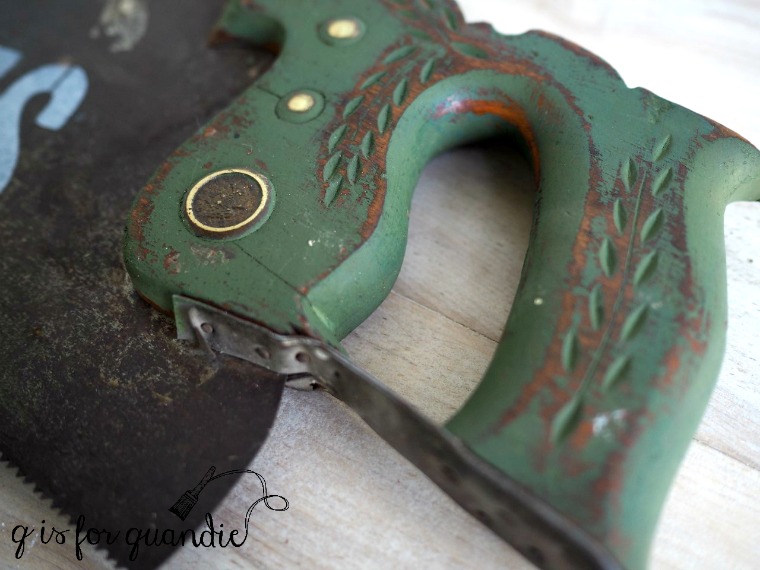
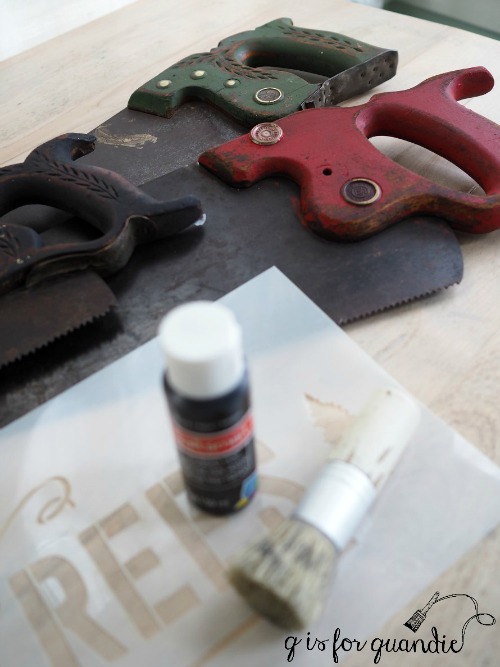
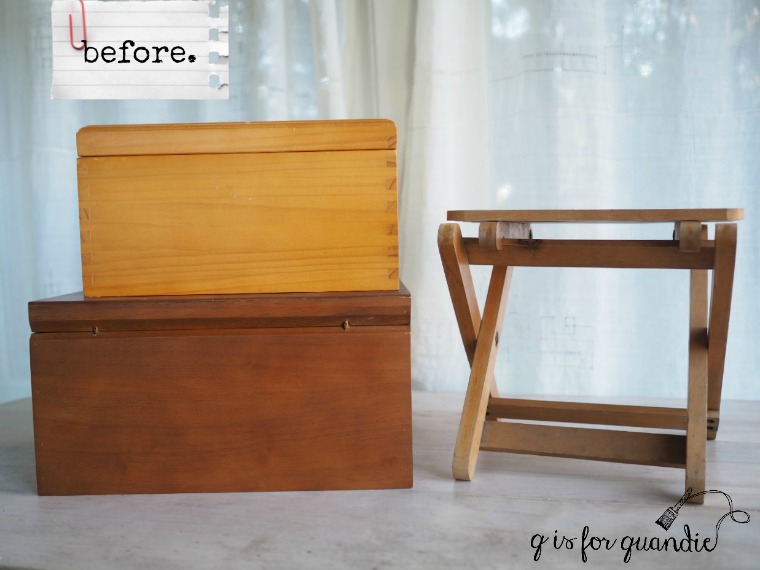
Although I didn’t find any fabulous Christmas items to purchase, I did find a couple of vintage wooden advertising hangers.
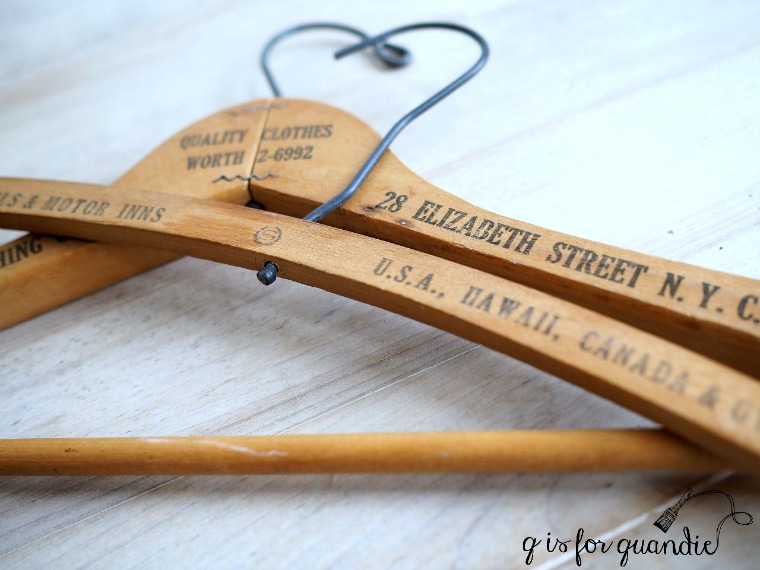
It pays to dig through the rack of plastic and wooden hangers to look for a couple of gems like these. I was pretty excited to score not just one, but two! Looking at the one that says “U.S.A., Hawaii, Canada & …” makes me wonder if it pre-dates 1959 when Hawaii officially became our 50th state. What do you think?
I also found a thrift store unicorn.
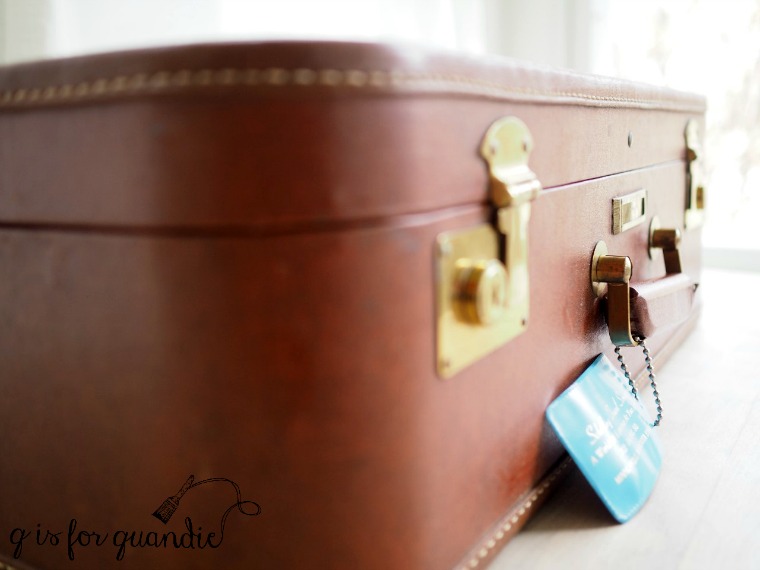
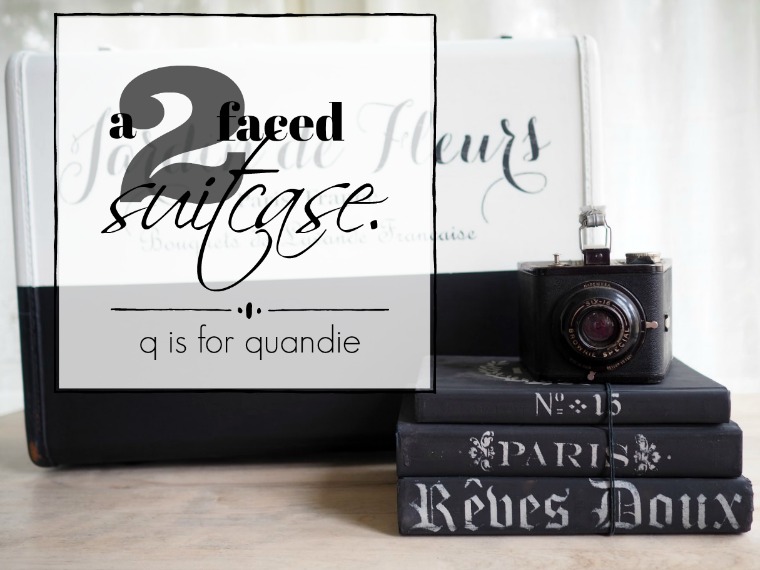
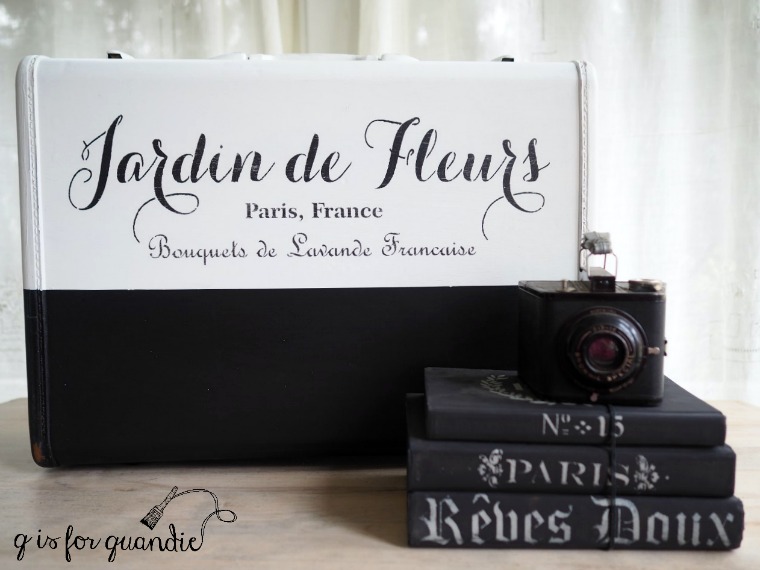
Usually the luggage aisle at the thrift store is pretty dismal, but every once in a while, in a cloud of magical pixie dust, I find a nice vintage suitcase.
Meggan talked me into this little rocking chair.

I was going to pass it by. I’ve got a bit of a back log of chairs to paint, and chairs are not my favorite. They are putzy to paint and they don’t sell for much. But Meggan pointed out how adorable this one is, and suggested I paint it pink. I’m not sure I’ll paint it pink, but it definitely will get a paint job of some kind!
Meggan also talked me into this plaid blanket. She thought the colors were perfect for my guest bed.
![]()
And she was right, the combination of pink, coral and yellow is perfect on my Jenny Lind bed.
At just $3.49, why not? I can use it for now until I find bedding I like better, and then I can just donate it back to the thrift store!
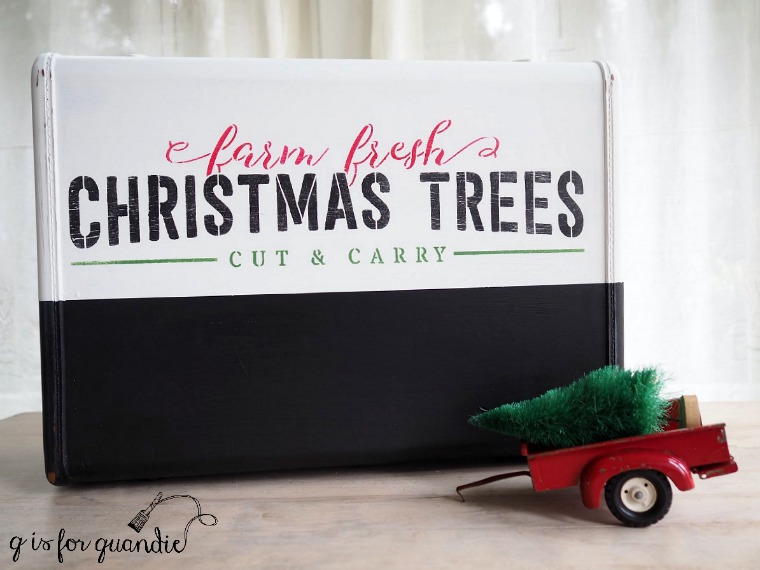
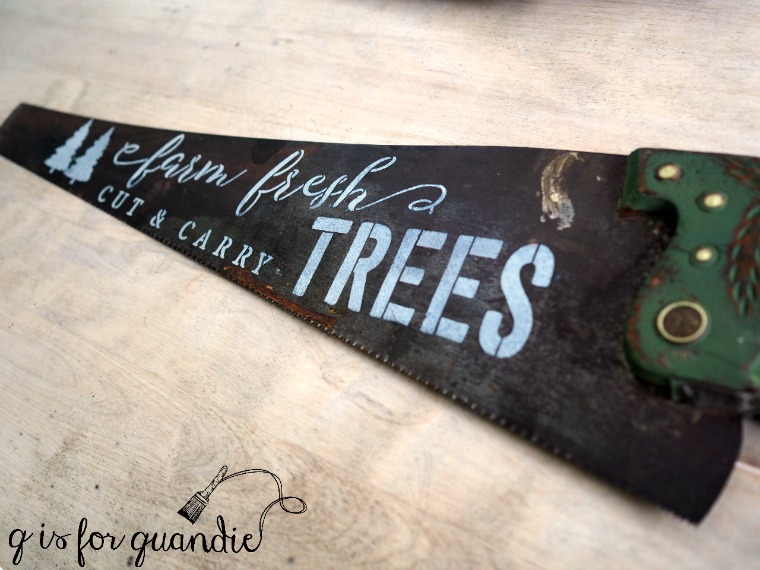
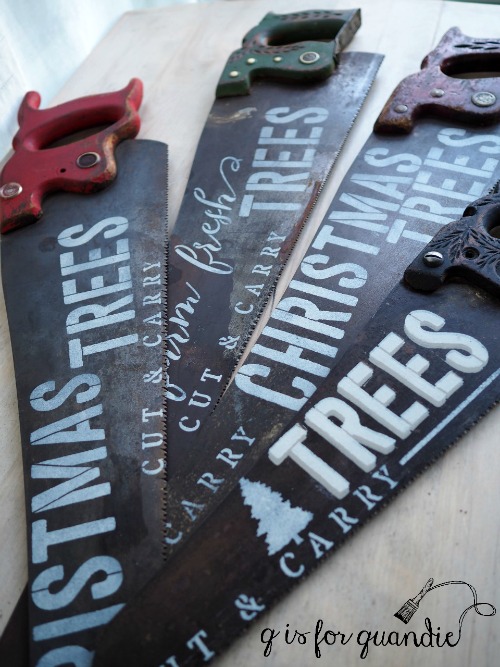
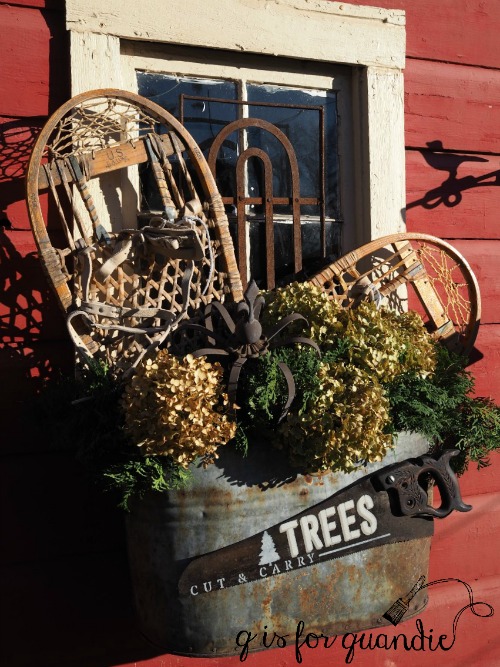
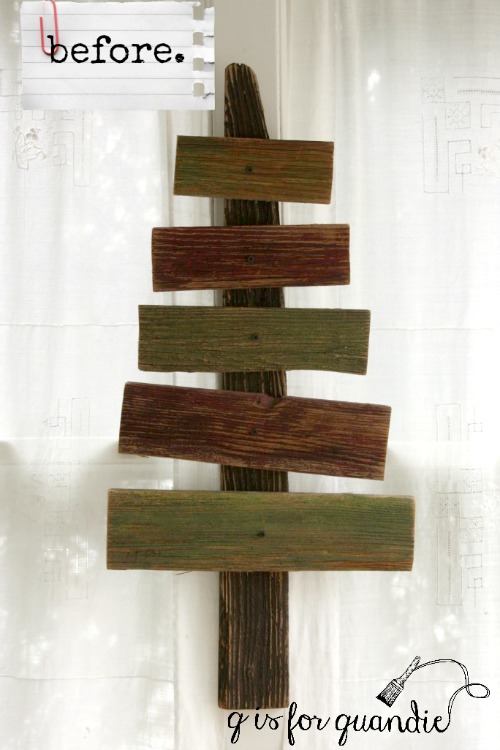
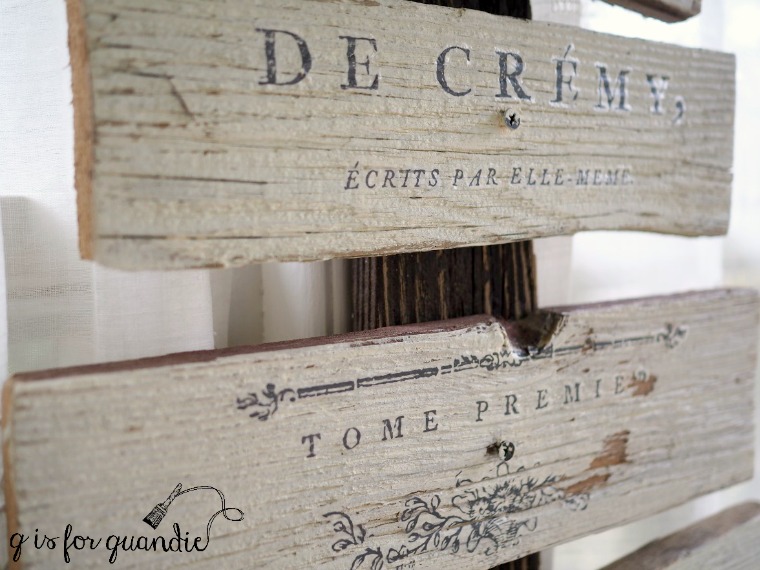
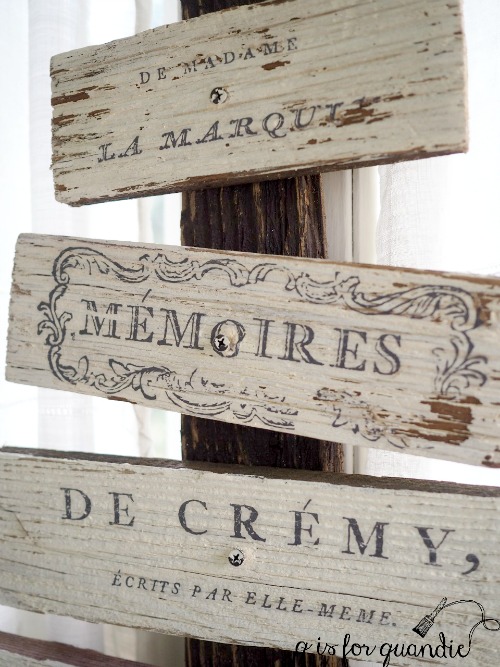
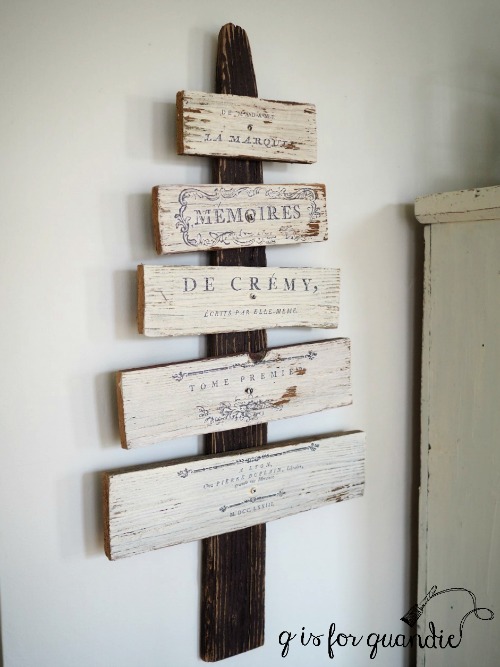
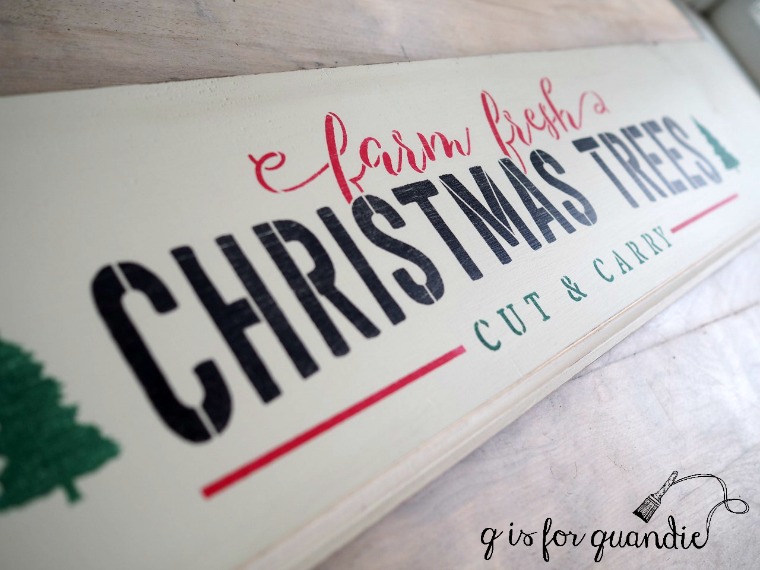
I purchased a few other odds and ends that didn’t make the cut for a ‘before’ photo, including the shelving board that I used to make the Christmas Tree sign for my sister.
It wasn’t until we were headed up to the checkout counter that I spotted the find of the day.

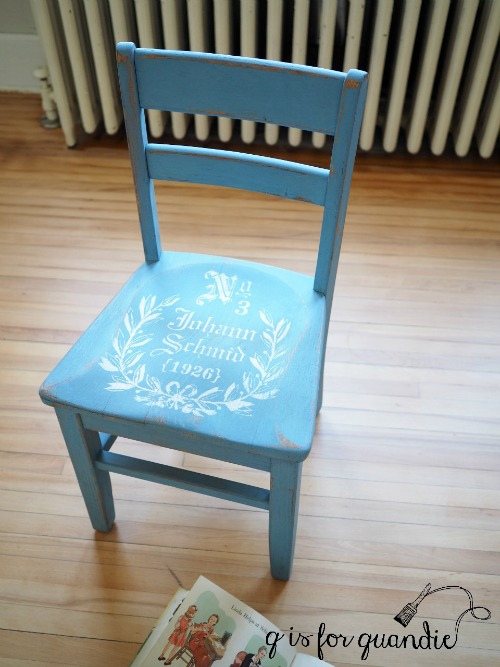
A pair of library chairs!
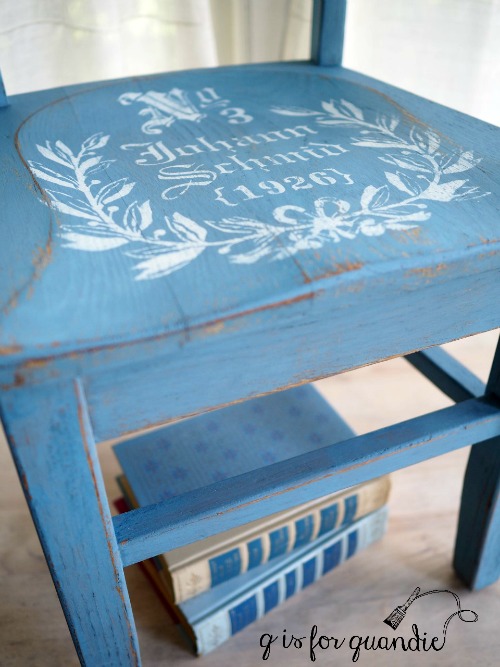
I’ve painted a few of these in the past. I think my favorite was this one, painted in Fusion’s Brook.

Meggan says she can picture them painted black though. How about you? What color would you choose?