You’ll remember the dress form that I purchased at a garage sale a week or so ago.

Her knit jersey outfit had certainly seen better days. Not only did it have some holes, but it was really filthy dirty.
So first things first, I stripped her down.
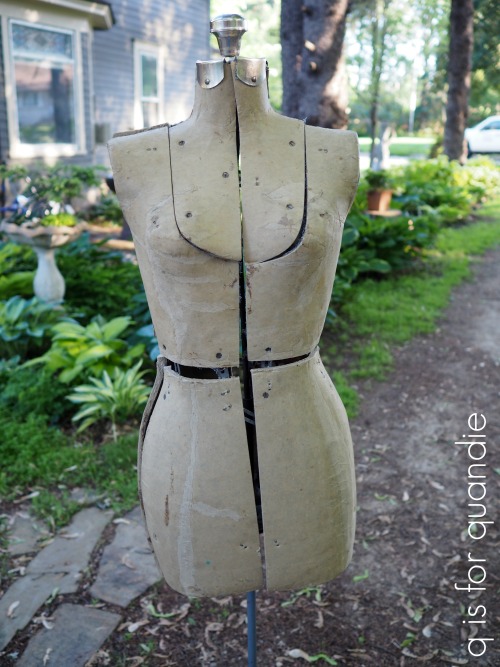
Her fabric was glued along all of the edges of each piece, but on the inside not the visible outside. So it was fairly easy to cut most of the fabric off and then just rip the edges from where they were glued. This worked for most of it, but there were a few spots where I had to use a razor blade to cut away the fabric.

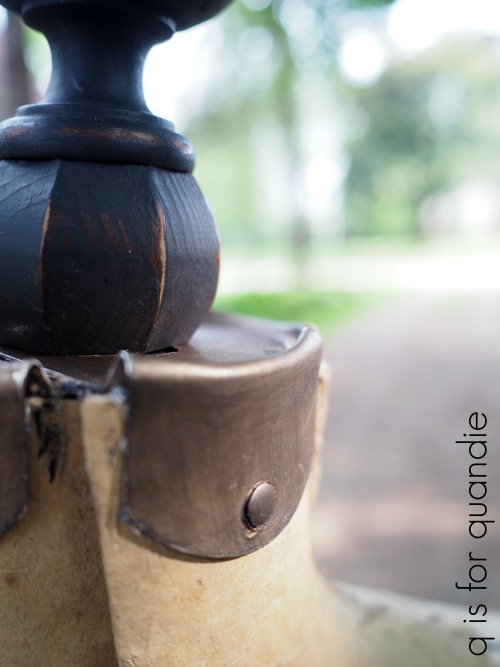
Her shiny chrome topper was a bit too shiny and modern for me and I knew I wanted to swap out the knob part for something else with a little more detail. So this past weekend while garage saling (in the rain again) I was on the lookout for some type of wooden finial that I could paint. When I came across this pair I thought one of them might just be perfect for the job
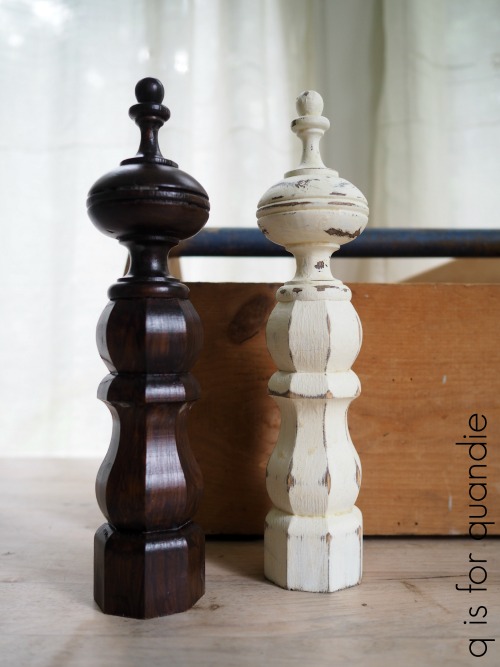
I started with having Ken cut the unpainted one down a bit because it was obviously too tall. Then I painted it with Dixie Belle’s Caviar. I also painted the chrome that remained behind with the Caviar.
Once the Caviar was dry, I sanded the finial to distress it and added some of Fusion’s Espresso wax to it.
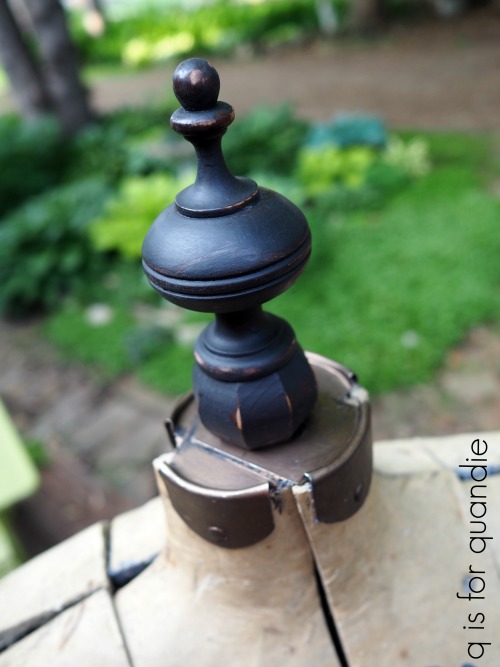
As for the remaining chrome around her neck, I added some of Prima Marketing’s Metallique wax in Bronze Age over the Caviar paint.
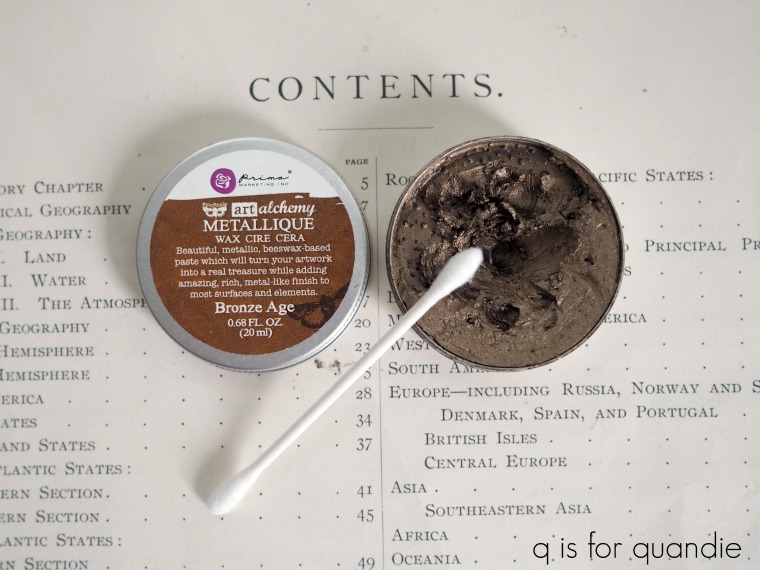
I simply used a q-tip to apply the wax all over the painted metal. Then I immediately blended it by rubbing it lightly with a paper towel. I usually wait until the wax has dried to buff it with a soft cloth, but since I was working with a larger, flatter surface this time I found that it worked better to immediately smooth it out.
The Bronze Age wax worked perfectly to make the metal look more like old aged bronze rather than shiny modern chrome. Having the black paint underneath helped give some depth to the bronze and to make sure none of the chrome would be peeking through the wax.
If you’ll remember back, Prima Marketing sent me several of their metallic waxes to try out and I have found them to be indispensable. They are great for sprucing up old drawer pulls and knobs, they work beautifully on old ornate frames, and now I’ve used them for this project as well. Also, as you can see in my photo of the wax itself, a little goes a long way. I’ve used very little of the wax so far, and I’ve completed several projects with it.
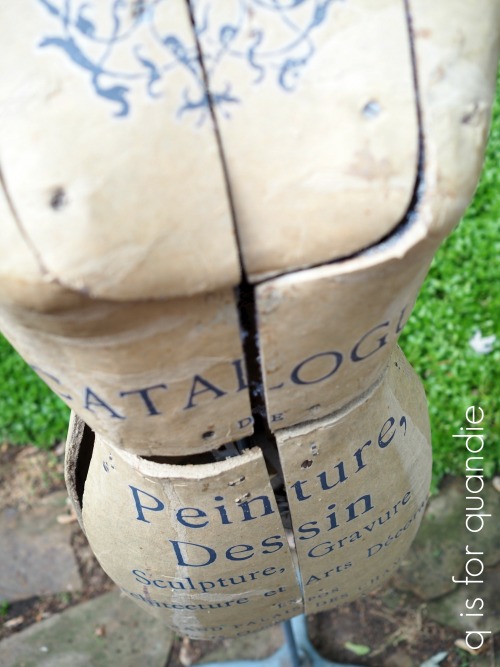
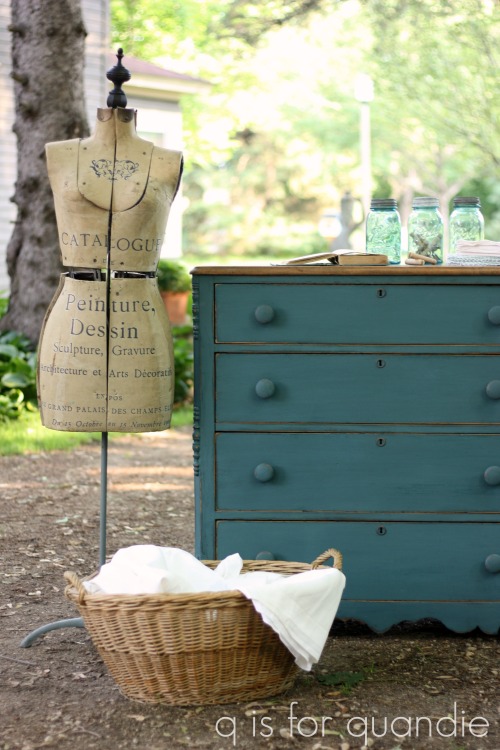
Once all of that was done, I had one of those ‘light bulb going off’ moments. I really can’t even say how this idea came to me, but I thought to myself what if I put a Prima Marketing rub-on transfer right on the cardboard dress form? That could potentially look amazing.
But first I thought it might be wise to test a portion of a transfer on the back just in case it went horribly wrong. So I pulled out a left-over section from a transfer and I added it to the dress form’s behind.

And it worked beautifully! If anything, it went on even easier than it does on furniture and walls.
So I pulled out the full Prima Marketing Catalogue transfer. I cut it up into various pieces and sections based on where they would fit best on the dress form.
You guys, I honestly think this might be one of the coolest things I’ve ever concocted.

I absolutely love how it turned out.
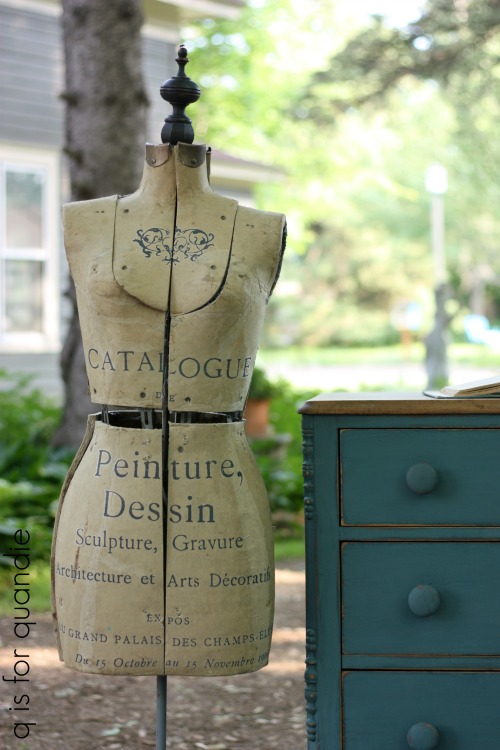
Seriously, how frickin’ amazing is that thing?
Since the transfer I used is written in French, I decided my dress form needed a french name. So thus, Collette it is.
If you happen to have one of these dress forms lying around you should be running out to get your own Catalogue transfer right now. Just google ‘Prima Marketing Catalogue transfer’ and you’ll find multiple options for purchasing one on line.
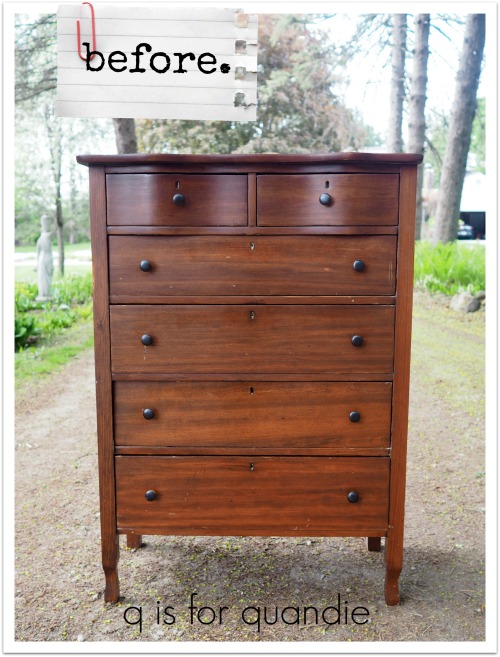
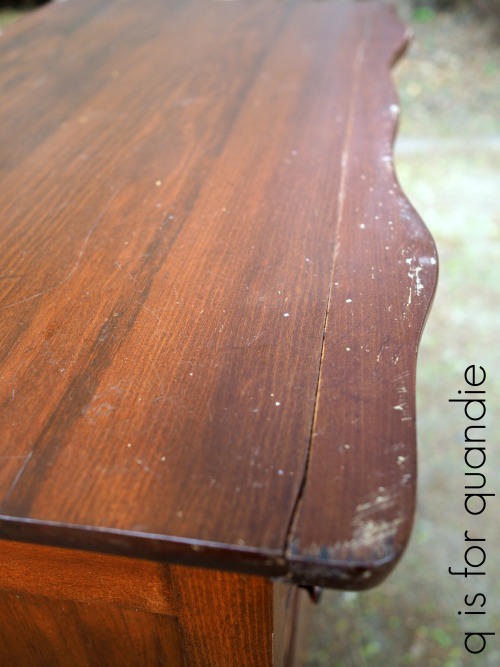
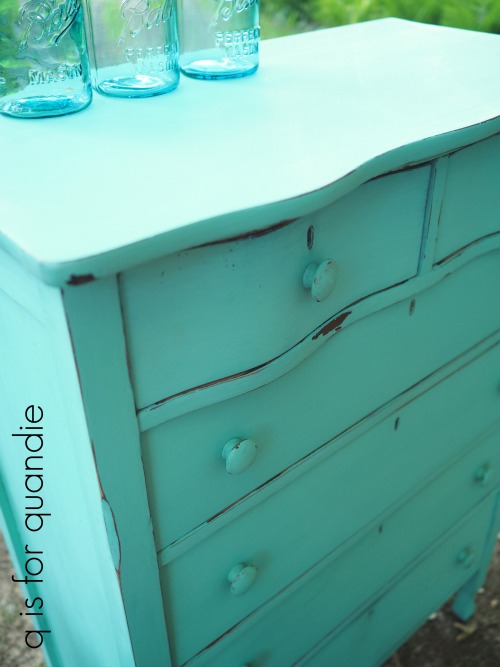
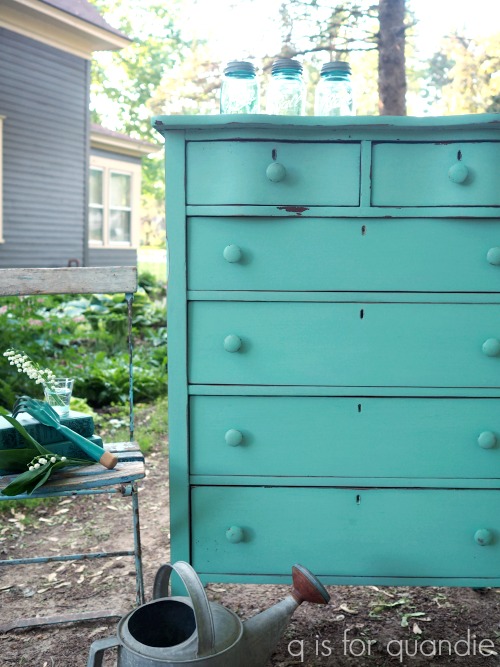
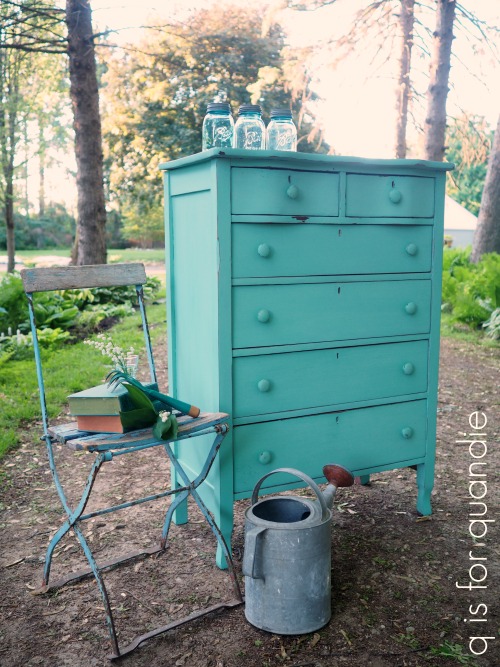
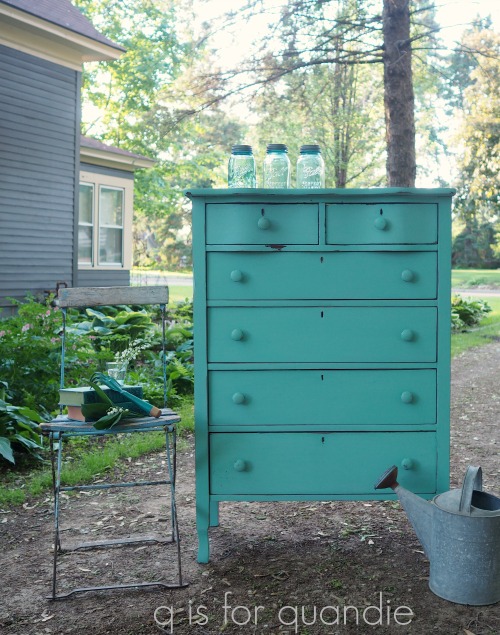
As for that dresser, I’ll be sharing that on Wednesday so be sure to stay tuned!
Linking up with the Vintage Charm Party at My Thrift Store Addiction.