Are you a fan of cane chairs and benches?
I love them. I have half a dozen of them myself.
But the sad truth about cane is that it’s easy to damage. So far the cane on two of my chairs has ripped. And I don’t have the patience for replacing damaged cane. So, in my opinion, cane chairs are best reserved for occasional use, not rough every day use.
I see a lot of damaged cane chairs for sale at garage sales and on Craigslist. Sometimes they are priced super cheap, although I also see plenty of ads for pricier chairs where the seller says ‘you can easily add new cane’. I always laugh when I read those ads. If it was so easy to do, why didn’t they do it themselves?
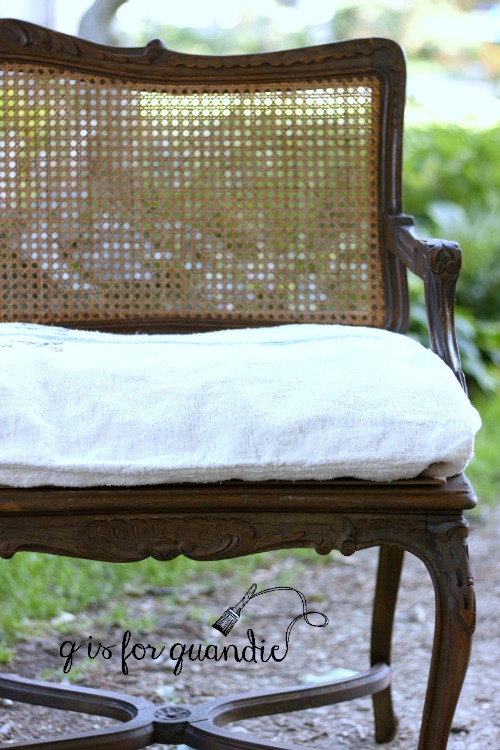
I’ve come up with a few ways to work around ruined caning. On the bench I put in my bedroom I added a cushion where there once was caning.

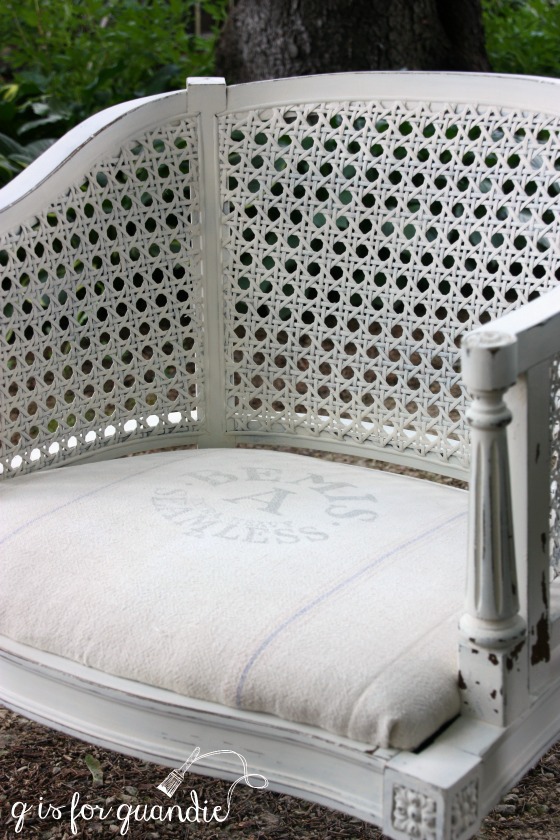
On the ‘cheater, cheater, pumpkin eater‘ chair I added an upholstered seat …
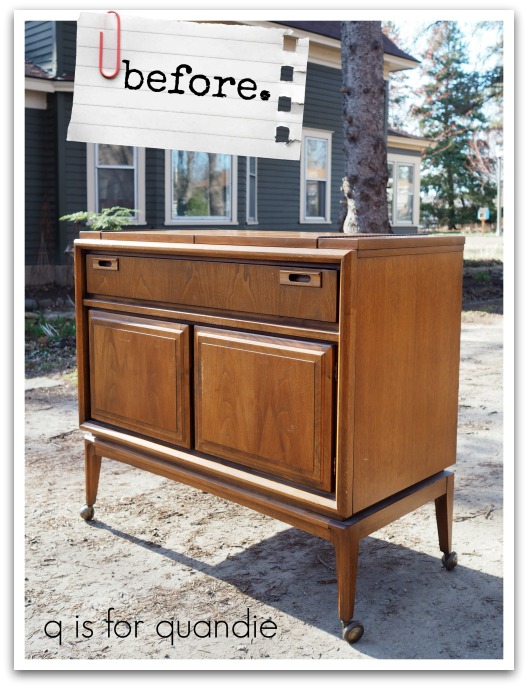
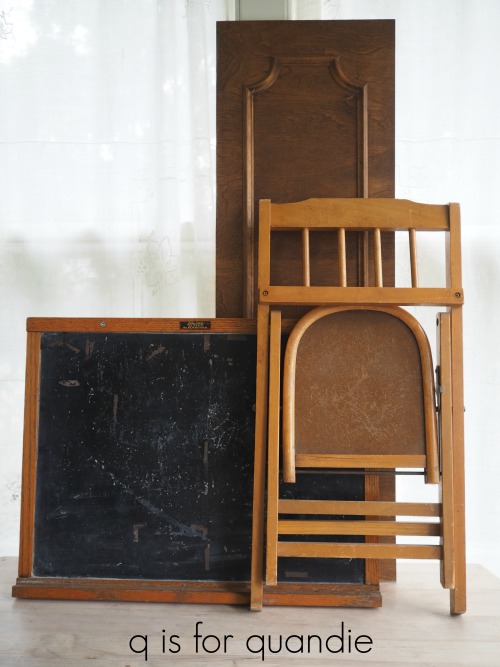
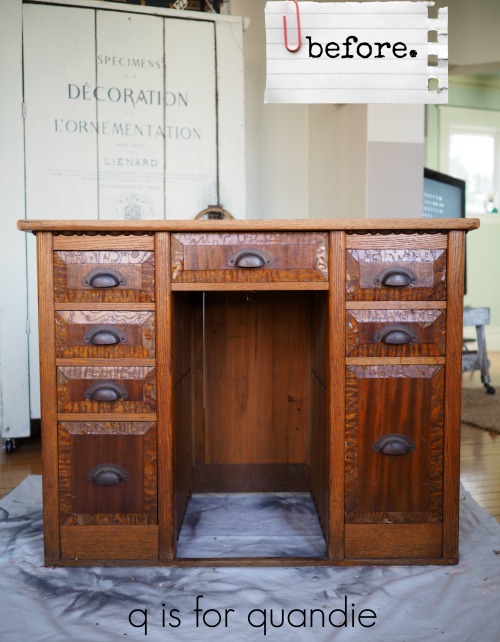
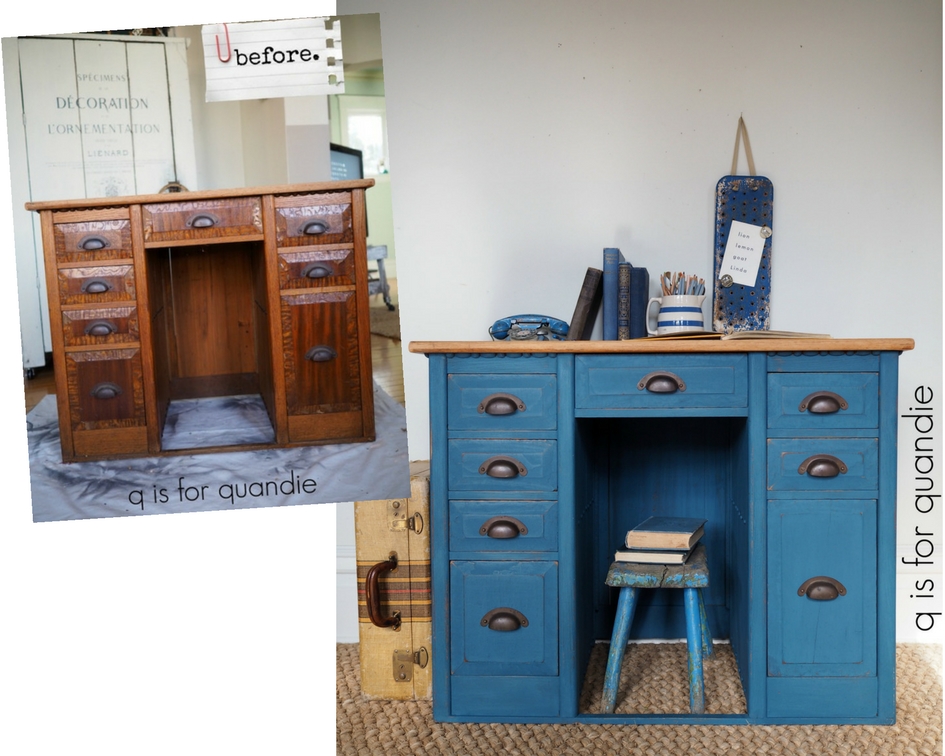
Originally I planned to do something similar with a pair of chairs that I picked up last summer at a garage sale. Don’t be confused by the snow on the ground in this ‘before’ photo. I purchased the chairs last summer, but took this photo sometime last winter.

I did add a seat to one of the chairs, which I then paired with the Sea Glass dressing table.

But with spring just around the corner, I decided to turn the 2nd chair into a planter chair.
But first, in case you’re not familiar, what’s a planter chair?
Here is one that I gave to my mother-in-law for mother’s day a couple of years ago.
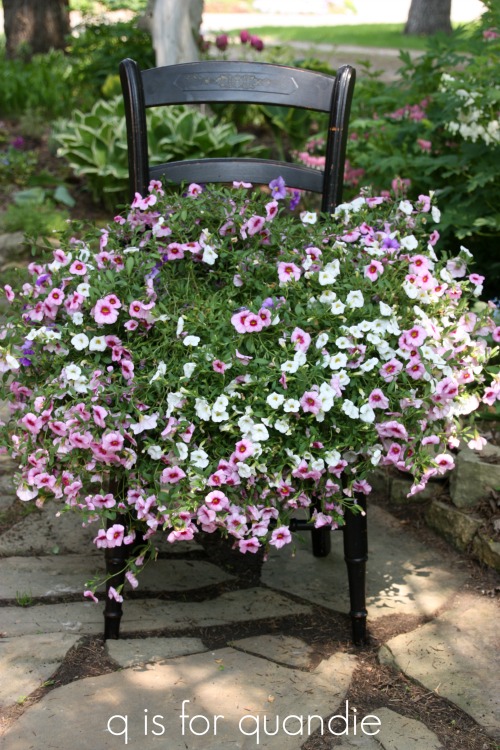
It’s basically a bottomless chair with a hanging basket of flowers filling up the hole where the caning or other seat once was.
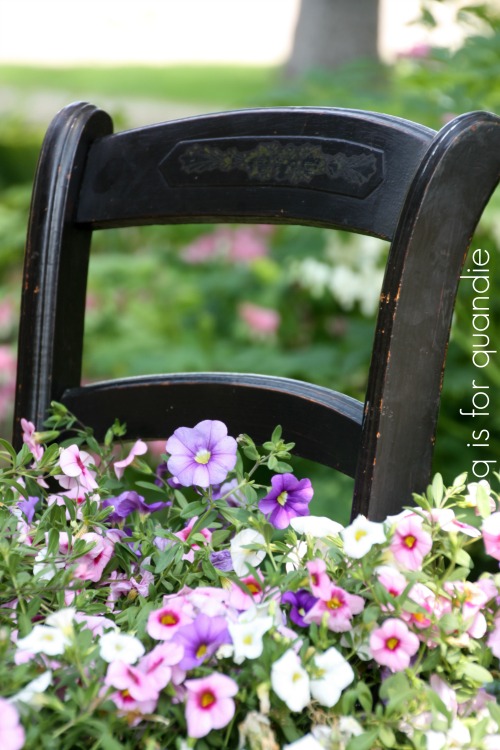
I love the whimsical touch they add to a garden.
Obviously these chairs are not meant for outdoor use normally. I find that they will hold up well for 2 or 3 years if you store them in the garage for the winter, but they won’t withstand outside weather indefinitely.
But that’s OK, everything in life doesn’t have to be permanent, right?
For this planter chair I decided to go bright. I pulled out an old jar of The Urban Rooster chalky paint in a color called Jaded Rooster but I was worried I might not have quite enough paint left for the chair so I also grabbed a small tester size jar of Annie Sloan’s Florence that was half used.

As you can see, these two are practically the same color. One has maybe just the tiniest bit more green than the other though, so I simply mixed them together to stretch my paint a little further.
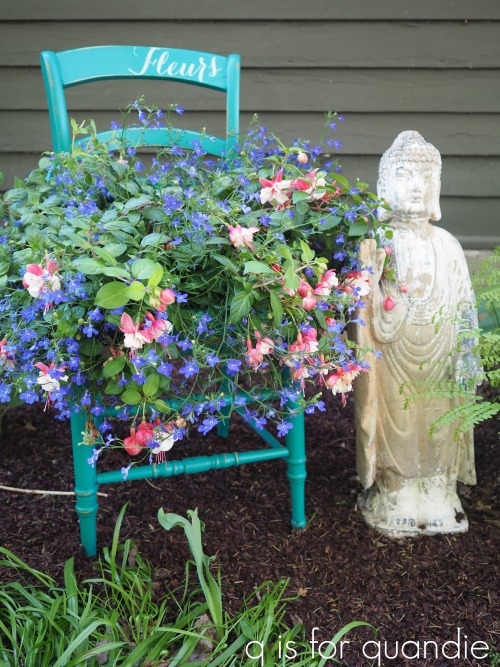
I painted two coats on my chair. Once dry I used acrylic craft paint in Oyster White to stencil “Fleurs” on the back of the chair.

Next I sanded to distress and then added a coat of Miss Mustard Seed’s Tough Coat Sealer to protect the paint from the elements.
When I went to add a hanging basket to the chair for photo purposes, I discovered that the hole in the chair was larger than the typical hanging pot size. So I added a couple of straps to hold the pot in place.

And ta da! There you have it, a planter chair!
I took this chair and another I had on hand in to Reclaiming Beautiful this week to sell. So if you’re local and you don’t feel like making your own planter chair, be sure to stop in and see if they have any left!