Are you a fan of the french farmhouse look? I know I am. But today I’m talking about an entirely different kind of french farmhouse fan! It’s a french farmhouse ceiling fan.
I know, I know. Ceiling fans are no longer ‘in’.
If you are lucky enough to live in a house with central air conditioning, you really don’t have much need for a ceiling fan. However, we live in a 1904 farmhouse with hot water heat. In other words, we have radiators and we do not have duct work. And we have a boiler rather than a furnace. Putting in central a/c is a bit more complicated if you don’t have existing ducts to deliver the cool air throughout your house.
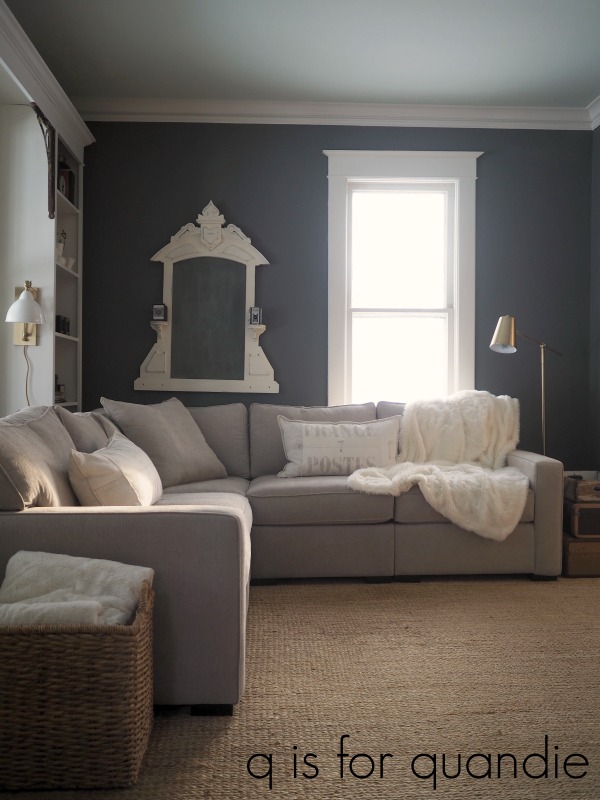
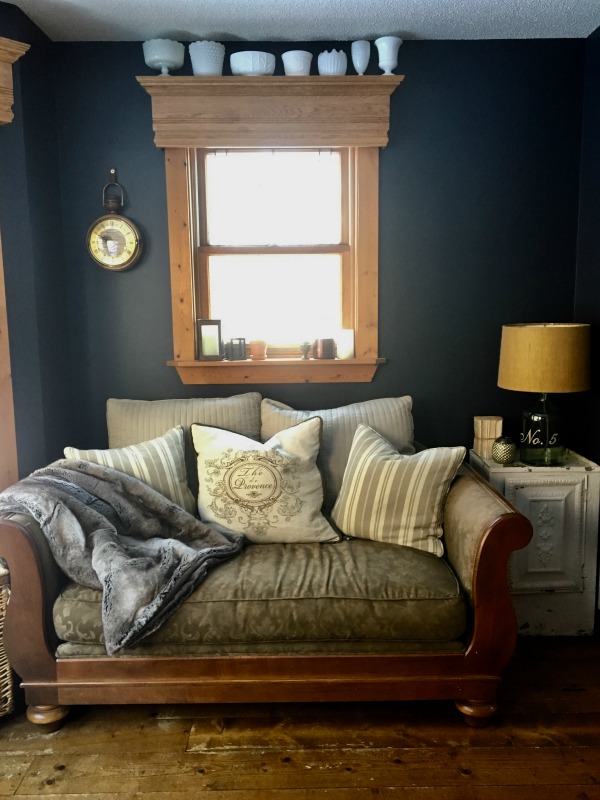
So, we don’t have central a/c and ceiling fans can make all the difference on hot summer days at our house. Especially in the room that I call the piano room. This room is right in the center of our lower level. It’s also the room where we install a window a/c unit in the summer, so we need to move that cool air around and a ceiling fan is the best way to do it.
Our old ceiling fan still worked quite well, but it was dated.

I can’t really remember how long ago we put this particular one in here, but I suspect it was at least 15 years ago or more. I thought it was fabulous at the time. I thought my tomato red walls were pretty amazing too, but they didn’t last nearly as long as the fan.
Anyway, not only was the fan dated looking but those wicker fan blades were difficult to clean.
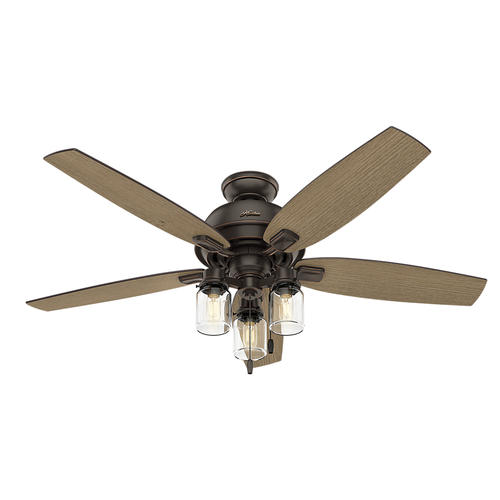
I began my search for a new fan online and found some gorgeous options that were priced in the $400 and up range, like this one …
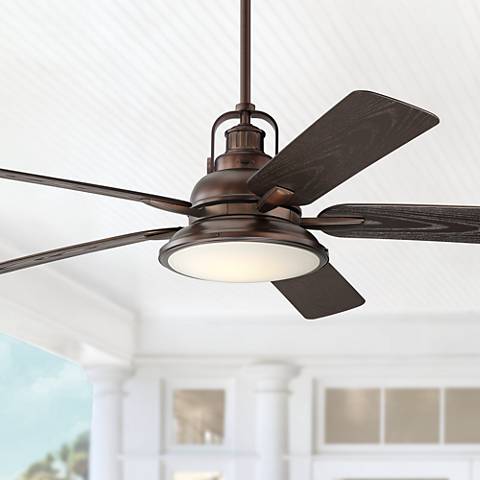
But I didn’t want to spend that much.
When my sister and I were out shopping for furniture a couple of weekends ago, we stopped off at our local Menards store on the way home and I found this fan.
It was on sale for $149.99, so I nabbed it.
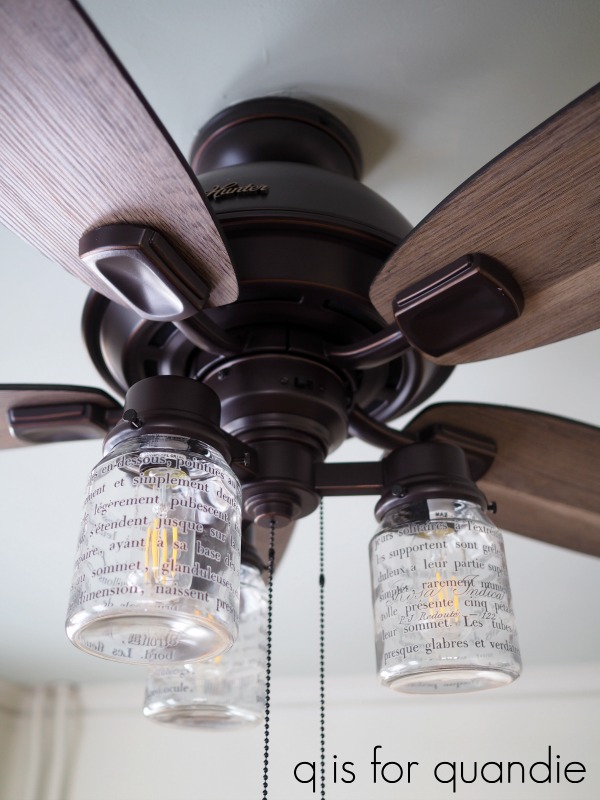
I liked the fact that the globes sort of look like canning jars giving it a bit of a farmhouse feel.

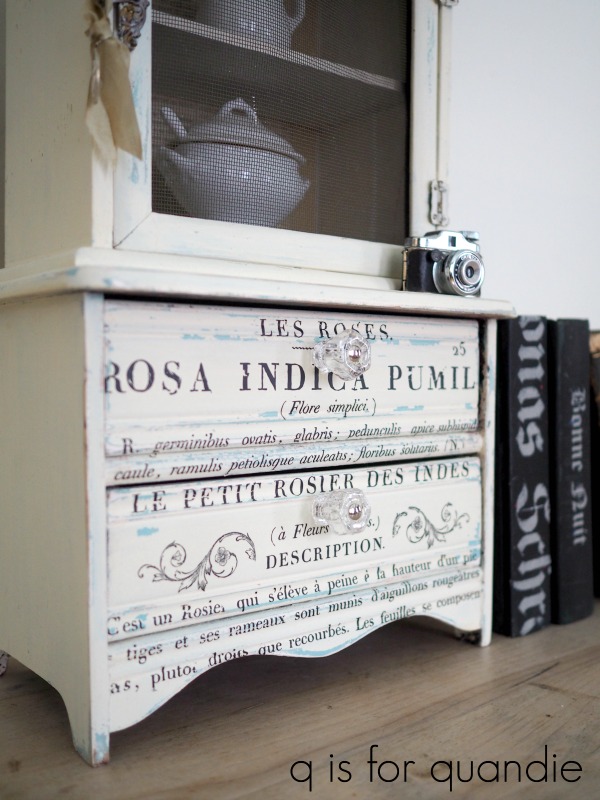
It wasn’t until we had the fixture installed and I was washing up the globes before putting them on that it occurred to me that it would be pretty easy to add a little more personality to them with some rub on transfers. Plus, I just happened to have a couple of remnants from my IOD Le Petit Rosier transfer that would perfectly fit the three globes.
![]()
This was definitely a bit of an experiment. I wasn’t sure if the transfers would look good on the glass. So I started with just one. I figured if I hated it, it would be easier to scrape a transfer off just one globe rather than three.
![]()
But I loved it. Of course I did.
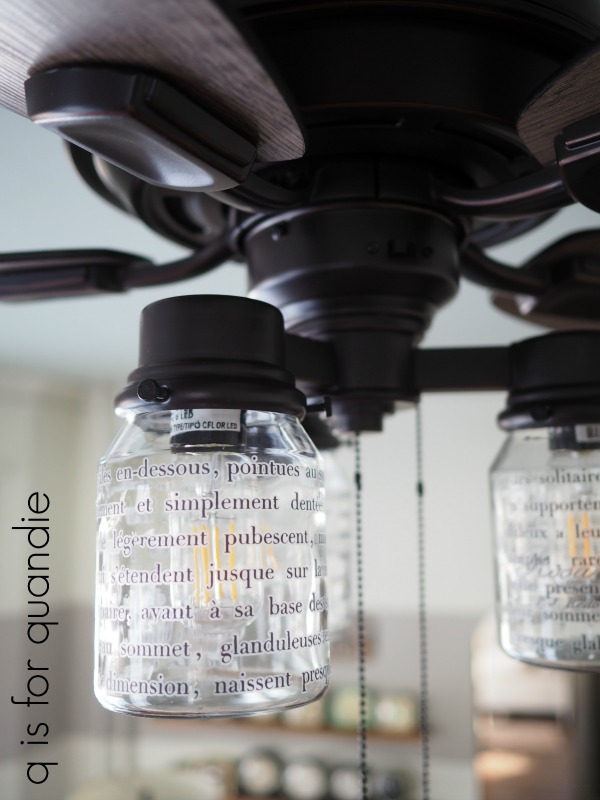
The transfers added just a little bit of extra personality to an ‘out of the box’ plain ceiling fan.
Now, I have no idea how well the transfers will hold up over time or whether or not the heat given off by the bulb will cause them to deteriorate in some way. But worst case scenario we have to swap out the globes down the road. That’s fairly easy and cheap.
I will also admit that this little detail isn’t earth shattering and I suspect a fair number of the people who visit our home won’t even notice it.
But I get a kick out of it every time I walk through the room.
And it was a super simple and inexpensive way to add a little french-ness to this farmhouse fan.
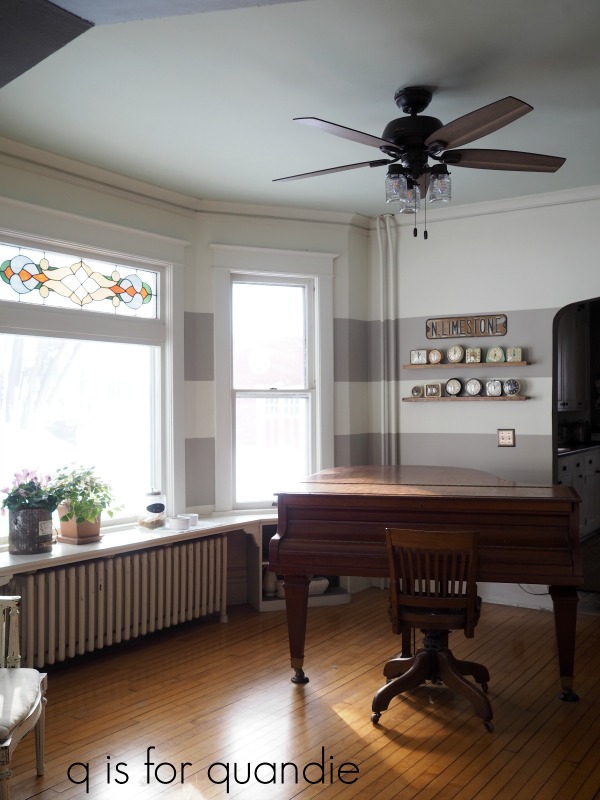
By the way, if you look really closely at that picture above you can see how high the snow bank is on the side of our driveway. It’s almost all the way to the top of our privacy fence. Can you see it (look just above the plants on the ledge)? Ha! This stuff is going to take forever to melt if it ever does warm up.
Anyway, if you’re keeping track, that’s the 4th item on my magic wand decorating list checked off. I still have to paint that piano and the walls in this room.
I’m not gonna lie, I really keep procrastinating when it comes to painting the piano. That’s going to be a big job, and will probably be last on the list. But like the little engine that could, ‘I think I can, I think I can’.
In other news, eeeeekkkkkk!! My computer died. Since techie stuff like replacing a computer drives me to drink, I’m not sure how quickly we’ll get a new one up and running. I’m sure I will be spending a good chunk of the weekend on that (the computer, not the drinking … well, maybe both). So don’t panic if I don’t have a post on Monday. Or Tuesday. Or all of next week. Hopefully I’ll be back up and running soon though. Wish me luck!