A while back the folks at Prima Marketing contacted me and asked if I’d like to try some rub on transfers from their new re.design line.
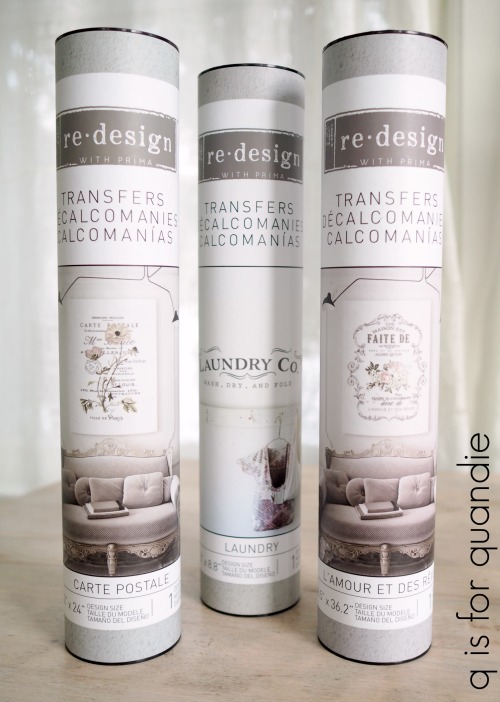
After I danced around the room with glee for a few minutes, I promptly responded with um, yes!
One of the designs they sent to me is called L’Amour Et Des Reves.
As soon as I saw it I knew it would be perfect for the blank wall above my guest bed. Normally I use the rub-on transfers on furniture, but did you know that they can also be adhered to walls, windows or even mirrors?

So last Saturday I decided to get to work and apply it to the wall.
The first thing you’ll notice when you remove the transfer from the tube it came in is that it’s in separate pieces. If you’re used to the IOD transfers that come on one big sheet, this is going to be different for you. The L’Amour transfer came in four sections.
I laid them out on my guest bed to get a better look at them.

First of all, let me point out that I have the floral section upside down in that photo. Oops.
But what kind of clicked in my brain at this moment was that I could pick and choose which sections of the transfer I wanted to use quite easily. Also, this would be super handy if you’re putting the transfer on the front of a dresser and you want to put each section on a separate drawer front.
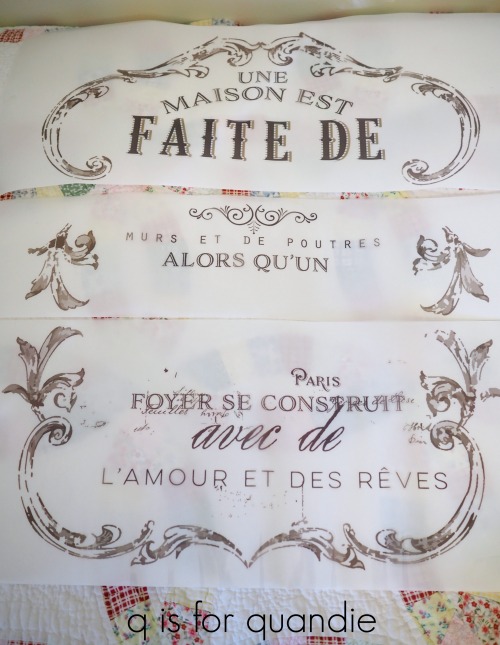
Initially I didn’t think the full design was going to fit on my wall centered above the bed. I had to contend with that slanted ceiling. So I thought I might not use the floral section (as shown above), or maybe just remove that one narrow section of wording (as shown below, with the flowers still upside down).
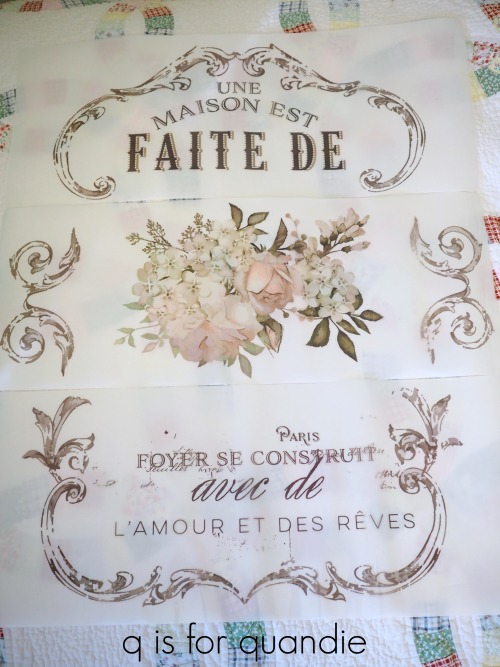
However, as I studied the design I bit closer I realized that I could overlap the sections a bit and then the entire design would fit my wall.

Make sure you notice that at this point I still have the waxy backing paper in place so that my transfers aren’t sticking to the wall yet. I wanted to be able to play around with the layout first and make sure it was going to fit. And apparently this was also fortunate since I still had the floral section upside down, duh!
Once I had the entire design placed where I wanted it, I removed the lower three sections and put them out of the way on the bed. Then I moved my yellow tape from the side of the transfer to the top. That makes it easy to keep the transfer in place while you carefully lift the top sheet and remove the waxy backing paper from behind it.
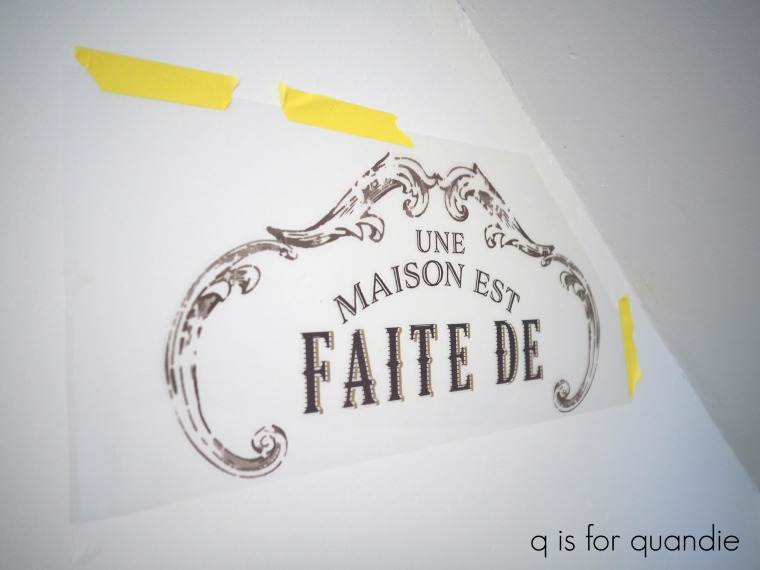 Next I just followed normal procedure for applying a rub on transfer. Using the flat stick that came in the package, just start carefully rubbing over the design while lifting the clear sheet slowly making sure that everything is sticking to the wall. This is really the trickiest part of the entire process. Just go slowly watching to make sure that each part of your design is sticking before lifting away the transfer sheet.
And remember, if you mess up in a couple of spots you’ll probably be the only one who notices. I messed up in about 4 different places on this one. I challenge you to find them.
Once the first section was applied, I kept going. Putting each section in place, carefully removing the waxy backing paper and then applying the transfer to the wall.
And hey, look, I got the flowers right side up finally.
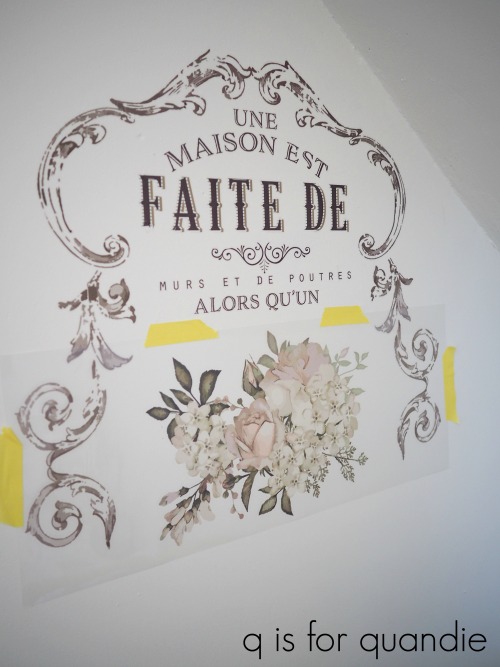
I didn’t time it, but I would say it took me about an hour from start to finish to get the entire transfer onto the wall. That includes frequent stops to take the photos for this post.
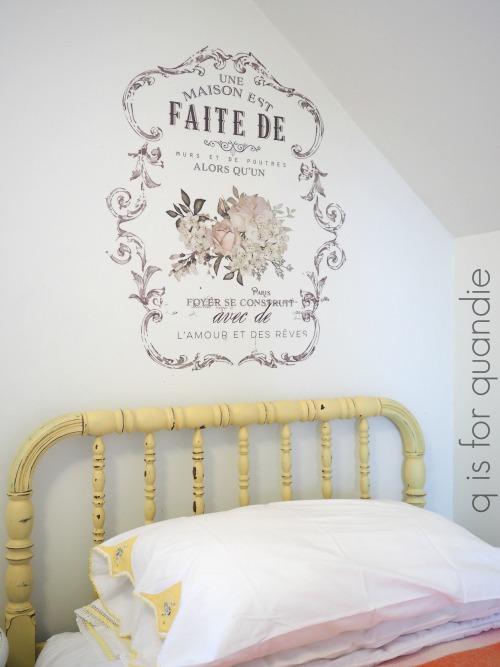
Isn’t it gorgeous? Seriously. Every time I walk past the room I have to stop for a moment to admire it.
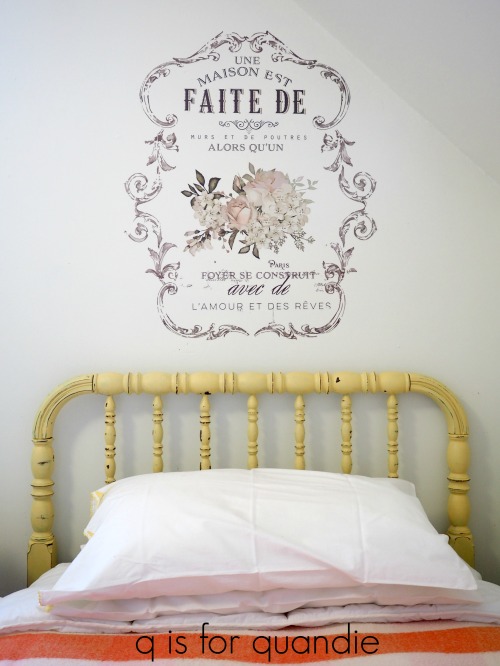
By the way, were you able to pick out my mistakes?

I lost the bottoms of a couple of S’s, and the very bottom of the F. My point in showing you these is to show that it doesn’t matter if your application isn’t perfect. The designs are meant to look distressed a bit, not new and shiny, but old world aged.
That’s just my kind of design!
If you want to order your own re.design transfer, you can order online from Red Posie. You can also find them on Etsy. In addition, currently both the How to Paint Like a Pro and the Paint it Beautiful Facebook groups are hosting giveaways from the re.design line so be sure to check those out too.