waxing on.

A couple of months ago when Prima Marketing sent me a bunch of transfers to give away, they also threw some extra Metallique waxes into the box.
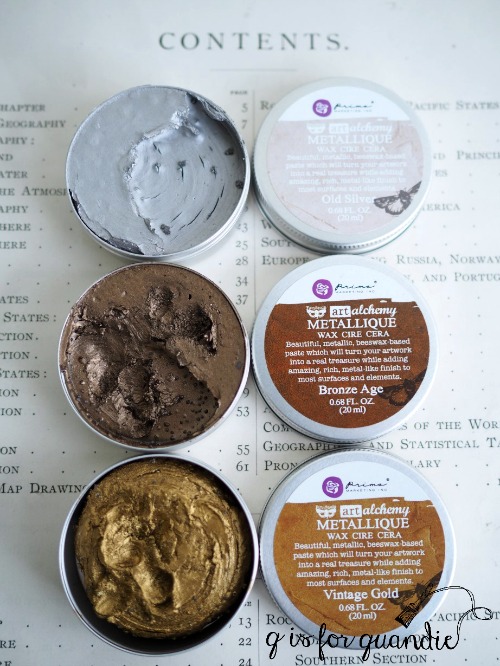
I’ve been using these waxes since late last year and I gotta say, I love them.

I used to use Rub ‘n Buff for all of my metallic waxing needs, but I really didn’t care for the little tubes that it comes in.  The plastic screw tops always cracked on me and then the wax dried out and clogged the tube.  I also felt like it didn’t dry as hard as the Prima Marketing wax does.  It seemed like more of the wax rubbed off again when I tried to buff it.   Maybe that’s just my opinion though (or user error on my part), I didn’t do any scientific testing or anything.

Regardless, I’ve gotten great results using the Metallique wax.

My favorite use for metallic wax is sprucing up old metal knobs and drawer pulls.  It’s such an easy way to refresh them.  Simply clean your knobs with soap and water, let dry and then apply the wax with a q-tip.  Let the wax harden for a few hours and then buff to bring out the shine.
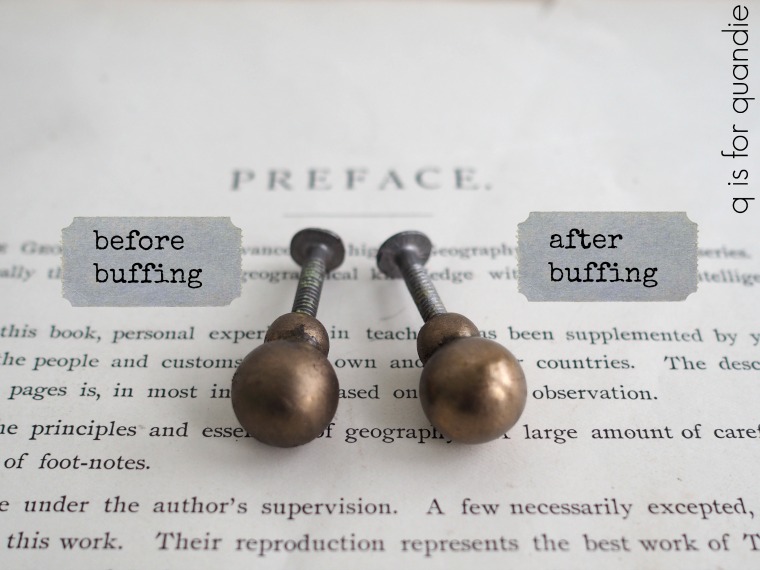
The Bronze Age on the knobs shown above is a nice warm bronze-ish brown color.  I love pairing this color with Fusion’s Ash or Dixie Belle’s Gravel Road, both dark charcoal greys.
I also love the Vintage Gold which looks a lot like gold leaf to me.

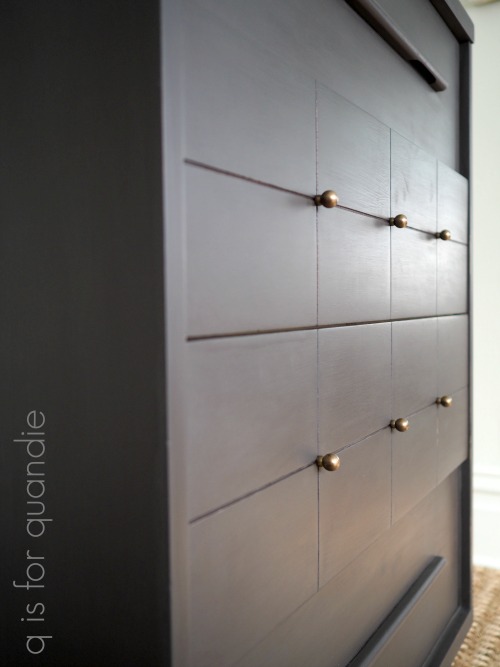
The wax works well on the clean lines of mid-century hardware …

but also on more ornate knobs or pulls …

I had yet to try some of the other colors that are available, so I pulled out some spare hardware to test them out.
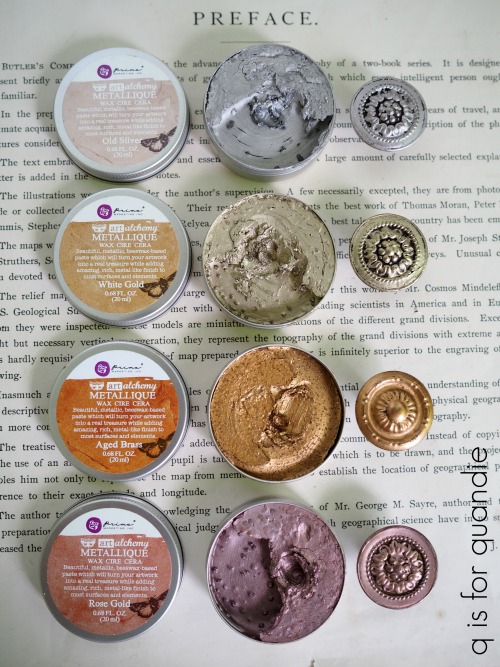
From top to bottom they are Old Silver, White Gold, Aged Brass and Rose Gold.  Aren’t they pretty?  I’m patiently waiting for just the right piece to come along for that gorgeous Old Silver, and I just used the White Gold on a mid-century piece that I’ll be sharing in another week or so.

There are plenty of other ways you can use the wax besides just on drawer hardware.  It also works beautifully to add a little shimmer to ornate frames.

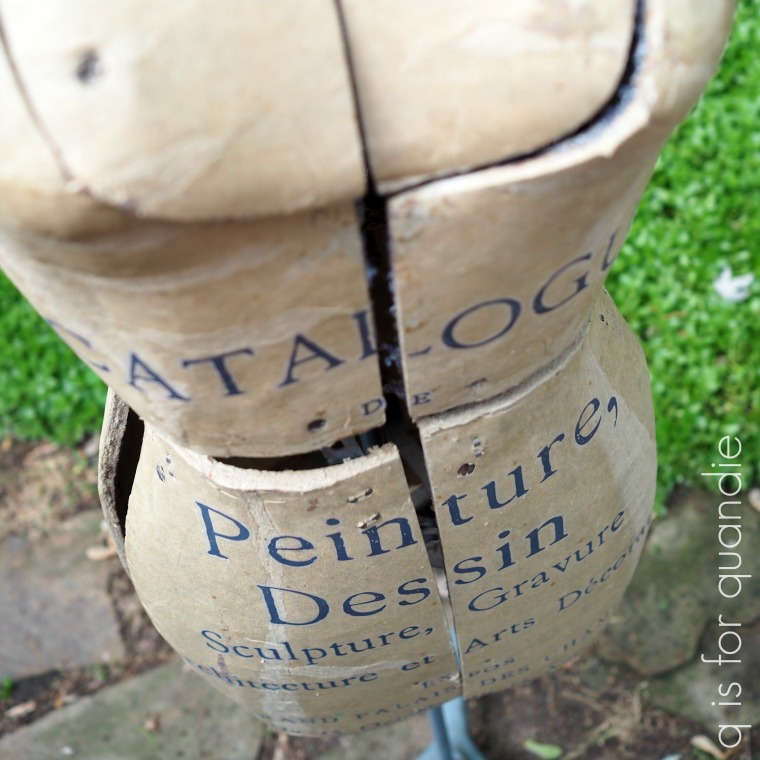
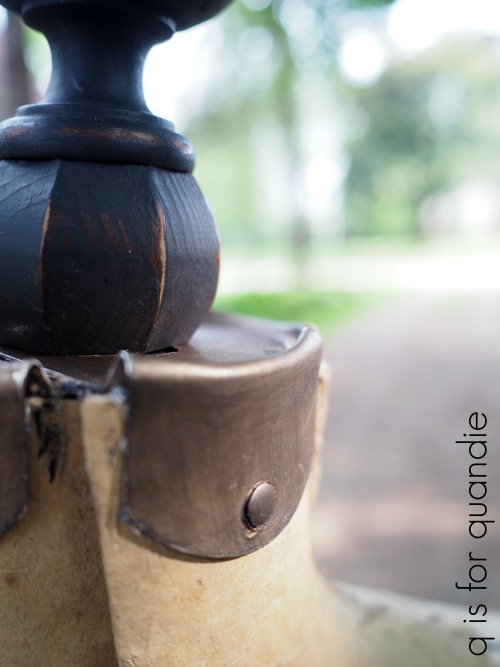
The Bronze Age was perfect for disguising the shiny chrome ‘neck’ on my dress form, Collette.
Now for the fun part, Prima Marketing sent me a dozen of these waxes in various colors to give away!  I’m going to give them away in sets of four (approx. value:  $30).  So, we’ll have three winners today.

The basic rules:  to be eligible to win today’s prize leave a comment on this blog post telling me which one of the colors you like most.  Your comment must be left on the blog, not on Facebook or Instagram.  You are not required to follow my blog, although if you don’t already follow me, it would be awesome if you did!

I will randomly draw the names of three winners from all of the comments left on this post by Sunday, August 26, 2018 at high noon (U.S. central time).

The fine print: no purchase necessary, you must be 18 years of age or older to win, void where prohibited by law, the number of eligible entries received determines the odds of winning, if the prize is not claimed by Friday, August 31, another name will be drawn at random to win, yada, yada, yada … good luck!
decor textiles.

In addition to their amazing transfers, Prima Marketing has also recently added Decor Textiles to their re.design line.  Decor Textiles are 100% white cotton and can be dyed, painted, stenciled or stamped (or who knows what else, I’m sure you guys can come up with even more possibilities).  I’ve even seen a technique for using the transfers on them, but I haven’t tried that out yet for myself.

They have pillow covers, napkins, placemats, table runners and curtains.

The folks at Prima sent me some samples to play around with, so I pulled out a few pillow covers and placemats the other day to see what I could do with them.

First things first, I washed all of them in cold water and then dried them on the low setting.  I probably should have ironed them before moving on as well, but I was too lazy for that step.

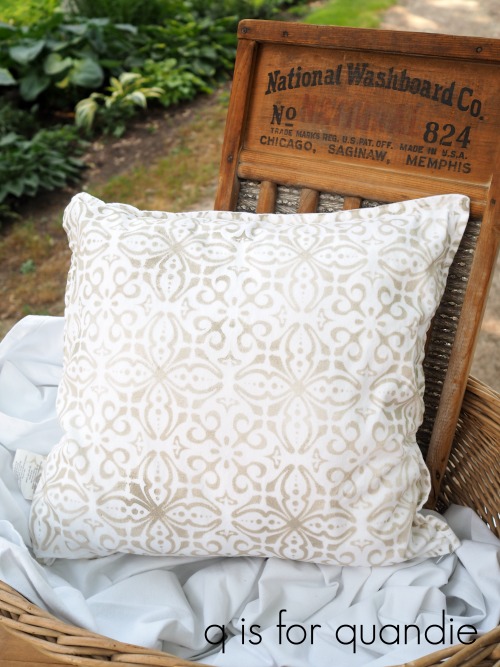
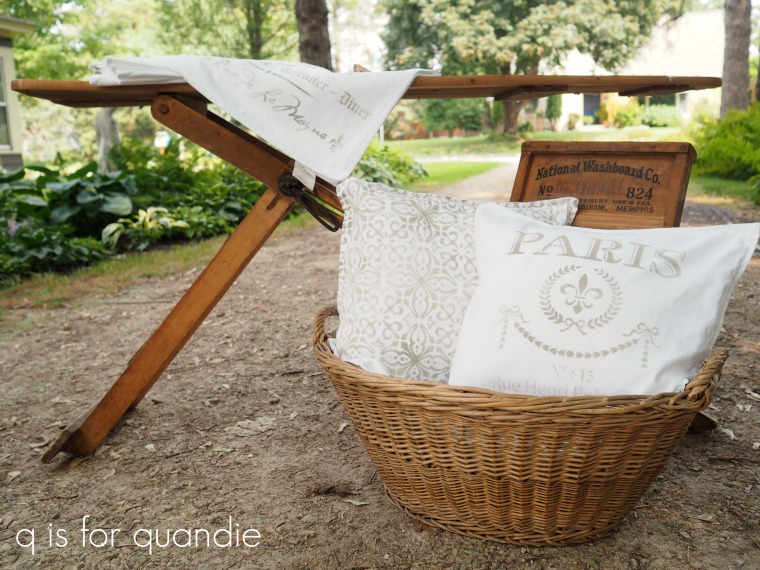
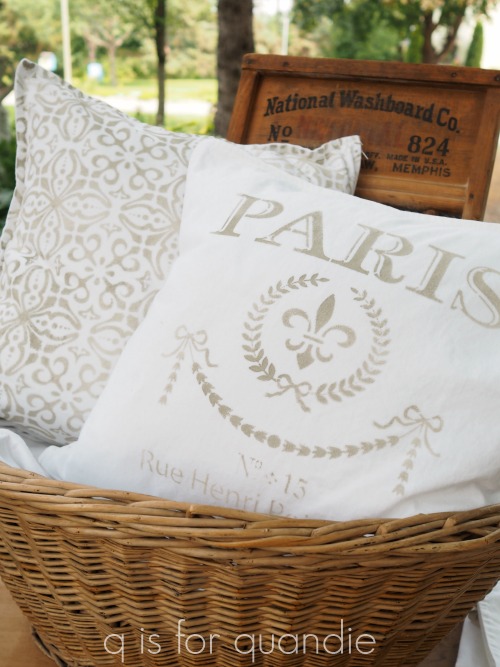
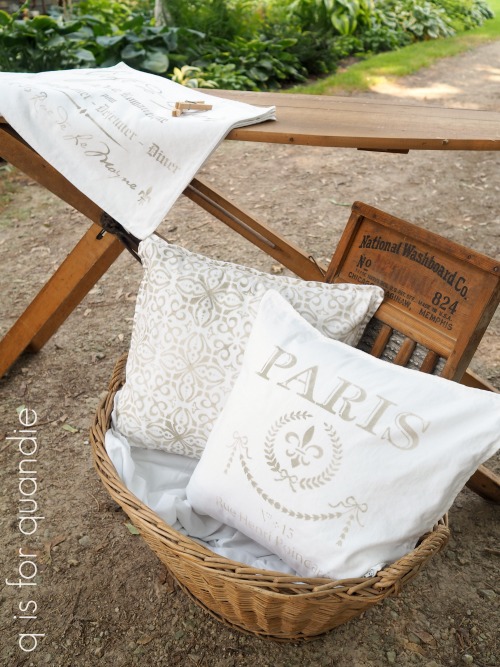
Next I pulled out my Fusion Mineral Paint in Putty and Prima Marketing’s French Trellis stencil (also new from the re.design line).  I centered the stencil over the pillow cover and then used a small foam roller to apply the paint.  I used the roller because of the all over design.  I knew it would be much quicker to fill all of that in with a roller than it would be with a stencil brush.

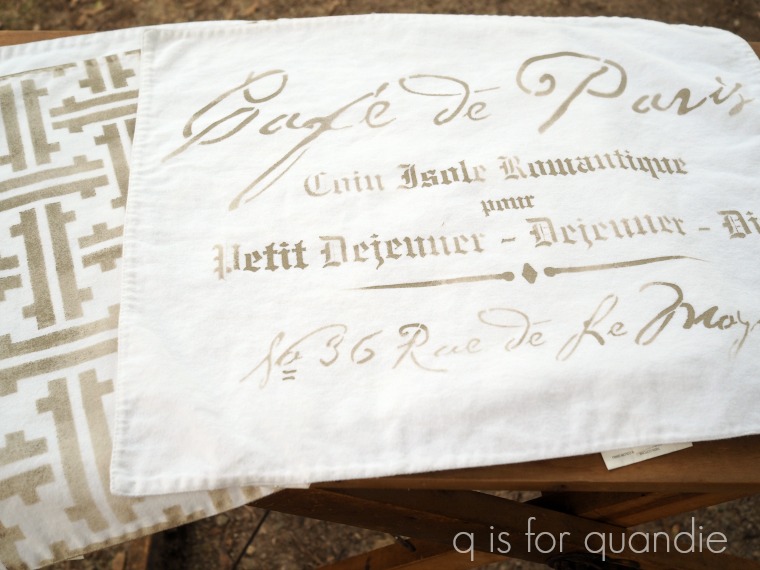
On the reverse side I used an old stencil that I had on hand for the Paris design.

I chose to use Putty because I’m going to include these pillows with the french bench that I shared on Monday which is also painted in that color.  What a great way to perfectly coordinate your throw pillows with your decor, right?

Some q tips for stenciling on fabric; be sure that you have a very hard surface under your fabric, press hard enough for the paint to adhere but not so hard that it is pressed under the stencil, don’t use a goopy roller (ie. remove some of the excess paint from your roller by rolling it on a paper towel a couple of times after loading it with paint).

Another important tip, to keep your paint from bleeding through to the other side of something like this pillow cover, put a piece of cardboard inside before you stencil.  That will catch any paint that soaks through the fabric before it gets to the other side.

According to Fusion, fabric stenciled with their paint should be washable once the paint has cured (after about 30 days).  They have a great tutorial on their website about stenciling pillow covers, you can find that here.

Since I already had a roller full of Putty paint, I decided to stencil a few of the placemats as well.

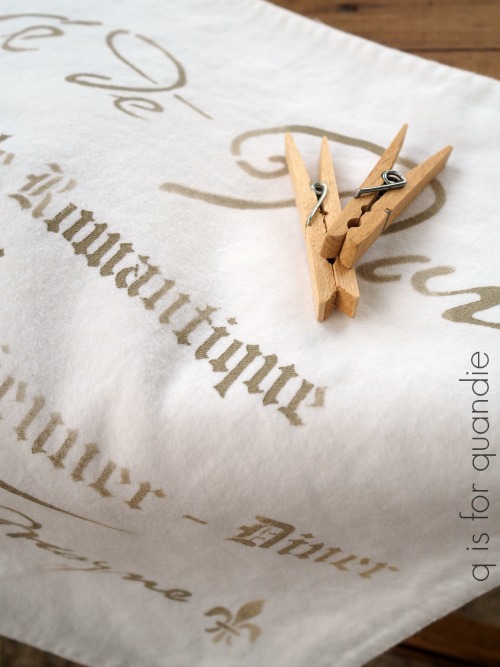
I used Prima Marketing’s Basket Weave stencil on one side and a Cafe de Paris stencil that I purchased on Etsy a while back on the other (sorry, the Etsy shop that I purchased it from is no longer in business, so I can’t give you a source for it).

I definitely plan to try a few more techniques with the Decor Textiles.  I’m thinking about trying to dye some of the napkins using chalk paint, and I also want to get out my Decor Stamps and try them on some pieces.  I’ll be sure to keep you guys posted when I do.

What do you think?  Got any other ideas for dressing up the new Decor Textiles?  If so, be sure to let me know in a comment.

in love with a pig.

I’ve mentioned before that Prima Marketing has sent me their products in the past to try out and share here on the blog.  I’ve hosted a few giveaways featuring their products as well (and I have a giveaway of their metallic wax planned for next week).

Well last Saturday a giant box arrived on my doorstep.  I wasn’t entirely expecting it, although I had mentioned to Cari at Prima that I would love to try some of their new products.  She’d said she would see what she could pull together to send out, but I wasn’t sure if anything would be coming my way.

Then the giant box arrived.  It was filled with cool products for me to play around with and I’m looking forward to doing some experimenting.  Prima has some amazing new transfer designs coming out so you’ll have to keep your eyes peeled for those, as well as a few other fab items.

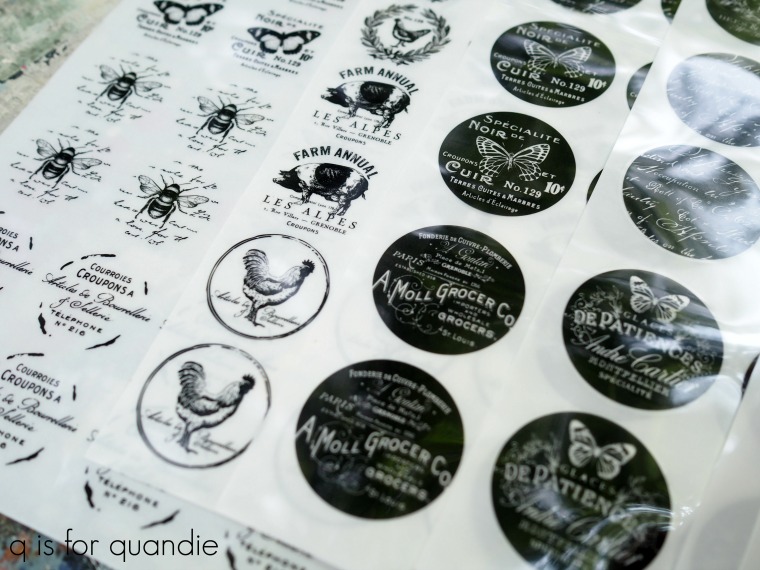
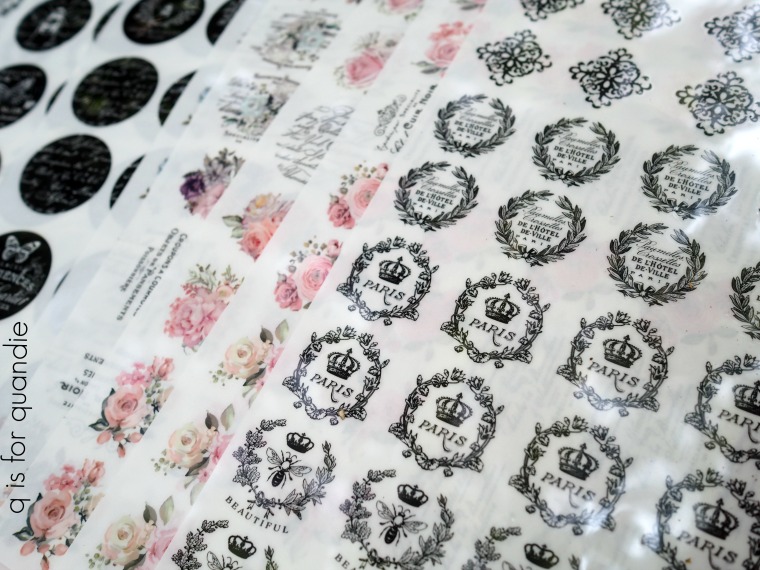
Among the goodies were several loose sheets of tiny transfers.

The transfers themselves are about 1.25″ across each.  I instantly loved all of the different designs, but I wasn’t sure what they were for.  Then it occurred to me, knobs!

Yep, sure enough, these are their brand new re.design knob transfers which are being released to stores today!

I couldn’t wait to give them a try, so I pulled out my stash of wooden knobs.

One could say that I have a lot of wooden knobs.  I tend to take them off things and replace them with glass knobs instead (although that’s definitely going to change now that I have these transfers).

First I decided to test out whether or not the transfers would be very visible applied over a typical wood knob.

It’s a subtle look, but I think it works.

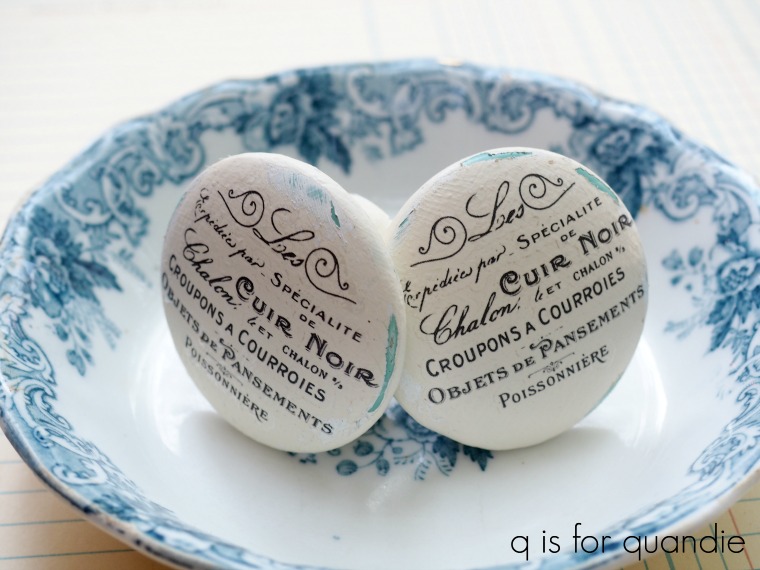
But I wanted to experiment with something that had a little more impact so I painted a bunch of the knobs using Fusion’s Limestone, my favorite warm white.

And that’s when the fun really began.

I started out with the Bees & Queens design from the Cursive Letters collection.

It didn’t take me long to realize that these were going to be amazing.

Next I tried a design from the Paris Cottage collection.

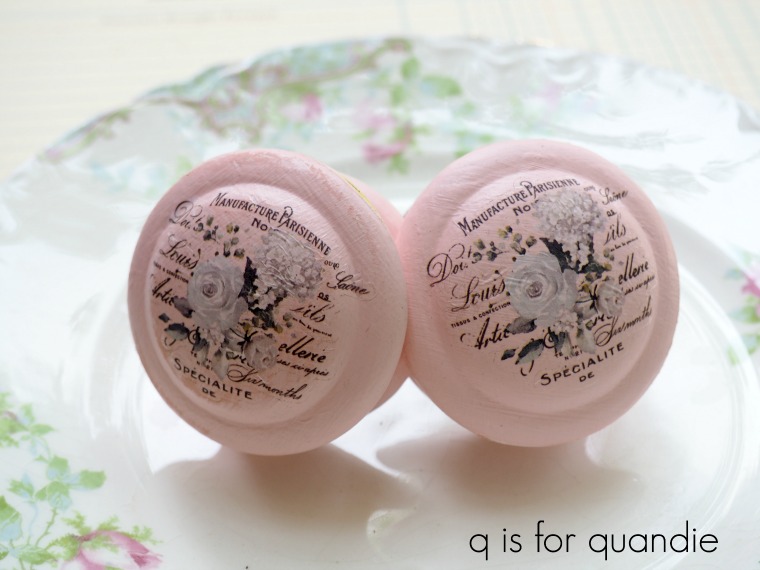
I had a couple of pink knobs in my stash so I decided to give them something floral.  This design is also from the Paris Cottage collection.

How sweet are those?

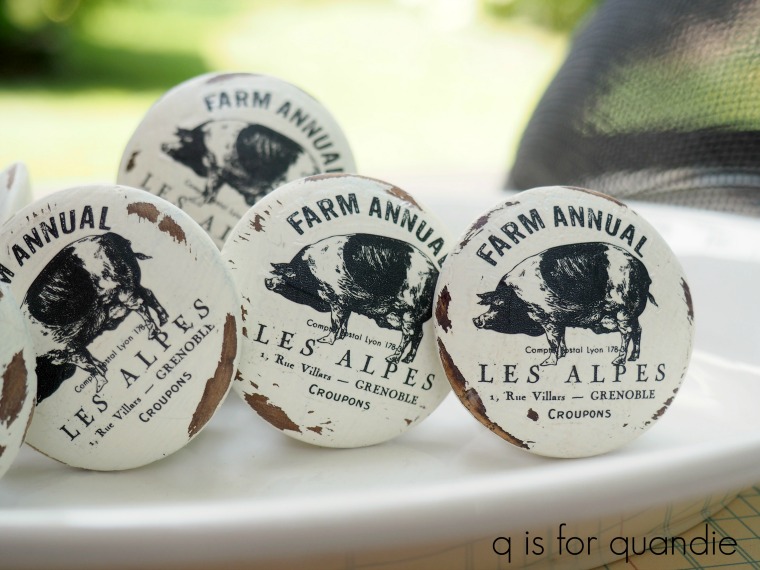
Finally, I had a set of six knobs that were all the same size, so I decided to do them all the same.

I have to admit, I was not expecting to like these as much as I do.  Dare I say it?  I’m in love with a pig!  How amazing would these be on a black dresser or hutch in a kitchen or dining room?

The pigs are from the Farmhouse Delight collection.

Now I just need to find some furniture to use these knobs on!  Or maybe come up with some other creative uses for them.  I’ll definitely be working on that.

In the meantime, what do you think?  Do you love these as much as I do?

You may have to wait until closer to the end of the month to find them.  I found just one of the designs available for pre-order at  Red Posie, and I also saw some pre-order options available on Etsy (search for Prima Marketing knob transfers) for $7.99 per sheet.  I’m sure they will become more readily available over time!


resistance is futile.

For a while now people have been telling me that I really need to get on Instagram.  I’ve resisted up until now for a couple of reasons.

First of all, it’s not like I have a bunch of spare time on my hands to learn a new medium.  I’m pretty busy with the day job, the gardening, the garage saling, the socializing (thanks again for that amazing pool day bff), the furniture painting and of course the blog writing.

Second of all, I needed to upgrade my phone first.  It’s embarrassing to admit, but I had an ancient windows phone that was not very compatible with Instagram or anything else for that matter.

OK, it wasn’t quite that bad, but close.

So not only did I have to learn how to use Instagram, but I also had to learn how to use a new phone.

And then there is the square photo format.  Not really a big deal, unless you are used to composing all of your shots for a rectangular format.  Suddenly you have to start thinking about how they will look as a square.  Lots of my photos are totally wrong for turning into a square.

But I bit the bullet last week and purchased a new phone.  Once I had the basics down, like being able to answer a call, I decided to download the Instagram app.  Just to explore what it was like.

I set up my account, qisforquandie, and then I followed some of my favorites; missmustardseed, vibekedesign, dreamywhiteslifestyle, savvycityfarmer, lizmariegalvan and frenchcountrycottage.

And you know what I discovered?  Turns out Instagram is like porn for blog readers.  Let’s face it, it’s all about looking at the pictures with very limited text.  It’s total eye candy.

And it all looks so pretty on my new phone, it was hard not be sucked in.

As they say, #resistanceisfutile, #youwillbeassimilated, #wearetheinstagram.

Any other trekkies out there?

Anyway, it’s official, I’m on Instagram.  No worries at this point, I have no plans to give up blogging.  If you still want some substance with your pretty pictures, you need more than Instagram.

But if you are already assimilated, I hope you’ll follow me on Instagram.  And if any of you have favorites that you follow, let me know.  I can always use a little more eye candy in my life.

in memoriam.

It has been a sad week for our family.  Mr. Q’s sister Christina passed away unexpectedly on July 5.  She was only 48 years old and in addition to siblings, her father, cousins, aunts, uncles and so many friends, she also left behind three children.

I really hesitated sharing this news here on q is for quandie because I would rather keep things happy and light.  I don’t want to bring people down.  But normally I would have a post to share with you guys today, and this week I don’t.

Instead of painting furniture, or photographing a rusty pedestal makeover, we spent the last couple of days in the small town of Mountain Lake in the southern part of Minnesota for a visitation and funeral.

I considered just not posting at all today, but instead I decided to share one of my most recent happy memories of Chris.

Last September Chris was in Texas for a business trip and she made the time to visit Magnolia Market.  She was a big Fixer Upper fan.  She rented a car and drove to Waco by herself because she just had to visit, and hopefully catch a glimpse of Chip & Joanna.  She posted a live video on Facebook showing that she was the first person there that morning.  The sun was just barely up.  She was so excited and you can hear the joy in her voice at just simply being there and taking it all in.  She took all of us watching on a tour of the place and laughed about the fact that she was there so early and apparently no one else was!

I remember sitting here at my computer watching her live video with my morning coffee and just being happy that Chris was so obviously enjoying herself immensely!

Although Chris and I weren’t terribly close, we shared that love of vintage farmhouse style.  She was always so supportive of my blog and that meant a lot to me.  Unfortunately I have to admit that I never told her that.  Somehow I always thought that there would be time down the road to bring it up and now it’s too late to let her know how much I appreciated her.

So do me a favor today.  Instead of leaving a comment here, tell someone in your life how much you appreciate them.  You never know when that opportunity will be gone for good.

a quick Sunday post.

Hello everyone!  I hope you’re enjoying a lovely Sunday where you are.  Unfortunately it’s raining here in Minnesota, but I’m hoping it will clear up later because we’re headed out to a wienie roast for Mr. Q’s mom’s birthday.

You may remember that Mr. Q’s mom and step-dad’s workshop burned down back in February.  Well, I’m happy to report that they were able to replace it with a new pole barn.  It’s not going to have the same charm as the original workshop, but it will be just as functional if not more so.

Naomi and Tom are the type of people who always see the glass as half full, so they have pointed out that the new building is all on one floor which will make more sense for them as they get older.  The stairs in the old workshop were fairly steep and Naomi was already finding them challenging.

The new pole barn is nearing completion, so I’m looking forward to checking it out later today.

I’d like to take this opportunity to again thank all of you who helped support them during that difficult time with either a financial donation or just your thoughts and prayers.  It meant a lot to them, and they were able to use the money to replace some of Tom’s tools.  Although insurance did provide enough money to put up the pole barn, it will never pay to replace all of the tools that Tom lost.  So thank you for that!

In other news, I have drawn the names of all of the winners of the Prima Marketing transfers from my posts last week.  They are Cherie, Debbie, Jacqueline, Jill, Toia, Laura and Carolyn.  I’ve sent an email to each of the winners and all but one have gotten back to me.  So if you didn’t get an email, I’m sorry to say that you did not win.

Thank you so much for all of your comments on those posts!  I’m sorry I wasn’t able to respond personally to each one (and I also wish each one of you could have been a winner), but I did read and enjoy every single comment.  I also took the time to check out some of the blogs that you guys recommended on Friday.  There were a few that I already follow, and there were a few that were new to me and I’m looking forward to giving them a closer look.

A couple of people mentioned in comments that they didn’t receive an email notifying them of last Friday’s blog post until after the midnight deadline for the drawing.  That can be the result of the settings that they chose when they signed up to follow my blog via email.  If you are following via email you can choose to be notified about new posts immediately, daily or weekly.  If you want to change those settings you can do so by clicking on the word ‘manage’ in parentheses over on the right under ‘you are following this blog’. Next look for my blog listed under ‘followed sites’ and click on ‘settings’. You should be able to change that setting there.

Just for fun I thought I’d share where the garden beds from last Monday’s post ended up.  Susan, the buyer, was kind enough to share a photo of them in their new home with us!

I love that the room has a garden theme with the watering can and pots up on that shelf!

One last thing before I leave you today.  I don’t know if all of you know that I also produce a blog for Reclaiming Beautiful, the shop where I sell on consignment.

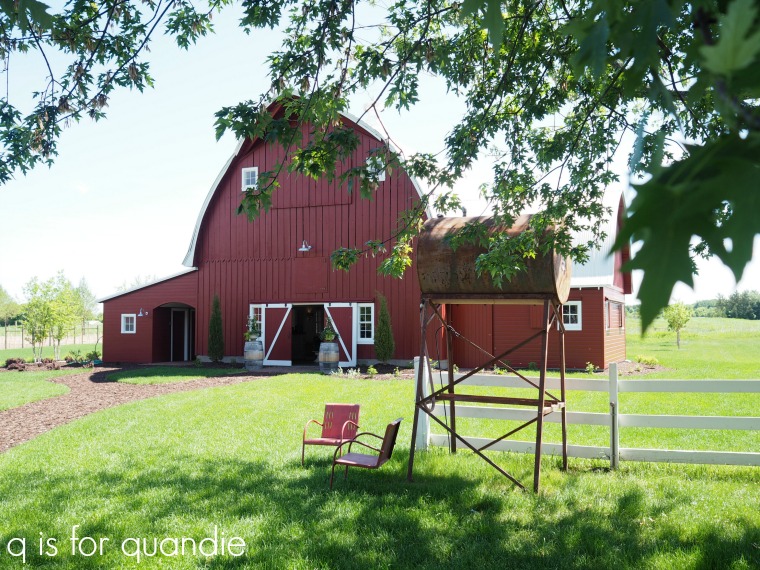
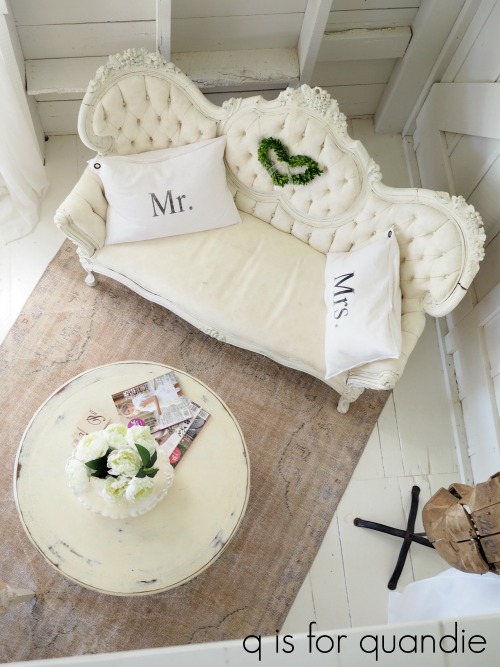
I usually only post once a month there, but during the month of June I posted every week to share a gorgeous wedding venue called Redeemed Farm.

This place was simply stunning.

If you haven’t seen those posts and you have some time on your hands you should head over to the Reclaiming Beautiful blog and check it out!

In the meantime, enjoy your Sunday.  I’ll be back tomorrow with another furniture makeover!


public service message.

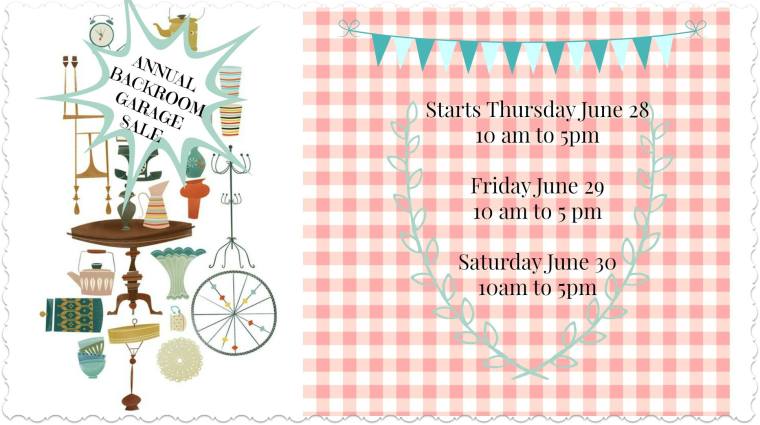
This is a rare evening post here on q is for quandie and its only purpose is to alert my local readers to some great sales taking place starting tomorrow.

First off is the Reclaiming Beautiful Annual Backroom Garage Sale.

I’ve never actually been to this event because I happen to have a day job.  Ugh.  I can’t tell you how many amazing shopping opportunities I miss out on because they take place during the week.

Basically this is Reclaiming Beautiful’s opportunity to clean out their back room and they promise ‘garage sale’ prices.  So hopefully some of you can head to the sale and score some bargains!

Reclaiming Beautiful is located at 216 Myrtle Street W in Stillwater, MN.

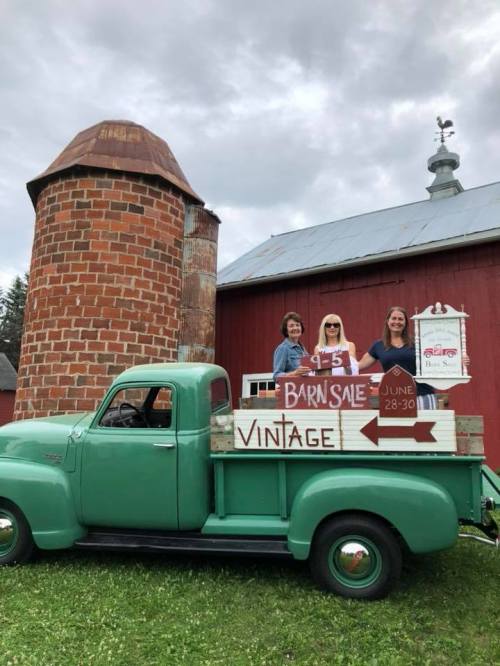
Next up is the Stone Hill Farm and Friends Vintage Barn Sale.

You may remember that I posted about the Barn Chic Vintage Sale last year around this time.

Well, they have re-branded with a new name and some new vendors, but the same fabulous location in Kim’s barn.  They’ve been sharing lots of photos on Facebook and it looks like they have some amazing stuff this year.

They are also open starting tomorrow (Thursday, June 28) and will be open from 9 a.m. to 5 p.m., Thursday through Saturday.  They are located at 2946 Oakgreen Avenue in Stillwater, MN.

Both of the sales have a Stillwater address and they are about 10 minutes apart so it’s a great opportunity for a two-fer!  Although don’t be thrown off by the Stone Hill Farm location which is on the southern outskirts of town not far from the Lake Elmo Park Reserve, not in downtown Stillwater.

Happy shopping!

a bit loony.

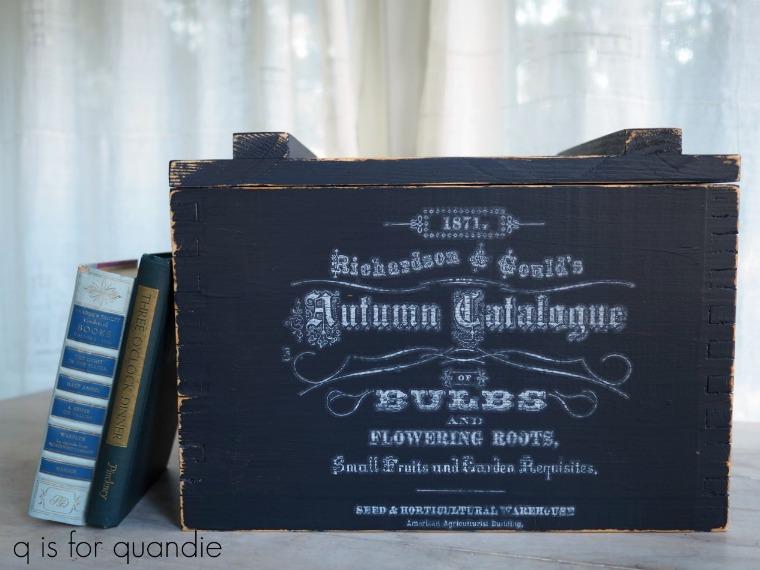
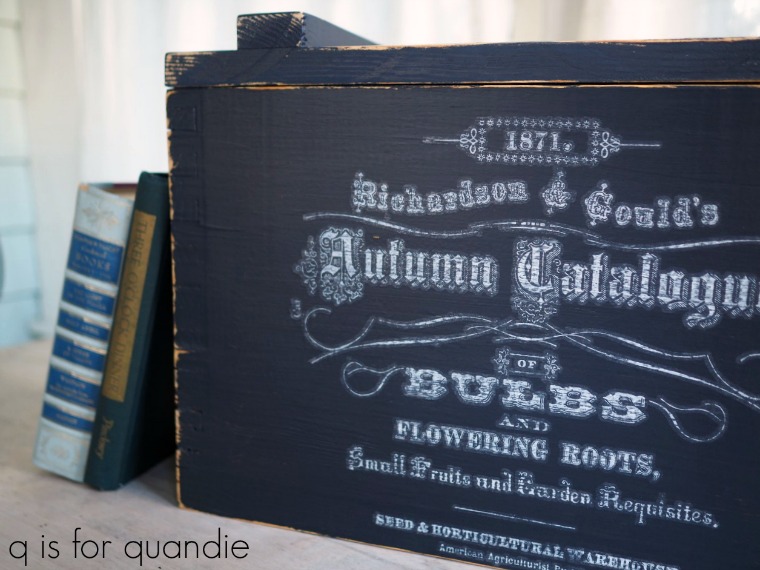
Way back when I first used the Iron Orchid Designs transfer called “Seed”, the one that I used on the linen press dresser last Friday, my sister noticed that it says “Richardson & Gould’s” on it.  See it?  At the top …

Our maternal grandparents were named Richardson, so that really appealed to her.  So I definitely wanted to make something for her for using that transfer.

Although we’re keeping an eye out for the perfect piece of furniture for a particular spot in her kitchen, that hasn’t come along yet so instead I decided to makeover a garage sale box that I purchased last summer.

The box was a bit ‘loony’ to start out.  What can I say, Minnesotan’s love their loons!

After sanding the box lightly and wiping it down with some TSP Substitute, I made quick work of painting over the loon with some Fusion paint in Midnight Blue.

I painted the box inside and out.

When painting a box with a hinged lid like this with Fusion paint, be sure to leave the box to cure a bit with the lid open.  If the paint is even a little bit tacky and you shut the lid it will pretty much seal shut.  Another lesson learned the hard way.

My sister loves this dark navy blue color.  I knew from prior experience that the charcoal grey IOD transfers would not work over a dark color, plus I’d been wanting to try the white IOD transfers so I ordered the smaller version of the Seeds transfer in white via Etsy.

Once the paint was fully dry, I placed my transfer over it to see how it would fit.

I did have to trim a little bit of the design off the bottom.  I’m saving that piece for another project.

Once I had my design placed where I wanted it, I rubbed the transfer sheet with a the popsicle stick type tool that comes with it, made sure all of the design was well adhered, and then pulled away the backing.

I have to admit, I have mixed feelings about the white transfer.  It definitely did not look as crisp as I was hoping it would.  I tried the trick of sanding it slightly, but that didn’t really help and might even have made it worse (and I also sanded the edges of the box to distress while I was at it).

I have seen photos of pieces with the white transfer online that definitely look much better than mine.  I’m wondering if the white transfers have been improved upon since the one I purchased from Etsy was manufactured.

But the important thing was that my sister loved the box when I gave it to her for Christmas, so that is all that matters right?

I’ll definitely try again with the white transfers.  Maybe they look better over black, or over a more matte finish.  I’ll have to experiment one more time and let you know how it goes.  But in the meantime, have any of you used the white transfers?  What was your experience with them?  Any tips you want to share?


the laundry co.

Here it is mid-April in the Twin Cities and winter is still going strong.  I’ve been so patiently waiting for signs of spring.  But lately it seems like just when enough snow melts for us to see the ground, another round comes in.

This past weekend the snow started Friday night, we had blizzard conditions by Saturday afternoon and the snow continued to fall until sometime after midnight last night.  I believe we broke some records and got well over a foot of snow.

But on the bright side, it was a weekend.  So we didn’t have to go anywhere, which left us with plenty of time to just hang out at home and binge watch some Norwegian TV.  Mr. Q and I got through all of season 1 and halfway through season 2 of Okkupert (Occupied).  Somehow it seemed appropriate to be watching this show while the snow came down.  But the weather also gave me a great opportunity to work on some projects.

One of the projects I worked on was updating an old wooden ironing board.  I’d painted it several years ago with black chalkboard paint and tried to sell it at a couple of my occasional sales, and there just weren’t any takers.  So it ended up shoved in the back of the carriage house.  Out of sight, out of mind.

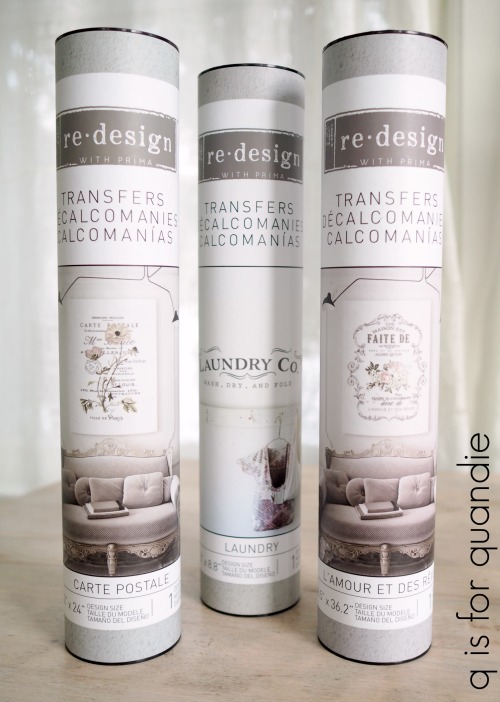
But then Prima Marketing sent me some of their new re.design transfers including the design called ‘Laundry’ (in the middle).

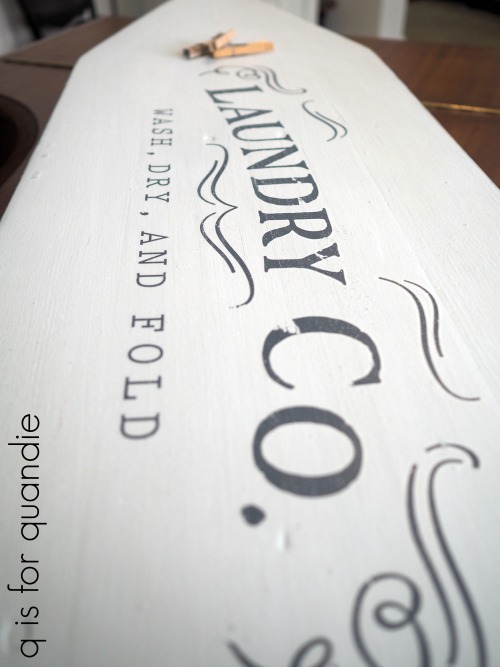
It was the perfect size to add to the old ironing board and turn it into a sign.

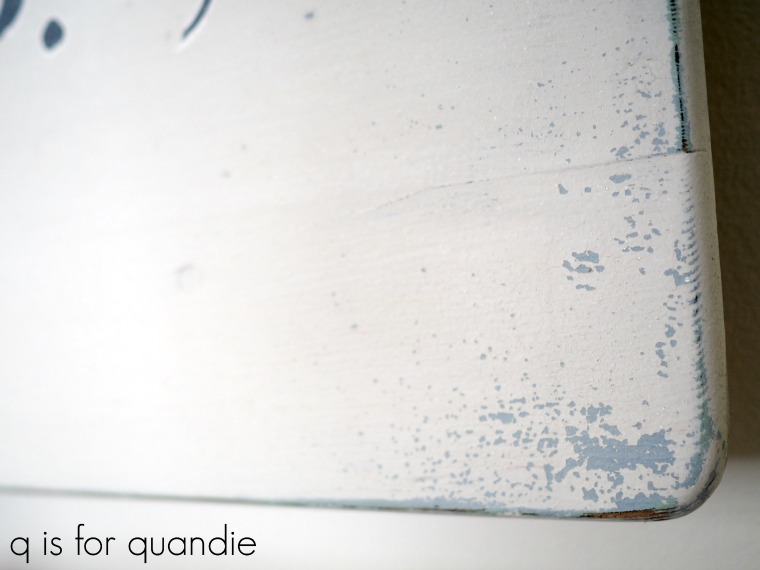
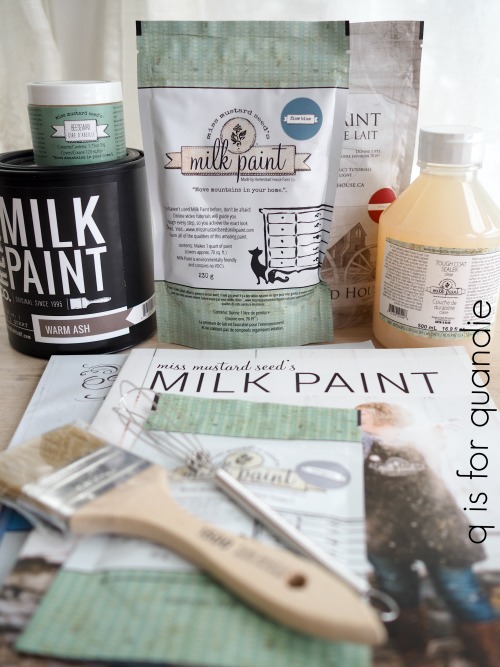
I started out by painting over the black chalkboard paint with a coat of Miss Mustard Seed milk paint in Shutter Grey.  Then I used some Homestead House Salad Bowl Finish to create a resist (read more about that technique here) and then added two coats of Homestead House milk paint in Raw Silk which is a white with a grey undertone.

Once the paint was thoroughly dry, I added the transfer following the directions provided in the packaging.

 After the transfer was in place, I sanded it very lightly with 220 grit sandpaper and then added a top coat of Miss Mustard Seed’s Furniture Wax.

The transfer was the perfect size for my ironing board.

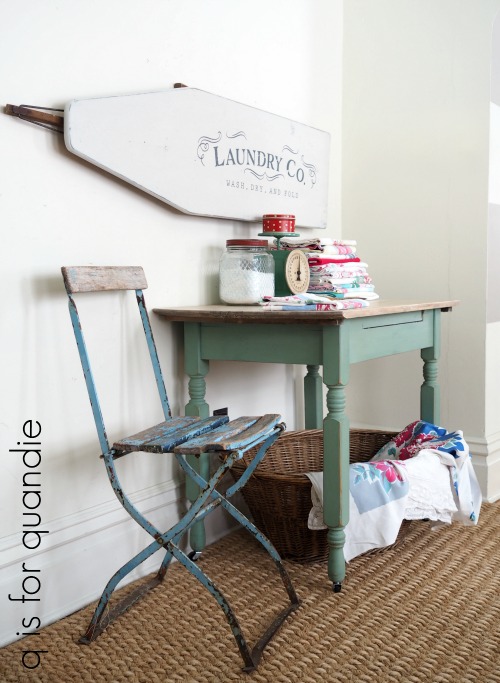
I set up a little laundry folding scene against the designated blank wall in my piano room.  Some bloggers might have been able to stage a laundry sign in their fabulous, light filled laundry rooms.  Not me.  My laundry facilities are in my ancient 100+ year old dark basement complete with damp concrete walls and cobwebs we can’t keep up with.

I wish I had a pretty spot like this for folding my laundry down there.

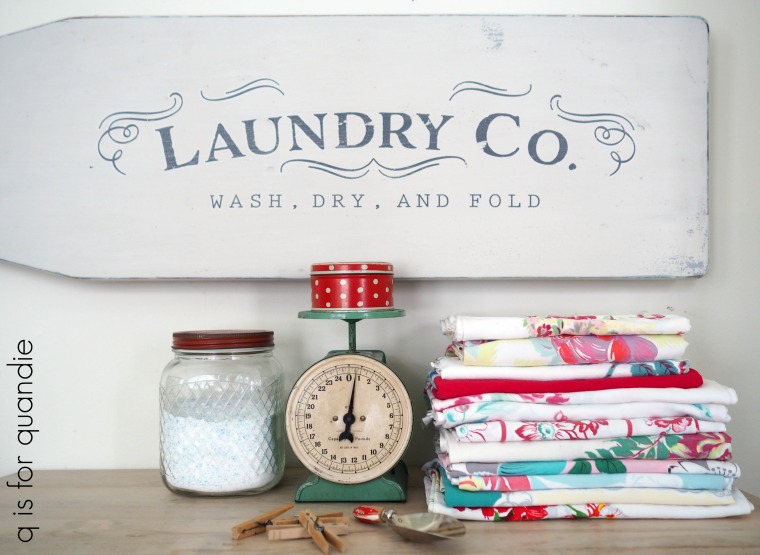
I have so many tablecloths to fold …

Don’t these vintage linens have the most gorgeous colors?

I won’t be hanging on to the laundry co ironing board since I don’t have a spot for it that will do it justice.

If you’re local and you have a nice blank wall in your laundry room that would be perfect for a vintage ironing board turned sign, be sure to check out my available for local sale page for more details.

In the meantime, we’ll be here shoveling out from the storm, watching the rest of Occupied and hoping that spring really is coming this year.  Eventually.

winner, winner, chicken dinner.

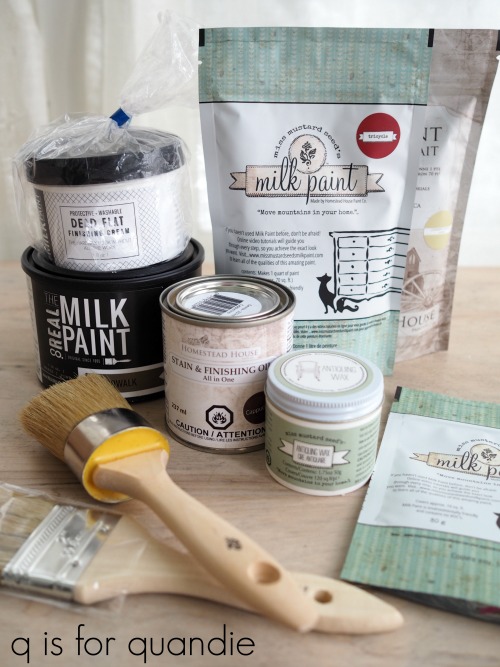
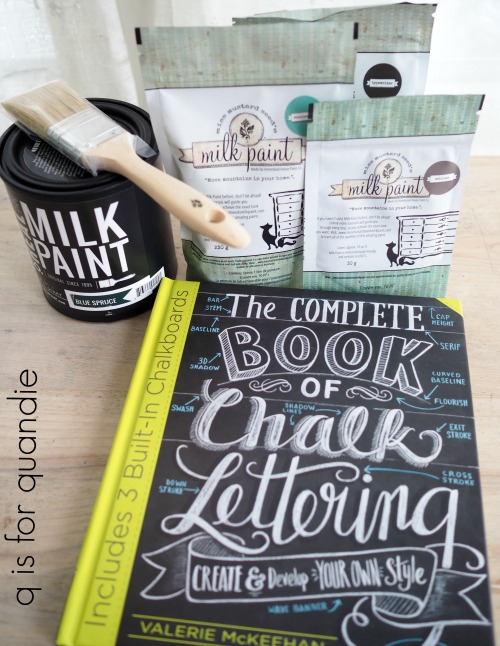
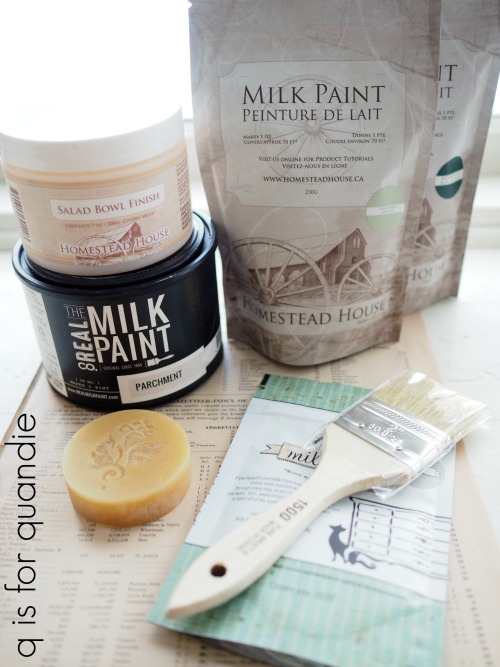
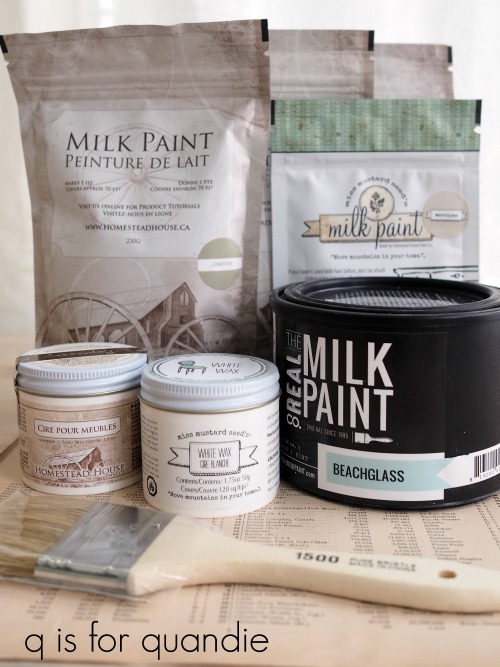
First thanks so much for all of the many comments you guys left last week during milk paint madness!  I appreciated every single one and I wish you could all be winners.

But, I only had six prizes to give away.

I say only, but seriously, how incredible were my sponsors in giving me so much fabulous product to give away to you guys?!  I’d like to once again say thank you to Homestead House, Miss Mustard Seed, The Real Milk Paint Co and Sweet Pickins.  They made this all possible.

I used a random number generator to choose a winner from among the comments left on each day’s blog.  Yesterday I notified each winner by email, so if you didn’t get an email, I’m sorry to say that you didn’t win.

But here are the people that did win!

Jeanne R. won the milk paint basics prize.

Constance C. won the milk paint topcoats prize.

Sharon V. won the milk paint chalkboards prize.

Paula G. won the milk paint advanced techniques prize.

Paris B. won the milk paint magic prize.

And Laura W. won the bonus Sweet Pickins prize.

I hope I inspired a few of you to get out the milk paint and start painting something!