four years in.

It’s my blogiversary!  As of today I have four years of blogging under my belt.  I’ve written 736 posts and had 121,042 visitors to the blog with 338,987 views of my posts, and those numbers don’t include those who are following via email (another 86,000 views for 2017 alone).

Wowza!  I definitely did not see those kinds of numbers in my future when I started this blogging thing.
I started my blog on Thanksgiving weekend, 2013.  The only reason I started then was because I happened to have some time on my hands with the four day weekend.  I wasn’t thinking ahead to the idea that my upcoming blogiversaries would coincide with Thanksgiving weekend and thus become the perfect opportunity each year to express my gratitude for my readers.

In other words, I couldn’t have planned that better if I’d tried.

So here we are at the perfect time of year for thinking about the things we are thankful for, and I want to take this opportunity to say that I am extremely thankful for all of you!  I have the most supportive, thoughtful, kind, enthusiastic, insightful, creative … well, let’s just face it, positively brilliant readers out there in all of blogland.

I cherish each one of you and I appreciate each and every comment that you leave whether it be short or long.

It wouldn’t be a blogiversary celebration without a giveaway, so be sure to read to the end of the post for more details!

In light of the announcement earlier this fall that this will be the last season of Fixer Upper, I’ve been thinking about longevity a lot lately.  How quickly people rise to the height of fame, and then either move on to other things or disappear off the map entirely (not that I’m saying that will happen to Chip & Joanna!).  Or conversely, how many start something and then just fizzle out quietly.

I’ve been at my day job for 30 years (I know, crazy right?), we’ve lived in our house for 29 years.  We’ve been married for 28 years (yes, Mr. Q and I shacked up before we got married).

And I’ve been painting furniture for more than 20 years.  Since long before chalk paint or milk paint became all the rage, and definitely before blogging was even a thing.  Actually, the internet itself was just getting rolling back then.
I know it’s terribly ‘old school’ of me, but I place some value on longevity.

I guess it goes without saying that when I find something that works for me, I tend to stick with it through thick or thin (whether it’s a job or a marriage, or so far even a blog).

That seems to definitely be the exception rather than the rule when it comes to blogging.

I’ve watched so many blogs come and go over the past four years.  And I totally get it.  Blogging is very time consuming, and the financial payoff for most is fairly minimal if not pretty much non-existent.
I could work harder to promote my blog, and I could ‘monetize’ it (by adding those annoying pop-up ads).  I know there are a handful of bloggers out there who have been able to quit their day jobs and live on their blog revenue, but I think that is pretty rare and not always long lasting.  I have no plans to ‘monetize’, and in fact I just upgraded to the next level of WordPress which means you’ll no longer even see those ads at the bottom of each post (you’re welcome!).

I do get one awesome financial benefit from the blog though, free product.  I’ve gotten paint and other supplies from Little Billy Goat, Rachel Ashwell, Real Milk Paint Co, Fusion, Homestead House and Miss Mustard Seed.  This benefit has been totally amazing!  It’s like getting a fun gift every time I receive a box of stuff in the mail. Although most of these have been one time deals, the Fusion/Homestead House people have been incredibly generous in continuing to send product on an ongoing basis.

Over time I’ve dabbled with increasing my exposure through HomeTalk and a Facebook page, and I’ve thought about adding Instagram.  There seem to be a million other options for social media these days.  But those things all take up valuable time that I’d rather be devoting to either refurbishing vintage furniture or to writing the blog posts themselves.  After putting in the time at my full-time day job (the one that actually pays the bills), there are only so many hours left in a day and I have to choose what I spend them on wisely based on my personal goals.
So, if I’m not doing this blog thing for financial gain and I have no immediate desire to focus on expanding my exposure, why am I doing it?

The answer is really very simple.  Because I love it.

It totally makes my day when I get comments from you guys about how much you enjoyed a post.  I also get a huge kick out of meeting people and having them say “I just love your blog!”  It’s always fun when someone tells me they were inspired by one of my projects.

I really enjoy the photography side of blogging as well.  Staging a piece to take photos of it is one my favorite aspects of blogging.  I’ve been working on improving my photography skills which has been pretty fulfilling.

Writing blog posts is also something I enjoy.  I’d never considered myself much of a writer before, but as it turns out I take some pleasure in writing a good blog post.

But most especially, I really relish the process of taking a beat up old piece of furniture and giving it a new lease on life.  I feel a certain zen-like sense of peace when I am alone in my workshop with some Pink Martini playing (anyone?) and a paint brush in my hand.  I could (and often do) spend hours just painting stuff.  I know I would do this with or without a blog.

You see, I am a furniture painter first and a blogger second and maybe that’s why I have managed to keep at it for four years now.

So thanks to all of you for sticking at it with me, and here’s to many more years!

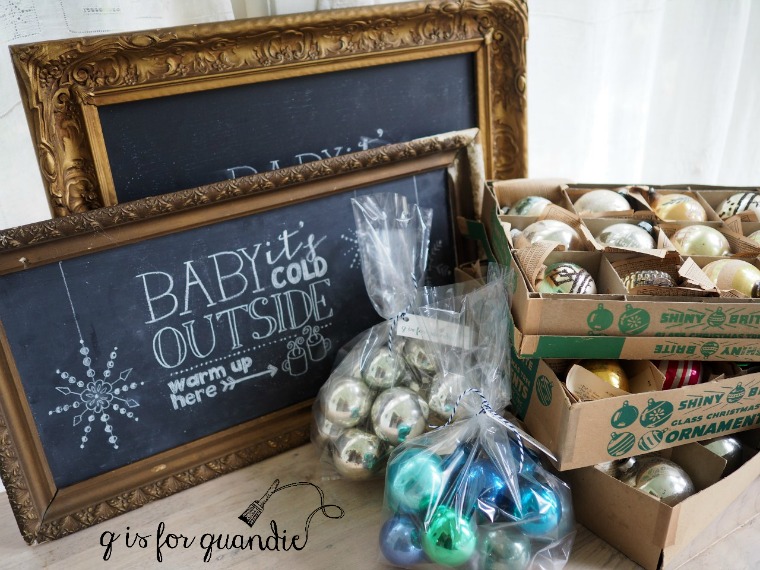
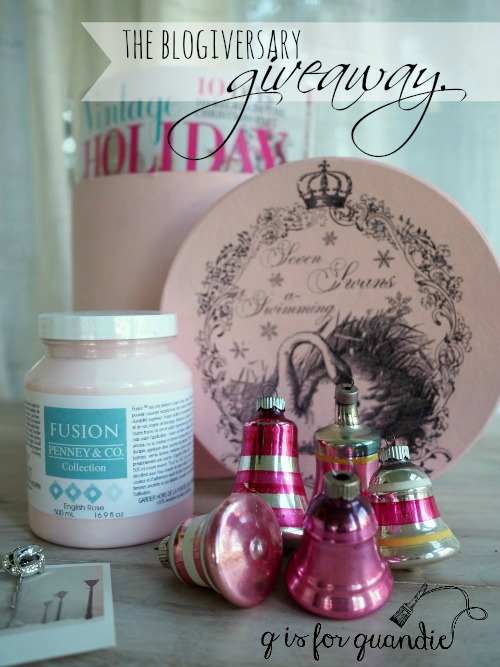
As I mentioned at the start of this post, it wouldn’t be a blogiversary without a giveaway right?!  I wish I could just send this gift to each and every one of you, but that isn’t possible so instead I will draw a name at random from the comments left on this blog post by Thursday, November 30 at midnight (U.S. Central time).  The winner will receive a Seven Swans a Swimming box, a copy of the issue of Vintage Holiday magazine with a story about my ornament non-collection, a jar of Fusion’s English Rose (provided by Fusion!), five vintage pink bell ornaments (crossing my fingers that they will arrive intact!), and a pretty hair pin I made using a pretty vintage earring.  I might find a few other things to toss in as well.
Best of luck to you!  And thanks for helping me celebrate my 4 year blogiversary!

decorating for free.

I’ve been hemming and hawing a bit about my outside Christmas decorations this year.  I really didn’t want to spend any money on them and usually I spend well over $100 on pretty evergreens to fill my planters.  So initially I was thinking I would just skip the outside stuff this time around.

I’ve got to be honest and admit that part of the problem is my tendency to compare myself to other bloggers.  I have been admiring all of the gorgeous decorating that some of the other bloggers out there are doing, and I really didn’t think I could measure up on my budget of $0.  I really wasn’t even sure if I could measure up on my $100+ budget.

So the insecure defeatist inside of me decided to give up before I even started.

But then last weekend we had a bright and sunny (albeit a bit chilly) Saturday and I decided to at least put the twig lights up in my front window box.  Once those were in place I thought, what the heck, I could certainly fill the window box with a few of the bazillion dried hydrangea flowers that were still on my bushes.  Once those were in place I could see that the arrangement desperately needed at least a bit of evergreen, so I clipped some random clumps from my arborvitae hedge and threw those in.

And guess what?  For a cost of $0 it looked pretty good.  At that point I was on a roll.  Why not go ahead and do the planter by the back door too?

I used some birch logs and some rusty metal ornaments that I already had, plus the same arborvitae and dried hydrangeas from my garden.

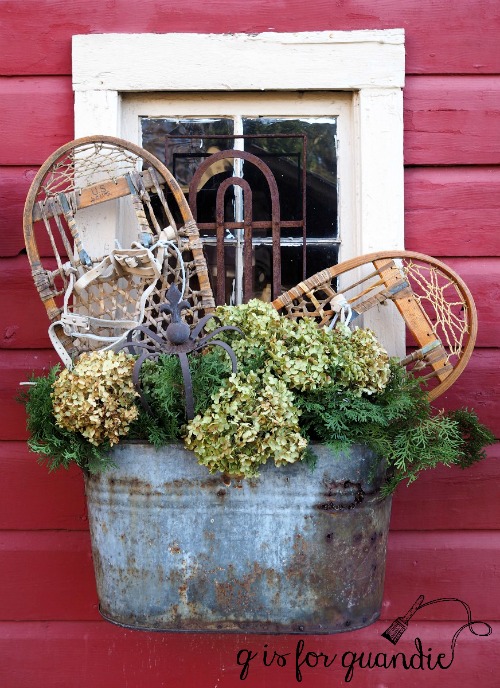
Next why not do the galvanized boiler planter on the side of the carriage house too?!

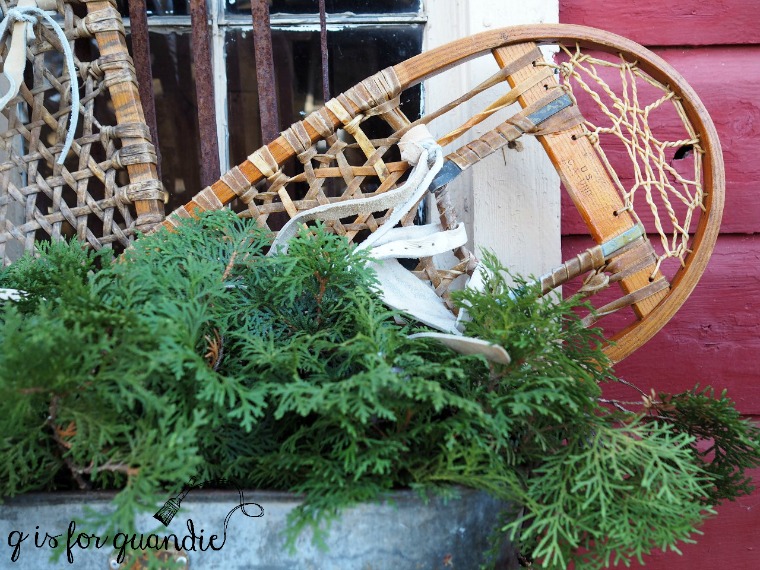
While working on that one I remembered the old pair of snow shoes that my neighbor, nnK, dug out of a dumpster for me.

What?  Don’t your neighbors bring you treasures from the trash?

I wasn’t quite sure what I would do with those when she first brought them over, but I realized they would fit perfectly in this planter.

I just tucked them in the back behind the evergreens.

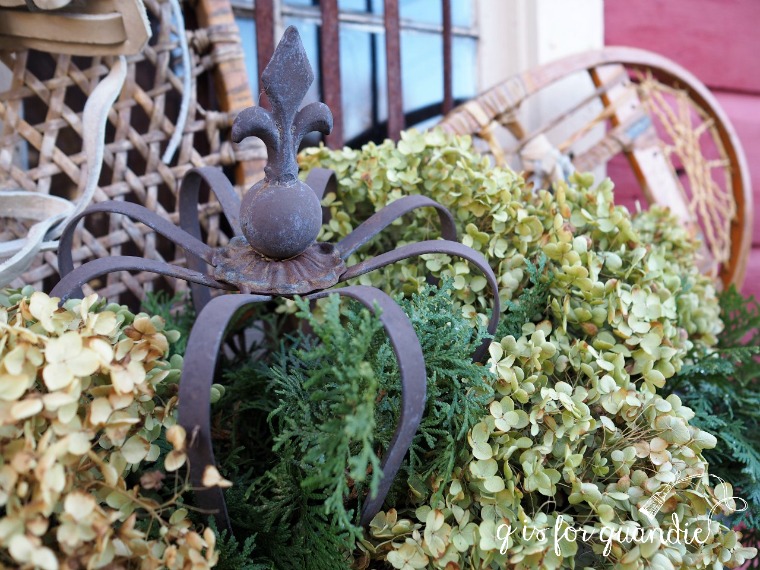
And then I added some hydrangea.  As the crowning touch (pardon the pun), I tossed in a metal crown that usually sits in the garden.

It feels like the planter is positively bursting with stuff, all of which cost me again, $0.

But wait, there’s more!

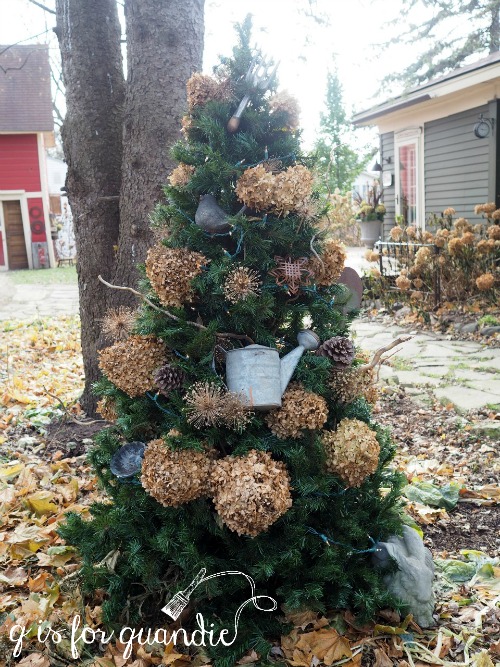
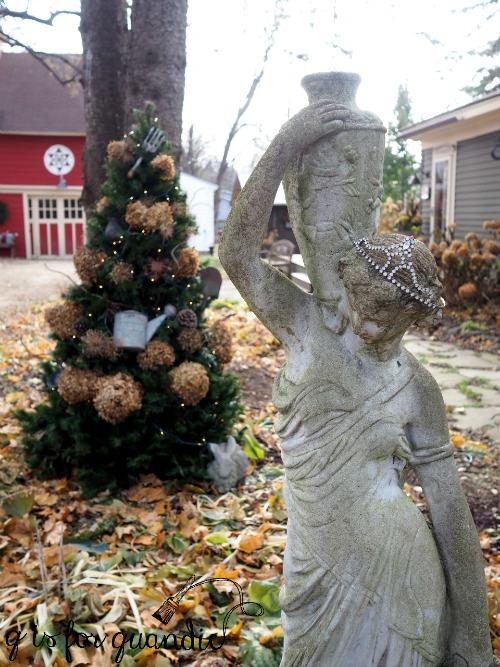
While I was digging around in the carriage house for stuff I could use, I came across an old fake Christmas tree that was also being discarded when I grabbed it (so again, $0).  I’ve always thought it would be fun to have a Christmas tree out in the garden, but I’d never gotten around to putting it up before.

Up it went.

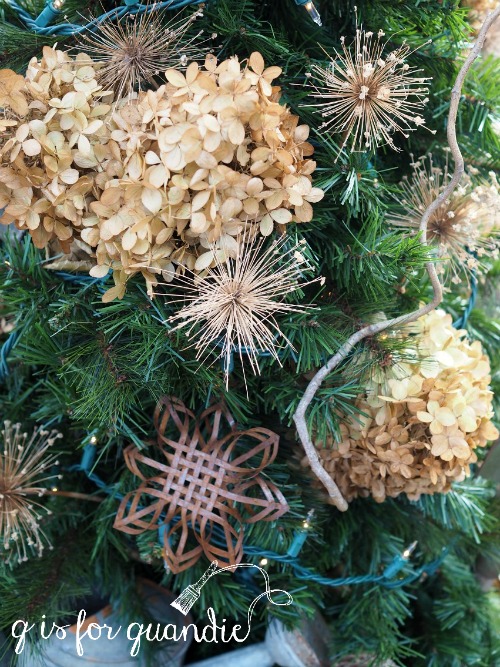
I added a string of white lights that I already had on hand, and then I decorated it from the garden.

In addition to the dried hydrangeas, I also used dried allium flower heads as well as some curly willow branches.

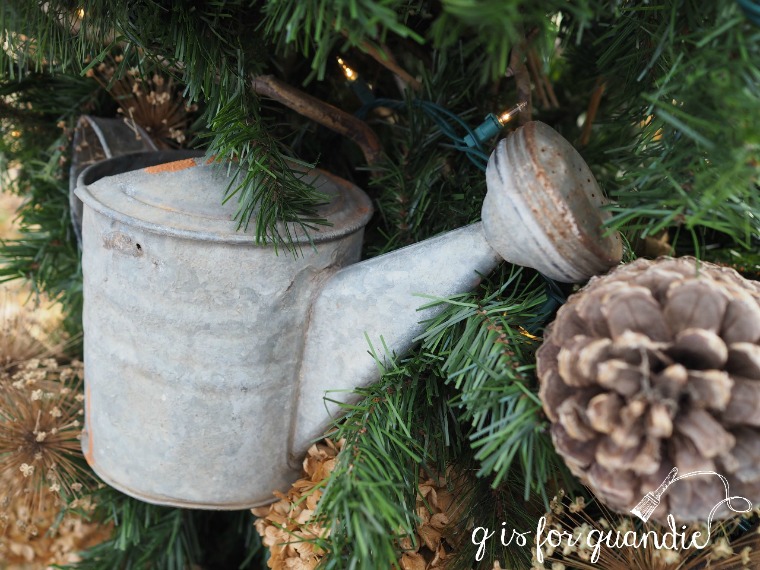
Then I tucked in things like this watering can …

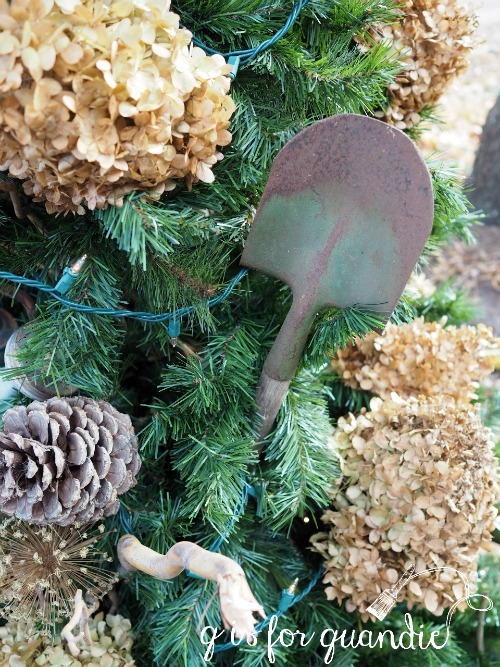
and a vintage kid sized shovel.  Just fun vintage garden stuff that I already had on hand.

I placed the tree so that it’s perfectly centered outside the bay window in my piano room, just behind Cossetta, my statue.  I love the way the tree looks lit up at night just outside the window.  I think it will be even prettier when we get a bit of snow.

For spending $0, I think I did pretty good.  I’ve definitely proven that you don’t have to spend a bunch of money to decorate for the holidays.  I realize that not everyone has loads of dried flowers to harvest, or a spare faux Christmas tree lying around somewhere.  But today when everyone else is out spending a gazillion dollars, I hope I’ve inspired you to think about using whatever you already have in a new way and decorating for free this Christmas!


vintage sled, take two.

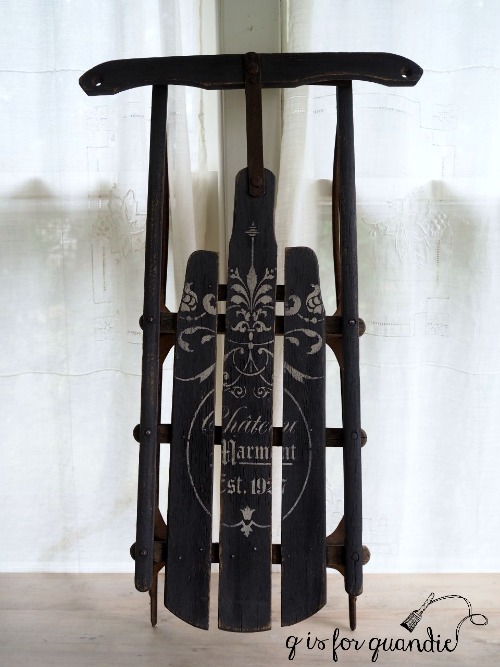
Last year I picked up a few vintage sleds at garage sales and then added stencils to them.

I had them at my occasional sale that fall and two out of three sold.

But there were no takers for this one.

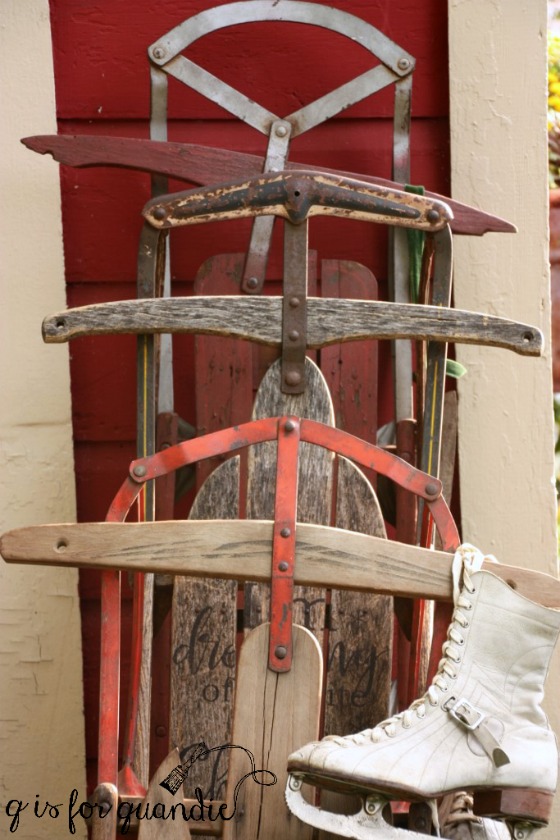
It’s easy to see why.  There just isn’t enough contrast between the wood sled and the black stencil.  But at the time my sale was looming and I didn’t have time to re-work it.  After my sale I tucked it away in the back of the carriage house and there it sat along with those ski’s that I posted on Tuesday.

So I pulled the sled out a week or so ago knowing that a do-over was in order.

I started by painting the wood with just one coat of Homestead House’s Coal Black milk paint.  I really just slapped it on somewhat haphazardly because I planned to distress it heavily anyway so I didn’t need precise coverage.  Plus, because I was painting over bare wood (much like with the ski’s) the paint really soaked in and provided great coverage with just one coat.

Then I debated what stencil to use.  I thought about another Christmas stencil, but that would mean that the sled has to be put away after Christmas.  Why not go more generic so that the sled can be a winter decoration rather than just a Christmas decoration?  No need to put it away until spring!

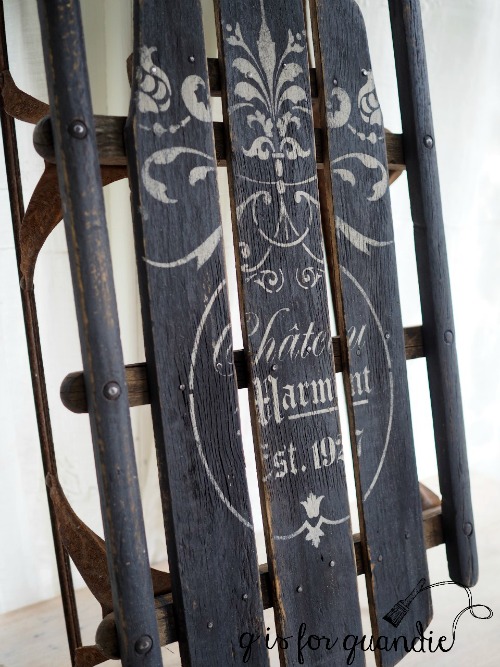
I also needed a stencil that would fit the width of the sled.  I ended up pulling out this pretty stencil that I’ve only used a couple of times.

I know it’s a little hard to believe looking at the pictures, but I used an acrylic craft paint in a dark greige for the stencil.  This color from FolkArt is called Barn Wood.  I prefer using this cheap acrylic paint for stenciling because it tends to dry out a bit over time, getting nice and thick, which helps give my stenciling a crisp edge.

I got a more ‘faded ‘ sort of look by using this color rather than white, and in contrast to the black background it still reads as ‘white’.

After sanding the wood heavily to distress I put the tiniest amount of Miss Mustard Seed furniture wax on a cloth and then wiped the painted wood down.  I didn’t really apply wax like one would normally, I didn’t work it into the surface or buff it or anything like that.  I mainly just used the tackiness of it on my cloth to remove any remaining loose paint.

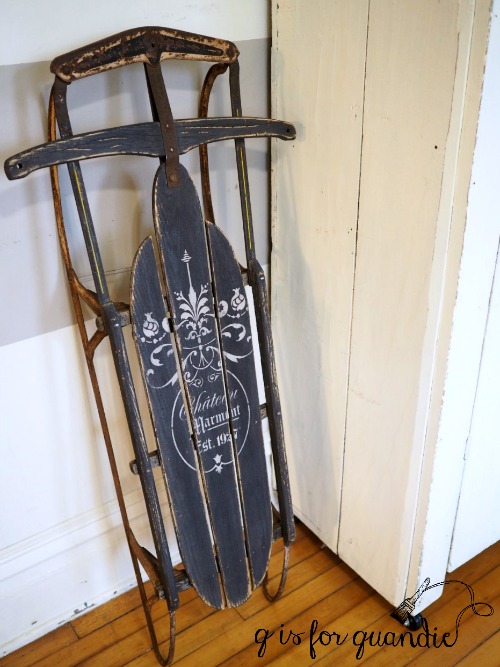
I love the worn, dull, muted appearance of the black without any other top coat.  It works perfectly with the metal rails of the sled.

Once I had it all done I really loved the way it looked paired with my Specimens cupboard, but size-wise it just wasn’t working with some other plans I have for that spot.

Then I remembered that I had another sled out in the carriage house, so I pulled that one in the house and painted it the same exact way.

This one is a bit smaller and will be staying with me.

I took the larger sled in to Reclaiming Beautiful this week, so hopefully it will go to a new home soon!

Meanwhile Mr. Q and I are off to a creative writing workshop this morning taught by one of his favorite college professors Alison McGhee, so obviously next week my blog posts are going to be massively improved.  At least the writing part.  So be sure to stay tuned!


and I’m back.

It feels so good to be back home from my trip to Disney World.  Last night I got the best night’s sleep in my own cozy bed, and this morning my feet feel like they might actually eventually recover from all of that walking.

I have a fun milk paint giveaway planned for later this week …

And I’ll also be sharing a gorgeous hutch that I recently finished but have yet to post about here on the blog …

But for today my plan was to tell you all about the tour around the world that we took in Epcot last week.  As it turns out that was an incredibly optimistic plan.  Between catching up on laundry, an 80th birthday party for my handyman/neighbor Ken and prepping holiday items to take to Reclaiming Beautiful, I really didn’t find the time to pull together the Epcot blog post yesterday.  I didn’t find time for a nap either, and that was way at the top of my to-do list!

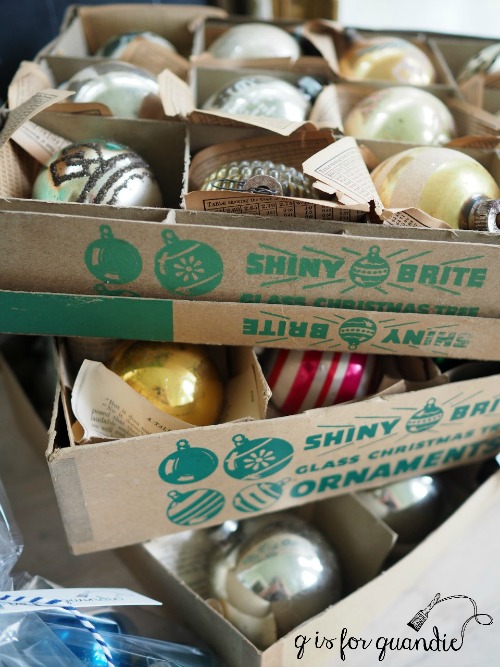
But I did pull out lots of great Christmas stuff to take in to the shop.  I’m going through my massive non-collection of vintage glass ornaments and pulling out some to sell, so if you are local and love vintage ornaments even half as much as I do, be sure to check out Reclaiming Beautiful in Stillwater this coming weekend!

I’ve got quite a few ideas swirling around in my head for some upcoming holiday projects, I’m working on another fab giveaway for my blogiversary later this month, and I even have a couple more awesome furniture makeovers to share, so be sure to stay tuned!

the day I met miss mustard seed.

This past Saturday I woke up bright and early … no wait, scratch the bright part.

Let’s start over.

It was a dark and stormy morning when I left my house last Saturday at 7 a.m. for Carver Junk Co’s workshop with none other than Marian Parsons of Miss Mustard Seed.  Literally one minute before I walked out the door the skies opened up and a torrential rain began.  Lightening strikes lit up the sky as I made my way to the interstate to drive the 45 minutes to Chaska.  It was definitely an auspicious start to the day!

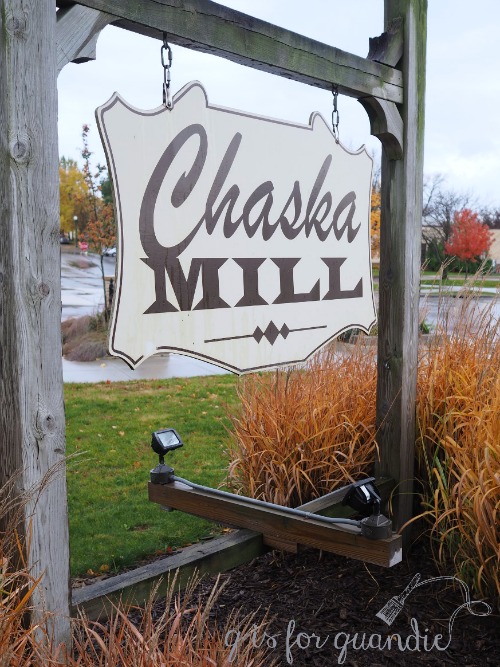
After a white knuckled drive with my windshield wipers on full speed, I arrived at my destination, the Chaska Mill.

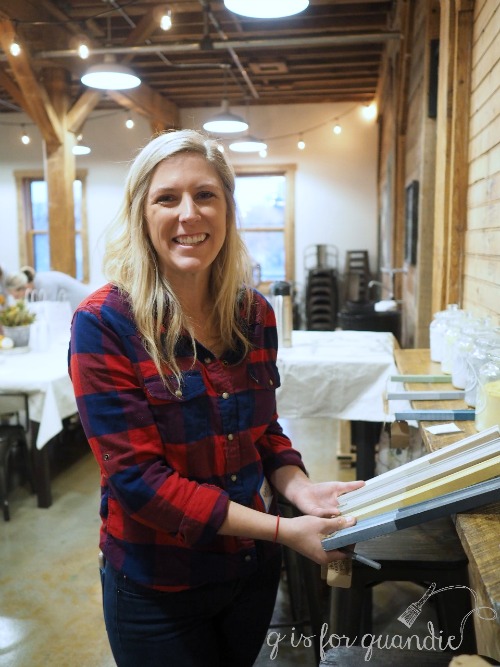
Marian (I feel like I can call her that now that we are practically bff’s) had invited me to come to the workshop as her guest, but I volunteered to be a helper of sorts.  It was sort of like auditing a college course.  I showed up, I soaked up the knowledge that Marian was sharing, but I didn’t actually do the project or get a grade.

I tried to be helpful, but I don’t know that I succeeded.

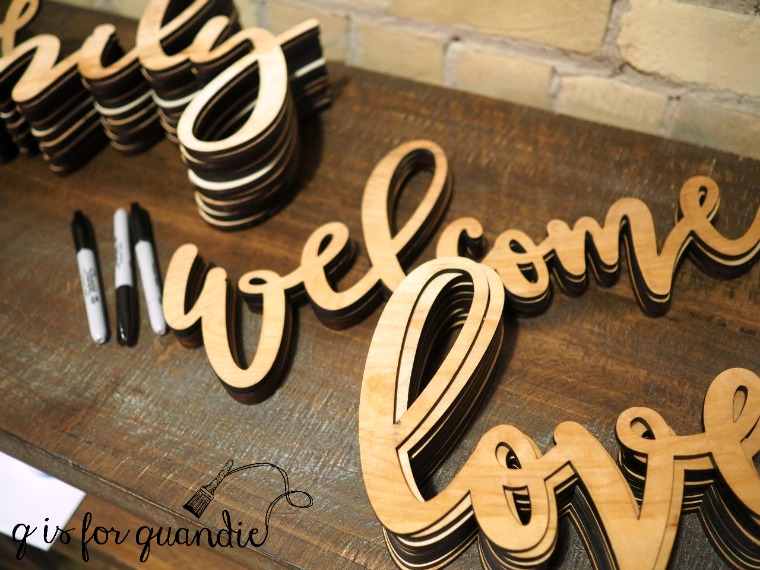
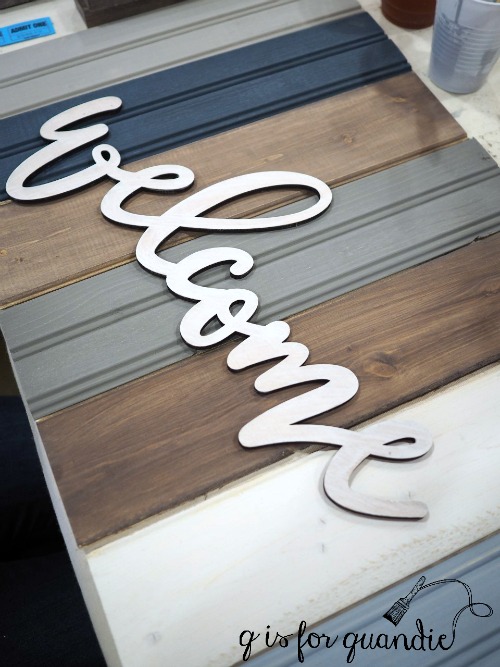
In hindsight, I should probably have done the project.  After all, everyone was making these amazing ship-lap style signs.

There was a choice of three different words …

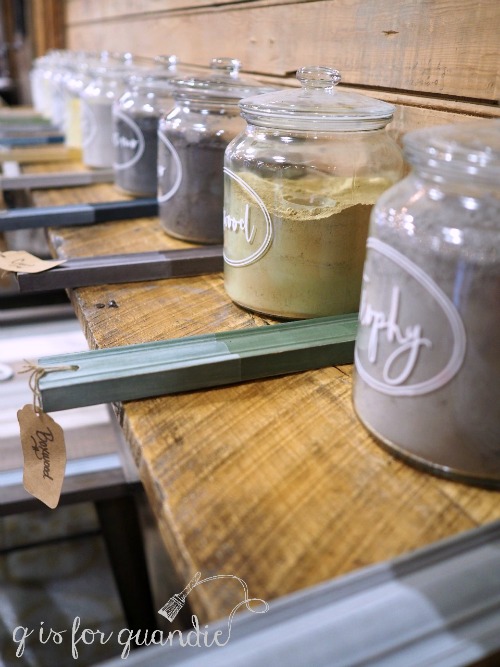
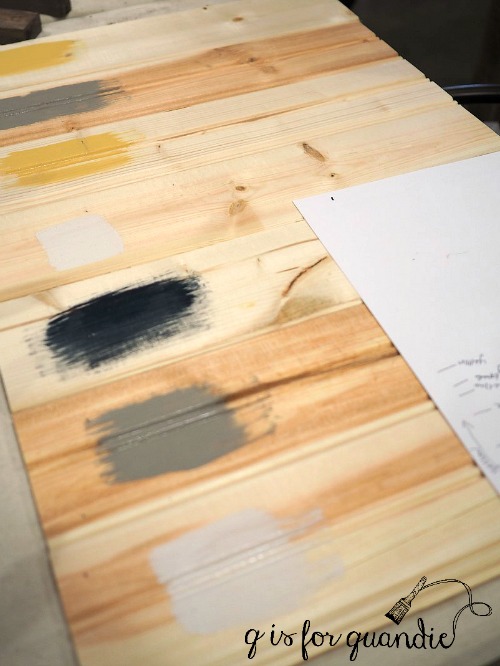
And you could choose from quite a few of the Miss Mustard Seed milk paint colors for your boards.

Some participants just went with copying the sample, while others really studied the colors and came up with their own combinations.

I really wish I had gotten that gal’s name so I could share it here, drat.  But anyway, she was very scientific in her approach.  She grouped the sample boards until she found a combo she liked, she drew up a plan, and she painted a swatch on each board.

Her efforts really paid off because she ended up with an amazing sign that was uniquely her own.

Her combination of Artissimo, Mustard Seed Yellow, Trophy and Farmhouse White works beautifully.

It was really fun to see the different combinations of colors that participants came up with.

Some even got creative and went in another direction, literally, with their word.

Brandy & Chad from Carver Junk Co did an amazing job planning every detail of the workshop including holding it in a gorgeous historic building, bringing in delicious food, and providing drink tickets for the bar next door.  They and their staff were incredibly friendly and welcoming.

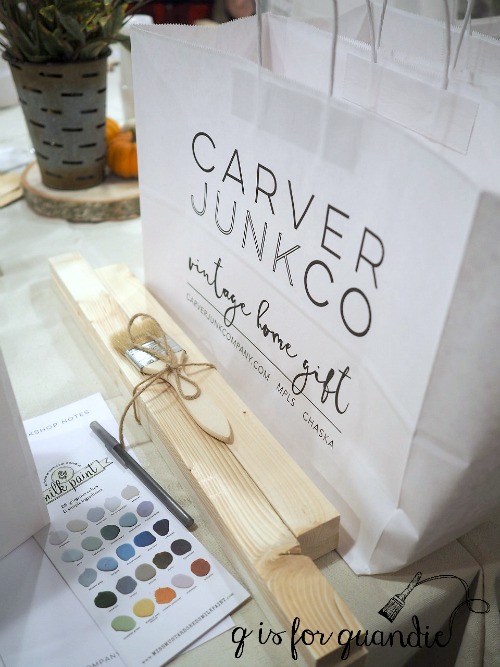
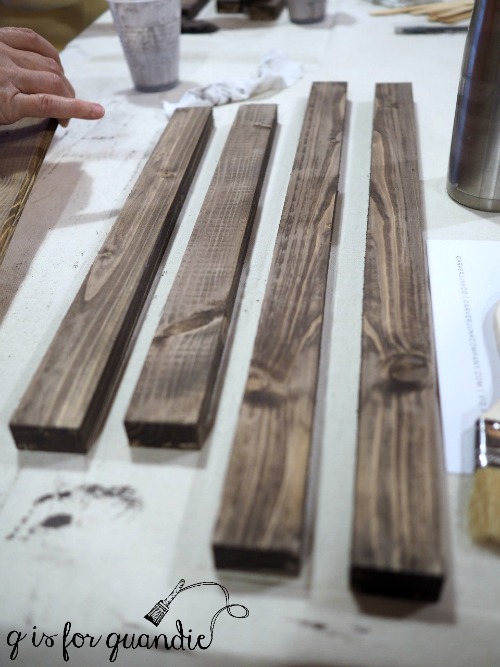
I was especially impressed with the project they designed.  It provided an opportunity for participants to try multiple techniques with MMS products including using Curio as a stain on the frames …

Using multiple colors of MMS paint, and trying out the various waxes in her line.

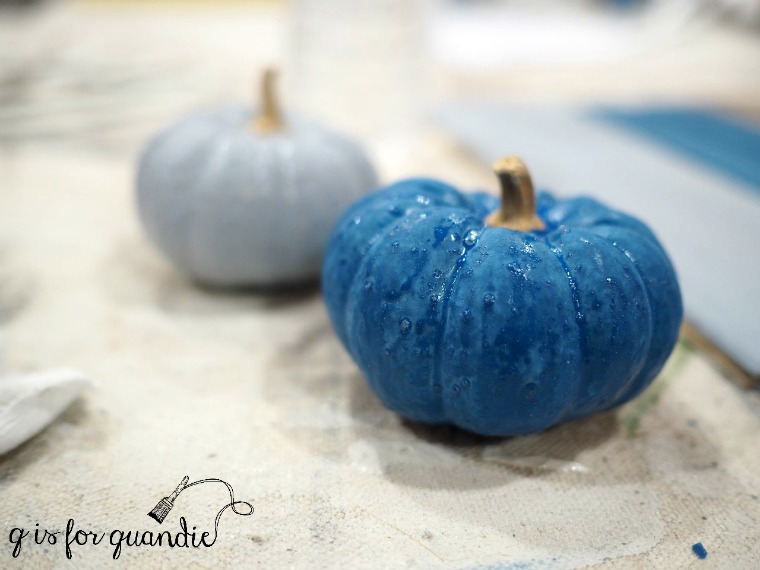
They even added some bonding agent to the leftover paint and gave people little pumpkins to paint.  What a brilliant way to use up leftover paint and also demonstrate what you can do with bonding agent.

By the way, did you know that you can order Miss Mustard Seed products online from Carver Junk Co and get FREE shipping?  Check it out {here} and use the code “MILKPAINT” to get the free shipping!

But … hello!  I haven’t yet gotten to the most amazing part of the day.  Miss Mustard Seed herself.

I can now officially verify that she is indeed a real person.

At first it was a bit surreal to be in the same room with her, but over the course of the day I discovered that in person she really is just as she appears on her blog.  And by that I mean that she is down to earth, friendly, and really, just like you and me.

However, she’s also an excellent teacher.  She gave tons of information about milk paint and how to use it.  I really enjoyed just taking in all of her tips and advice.

There were actually quite a few opportunities for me to just sit and chat with her throughout the day and I learned some interesting little tidbits.  First of all, that she and I both graduated from high schools in Florida.  Marian in Orlando, and me in Boca Raton.  And as it turns out we both prefer the cooler climate up north rather than the heat and humidity of Florida (yep, she’s going to fit in perfectly here in Minnesota).

Marian also mentioned that she feels really welcome here already.  I’m so proud of my fellow Minnesotans for making her feel at home.  And someone even brought her a hot dish!  I’m not sure if it was a tater tot hot dish though.  But so funny, Marian said that when they called it a ‘hot dish’ she assumed that meant it was spicy.  For the rest of you who aren’t from around here, in Minnesota we don’t have ‘casseroles’ we have a ‘hot dish’, and they are rarely spicy!

I also learned that there will be another new MMS color coming out next year called Aviary.  I’m really looking forward to giving that color a try!
Now you might be wondering, ‘hey, where’s the photo of Q and Miss Mustard Seed?’ and I have to confess, I hate photos of myself.  I much prefer to be behind the camera instead of in front of it.  So much so that I just never quite worked up the gumption to ask someone to take a photo of us.  I know, a missed opportunity for sure.

But even though there isn’t any photographic evidence, I did have an amazing day with Miss Mustard Seed and I’m so glad I made that white knuckle drive to Chaska.  Hopefully I’ll have more opportunities to connect with her now that she’s a Minnesotan like me!
 

the gothic hanky drawers.

Are you wondering what I did with the hanky drawers that were on the gothic dresser?

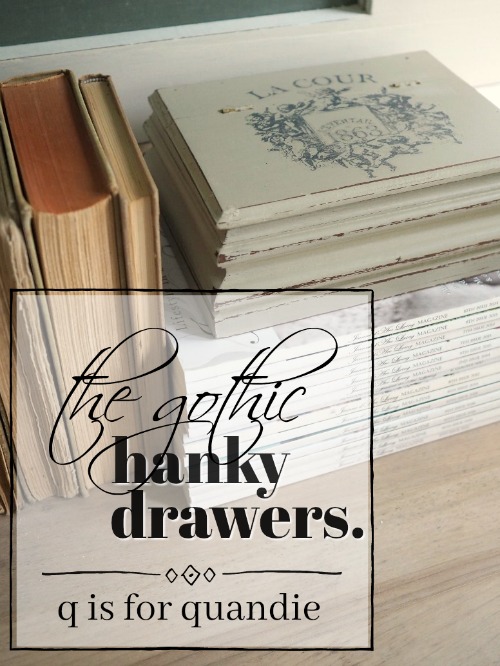
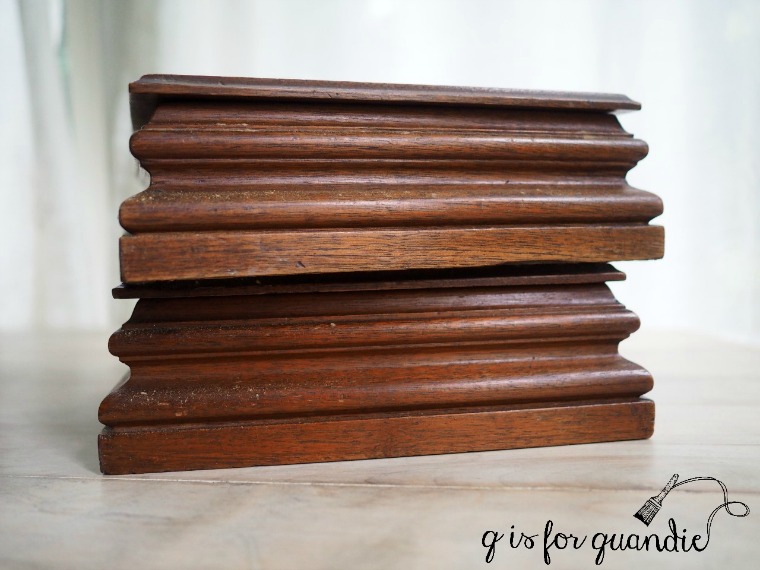
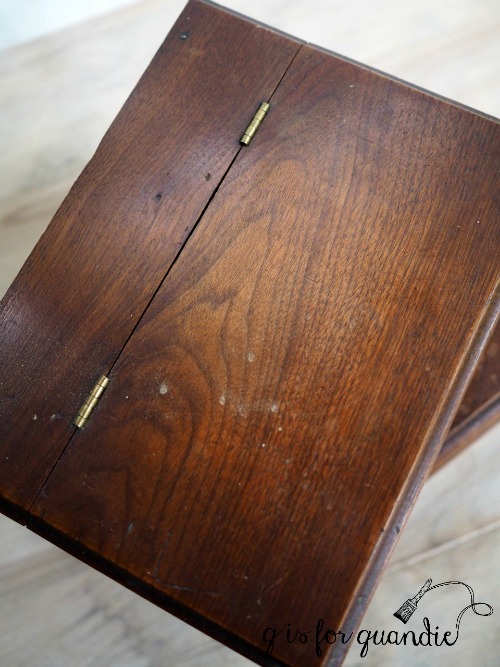
Well, first of all I should mention that it was very easy to take them off the dresser.  There was a felt liner inside each one, so I pulled that out and could see that they were held in place by a couple of screws.  I simply unscrewed them and they came right off.

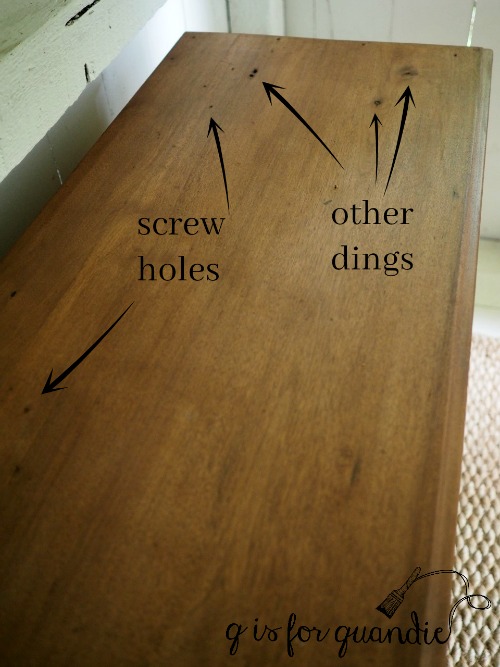
You might be wondering if that meant there were screw holes in the dresser top, and yes, there were … or more correctly there are.  I just left them.  They were small, and the wood top of the dresser had plenty of dings and other blemishes.  I like to embrace those rather than try to hide them.  Since I gave the dresser top a rustic waxed finish the dings just blend right in.

I keep referring to these as hanky ‘drawers’, but really in this case they are just a hinged box not technically a drawer.

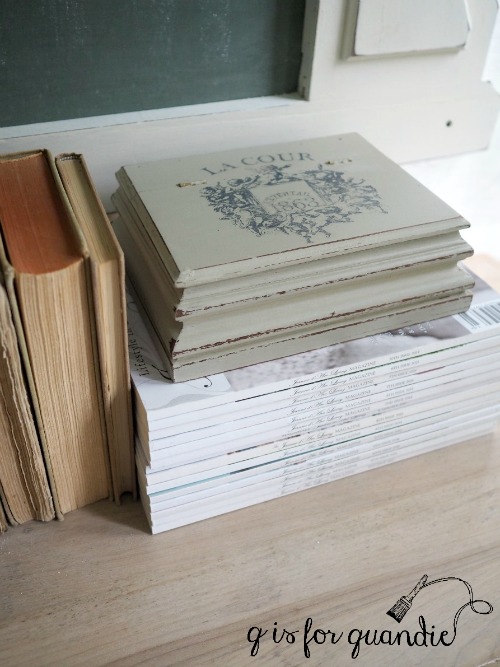
Once I had them removed I realized they would make fun little keepsake boxes.

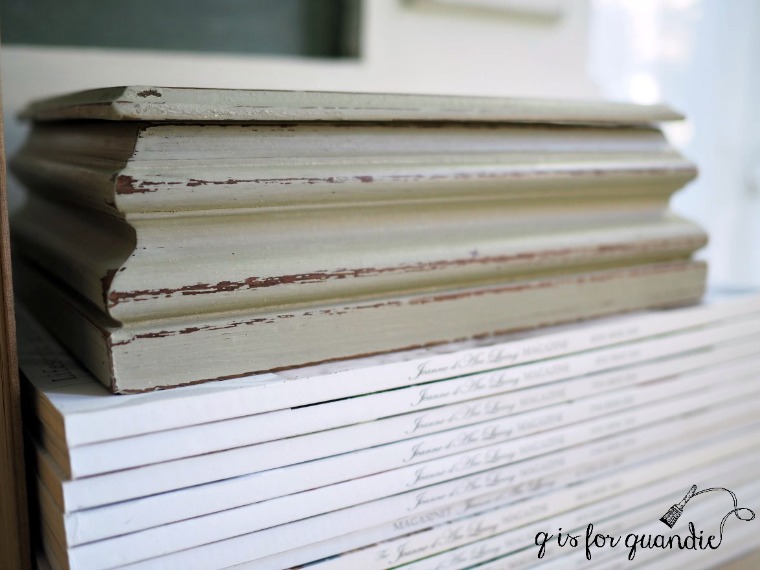
I started by painting them with some Homestead House milk paint in a color called Stone Fence.  This is one of my favorites.  It’s a pale, warm grey (you can see more of it on this foot board shelf).

I didn’t do much in the way of prep before painting.  I was OK with as much or as little chipping as fate would deliver.  I did wipe them down with some TSP substitute though.

After the second coat of paint was dry, I sanded rather haphazardly.  Again, I wasn’t feeling very picky about my results.  I wanted an aged, distressed look.

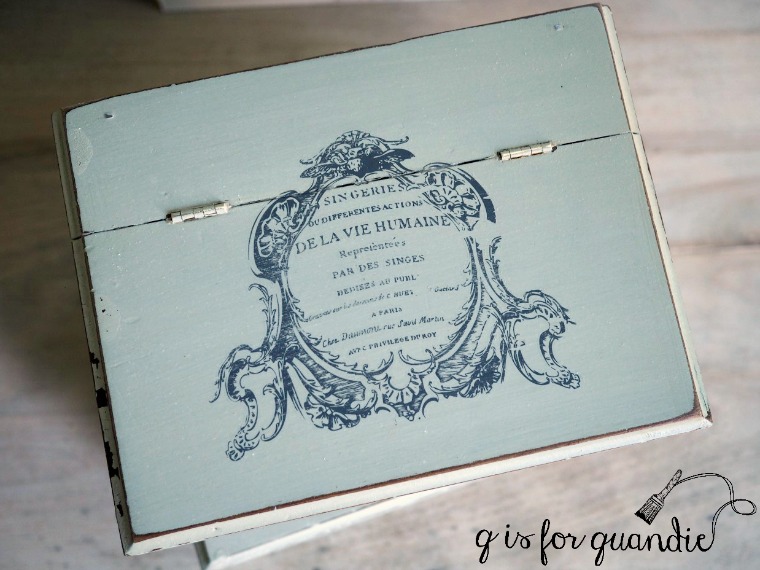
Next I added some Iron Orchid Designs transfers to the tops of the boxes.  Both are from their French Pots line and are intended to be used on clay pots, but I have found any number of other great uses for them!

This design is from French Pots I.

And this one is from French Pots III.

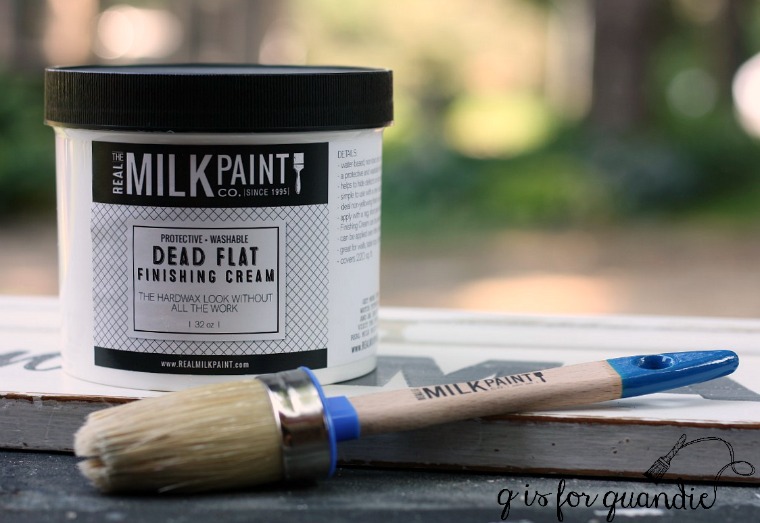
After applying the transfers, I sanded very lightly with some 220 grit sandpaper.  Next I wiped the boxes down and then added a top coat of The Real Milk Paint Co’s Dead Flat.

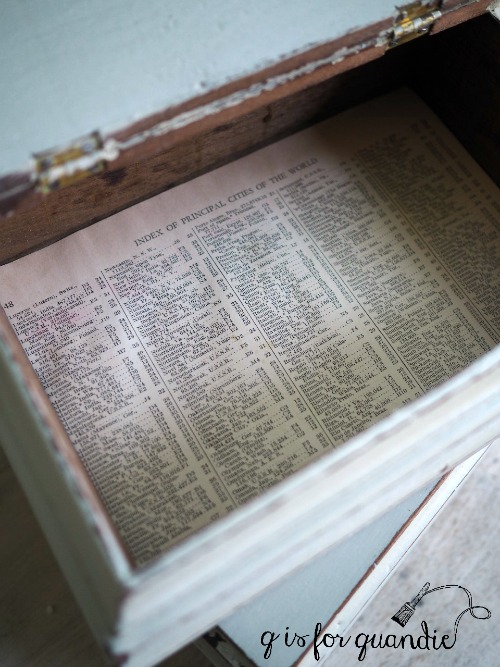
I lined the insides of the boxes with a page from an old Atlas.

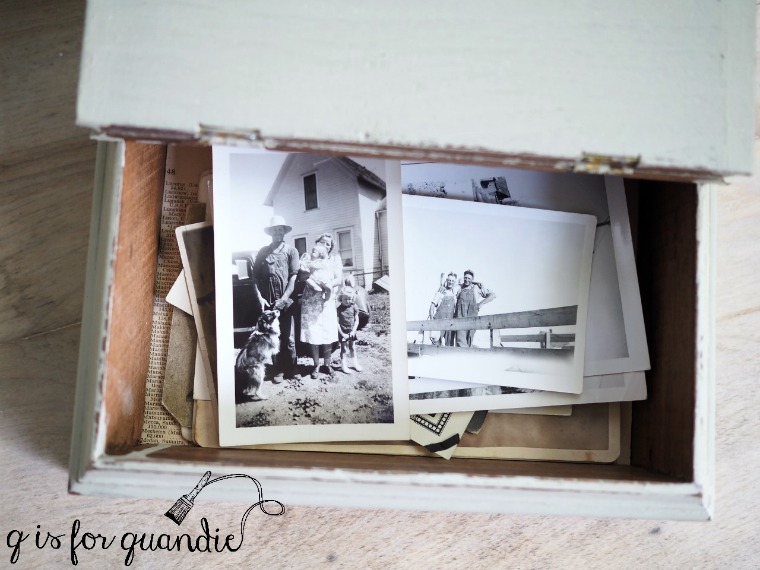
You could keep a stash of old photos in one of these boxes.

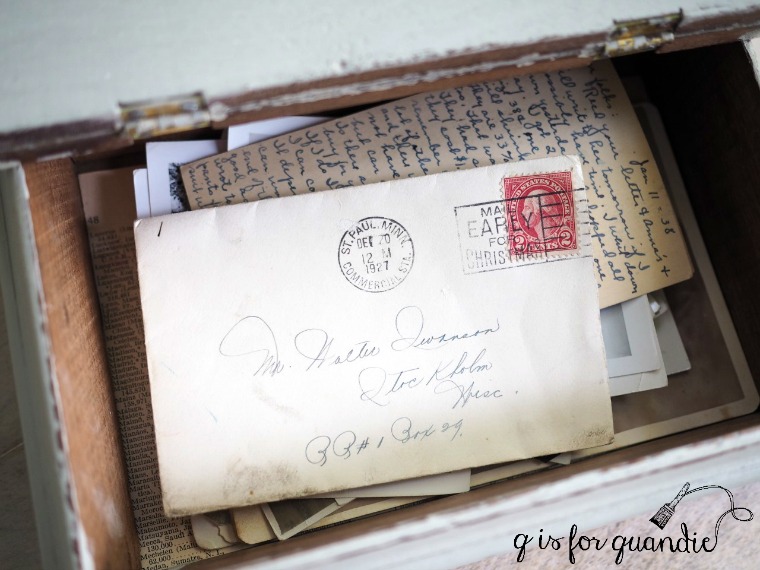
Or maybe your old love letters.  I don’t know, does anyone write letters anymore?

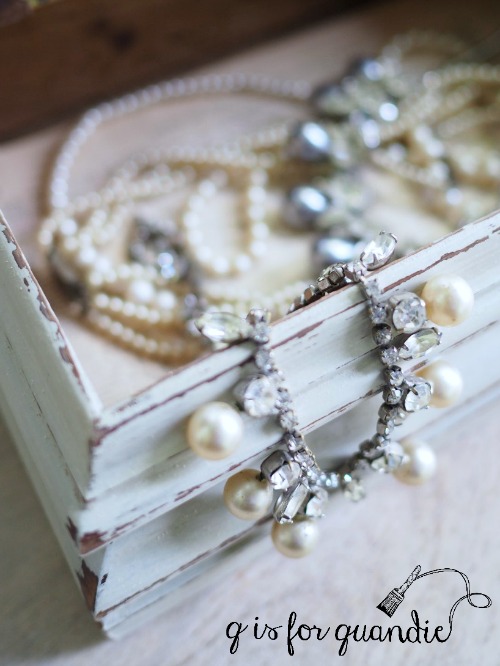
Maybe you can just keep your vintage jewelry in it.

So many possibilities, what would you keep in yours?

the gothic chalkboard.

The minute I laid eyes on the Craigslist ad for the gothic dresser that I posted yesterday I knew I had to have it just for the mirror.  In fact, I was so excited to get my hands on it that I didn’t even take the time to get a proper ‘before’ photo, which is unfortunate.

Mr. Q went and picked it up in the afternoon while I was still at work, and the minute I got home from work I separated the mirror from its ‘harp’ and sent the harp home with Ken to cut a chalkboard back for it.

While Ken was working on that, I also made a chalkboard out of the framed mirror itself.  I shared that a while back.

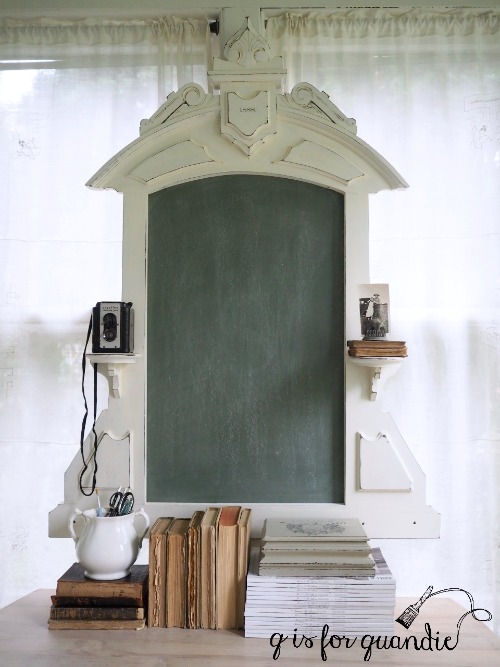
Once I got the harp back from Ken, I went to work painting it.  I knew I wanted a warm white milk paint, which for me means either Homestead House Limestone or Miss Mustard Seed Linen.  Unfortunately, when I dug into my milk paint stash I discovered I was fresh out of Linen and I only had a small amount of Limestone left.  Maybe enough for just one coat on the harp.  I knew that I’d likely need at least 3 coats of paint to cover the dark wood with white.

So I decided to employ one of my favorite tricks.

Today’s Qtip:  If you know you don’t have enough paint left for multiple coats, start with a coat or two of another similar shade and just do your final coat in your chosen color.

In this case I mixed together the dregs of a couple of shades of white Homestead House milk paint, Raw Silk and Sturbridge White, and started with a coat of that on my piece.

I would have gone right into a second coat, but that’s when I discovered I had a bleeder.  The orange-ish stain was coming through and turning the paint a lovely shade of peachy orange right before my eyes.  If this has never happened to you, be aware that no amount of paint will ever solve this problem.  The stain will just continue to bleed through multiple coats of paint.  At this point, you have to seal the stain before continuing on.  Shellac works really well for that.

So once the paint was fully dry I got out a can of spray Shellac.  I keep this on hand for moments such as these.  If you have an entire piece of furniture with a bleed thru stain, it’s probably not cost effective to use spray Shellac, but when you have a smaller piece or just one or two spots of bleed-thru I find it’s convenient to just get out the spray.  And of course I only use the spray outdoors.

So, I sprayed the mirror quickly with a coat of Shellac.  Once dry, I added a second coat of my random mix of whites.  I could see that I’d solved my bleeding problem and I was getting good coverage with the 2nd coat of white.  So once that was dry, I mixed up the little bit of Limestone that I had left and added one last coat of that color.

My trick worked perfectly.  You can’t tell that I have a different shade of white under that Limestone.

The chalkboard itself is painted with Homestead House milk paint in Bayberry.  I find it makes the perfect green chalkboard.  To use milk paint for a chalkboard you simply mix the paint as usual (equal parts water and paint powder), paint two coats sanding lightly in between with 220 grit paper to keep your chalkboard smooth.  Also lightly sand the final coat.  Then season the chalkboard by rubbing white chalk all over it and ‘erasing’ it back off with a dry cloth.  Do not add any other sort of top coat over the paint.

After sanding the frame to distress the edges a bit, I added one last detail.  I used part of an Iron Orchid Designs transfer to add the year ‘1888’ to the top of the mirror.

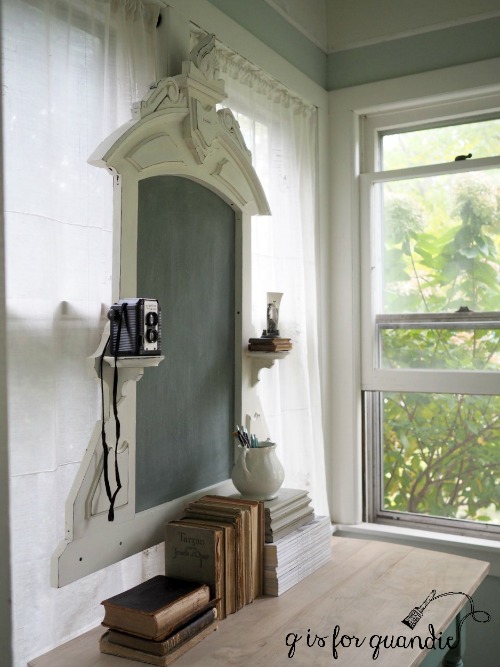
I just love all of the detail on this frame including the little shelves on either side.

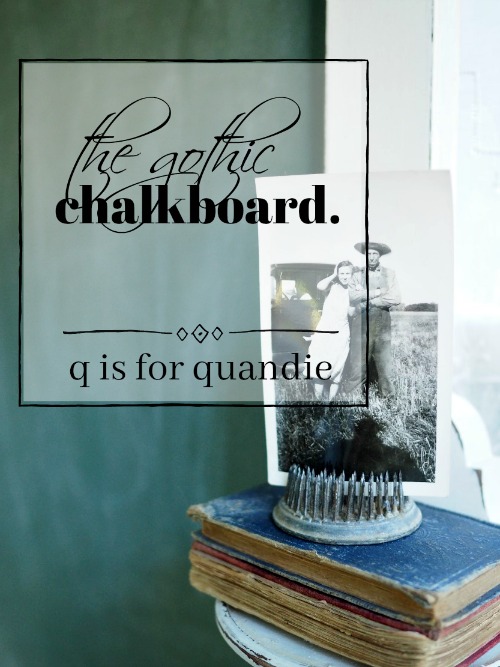
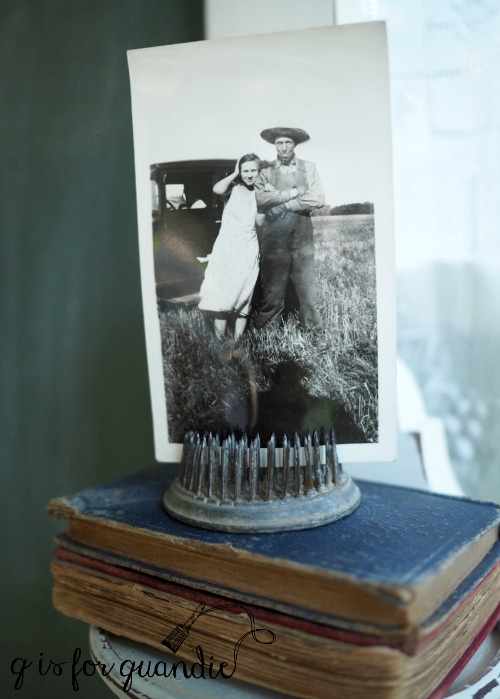
They make a great perch for a vintage camera, or an old family photo.

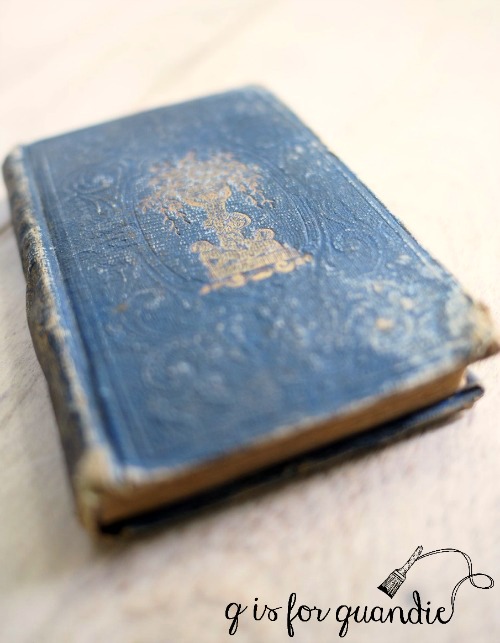
When I grabbed those two little books to put under that photo I took a moment to take a closer look at them.  The pretty little blue book was signed inside.

It was a gift from Great Aunt Nettie to my mother, which reminded me of a funny story.  Many years ago my sister and I were going through my mom’s family photo album.  It’s an ancient thing that has photos of our ancestors going back to the 1800’s.  One photo was labeled “Great Aunt Nettie Fleaner and her daughter Flossie.”

I thought about it for a minute and then I just burst out laughing.  Flossie Fleaner?!  Really?!

Poor Flossie.  That can’t have been easy to live with.  Then again, I’m sure Flossie was just a nickname, short for Florence or something like that.  Although Florence Fleaner isn’t much better, is it?

Anyway, I’m still deciding on the perfect spot in my house for this chalkboard.

Just for now it looks good hanging above my farmhouse table though.

the farmers market ladder.

My niece Kris salvaged several of these ladders for me from a shop she worked in briefly.  They aren’t old, and they were never meant to actually function as ladders.  They were used for display only.

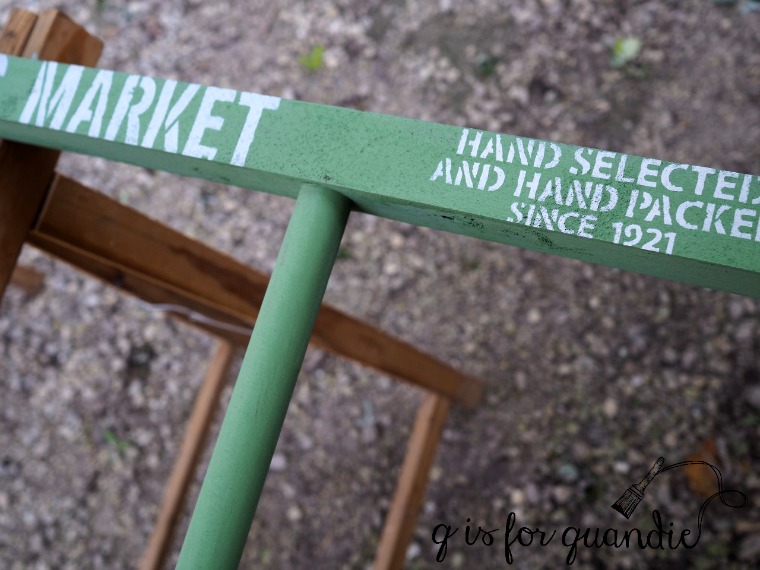
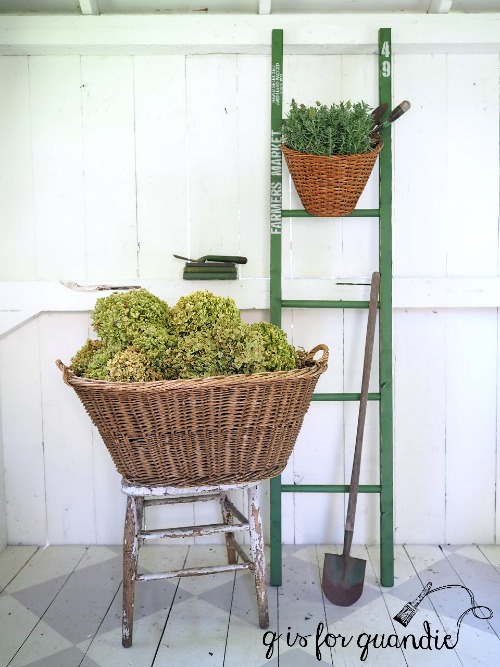
I decided to paint this one to give it a little more personality and since I seem to be on a green kick this week, I dug out one of my favorite shades of green milk paint, In A Pickle from Sweet Pickins.  It only took one coat of paint to cover the ladder.  Once dry, I added some farmers market stencils in an off-white craft paint.

Then I sanded to distress and added a top coat of Miss Mustard Seed hemp oil.  I brushed on the oil with a cheap chip brush and then wiped off the excess with an old black t-shirt (I didn’t want to leave any white fluff behind).

Hemp oil adds a bit more richness and depth to darker milk paint colors than wax does.  You can really see that with this shade of green.

But here’s a tip for you, although the hemp oil changes the color of the milk paint quite a bit, it does not change the color of the acrylic craft paint.  So keep that in mind when choosing your colors on a project like this.

By the way, how do you like the ‘q-tip’?  It was Mr. Q’s idea and I thought it was pretty clever.  From now on I’ll try to remember to give you a q-tip every now and then.

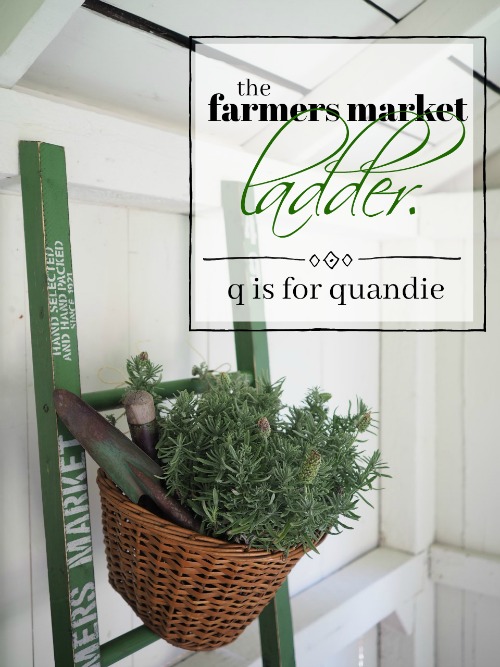
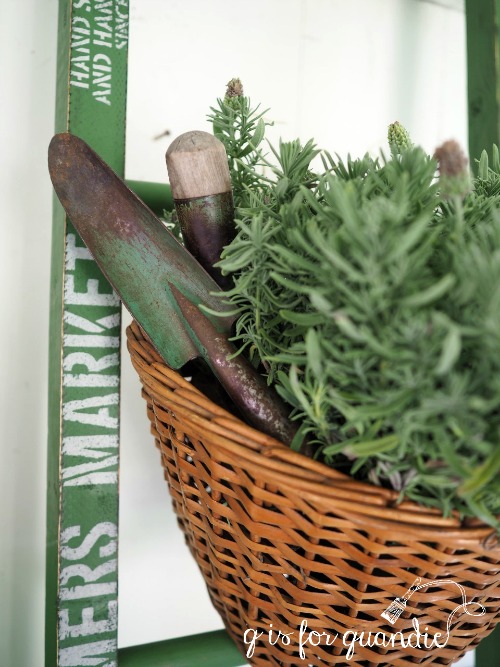
I added a basket to the ladder and put a potted lavender plant inside along with some vintage gardening tools.

Totally off-season for September I know.  I’m supposed to be sharing fall themed stuff now, right?

Well, one last hurrah for summer?  We’ve got two more official days of summer left, so I say let’s make the most of them.

I brought this ladder to Reclaiming Beautiful last week and it sold within days, so there must be some other green lover out there!

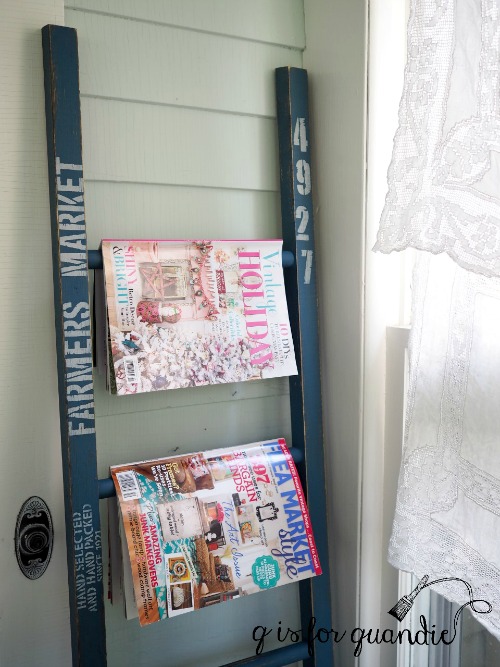
I still had one last ladder, so I painted it in Miss Mustard Seed’s Flow Blue and added the same farmers market stencils.  My sister was thinking she’d like to have this one for her house, but she really couldn’t come up with a spot for it, so I’ll most likely take it into Reclaiming Beautiful as well.

I think the ladders make great magazine racks, especially when one of the magazines displayed happens to be one that I am in!

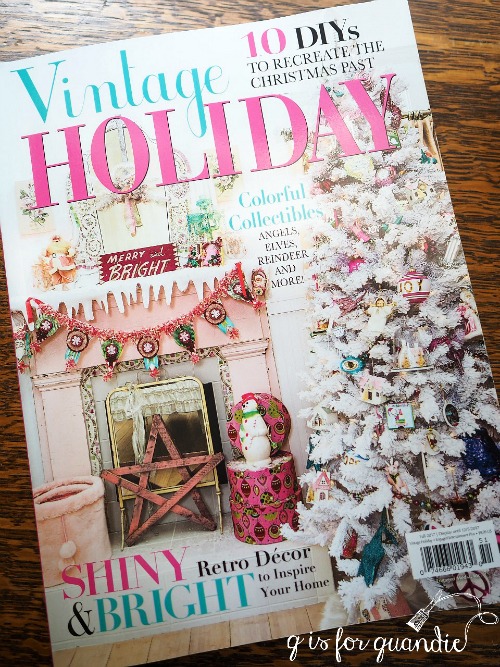
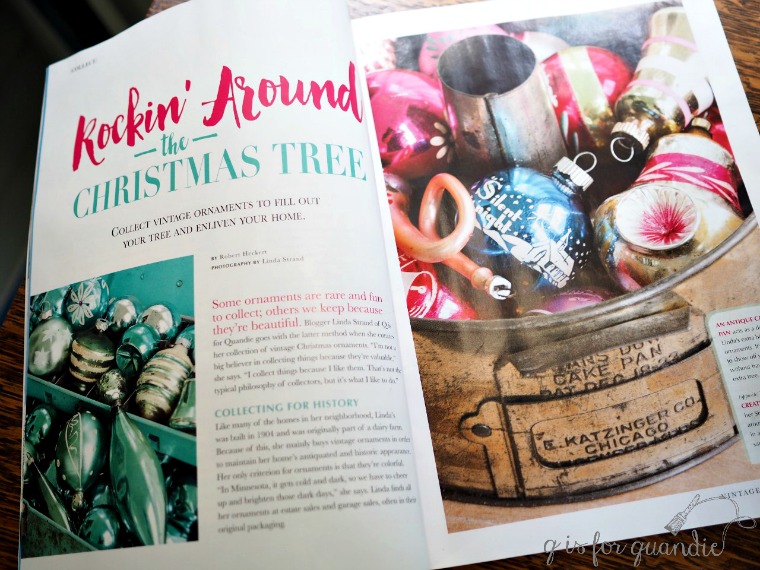
Wait, what?!  Did you read that right?  Yep.  There is a story about my non-collection of vintage ornaments in the Fall 2017 issue of Vintage Holiday magazine!

Somehow we’ve gone straight from summer to winter today.

But seriously, my preview copy of the magazine just arrived yesterday and I couldn’t wait to share it with you guys.  I’m super excited and flattered to have my work in a real magazine.  The irony that it’s an article about my vintage ornament collection, despite the fact that I try so hard to deny being a collector of anything, is not lost on me.

The magazine is full of great vintage holiday decor, so be sure to watch for it on newsstands near you and pick up a copy.


hanging it up.

I really debated using that title for this post.  I didn’t want to give any of you a scare, thinking that I was giving up blogging.  Nope, so far I am hanging in there (bwa, ha, ha, ha).

This post is about actual hangers.  Although maybe I could give the title a double meaning.  I’m hanging up the Wednesday travel posts, and instead I’m going to try to feature a small decorating project every Wednesday.  Something that can be pulled together in an afternoon.  We’ll see how long I can keep it up.

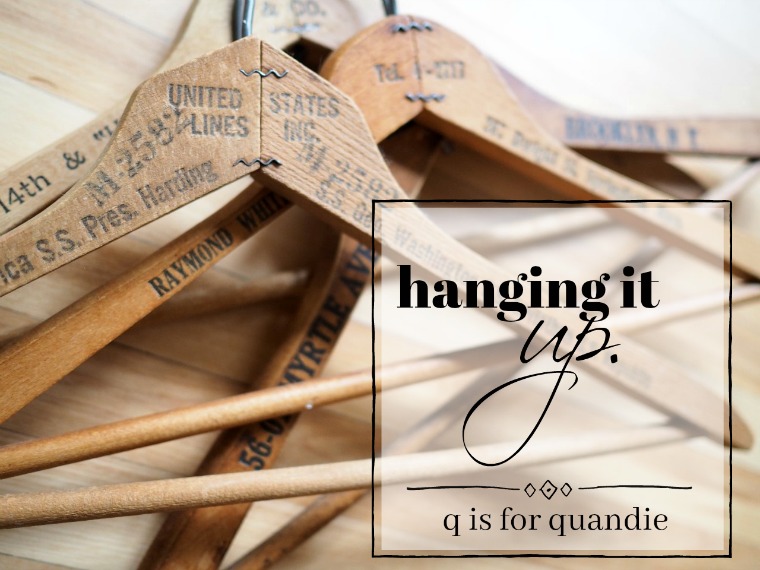
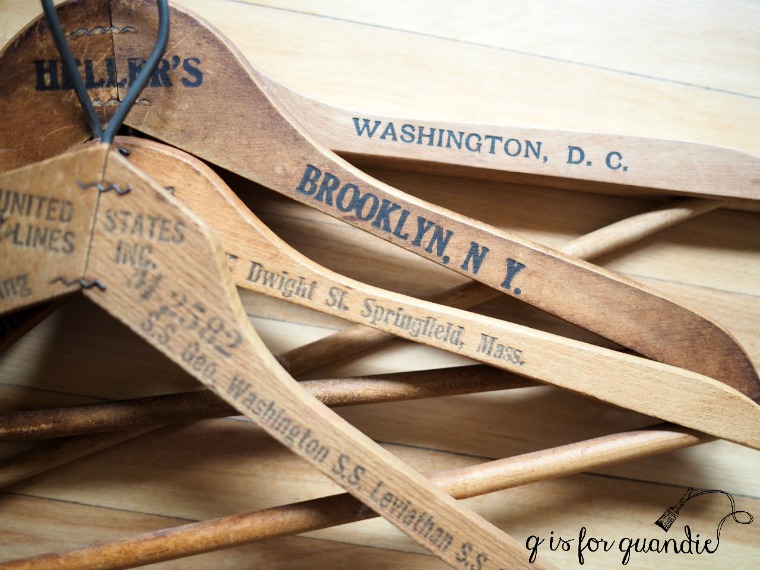
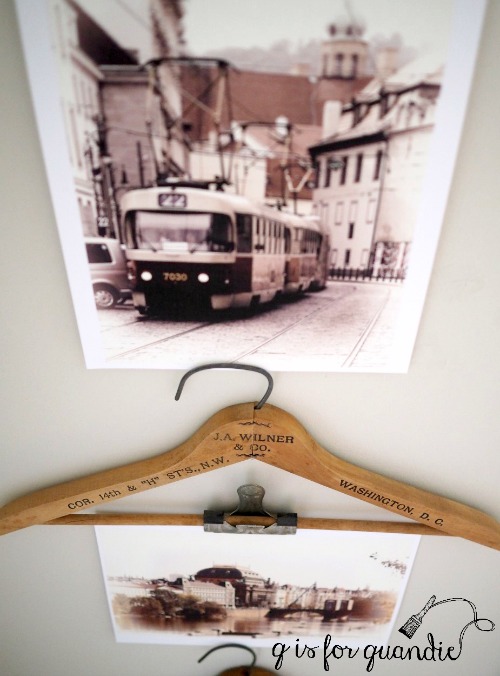
So, as I said, today’s post is about actual hangers.  Vintage wooden advertisement hangers that is.

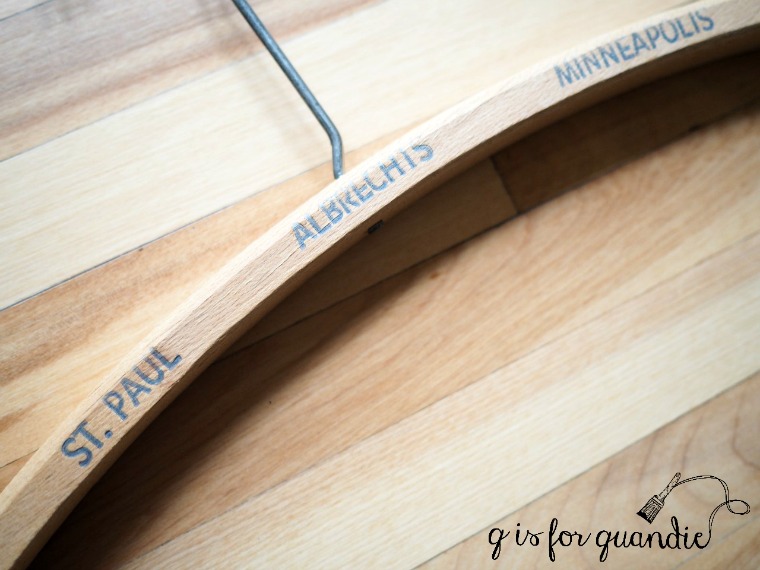
I pick these up whenever I see them at garage sales.  Sometimes if you dig through a box of plain wooden hangers you’ll find one or two with advertising on them.  I usually pay less than a dollar each.

Oddly enough, I rarely find hangers from local shops.  So far I just have one, and it’s not one of my favorites.

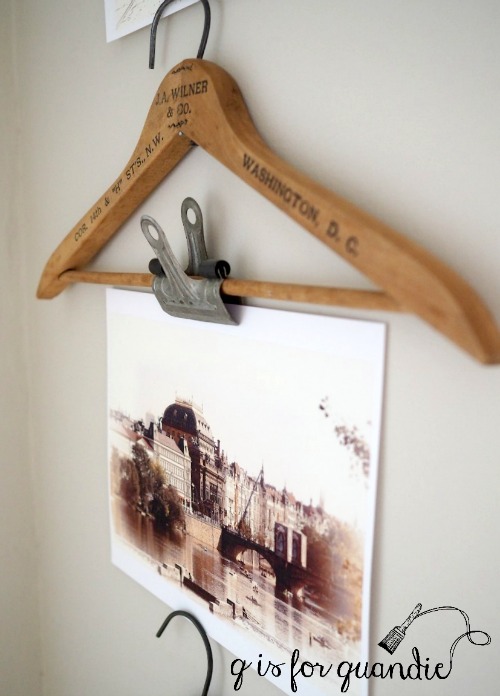
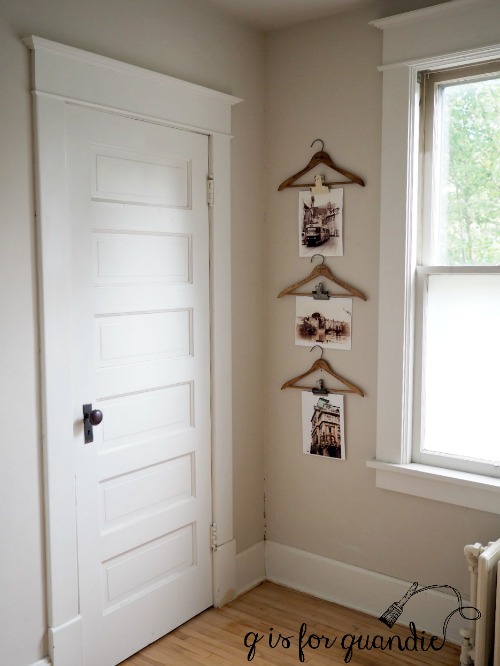
I decided to use a few of the hangers in the simplest way possible in my master bedroom.

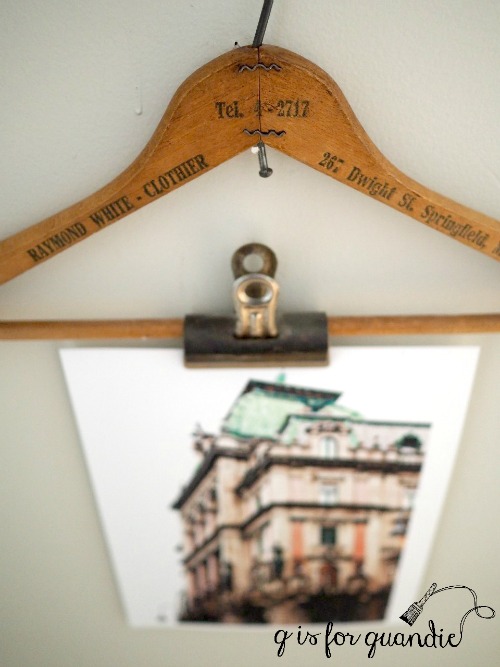
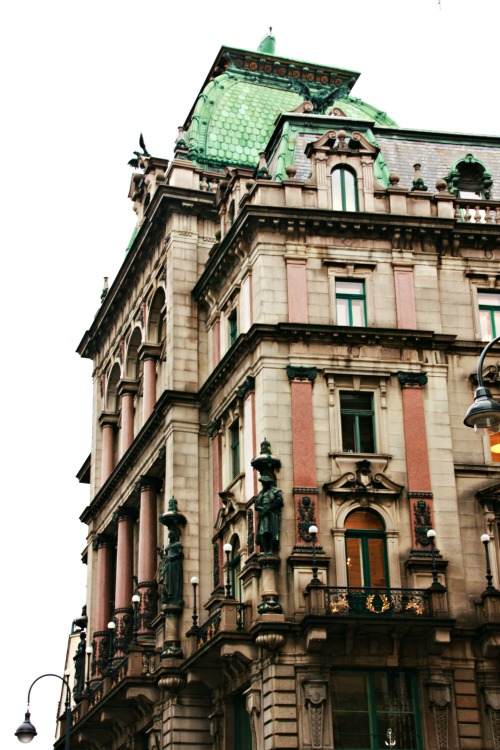
First I printed out some of my favorite travel photos (oh, maybe there is a hint of a travel theme to this Wednesday post after all).  The top two photos on the wall are from Prague, the bottom photo is from Vienna.

Several years ago I had Photoshop on my computer and I had some great plug in’s.  When my computer crashed in 2014 I lost them and never took the time to reinstall them.  Now I can’t even remember the name of the plug in!  Ugh.  But the two Prague photos were altered using that plug in.  The Vienna photo was altered using a Picmonkey effect called Filmstock.

Isn’t that a gorgeous building?

I printed the photos on matte photo paper (I use Target’s Up & Up brand).

  Then I gathered up some vintage metal clips (another thing I like to grab whenever I see them at garage sales) and simply clipped the photos to the hangers.

Easy peasy.

I hung them on the wall between my windows and my closet.  They fit perfectly there and it seems apropos to have ‘hanger art’ next to the closet.

I wondered whether or not the photo paper would curl a bit in humidity, but they’ve been up for close to a month now and we’ve had plenty of rainy weather and so far, so good.

Down the road I can easily change up the photos on a whim, or if they start to look less than fresh.

So the next time you see some old advertisement hangers, consider nabbing them and creating a gallery of ‘hanger art’ yourself!

the gold rush.

My sister picked me up bright and early this past Saturday and after a quick stop at the local cash machine we headed south on highway 52 towards the Oronoco Gold Rush.

Gold Rush is an antiques market that has been taking place since 1972 in the little town of Oronoco, just north of Rochester, MN.  Their website is pretty basic and doesn’t really provide much in the way of stats.  I’d love to know how many vendors they had, and what the estimated attendance was but I couldn’t find that info.

Let’s just say that on Saturday there were LOTS of people there.

And there were also LOTS of vendors.  I don’t think we made it to all of them.  It’s easy to get turned around and lose your way.  Did we go down that street?  Did we head up that hill?  We lost track after a while.

Update:  since originally posting I found an article with some numbers, 275 – 300 vendors and 20,000 shoppers per day.  Yep, like I said, lots!

There was a real mix of stuff at this event.  There were traditional antique dealers with things like glassware, military collectibles, and expensive furniture.  There were Scentsy vendors and Tastefully Simple vendors.  There were lots of vendors selling those welded metal lawn ornament type things.  There were vendors with food items, like fudge or those wine slushy mixes (yep, purchased some of each).

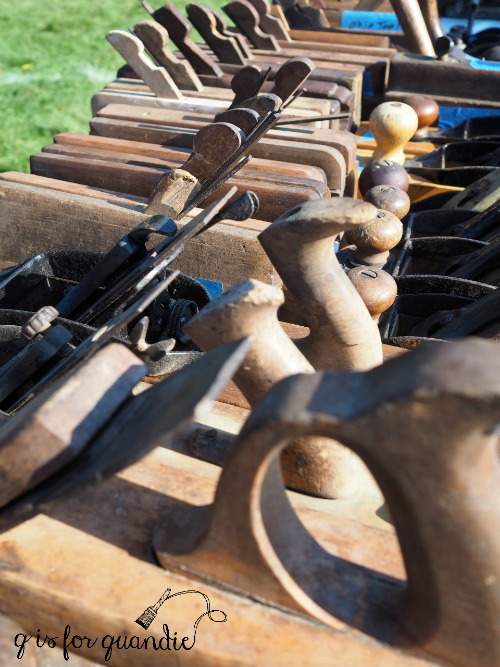
I’m always amazed by the vendors who have a whole lot of one kind of thing, like this one with a table full of vintage woodworking tools.

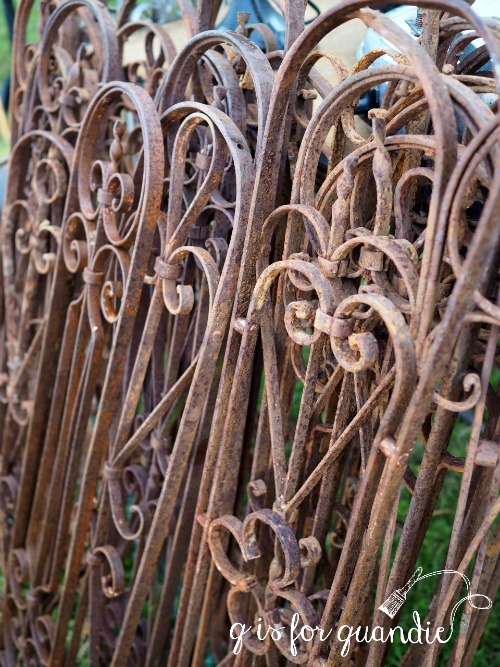
Or this guy who had all kinds of vintage, rutsy iron fence/railing thingies (do these things have a name?)

My sister bought a couple of them to use in her garden.  I have some already, and I use mine in my planters and window boxes.

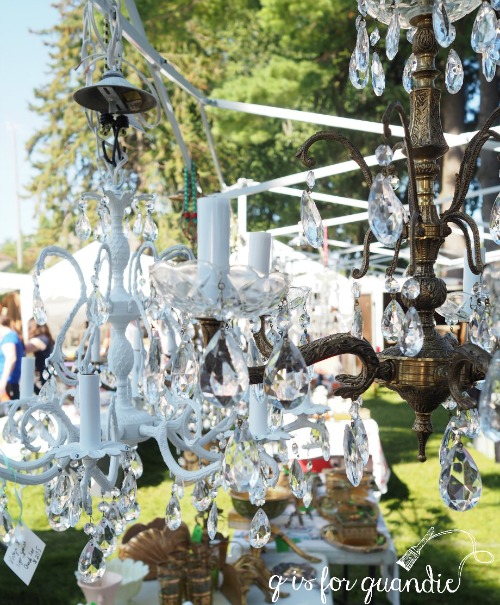
This vendor had a whole bunch of gorgeous chandeliers.

There are a couple of booths that really stand out as show stoppers.  One is the booth by Checkpoint 19 Antiques.

Their stuff is just so incredibly cool.  It has a vintage science experiment sort of vibe.

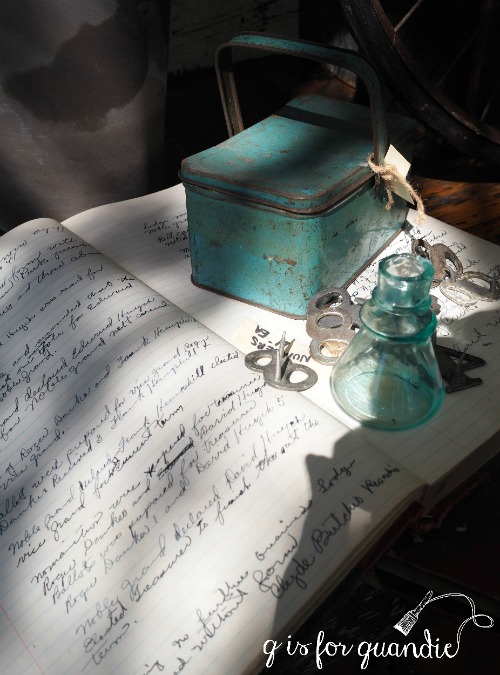
You guys, I was so busy admiring the style of this next vignette that it didn’t even occur to me that I should check the price on that fab aqua metal box.  Dang!  I’m kicking myself now.

I just loved all of their adorable topiaries and I was so tempted to buy one of those.  But sadly, I have a bad track record with topiaries.  I consider myself to have a fairly green thumb too, but somehow proper topiary care eludes me and every one I’ve ever had has died within a year.

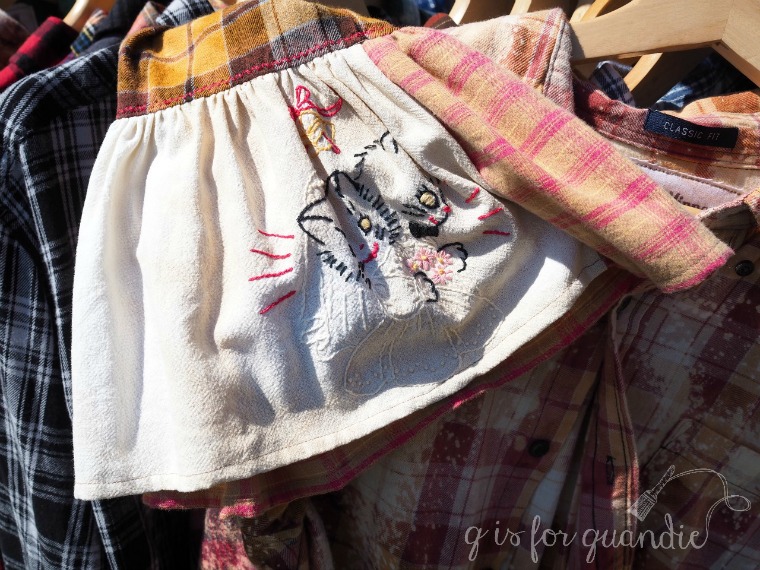
Another vendor that really stood out above the rest was Angry Minnow Vintage.  They create the most amazing upcycled flannel shirts.

I really loved the ones that had flared cuffs made out of vintage linens.  What an awesome idea, right?

Corrabelle Rose had a stunning booth full of pretties.

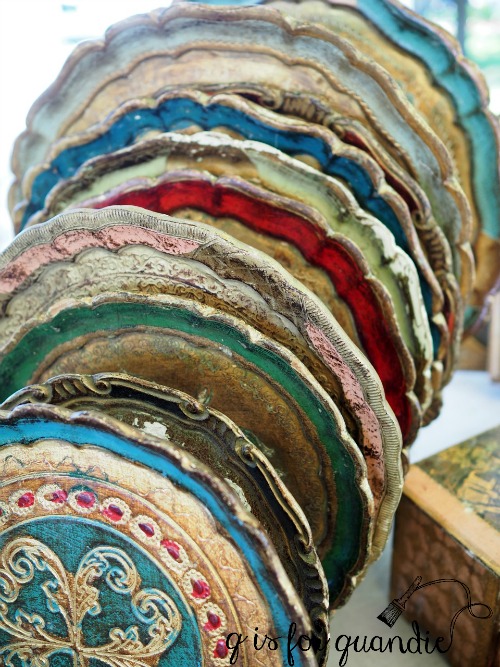
This was a great spot for getting your color fix.

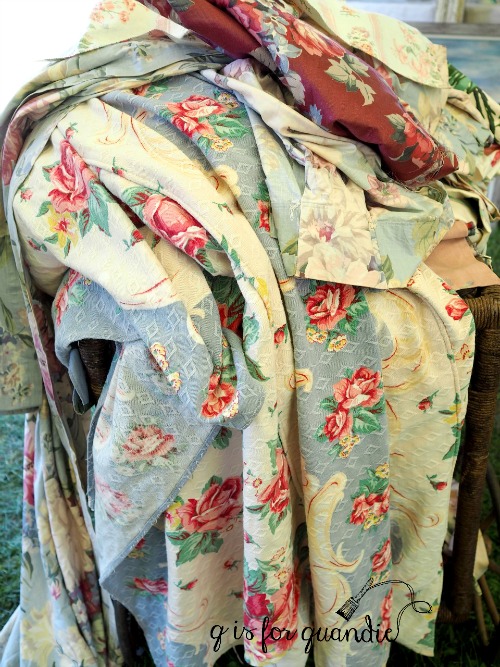
Everything in this booth was just lavish!  There were luxurious piles of vintage florals.

This was the only booth where I saw any ironstone.

It was out of my price range though.  As were most of the things in this booth.

You know, I’m really just a garage sale girl at heart.  I tend to look at a lot of these things and think to myself I bet I can find that at a garage sale for a couple of dollars.

The gals from Vintage Junkies and Sparrow Antiques were much more my speed.

They really had a knack for display.  Both my sister and I made some purchases at their booth.  I came home with a great grain sack pillow, and Debbie got some dish towels and some vintage cookie cutters.

By about 1:30 in the afternoon we were getting pretty hot, our feel were killing us, Debbie was out of cash and our cart had gotten really heavy (we brought a ‘granny cart’ for our haul), so we decided to call it good.

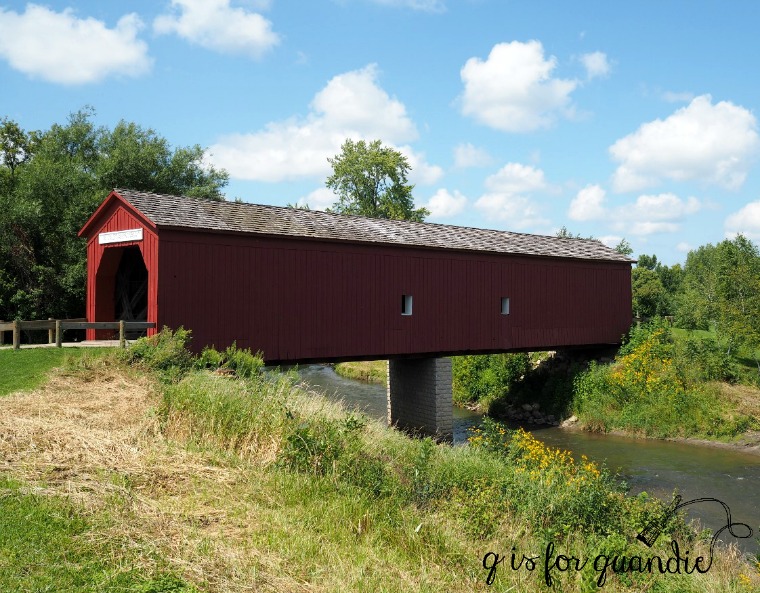
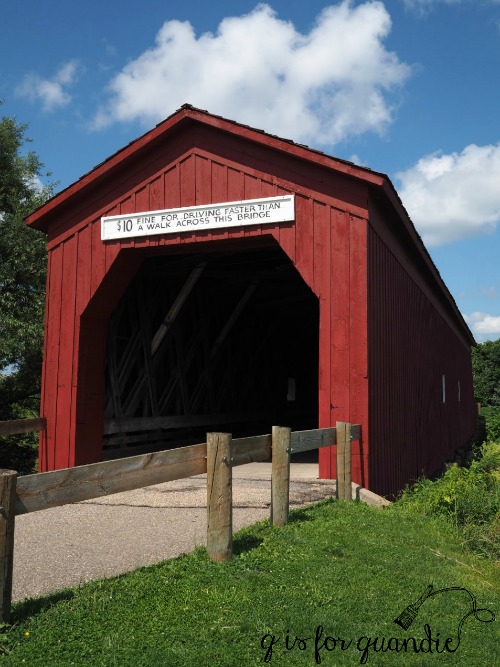
On the way home we made time to stop off in Zumbrota to see the covered bridge.

The day could not have been any more beautiful with that blue sky filled with white fluffy clouds.

And here is the modest pile of goodies that we came home with.

Nothing too earth shattering.  My sister is going to plant a fairy garden in the radio flyer wagon next year.  I’ll add the vintage tablecloth to my non-collection (because remember, I don’t collect stuff).  Even though we didn’t buy a ton of stuff and a lot of things were way out of our price range, we’re still looking forward to going back next year!  Any you never know, maybe next year we’ll get to visit a Miss Mustard Seed booth at Oronoco, after all it’s practically in her backyard now, right?  Fingers crossed!