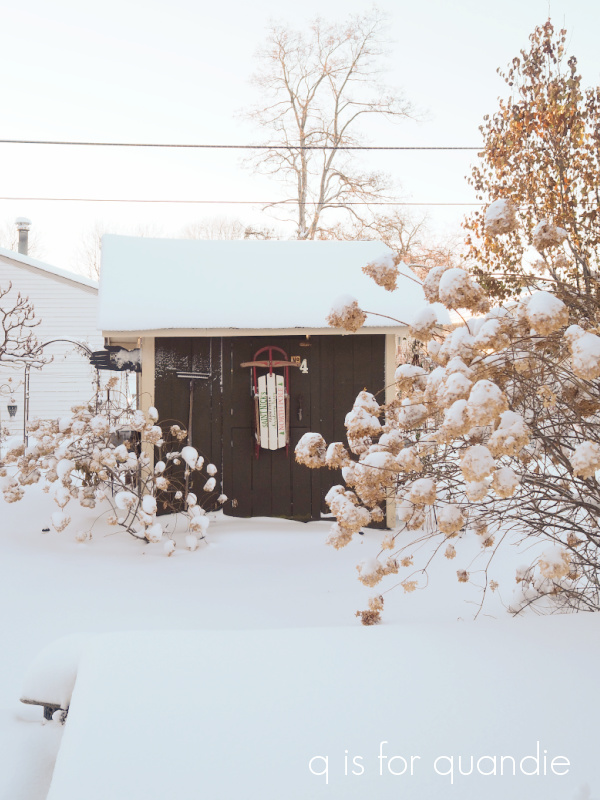
a beautiful white Christmas.

Merry Christmas dear readers!

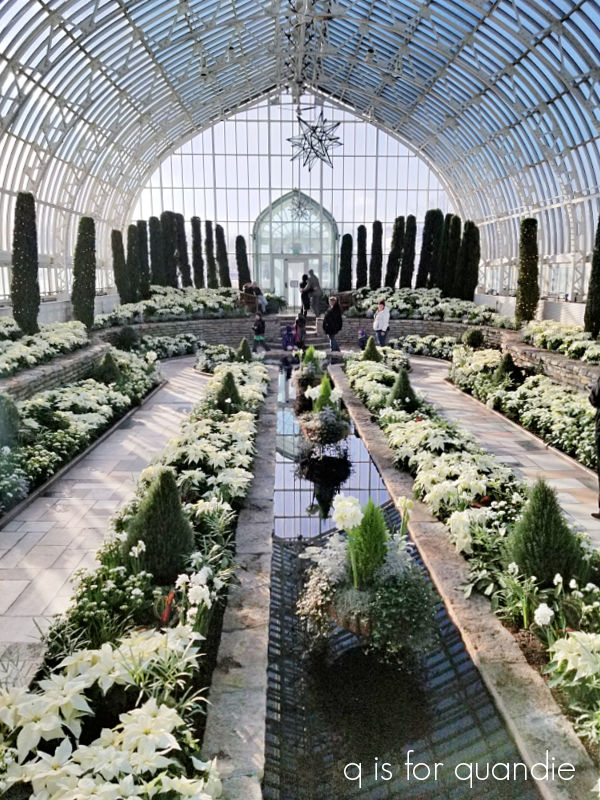
Since Christmas just happens to fall on a Sunday this year, I thought I would take advantage and bring you a holiday greeting from the garden.  Once again, not technically my garden, but a garden.

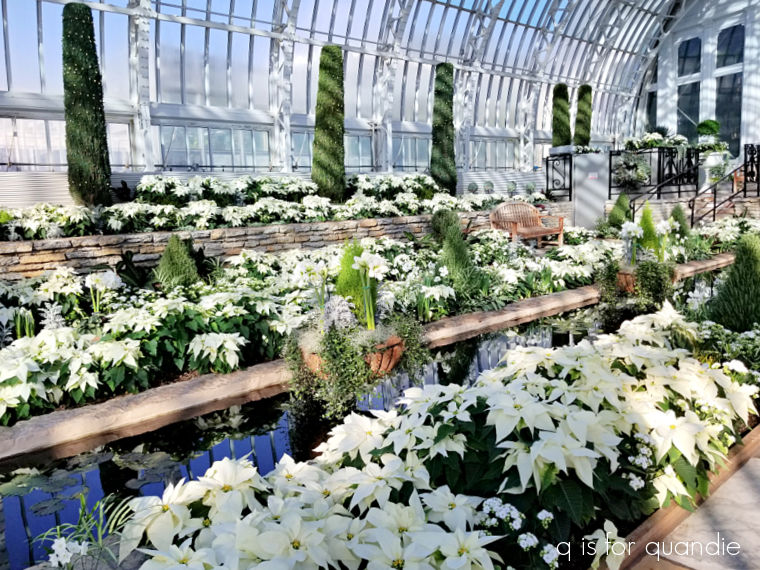
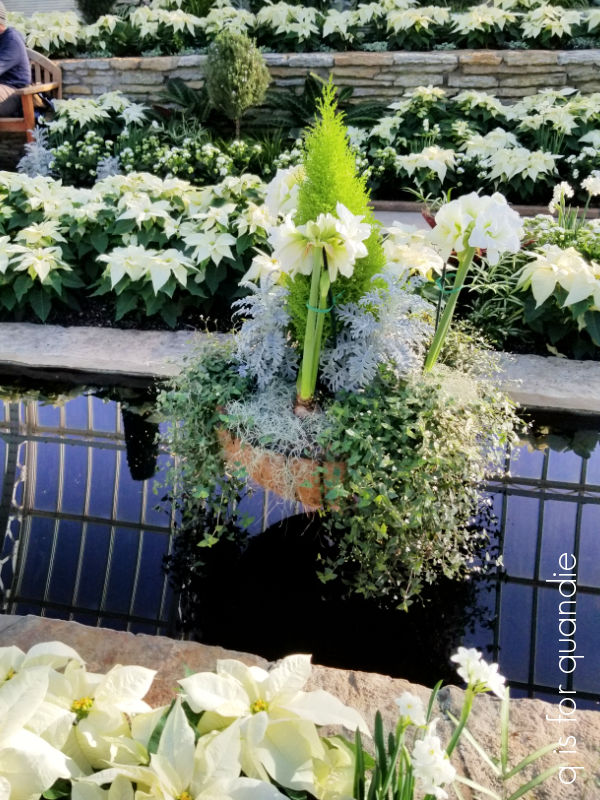
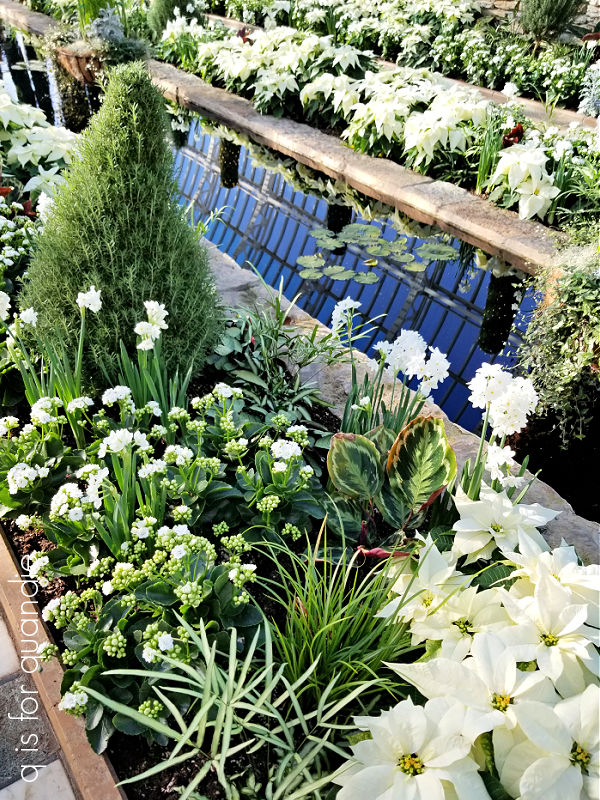
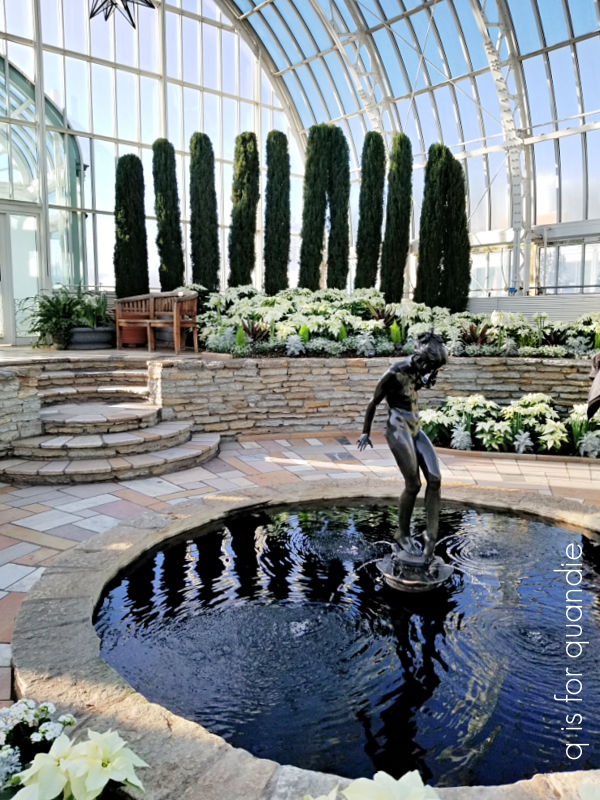
The Sunken Garden in the Marjorie McNeely Conservatory at Como Park does a different holiday display every year.  This year they went all white.

Well, white and green anyway.

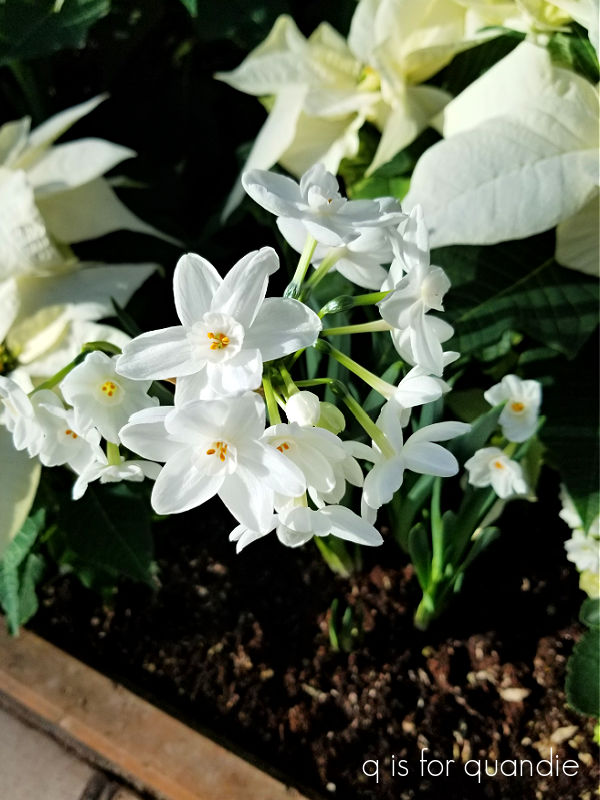
Of course there were lots of white poinsettias, plus other flowers that I think of as typical Christmas plants like paperwhites …

and amaryllis.

They also used plants that I think of as typical summer annuals in our area like euphorbia and dusty miller.

Plus, there were plants that I think of as potted plants like the little lemon cypress trees, and white kalanchoe.

I find an all white color scheme very serene and peaceful.

I’ve often thought about adding a white garden to my yard.  White flowers really pop in a shady area, or in the moonlight at night.  Some options for white flowers in a shade garden include impatiens (of course), white bleeding heart, lily of the valley, astilbe, snow drops, bloodroot, sweet woodruff, foam flower and anemones.  There are so many to choose from!

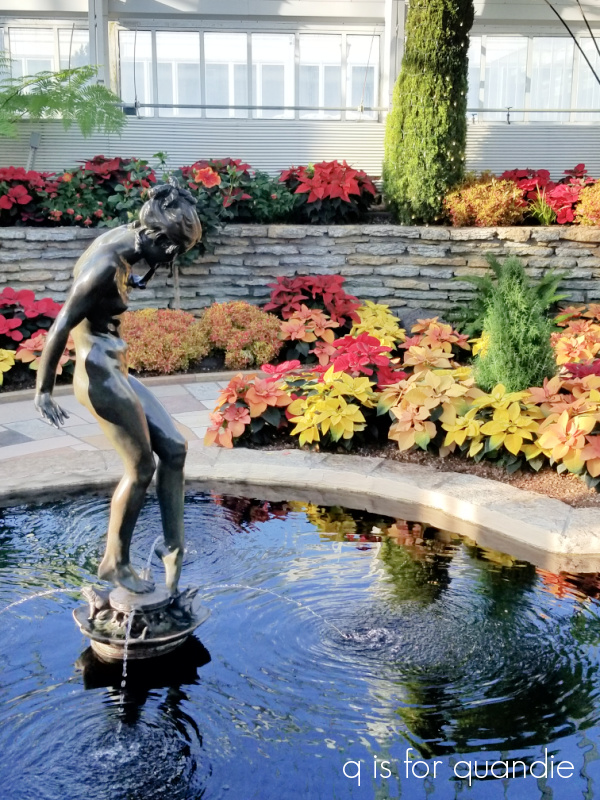
But if you’re not a lover of the all white look, you might enjoy last year’s red, orange and yellow theme at the conservatory a bit more …

What do you think?  Are you a fan of the serene all-white look, or do you prefer a lot more color?

Leave a comment and let me know.  But in the meantime, happy holidays to you and yours.  I hope you are enjoying a serene and peaceful holiday season, or possibly a vibrant, colorful one … whichever one works best for you!

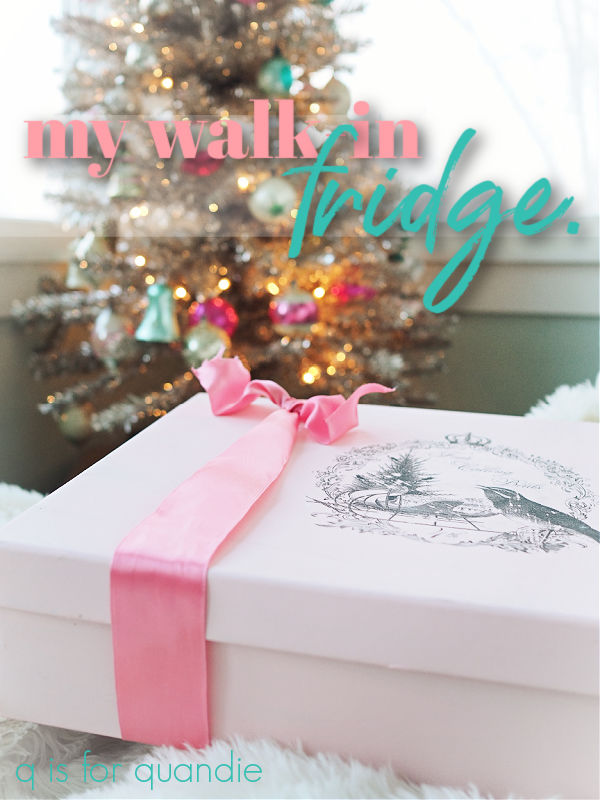
my walk-in fridge.

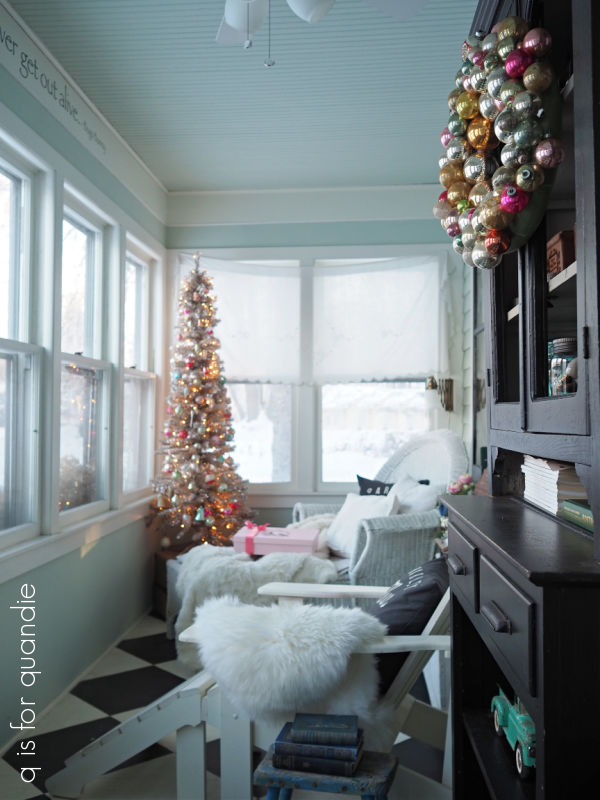
Have I ever mentioned my huge walk-in fridge/freezer here on the blog?  Yep, I’ve got one.  Every winter.  It’s super handy for Thanksgiving leftovers.

OK, it’s really my front three-season porch.

There are three seasons when you can enjoy the porch as a porch, and in the 4th season it makes the perfect place to keep leftovers.  Or on days like today, when the wind chill is supposed to be in the -20°F range, we can even make ice cubes out there.

I’m always surprised at how cold it gets on the porch despite being attached to the house, and filled with sunlight on a sunny day.  It does face northwest though, so I suppose it would be slightly warmer on sunny days if it faced south.  It also probably has zero insulation.  It was never meant to actually be occupied in the winter.

I have to admit that in years past I’ve treated the entire space like cold storage in the winter.  After putting up all of my Christmas decorations, I would leave the empty bins out on the porch.  I’d also put newly thrifted items waiting to be painted out there.  By spring it would be a big mess with piles of stuff to sort through.

But now that I have a little more time on my hands, I decided that I would put things away properly rather than shoving them out on the porch, and then I could decorate my walk-in fridge, a.k.a. the porch, for Christmas.

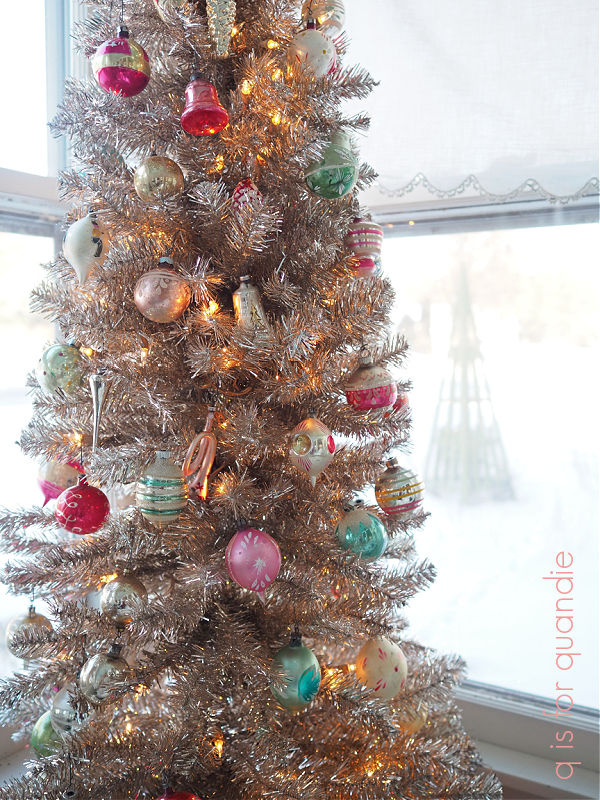
Part of the reason I made this decision was because I thought my silver tree and vintage ornament non-collection would look pretty out there with all of its pinks and aquas.

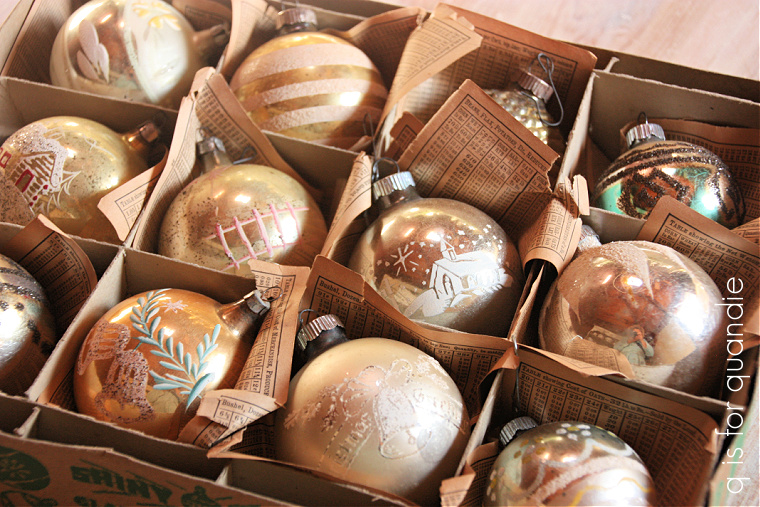
Over that past couple of years I’ve been paring down my vintage ornaments and keeping just the ones I really love, mainly in shades of silver, pink and aqua.

I have to admit that sometimes I feel a tiny twinge of regret for selling the gold ones.

Hmmmm.  What was I thinking?

Well, water under the bridge now.

In addition to the tree, I also hung my ornament wreath on the cabinet out there.

I made that years ago.  I started with a foam wreath form and just started attaching ornaments with hot glue.  If you want to try this yourself, be forewarned, it takes A LOT of ornaments.  I counted for you, there are about 75 of them.  So make sure you have a big stash before you dive in.

I added a pop of pink to the chaise with a pretty Christmas package.

Some of you may remember the year I painted cardboard boxes with Fusion’s English Rose paint and then added graphics using their transfer gel.

I gave all of the boxes away except for one.

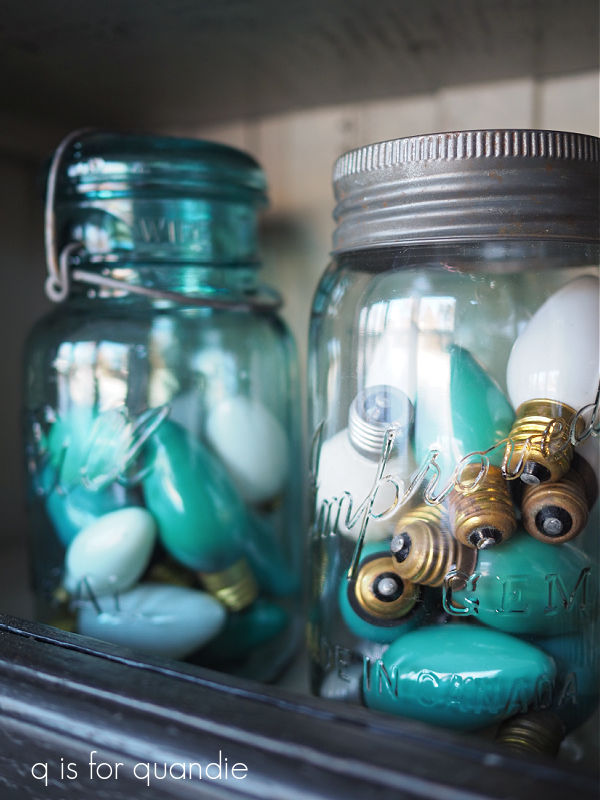
There are just a handful of other little touches of Christmas on the porch.  I have a pair of old Ball jars filled with aqua and white light bulbs in the cupboard …

my Christmas tree truck filled with little ornaments …

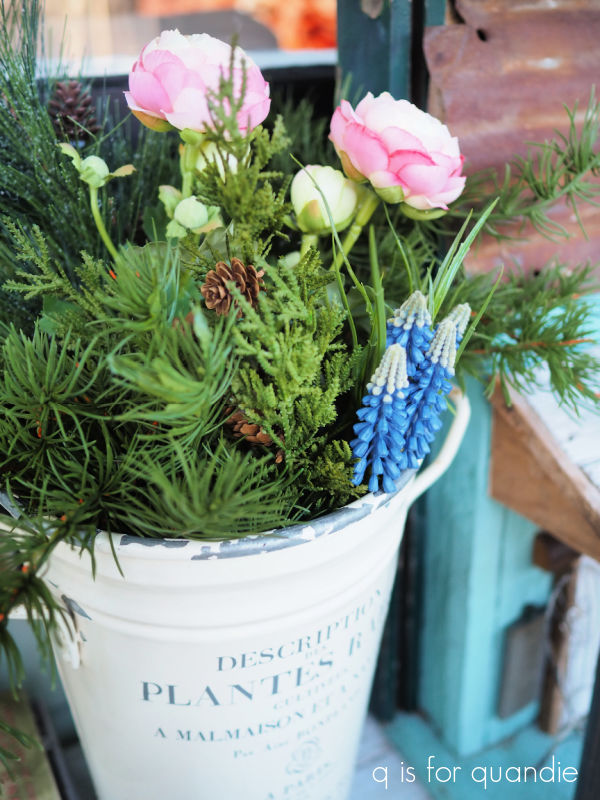
and I added some evergreens to my French flower bucket.

I suppose it seems a bit excessive to decorate a space that isn’t even used in the winter (except as a walk in fridge), but you can see into the porch from our living room so it’s not a total waste.

Plus I do actually go out there a lot.  I have a small table at the other end of the porch where I stage all of my close up photos in the winter.

The lighting is fantastic.  Sometimes I throw on an extra sweater before heading out there, but I usually don’t.  I have learned over the years that it’s wise to at least put shoes on first though.  I tend to just snap my photos quickly and return to the warmth of my desk, which is handily situated right next to a radiator.

In the end, I really just enjoyed the process of decorating out there, even if no one will see it but me.  I suspect I may not enjoy taking the decorations back down nearly as much though.

How about you?  Do you have any spaces that you decorate for Christmas just for your own enjoyment?  Leave a comment and let me know.

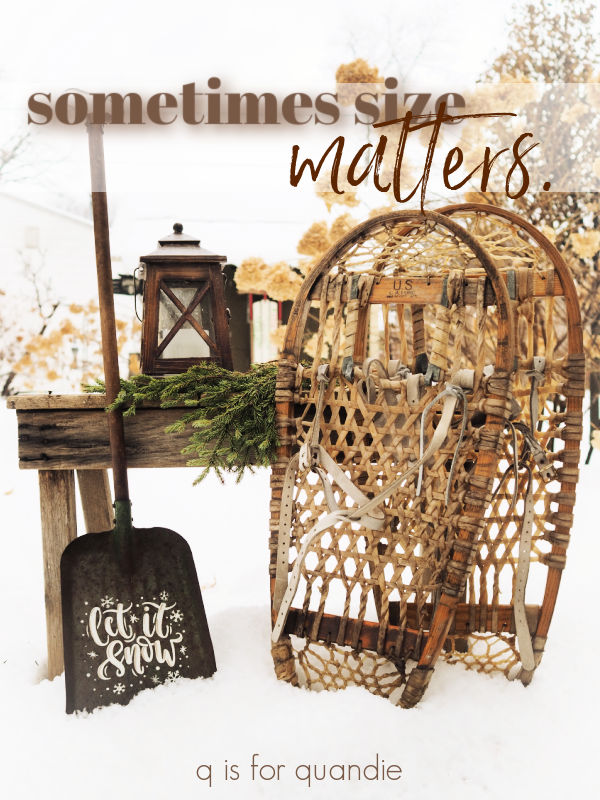
sometimes size matters.

I hate to say it, but sometimes size really does matter.  Especially when it comes to using stencils.

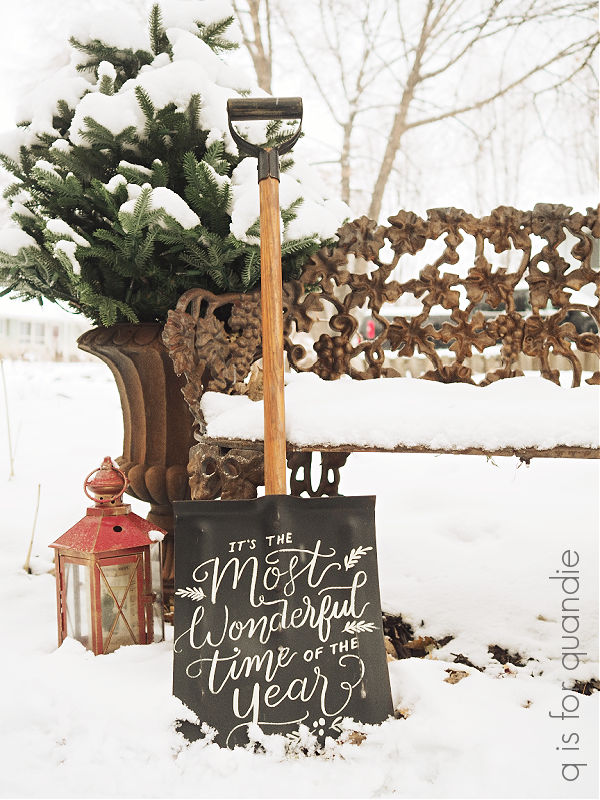
I do most (all?) of my stenciling on vintage items, like this kid sized shovel …

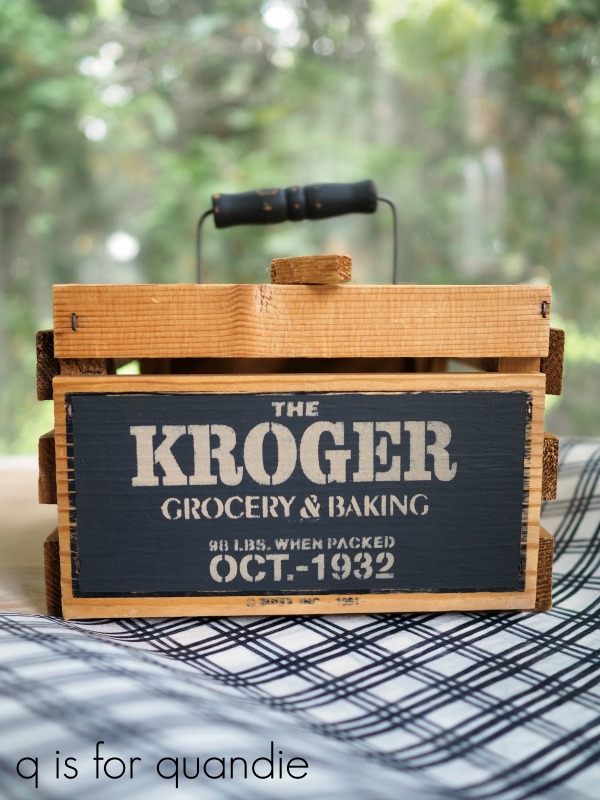
or old wooden boxes.

Old doctor’s bags …

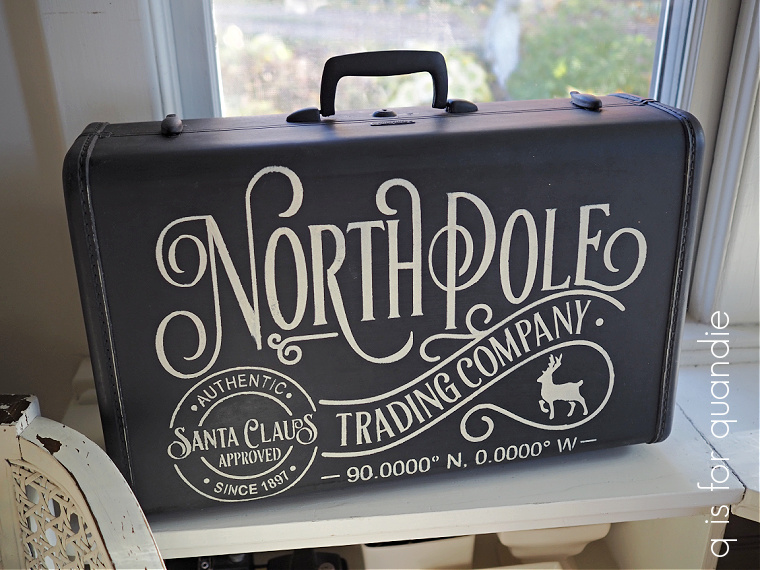
or vintage suitcases.

One of the things I often struggle with is finding the right size stencil to fit on my item.

This is especially a problem with the sleds.

Trying to find a stencil where the typography fits onto those narrow slats can be a real challenge.

My solution is to use bits and pieces of wording from various stencils for those.

I also often mask off stencils and use a smaller section of the stencil on something, like I did on this toy truck.

One of the reasons I really like wallcutz stencils is that you can order them in different sizes to fit your item.  I especially appreciate the larger sizes which work really well for turning headboards or foot boards into signs.

But I couldn’t find just the right thing from wallcutz to fit onto a vintage kid’s snow shovel that my friend Sue found for me.  I only had about 7″ square to work with.

I also looked through all of the stencils I already owned and none of them were quite right.  I debated using one of my mini stencils from JRV Stencils.  I really like the Kroger stencil, and that would have fit nicely.

But the theme wasn’t right for a snow shovel.

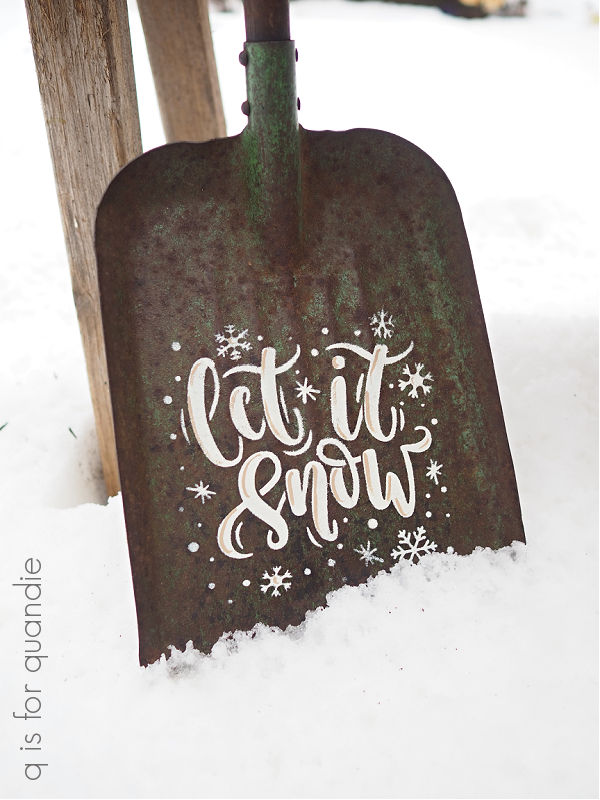
So I decided to head to Amazon and see what I could find that would fit.  There were lots of options for really small stencils that would fit a 3″ x 3″ wooden ornament, and I found a few stencils that I liked that were 8″ square, or 10″ square.  After a bit of time searching, I ended up finding a packet of 6″ x 6″ stencils that included one that said ‘let it snow’.

I did a little prep work on my shovel before stenciling.  I cleaned it well and then added a couple of coats of spray sealer to the blade.  It was pretty rusty and since I planned to use this as outside décor, I wanted to protect the remaining green paint.

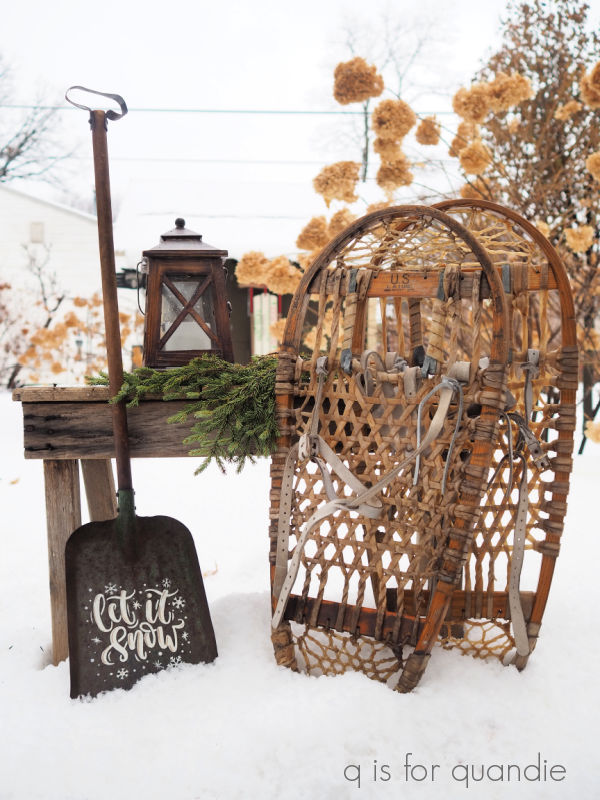
I stenciled the design using Dixie Belle’s Drop Cloth.  Once it was done, I decided it needed just a little oomph of something to give it more depth so I added some shading free-hand using DB’s Putty.

I haven’t actually done it yet, but I plan to add a couple of coats of flat sealer to protect the stenciling too.

When I shared the first kid sized shovel I painted back in November, I mentioned that I had this second shovel that I planned to keep for myself.

For now I’ve staged it out on the deck, but I plan to find a spot where I can hang it from the handle … maybe on the potting shed.  Since this is more of a winter decoration, rather than strictly a Christmas decoration, I can certainly display it for several more months.  I think I’ll hang it in place of the Christmas themed sled that is currently hanging on the door.

What do you think?

which way is up?

You may remember that back in August I shared a metal roller skate case that I painted up.

The case was originally black, so I’d simply given it a fresh coat of black to clean it up a bit, and followed that up with one of the German Grain Sack stencils from ellen j goods.

Unfortunately, the case didn’t sell.  So I brought it back home from the shop a few weeks ago to try giving it a different look.

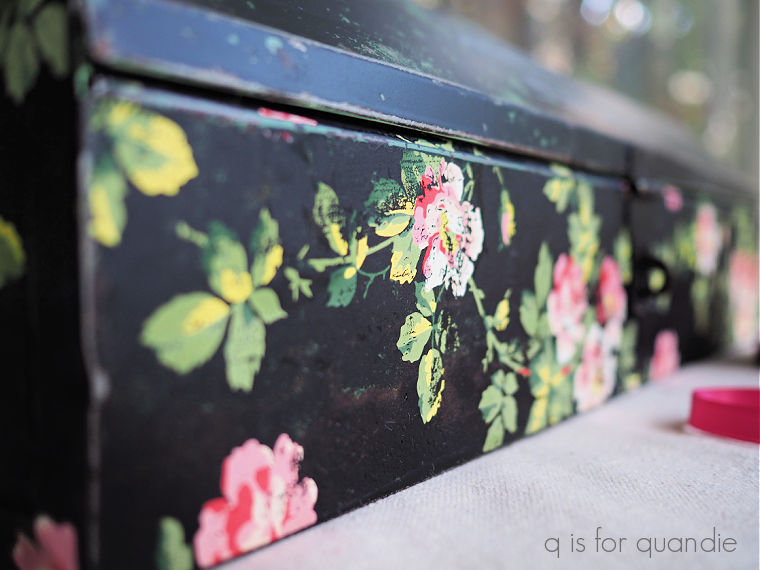
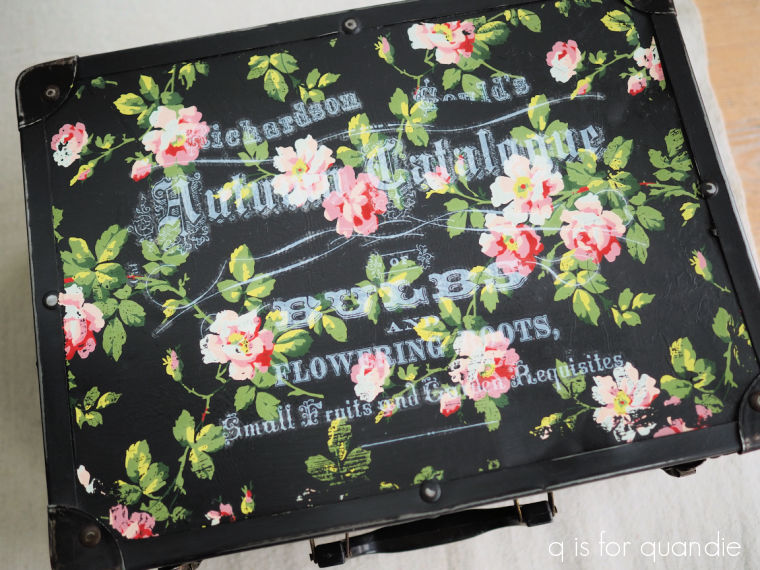
I sanded down the stencil, added a fresh coat of black and then followed that up with the I.O.D. Rose Chintz paint inlay.  I love the way this inlay looks over black paint, gorgeous.

But I didn’t leave well enough alone.  I had this idea that the white Seeds transfer would be perfect over the floral.

Ummmm.  Yeah.  That didn’t really work out so well.

You know, sometimes you just have to try something to find out whether or not it will work.  However, it can be a real bummer when you’ve used up product that wasn’t exactly inexpensive.  Hopefully I can save you from that by sharing my fails here on the blog.

So it was back to the drawing board for idea no. 3.  I sanded it all back down again and gave it another base coat of black paint (in this case, Dixie Belle’s Silk paint in Anchor).

You know, one of the problems with a case like this is that you have to decide which way is up.  If the case will be sitting upright with the handle on the top, the wording will go one way.  But if the case is sitting flat with the handle on the front (like shown above) the wording needs to go in the other direction.

I struggle with the question of which way is up with suitcases (or in this case, a skate case) every time I do one.

I tend to opt for the upright position the most.  This is a much easier decision when the suitcase has angled sides since they don’t sit flat if you put them on their side. so it’s unlikely to be displayed that way.

I often do the non-angled versions this way too.

I figure the majority of people are going to display them like that.

But with the smaller cases, like this roller skate case, you never know.  One might want to stack it on top of larger cases instead of sitting it upright.

While considering what I wanted to try for makeover attempt no. 3, I decided to go with something that would look right either way.  That meant no wording, or designs that have a distinct top or bottom to them.

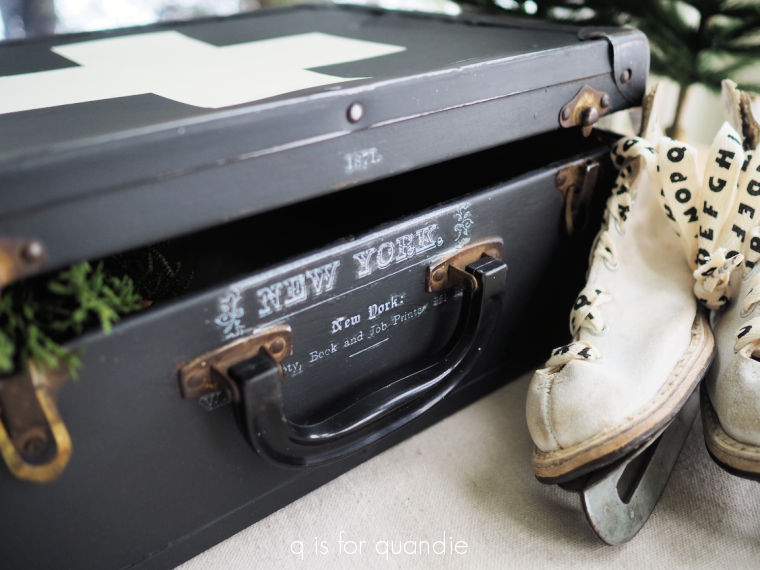
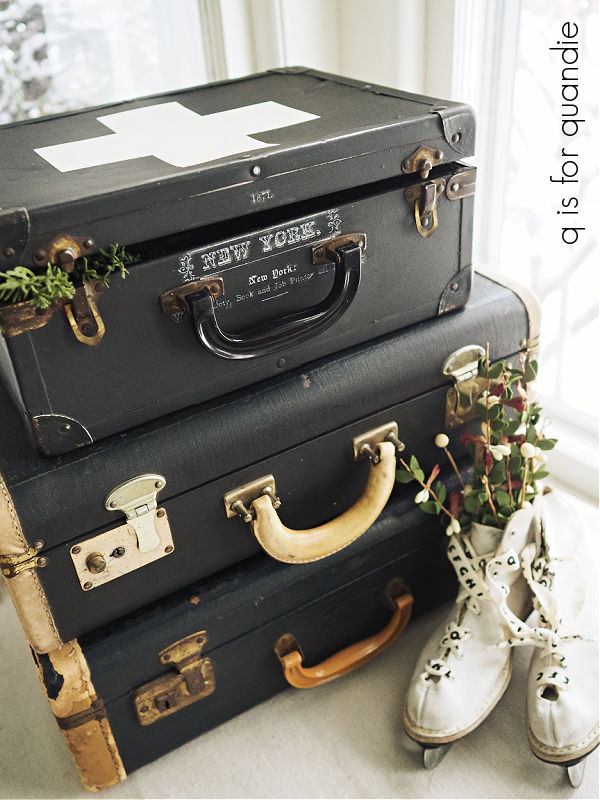
The swiss cross seemed like a great solution.  It can go either way.

I did leave the bit of writing from the Seeds transfer by the handle though.

I love the idea of stacking this case on top of a couple of other vintage cases.

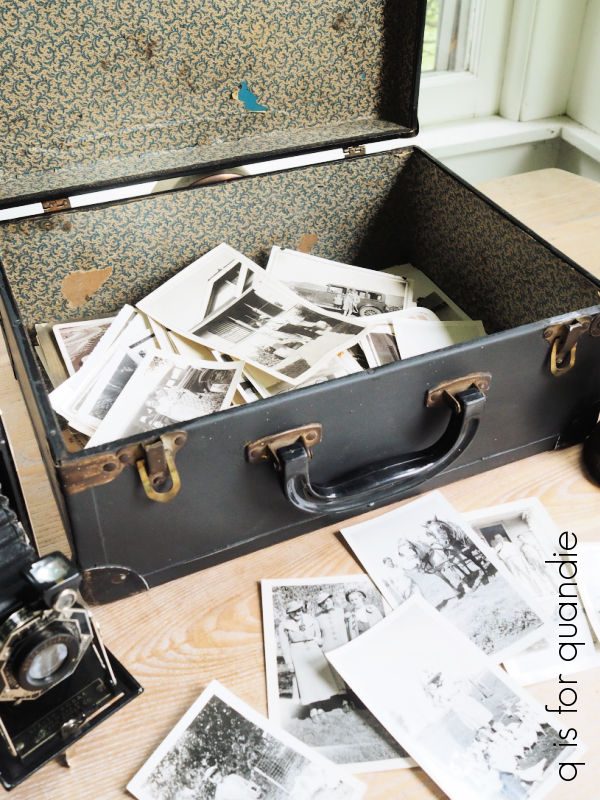
You could store any number of things inside it, including the old photos that I shared the first time around.

But I thought it would be more appropriate to the season to stage it as an ice skate case this time around.

I purchased these skates at the thrift store (or was it a garage sale?) and they came with some sparkly gold laces.

The sparkle wasn’t quite doing it for me though, so I swapped out the gold laces for some alphabet ribbon that was in my stash.

Now they are the perfect companions for my swiss cross case.

Whether or not the case will sell better with this design remains to be seen, but I’m going to give it a shot.  If any of you locals are interested, both the case and the ice skates are listed on my ‘available for local sale‘ page.

As for the rest of you, what do you think?  Are you a fan of the swiss cross look, or would you have preferred the rose chintz?  Leave a comment and let me know.

some weekend antiquing.

This past Saturday I helped my sister with her Christmas baking.  That is, if your definition of helping includes watching her do most of the work while test tasting all of the cookies.

Although I will say, for those of you who have followed me for years, I am still responsible for all of the ball rolling.

But she has cut way back on the amount of baking she does at Christmas, which left her Sunday completely free.  So I suggested we check out some of the antique shops in Stillwater, MN.

It has been a while since I’ve visited antique shops around Christmas.  I used to go all the time in order to add to my non-collection of vintage ornaments and tree toppers.

While I was away in Mexico, Mr. Q accidentally broke one of the toppers in my toolbox (the one on the far right), so I decided that was a good excuse to look for a replacement.

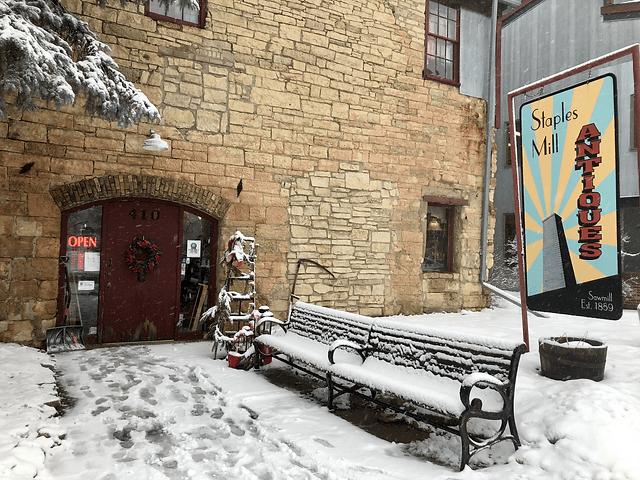
So on Sunday afternoon Debbie and I headed out for a little lunch and shopping.  We visited a few different places, but eventually ended up at Staples Mill Antiques.

I hadn’t been inside this place in ages.  In fact, I’m betting it has been at least a decade if not more.  The thing is, I no longer really enjoy the traditional antique shop with piles and piles of dusty things crammed onto shelves or locked inside glass cases, with small areas for each vendor where you can barely squeeze yourself inside without knocking over an old easy bake oven or some carnival glass.

But I was willing to give it a shot to see if I could find a replacement topper for my toolbox.

Spoiler alert, I did not find one.  But I did find out that Staples Mill has a pair of refreshing new vendors, Jeff and Mike.

I literally walked into their space and said out loud to my sister “now this is more like it!”

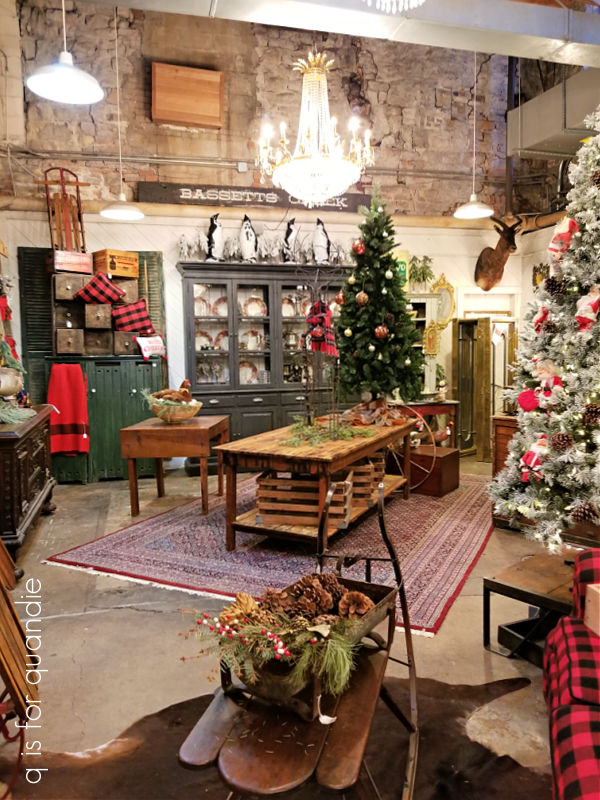
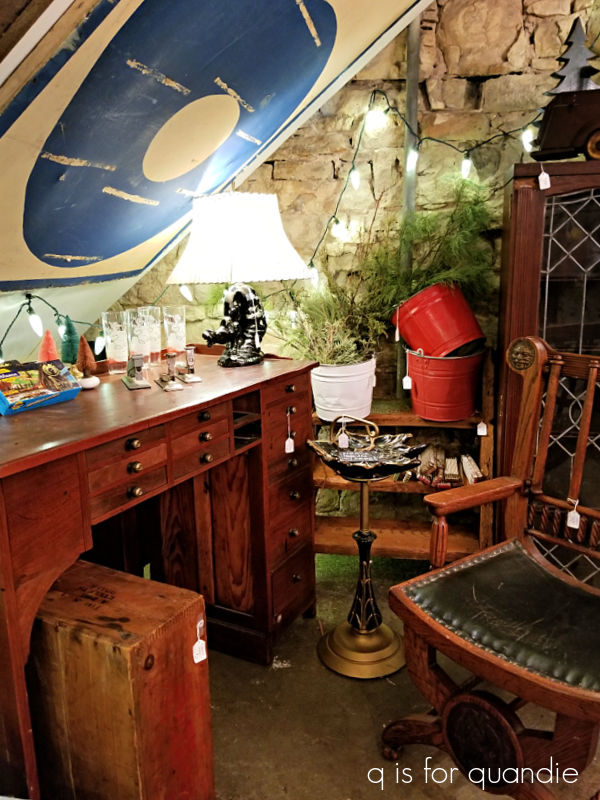
You can see everything, it’s displayed in such a way as to give you a feel for how the items could look in your home, you can walk around without knocking stuff over, and it’s well lit by a couple of stunning chandeliers.

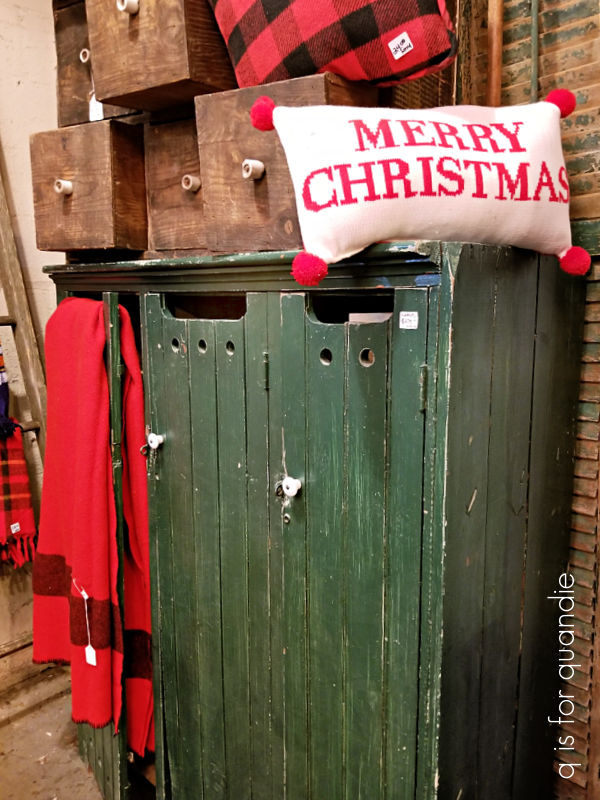
But mostly what I was admiring was the expertly curated selection of fabulous items, like this painted set of green lockers.

The price on this was $275, by the way, which I thought was very reasonable.

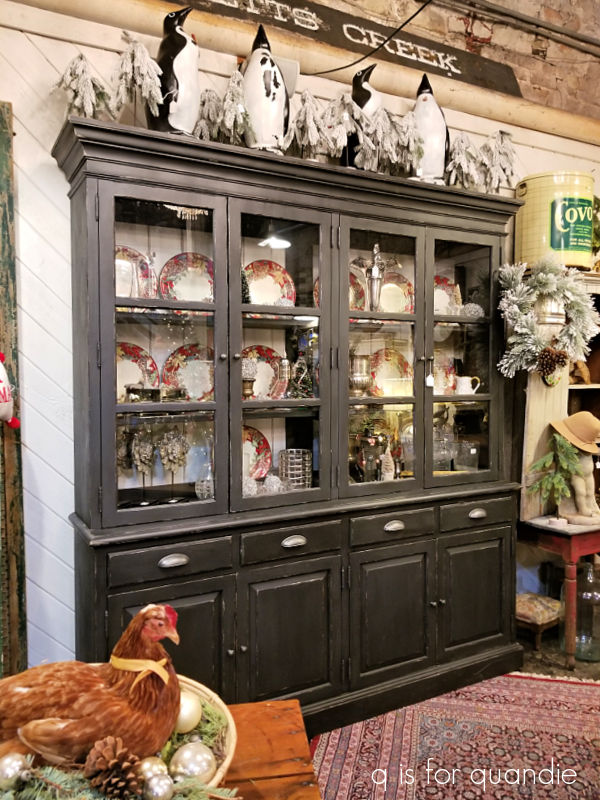
This black cabinet was awesome as well.  I love the row of black and white penguins on top, perfect for a unique Christmas display.

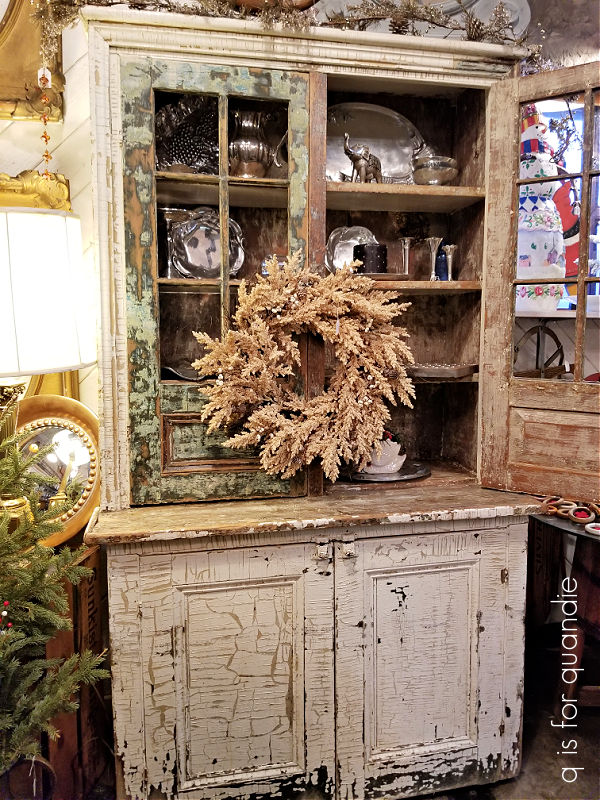
And just check out this chippy beauty that was filled with vintage silver.

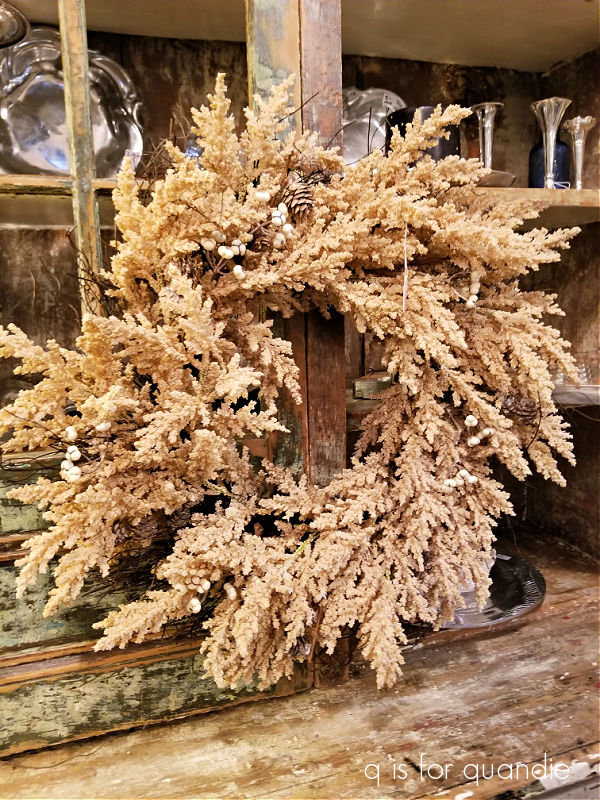
I love the contrast between the formal silver with the rustic chippy painted cabinet, and isn’t that wreath pretty?

Isn’t this sled/coffee table awesome?

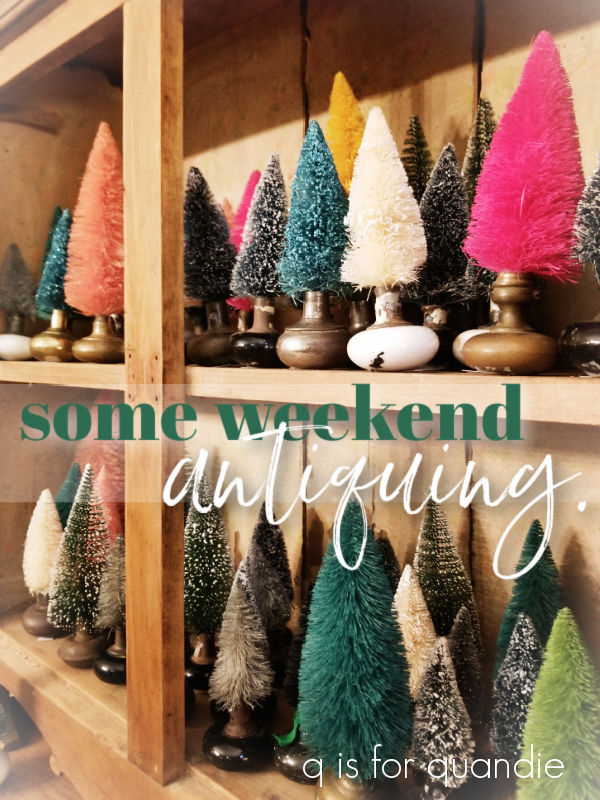
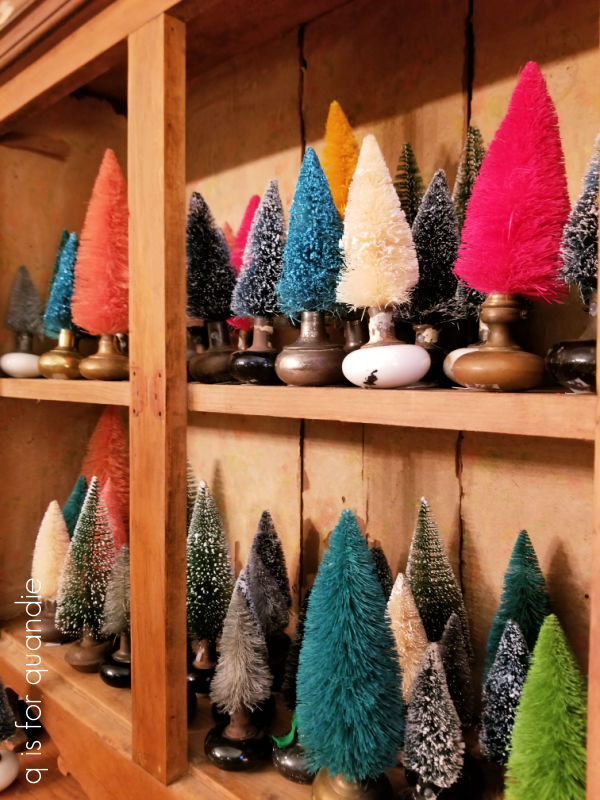
This collection of bottle brush trees in old door knobs that totally filled a pine cupboard really caught my eye.

There’s definitely something to be said about strength in numbers, right?

I have a couple of these myself, but not a big collection like this.  But I’m definitely inspired for next year.  I’m adding ‘old door knobs’ to my garage sale shopping list.  I see them all the time, and I already have half a dozen or so in my stash.  I just need about 25 to 30 more!

As I was wandering around snapping photos with my phone, a voice floated down from the staircase above saying “are you going to give us some free publicity?”  Yep, I was caught red-handed.  But either Jeff or Mike (dang if I don’t remember which one he said he was) just happened to be there.  So I admitted that I was going to share the photos on my blog, and he was happy to hear it.  Sometimes you run into shop owners who don’t want people to share photos of their space, and I’ve never really understood that mentality.  I mean, really?  Who doesn’t love a little free publicity?

Anyway, these guys definitely have a flair for both display and for finding uniquely fantastic items like these golden horses.

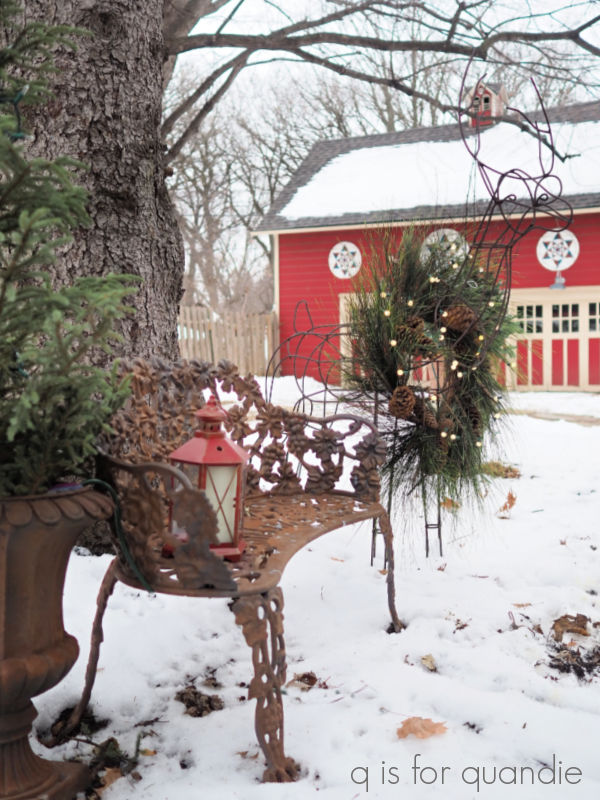
I also thought their prices were quite reasonable (and for a cheapskate like me, that is saying something).  In addition, they are willing negotiate, so I was able get about 30% off the price on the tag for the rusty metal reindeer that I purchased and brought home for my garden.

FYI, I had a heck of a time trying to get a decent photo of a mostly see-thru metal deer.  I promise, he looks better in person.

I’m definitely going to make a point to go back more often to check out their stuff.  In fact, I may even go back for this guy …

Wouldn’t he be perfect in the garden?

If you want to see some photos of their space set up for Christmas before it was mostly picked over, check out this post on Facebook.

If you’re local, be sure to check out their space at Staples Mill Antiques.  If you aren’t local, I hope you still got an idea or two from today’s post.

Do you have any fabulous antique spots near you?  Leave a comment and let me know.

a tropical garden for Christmas.

Welcome back to Sunday mornings in the garden.  Once again, this post is not coming from my own garden which is currently buried under a couple of inches of snow.  Instead, this one is coming to you from Puerto Vallarta!

As I’ve mentioned, my neighbor’s family invited me along on their family vacation to Mexico.  Yep, I’m very lucky when it comes to neighbors.  I think I won the good neighbor lottery.

So I spent a week at Velas Vallarta with my neighbor Karen and her parents.  The resort was gorgeous, and so was the weather.

  We had 7 days in a row of mid-80’s and sunshine, not a drop of rain or a cloud in the sky.  Perfection.

We basically spent the bulk of our time looking at this view while a very nice waiter named Edwin delivered pina coladas and nachos.

Most of the time it felt like we practically had the place to ourselves because the resort was only about 50% occupied.  The week immediately following Thanksgiving week is not very popular apparently.

We did venture out to the beach a couple of times.

And we also ventured out to the marina to do some shopping.

But I said this was going to be a garden post, and that’s because the grounds at Velas Vallarta were just beautiful.

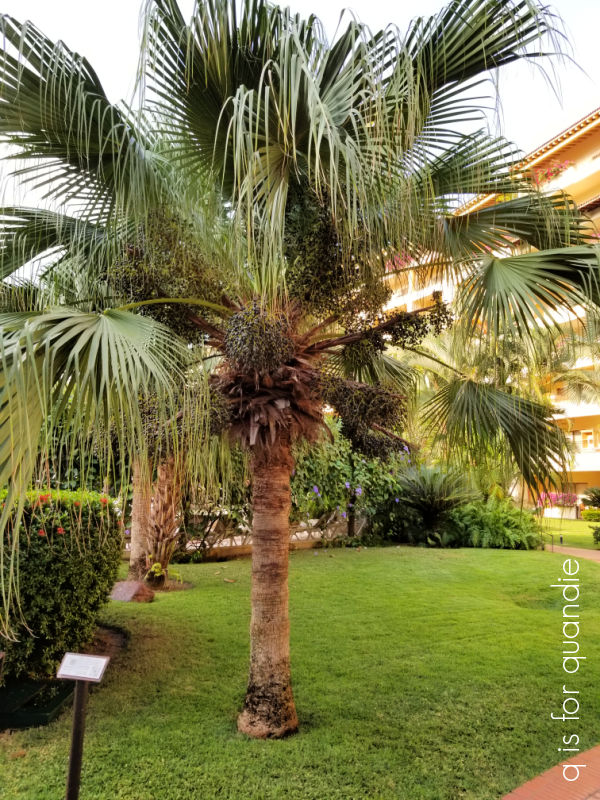
Not only that, but many of the plants had markers so it was a lot like being in a botanical garden.

I enjoyed finding out what the various plants were called, like the Washingtonia Robusta or Mexico Fan Palm.

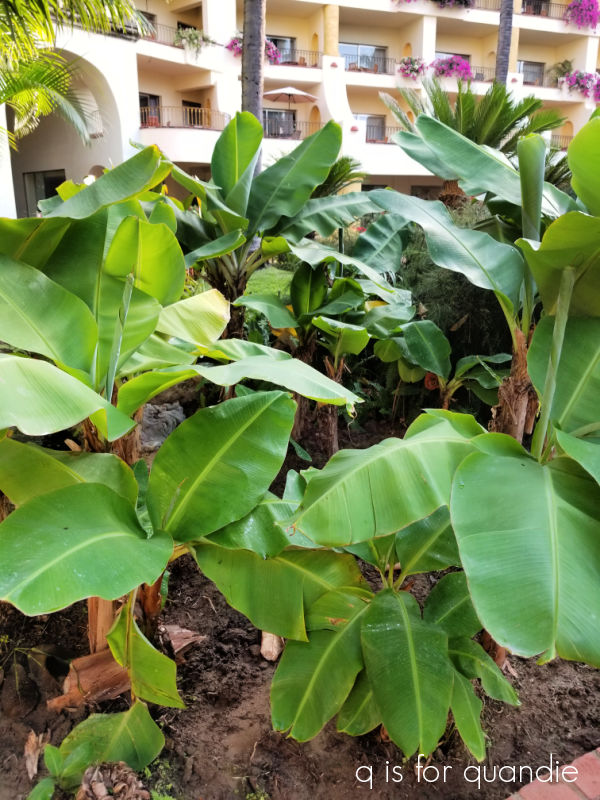
And the Musa X Paradisiaca or the Banana!

There were two flowering plants that stood out as my favorites.  First up, the bougainvillea.  This is one of my mom’s favorite flowers, and she would have loved how they were spilling out of a multitude of planters on the balconies at this place.

But I think I liked the Blue Sky Vine even more.

They had long pergolas around the several swimming pools that were covered in this vine and provided perfect spots for shady lounging.  There was one small problem in that they really attracted the bees, and Karen got stung twice in the pool.  Ouch!

I have to admit, I find it difficult to feel properly Christmas-y in the tropics.  But the resort was doing their best to add some holiday vibes.  One morning I woke up to find that they had planted poinsettias in the garden the previous day.

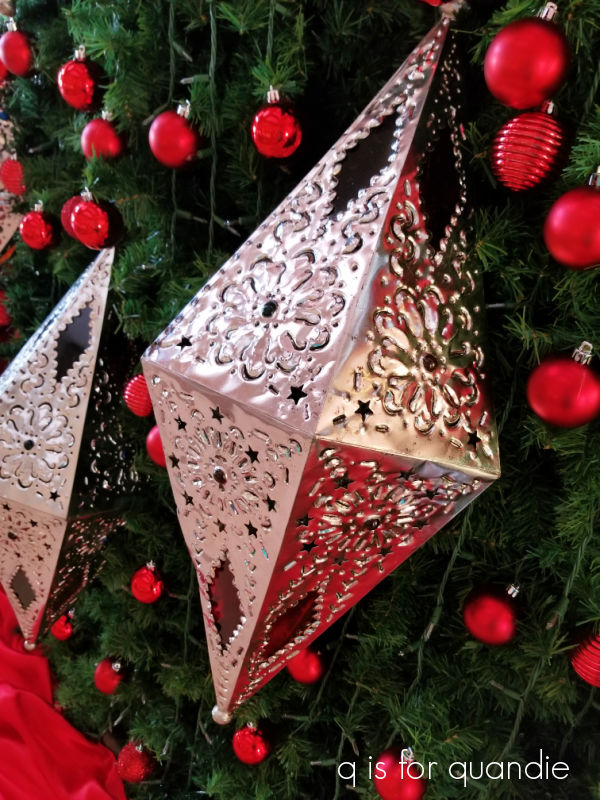
They’d also put up a huge tree in the lobby.

It was decorated with these beautiful silver lanterns.

Still, it took coming home for me to get back into a holiday mood.

As much as I enjoyed that gorgeous warm, sunny weather in Mexico, I need a little snow on the ground to feel like Christmas.  How about you?  Do you enjoy a tropical Christmas?  Leave a comment and let me know!

a new family tradition.

Before I get into today’s post, I want to say congratulations to Paula.  I randomly drew her name to win my blogiversary giveaway.  I think there may have been a couple of Paula’s that commented, but I have exchanged emails with the winning Paula so she knows who she is.  Thank you all so much for all of your kind comments on my blogiversary!

Like many Americans whose families have been in the U.S. for a few generations, I suspect that my ancestry is pretty much a Heinz 57 sort of mix.  However, both my sister and I identify the most with our Norwegian heritage.  That’s probably because we were most involved with my mom’s side of the family growing up.

Don’t they look like a fun bunch?  Well, OK, maybe not, but the younger generations of cousins on my mom’s side really are a fun bunch of people to hang out with.

The dude in the dark glasses at the back on the right in that photo is my great grandfather (he was blind, hence the dark glasses).  He was a child when his family emigrated from Haltdalen, Norway.  You can read more about that here.  I believe the baby in his arms is my grandmother, Carrie.

Check out that gal on the far left.  Is she scary looking or what?  She’d be the perfect employee for the Haunted Mansion in Disney World.  You can just tell it was nearly impossible for those kiddos in the front row to hold still for the photo.  I’m pretty sure she’s reaching down to pinch the one closest to her who is so focused on the toy in his hands.

Back in 2016, my sister read about the Gingerbread Wonderland at the Norway House in Minneapolis and we decided to check it out.  I wrote a blog post about it back then, and it’s still one of my most viewed blog posts this time of year.

The pepperkakebyen, or gingerbread village, is a Norwegian Christmas staple.  The largest pepperkakebyen in the world is in Bergen, Norway.  Wouldn’t it be fun to go see that one!

But Minneapolis is a lot closer than Bergen.  Still, we hadn’t been back since 2016.  Of course, the Gingerbread Wonderland didn’t take place during the Covid years, and then last year reservations were required and we weren’t able to get in when we wanted to.  So this year we made sure to get our reservations early.

It was a bit of a shock to the system, but after flying home from Mexico on Saturday, we went to the Norway House on Sunday.

I turned out to be a great way to jolt myself back into the holiday spirit after a tropical vacay.

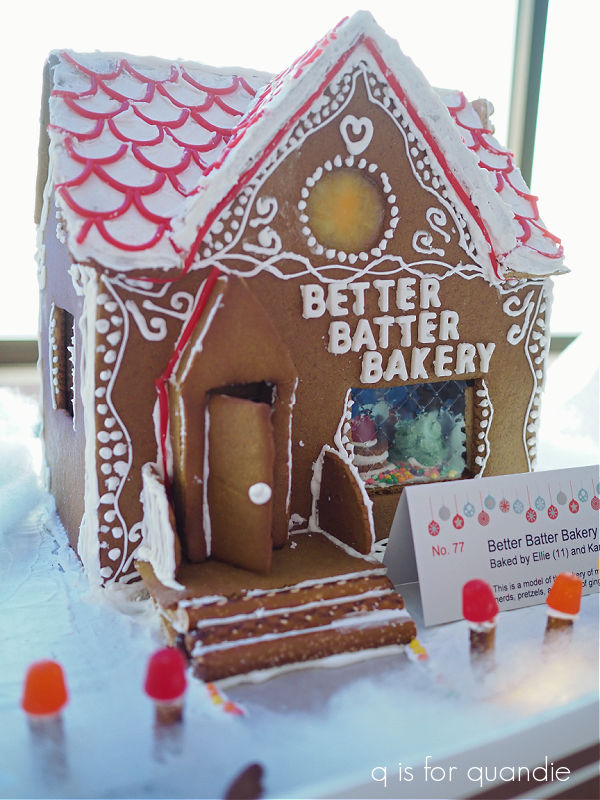
There are a wide range of baking skill levels on display in this pepperkakebyen with quite a few structures that were made by children, like Christmas Eve at the Cabin …

and the Better Batter Bakery.

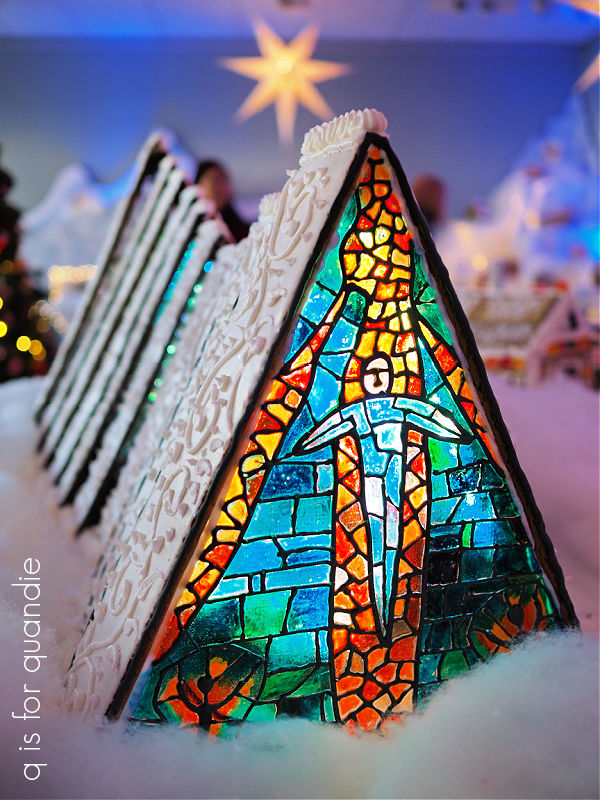
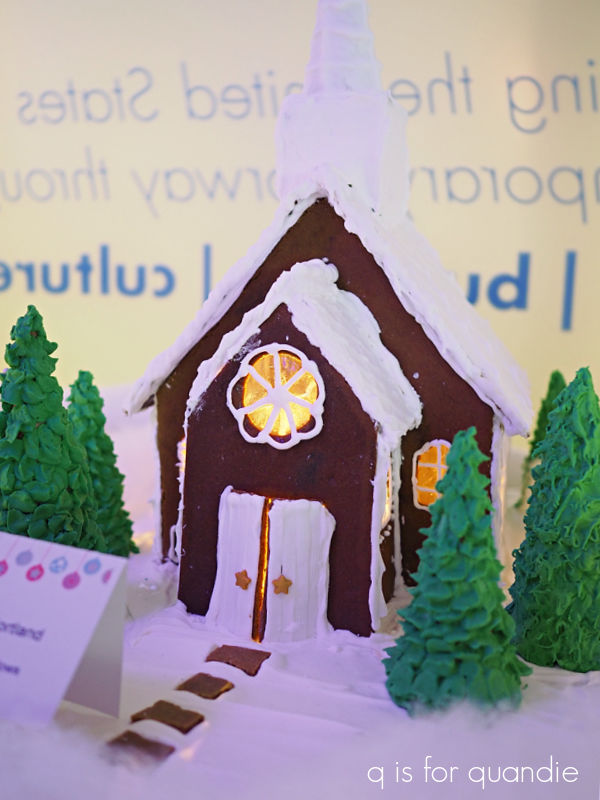
As well as some much more professionally baked looking buildings, like the Arctic Cathedral …

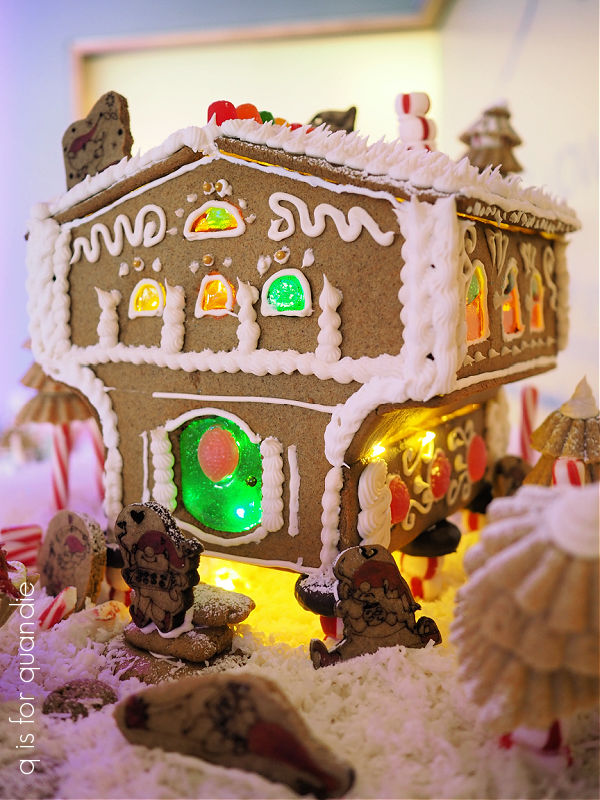
and Nisse Stabbur …

A stabbur is a traditional Norwegian storage building.  I saw some when I visited the open air museum in Oslo back in 2017 …

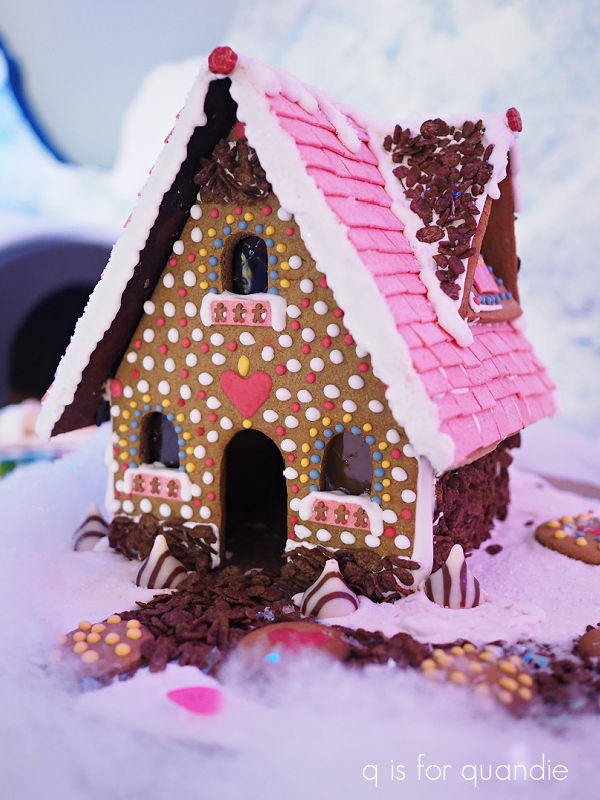
It was fun to see all of the different options for creating a gingerbread house roof, like this pink one …

Or the red hot pattern on the roof of this next one.

Or this house’s roof made of slivered almonds.

I also enjoyed seeing the variety of methods used for adding trees.  There were flat cookie trees …

layered cookie trees …

and frosted cone trees …

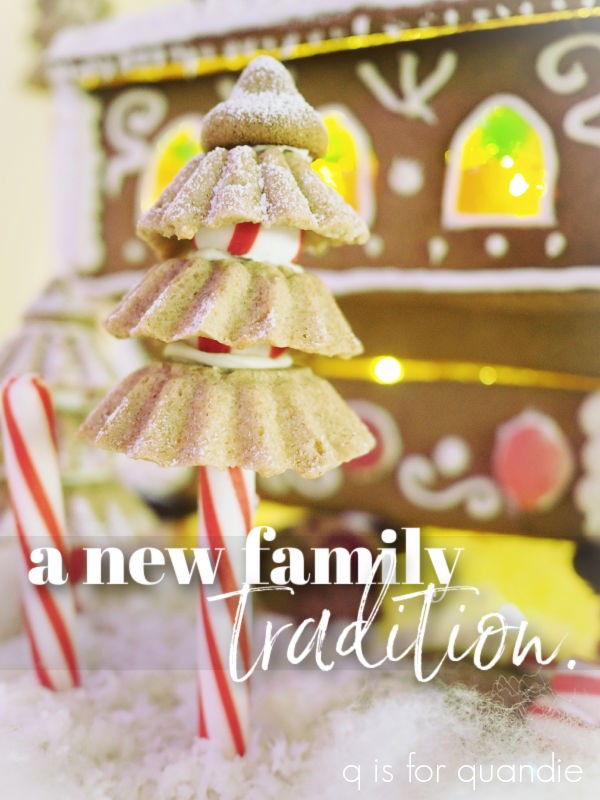
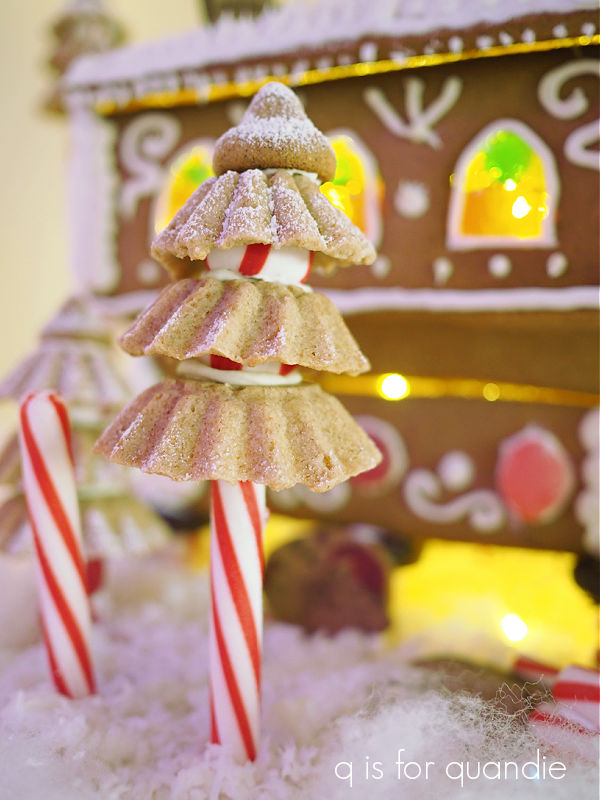
but my favorites were the whimsical Sandbakkel trees next to the Nisse Stabbur.

It looks like they were created using peppermint sticks, peppermint candies and Sandbakkels, a traditional Norwegian Christmas cookie.

In the end, the gingerbread house that got my vote for best in show was The Little Old Woman Who Lived in a Shoe by Annette Korolchuk.

I loved her unique concept and thought it was expertly executed.  Isn’t it adorable?  Maybe not quite as Christmas-y as some of the other gingerbread houses, but I loved it all the same.

We once again enjoyed our visit to the pepperkakebyen so much that we’ve decided to make it a new Christmas tradition.

If you’re local and looking for something fun to do during the holiday season, maybe you should consider a trip to the Gingerbread Wonderland.  Although maybe don’t schedule it so that you finish up at the same time as the Vikings game (yep, that was a bit hairy, traffic wise).

How about the rest of you?  Is there a pepperkakebyen in your neck of the woods?  Or do you have any other Christmas traditions that speak to your ancestral heritage?  If so, leave a comment and let me know!

a growing village.

Well, I made it home from Mexico.  We had a great time, the weather was absolutely perfect.  I’ll be sharing a little bit about the trip later in the week, so stay tuned for that.  I’ll also be sharing who won my blogiversary giveaway later, as soon as I get to it.

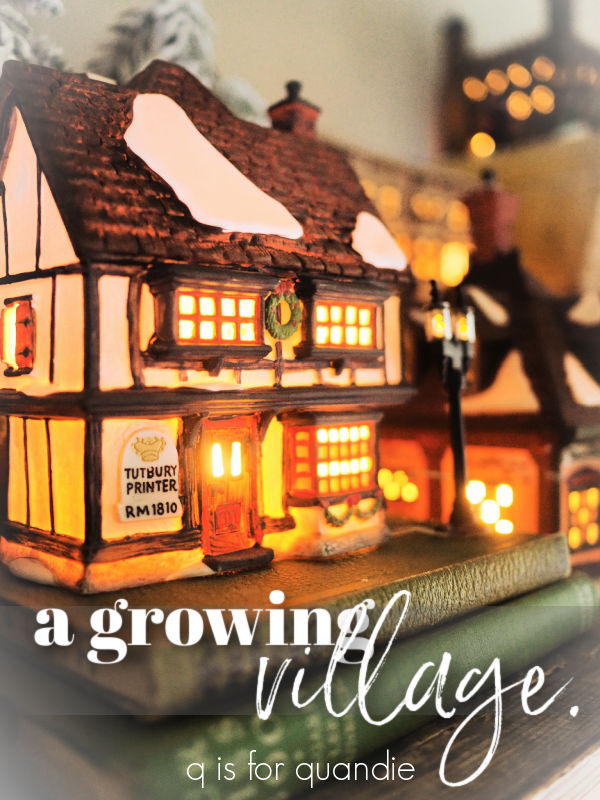
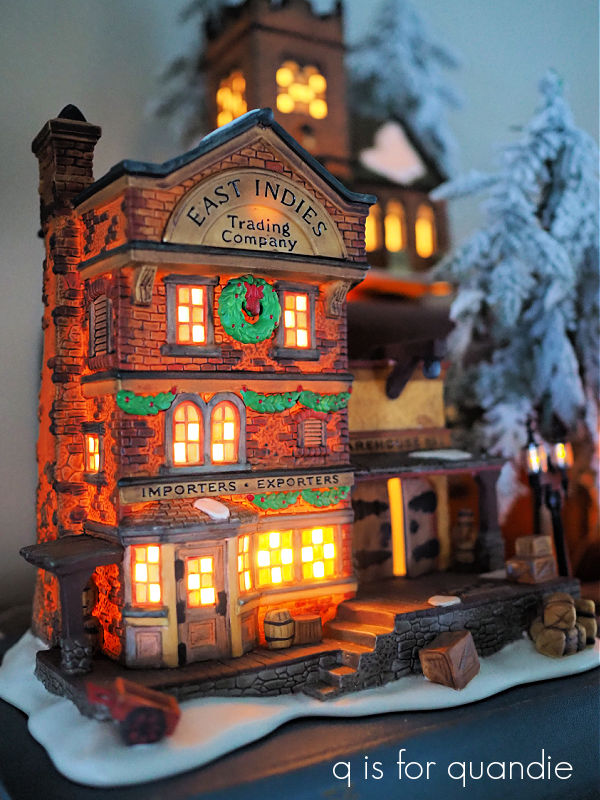
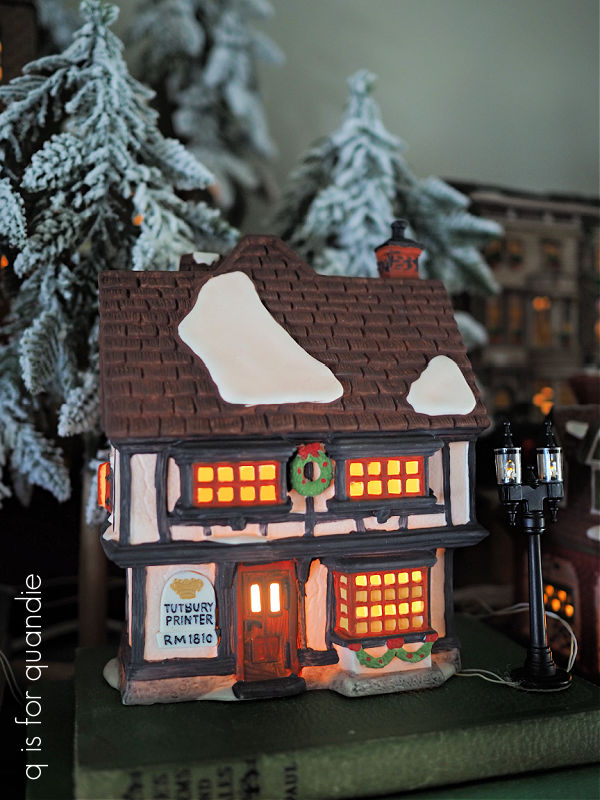
In the meantime, today I thought I’d share my growing Department 56 Dickens Christmas Village.

For those of you who aren’t familiar with Department 56, it began in 1976 as part of Bachman’s and is still headquartered in Eden Prairie, Minnesota.

The Original Snow Village was the only village offered initially.  The Dickens Village came along in 1984.  These days they have six core villages, and 12 Licensed villages like the Disney village that my sister is collecting and the Harry Potter village (and I have to say, if you’re a Potter fan this one would be amazing to have).

I have to admit, although these villages were all the rage back in the 80’s and 90’s, I think maybe the Dickens one has fallen from favor.  Or maybe it’s just that the people who collected them back then are all downsizing as they age.  Whatever the reason, they seem to pop up at estate sales, garage sales and thrift stores on a fairly regular basis.

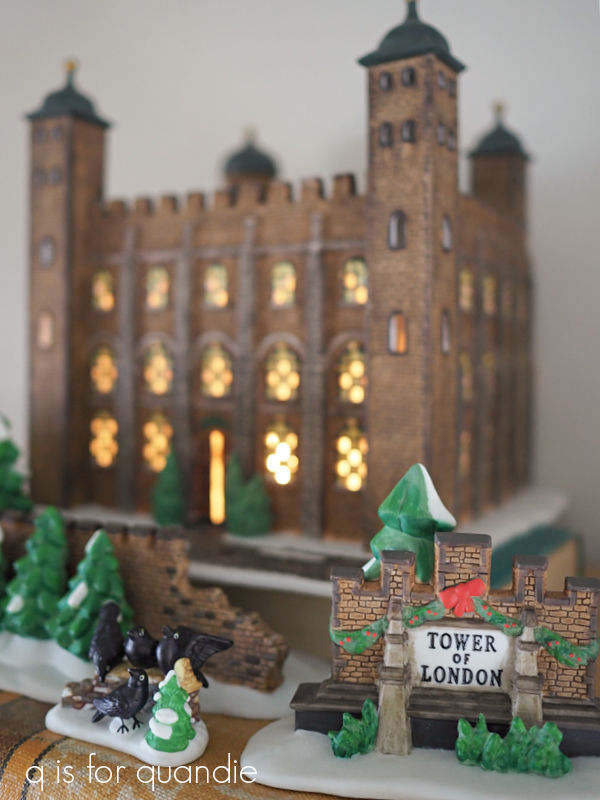
The new pieces are priced at $100 and up, with the most elaborate priced at $250 or more.  I do want to note here that the quality of these pieces is much higher than the cheaper, generic sort of ceramic pieces you can find out there, though.  So I’m not saying they aren’t worth those prices.  However, my pieces have all cost less than $20.  This past summer my sister and I came across a garage sale where they were selling dozens of pieces for $10 each.  So my Tower of London piece, which is selling for $249.99 on Amazon, cost me $10.

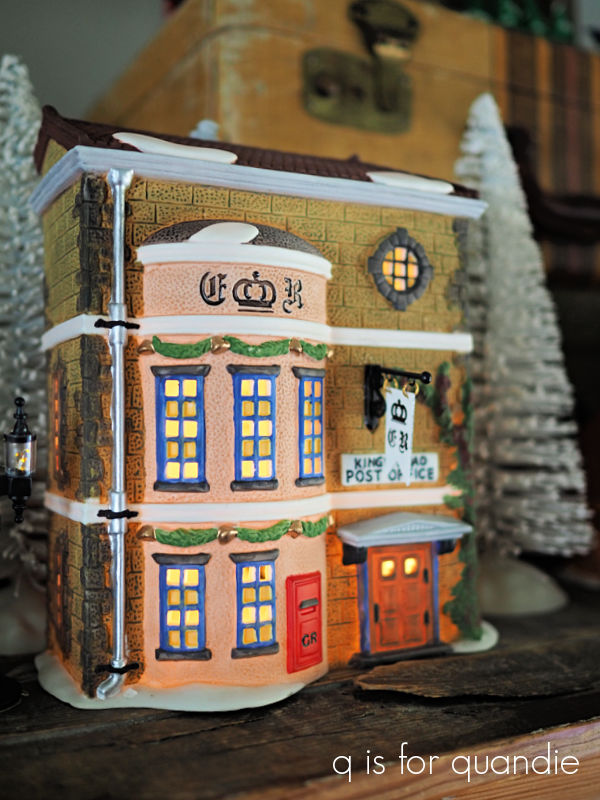
As did the Kings Road Post Office.

I certainly was never planning to collect (or should I say non-collect) a Christmas village.  I did not hop on board with this trend back in the day when it was immensely popular.  But back in 2016 I shared a tour of my friend Amy’s house and I fell in love with her little village vignette.

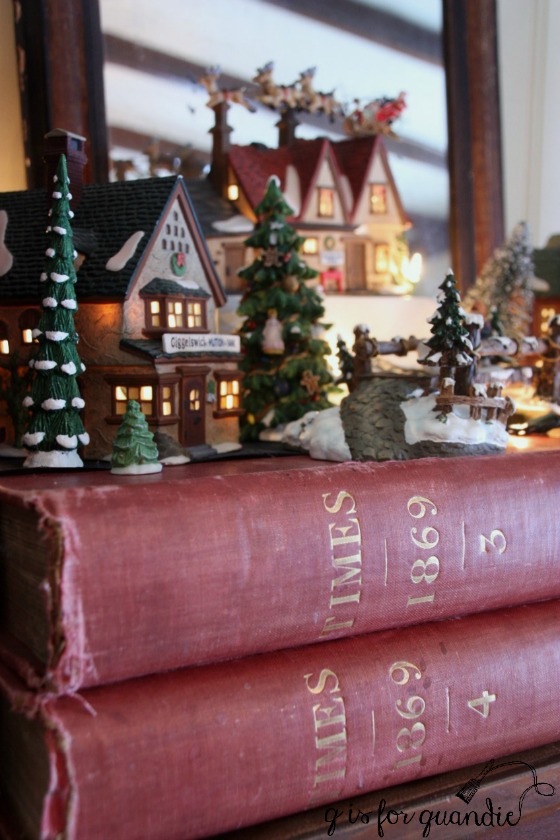
The juxtaposition of the giant books with the lighted village on top was perfect.  So when I saw a few pieces at the thrift store, I decided to pick them up.

And the rest, as they say, is history.

When I find pieces at prices like $10 each, I just can’t help myself.

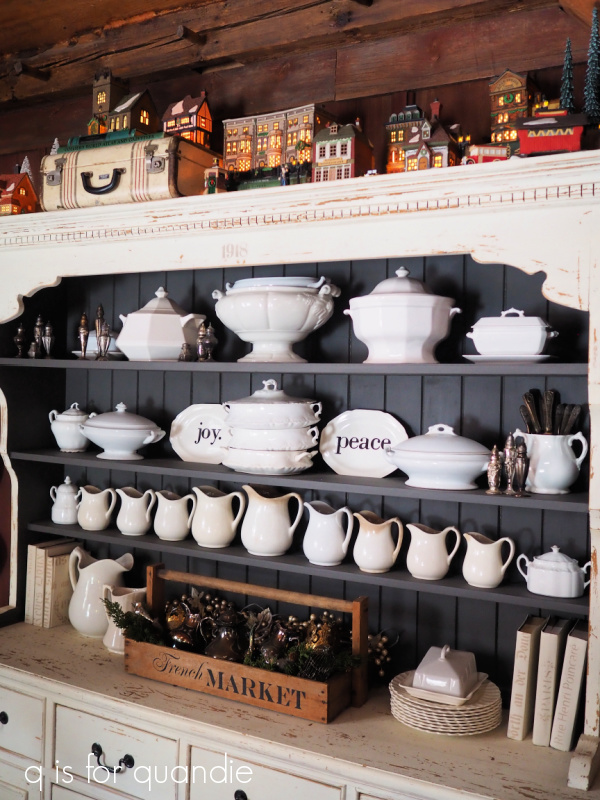
Last year I displayed the village on the Welsh cupboard in our dining room …

But I needed to expand this year.

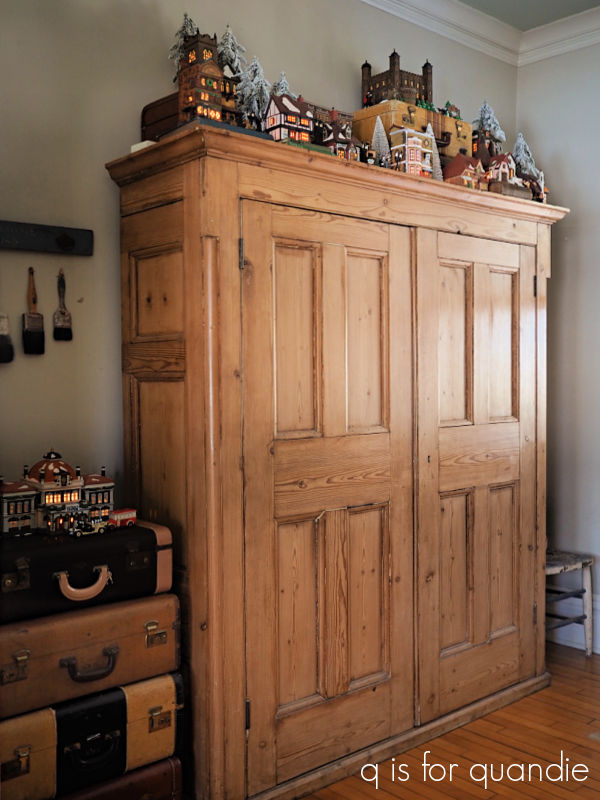
So I went back to the pine cupboard in the Q branch …

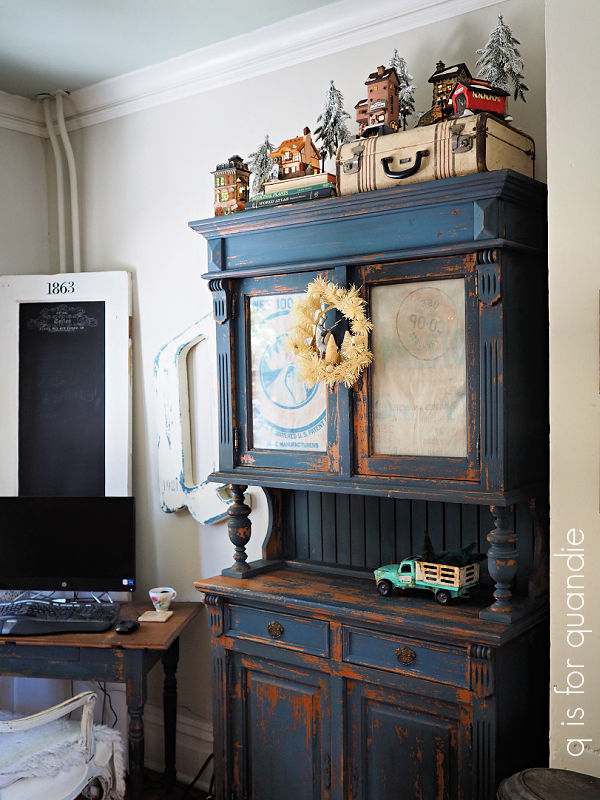
as well as the top of the rooster cupboard in the same room …

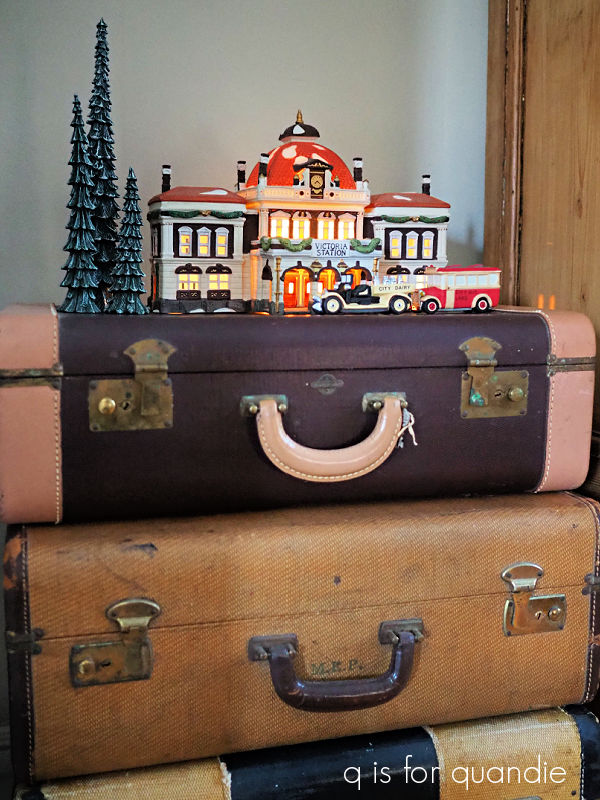
and finally I displayed Victoria Station on the stack of suitcases next to the pine cupboard.

Those of you who are Christmas Village pros are probably already savvy, but I thought I’d share a few q tips on displaying a village for those who are newbies like me.

My first tip is to layer your display.  Just like on a buffet table, use props to place things at different heights.  I achieve this using vintage suitcases and old books.

I set these up first to create a stage for my village.

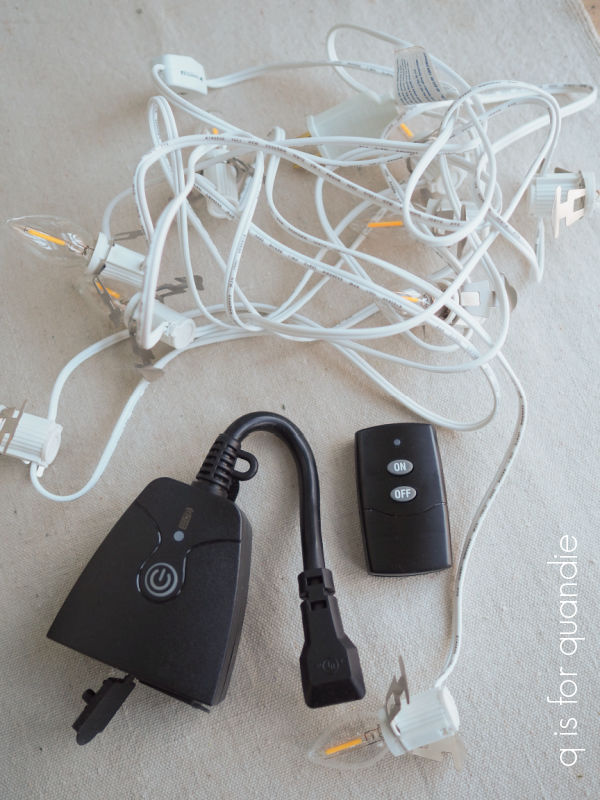
Next up is electrical.  I just discovered that you can buy strings of multiple lights for the villages from Amazon last year.  You can light up three, five, or even nine buildings with just one string to plug in.

I also purchased a remote control outlet to plug them into.  Now with one touch of a button I can turn them all on and off.  Well, technically I have two buttons.  One for the group over the pine cupboard and one for the group over the rooster cupboard.

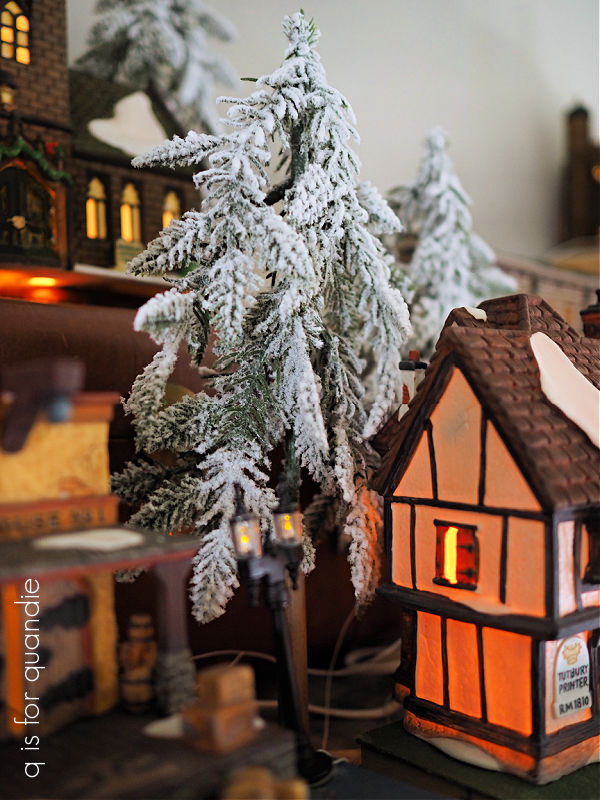
One more tip for today, on adding trees.  When I was at Gertens a few weeks back, they had some fabulous faux flocked pine trees in their village display.  Unfortunately, they were $49.99 each, yowza!  Granted, they were lit.  But I also thought they were just a tad too large for the village.  So I didn’t buy any.

Then later, while perusing the Christmas décor at Target I came across these trees.

They are very similar to the Gertens trees, but about half the size.  They aren’t lit, but they also were only $3 each.  So I was able to get 10 of them for less than just one of the Gerten trees.  And I’m OK with them not being lit, that allows the village to be the star of the show.

I think they make for a very realistic looking snowy looking background.

I get the most enjoyment out of my village at night.  I leave all the lights off in the room, and just light up the village.  It’s so pretty!

I suspect I’ll continue watching my village grow over the coming years.

How about you, do you have a Christmas village?  Leave a comment and let us know.

the Christmas birdcage.

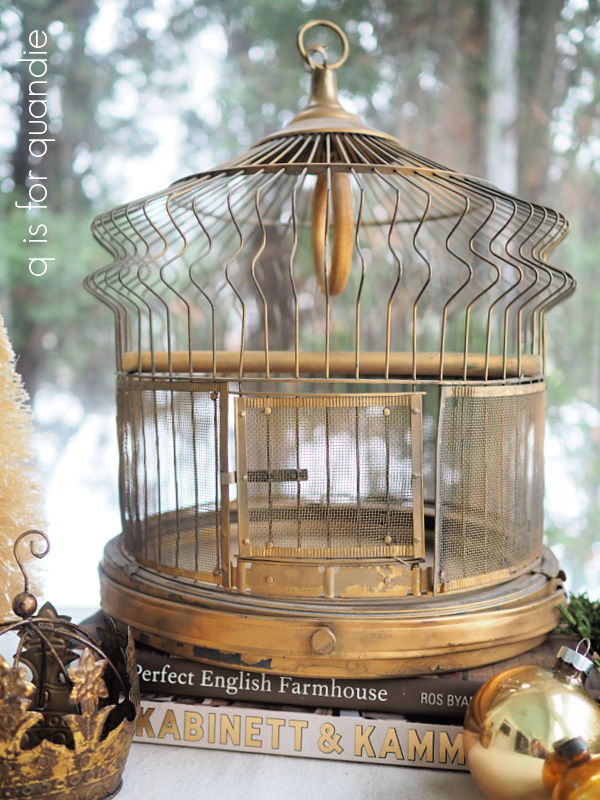
The other day my neighbor Karen asked if I’d like to have her grandmother’s birdcage.  She was in the process of cleaning out her upstairs, and trying to clear away all of the ‘stuff’ that she didn’t use.  Although she has a sentimental attachment to the birdcage, it really isn’t her style at all.  She leans much more towards mid-modern .

Yep, definitely not mid-century modern.

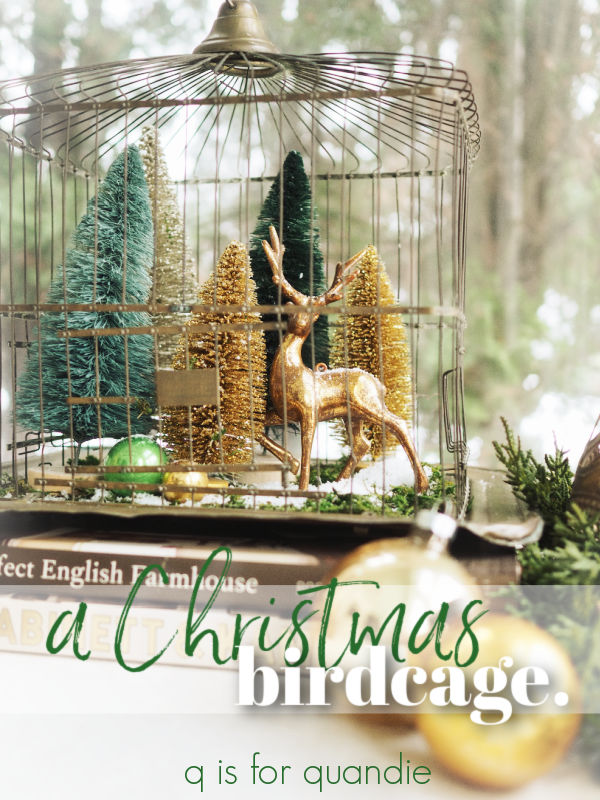
I decided to take it to use as a photo prop.  I already had a brass birdcage prop that I used now and then though.

Clearly it’s not nearly quite as fabulous.  So I’m replacing it with the one from Karen, and turning this one into Christmas décor.

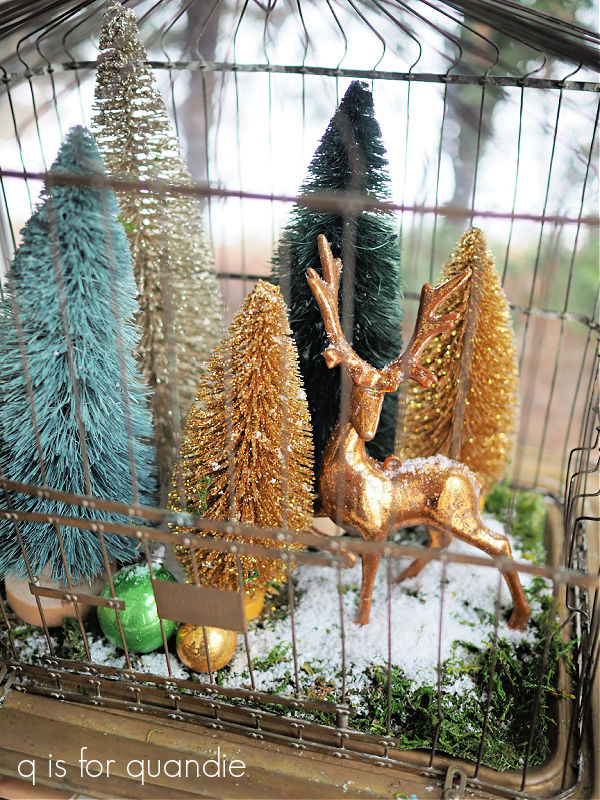
The first thing I did was line the bottom of the cage with some sheet moss.

I thought the moss would both create a natural looking base for my vignette, but also give the faux snow something to stick to.

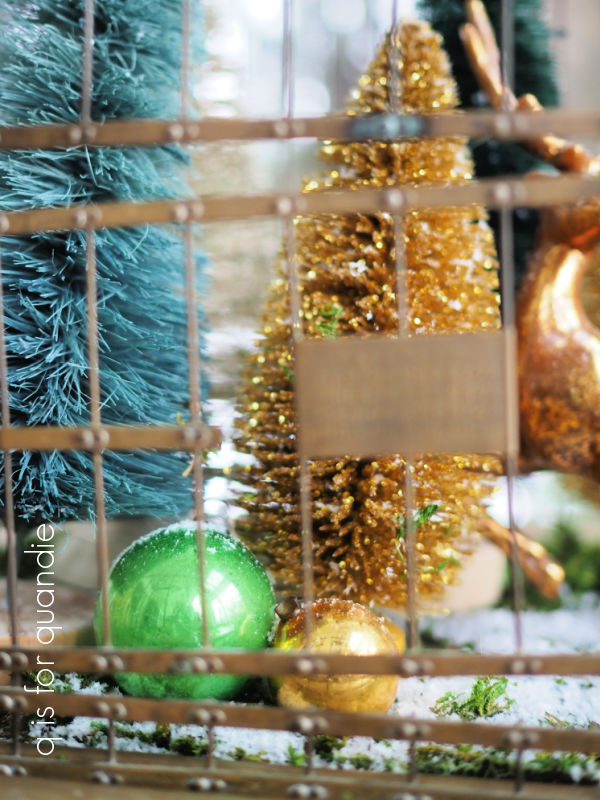
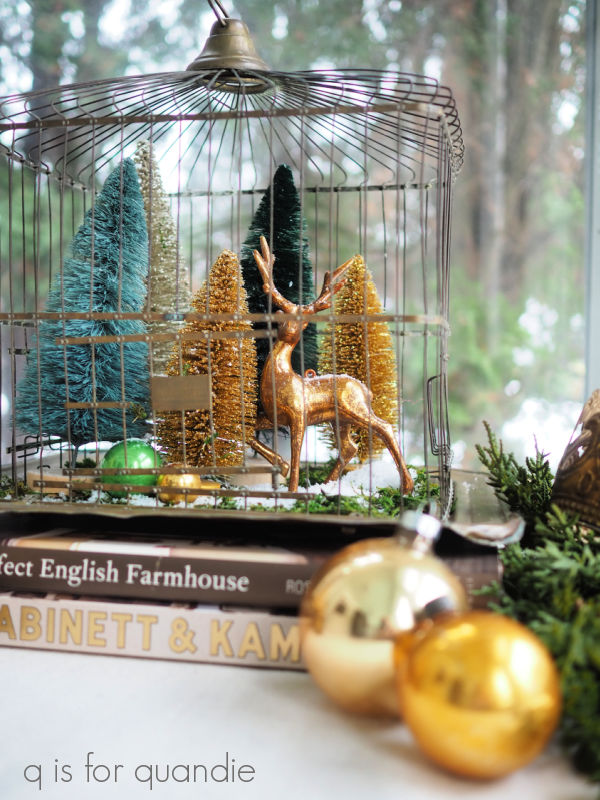
Next I used my hot glue gun and added some bottle brush trees and a golden reindeer.

Once again, the trees and deer were from Target.

I also added a couple of small vintage glass ornaments from my stash.

Finally, I just sprinkled some freshly fallen faux snow over the whole shebang.

I didn’t add any fairy lights to this one, but it would be pretty with some.  They’d be super easy to tuck in since the whole top of the cage comes away from the bottom.

The Christmas birdcage is for sale locally, so if you’re in the area be sure to check out my ‘available for local sale‘ page for more details on this and other items currently available.

Now, here’s some homework for you.  Check around in your house, I bet you have a vintage item like a birdcage or a lantern that you can add a Christmas vignette to.  Then just pop over to Target and get some bottle brush trees and some tiny deer and see what you can come up with!

light up your life.

Before getting on with today’s post, I want to thank all of you who took the time to leave a comment on my blogiversary post last week (FYI, if you haven’t commented yet, there is still time to get in the giveaway, just go back and comment on that post).  Your comments light up my life!

And speaking of lighting up one’ s life (insert eye roll here for the cheesy segue), you know what are a dime at dozen at thrift stores?

Lanterns!

Last year I was inspired by my friend Amy’s lantern filled Christmas tree …
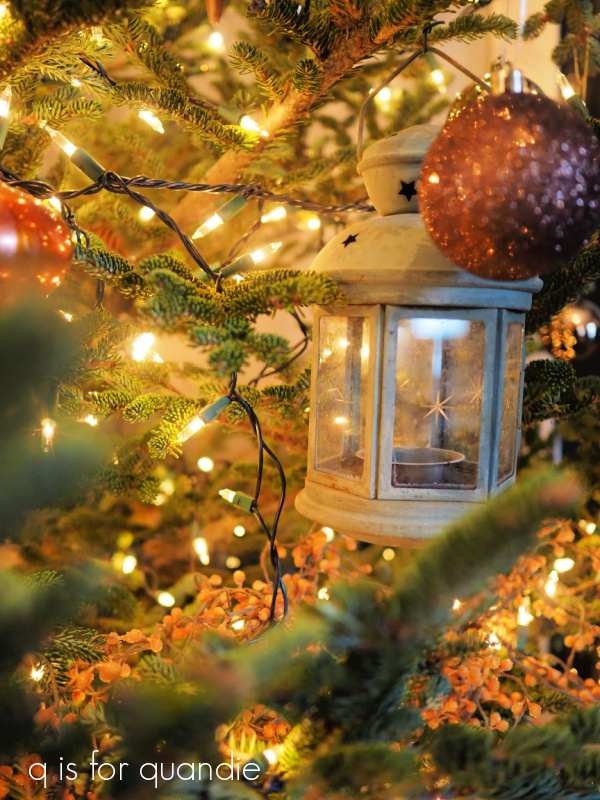
I decided to start accumulating lanterns myself after seeing Amy’s tree.  My plan was to use them on my garden Christmas tree.  There was one small hiccup.  Last winter the tree blew over in a massive wind storm and it bent the metal base beyond repair.  I was hoping to figure out some way to prop it up, but in the end it wasn’t salvageable.

I’d found quite a few lanterns over the past year at both thrift stores and garage sales, and now I had no tree to put them on.

I found spots for a couple of them outdoors, but I’m waiting for a pretty snowfall to get some photos of my outdoor décor to share here on the blog.  Fingers crossed that we’ll get some more snow before Christmas since the snow we had has all melted.

Meanwhile, I’d pulled out a tall, gold lantern to use outside.  However, the gold wasn’t really working for me.  So I got a wild idea to try painting it black.  Once again, I wasn’t really planning to blog about this project.  It was just going to be a simple project for myself, so I didn’t bother with a ‘before’ photo (when will I learn?!).

The glass wasn’t easily removable, so I wasn’t sure how well I’d be able to paint it with a brush.  As it turned out, it was pretty easy.  I just used a small artist’s brush, and gently painted over that filigree detail with a dry-ish brush and some of Dixie Belle’s Midnight Sky.  I find that a chalk style paint like theirs is the best bet for sticking well to metal.
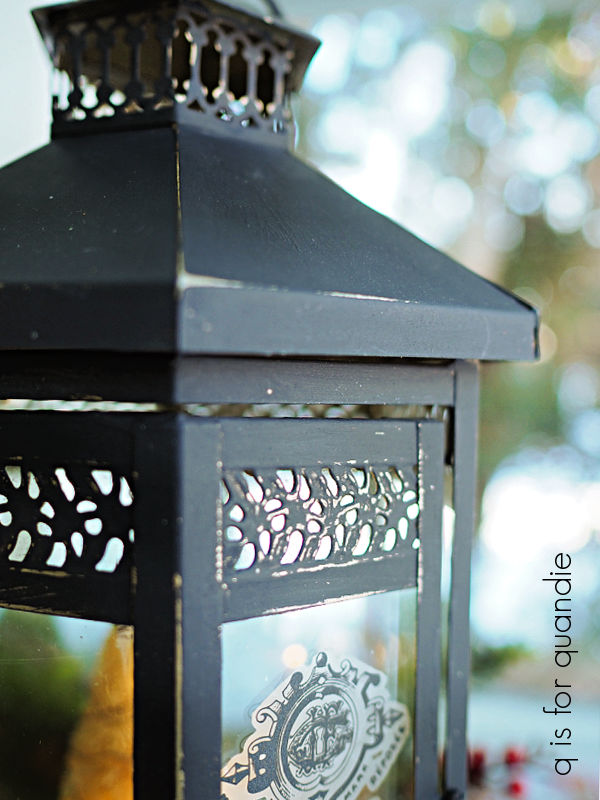
Once I had it all painted, I used a razor blade to remove any paint that had gotten on the glass.  Then I sanded to distress the edges, revealing a little bit of that gold, and then added a top coat of clear wax.

Next I added a portion of the Dixie Belle Vintage Post transfer to the glass door.
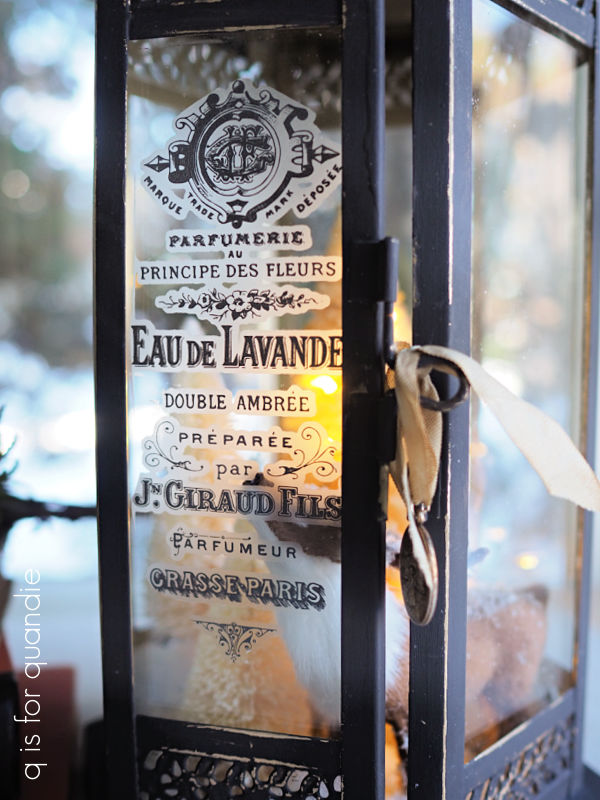
Then I decided to add a pretty little Christmas vignette inside.  Only one small problem, I wanted to add a tiny deer but I didn’t have one.  So when my sister asked if I wanted to make a trip out to Gerten’s (a local greenhouse/nursery) I thought that would be the perfect place to find one.

Sure enough, I found one.  And he is adorable.

But he was $14.99!  Yikes!  Am I the only one who thinks that he was ridiculously overpriced?  But I bought him anyway because I was there, and he was exactly what I wanted for my lantern.

With the addition of some bottle brush trees, some battery operated fairy lights and a little fake snow, my lantern was complete.
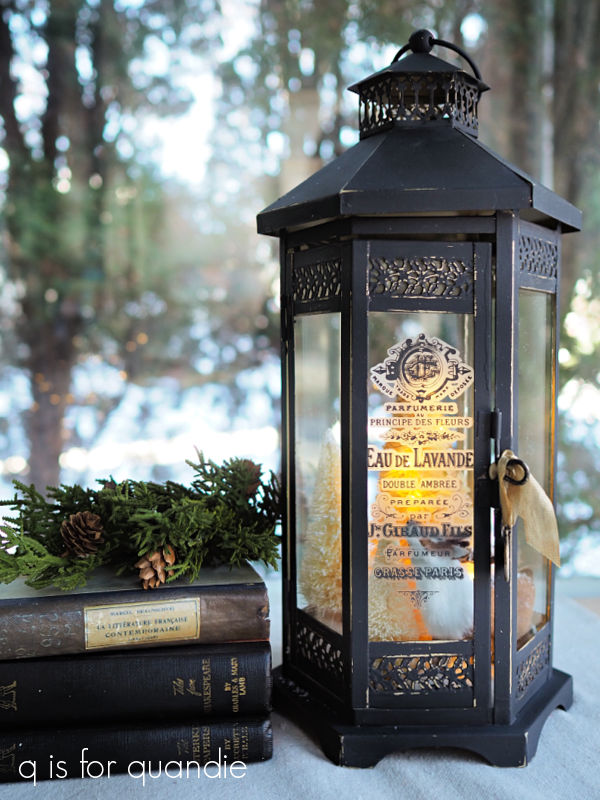
A few days later I ended up in Target and just happened across some very similar deer ornaments for … wait for it … $3!!  Jeesh!

I honestly think they are of an equivalent quality to the pricey deer.

So anyway, I purchased a few different deer ornaments at Target to dress up a few more of my lanterns.  And this time I took a quick before photo.
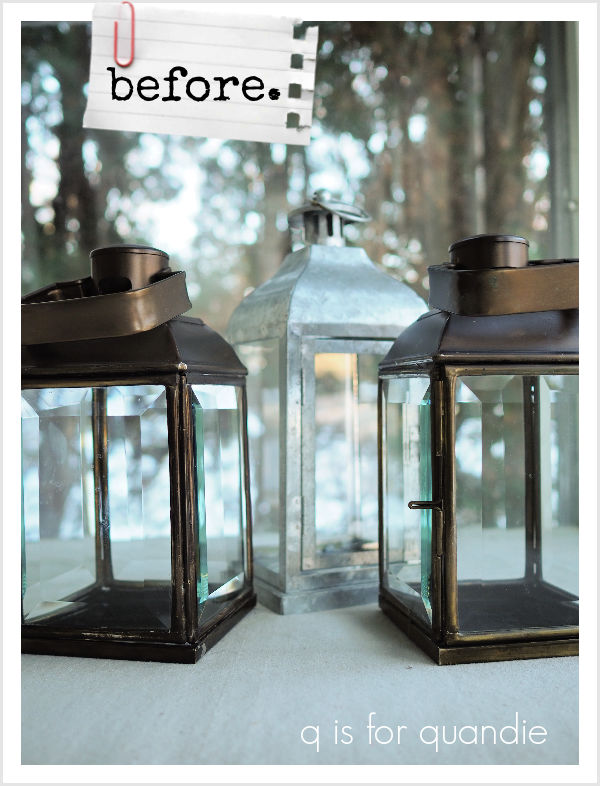
Once again, I added some transfers to the glass starting with the two bronze lanterns.

I used hot glue to hold my trees and deer in place.
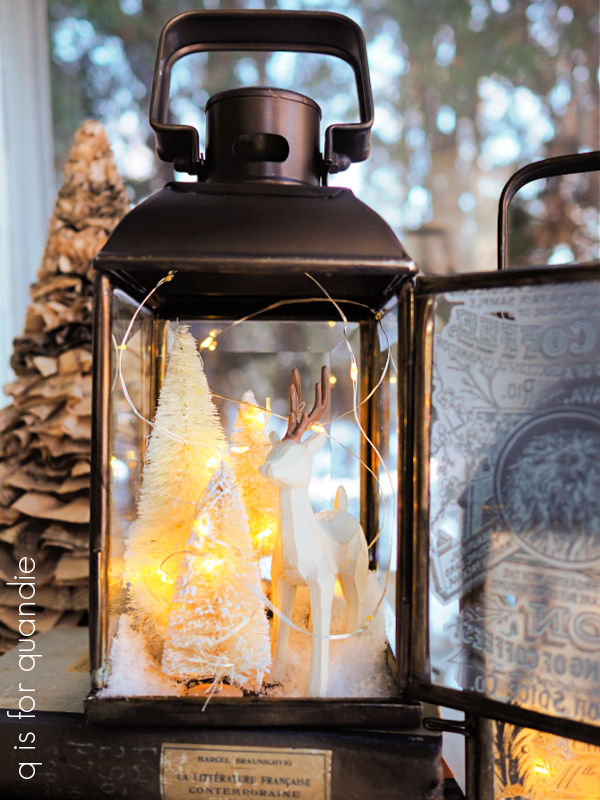
One has the more stylized wooden deer, and the other has a sweet furry deer.

I situated the battery pack for the lights so that you can easily reach in and turn them off and on.

After finishing up the two of these lanterns, I realized that you can’t really see the diorama well unless the doors are open.
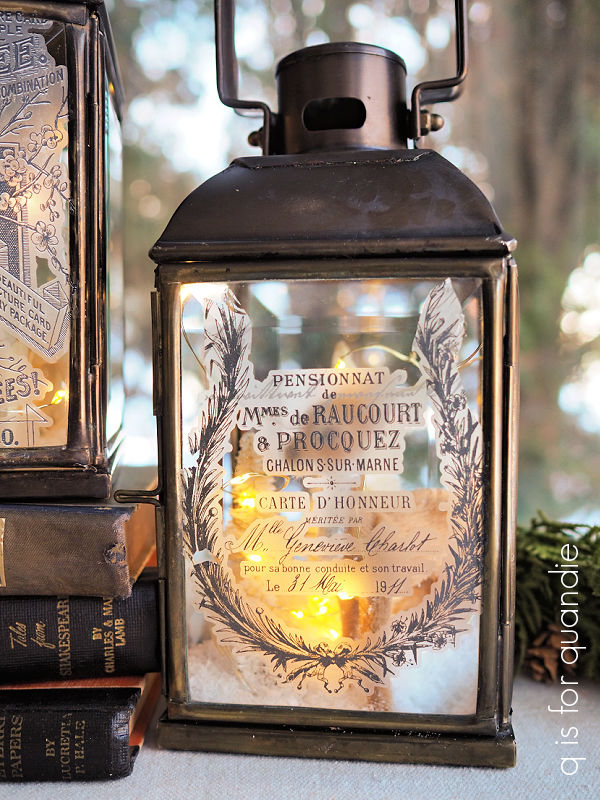
So for my final lantern, I decided to tone down the transfers.  I just added some simple, small Tim Holtz transfers.

I switched up the bleached bottle brush trees for some in shades of green.  You can find these for $3 each at Target as well.
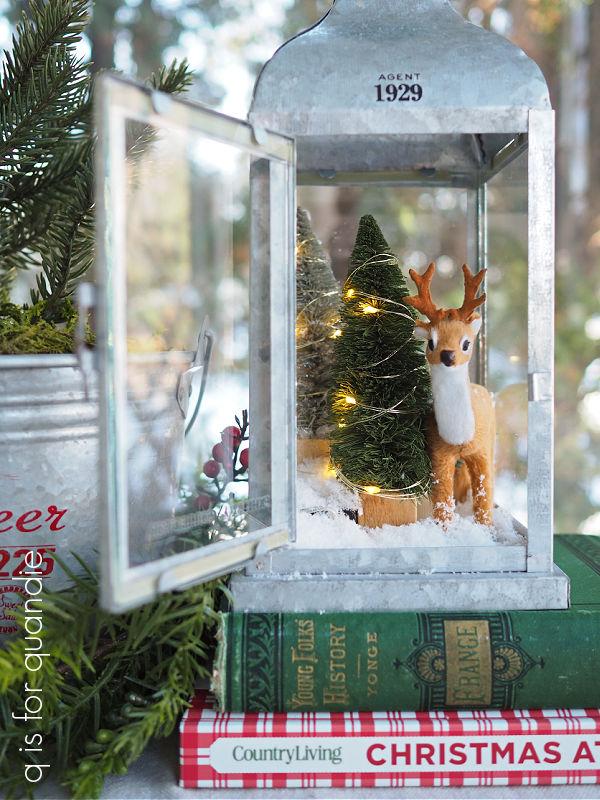
In the end, I think this one might just be my favorite.
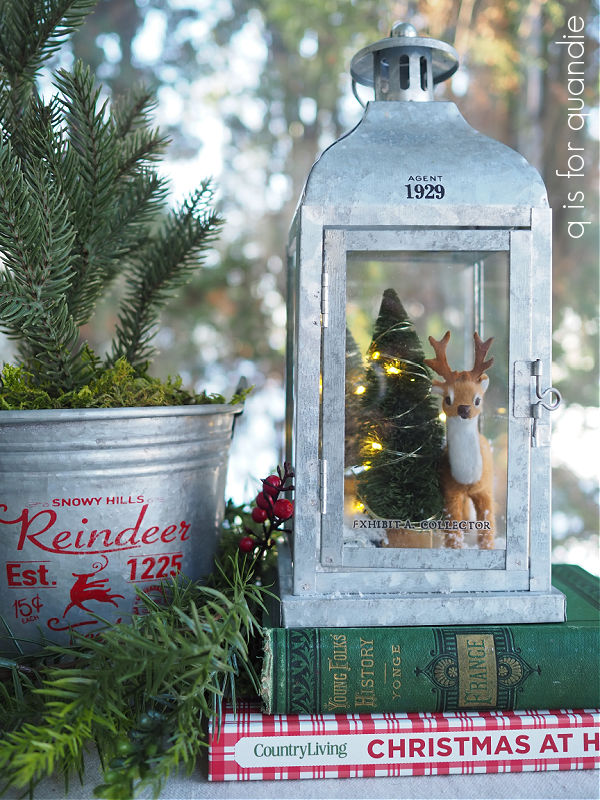
The only thing remaining is deciding what to do with these.  Well, the black lantern is already spoken for.  I might just keep the galvanized one.  That leaves the two bronze ones and I’ll be attempting to sell them.

If any of you locals want to snatch one up, they are priced at $38 each.  Let me know via email at qisforquandie@gmail.com if you’re interested.  If they don’t go, I’ll be bringing them in to the shop … but that won’t happen until I get back from Mexico!

Wait!  What did I just say?  Oh yes, by the way, I’m in Puerto Vallarta for the week.  My neighbor’s family invited me along on their family vacay.  I’m probably sitting by the pool with a book in one hand, and a margarita in the other as you’re reading this.  Poor Mr. Q has remained behind to hold down the fort.
I just have one more post lined up while I’m away this week, but if you miss me then I recommend going back and checking out the tour of Amy’s house from last year (part 1 and part 2).  Her holiday décor is totally inspiring!  And if that doesn’t keep you busy, maybe go back and check out some of my favorite Christmas projects from years past in this post.