Oh my gosh, I can hardly believe that it is September already. Where did the summer go? It started out with my two week trip in May. Then there was moving my sister into her new house in June. I spent a lot of time working on my master bedroom makeover in July and August.
In between all of that, I worked on this dresser and the summer just flew by.
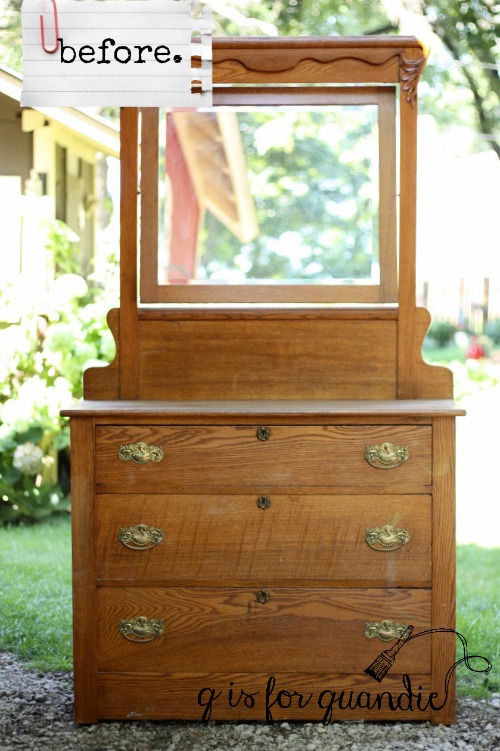
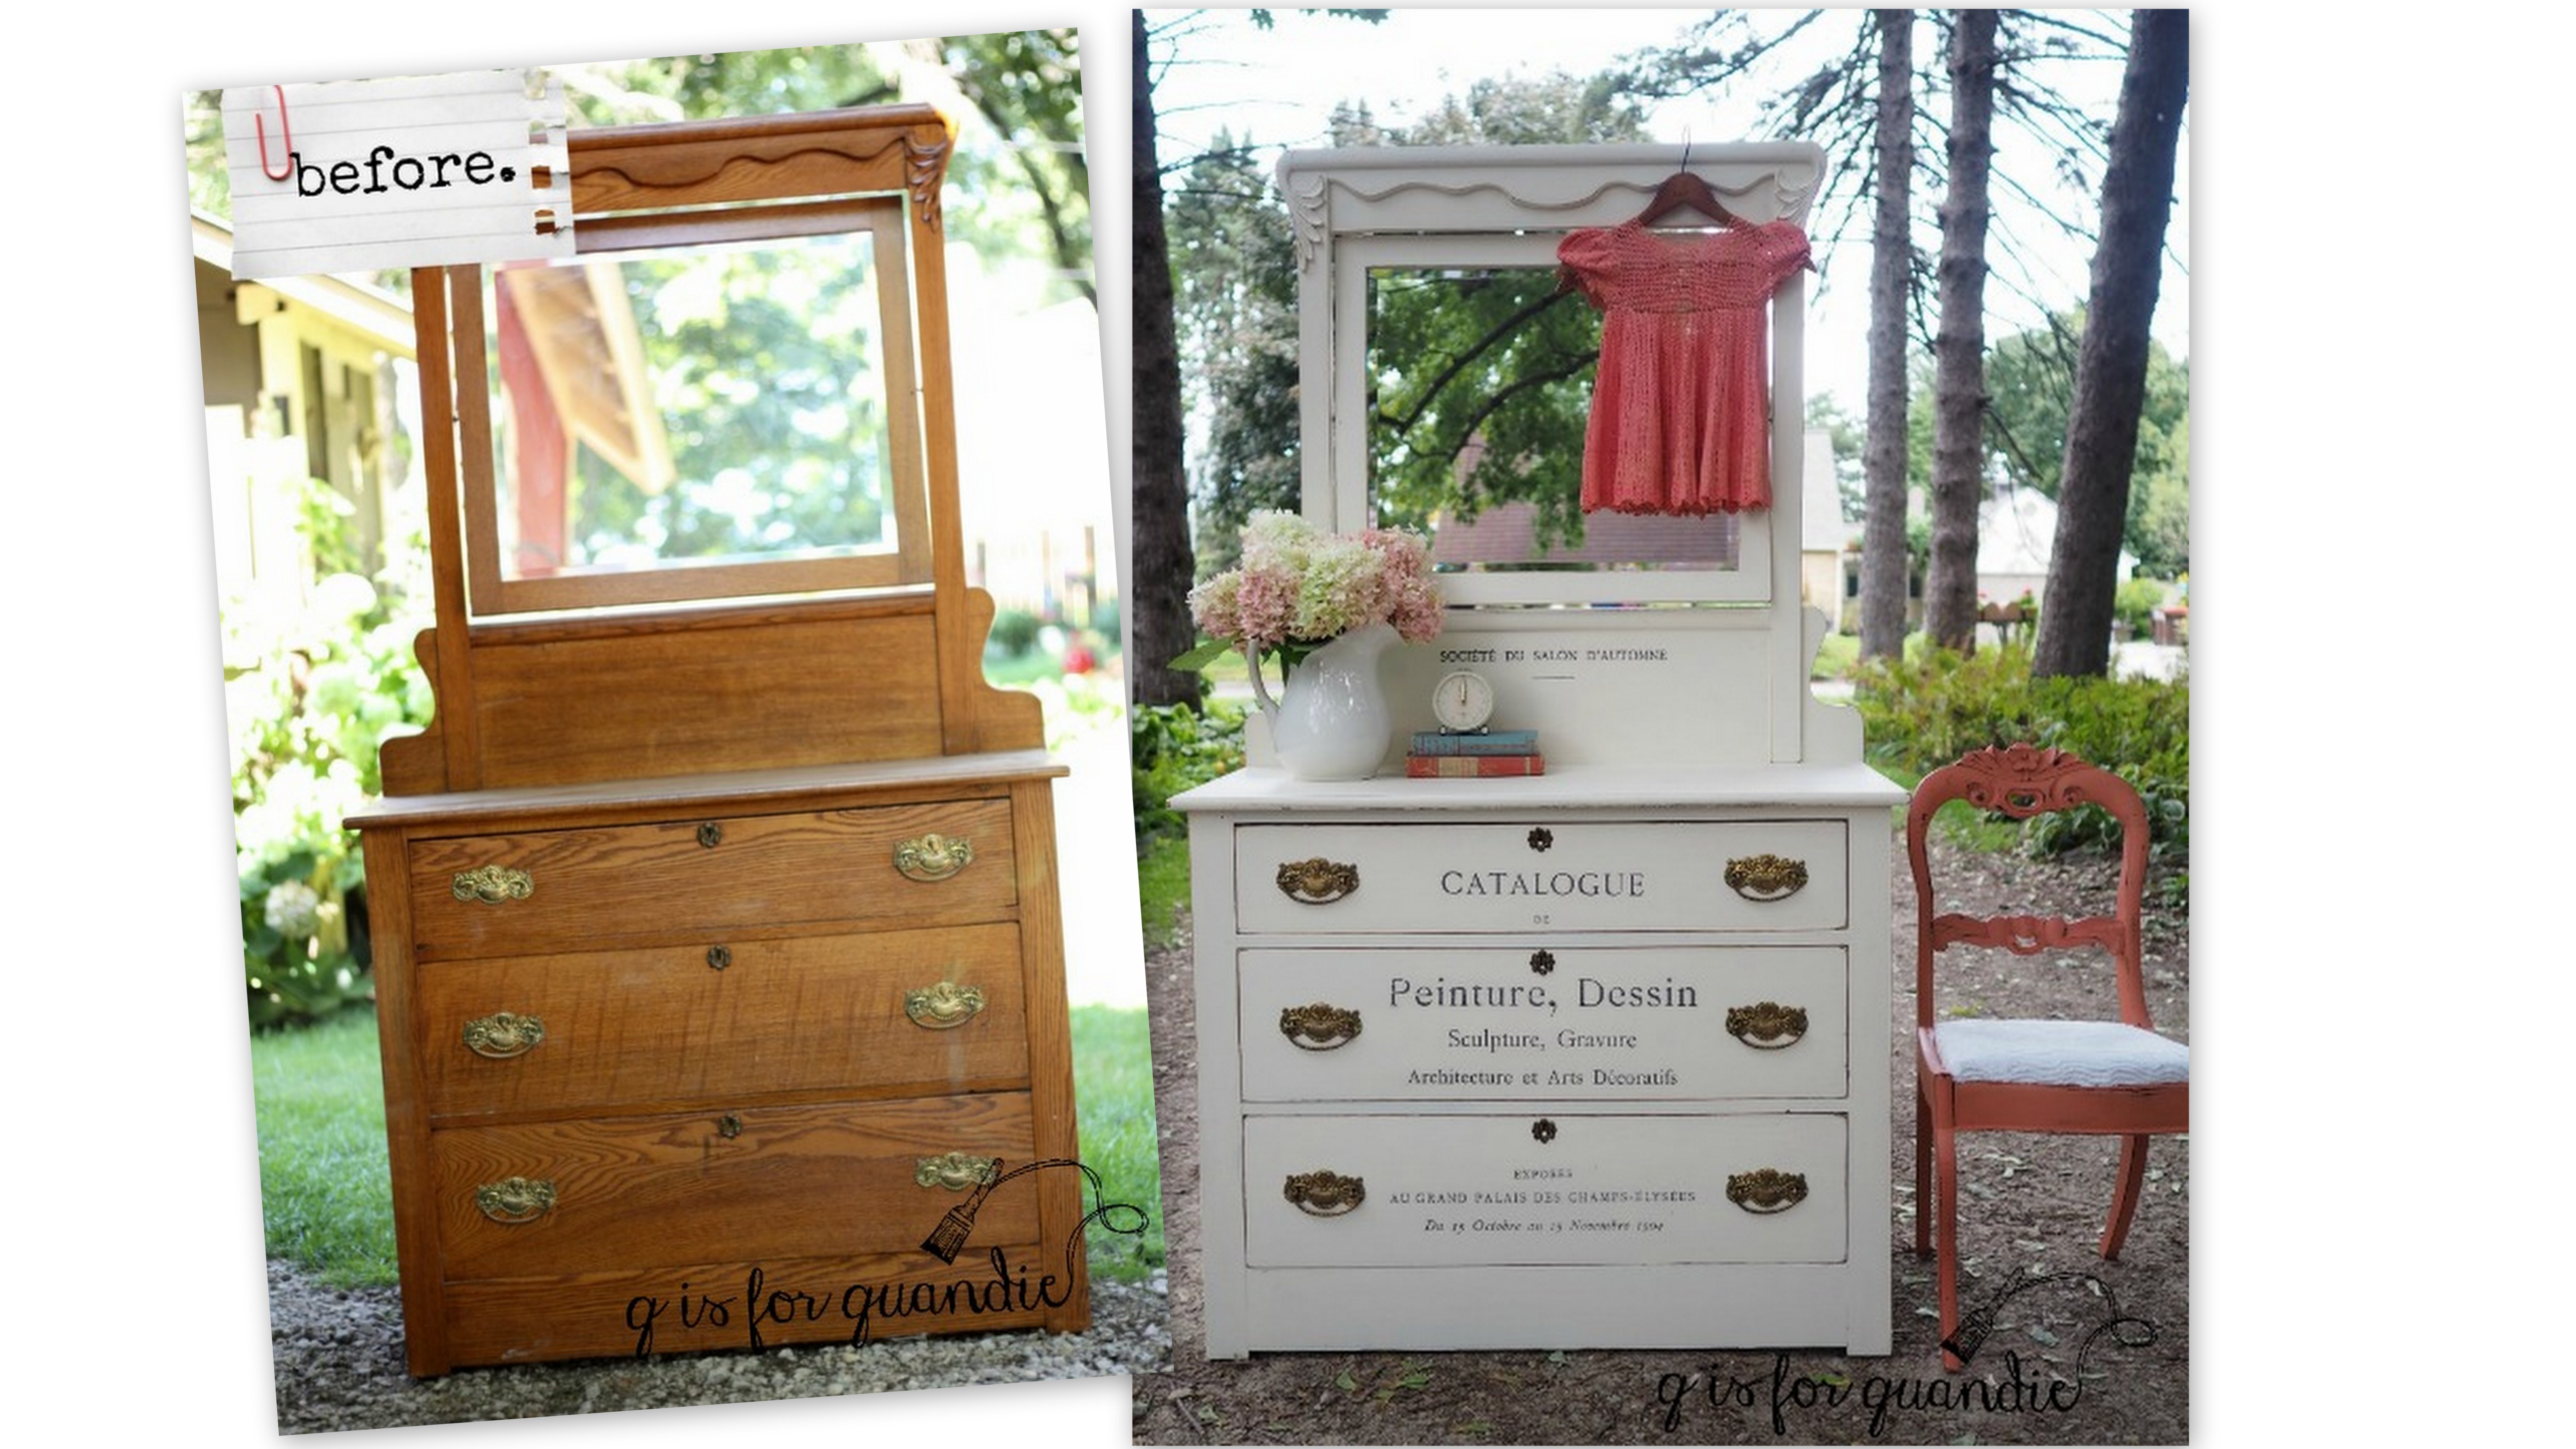
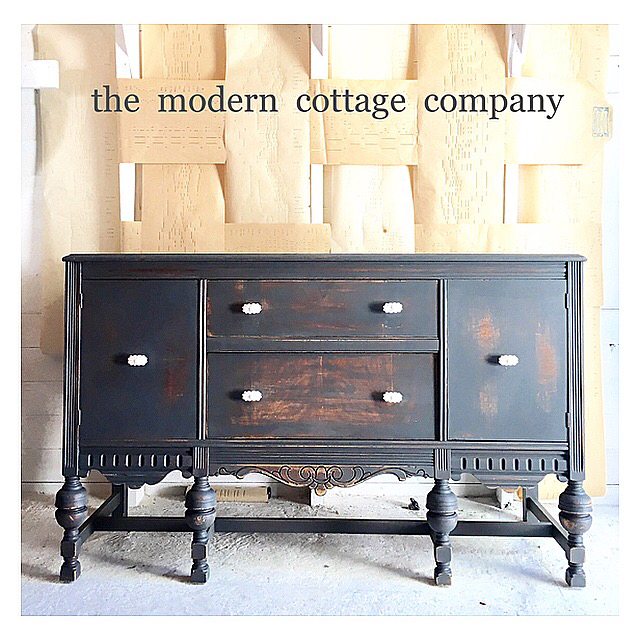
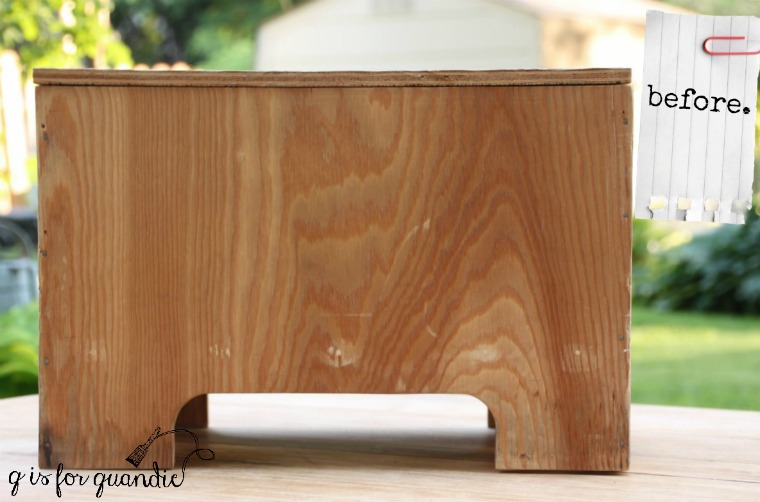
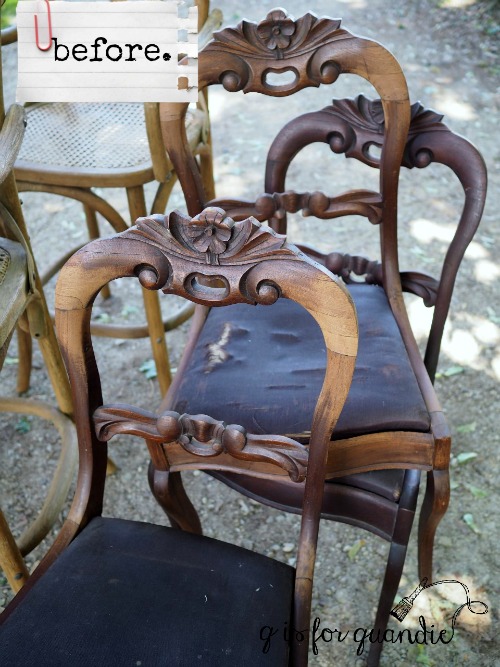
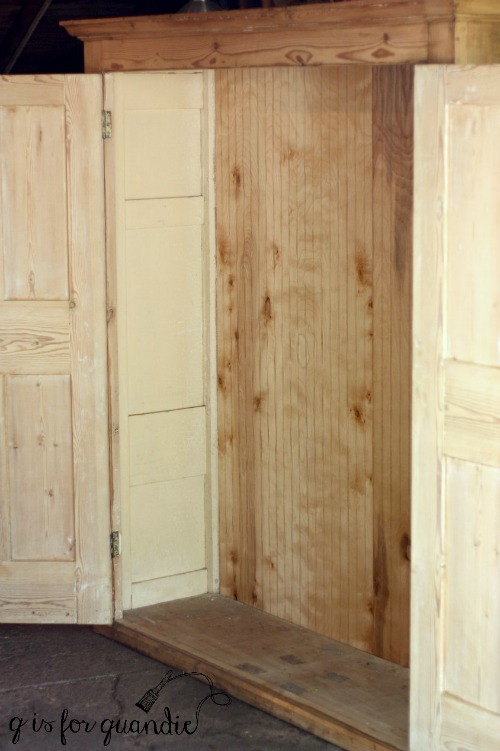
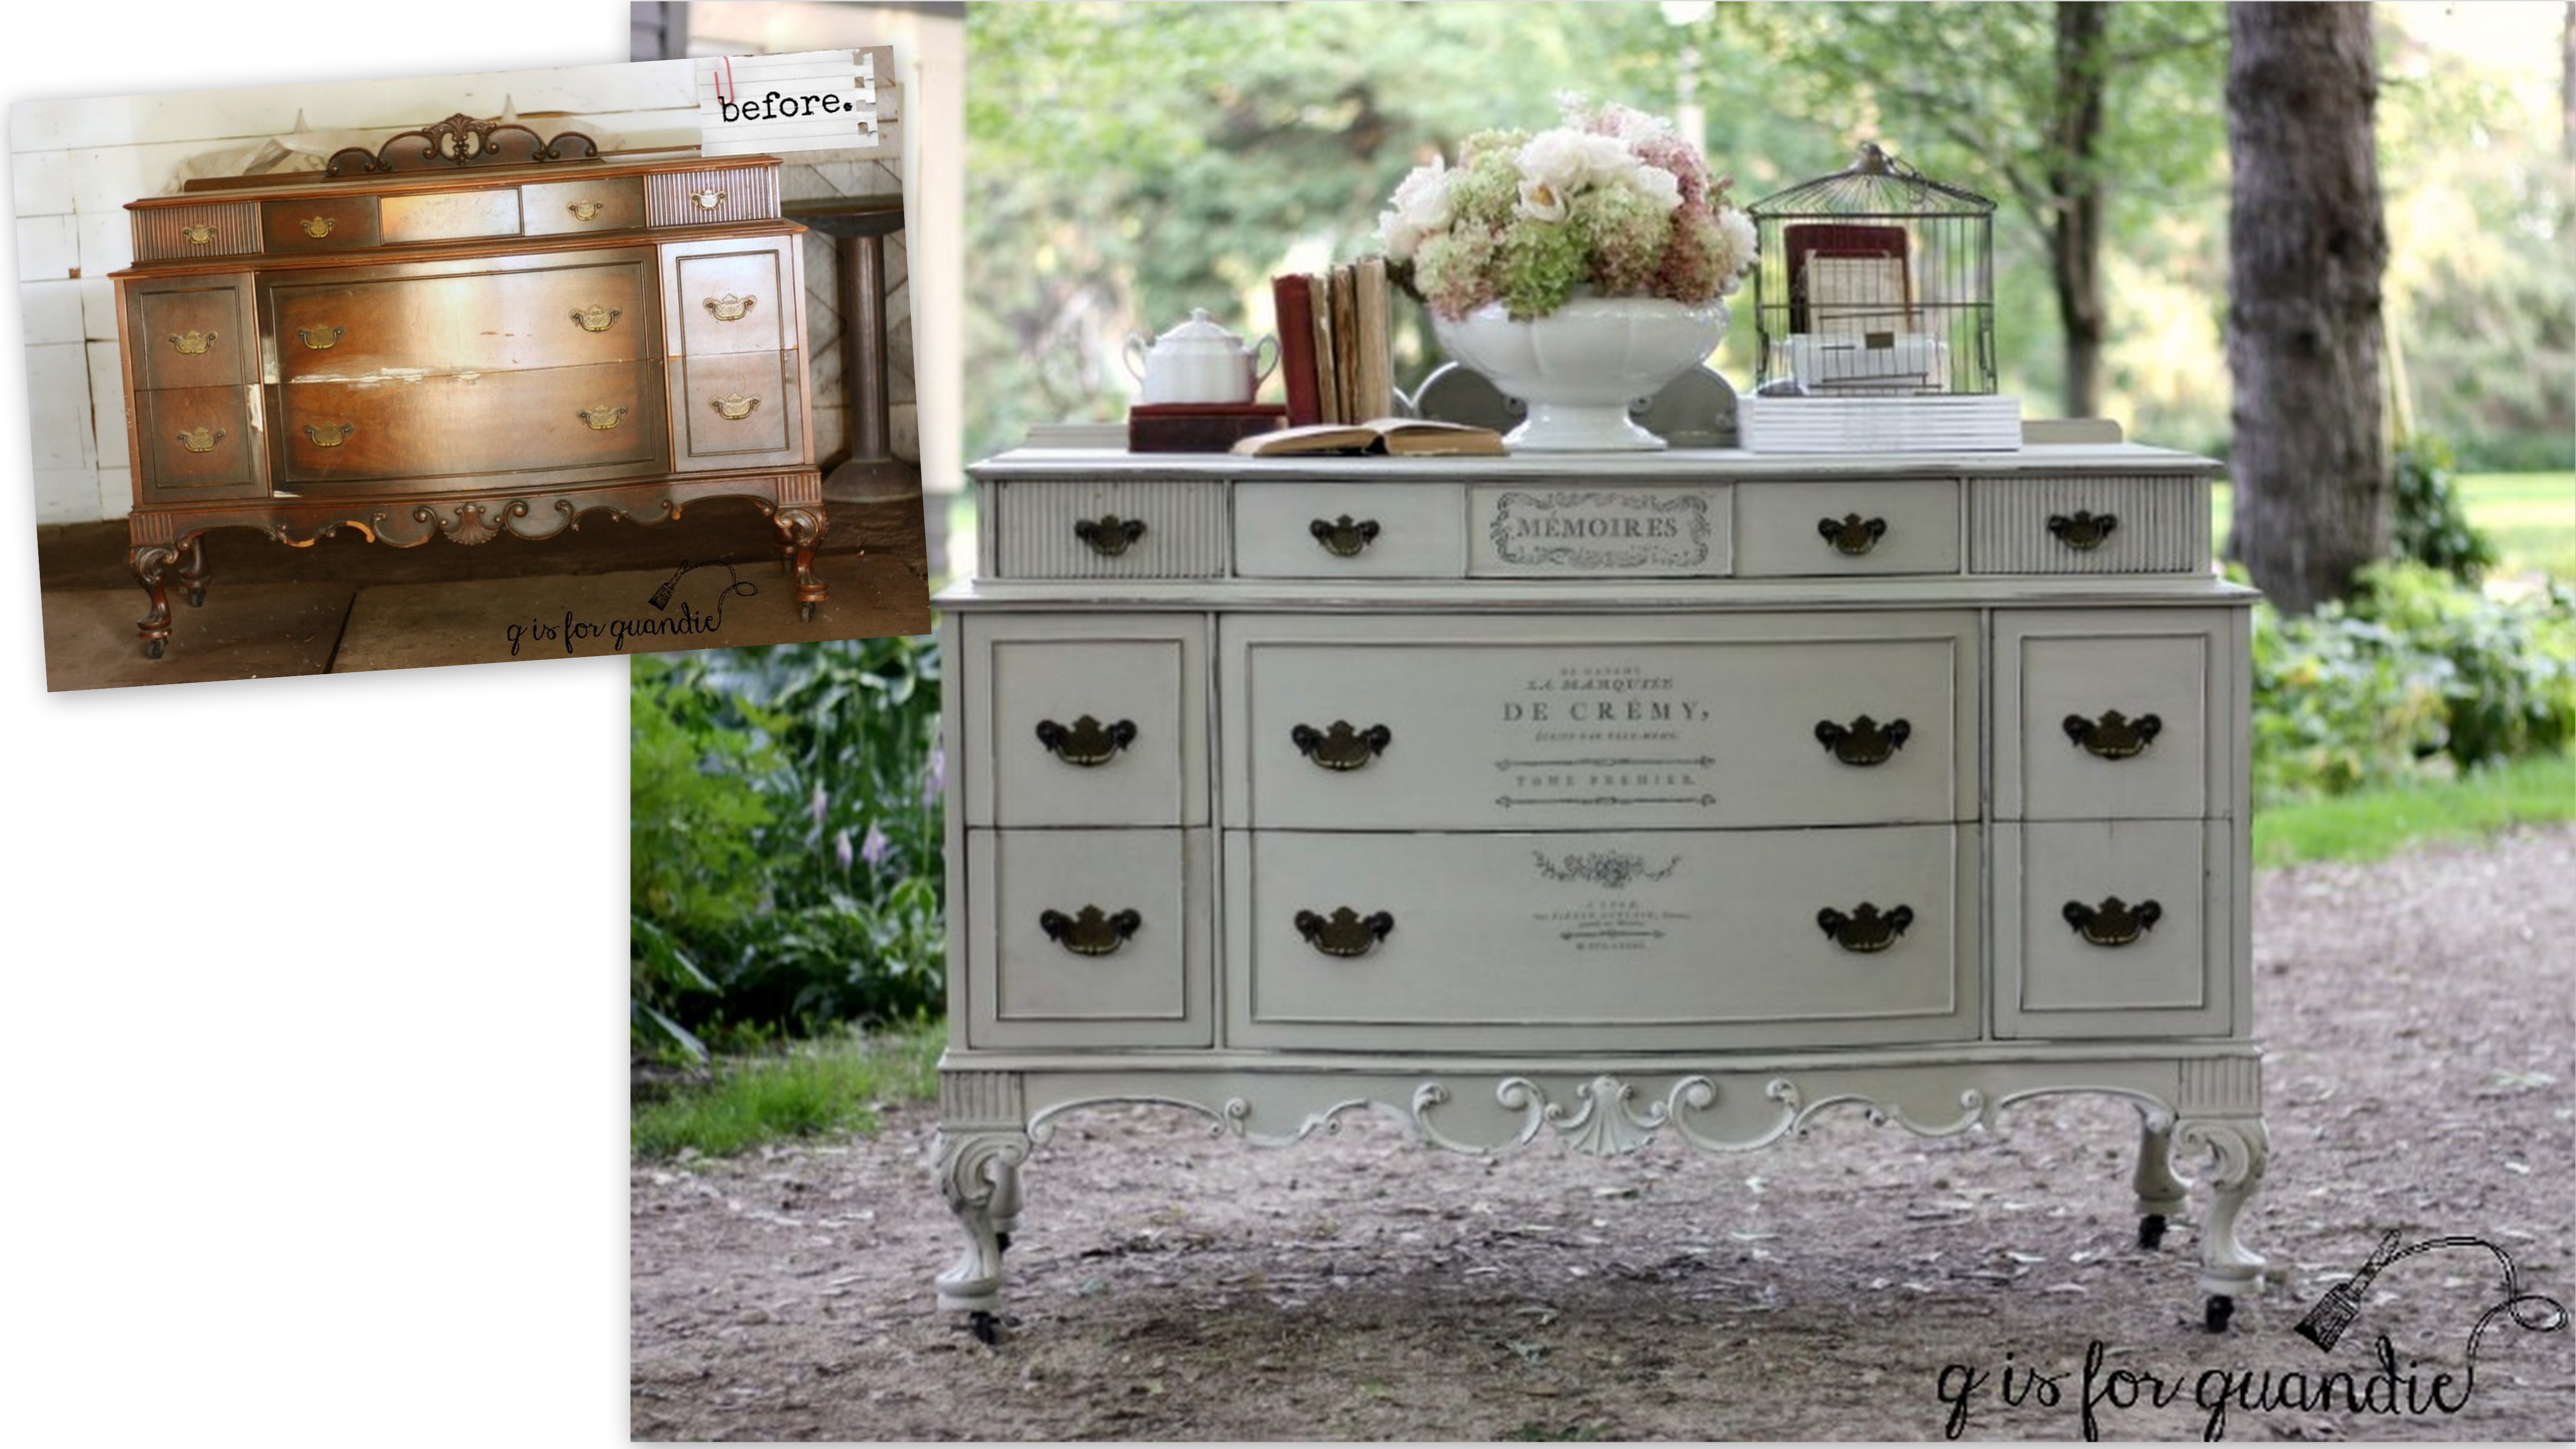
But first, here is the ‘before’ photo.

This piece is large and heavy and I didn’t have the manpower to move it out of the workshop for a ‘before’ photo, so you’ll just have to excuse that. I’d also already re-glued and patched some of the chipping veneer on the drawer fronts. Ken had also already worked some magic on this dresser by re-attaching all four of the feet. Two had come off when we loaded it in the truck, and the other two were pretty wiggly. Ken added dowel pins and fresh glue and now those gorgeous feet will fully support the weight of the dresser.
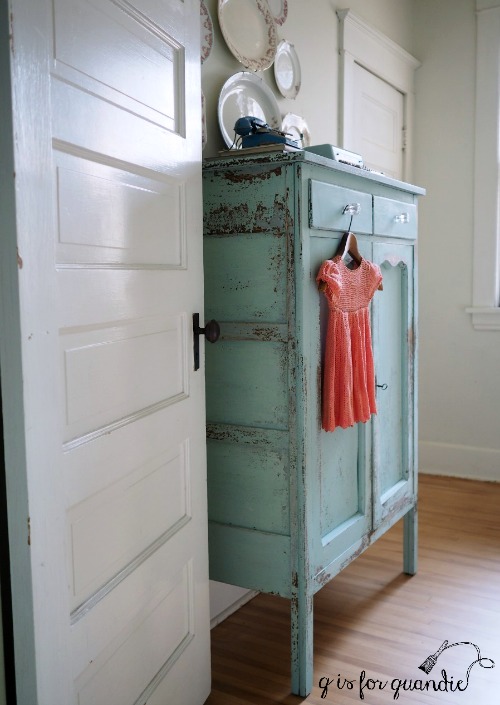
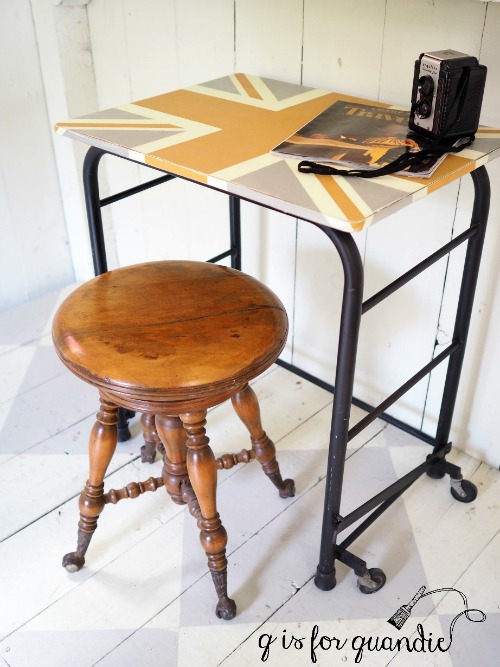
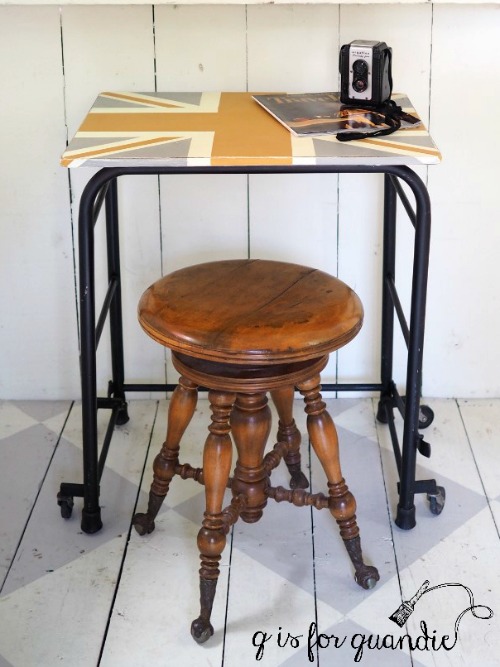
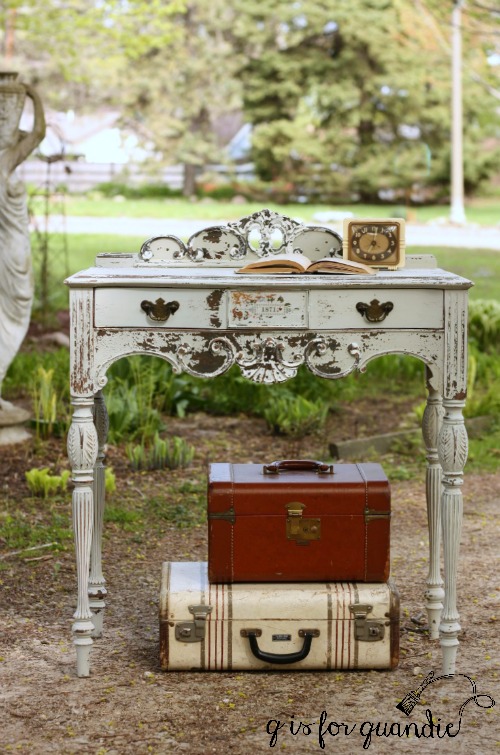
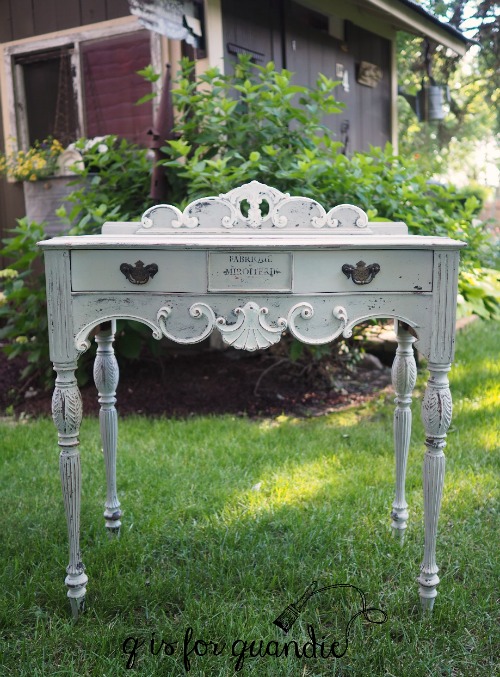
If the style of this piece feels familiar to you, that’s because I’ve already painted its companions. This small table …

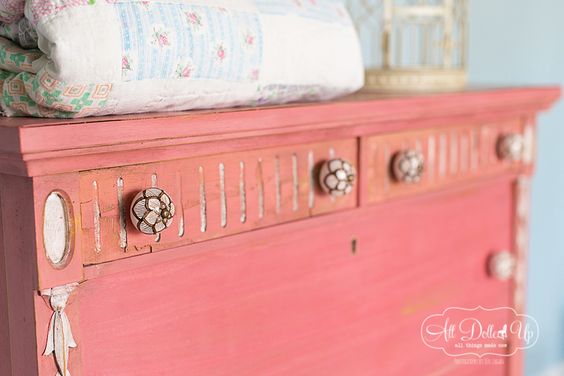
and this small vanity …

As you can see, I got a lot of chipping on both of these pieces. In fact, I even ended up re-doing the small vanity. I had tried using General Finishes Flat Out Flat as a top coat over the milk paint and I discovered that rather than ‘sealing’ the chipping paint, it brought up more chipping. I did that right before I left on my trip, and the photo above was taken then. When I got back home I found that the finish had chipped even further while I was gone. Basically I’d say about 80% of the paint had completely chipped off. Unfortunately I didn’t think to take a photo of it at that point. To salvage the piece I simply sanded off the chipping paint and then re-painted with the same Homestead House Stone Fence milk paint. This time I added Miss Mustard Seed furniture wax as a topcoat. Here is how it finally looked.
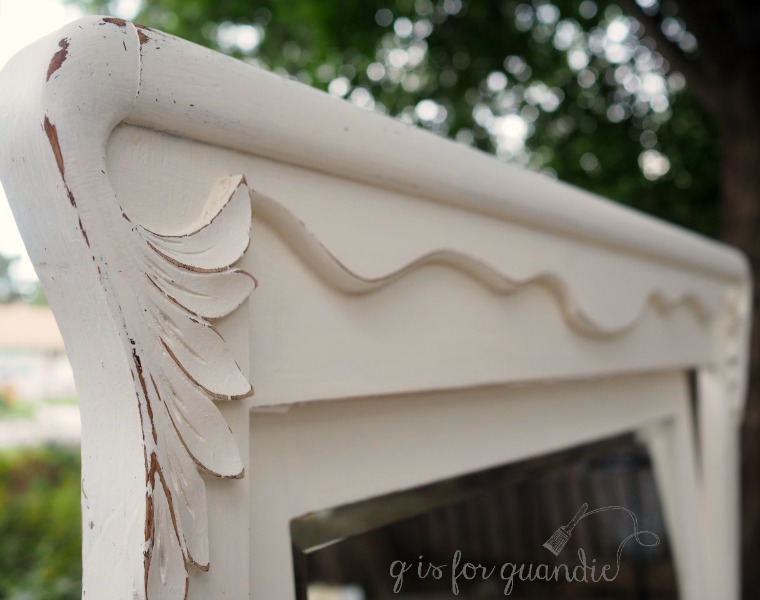
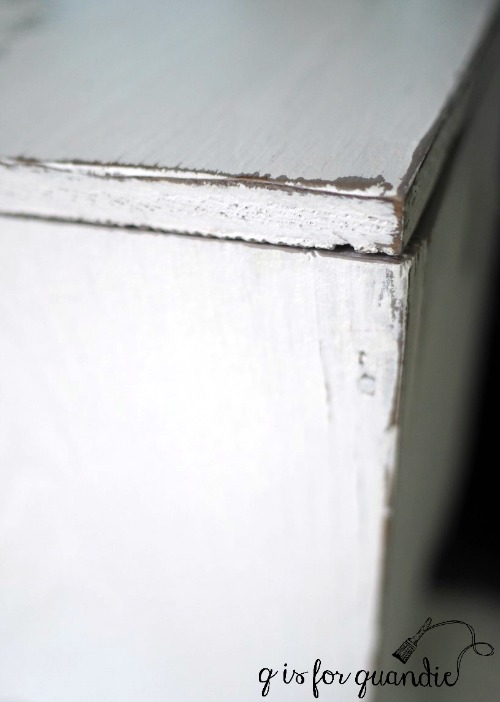
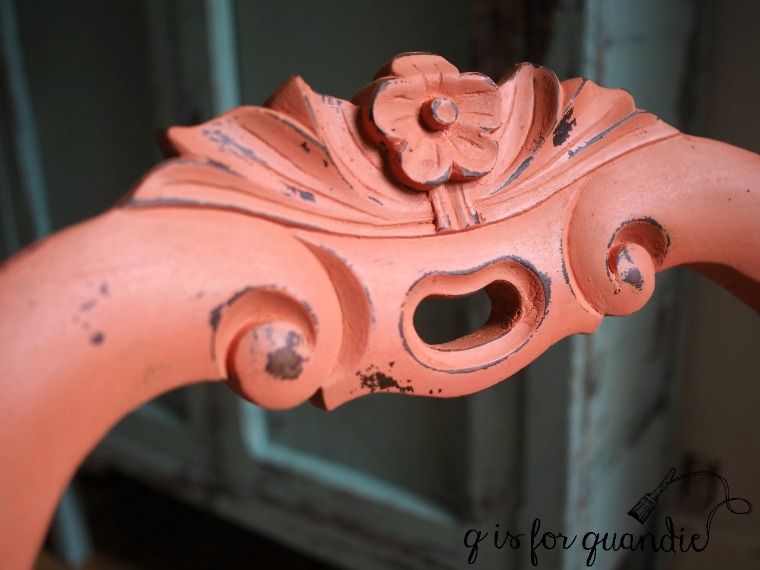
The good thing about discovering the propensity towards chipping on these two smaller pieces was that I was forewarned before starting on the large dresser. I wanted some chipping, but I didn’t want to lose 80% of my paint. So I prepped the piece really well by sanding it with 120 grit paper and then cleaning it thoroughly with TSP substitute. That definitely did the trick because I ended up with just a very small amount of chipping on this one.
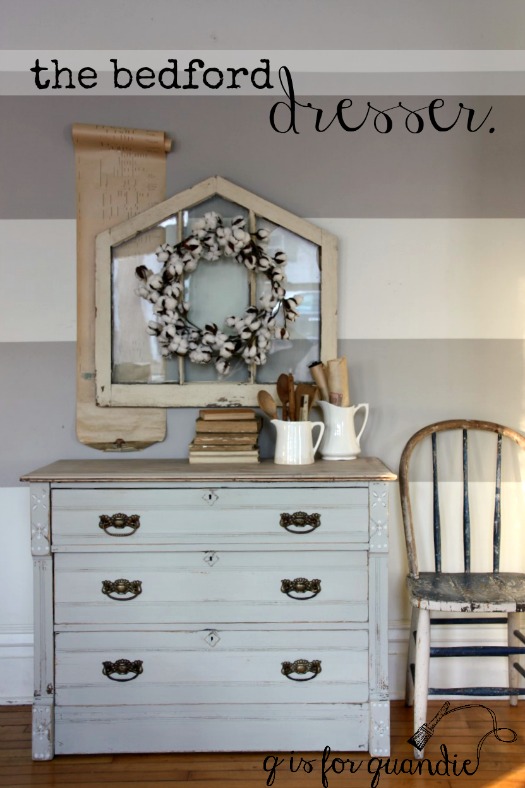
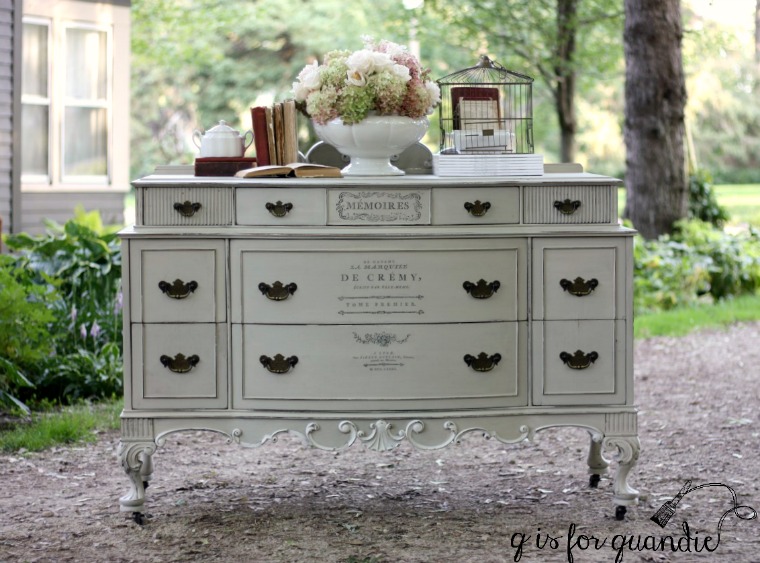
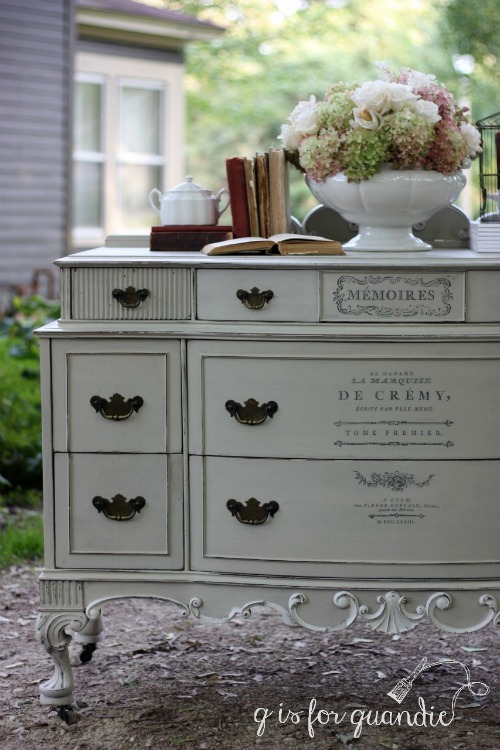
I painted it with Homestead House milk paint in a color called Bedford. This is a lovely greige that is just a tad darker and a tad warmer than the Stone Fence.

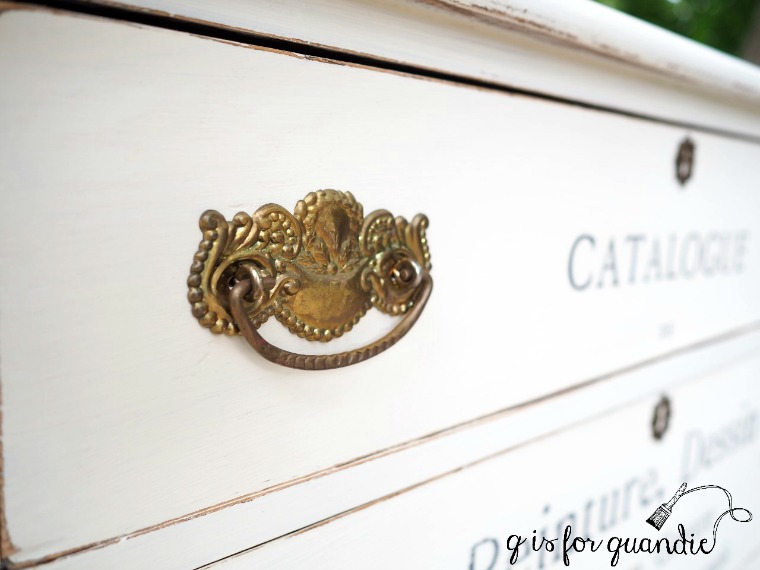
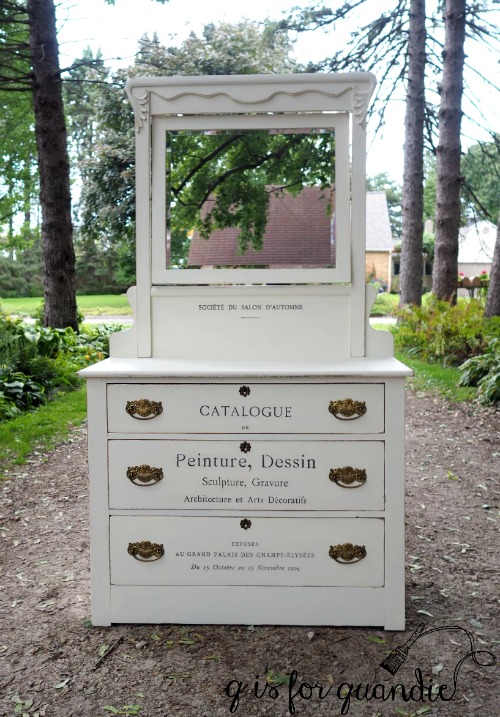
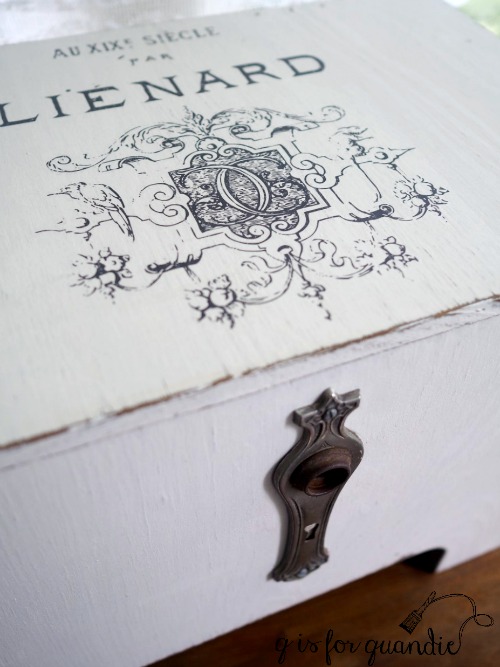
I used another Iron Orchid Designs transfer on the front of the dresser.

If you look closely at the transfer you can see why I decided to call this madame’s dresser. I thought about going with the full ‘dresser de madame la marquise de Cremy’, but that’s really a mouthful!
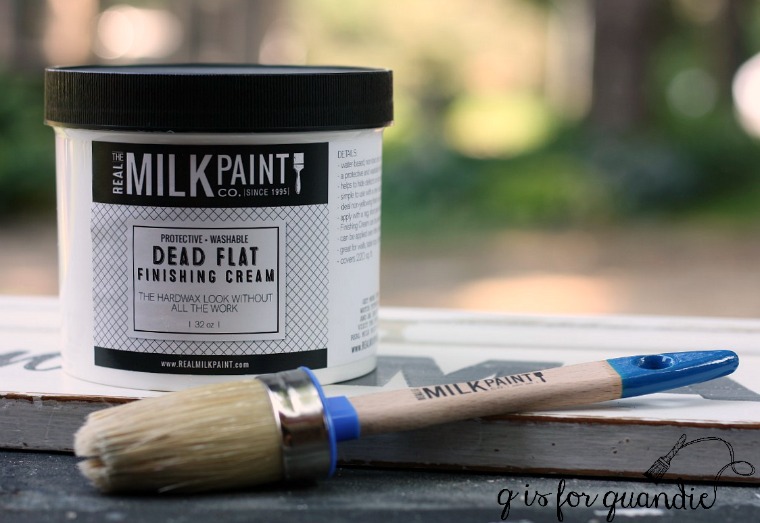
Once again I used the Real Milk Paint Co’s Dead Flat Finishing Cream on this piece.

I am really loving this stuff for pieces that I want to sell. It’s nice being able to tell the buyer that the finish is washable. And in fact, I was able to put that to the test on this piece. When Mr. Q helped me move it into place for the photos he left a dirty hand print on top of the dresser. It came right off with a damp cloth.
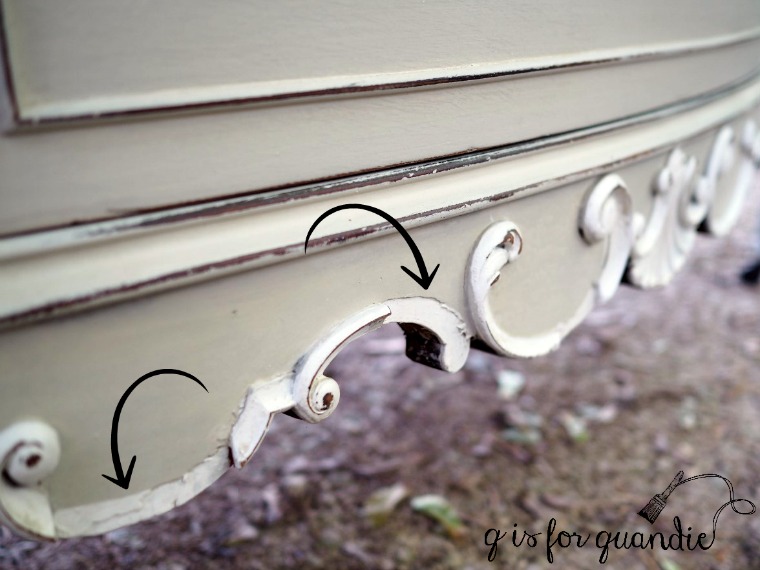
When looking at the ‘before’ photo you might have noticed that some of the trim at the bottom of this dresser was missing. Some people have fancy ways of molding replacement trim out of bondo or some such thing. I prefer to just fake it with paint.

I painted the trim with Homestead House Limestone milk paint and I just painted the areas of missing trim as though it was still there.
My staging of this piece hid the pretty trim at the back of the dresser top, so I took a quick photo after clearing it off. I didn’t have to fake anything with that bit of trim. It’s all there and isn’t it gorgeous?

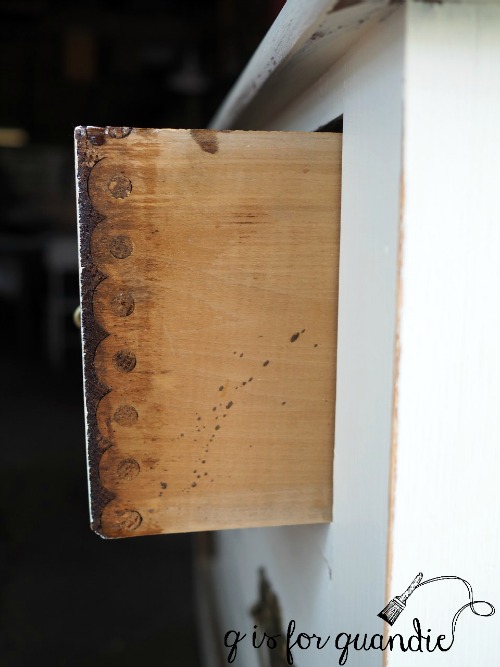
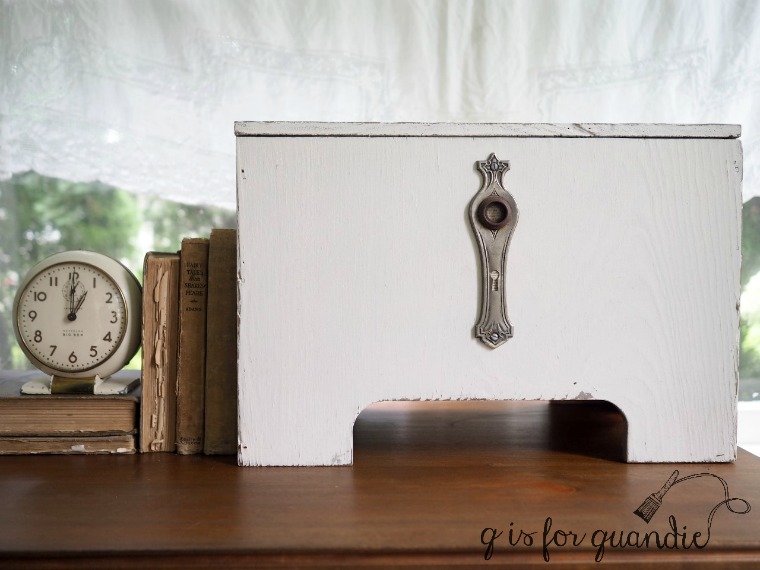
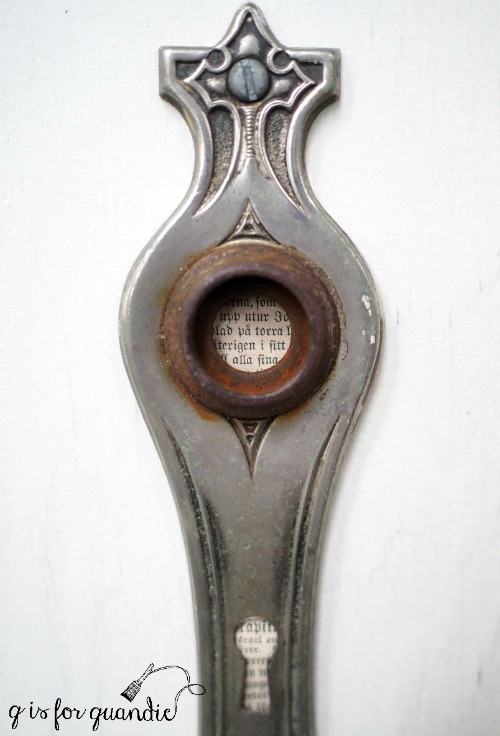
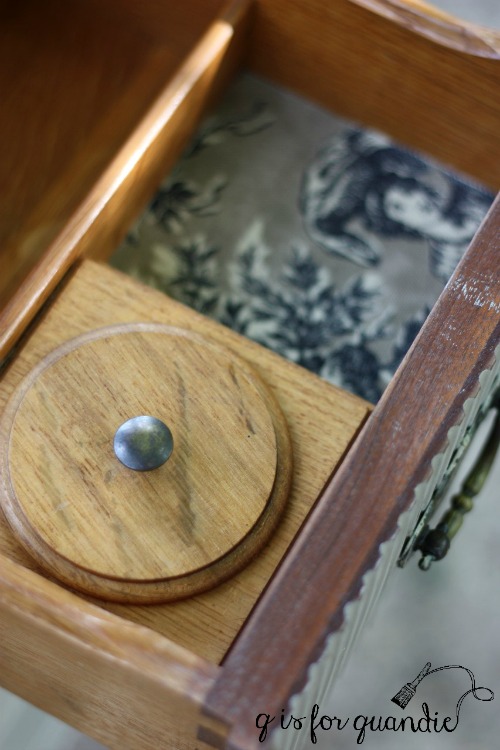
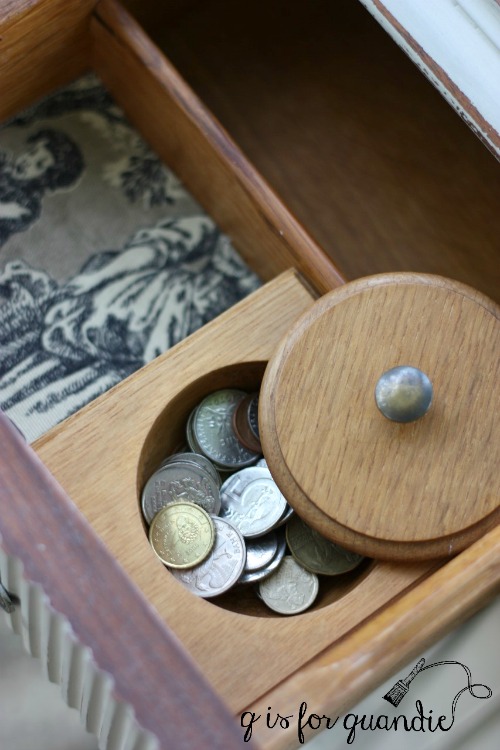
The two little upper side drawers each have fun little coin/jewelry holders inside. There was a velvet liner at either side of them that was pretty grungy though. I thought I’d be able to remove the coin holders, replace the velvet and then put them back in. I also discovered that one can’t get to the screws that hold the pulls in place because the coin holders block them. Much to my surprise the coin holders were not removable. At least not without leaving major damage behind. I had Ken take a look and he thinks they are both nailed and glued into place.

So, I improvised. I painted the drawer fronts with the pulls in place and I added fresh toile fabric over the velvet. I used a little 3M spray adhesive to keep the fabric in place.
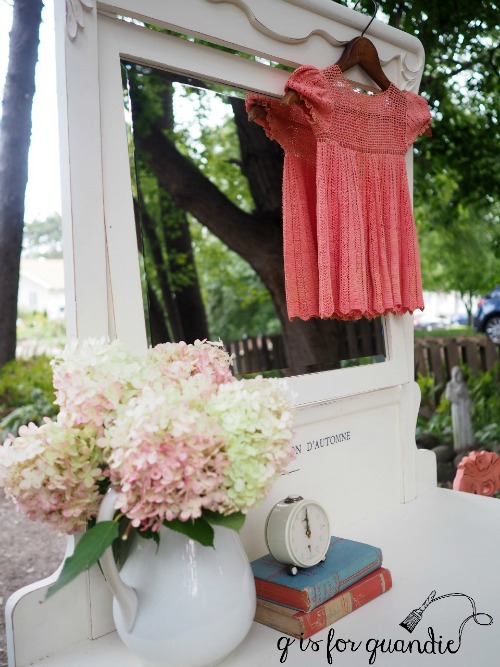
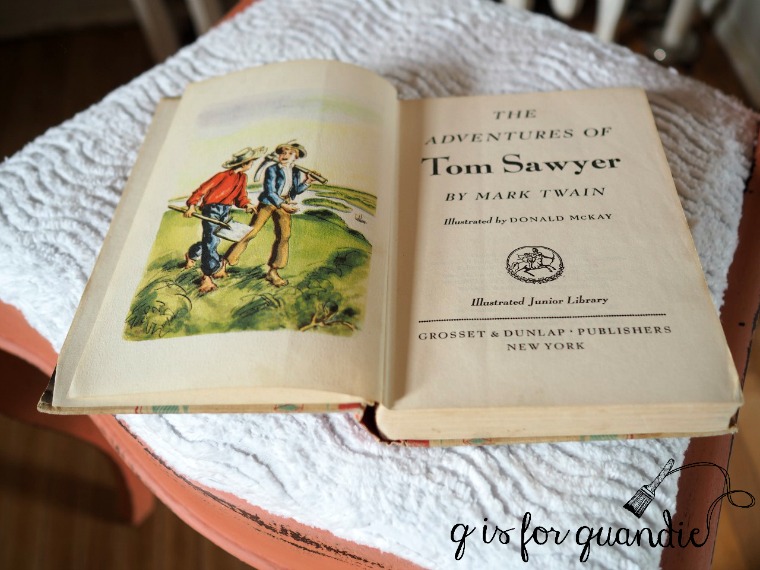
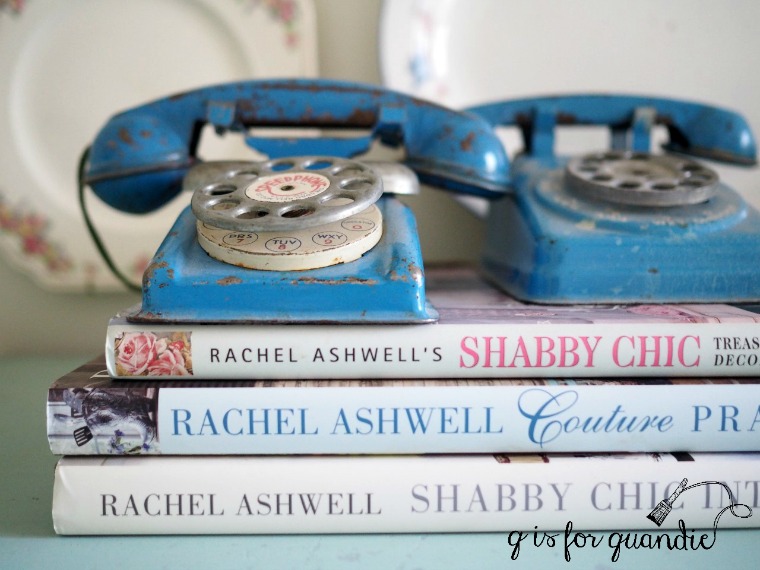
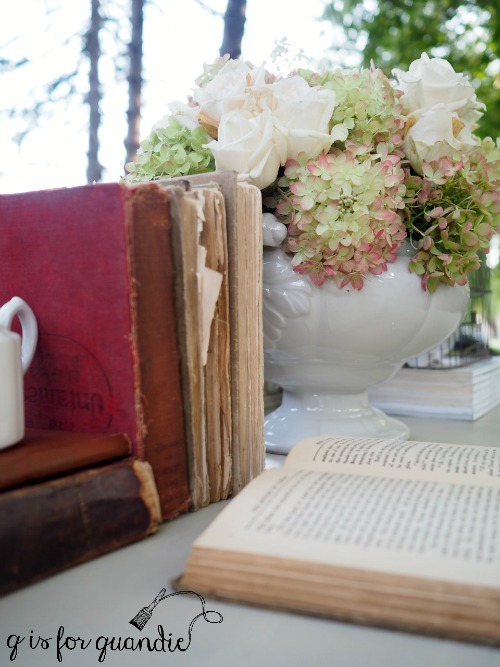
I had fun staging this dresser using old books, some hydrangeas from my garden, some pale roses from the grocery store and some ironstone.
We had a gorgeous sunny morning here yesterday so it was perfect for taking photos outside.

I may have gotten a little carried away with the quantity of photos, but I couldn’t help myself. There is just something about these beautiful summer mornings in September. They start to feel so fleeting this time of year.

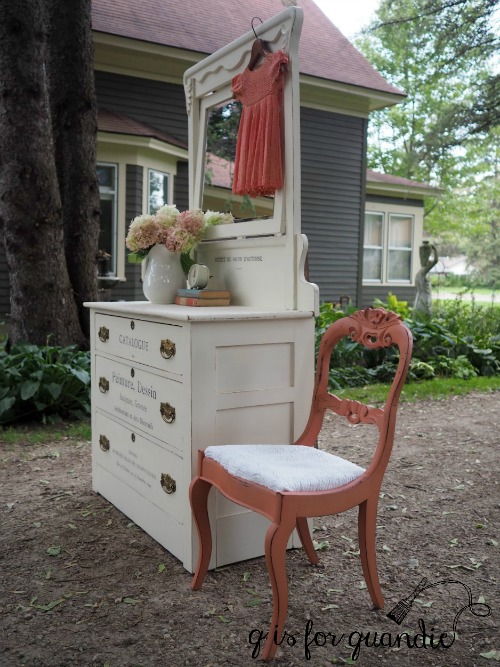
This is such a lovely piece of furniture, I’m sure it won’t last long.
This piece would work beautifully as a sideboard in the dining room or for storing clothing in your bedroom. Be sure to check my ‘available for local sale’ page for more details if you are local and in need of a gorgeous new dresser or sideboard!