A long while back I shared a post comparing the various shades of Dixie Belle chalk style white paint, and at the time I promised to do the same with their Silk line of paint (be sure to read to the end, there is a giveaway!).
So, better late than never, here it is!

As a reminder, the Silk All-in-One Mineral paint has a built in primer and top coat. It’s a one step product, just clean your piece first, then paint and you’re done. Once caveat, if you’re painting a piece with serious bleed-thru using one of the white Silk paints, I would still prime with B.O.S.S. The stain blocking abilities of this paint may not be enough for that situation.
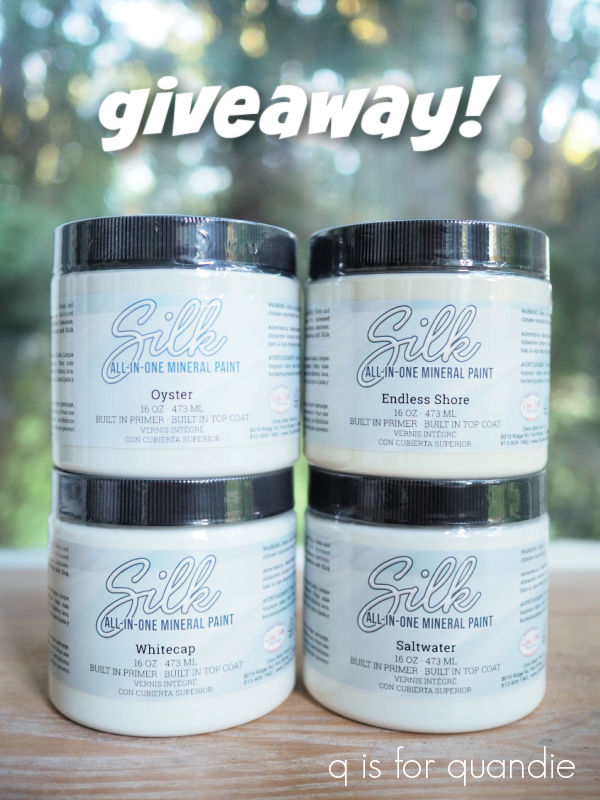
There are 4 shades of white in the Silk paint line. I was surprised by that since the entire line started with only 20 colors total (it now has 30 with the addition of the Desert Collection). But now that I’ve done a little comparing, I get it. And really, as a person who is fairly picky about shades of white, I really shouldn’t have been surprised at all that 20% of their first collection of colors were shades of white.

The shades of white in the Silk line are Endless Shore, Oyster, Saltwater and Whitecap. At first glance it may appear as though there isn’t much difference between these colors.

But side by side, you can certainly see the differences between them. The Oyster has the tiniest hint of grey in the background. The Whitecap is the brightest white. Dixie Belle calls Saltwater an off-white, it is a bit less bright white than the Whitecap, and definitely brighter than Endless Shore. The Endless Shore is the color that comes closest to my favorite white ever, Drop Cloth, and is a very warm off-white.
I have to confess, I haven’t used much of the Silk whites. That’s because I really LOVE my Dixie Belle Drop Cloth, so every time I go to paint something white I automatically grab that paint first. However, there are certain applications where I prefer using a paint with a built in primer and top coat such as painting the insides of a bookshelf or cupboard (or toolbox), or painting pieces that I don’t want to distress.
The only example of an item painted in one of the Silk whites on my blog is this crate that I painted for the swanky swigs earlier this year. It’s painted in Endless Shore.

Another reason I haven’t really used much of the Silk whites is that I usually like to use this paint with its built in primer and top coat on the insides of things, and that’s where I tend to add a bold color. Such as the Fiery Sky inside this toolbox …

Or the Mojave inside this washstand.

But I ordered up a couple jars of the Saltwater a while back and I plan to start using it to refresh the paint on various trim throughout our house. I think this paint is going to be perfect for window trim and baseboards, and the Saltwater is a great match for the white on the trim in our house. Painting trim feels like it should be a winter project to me.
The Silk paint would also be a great choice for bathroom or kitchen cabinets. Another winter project I’m considering is painting the insides of our kitchen cabinets. Although if I do that I may opt for a pretty pop of color. Or it might even be fun to go dark … hmmm, I’ll have to give that some thought.
But in the meantime, today I’m going to give one of you the chance to try all four of the Dixie Belle Silk All-in-One Mineral paint whites for yourself.
The rules: Simply leave a comment on this blog post to be eligible to win.
Your comment must be left on this blog post, not on Facebook or Instagram. You are not required to follow my blog, although it would be awesome if you did!
I will randomly draw the name of one winner for all four paint colors from all of the comments left on this post by Friday, September 30, 2022 at the stroke of midnight (U.S. Central time).
The fine print: no purchase necessary, you must be 18 years of age or older to win, void where prohibited by law, the number of eligible entries received determines the odds of winning, approximate retail value of prize is $100, if the prize is not claimed by Friday, October 7, 2022 another name will be drawn at random to win, blah, blah, blah.
Best of luck to you!
Thank you to Dixie Belle Paint Co for providing their paint that I’m giving away today.


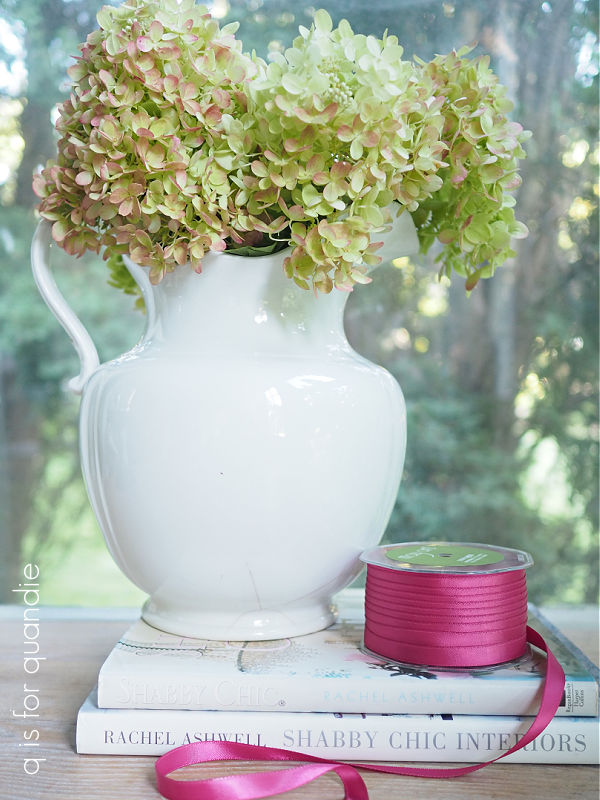
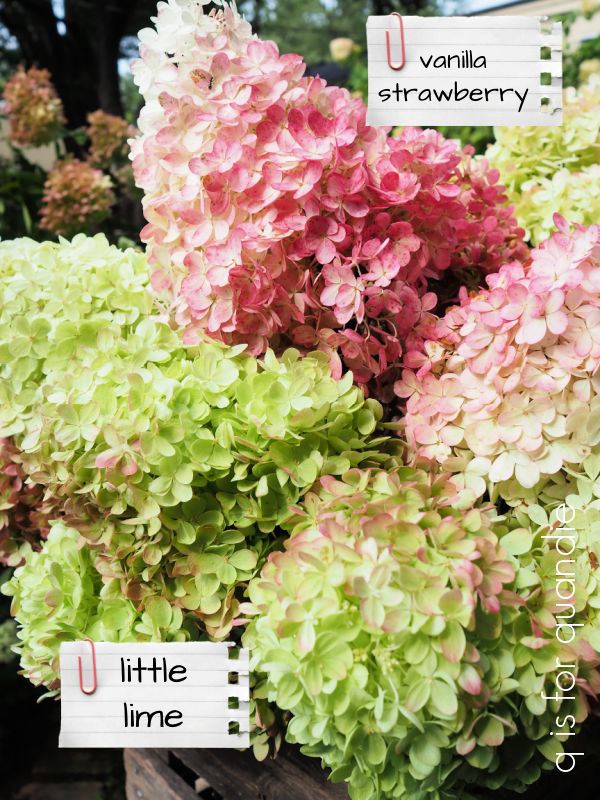 The Limelights go from lime green to creamy white to a blush pink.