

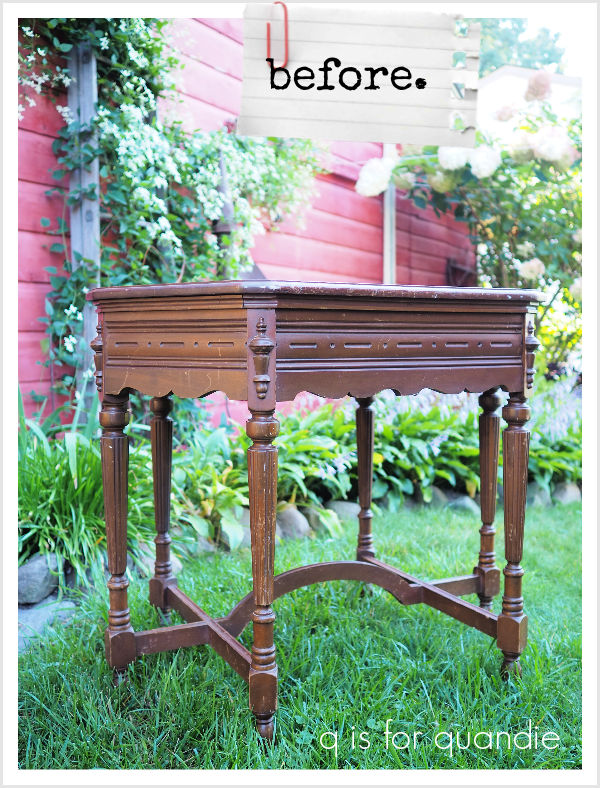
I shared the parlor table that I picked up at the East Isles sale last weekend on Monday.
I’d painted another six-legged table a few years ago and it turned out quite nice …
so I thought I’d try my hand at giving another one an updated look.
With that table, I stripped and then refinished the top with Homestead House Stain & Finishing Oil in Driftwood. I don’t often use that product though, simply because it’s oil based. It takes forever to dry, and it’s pretty smelly. However, if you’re working outside and you have some time, it does create a lovely finish.
But this time I decided to go for a similar look using a different technique. Once again, I stripped off the original finish from the top of the table using CitriStrip. I used Klean Strip After Wash after the stripper to make sure I’d gotten all of the stripper residue off. Once that was dry, I sanded the top with 220 grit paper to smooth it out. Then I added just one coat of Varathane’s Sunbleached fast drying stain.
I let that dry for a full 24 hours, and then added a couple of coats of Dixie Belle’s flat clear coat over the stain for protection.
First, here’s how the table top looked when I brought it home.

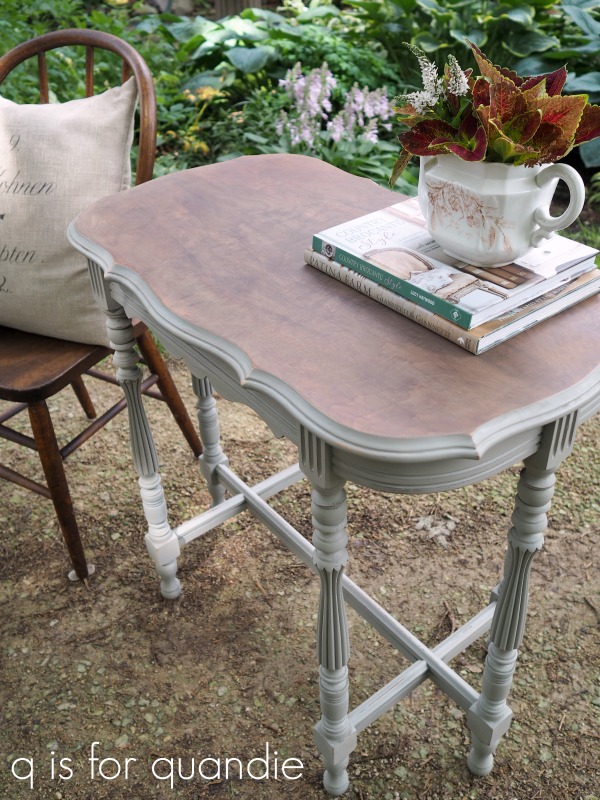
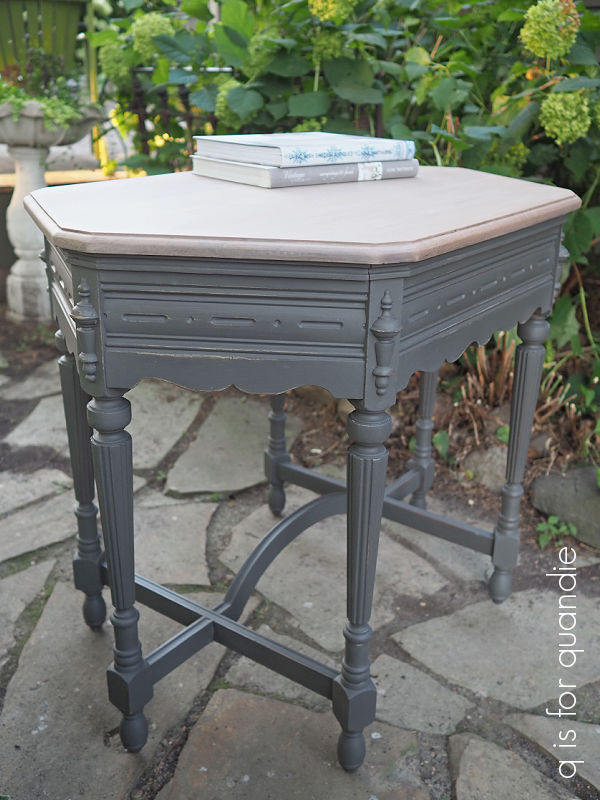
And here is how it looks now.

Um, yeah. Night and day, right? I am constantly amazed by how much you can change the look of something with a little stripping, sanding and staining.
I had used Rust-Oleum Chalked spray paint to paint the base of that first six-legged table to make it easier to get those six legs covered with paint.
I debated going that direction with today’s table, but have you priced that spray paint lately?! The last time I looked it was up to $11.48/can at Menards. I did see it for $9.99/can at Target, but there weren’t many colors available there. It would likely take most of a can to cover the base of this table. And you know me, I’m nothing if not cheap.
So instead, I decided to go ahead and paint the base with a brush and paint that I already had on hand. I just wasn’t sure which color, so I tested out a few ideas. I painted a swatch of three different Dixie Belle colors onto sections of the base; French Linen, Dried Sage and Gravel Road. In the end, I decided the Gravel Road looked best with the stained top.
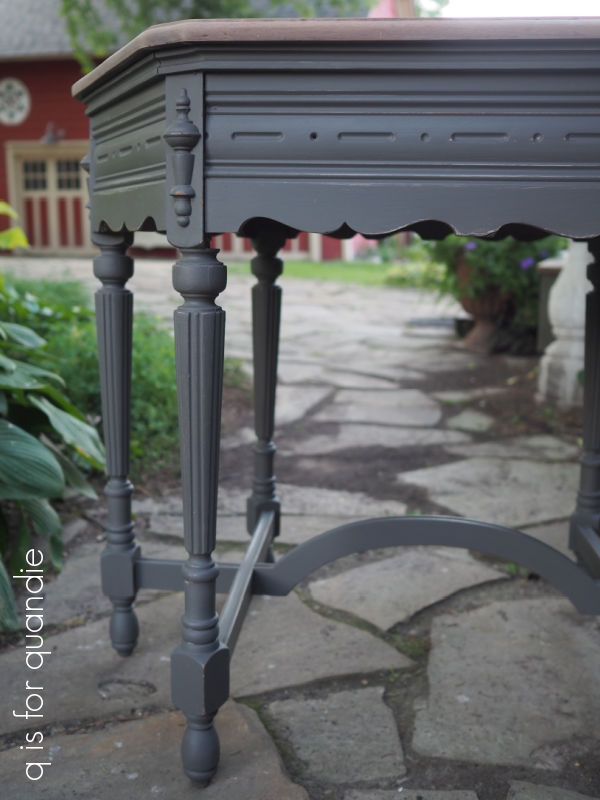
That kind of surprised me a bit. I really thought I was going to like a lighter color with that light top, but nope. In the end, the Gravel Road won out.
Once the paint was dry, I sanded lightly to distress and then added a coat of clear wax.

In the 1800’s, a parlor table like this one was meant to be the focal point in the center of one’s parlor. It would have been surrounded by seating, perhaps a small sofa and several chairs. It would likely have held the oil lamp, and in the evening the family would have gathered around to read or sew. Since they didn’t have electric lamps, the lamp didn’t need to be on a table near an outlet on the wall, so it could be in the center of the room.
These days having a parlor table in the middle of your room would feel a bit odd I think. However, this table would make an awesome alternative nightstand. It would also work really well in a large foyer or hallway.

And hey, notice anything different about the carriage house in the background of that photo?
Well, I’m sure no one would notice but us, but we have a new roof!
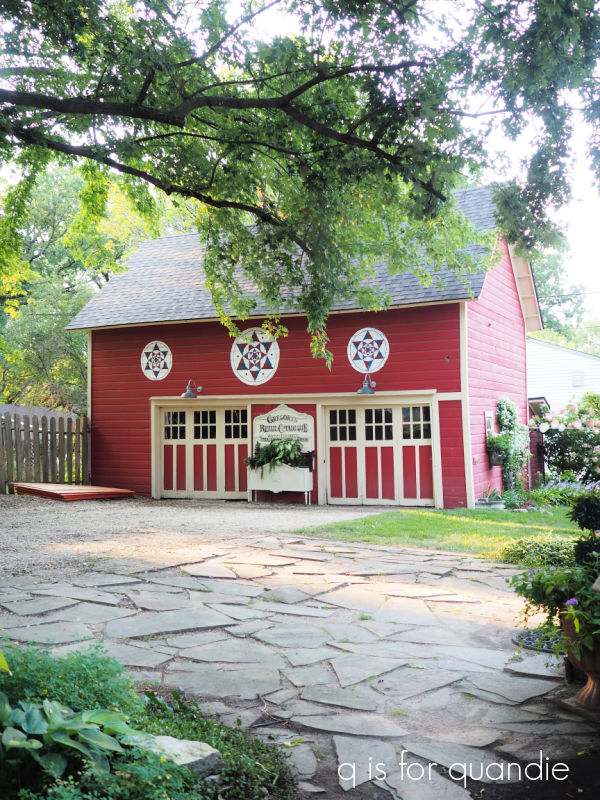
While I was working on refinishing the parlor table, there was massive chaos all around me as a team of brave souls clambered around on our roofs. They worked two 12 hour days to get it all done. I feel a bit lame that all I accomplished was one small table makeover in the same timeframe.
It feels great to have a nice, new roof to take us into the fall and winter.
Anyway, back to the table.

What do you think? Did I meet my goal of updating an antique parlor table?
This table is for sale so be sure to check my ‘available for local sale‘ page if interested.
Thank you to Dixie Belle Paint Co for providing the Gravel Road paint used on this project.

Beautiful job!
LikeLike
Thanks Kim!
LikeLike
This is a true “save”….so, so much better after all your attention. Love the color – another great work and labor of love ❤️
LikeLiked by 1 person
That looks great!
(The carriage house too)
LikeLike
Thanks Cyndi!
LikeLike
That is such a pretty table – the gray paint was a good choice.
Sheila
LikeLike
Thanks Sheila!
LikeLike
The table looks way more updated and I love the color combo! The lighter finish is so lovely and I love the darker legs. The carriage house is charming. Your house was a lucky find for you guys. To have all the extra space outside is such a bonus!
LikeLike
Totally agree 🙂
LikeLike
Love how it turned out! Especially the top. I’ll have to try that color. And it looks great with the gravel road.
LikeLike
I do really like the Sunbleached stain, give it a try!
LikeLike
Looks great, although my personal preference would have been a dark top. It’s really lovely though!!
LikeLike
It would have been gorgeous with a dark top too!
LikeLike
Beautiful finish, really like the paint color! Always classy.
LikeLike
Thanks Paula!
LikeLike
You do such beautiful work!
LikeLike
Thanks Kathy!
LikeLike
I love the result Miss Quandie and I feel sure I would have loved any direction that you took the make-over! I just love love love that style of table and would be over the moon if I, by some miracle, stumbled upon one 😁😍
LikeLike
Thanks Connie!
LikeLike
I love it and I am usually an anti-paint -wood person!
LikeLike
I have to say, the wood on this one wasn’t all that pretty … except on the top. So painting the base felt like a no-brainer to me 😉
LikeLike
I love the table! I do like the color you used; though, I’d like to see it in the green, too!
LikeLike
The Dried Sage isn’t really a green … more of a medium gray with a green undertone. Check out this post to see that color. It didn’t really work with the Sunbleached top on this one, although I do love the color and also used it on my potting shed floor. All of that being said, a more green color would have been nice on this table too I think.
LikeLike
Love the color you chose for the base! You are giving me needed inspiration!
I use regular spray paint as my base coat sometimes on difficult surfaces like table legs… it’s cheaper and offers the top coat something great to bond to. The chalk spray paint is just a marketing ploy. I’m pretty sure it’s just flat spray paint.
LikeLike
I bet you are exactly right about that Jennifer! Next time I’ll try a flat regular spray paint 😉
LikeLike
Your work is amazing! Nice color choice.
LikeLike
Thanks so much!
LikeLike