
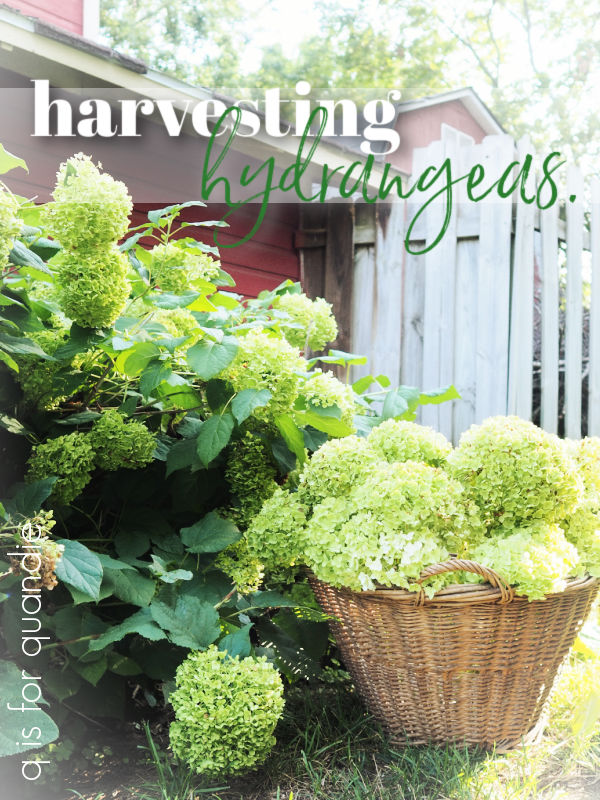
Good morning, and welcome back to Sunday mornings in the garden!
Last winter I didn’t quite get to filling my window boxes for winter until mid-December. I’d left all of my hydrangeas on the bushes up to that point.
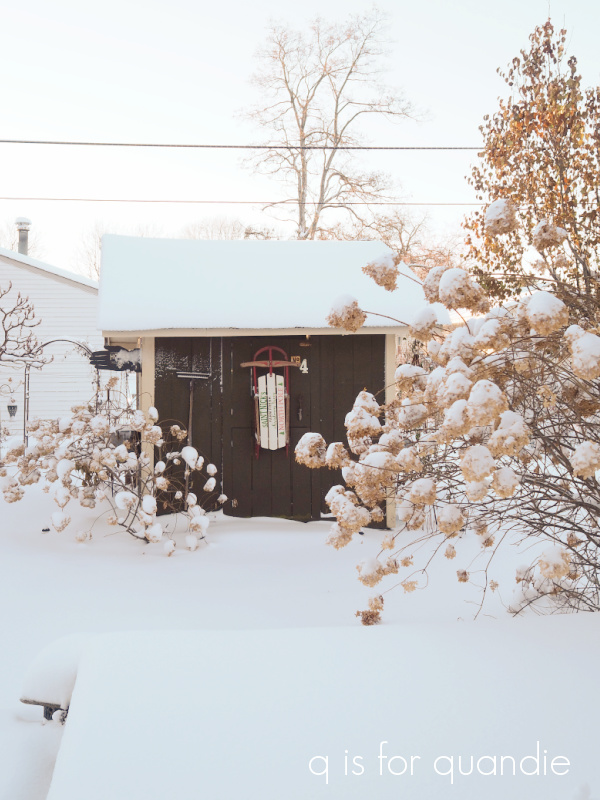
Don’t get me wrong, I always leave lots of hydrangea blooms in place for winter interest and I don’t prune them off until early spring.
But I usually get some cut off the bush by early October for my winter window boxes. I’m cutting myself a bunch of slack on that one for last year though. If you’ll remember, I was in the midst of trying to deal with an increasingly unpleasant work environment and ultimately making the decision to retire early on November 30. So last fall doesn’t count.
I did find that the hydrangeas had really lost all of their color by the time I got around to gathering them for my window boxes though, especially the Annabelles. So this year I’m going to be more intentional about drying them for use later in winter arrangements.
I did a bit of online research and learned that the best time to harvest hydrangeas for drying is when the blooms are past their prime and starting to dry and/or change color on the bush.

That timing is going to be different for different varieties of hydrangeas because of their bloom times. My Annabelle hydrangeas started blooming back at the end of June. Their flowers went from white, to green and are beginning to show a bit of brown here and there.

That, combined with the fact that we’ll have roofers here in the coming weeks doing who knows how much damage to plants, made me decide to go ahead and harvest them a week or so ago. Especially the ones in the cutting garden.
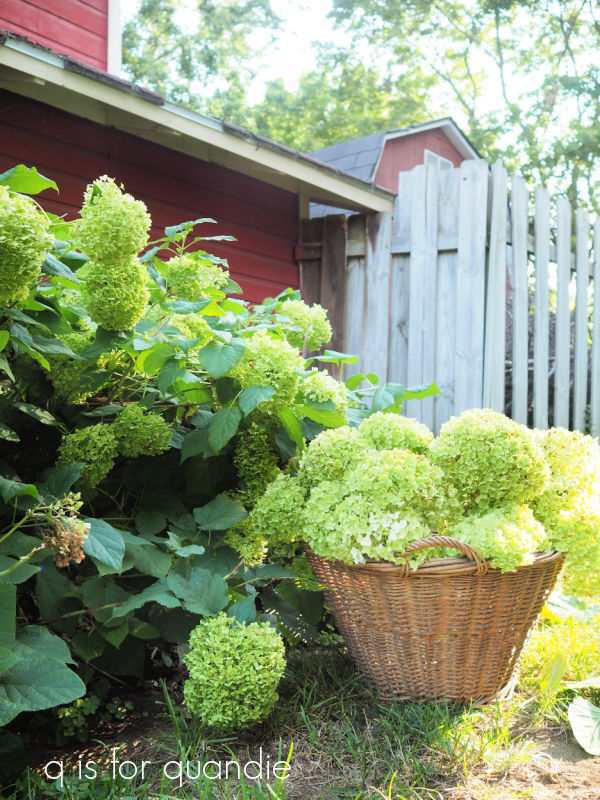
For those of you who may not already know, my cutting garden is out behind the carriage house. You can’t see it from the rest of our yard. Everything I grow there is meant to become a cut flower and it doesn’t matter how the garden itself looks.
You can see where the roofline of the lean-to is in the above photo, very close to that hydrangea. It’s unlikely it will survive the new roof unscathed.
So, while I probably could have waited a couple more weeks to do this, there’s no time like the present … at least for the Annabelle’s. I’ll continue to let the paniculatas color up a bit more before I cut any of them to dry.
There are probably tons of different methods for drying flowers, but let’s talk about the 4 most common ones.
First, you can hang them upside down in little bundles. This works great with flowers like roses where the blooms will droop if you dry them upright. For the most part, you don’t really need to worry about that with hydrangeas.
Second, you can use silica gel or powder. That’s not really practical with hydrangeas since you have to completely surround the bloom with the silica, can you imagine how much silica I would need to dry all of these?

That leaves the two most popular ways to dry hydrangeas, with water and without water.
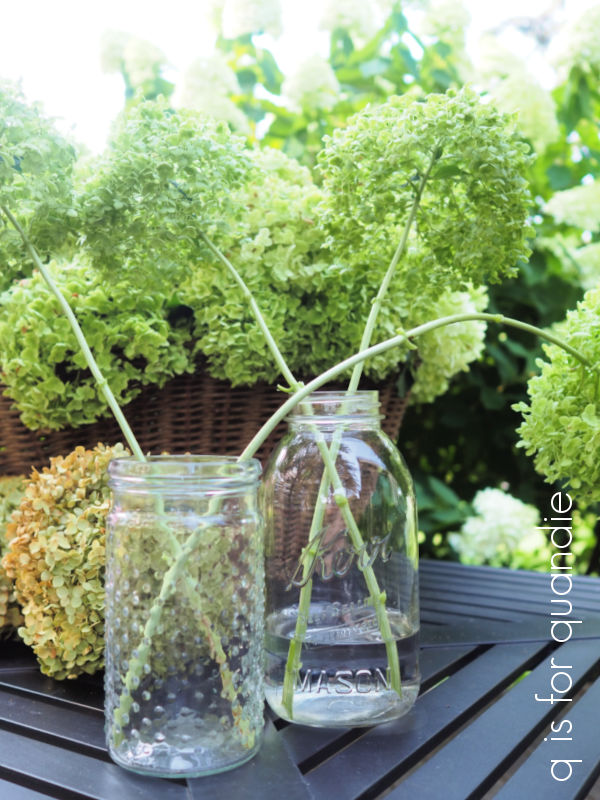
Basically the only difference between the two is whether or not you put a little water in the vessel you are drying them in. Otherwise the technique is the same. Cut your hydrangeas with a longish stem. You can always shorten it later when you arrange the flowers, but you can’t add any stem back on. Remove all of the leaves, and then place the stems upright in a container of some kind. If you’re using water, only put a couple of inches of water in your container. Next, place the container in a cool, dry location away from sunlight. Once the water is gone, your hydrangeas should be dry.
I did a little experiment to see if there was a noticeable difference between the hydrangeas dried with water, and those without. From what I’ve read, the water option allows the hydrangeas to dry out more gradually thus providing a better result. So here we are a little over one week later. The water is mostly gone from the jar with water, and here is a comparison of the dried blooms.

The difference is very subtle. However, I was surprised to find that the hydrangeas dried without water kept just a little bit more of their green color. But honestly, I don’t think it’s enough of a difference to matter.
In addition to the hydrangeas in the jars, I also tucked that entire basket full of cut hydrangeas into a dark corner of the carriage house to see what would happen with them.

And they look pretty darn good too.

Obviously this little experiment could be a one off. Or maybe it’s just Annabelle hydrangeas that dry just as well without water as with water. I think I’ll do a similar test with my Limelights after they develop some of their fall color and see how those turn out. I’ll be sure to keep you posted on that one.
In the meantime, I’m looking forward to having tons of beautiful dried hydrangeas to use in my winter window boxes. How about you? Do you dry any flowers from your garden? Leave a comment and let us know.

Thankyou I was always curious about how to dry them. This was very informative.
LikeLike
You’re welcome Juanita!
LikeLike
The lady that sells plants and flowers at our local wonderful farmers market taught me to dry the eucalyptus from the plants I buy from her each summer. Place the stems into a glass container of vegetable glycerin diluted 1:3 with water. Leave in the container for at least one week. They dry with soft flexible leaves instead of being brittle. I’ve dried other leafy plants and flowers with this method and am able to use them in wreaths and bouquets. I haven’t tried drying hydrangeas this way but will try this fall and experiment with your methods also. Thank you for your very informative post!
LikeLike
Keep me posted on how your experiment turns out!
LikeLike
Well, this was timely info. I was just looking at the blooms on my pink hydrangeas yesterday and thinking, “I should dry these”. Guess what I’ll be doing today, armed with this great info. Thank you, Linda!!
LikeLike
Definitely! Get them dry so they can retain some of that color. Best of luck!
LikeLike
👀👍👍
LikeLiked by 1 person
great tips! I have dried a few blooms and usually go dry. do you ever save dried flowers for more than one winter?
LikeLike
No, I don’t. I mainly use them in my outdoor window boxes for the winter and they get pretty destroyed after a winter of snow and ice. I toss them in the spring when I clean out the boxes and get them ready for plants.
LikeLike
With hydrangeas I cut them as late in the fall as possible and immediately create with them while they are flexible and easily manipulated. They dry just the way you want them in your arrangements. One of the best parts of hydrangeas is they last! The color very slowly ages. Each stage has its own beauty until you want to make changes in your decor.
LikeLike
Thanks for that tip N J 🙂
LikeLike