Last year when I shared a booth at Junk Bonanza with my friend Lori, she purchased some absolutely gorgeous vintage hat boxes from Belgium from another vendor. I absolutely loved them, but they were priced way out of my price range. Since my typical price range for such things is probably around $12, I guess that isn’t saying much, but let’s just say they were quite a bit more than $12.
I don’t have pictures of the exact boxes that she purchased, but they were similar to this.

I’ve always had an idea in the back of my head to create my own similar hat box, but recently when some of my co-workers introduced me to transferring graphics using gel medium I realized that I really should give it a try.
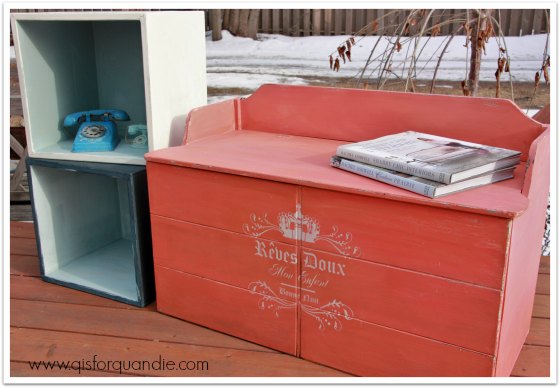
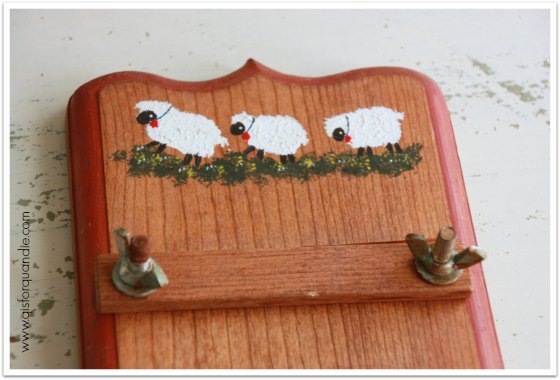
So I pulled out a hatbox that I happened to have on hand. Before I started, it looked like this.
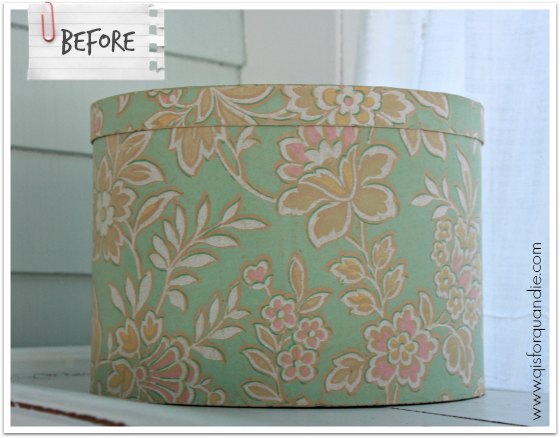
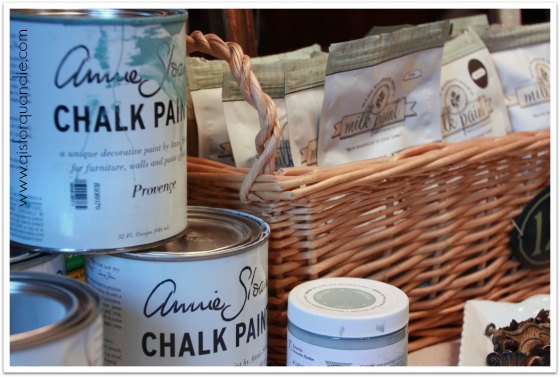
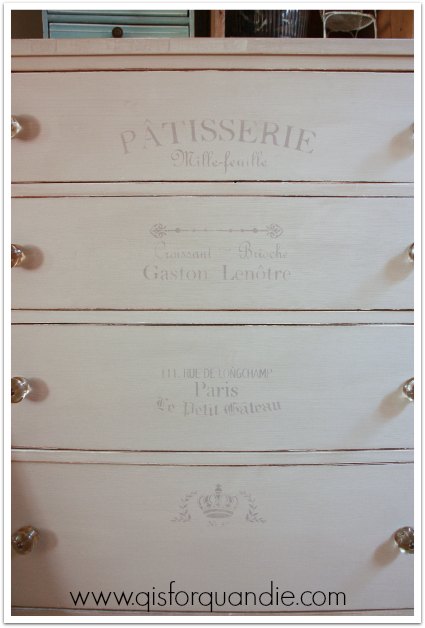
First I added a base coat of chalk paint in French Linen (a greige color), then I added two coats of white. While that dried, I found a graphic that I liked from the Graphics Fairy and printed a reverse image of it on my regular old laserjet printer.

Once the paint was dry, I painted a coat of the gel medium onto the hatbox where I wanted the label to go, and then placed my printed image face down on top of that. I smoothed out any bubbles and made sure it was nice and flat. Then I left it to dry for a couple of hours.
Once it was good and dry, I used a wet cloth to wet the paper. Then I gently rubbed the paper off, leaving the image behind. I had to use a lot of caution because I was working on top of chalk paint. As you may know, chalk paint can be distressed (or wiped off) using a damp cloth, so I had to work cautiously to make sure I wasn’t rubbing off any paint. I did find that the gel medium protected the paint fairly well, but if I rubbed outside the area with the gel medium I did remove some paint.
Once all of the paper was removed, I added a coat of wax to the entire box.
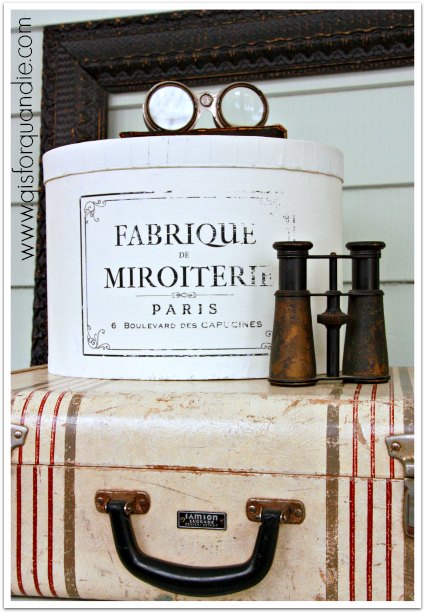
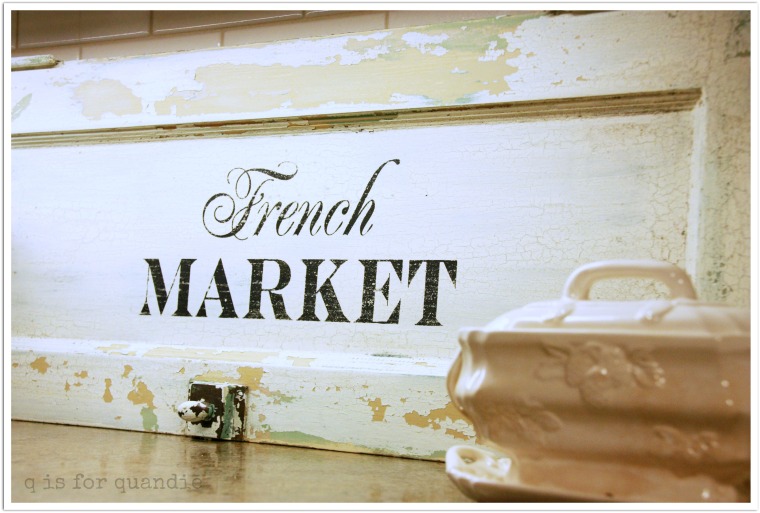
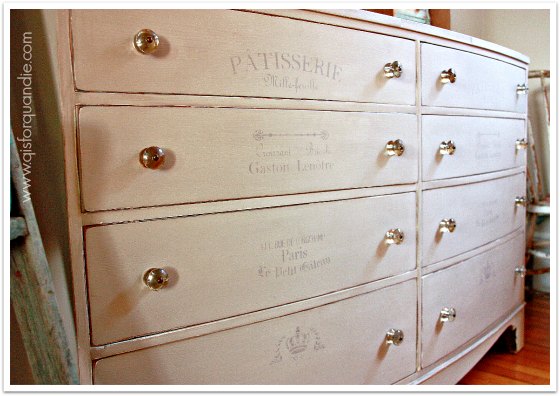
And voila!

You can see that I had a little trouble with the upper right corner. I think I didn’t have as thick a layer of gel medium in that spot. I’m OK with that though, because I think it helps the box look aged.

I could have added a little dark wax to give it a little more weathered look as well, but for now I like the whiteness of it.
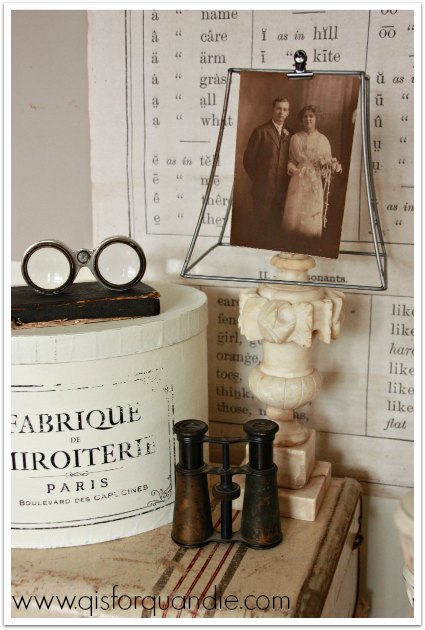
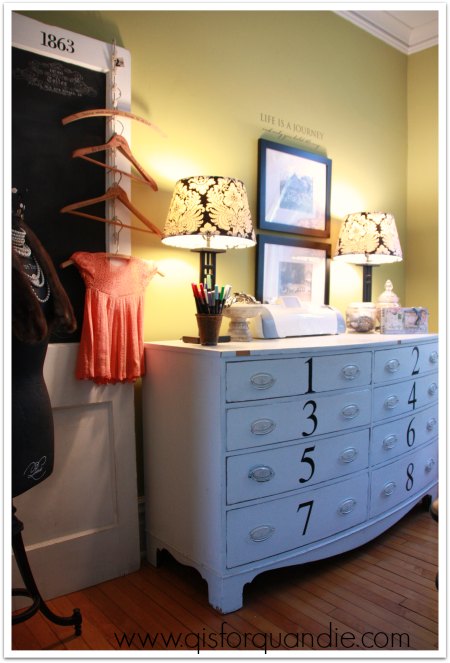
The alabaster lamp is one that I picked up at a garage sale last year. I just re-wired it, which is super simple. If you’ve never tried it, don’t be afraid to do so, it really is easy. Do you recognize the skeleton lamp shade? It’s the small white shade that I picked up on my thrifty field trip with its cover ripped off. I just clipped on a vintage wedding photo instead.
So what do you think of my faux french hat box? Do you think it comes close to passing for the real McCoy? I can tell you that it cost way less than $12 to make, so it was right in my price range.
Update: bad blogger alert! I’ve been a bad blogger and not given you the ‘official directions’ for this project, which say to let the gel medium dry for at least 8 hours. Also, if you’re wondering, the product I used was Liquitex acrylic gel medium. If you want to try this at home, here is a much better step by step tutorial on how to do it yourself.
Linking up with:
My Salvaged Treasures and French Country Cottage


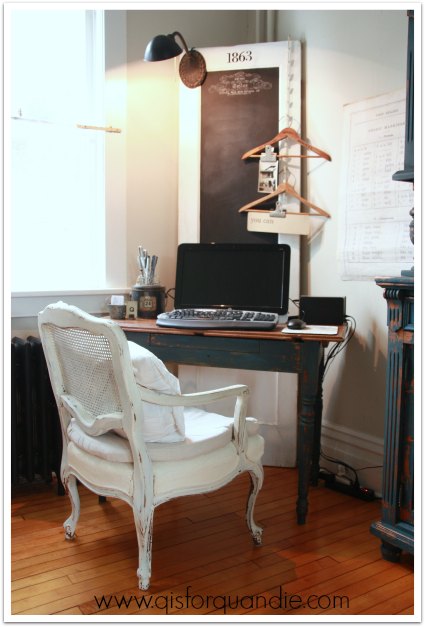

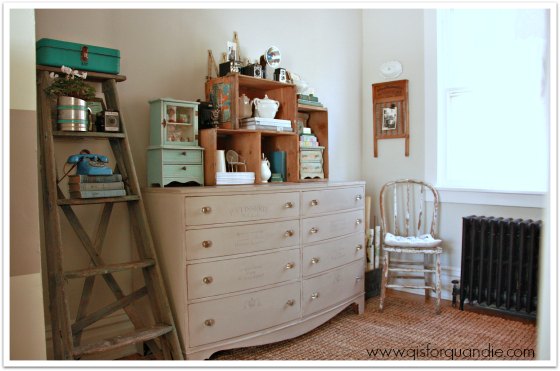

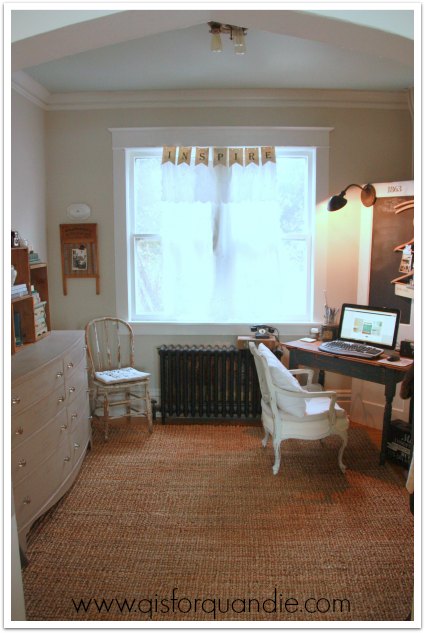


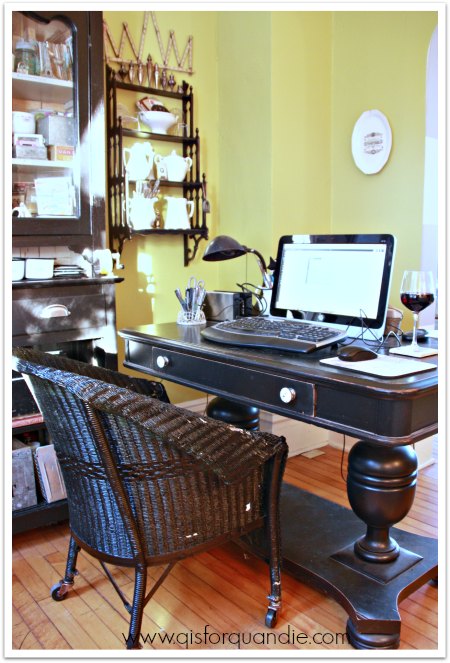
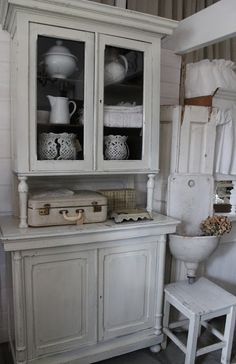
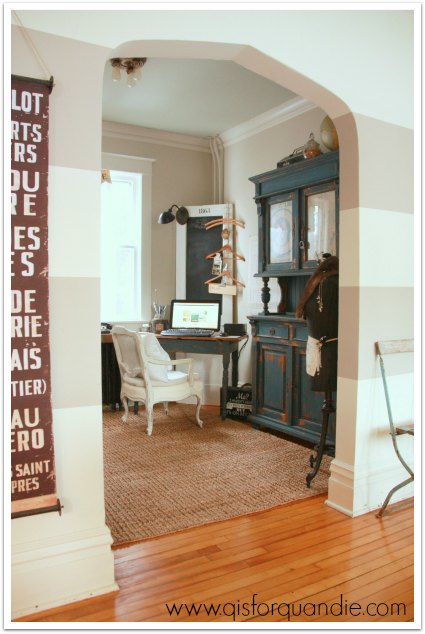 These photos explain why I felt a need to make this room prettier. It really is on display to anyone coming into our home. It also really needed to flow color-wise, which it does much better now. Hopefully now that I have spruced the room up a bit, and helped make it more functional, I’ll be able to keep it tidy. I’m really happy with the results of my makeover. I spend a lot of time in the Q branch writing up blog posts and editing photos, so it will be nice to have a lovely room for it!


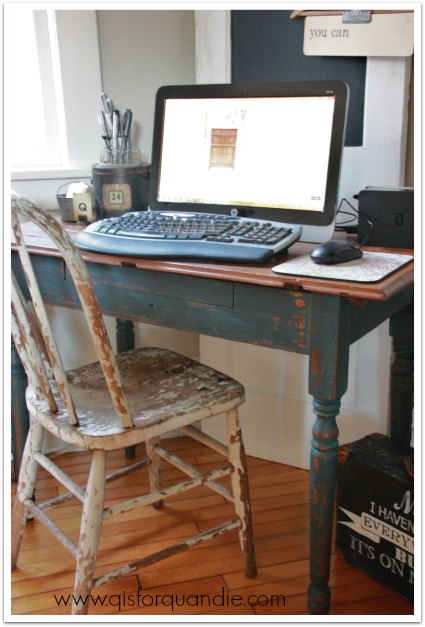


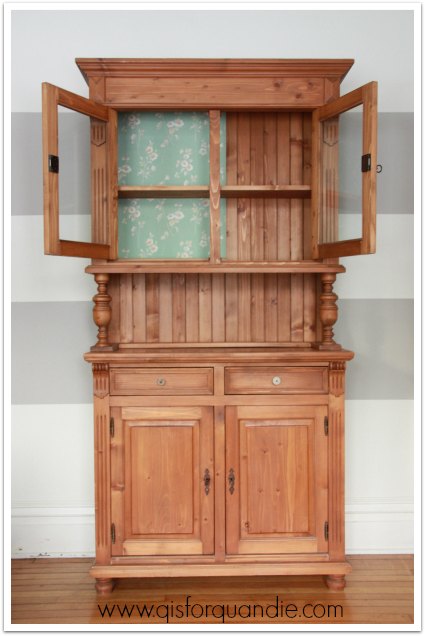

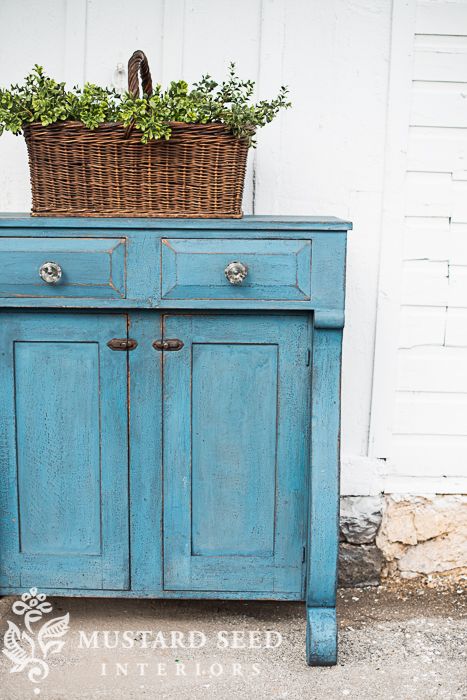
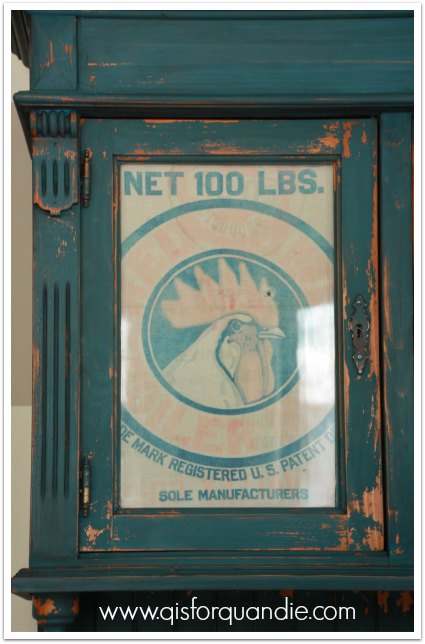
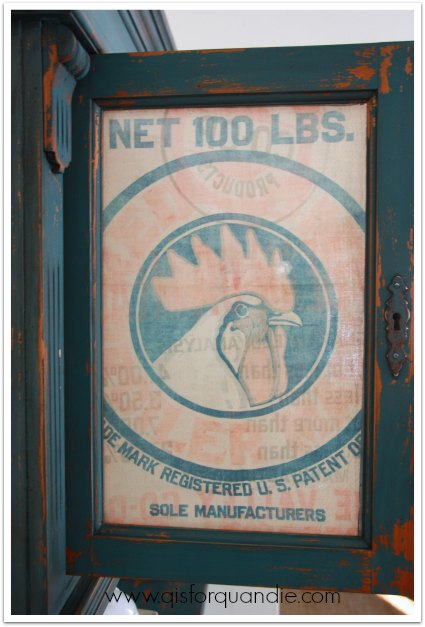
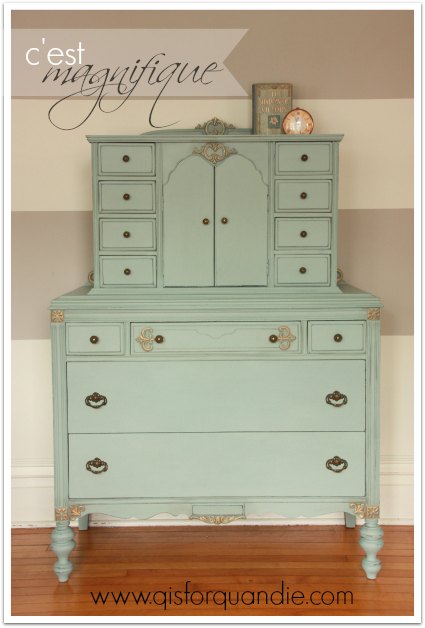
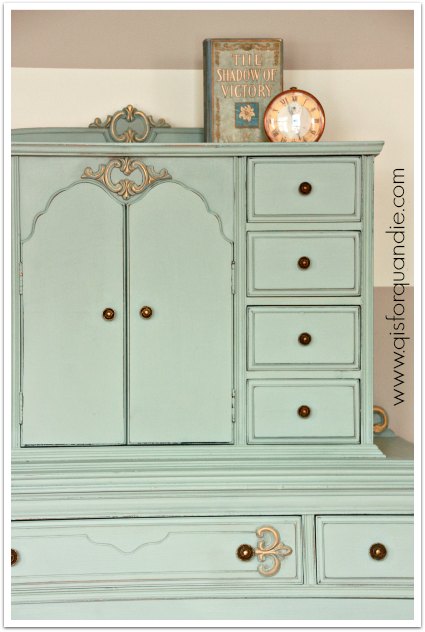
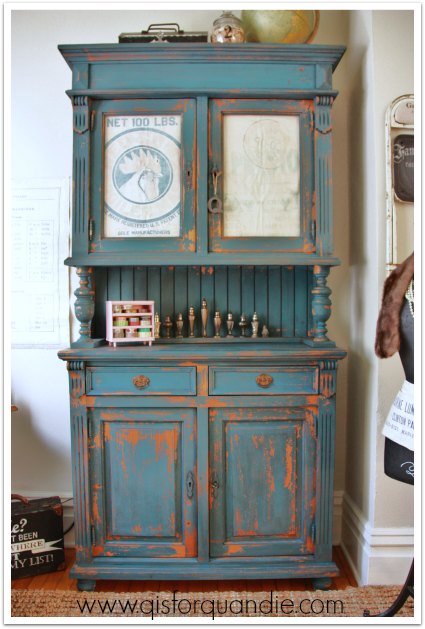
 I really wasn’t sure about this pine finish that I was painting over. I suspected it might chip like the dickens. But the first coat of Artissimo really didn’t chip at all. Hmmm. OK. I wanted a little chipping, so I was a little disappointed not to get any. I waited a full day and then moved on to add a coat of Flow Blue on top of the Artissimo. And then guess what? It started chipping. And then it chipped A LOT. I freaked out. Some cuss words may have been uttered. This is the point in many projects where I decide to sleep on it. Maybe even wait a couple of days before making any decisions. But I really thought I was going to be sanding it down and starting over with chalk paint. Not the end of the world, but I’m not a fan of starting over.