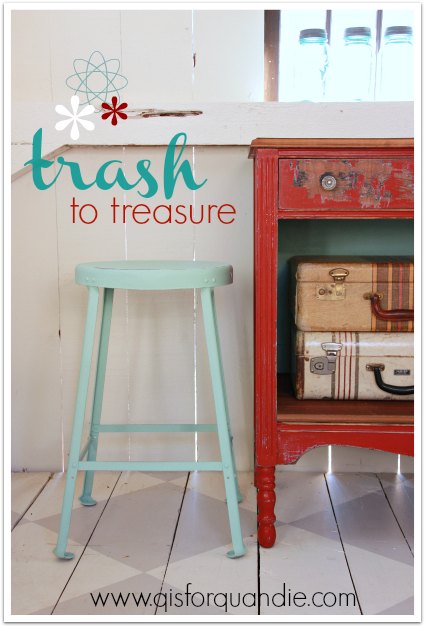
Today I’m sharing some true trash to treasure projects (my favorite kind) with you.
Last summer a lovely gal named Jen purchased a pretty yellow dresser from me via craigslist. She wasn’t sure how she would get it home, so Mr. Q and I offered to deliver it for her and in exchange she gave me an old dresser that she found in her garage when she bought her house. By the way, I also featured her darling house on Q.
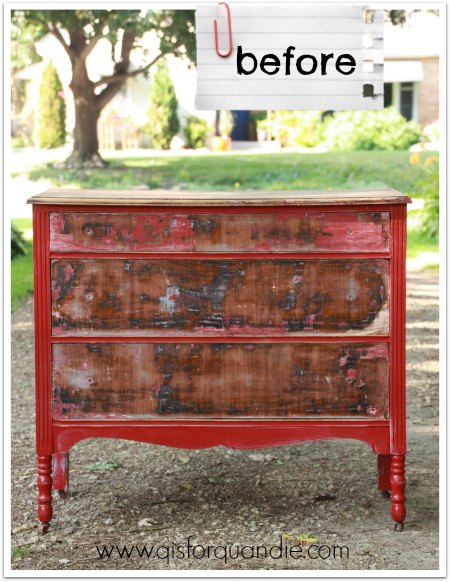
The dresser in question was in pretty rough shape. The former owner had started stripping the paint, but never finished. Once I got it home and inspected it more closely, I realized that both of the lower drawers were fairly shot and had bottoms that were warped beyond repair. Don’t get me wrong, I’m not complaining, it was FREE after all!
Now, I’m going to make a confession, sometimes I have trouble thinking outside the box. I have tried to work on developing this ability, but it does not come naturally to me. This dresser is a case in point. After realizing the drawers were shot, I threw a drop cloth over it and started using it as a painting bench. It was six months later before it occurred to me that I could just remove the drawers and work without them. Duh, right? I know. Now you all know my dirty secret, I’m not really as creative as I appear online.
Removing the drawers entirely meant I needed to have a new ‘bottom’ added to the dresser, so of course I called on my miracle handyman/neighbor Ken. My first thought was to just add some fiber board and paint it, but then I remembered a stash of old bead board I have. I knew they would lend the perfect vintage look! Ken went above and beyond, as he always does, and notched the ends so that they fit into place perfectly. He also removed all of the support pieces for the middle drawer.

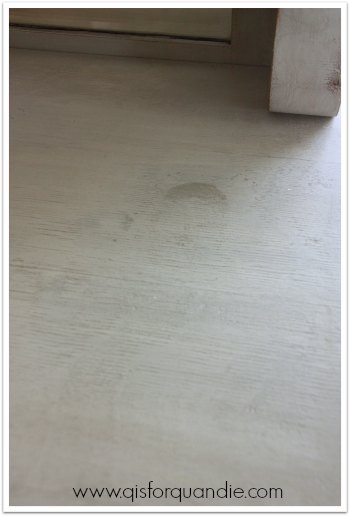
I had completed the stripping job on the top of the dresser last summer, and I knew I was just going to wax it with some Cece Caldwell aging cream, so I decided I would also leave the bead board unpainted as well.
Here is the top after the application of wax. Isn’t that veneer pretty?

That left me with two decisions to make. Whether to paint over the red or not, and what color to paint the inside. I’d had several people tell me how much they loved the look of the half-stripped red paint on the dresser. It was basically pre-distressed without any work from me. I’ve had mixed results trying to sell red pieces though. Oh, how I wish this dresser were green or blue instead. But, the red was just too delicious to cover up. So I sanded it a little, waxed it and called it good.
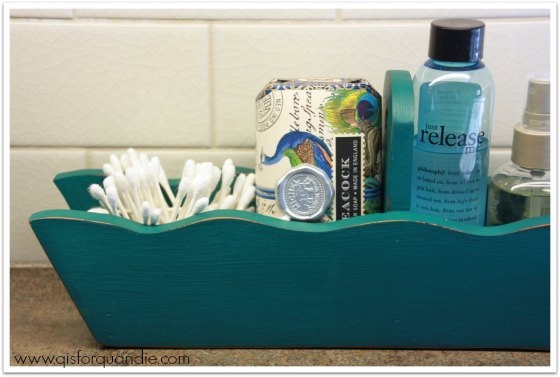
Next I pulled out my Fusion samples and painted the inside in their Laurentien. This was the perfect application for Fusion paint because it doesn’t require a top coat. Have you ever had to wax the inside of something like this? It pretty much is one of my least favorite things to do. You feel like you practically have to crawl inside the thing to get that wax worked in. In addition to not needing wax, the Laurentien also covered in one coat! Eureka! How fab is that?

I have always been a fan of the red/turquoise combo, how about you?

I added simple glass knobs from Hobby Lobby to the drawer.

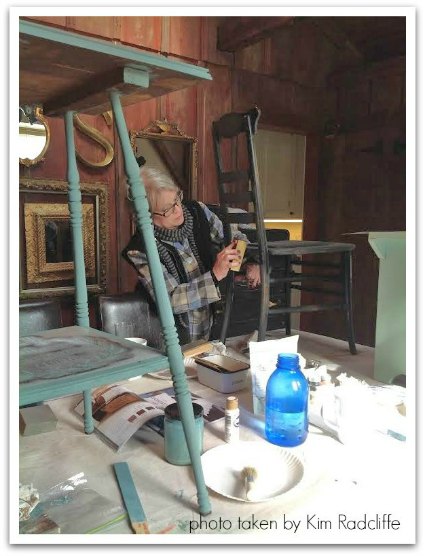
By the way, have you noticed anything about my photos so far? Yep! I’m back in the photo cottage!

We are having an amazing March warm-up here in the Twin Cities. The snow is gone, we’ve had brilliant sunshine and temps in the 60’s. It is a spring miracle. Woo hoo!
As I was setting the dresser up in the photo cottage, I decided I needed to add a little something more to the staging. So I grabbed one of the metal industrial stools that nnK found for me (they were throwing them in the trash at the school where she works, so of course my number one spotter grabbed them for me). I wiped it down with a damp paper towel and then painted on two coats of Laurentien. After the paint was dry, I sanded the edges for a distressed look.

And that was it. It was truly that simple. No mixing, no measuring, no prepping, no waxing.
Now, you know me. I love my chippy, distressed finishes. Nothing will ever replace my MMS milk paint for giving me that look. But it is a challenge to work with some times, and the results are always somewhat unpredictable. Plus, it’s not always the right paint for every project. I can see Fusion taking the place of chalk paint for me though. Especially on projects like both of these. It does take a little more elbow grease to distress than chalk paint, but I like not having to wax. I should also mention that it flows off your brush like dream. With chalk paint I always feel like I really have to work the paint with lots of passes with the brush.
Furthermore, I am totally loving this color, Laurentien. I initially thought it would be too bright to use on anything of size, but I it totally works on both of these pieces. I don’t know that I would ever paint an entire dresser in this color, but it works well for adding a pop of color.
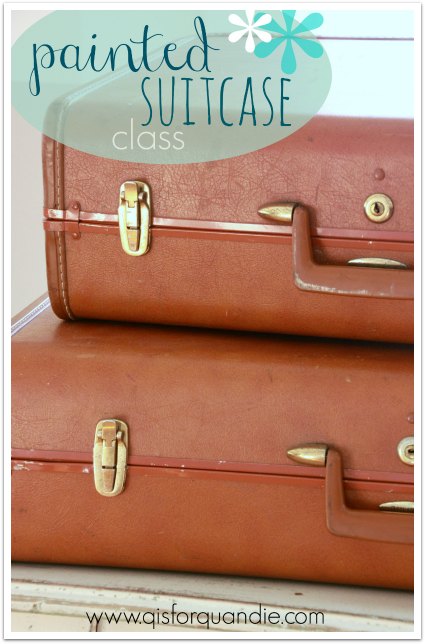
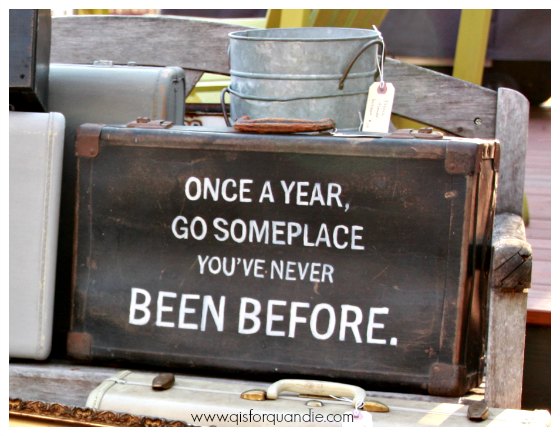
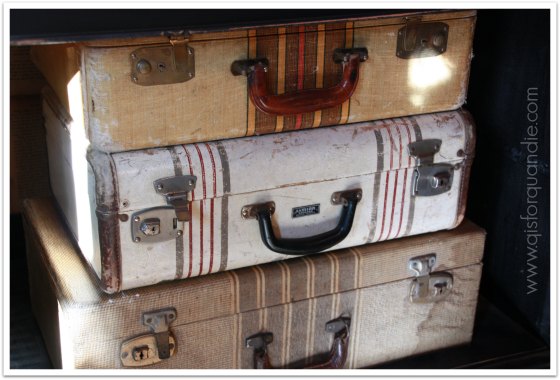
I’ve staged the dresser with some vintage suitcases and a pile of 50’s tablecloths inside, but you could also use some locker baskets or a wicker basket. Some wooden fruit crates would be great as well. You could also just fill it with stacked quilts, or even stacks of fabric if you have a sewing room or stacks of towels in a bathroom.

Quirky pieces like this add a ton of character to your home. No one else will have one just like it. And of course this is for sale. Anyone interested?
Linking up with The Painted Drawer Inspiration Friday.
P.S. A quick note. Although the Fusion people sent me free samples of their products to try out, there were no strings attached. They just asked me to try it. All opinions in this post are my own and I am not being paid to provide them.


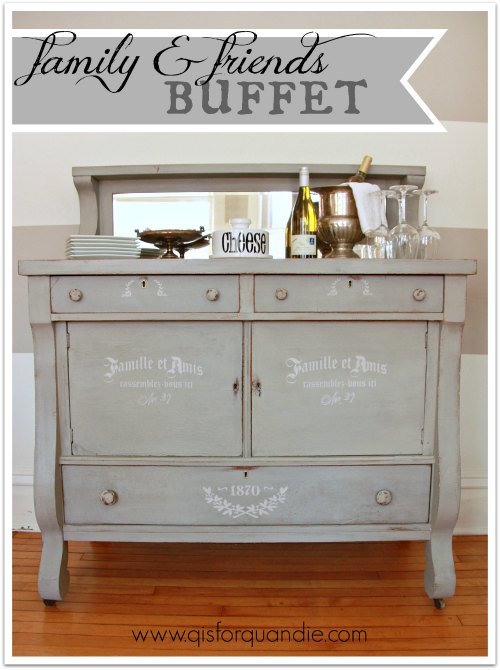

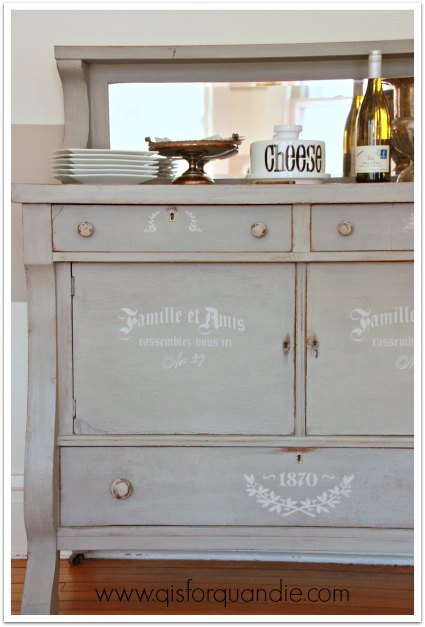
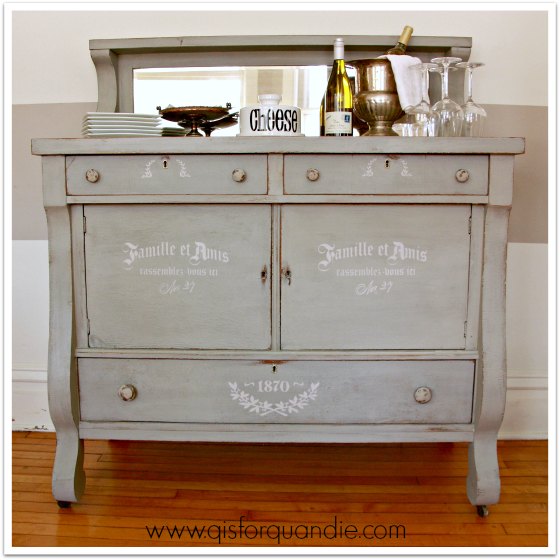
 As you can see, I used just part of it on the doors of my buffet and then I used just the lower portion of the stencil on my lower drawer.