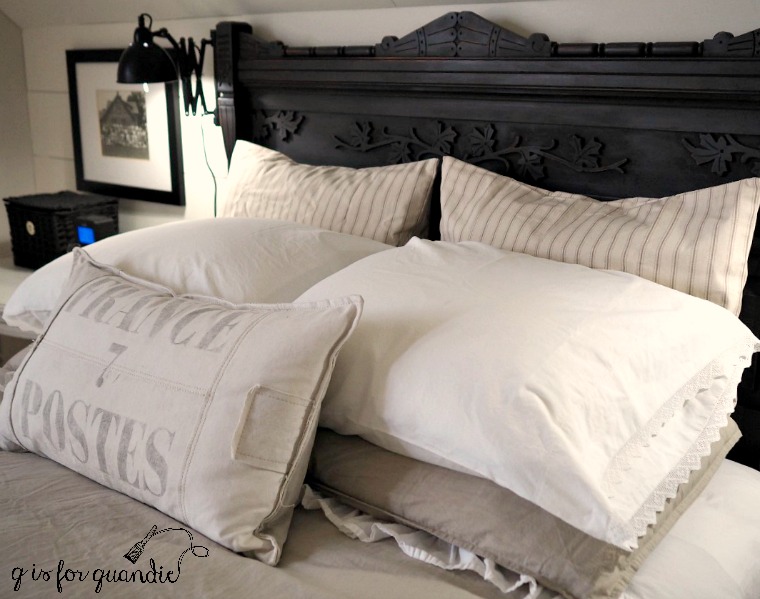
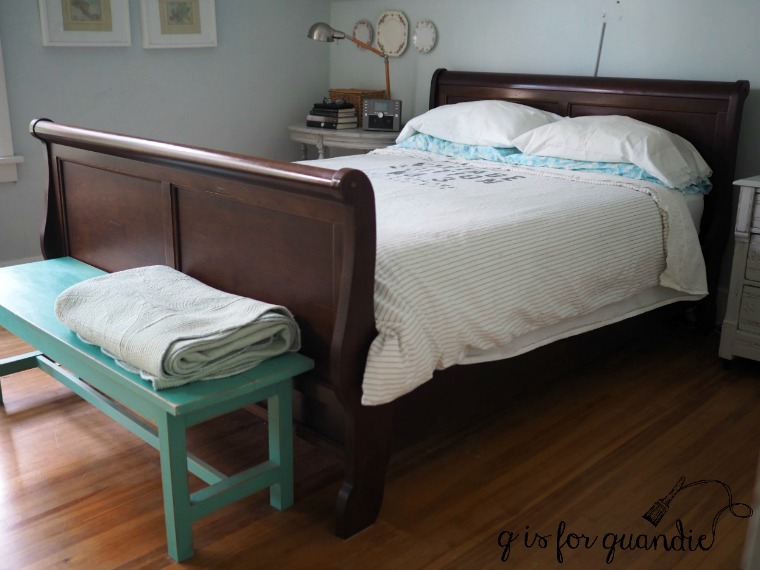
As part of our recent master bedroom makeover, we replaced our 90’s sleigh bed with an antique headboard. Mr. Q was not a fan of having a foot board, so he’s much happier with our foot-board-free bed now. Here’s our new bed …
Initially I was going to post our old sleigh bed on Craigslist ‘as is’…
Then I did a little research. I found nearly 100 similar sleigh beds listed ranging from $95 all the way up to $579. That’s a lot of competition. I thought about listing mine for $75 just to stand out in the crowd.
But then I stopped myself. Why in the world wouldn’t I paint it? After all, painting furniture is my thing. And out of those nearly 100 beds only a handful of them were painted. Painting it would definitely help differentiate (that’s a fancy term I learned in my marketing class) my bed from those of my competitors. It will also make my bed more attractive to my target market. I already had all of the product on hand that I needed, some Fusion Ultra Grip and Coal Black paint, so the only additional investment into this project would be my time.
If you are considering selling items on Craigslist, I encourage you to do your research first. Take a look at what else is out there and at what prices. Keep in mind that just because you see an ad for a sleigh bed at $579 doesn’t mean it’s going to sell for that price, especially if there are 99 similar beds priced much lower. Look at how long the ad has been posted. Keep an eye on it over time. Even if the ad disappears eventually, that doesn’t necessarily mean the item sold. The seller may have given up and donated it to a charity.
One factor that still made me hesitate about painting our sleigh bed was the slick factory finish on the bed and not knowing how well the paint would stick to it. So I decided to prep the heck out of it.
I started by sanding it well. Not enough to totally remove the original finish, but enough to rough it up and give the paint something more to stick to. Next I cleaned the surface with TSP substitute. Then I added a coat of Fusion’s Ultra Grip. This product is designed to increase the adhesion of Fusion paint.
 Today’s Qtip: do as I say, not as I do. I should have read the instructions before I applied the Ultra Grip. I really don’t know what I was thinking, but I used a big clunky paint brush that ended up leaving some pretty heavy brush strokes. That was entirely user error on my part. The Fusion website suggests applying it ‘thin and sparingly’. After doing both the headboard and foot board, I did get out a better suited brush for the side rails and as a result the finish on those looks much better. I can definitely see a difference. So when using Ultra Grip, be sure to follow the directions!
I let the Ultra Grip dry the required 12 hours before painting over it though, so at least I got that part right.
The next step was to paint the bed. I used just one coat of Fusion’s Coal Black. Once dry I had to touch up just a couple of spots that I had missed the first time around, but I did not need a full-on second coat of paint. When using a dark paint color over a dark wood, you can often get away with just one coat.
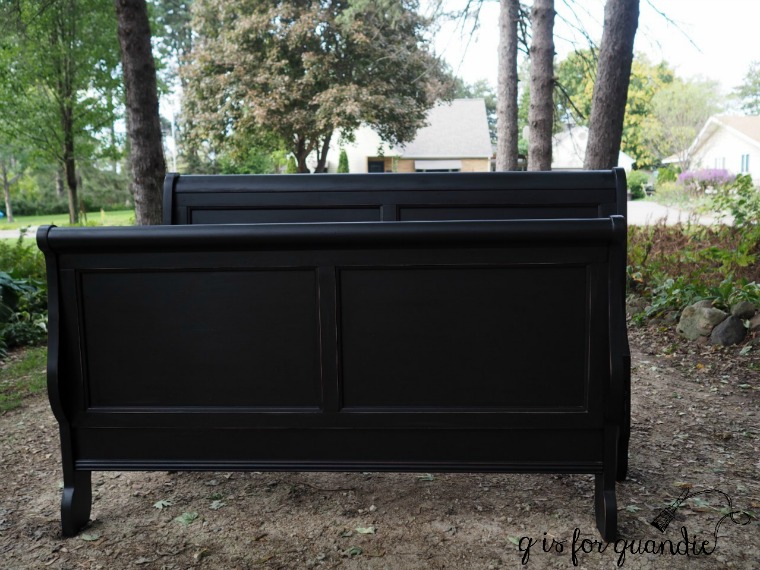
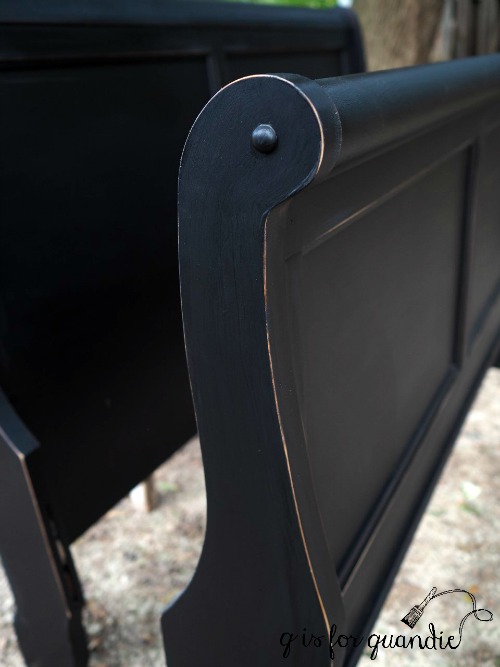
Next I sanded the edges to give the bed a distressed, pottery barn-ish look. I added a little hemp oil to the areas where distressing had revealed the wood. This serves two purposes; it darkens up the fresh wood to make it look as though it was more naturally distressed over time and it also protects the bare wood from moisture.
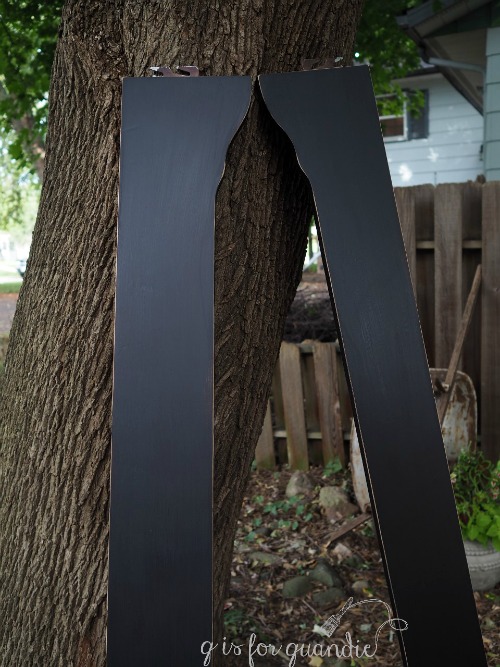
Here are those side rails I mentioned.
As an added precaution I decided to hang onto this bed for the full cure time of the Fusion paint, which is 21 days, before offering it for sale. If you aren’t familiar with the distinction, dry time is how long it takes for paint to be dry to the touch but cure time is how long it takes for the paint to reach maximum hardness and durability. I wanted this bed to reach maximum durability before someone starts to use it, and probably even more importantly before they try to load it into a truck and get it home without dinging it up.
So, that was three weeks ago. The cure time is up and this sleigh bed is ready to go. I’ll be sure to let you guys know whether or not my ‘product differentiation’ paid off.
Any of you locals need a queen sized sleigh bed in black? If so, be sure to check my ‘available for local sale’ page.