Sometimes when you have a formula that’s working really well you just have to stick with it.
This is the umpteenth toolbox that I have painted, and the 3rd one that I have specifically painted in Dixie Belle’s Drop Cloth. Each time I post one of these I have multiple people who’d like to purchase it, so I thought, why not do another?
Before I proceed with today’s post though, I want to mention that this one is already sold. I offered it to one of the people that missed out on the last one and she has already come by and picked it up. In fact, I think I am going to start keeping a list of who wants one so if you want to be on the list let me know (you can leave a comment on this post, or email me at qisforquandie@gmail.com). I am definitely going to be on the lookout for more toolboxes!
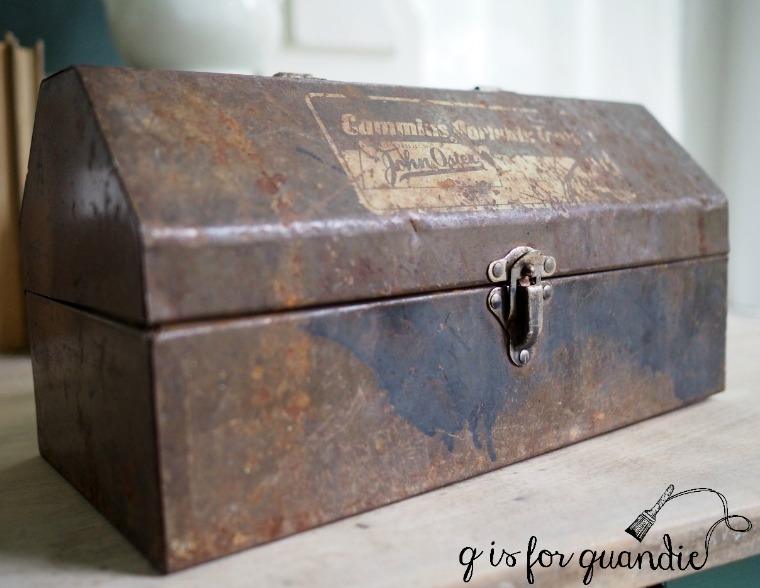
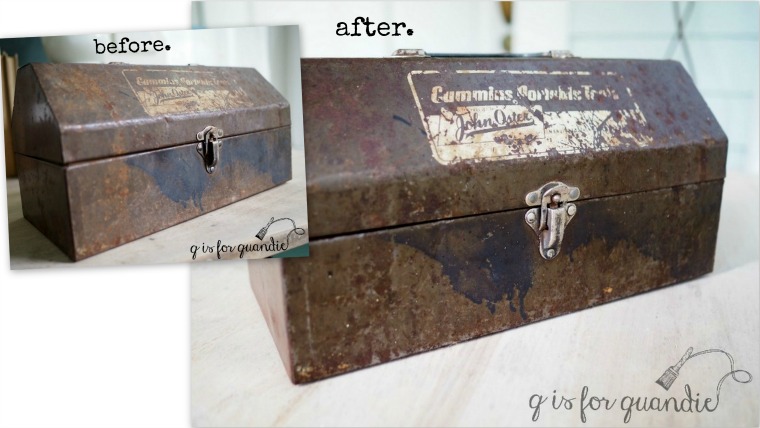
In the meantime, I popped out into the carriage house and looked around to see if I had any toolboxes left, and sure enough I did.

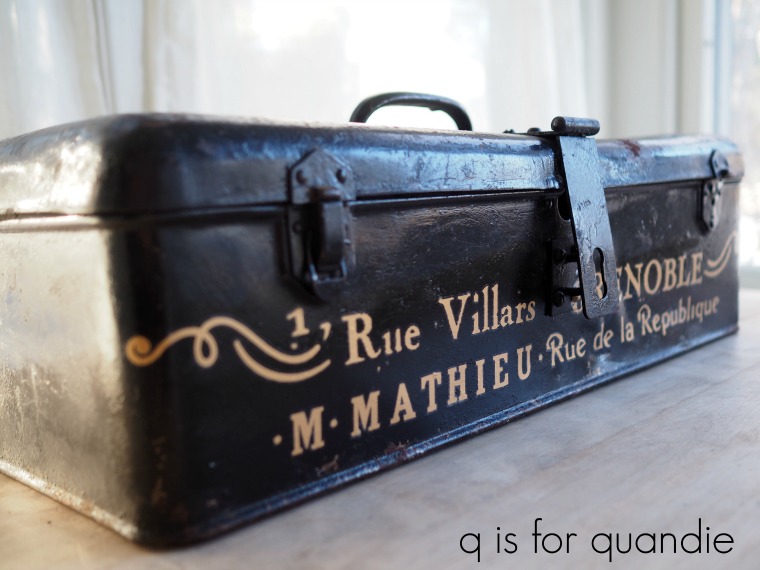
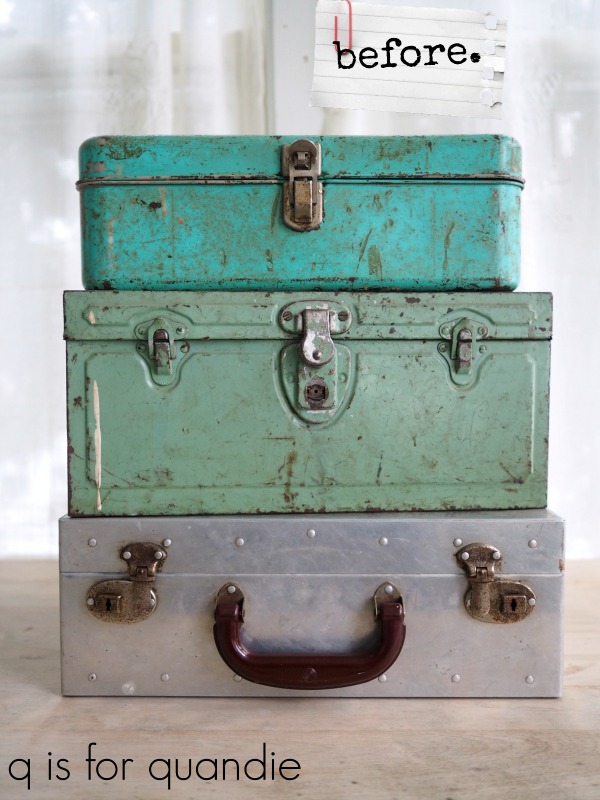
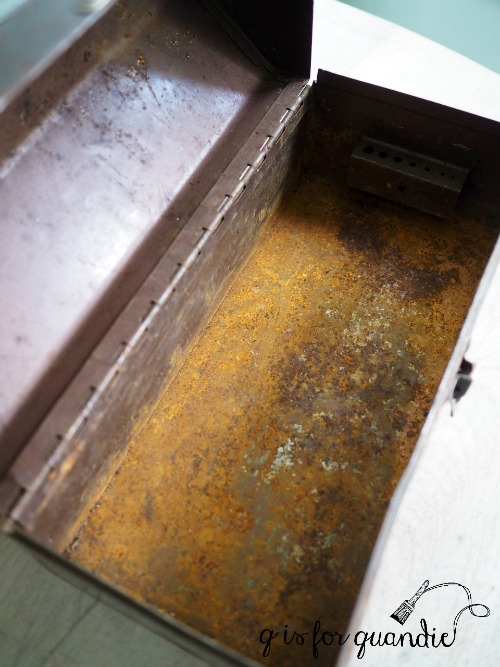
Yikes! It was in rough shape though. But then again, they have all been in pretty rough shape. I think that is part of their charm.
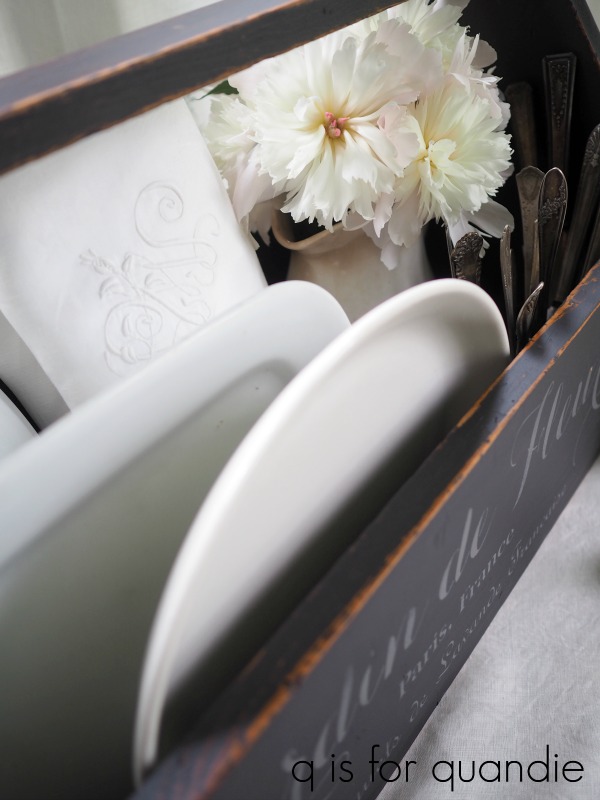
So, once again I sanded off the rough spots a bit, then scrubbed it up with Dawn dish soap, let it dry and then gave it a coat of Dixie Belle’s BOSS to seal up that rust. Although all three of the toolboxes have been painted in Drop Cloth on the outside, I’ve chosen a different color for the inside of each.
The first one was Peony.

The second one was Flamingo.

And now this one is Apricot.

I apologize that I haven’t really kept track of the names of the different decoupage tissue papers I’ve used to line them. If you really want to know, leave me a comment and I’ll look them up for you.
But in the meantime, which is your favorite color for the inside? I originally thought the Peony was perfect, but then I loved the warmer color of the Flamingo, and now I must say that I also think the Apricot is lovely.
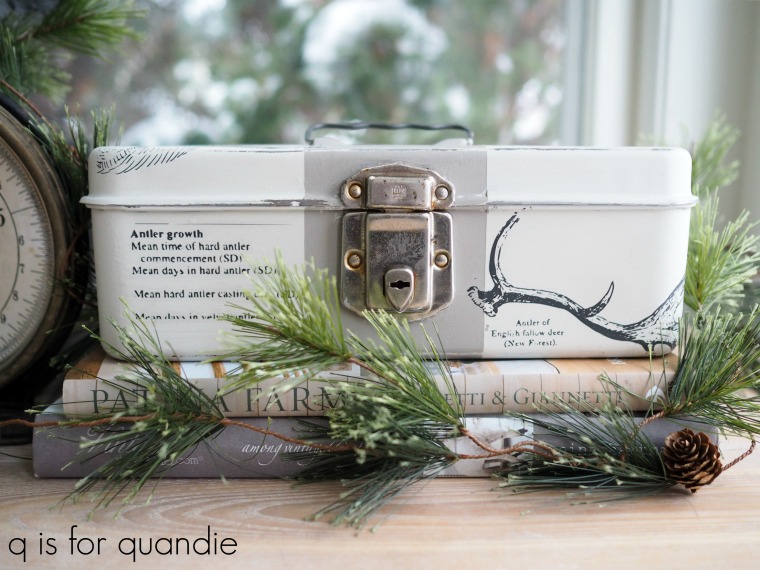
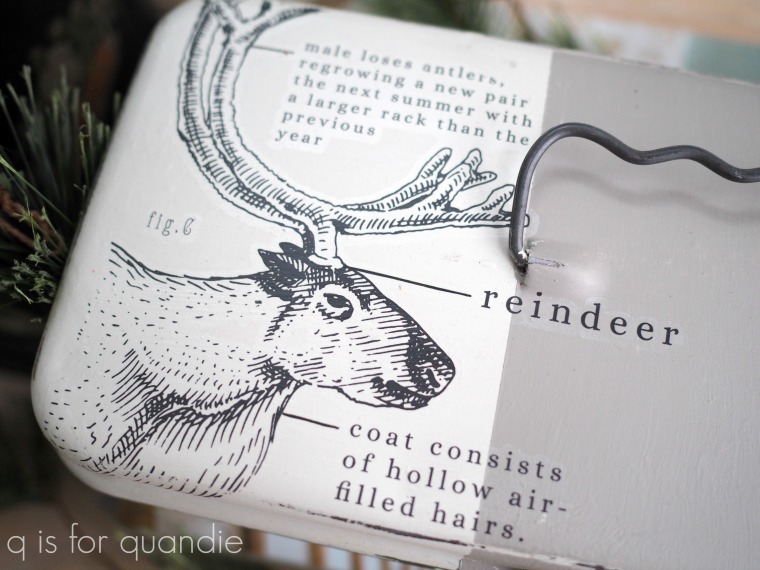
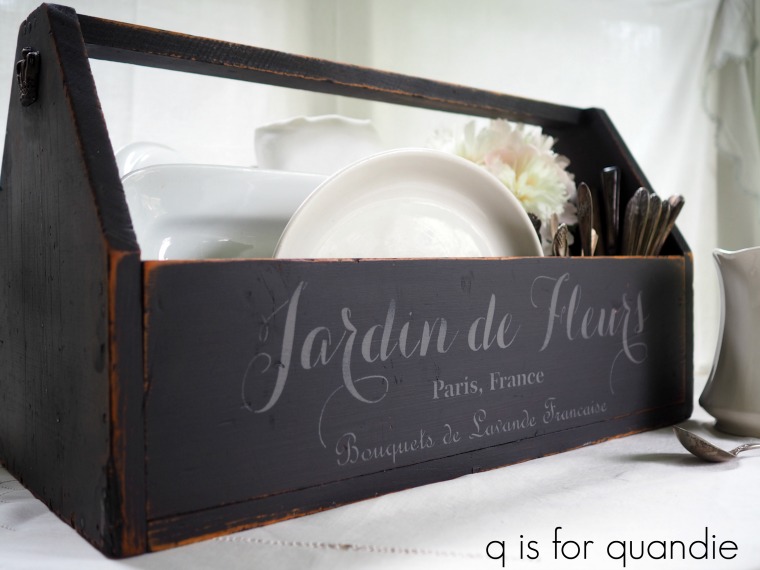
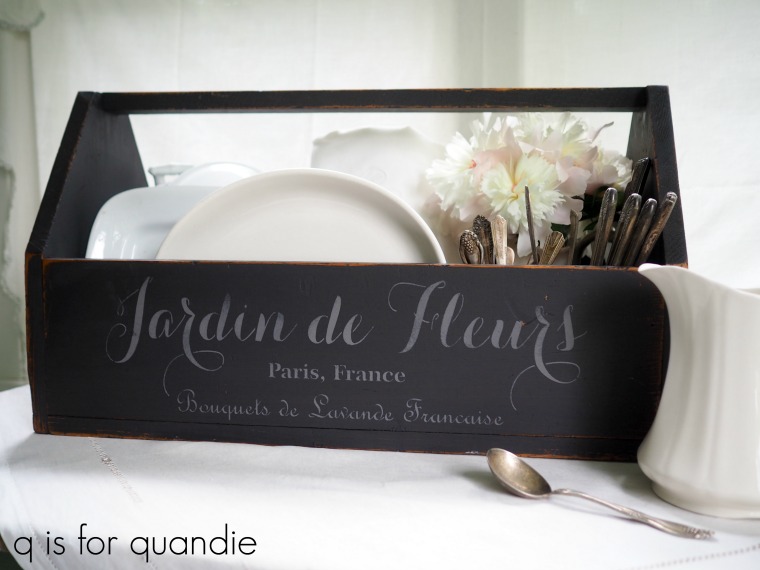
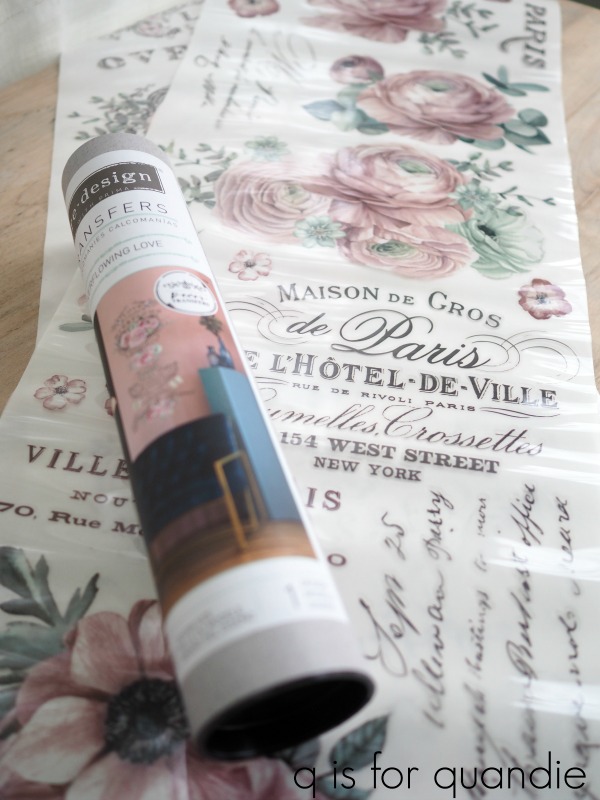
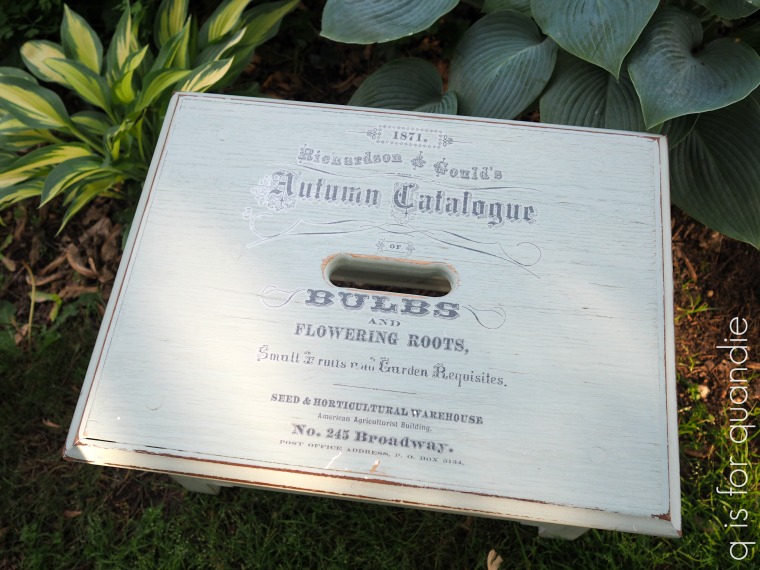
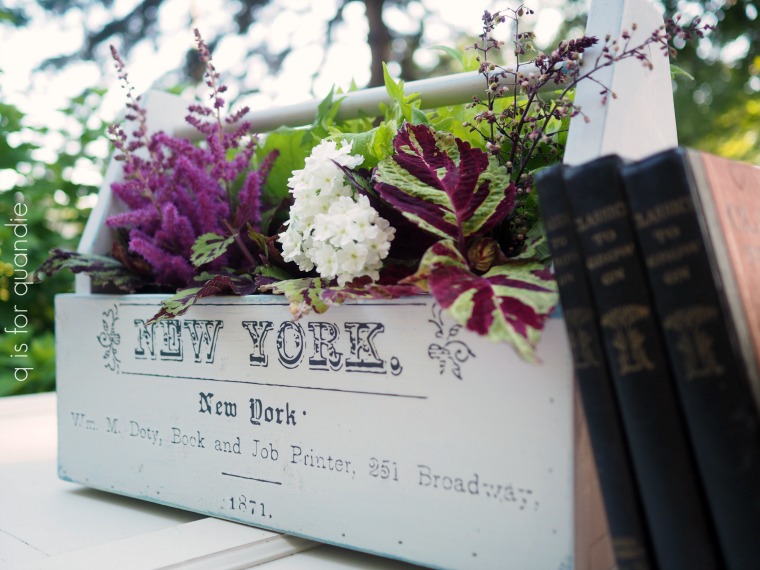
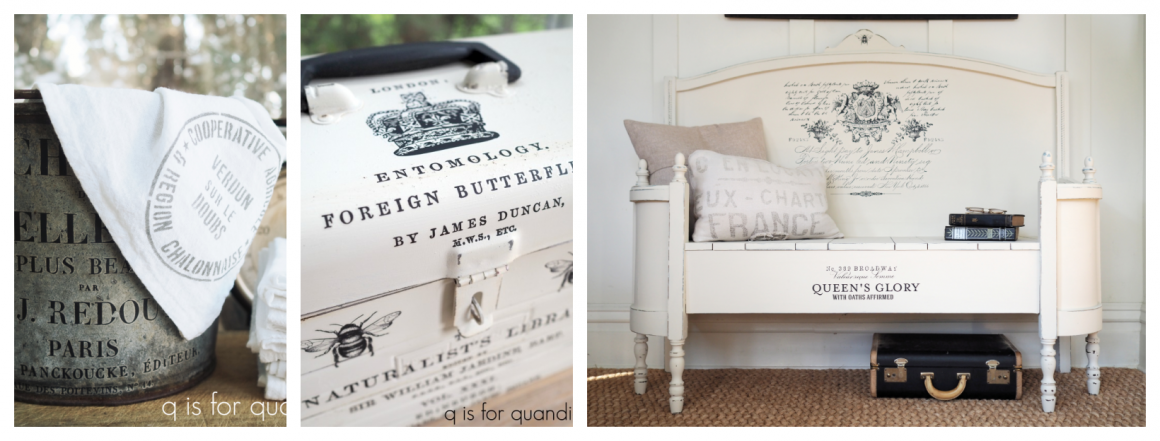
Although the outside is Drop Cloth on all three, the snippets of transfers I’ve used are slightly different on each.
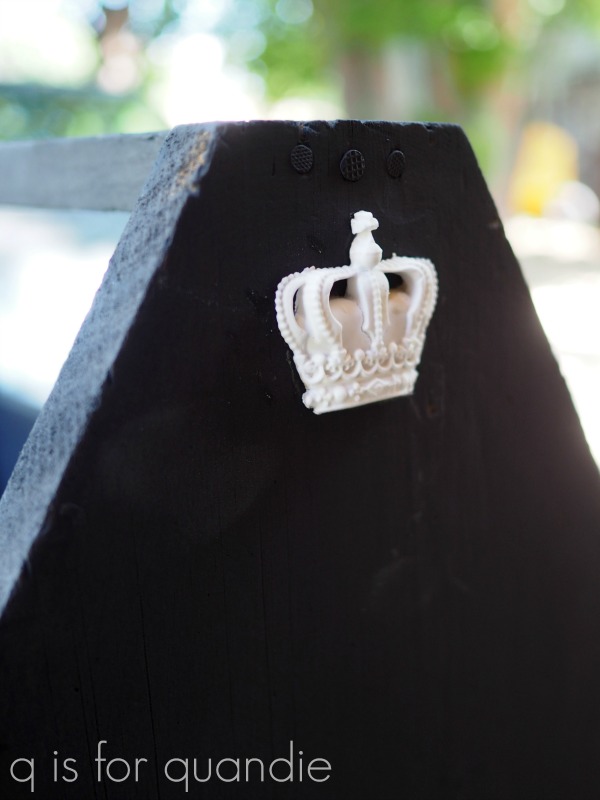
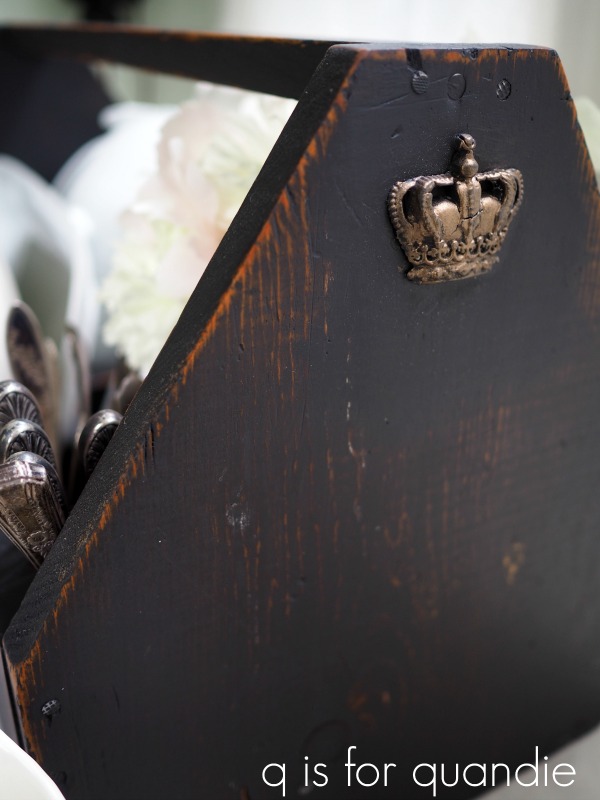
The first one had the large crown on top, and sort of naturalist themed wording.

The second one has a crest on top and the historic styles of ornament wording.
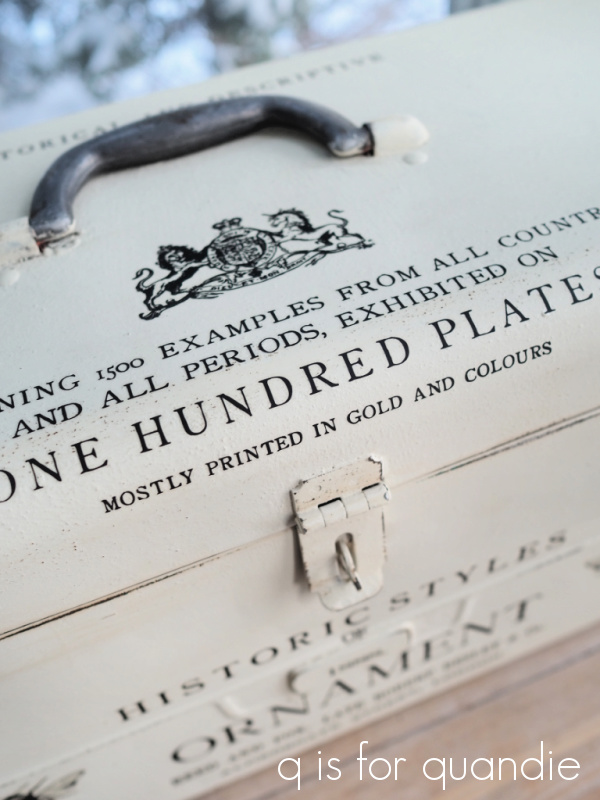
This last one is similar with the wording just moved around a bit.

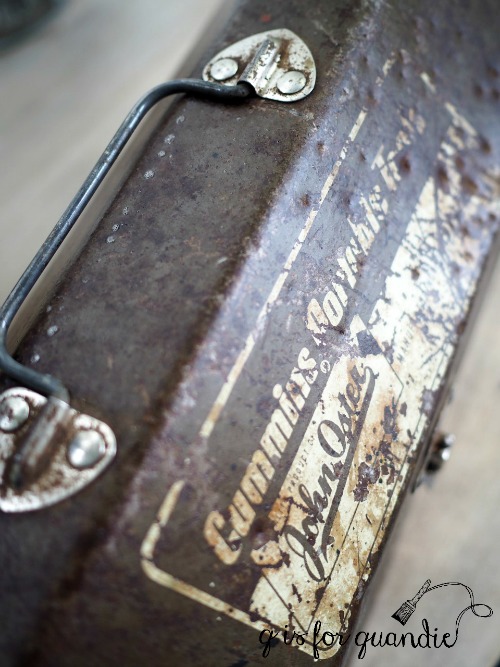
I did treat the hardware a bit differently this time around. It was quite rusted up, which isn’t necessarily a bad thing in my opinion …
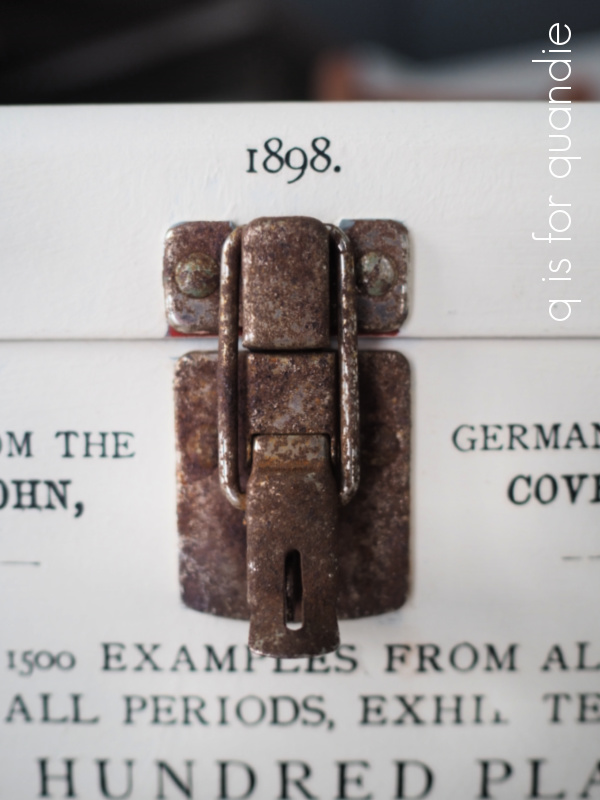
But I decided to spruce it up a bit. So I pulled out the new Gilding Waxes from Dixie Belle.
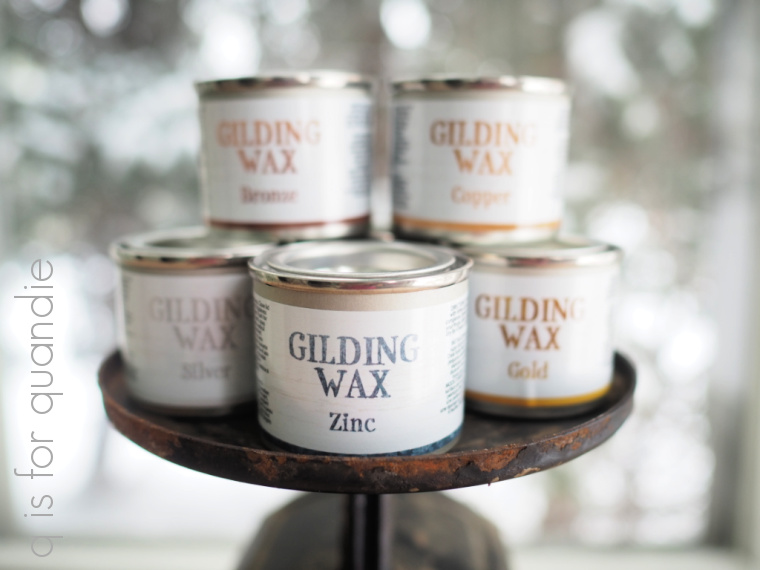
I chose the Bronze and applied it to both the latch and the handle.

I had first sanded the handle to get it a little more smooth, but I think you can see that I left the texture of the rust in place for the most part on the latch and just applied the wax over it. Once again I used a small artists brush to apply the wax because I wanted to be precise and not get any on my white paint.

After letting the wax dry overnight, I buffed it a bit to bring out some shine.

I just love working on these toolboxes, although they can be a bit putzy. There is a lot of ‘paint the outside, let it dry, paint the inside, let it dry, paint the bottom, let it dry,’ going on. Each step doesn’t take more than 5 minutes, but there is a lot of drying time in between. They are great projects for those of us who have day jobs because each evening after work you can add a coat of something and by Saturday you are ready to add transfers!

And that’s the really fun part. I cut them up and place them where I think they look best, and sometimes I keep adding more here and there until I have a look that I like.
Here’s hoping I find a few more toolboxes to paint at garage sales this summer!