

Before getting on with today’s post, I want to express my very heartfelt thanks to all of you for your congratulatory comments on my retirement post. I can’t tell you how much it means to me to have such a supportive group of blog followers.
Quite honestly, having this blog is one of the factors that made it easy for me to make the decision to retire. I’m so excited about moving forward and having more time to devote to bigger and better projects on q is for quandie!
But for today, I’m just sharing a simple chair makeover. I purchased this pair of chairs at a garage sale last summer.

If you’ll remember, I painted up one of them with a Halloween theme back in October …
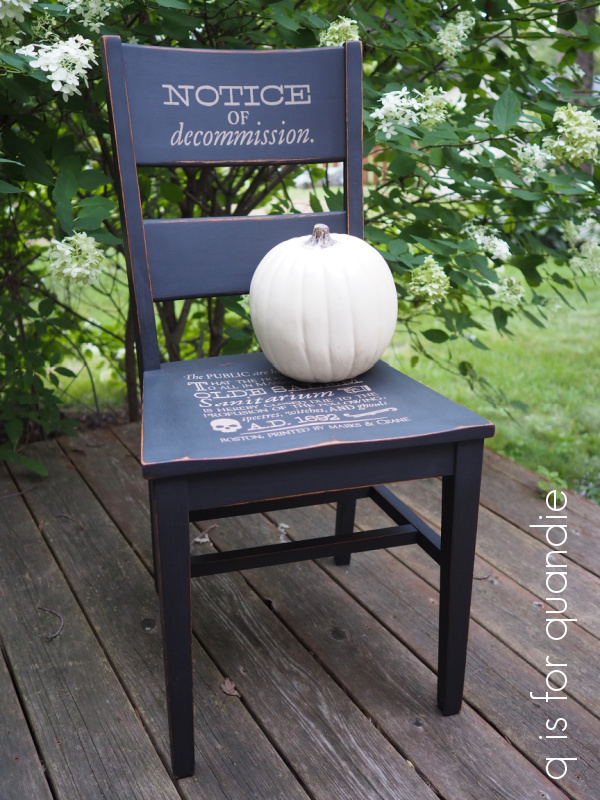
It was the perfect canvas for stenciling.
At the time, I purposely kept the 2nd chair knowing that I wanted to give it a Christmas look. I’d recently been at a planning meeting for the vendors at Reclaiming Beautiful and they had mentioned wanting Christmas items with a Scandinavian look. I remembered the small chair I painted back in 2019, I thought it had a bit of a Scandi look at the time.
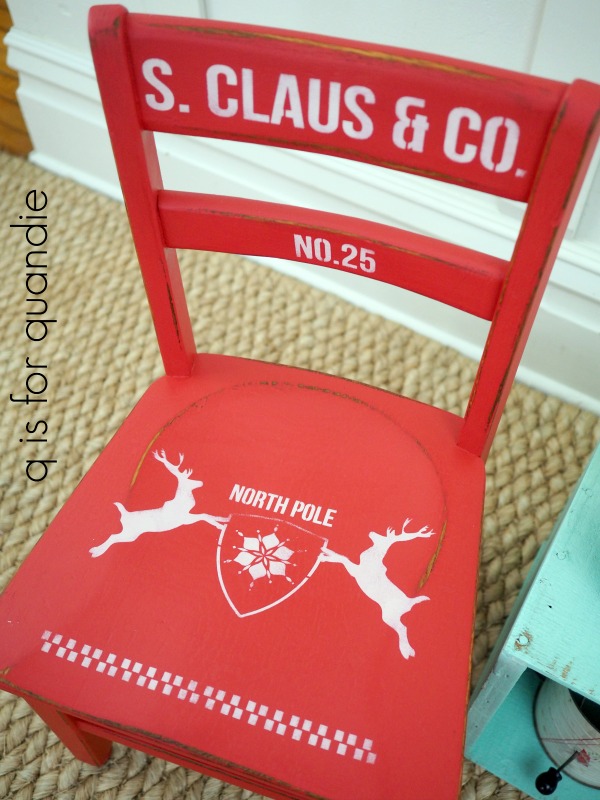
So I decided to do something similar with this larger chair.
But before I got Dixie Belle’s Honky Tonk Red out of the cupboard, I first gave the chair a coat of their B.O.S.S. in gray. I’d read somewhere that a base coat of gray will make it easier to get good coverage with red. If you’ve ever painted anything red, you’ll know that it often takes 3 or more coats to get good coverage. So I thought I’d give that a shot. After one coat of the gray B.O.S.S., I did get great coverage with the Honky Tonk Red, although I did still need two coats.

I think going forward I’d also use the gray B.O.S.S. under Dixie Belle’s Flamingo. I found that it took 4 coats to get good coverage with that color on a dresser a while back and I bet I could have saved myself some effort, and some paint, had I used the gray base coat.
After the Honky Tonk Red was dry, I sanded the chair down, focusing on the edges for a distressed look.

Here’s an important q tip regarding stenciling with white paint (in this case it’s Dixie Belle’s Fluff) over red. Do not plan to sand much after adding the white. Your sandpaper will drag the red sanding dust into your white stenciling, and that’s not a good look. That’s why I did most of my sanding before moving on to the stenciling. After stenciling I used a very light hand and 220 grit paper to sand the white just ever so carefully to smooth it out a bit.
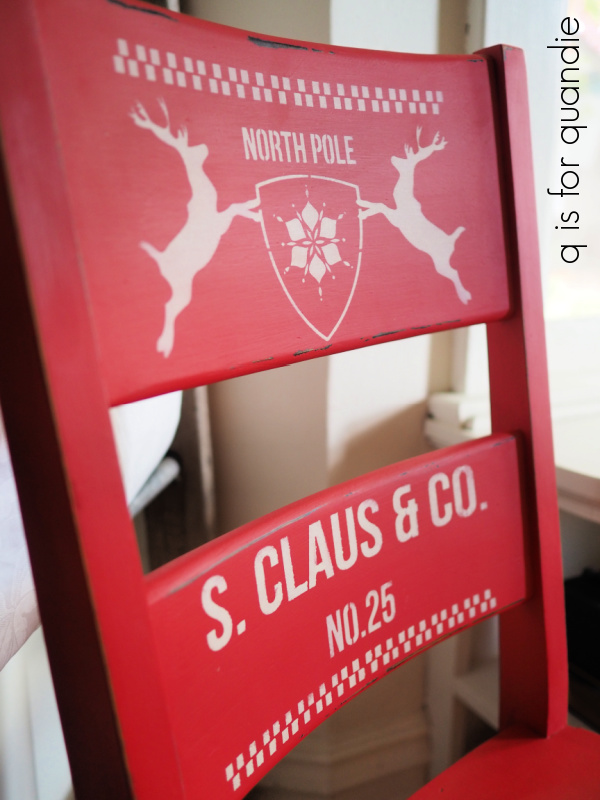
I used portions of a couple of different stencils on the chair. On the chair back, I used the Santa Claus and Co Feedsack stencil from Maison de Stencils.
Next up I added the Sleigh Rides stencil from Wallcutz to the seat.
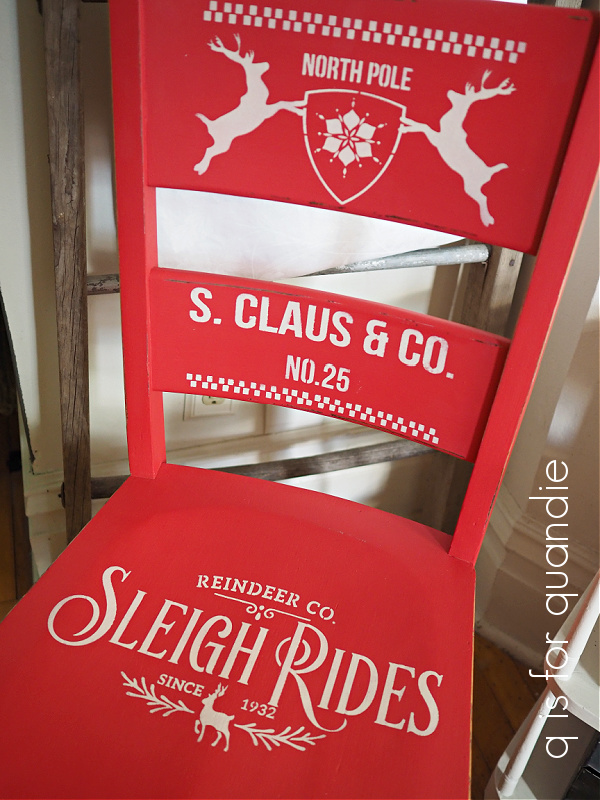
I followed all of that up with a top coat of clear wax.
It doesn’t get more festive than that!
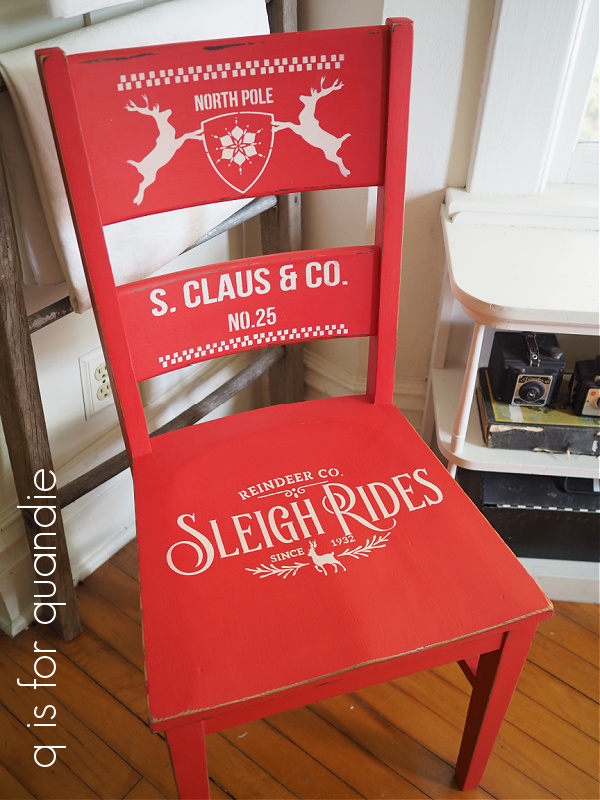
I love the graphic punch of the white on red.
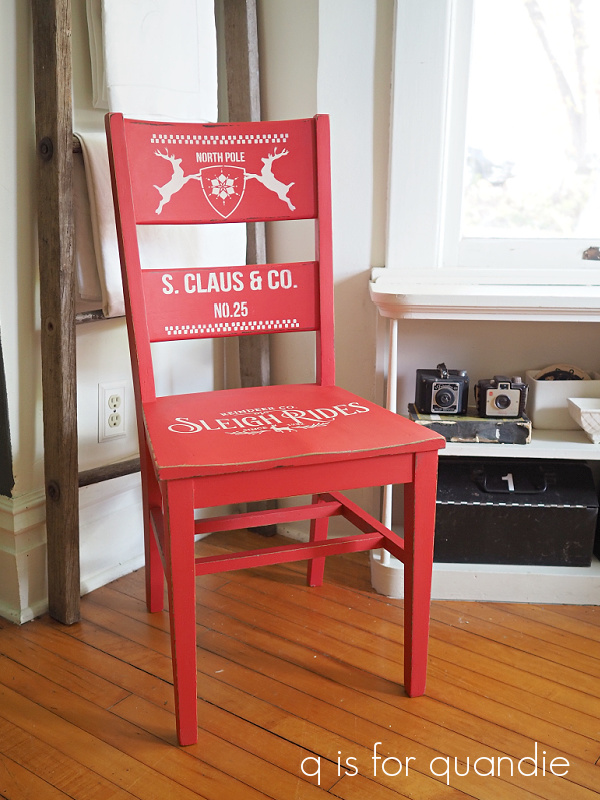
Wouldn’t a chair like this be cute placed in your foyer to greet Christmas guests? Or maybe just tucked next to the Christmas tree. I can also see it being used in the guest room as a substitute bedside table, how fun for your holiday houseguests!
This chair is one of the items that I took into Reclaiming Beautiful before I left for Florida, and it has already sold! I usually find that red items aren’t quick sellers, with the exception of Christmas items.
So which is your favorite?
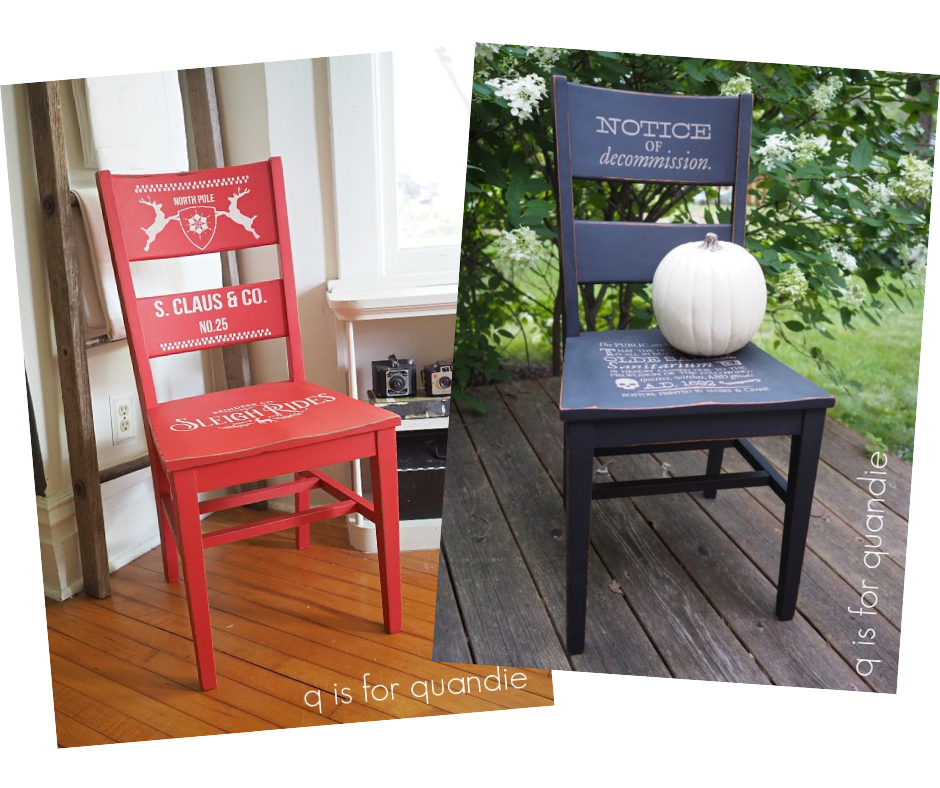
Christmas red or Halloween black?




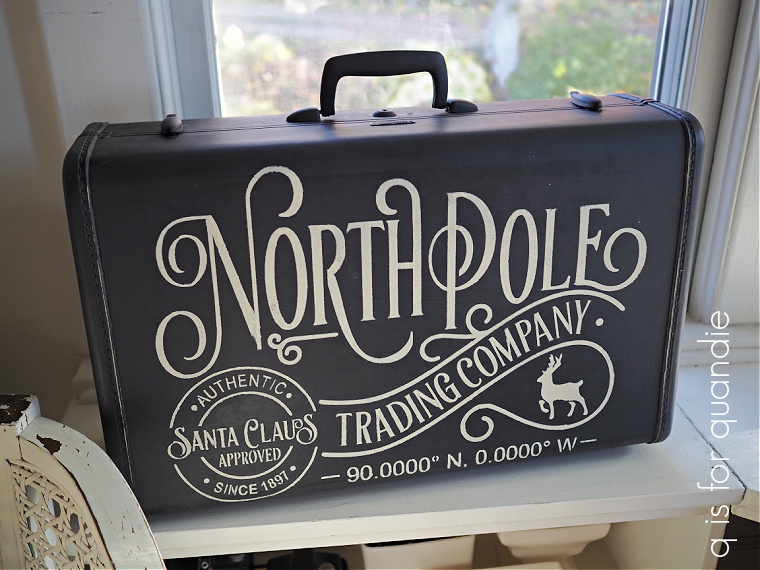











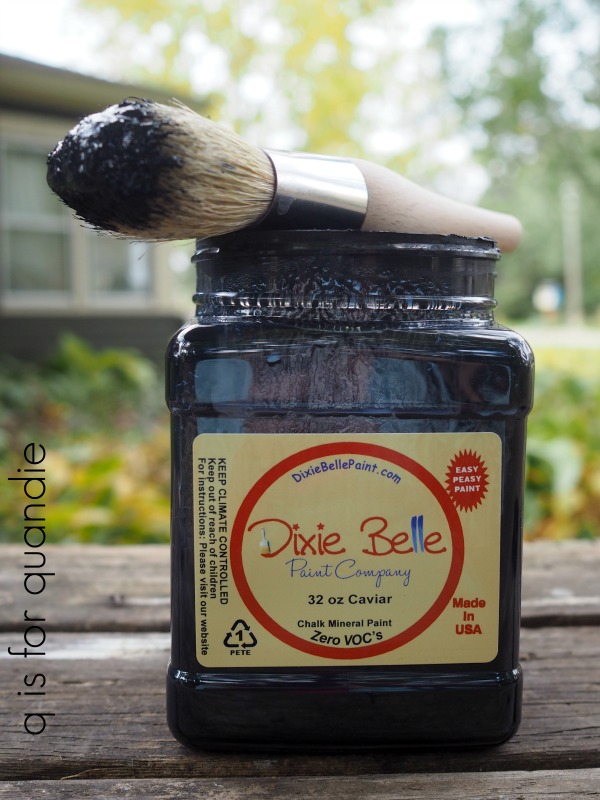





 I ordered it thinking it was black. Even looking at it in the jar, you won’t immediately realize that it isn’t. Now don’t get me wrong, I love the color. It was perfect on



















 q is for quandie