The craziest thing happened last week when I went to pick up some furniture I was purchasing via Facebook Marketplace.
When Mr. Q and I arrived at the seller’s home I was mainly focused on taking a look at the pieces I was planning to buy. The seller led us back to the bedroom and I looked over the set, which included a gorgeous spoon carved bed, washstand and dresser. I checked the pieces over, handed the seller my cash, and then Mr. Q and I each grabbed an end of the headboard and headed back out to our van.
It wasn’t until we were almost out the door that I looked over, and what did I see?

Yep, that bench! I swear my brain took a couple of seconds to register what I was looking at. It was kind of surreal seeing a piece of my furniture in an expected place. Then I thought, ‘no wonder this woman seems familiar!’ I’d sold her this bench last summer.
How crazy! What are the chances? Sometimes it really is just a small world.
I was happy to hear that she still loves the bench, she gets tons of compliments on it and all of her friends want to know where she got it.
The rest of the story is that after I got over my amazement at seeing one of my own pieces, Mr. Q and I finished hauling the headboard out to our van only to find that it wouldn’t fit. It was just a couple of inches too big. Argh. So we hauled it back into the seller’s house and made arrangements to come back another day with a truck to get the headboard. We were able to load up the washstand, dresser and foot board though.
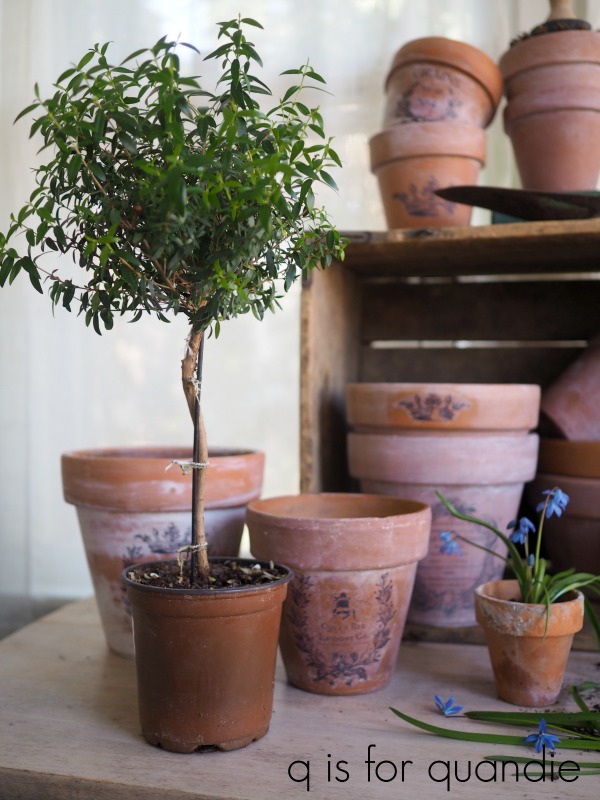
All of this by way of saying that I never got an opportunity to take a ‘before’ photo of the complete set, but here is the first piece I worked on …

I love these washstand sized pieces, they are perfect to use as a bedside table, and the spoon carving on this one is totally charming. See how each bunch of flowers has one stem that is broken? That’s why I’m calling this the broken flower washstand.
I did my usual prep, a light sanding followed by a good cleaning. As soon as I touched the sandpaper to this finish I could see that it was very old and dried out. Sometimes when you start sanding an old finish like this it simply turns to dust at the lightest touch.
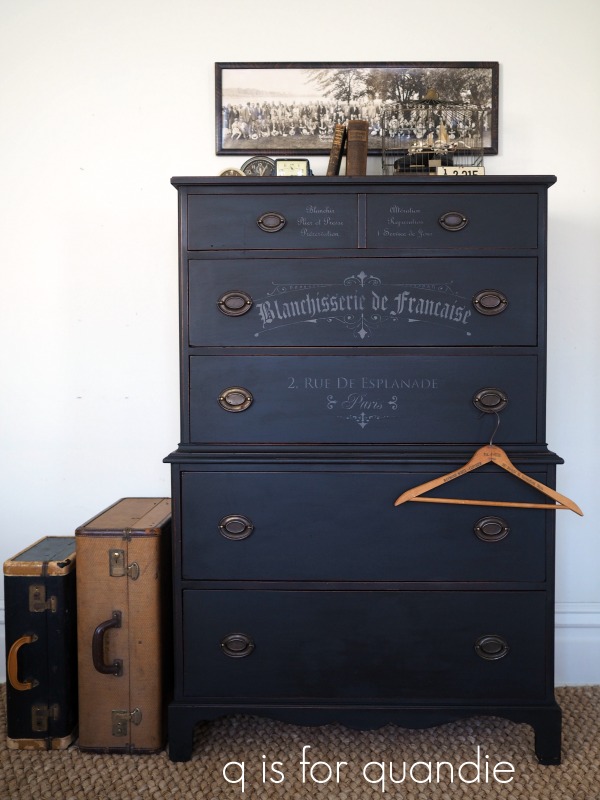
Although I immediately knew I wanted to use milk paint on this piece, I debated the color. I really wanted to try a gorgeous custom mixed color that Jane Dawson recently shared on the Move Mountains with Miss Mustard Seed’s Milkpaint Facebook page. Part of me felt like I should stick with a more neutral color that would help the piece sell faster though.
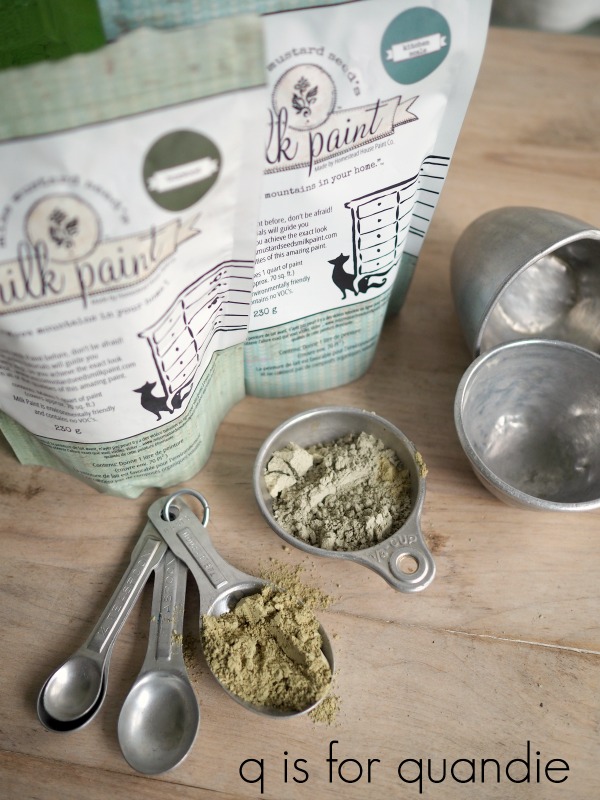
But I threw caution to the wind and used Jane’s recipe, 1/3 Boxwood to 2/3 Kitchen Scale.

As is often the case, the color looks entirely different on my piece than it did on Jane’s piece. I think there are a few reasons for that. For one thing, the beginning color of my piece was probably a bit different. Second, I waxed my piece and Jane used a poly top coat on her piece. Different topcoats can really change the color of milk paint. And finally, as per the MMS website, there can be as much as a 15% variation in the color of milk paint from one batch to the next. If you are expecting to get exactly the same look every time with a particular color you might be surprised by this, so fair warning.

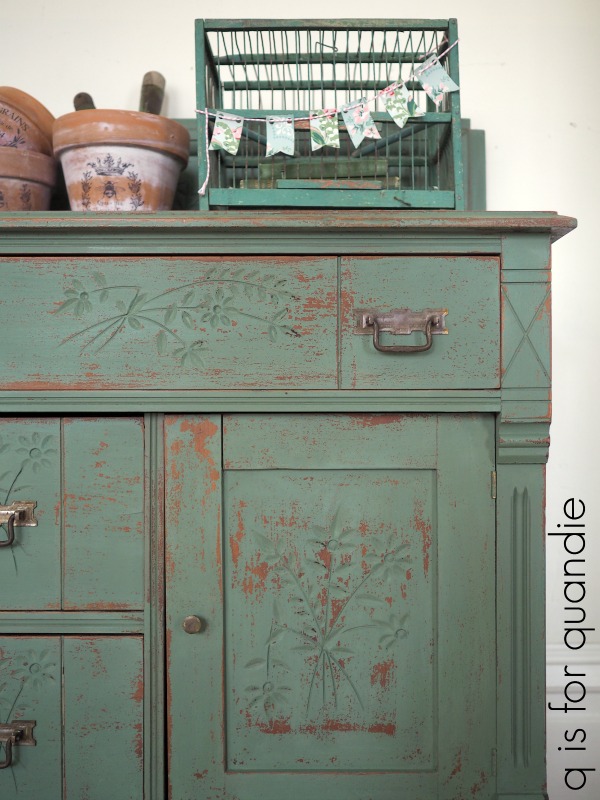
In the end, even though this wasn’t exactly the color I was going for, I think my piece turned out beautifully. I got just the right amount of chipping. Not too much, not too little.
I had mixed up 1/4 c of Boxwood, 1/2 c of Kitchen Scale and 3/4 c of water to make my paint. In case you’re wondering approximately how far 1.5 cups of mixed milk paint will go, I did two coats on this piece and had about 1/3 c of mixed paint left over.
I painted this bucket with some of the extra paint and then added a transfer from the Prima Marketing Everyday Farmhouse set.
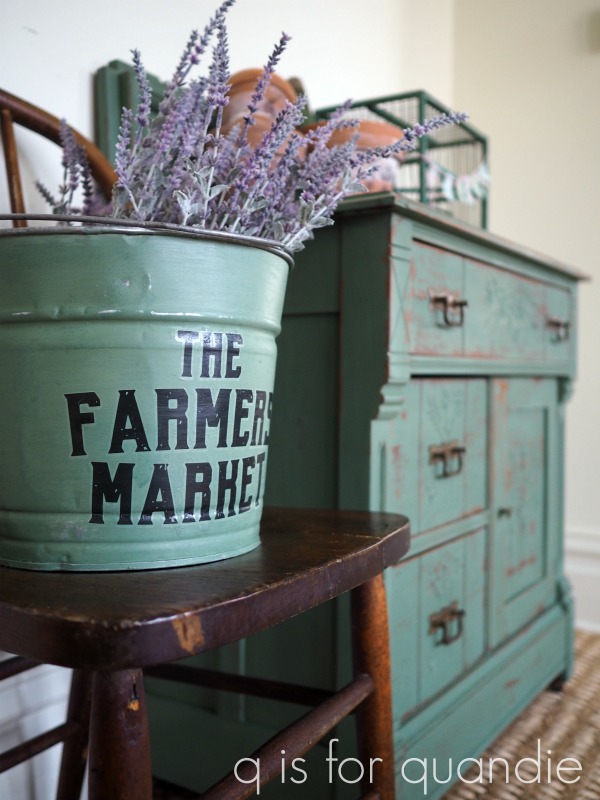
There is a city near me that has a Trash to Treasure clean up each spring. Residents put anything they want to get rid of at the curb and people can drive around and snatch things up. This year it was slim pickings, but I did get both the bucket and the chair that it’s sitting on.

I love the sort of scalloped edge on the piece at the back of the washstand.

I always end up calling that piece a ‘back splash’ although I don’t know if that’s the right name for it. I suppose since this was originally a washstand with a bowl and pitcher for washing on it, maybe back splash is the right name.
All three of the pieces in this set have the most fabulous metal casters.

I scrubbed the drawer pulls with soap and a toothbrush to clean them up a bit and then put them back on.

I didn’t polish them with metal cleaner because I wanted to retain that aged patina.
I lined drawers of the washstand with some really pretty wrapping paper that I picked up last year at a shop in St. Paul.

I forgot to mention that I finished this piece with Miss Mustard Seed’s clear furniture wax. The thing about spoon carving is that it tends to create drips. Paint or a more liquid topcoat like the MMS Tough Coat pools in the carved areas and then drips down after you’ve walked away. Since I struggle with drips anyway, I decided wax was a better bet for me on this piece.
So. There you have it. The broken flower washstand painted in a color I think I’ll call Dawson Green. Or should it be Dawson Blue? What do you think?

Thank you to Miss Mustard Seed’s Milk Paint for providing the paint and wax, and to Prima Marketing for providing the transfer for the bucket.
If you’re wondering where to purchase the Prima Marketing re.design Everyday Farmhouse transfers, check out their ‘where to buy’ page.
If you’re wondering where to buy Miss Mustard Seed’s Milk Paint or wax, here is where you can ‘buy online.’
And finally, if you happen to be local (Twin Cities, MN) and in need of a unique bedside table, check out my ‘available for local sale’ page to see if this one is still available.