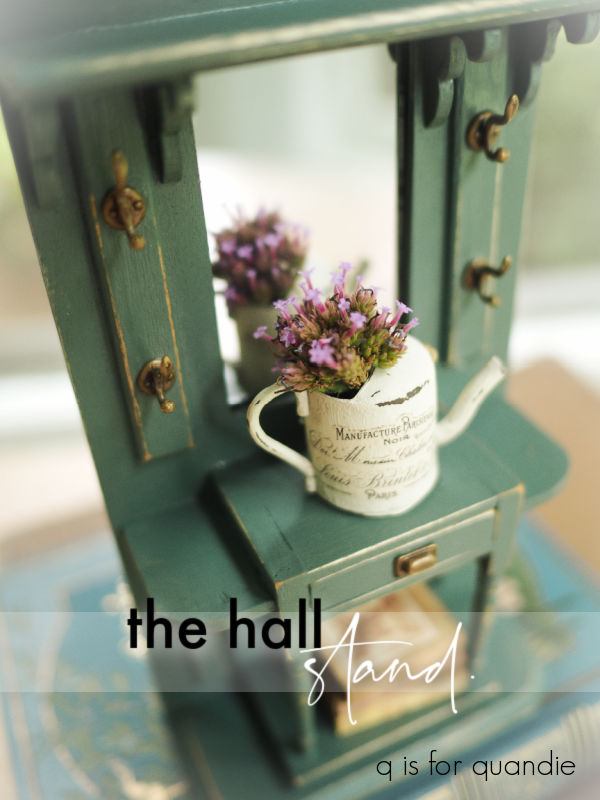
I’ve got another miniature project for you guys today, this hall stand …
I purchased this a while back from Miniature Crush, but wouldn’t you know it, when I went to look for a link for you guys I couldn’t find one. I don’t know if they are sold out, or just no longer carrying this piece. There are quite a few identical and/or similar items available on Etsy though.
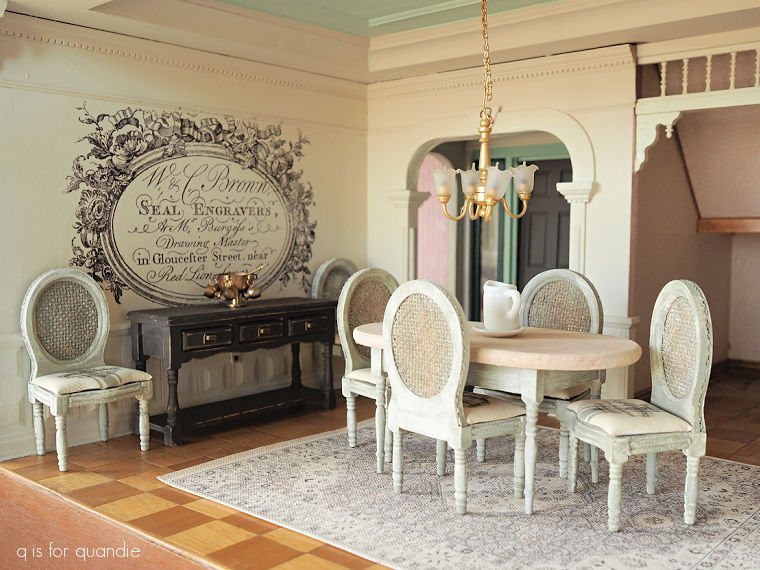
I bought this one intending to use it in the foyer of my Victorian dollhouse.
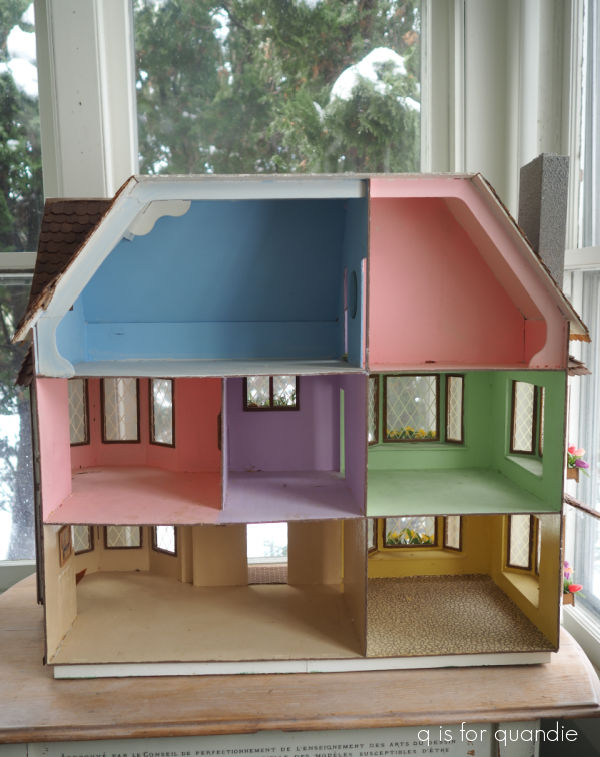
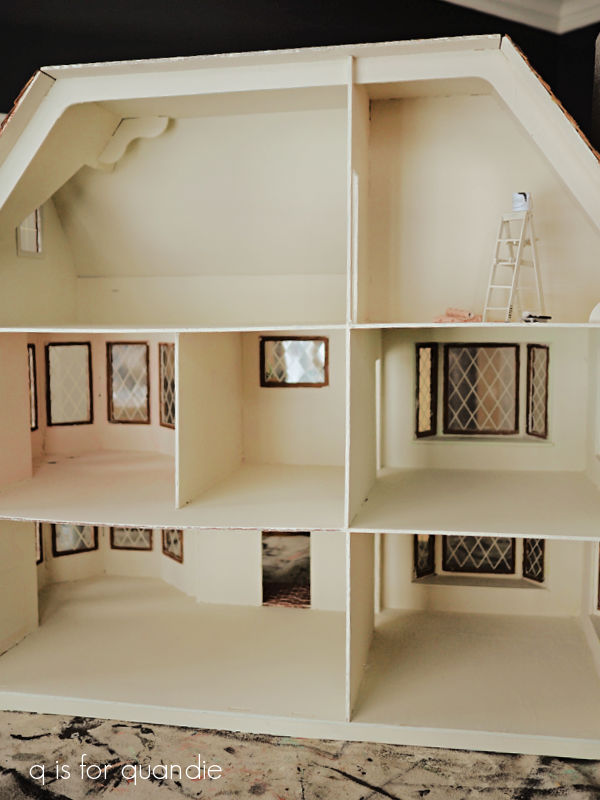
 For those of you who may be new, this is a dollhouse that my dad made for me back in the early 90’s. I had actually given it away to my in-laws (not sure what I was thinking!) about 10 years ago, but after I retired, I decided I wanted it back. Luckily they hadn’t gotten rid of it themselves, and they also hadn’t done much with it. Not so luckily, they had emptied out the contents and now don’t know where they put them. So I was starting over with furnishings.
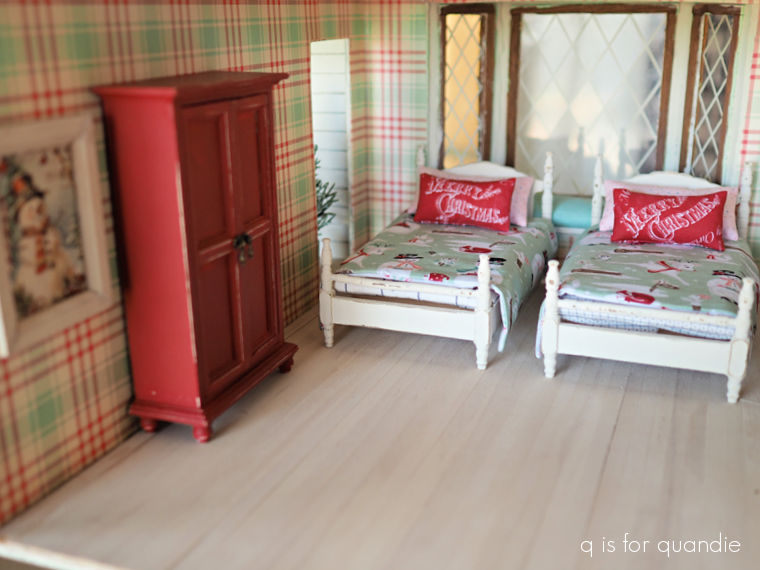
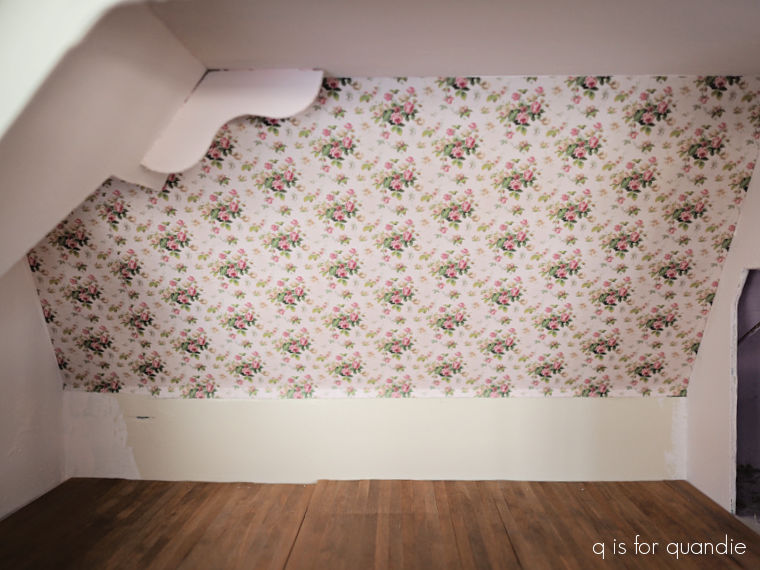
I did have a hall stand in the foyer originally …

so I decided to replace it with something similar.
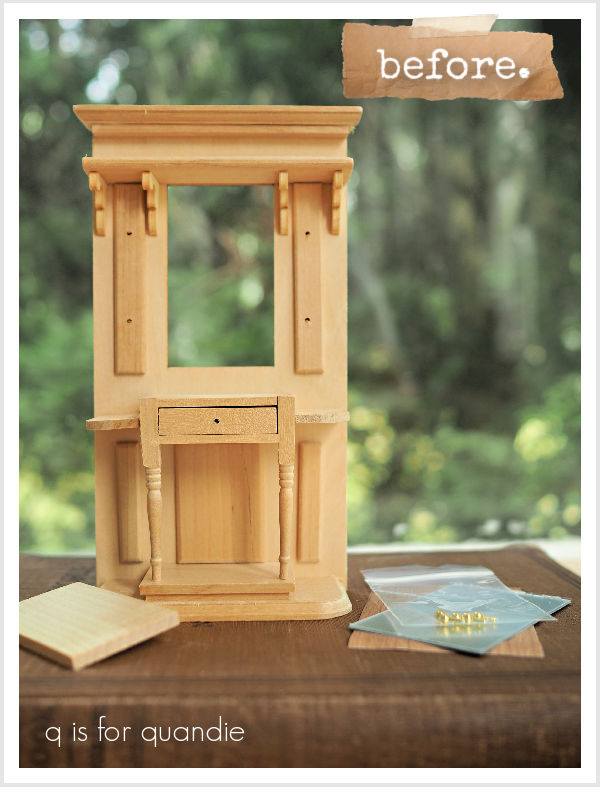
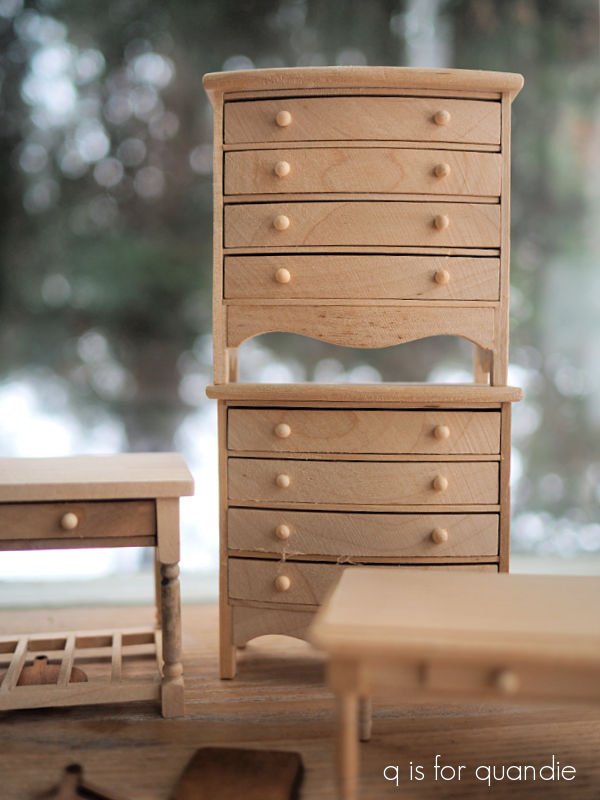
The unfinished hall stand came with some very uninspired hardware.
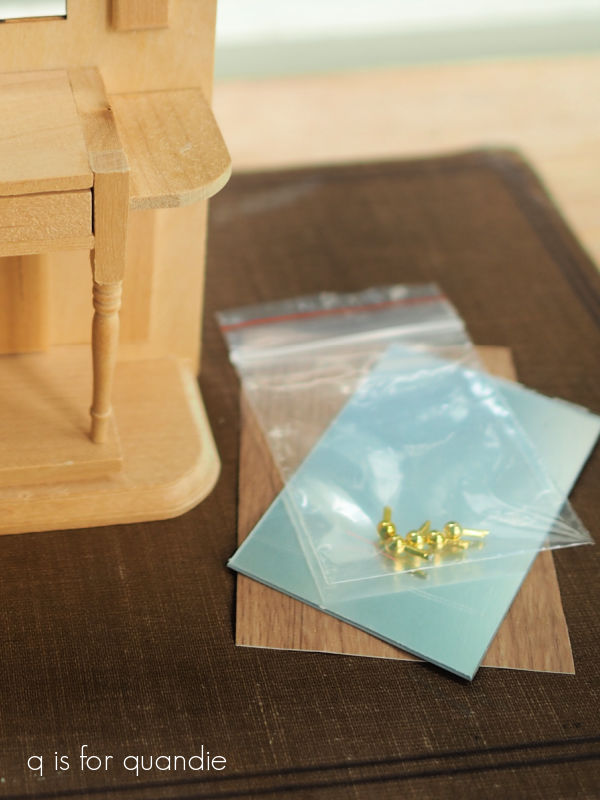
Just a set of 5 ‘gold’ knobs to use both on the drawer and as the hooks on either side of the mirror.
So my first job was to find better options. Luckily I already had a decent antique bronze drawer pull, but I needed to find hooks. I ended with with a set of 4 antique bronze coat hooks from Colonial Miniatures via Etsy.
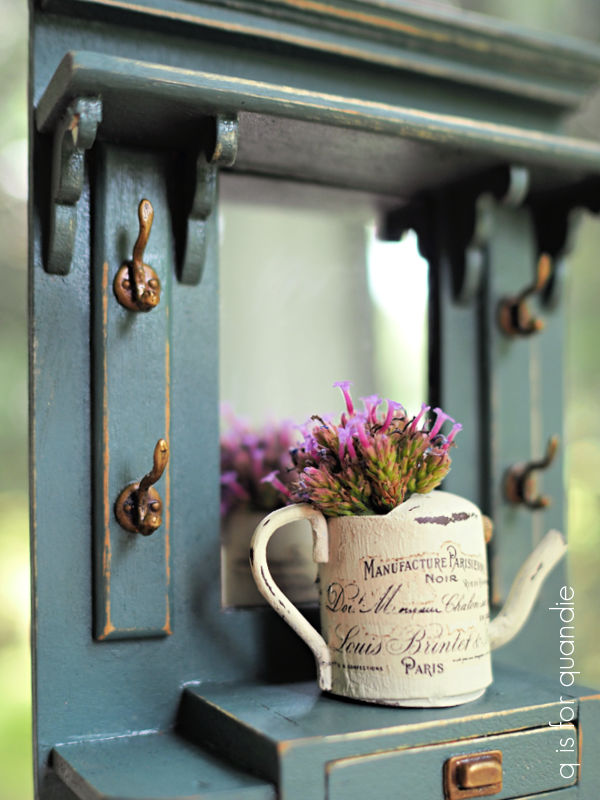
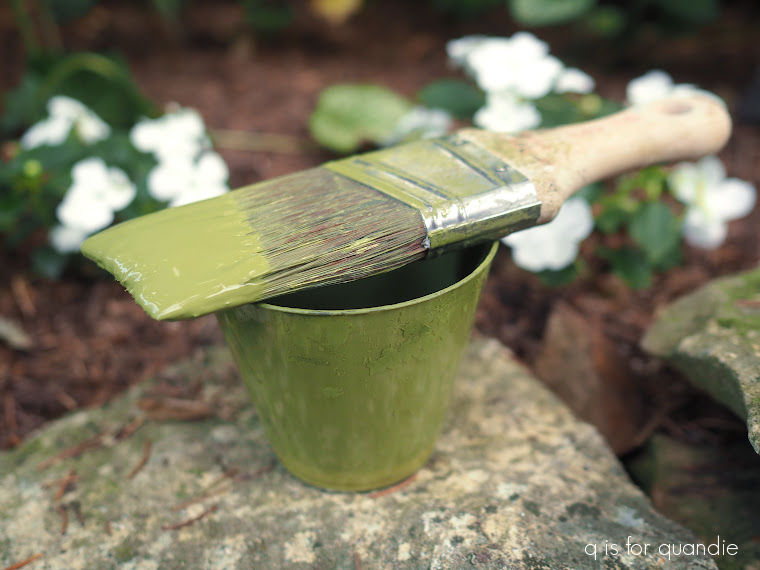
While I waited for them to arrive, I painted up the hall stand using Dixie Belle’s Blue Grass. I sanded the finish to give it some age, and then I glued the hooks in place with super glue.

Your q tip for today; always glue things in place before adding a wax or oil topcoat.
You guys, these hooks were really bendy, and somehow I didn’t expect that. When I started applying a finishing coat of Dixie Belle’s Big Mama’s Butta, I noticed that I had bent them totally out of whack. Fortunately, I was able to bend them back without breaking them. I did have to hold my breath for a minute there though. So if you end up purchasing these exact hooks, just use caution when manipulating them.
I’m sorry, I don’t remember precisely where the drawer pull came from.

But it paired beautifully with the coat hooks.
I styled the photos for this post using one of the watering cans that I painted up last year.
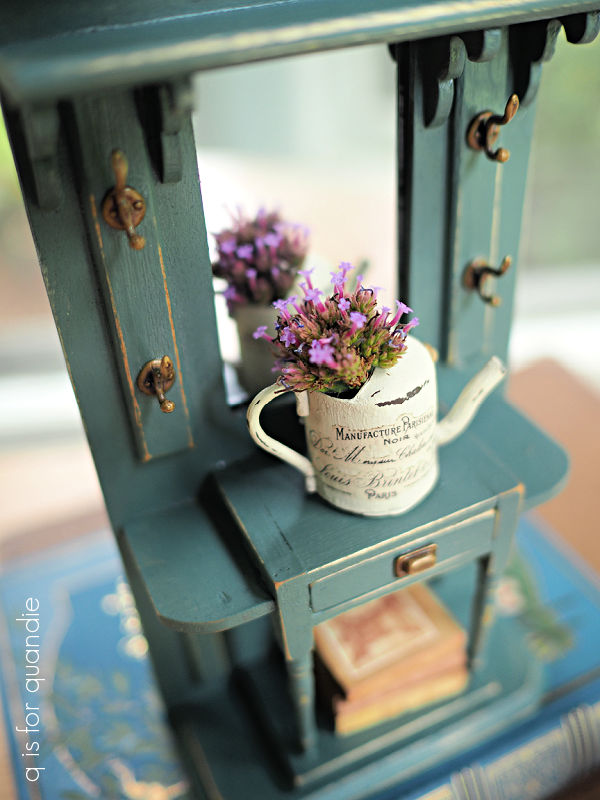
I filled the can with a single flower bud from my verbena bonariensis.

which worked perfectly as an entire miniature flower arrangement.
I’m quite happy with how my hall stand turned out.

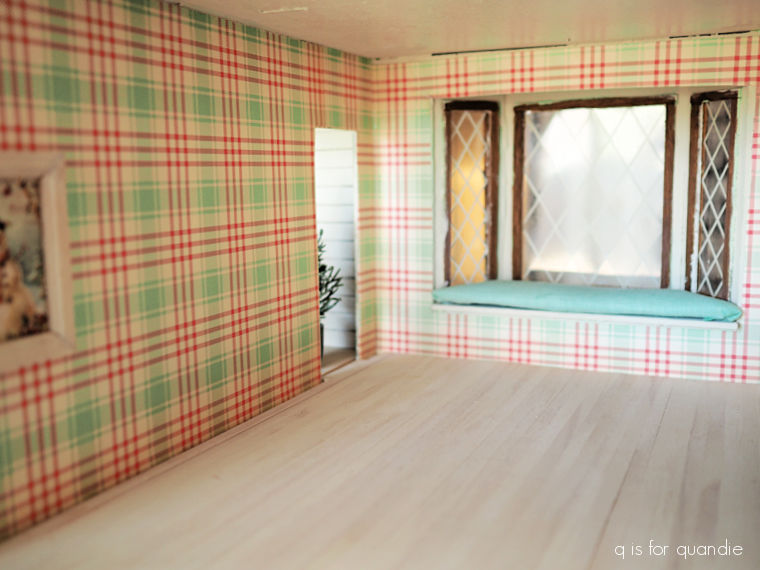
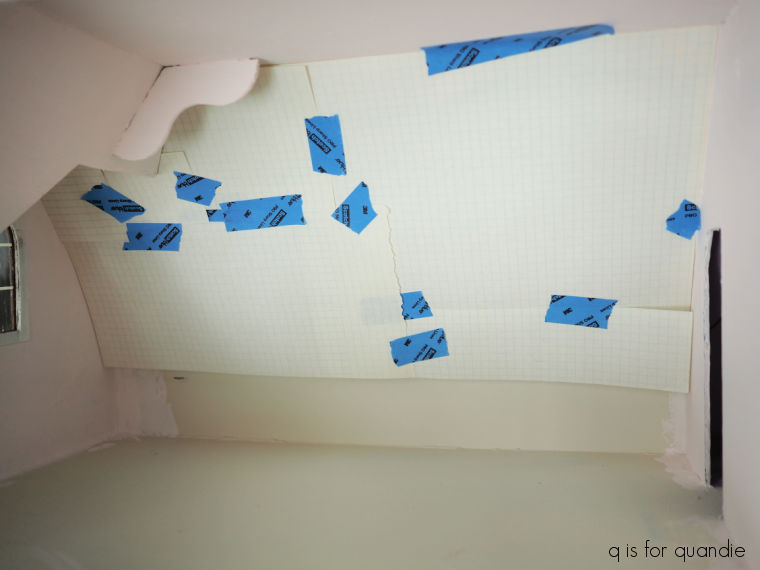
It’s a bit tricky to get a photo of it in place.
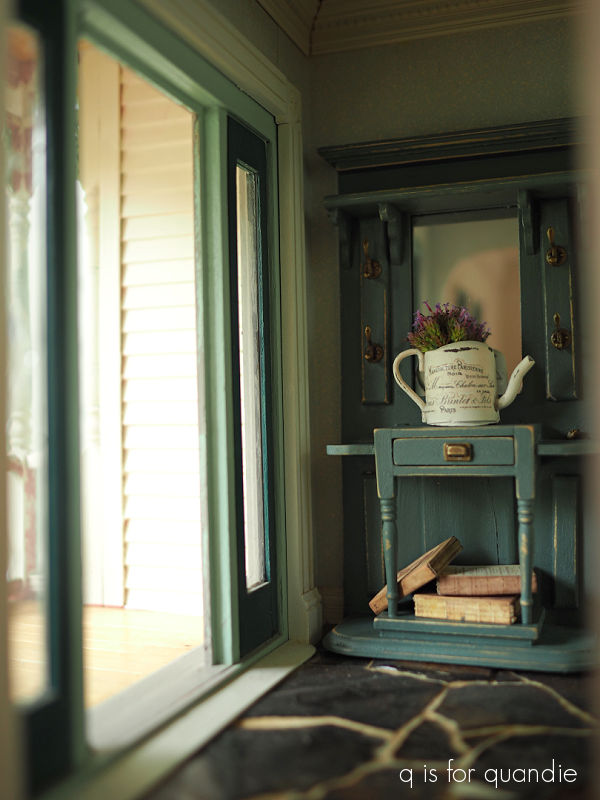
And it’s going to be even trickier to get my hand and a paint brush inside that foyer to re-paint the trim.
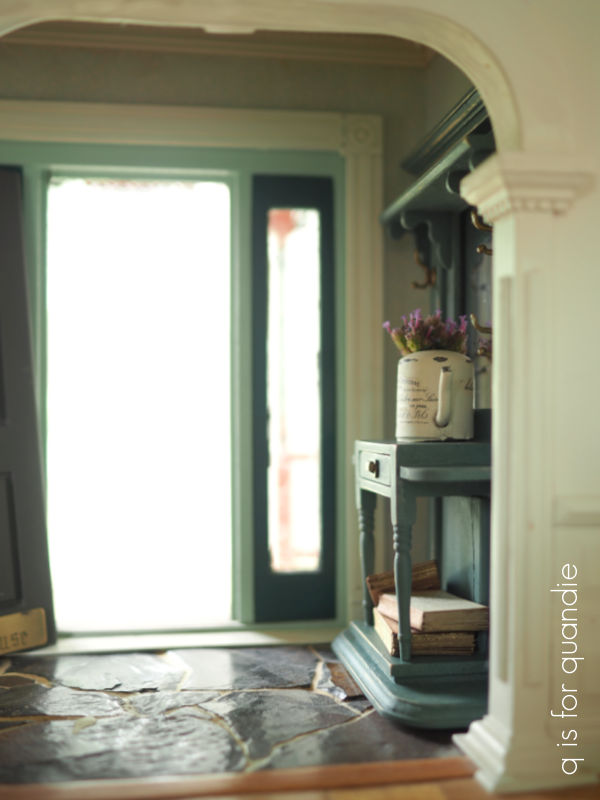
That seafoam green has got to go though, so wish me luck on that!


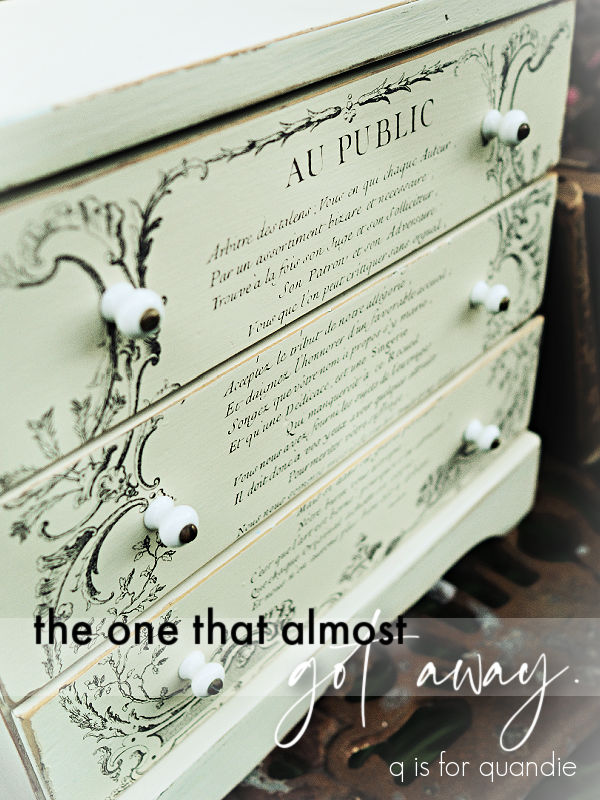
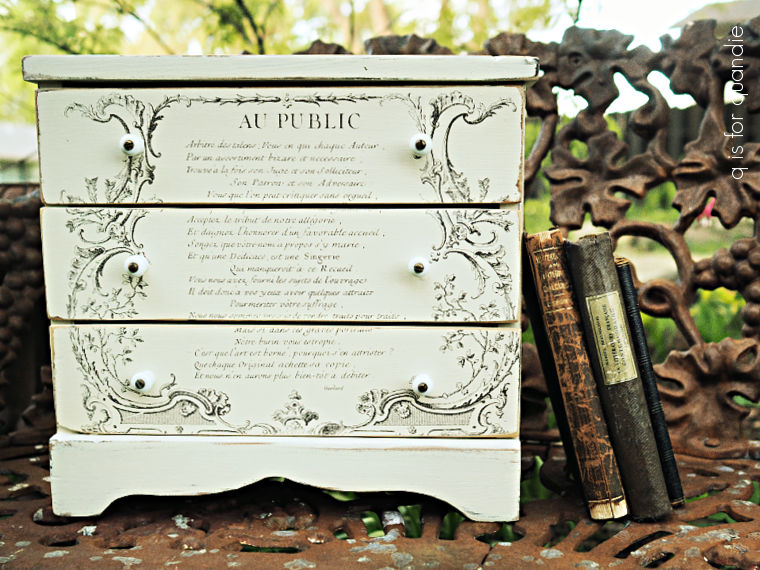
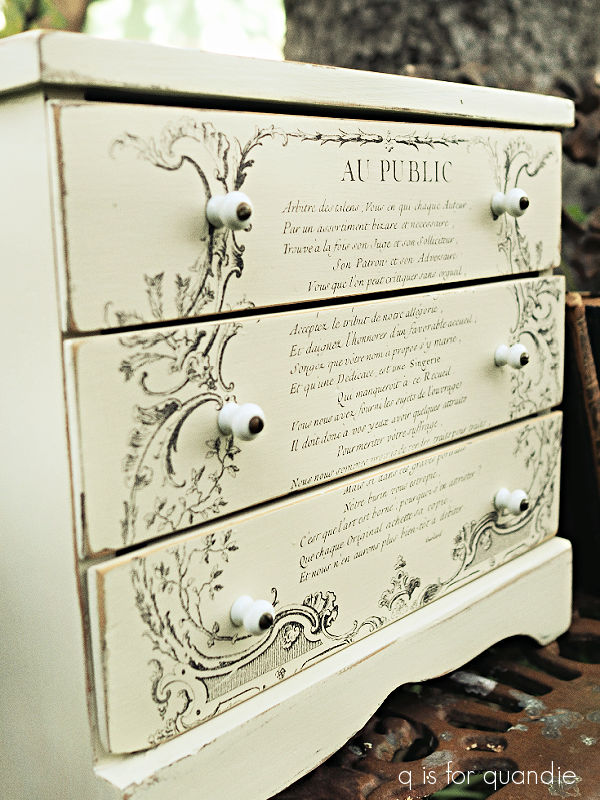
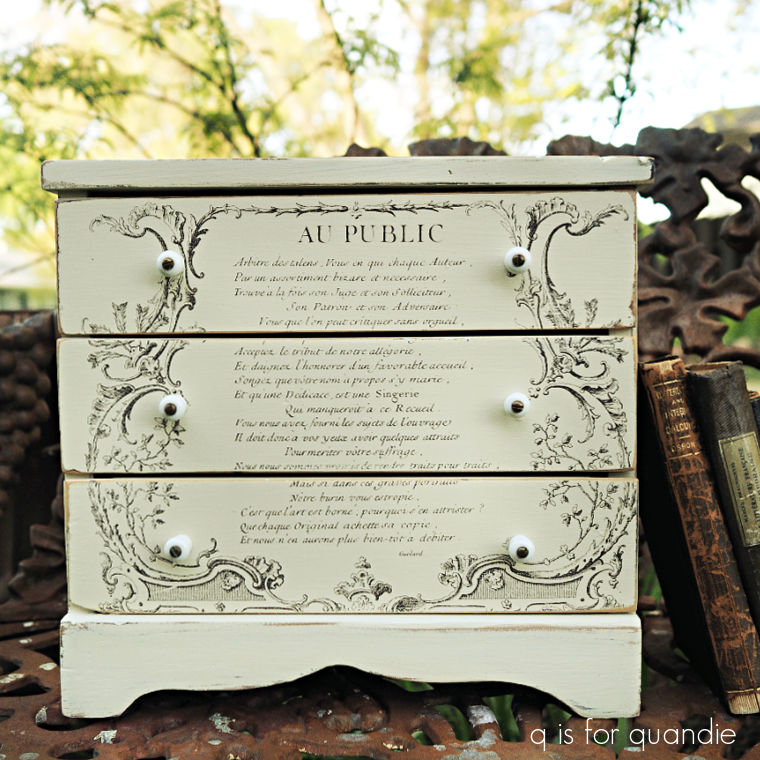
 As for the 2nd dresser, I do already know where it’s going to go.