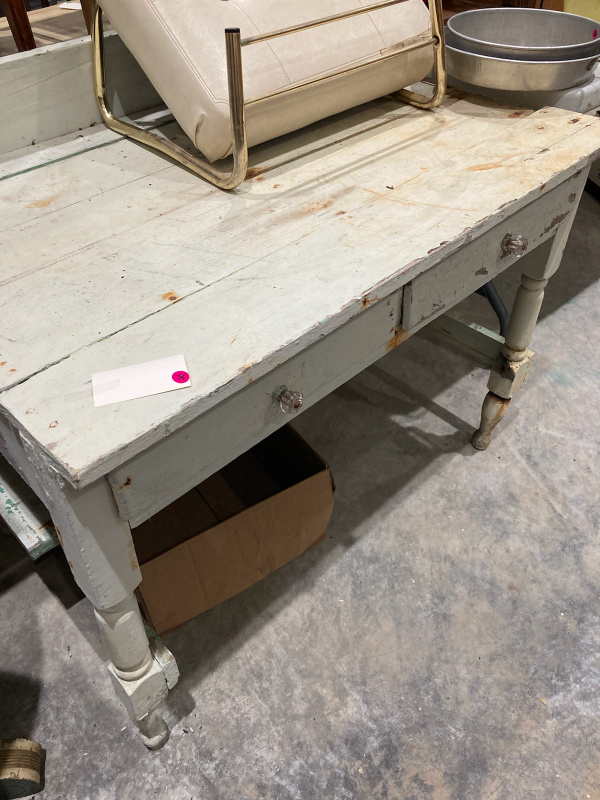
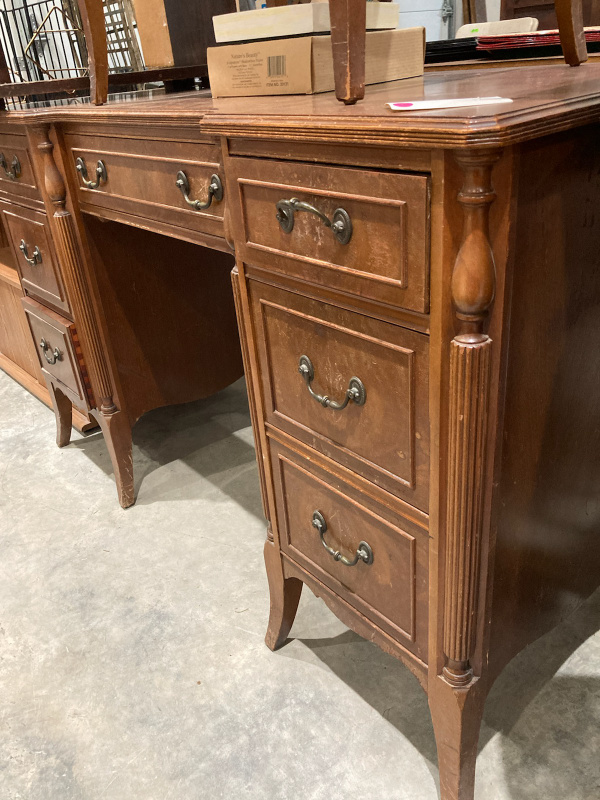
Today, as promised, I’m sharing the desk from my neighbor’s uncle’s estate sale.
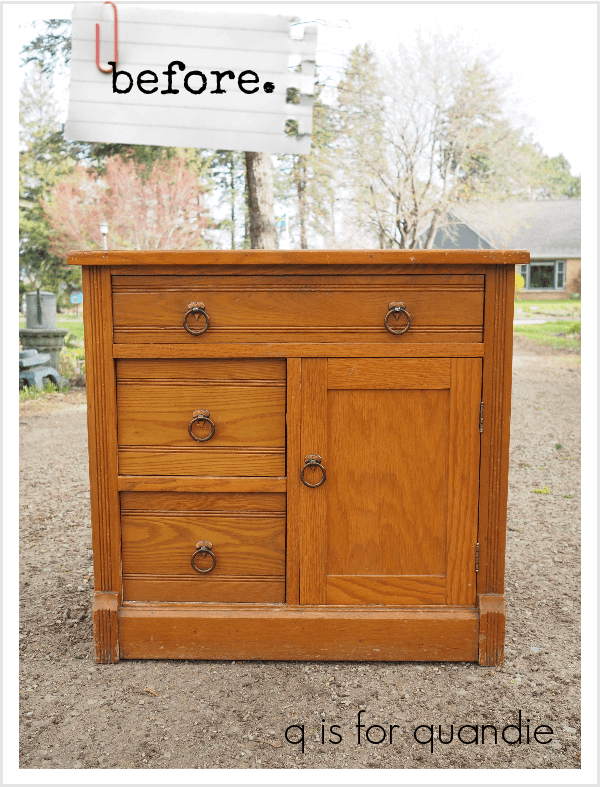
Here is how it started out.

Upon first glance, my plan was to strip the top of the desk and paint the base, but unfortunately there was some veneer damage on the top. So I decided to just go ahead and paint the whole thing.
I began by washing the desk with some spray cleaner and then rinsing it with a damp rag. As I did that, I noticed that I was wiping off some orange-ish colored stain. That’s usually a sign that the stain is going to bleed through your paint. So I decided to just head that off at the pass by using Dixie Belle’s BOSS on this piece.
First up though, I patched the chipped spots of veneer by gluing down the loose edges and then filling in with some Dixie Belle Mud. Next I scuff sanded the entire piece, and smoothed out those Mud repairs. Then I wiped away any dust. After that I added a coat of BOSS. Here’s a quick snap I took after adding the BOSS to the side of the desk …
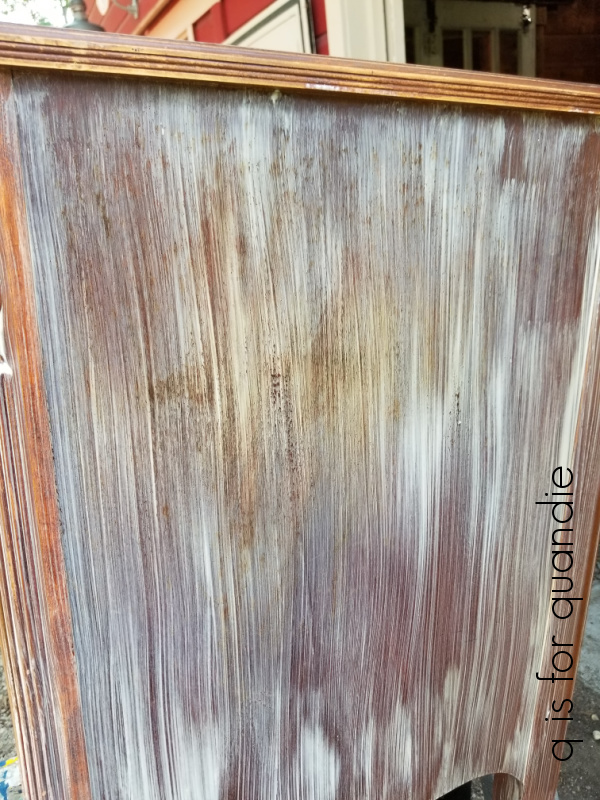
Yikes, that stain is just bleeding orange all over the place. Gruesome, right? I definitely needed to boss this one around! This is the clear BOSS, by the way.

It goes on milky looking but dries clear, in case you were wondering.
Once the first coat was dry I went ahead and added a 2nd for good measure. Sometimes one coat of BOSS is enough, but I wasn’t taking any chances with this one. After that 2nd coat, I left the piece to dry overnight.
The next day was Monday, and it was a particularly stressful day at the day job. So when I got home that evening, I really just needed something to go right for me because nothing else had gone well all day.
And you know what? The BOSS did its job perfectly. I added a coat of Dixie Belle’s Drop Cloth over it and not only was there not one tiny spot of bleed through, but the Drop Cloth also covered beautifully. It was just really gratifying to see that first coat of paint go on without a hitch. I really needed a win on Monday, and being able to paint this piece white so easily was just the ticket.
I’ve noticed in the past that even the clear BOSS will improve the coverage of white paint, and that was definitely the case with this piece too. I still needed a second coat of the Drop Cloth, but I call needing only two coats a plus when using white paint of any kind.
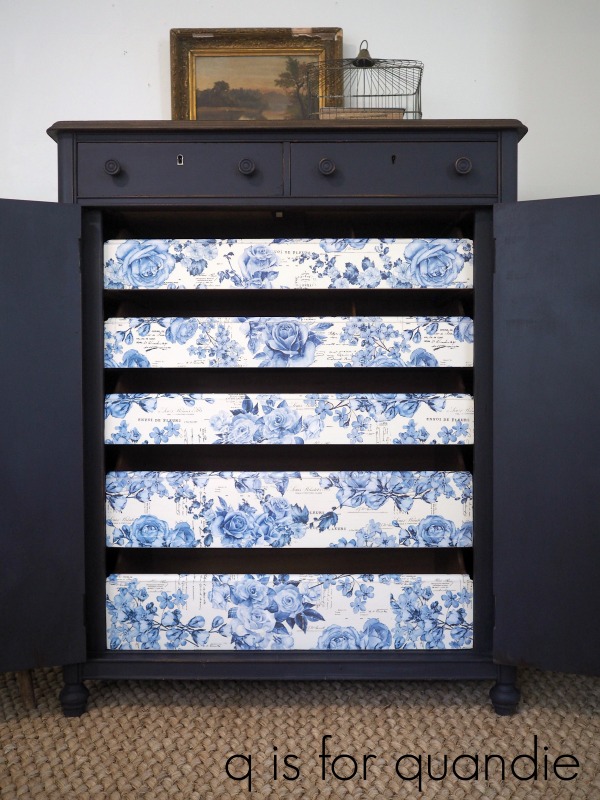
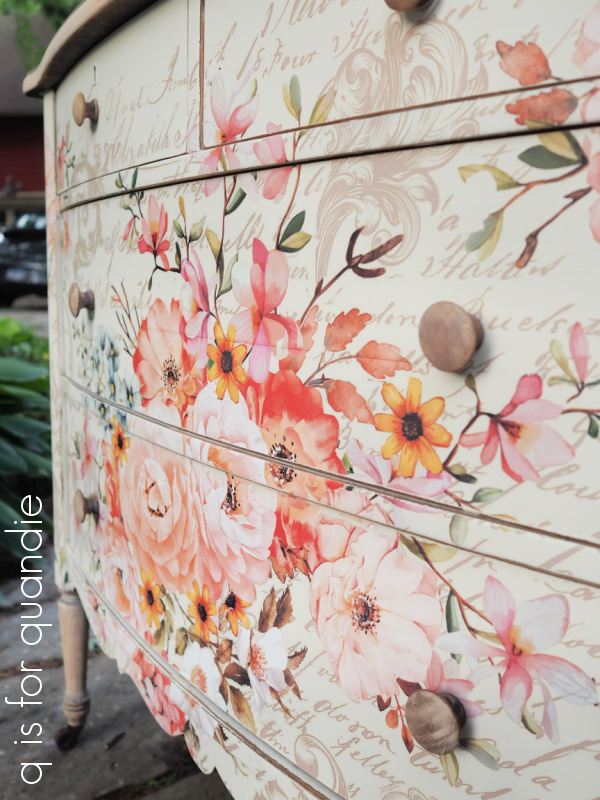
A couple of days later, I pulled out two of the smaller version of IOD’s Petit Rosier transfer. I used most of one each on the drawer fronts down each side of the desk …
![]()
I did have to lose about an inch of the transfer on either side to get it to fit inside the trim. If any of you can read French, you probably realize that, but for the rest of us I think it looks perfectly fine.
![]()
I used the top portion of just one transfer on the middle drawer.

I absolutely love this transfer and am really disappointed that it has been retired. Why do they do that? Do sales slow down after the initial excitement of a new transfer? Really, some of these should just be considered a classic that people like me will buy over and over again.
You can still find it online from shops that have some remaining in their inventory, but they are getting harder and harder (and more expensive) to come by.

I sanded the edges of the desk to distress it, and followed that up with a topcoat of clear wax. Then, I simply washed up the original hardware and put it back on (the pulls that were missing from the middle drawer in the ‘before’ photo were inside the drawer).

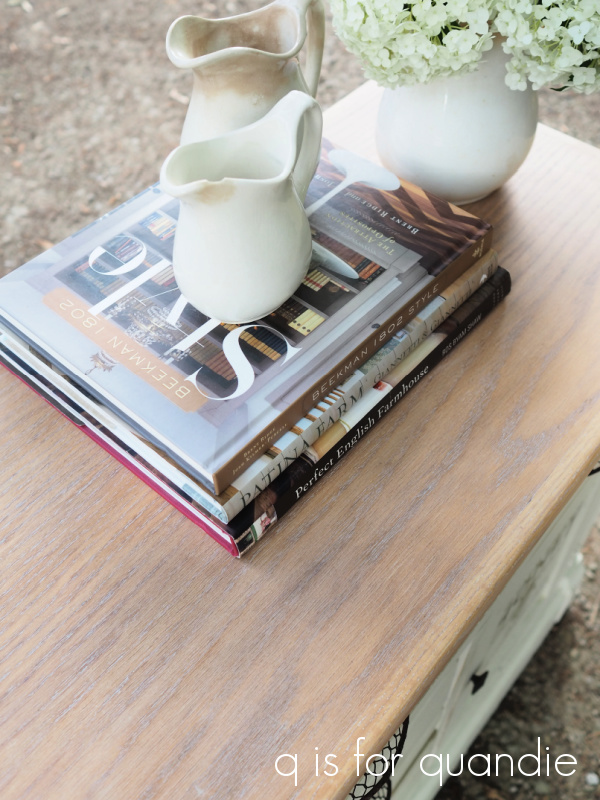
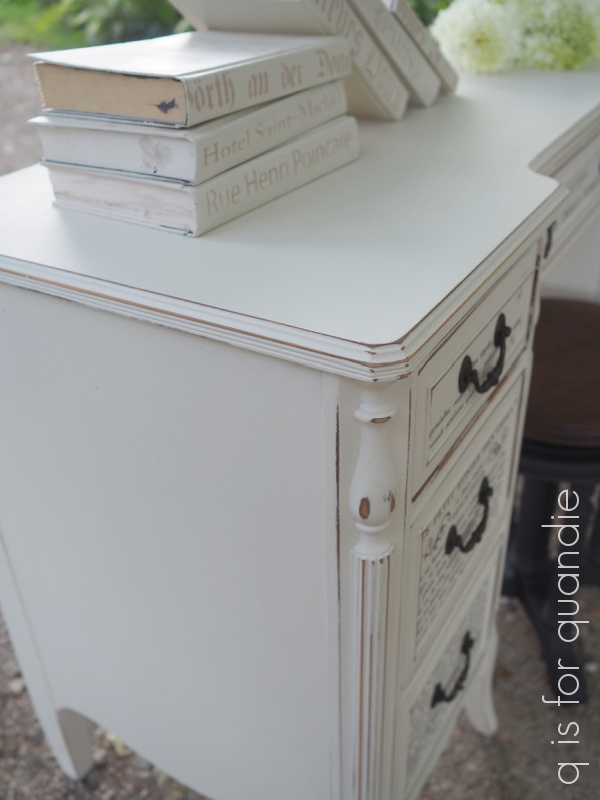
I staged the desk with some of my painted books.

Those of you who have been following me for a long time might remember when I did these.

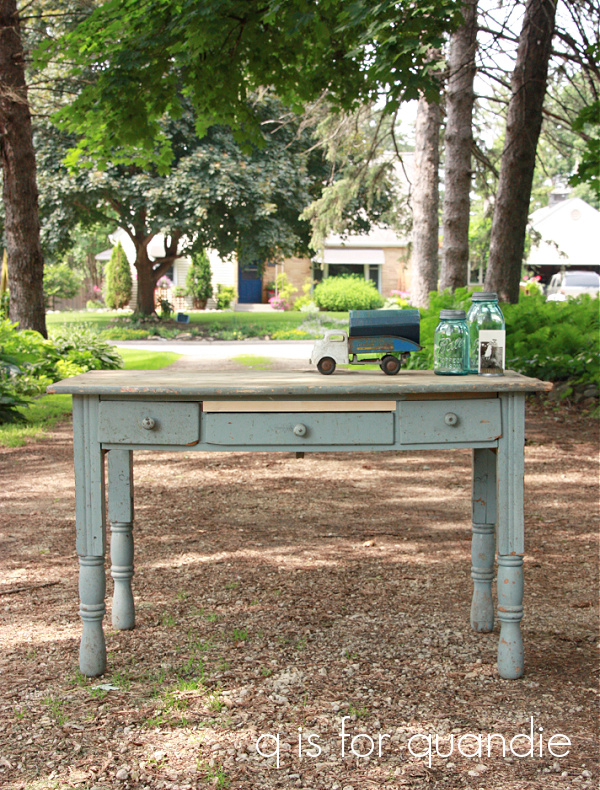
I absolutely love how this desk turned out.

This look is totally ‘me’. I’m going to list it for sale, but I won’t be sad if it doesn’t go. In the end, I may just have to keep it for myself. Although I have no idea where I would put it. I’d have to move something else out, to move this piece in. Maybe one of you can save me from that fate.

Being able to count on that BOSS to just do exactly what it was meant to do to on this desk was something that I really needed last week. So I want to say a huge thank you to Dixie Belle for making a product that just simply works, and for their easy peasy paint that also just does what it’s supposed to do without requiring much effort or expertise on the part of the user. Sometimes you really just need something to go right the first time, even if it’s just a paint job. You know what I mean?
The next time you want to paint a piece that you suspect will be a bleeder, just save yourself some trouble and reach for the BOSS first. You’ll be glad you did.
If any of you locals are in need of a desk, be sure to check out my ‘available for local sale‘ page for more details on this one.


 What do you think? Now, I’ll just have to wait and see how long this one takes to sell. I’ll keep you posted.