milk paint for beginners.

Hi everyone!  Just a heads up that I have a post today on the Reclaiming Beautiful blog with a detailed tutorial on using milk paint.

milk paint for beginners

If you are within driving distance of Stillwater, Minnesota be especially sure to check it out since there is a fun giveaway at the end (you must pick up the prize in person at Reclaiming Beautiful in Stillwater).

And hey, while you are there visiting be sure to check out the ‘tour’ posts of RB owner Monique’s house if you didn’t see it back in July.   She lives in a beautiful 1892 home that I know you’ll enjoy seeing!

Monique's dining room

You can find their blog {here}.

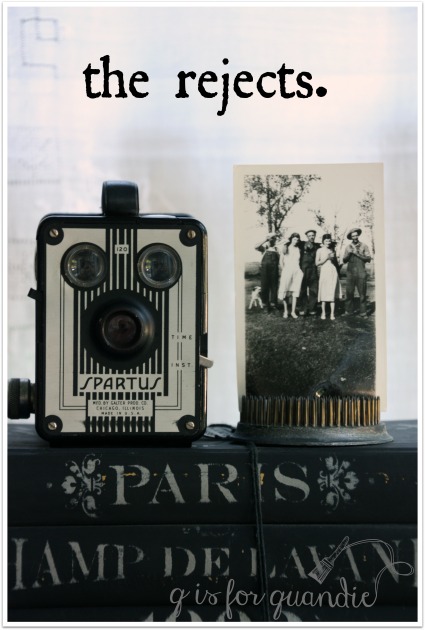
the rejects.

I came home from South Dakota with a pile of old family photos that no one wanted.

rejects title

While there, we got together with my mom’s cousins and we all sat around the dining room table and sorted through a big tub of photos that came from my Great Aunt Lula Perline Moe.

I’ve mentioned Lu before, I named my manikin after her.  When we were kids we would go out and stay on Aunt Lu and Uncle Homer’s farm in the summer.  Here are Homer and Lu …

lu and homer  You see, Aunt Lu never had any children of her own so she enjoyed having various nieces and nephews come to stay.  And sadly, what comes of having no direct descendants is a big tub of photos that got shoved into someone’s attic after she passed away.  None of the South Dakota relatives seemed to want Lu’s photos.

So we sorted through them during our last visit.  All of the photos that included the other aunts and uncles were put into piles to be shipped off to their branches of the family.  Most of rest were put into the ‘reject’ pile, otherwise known as the pile I would take home with me!

We weren’t able to identify the people in most of these.  For example, no one knew who these guys were …

reject farmer

Although clearly they were farmers who were outstanding in their fields, or should I say out standing in their fields?

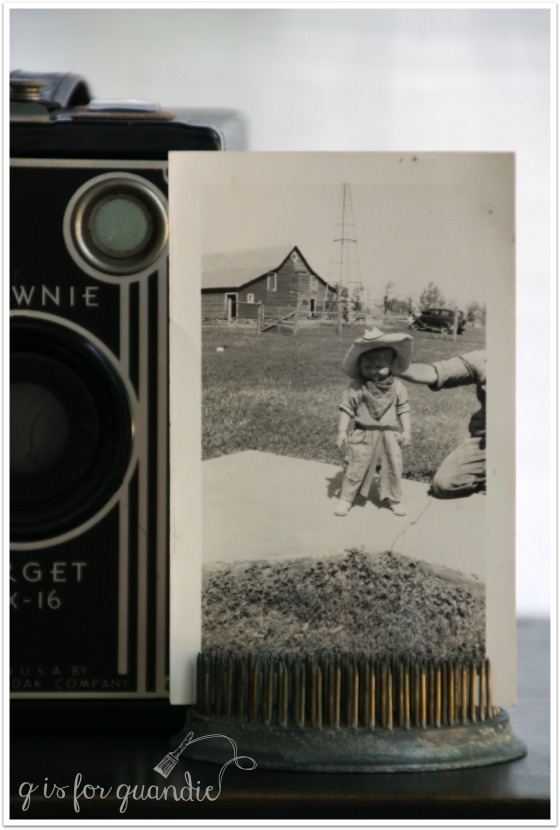
I seem to be the only one who wants old photos of unknown people.  But some of them are crazy adorable, so how could I resist?

reject cowboy

These little cowboys are cute as can be.

reject cowboy 2

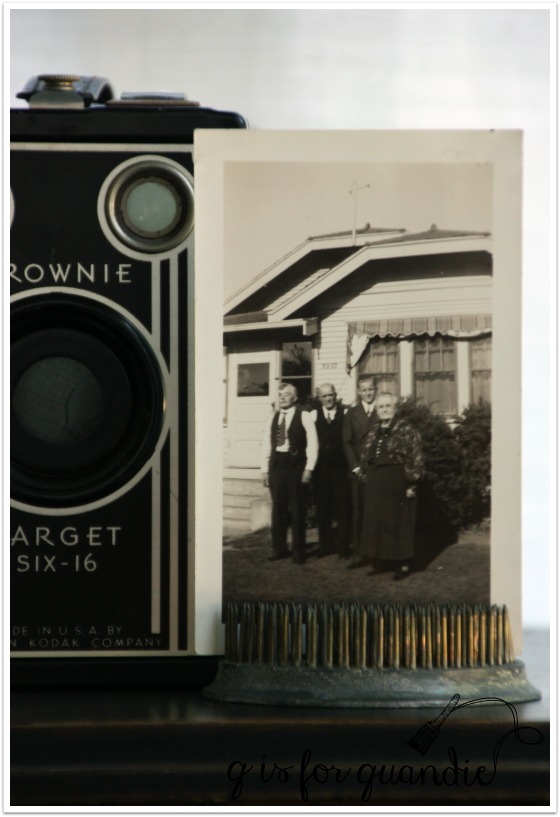
I did also nab a couple of semi-recognizable photos such as this one.

reject group

Remember ‘blind John the peddler’, my great grandfather?  That’s him on the far left.  He is usually recognizable in photos because he wore dark glasses that covered his eyes.

I wonder why they didn’t ask him to turn his head forward.  Perhaps he heard a sound and turned his head at the last minute.  Maybe they re-shot the group photo and this one was just discarded.  It does seem like an slightly cruel joke, hey, look at the blind guy, he doesn’t know which way to face for the photo.

But then I looked at another photo that included John (on far left) and same thing, he’s not facing the camera with everyone else.

reject group 2

Perhaps that was just his way of posing and no one questioned it.  Here he is again with 4 of his daughters, Olga, Carrie (my grandmother), Evelyn and Lu.

grandma's sisters

My grandmother had 7 sisters and two brothers total, although the youngest girl died as a baby.

I think that my grandmother fully enjoyed her sisters.  After moving to Minneapolis with my grandfather, she would go back to the farm every summer to visit and spend time with her family.  In fact, I think she even went back to the farm to give birth to her first child.  Her sisters would come and visit her in Minneapolis as well.

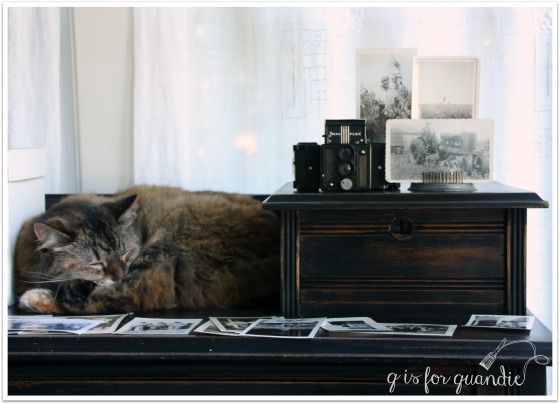
Just for fun, I thought I’d share a behind the scenes photo from my photo shoot.  The whole time I was setting up and taking these photos, I had a little assistant.

behind the scenes

She’s not a very hardworking assistant though, she mostly tends to just get in the way.

Do any of you have a fascination for old family photos?  Or even just old photos of strangers?

blind John the peddler.

Last weekend my mom flew in from Vegas (she lives there) and, along with my sister, we drove out to South Dakota for a funeral.  The funeral was for my mom’s cousin’s wife.  Although I had met her a few times, I didn’t know her well.  But funerals are always a good time to connect with family and to see many of our South Dakota cousins while they are gathered together in one place.

For me the drive is somewhat torturous.  I’m not a fan of the road trip.  It’s about 4 hours through mostly farm country.  I always know that we are getting close though when I begin to see these.
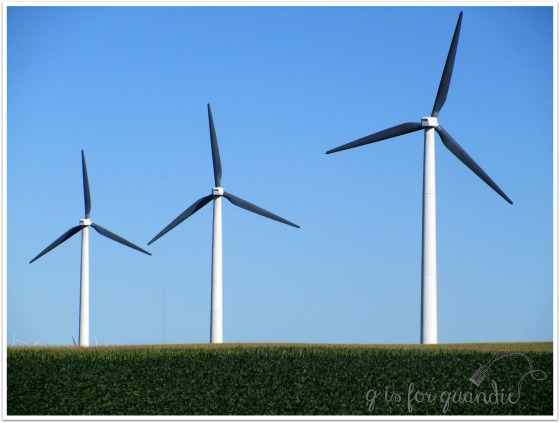
windmills

I don’t think my photo does justice to how gigantic these things are.  According to my research, on average these are 260′ tall.

There are 100’s of these strewn across the landscape along the Minnesota border with South Dakota.
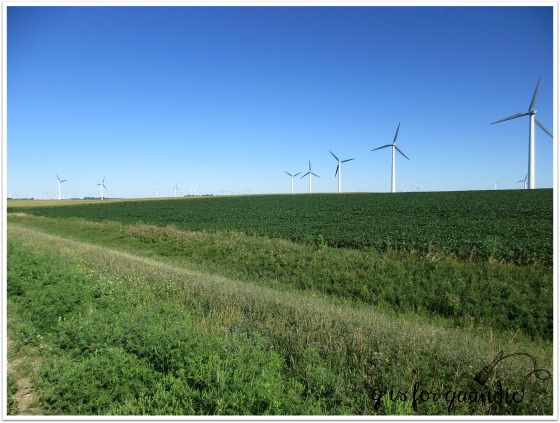
windmills 2

I find them rather creepy, like something out of H.G. Wells’ War of the Worlds.  Giant alien beings that have landed in the corn and soybean fields.

My maternal grandmother’s father, John P. Nordaune, immigrated to the United States from Haltdalen, Norway with his parents when he was a young child.  At that time the family name was changed to Moe. I’m pretty sure he didn’t see any of these wind turbines when he got to South Dakota!
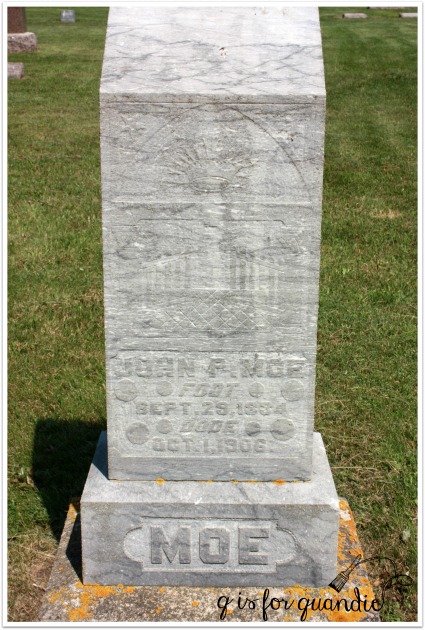
Moe headstone

Have any of you read Laura Ingalls’ books?  If so, perhaps you remember her book The Long Winter which was about how her family survived the winter of 1880-1881 in De Smet, South Dakota.  That winter is still considered to be the most severe winter ever recorded in the United States.  The snow was so deep that trains stopped running for a good part of the winter and thus were not able to bring in supplies.

snowblockade

Not only that, but the snow came so early that many farmers hadn’t yet harvested their fields.  If you’re familiar with the book, you’ll know that the Ingalls family came close to starvation that winter.  You can read an account of that winter {here}.  That spring my great grandfather, his two brothers and their mother were on the first train to come through the area after the thaw.  They were coming to join their husband/father on the land he had claimed in Arlington, South Dakota.  My great, great grandmother once said that they had more food in the trunk they brought with them than was in the entire town where they disembarked from the train.  My cousin Ronnie actually still has that trunk, by the way.

The Moe Farm is still in the family 135 years later.  My cousin Travis now lives in the farmhouse with his wife and six children and he farms the land.
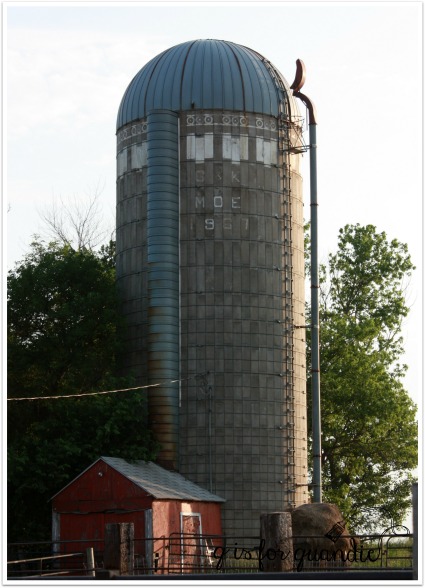
Moe farm

Travis (on left) took my sister, our cousin David and me (at the back) on a tour of the farm last weekend.

cousins

That corn is tall when you get up close to it!  Well over my head and I’m 5’10” tall.

My great grandfather, John J. Moe, was blinded in an accident as child.  I’m not sure of the exact details, but somehow he ended up piercing one of his eyes with a nail.  Infection set in and he ended up completely blind in both eyes.  Despite complete blindness, he married and had 10 children.  No only did he farm, but he also was a peddler.  I think ‘peddler’ has a slightly negative connotation these days, but all that meant was that he traveled from place to place selling small goods out of his wagon.  Thus my cousin Ronnie claims that he was called ‘blind John the peddler.’  When I was first told about this, I wondered how in the world he managed this while blind.  I was told that he used a horse drawn wagon and he relied on the horse to know the route.  He also carried a small pistol for protection.  My cousin Ronnie has the pistol now too.  I’m not sure exactly how he would have aimed that thing!  I suspect it was more for ‘looks’ than actual reliable protection.  Then again, perhaps a blind man with a pistol would scare most people!  As for the money, I’m told that he kept track of exactly how many bills he had and he kept them in numeric order.  So he knew what he had for making change.  He most likely relied heavily on the honesty of his customers.  When he returned home, his wife, my great grandmother, would make sure that they he had been paid correctly.

Many of my Moe ancestors are buried in the Bangor Cemetery which is a small family cemetery just down the road from the Moe Farm that is surrounded by cornfields.

It has the most gorgeous view that includes the farm.
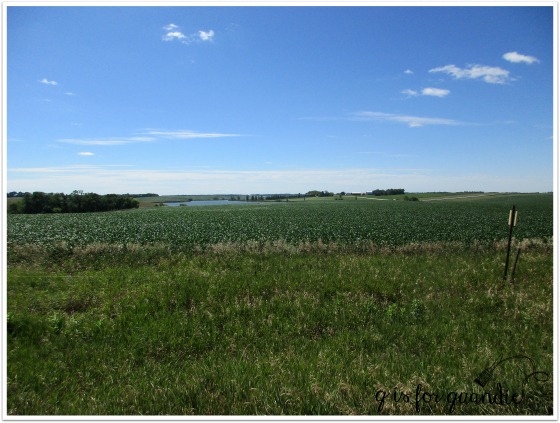
cemetery view

OK, I have to get a little closer for you to see the farm.
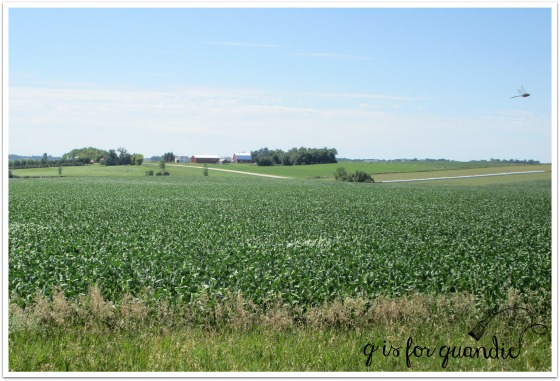
farm

Can you see the dragonfly in that photo?  Look to the right, yep, that’s not a helicopter.

I always enjoy spending some time out on the farm and being reminded of my roots.  Each time I visit I’m gifted with a few more old family photos that no one out there wants.  I love using them when staging my furniture photo shoots.
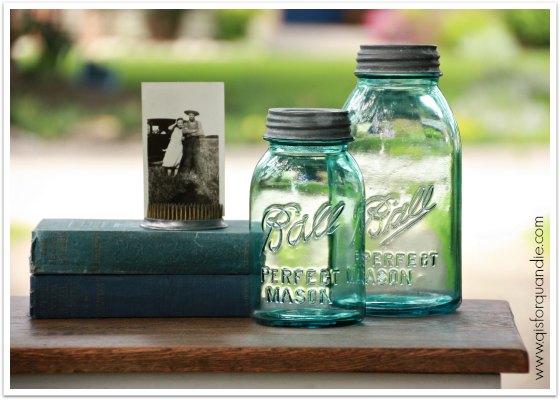
washstand staging

aunt lu

I came home with a fresh pile of photos, so hopefully I’ll have some furniture photo shoots coming up soon.  Stay tuned!

chalkboards coming out of my ears.
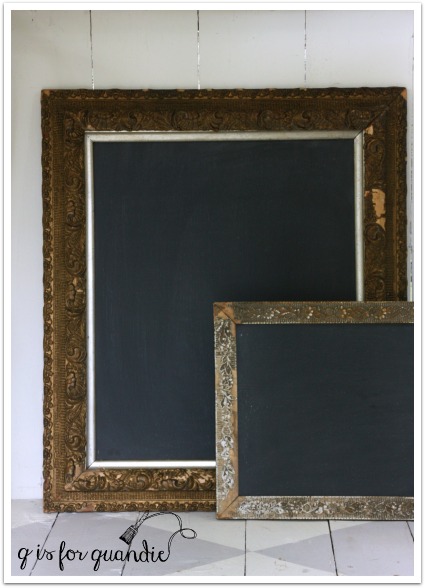
Whenever I see really awesome old frames at garage sales, I tend to snatch them up.  Especially if they are bargain priced.

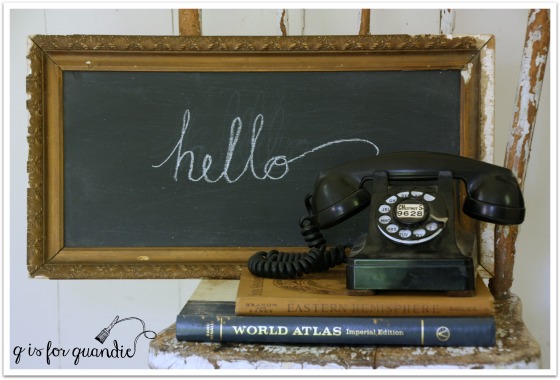
chalkboard hello

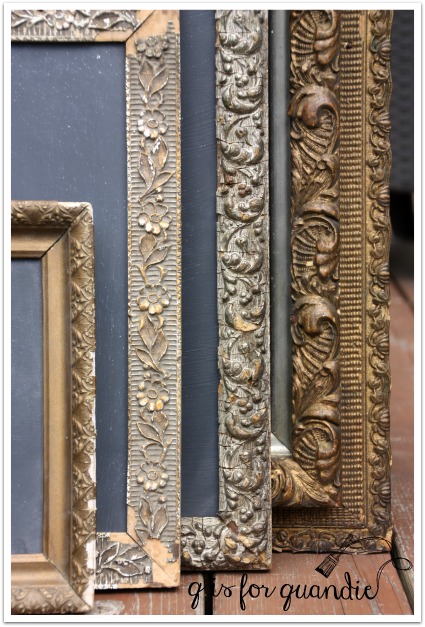
I love the gold frames with plenty of wear to them.  There is something about that shabby patina that draws me in.

gold frames

Through the years though, I’ve found that I rarely also end up with just the perfect sized piece of art to put in them.  That’s why turning them into chalkboards has been the perfect solution.

chalkboards 1

I buy a 4′ x 2′ piece of hardboard at Menards for a few dollars, then Ken cuts it to size for me.  I paint it with chalkboard paint, and voila!

chalkboards closeup 2

Always make sure to season a new chalkboard by rubbing chalk all over it and then ‘erasing’ it back off.

chalkboards closeup

It seems I have chalkboards coming out of my ears these days.  They are all going to end up at the Carriage House sale in October.  Unless any of you locals needs one now?  In which case just leave me a comment and I’ll get back to you with details.

a doll bed centerpiece.

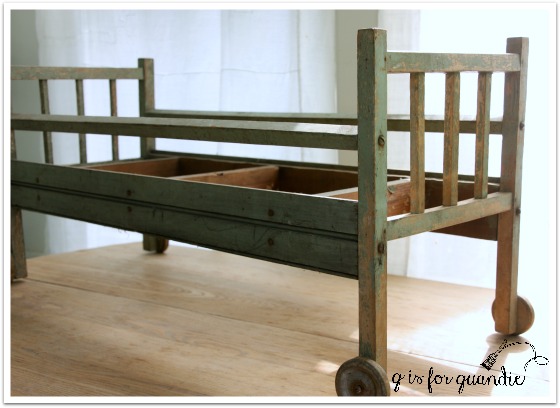
Remember the fabulous vintage doll bed that I purchased at the Nokomis sales?

doll bed

I had visions of adding a bottom and then using it as a plant box, or as a centerpiece on my dining room table.  Well, before I left for the shore, I did turn it into a centerpiece.

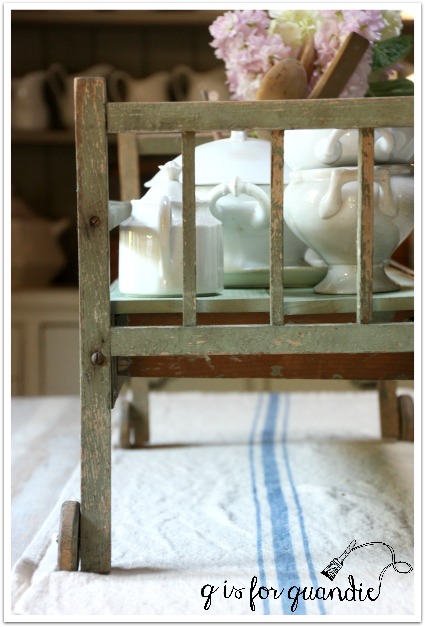
Is it odd to have a doll bed centerpiece?  Maybe.

But I went ahead and sent it off with Ken to have a piece of wood cut to fit the bottom.  When I got it back I mixed up some MMS milk paint and tried to match the existing color as best I could.  I really just played around and added a little of this and a little of that until it looked about right.  I started with some Luckett’s Green, Eulalie’s Sky and Grain Sack.  That combo looked a bit light and washed out so I added some Kitchen Scale and then some Boxwood.

doll bed bottom

The color I came up with is actually fairly close.  It does look quite a bit ‘cleaner’ than the old stuff.  I could have added some dark wax if I wanted it to blend better, but I’m OK with it as is.

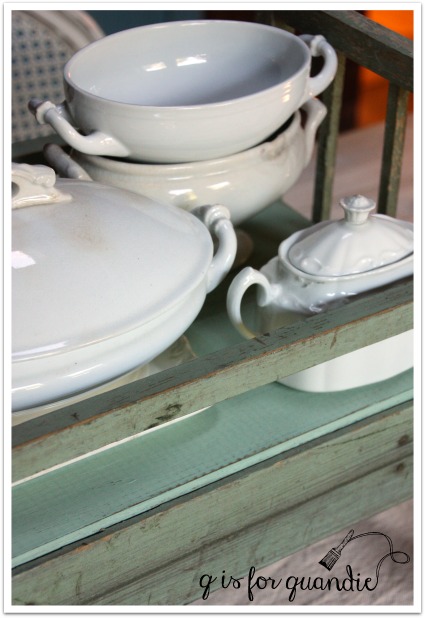
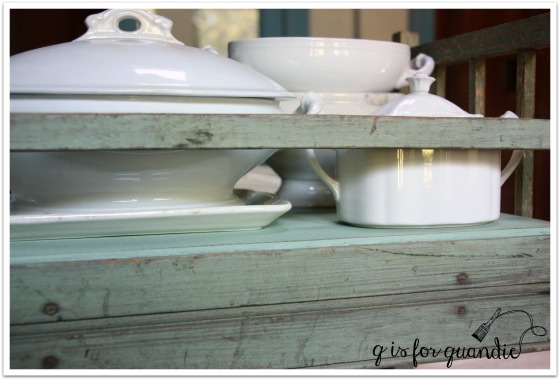
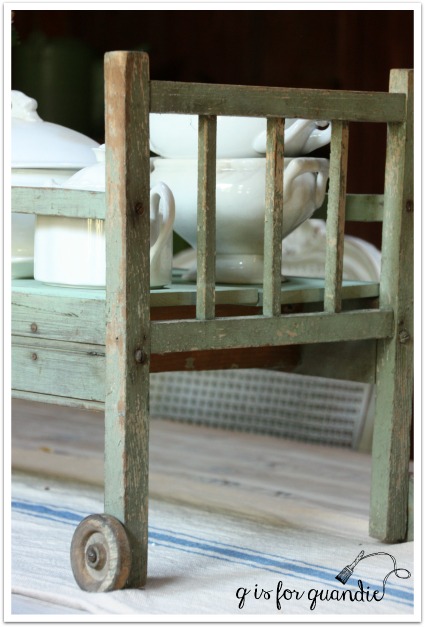
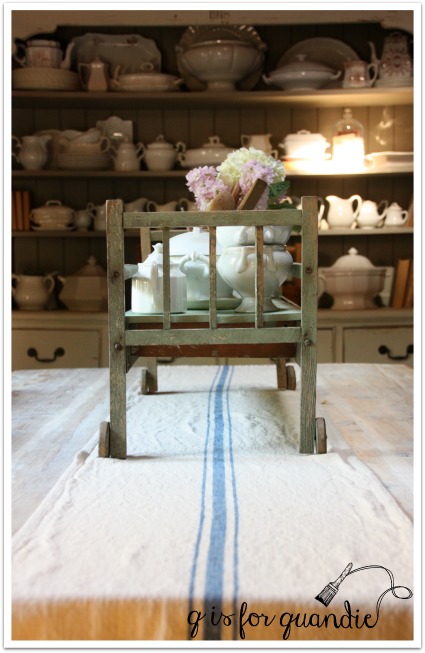
Next I cleaned the bed using a magic eraser and plain water, and then I filled it up with ironstone and placed it in the middle of my dining table.

doll bed side view

Still think it looks odd?

doll bed with ironstone

Would you use a doll bed filled with ironstone as your centerpiece?

doll bed angle

Please tell me I’m not the only one.

doll bed centerpiece


a weekend update.

I just had the most awesome weekend.  It began Friday night with the Twin Cities Jazz Festival.  Mr. Q, my sister & niece and I met another couple in Mears Park in St. Paul to listen to some jazz.  It was really crowded and fairly hot and humid, but it was still a fun night with some great music including Ellis Marsalis.

Ellis Marsalis

(photo source here)

Then on Saturday morning my sister and I had a really fun mission.  We took photos of a house for an upcoming home tour here on q is for quandie.  I’ve done a few home tours before; Sue’s house part 1 and part 2, Jen’s house part 1 and part 2 and Meggan’s house.  I also did a house tour of Lisa’s home (part 1 and part 2) for the Reclaiming Beautiful blog.  My reasons for doing home tours are pretty much selfish in nature, I just love seeing other people’s homes.  Especially when they have a knack for thrifty decorating.  So when the opportunity to tour Kim’s home presented itself, I jumped on it.

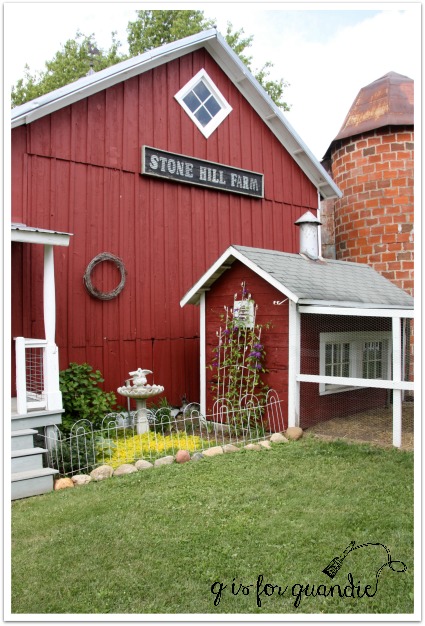
Not only does Kim have a fantastic home, but she also has this amazing barn.

stone hill farm

And she holds an occasional sale in her barn each summer.  It’s coming up in July, so I’ll be sharing a tour of her home plus details on her upcoming sale shortly after the 4th of July, so be sure to check back for that.

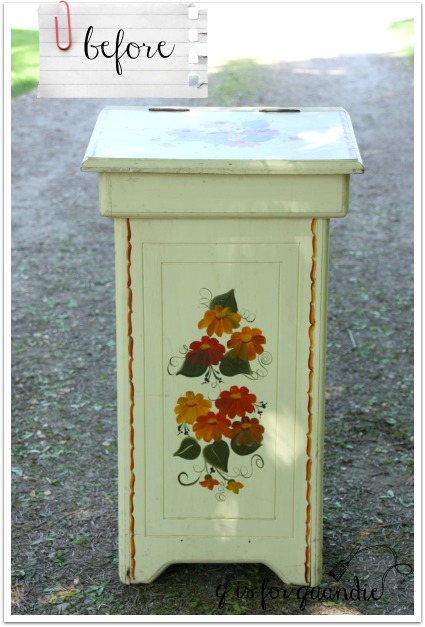
Then on Sunday the humidity finally died down and although we had temps in the mid-80’s it was really breezy and the perfect weather for painting.  My sister popped over and finished up her trash can.  Remember it?  She picked it up at the Linden Hills sales …

linden hills 10

Since she doesn’t have an out of the way spot for her recyclables in her apartment kitchen, they have to sit out.  She thought this bin would be the perfect way to make them less unsightly.

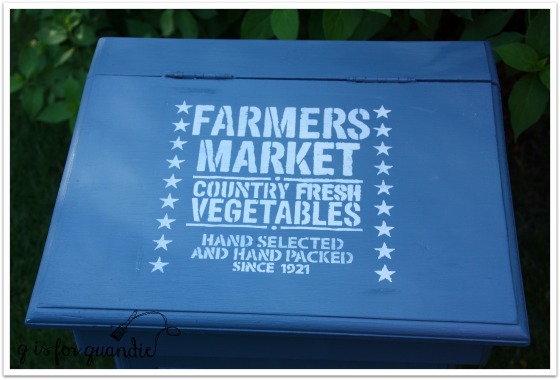
She added a couple of coats of Fusion paint in our custom mixed Lake Superior Blue.  Then she found the perfect stencil for it at Hobby Lobby and she used a pale grey craft paint for that.

debbie's trash

debbie's trash lid

A pretty fab transformation, right?

Since Debbie was on a roll with her new stencil, she also stenciled some wooden totes that she plans to sell at my fall sale.

stenciled totes

I’m so proud of my protegee.  Didn’t she do a great job on these?

stenciled tote

While Debbie was working on these, I was painting a dresser.  You’ll have to check back later in the week to check it out, hope to see you then!

franconia sculpture park.

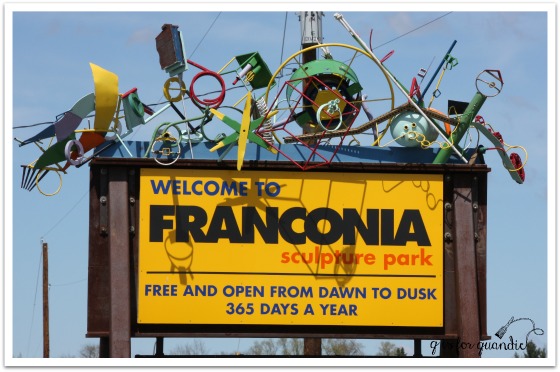
For my sister’s birthday last Sunday she wanted to go out for brunch and then head up to the Franconia Sculpture Park.  It was a beautiful sunny day, so Debbie, my niece Kris, Mr. Q and I hopped in the car and drove up along the St. Croix River to just this side of Taylor’s Falls.

sp sign

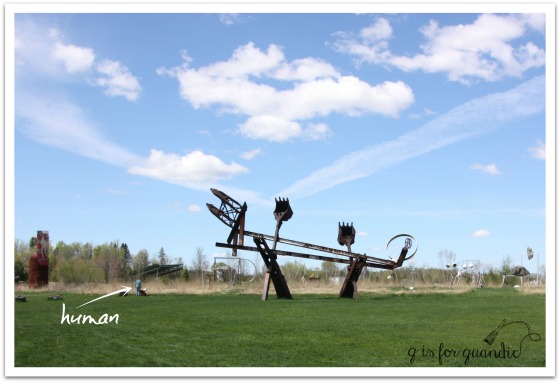
What I think is really awesome about this place is the size.  It’s kind of in the middle of nowhere and they have 43 acres, so plenty of room for really BIG art.

I thought this photo might give you an idea of the scale of the place once I pointed out the human.

sp scale 2

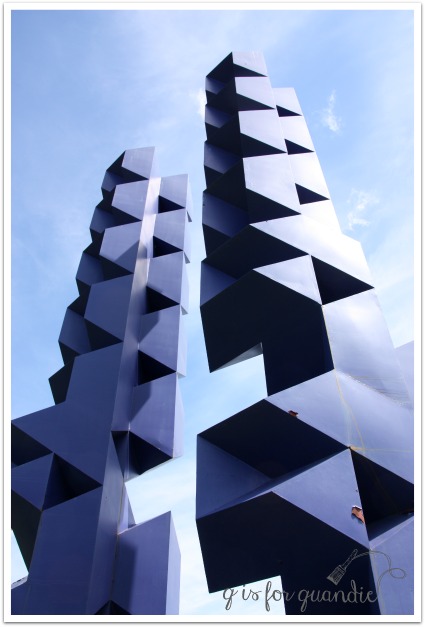
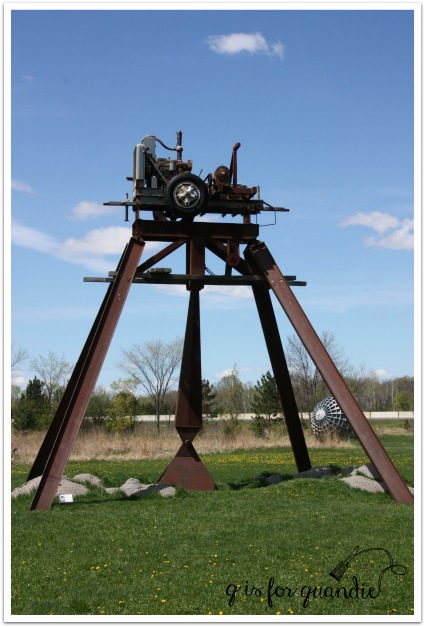
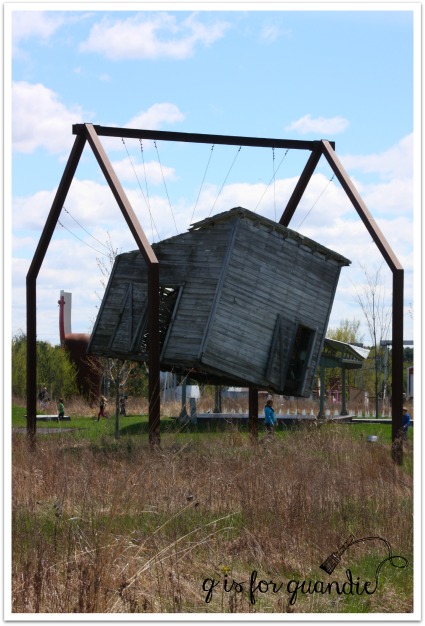
The artists here have the opportunity to work on pieces with some majestic presence.

sp blue towers

sp train

sp floating house

sp giant circle

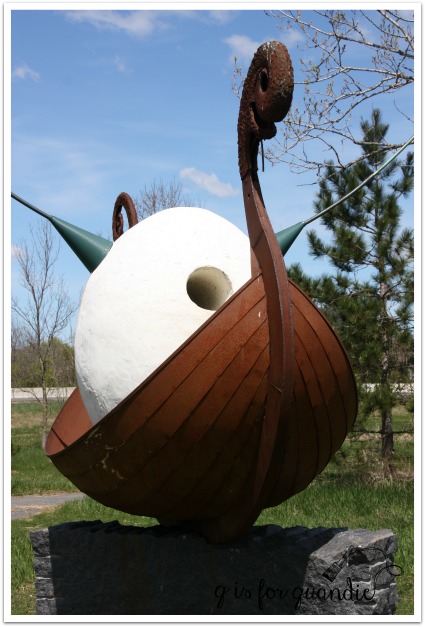
This egg with antlers in a Viking ship cracks me up (pardon the pun).

sp viking egg boat

Unlike a stuffy, fussy museum, here you are allowed to get up close to the art.  You can touch it or interact with it.  Although they do ask you not to climb on the pieces, for safety reasons.  I enjoyed this flip chart of graffiti.

sp flip chart

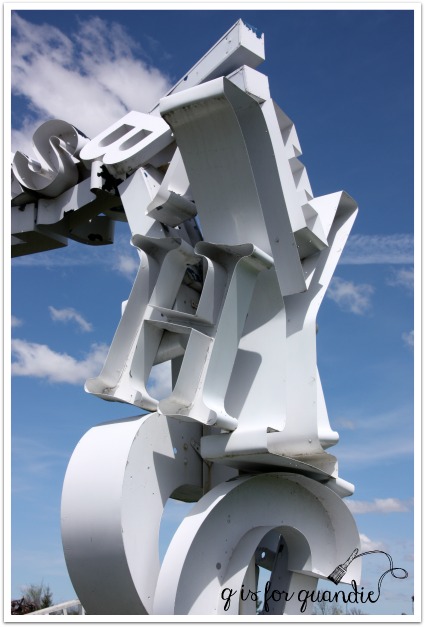
I have to say that there were several pieces that really spoke to me, such as this next one.  Who doesn’t love a mishmash of metal letters?

sp letters

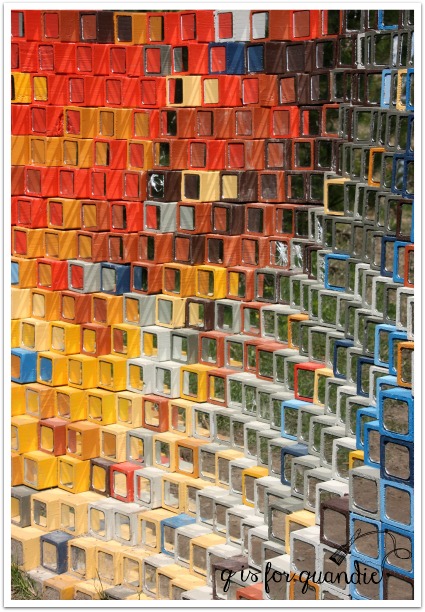
All of these colorful boxes with mirrors in them drew me in.

sp mirrors

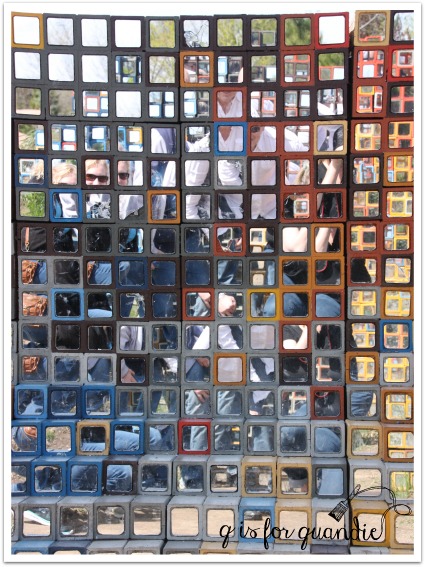
And I decided all of those mirrors presented the perfect opportunity for a group ‘selfie’ of sorts.

sp group photo

All four of us are in there, it’s just hard to find us.  I’m the one holding a camera.

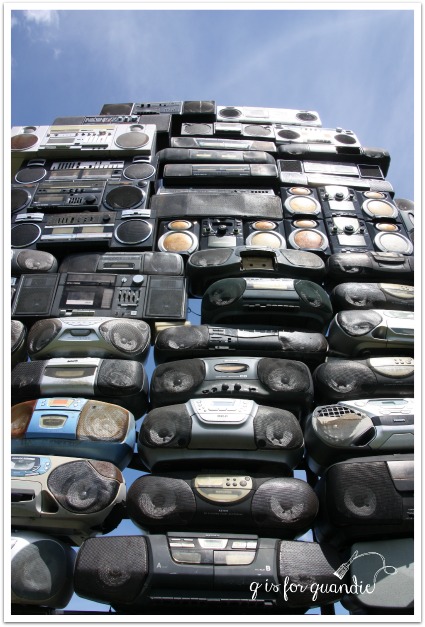
Kris had fun picking out all of the various boomboxes that she had owned.

sp boomboxes

Doesn’t this look like a comfy spot for TV viewing?

sp furniture

Don’t be fooled, although even up close these looked like the real thing, they were really made out of concrete (or something like that).

To learn more about Franconia Sculpture Park, check out their website {here}.

Meanwhile I took yesterday off work at the day job to organize my workshop out in the Carriage House.  I’m also planning to hit the neighborhood sales this weekend.  Plus my mom is in town for a visit.  So there’s lots on the calendar, but hopefully I can get some furniture painted too.  Stay tuned!

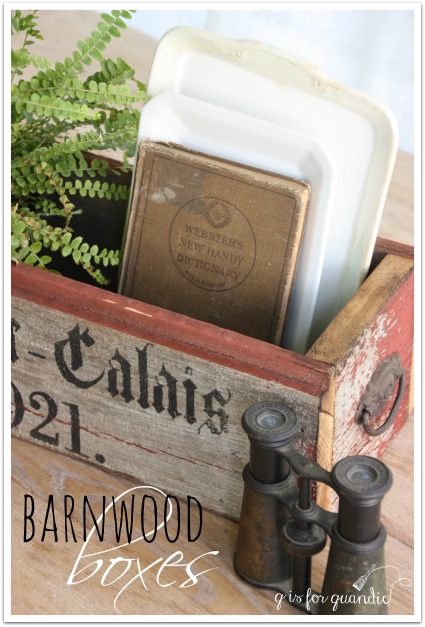
barn wood boxes.

barn wood boxes title

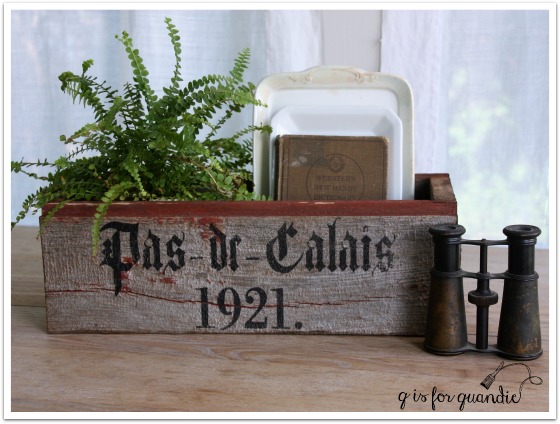
My sister and I salvaged a pile of barnwood from my in-laws collapsed barn earlier this spring.

barn wood

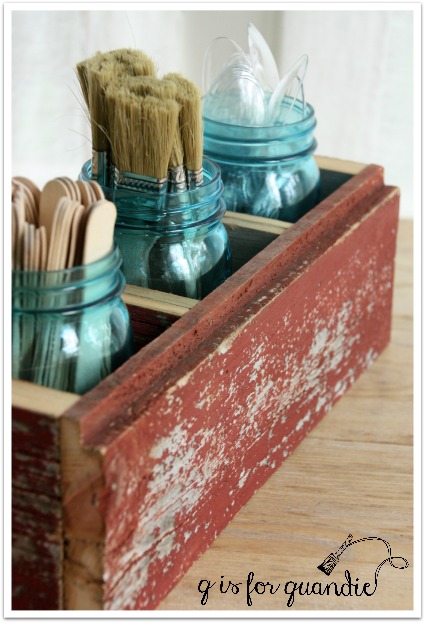
Debbie had seen a divided barn wood box that held Ball jars on pinterest, and she wanted to make one for herself.  I figured since she was making one, she might as well make two so I could have one also (that’s what sisters are for, right?).

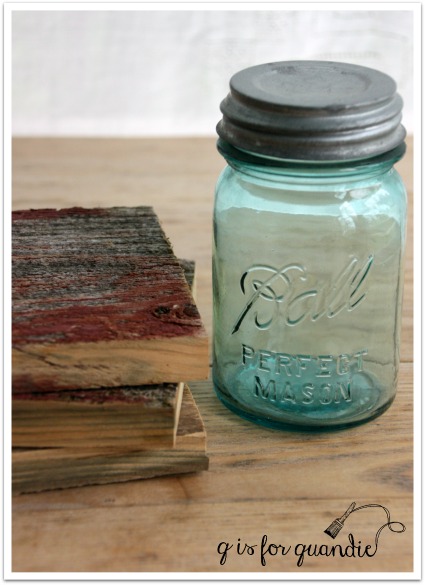
barn wood and ball jar

We had to get Ken (my neighbor handyman) involved as well, because we don’t have a table saw.

We had the mistaken idea that this would be a simple project.  I had to laugh out loud though as I watched Debbie and Ken trying to put together the math for cutting the boards.  They went round and round with numbers flying everywhere.  It would have been so much easier if they’d had official plans with measurements.  In the end, they decided it would be easier to just cut the pieces as they went.  Off went Debbie and Ken next door, while I stayed behind and painted a dresser.  They were gone a long time.  Several hours.  I had to go over and check to make sure no one had cut off a limb or anything.  What was taking so long?

Finally Debbie came back with just one box put together!

barn wood box 5

Realizing how long this was taking, I suggested that my box not be divided.  That meant two less pieces to cut and nail into place.  It also makes it more versatile.  I could put some ball jars inside, but I also could put larger items inside.  Suffice to say, Debbie and Ken were more than happy to go along with my suggestion and so my box isn’t divided.

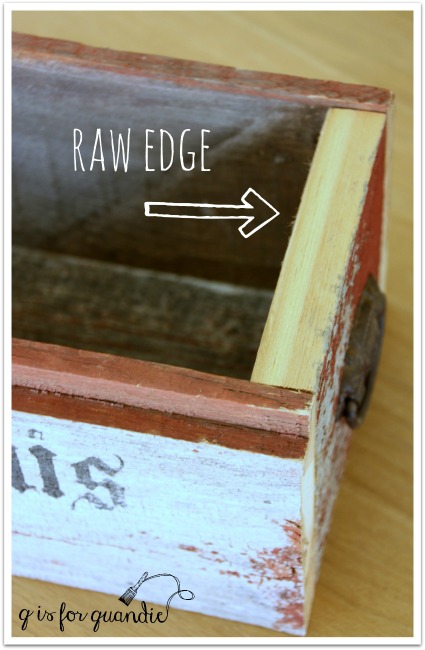
Debbie and I have conflicting ideas about how to ‘fix’ the raw edges of the wood so they are less obvious.

barn wood raw edge

She wants to paint hers.  I talked her out of buying a sample size pot of Annie Sloan chalk paint in Primer Red.  It probably would have worked well, but come on, $15 for a sample size pot, just to do these edges?  I’m sorry, but that offended my thrifty sensibilities.  Instead, I just added some Miss Mustard Seed dark wax to the edges of my box to ‘dirty’ them up a bit.

barn wood box waxed edge

Debbie still plans to experiment with some paint on hers.  I have a barn red acrylic craft paint that might do the job, or we might try to mix up some MMS Curio and Tricyle to come up with the right color.

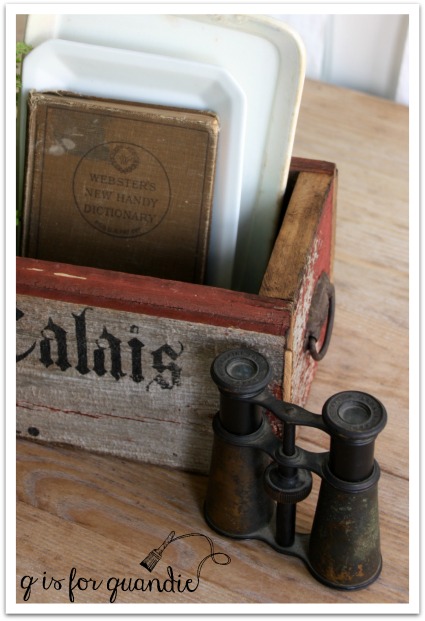
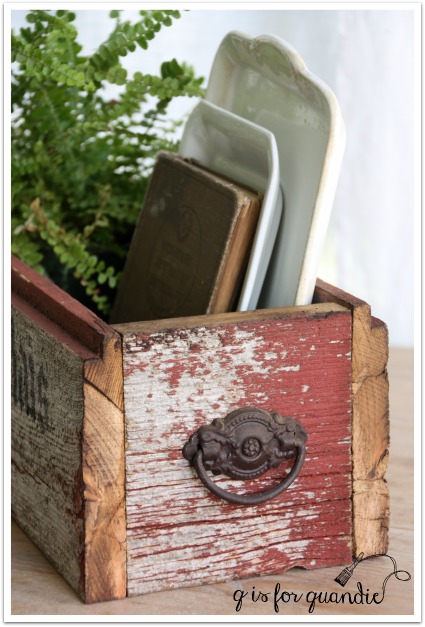
Meanwhile, I added my own flair to my box with some vintage drawer pulls and a stencil.

barn wood box 1

barn wood box 2

Now that we have a couple of prototypes made up, we might make a few of these for the fall Carriage House sale.

barn wood box 3

What do you think?  Can you think of a use for a barn wood box of your own?

going green.

First things first, congrats to Cindy Brown who won the pair of Goat Sticks from last week’s giveaway.  I will be getting those out in the mail to her this week, but now, on with today’s post.

One thing that I have definitely learned in my 52 years of living is that tastes change.  Or at least mine do.  I hope yours do too.  I’ve written about this before, like back in October when I painted a chair gold after having said a year earlier that I didn’t think I’d ever like gold.

I’ll be so sure that I am never going like something, and then it grows on me and the next thing I know, I love it.

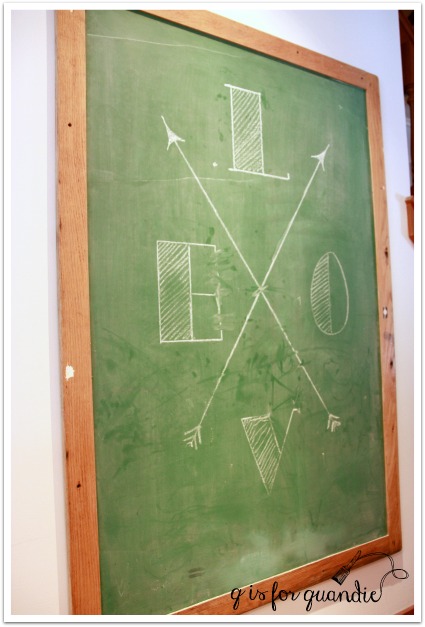
Such is the case with green chalkboards.

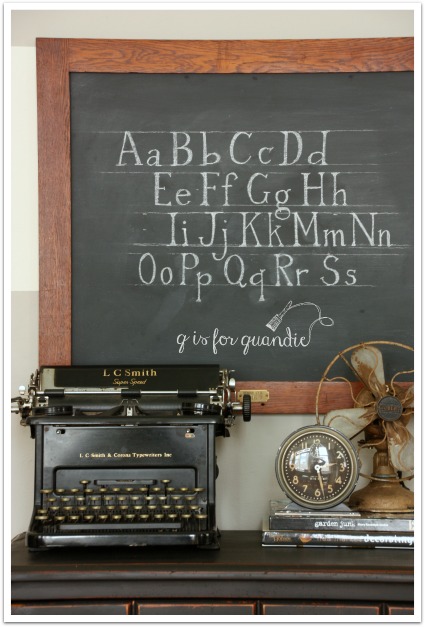
If you’ve read my blog for a while, then you know I love a good chalkboard.

chalkboard 2

Some people are starting to say that chalkboards are so over, but not me.

wall chair

Not only do I have a total of five at my house, but I often switch out mirrors for chalkboards and sell them to others who obviously still love chalkboards too.

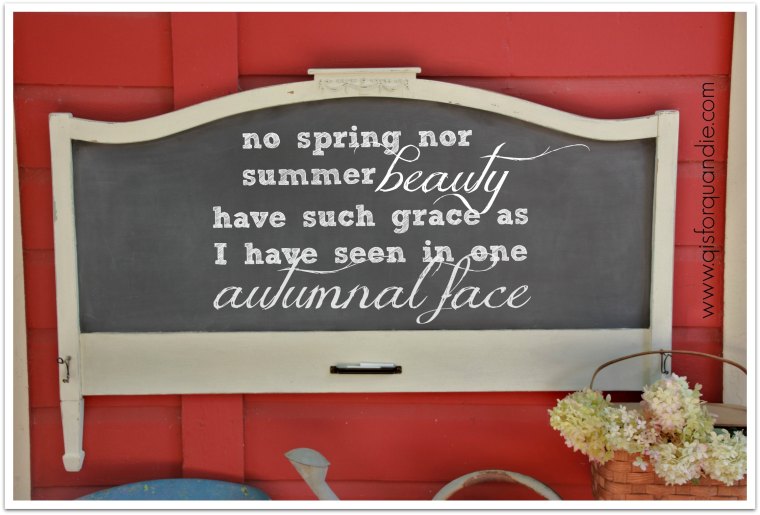
Sometimes I make chalkboards out of foot boards …

chalkboard 1

Or out of doors …

q branch desk close

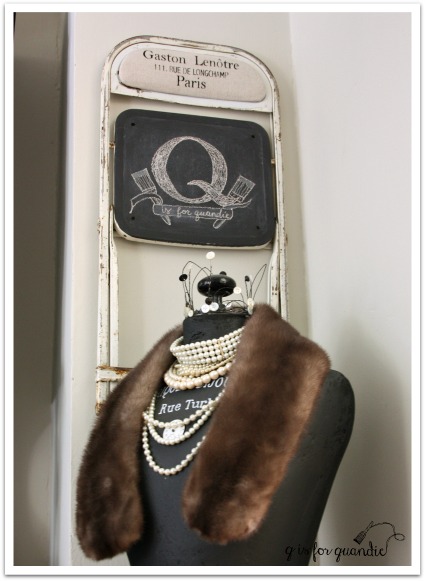
Or out of chairs …

q branch chalkboard chair

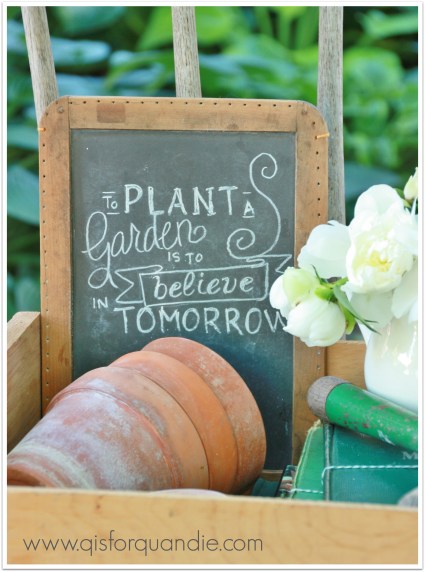
I like little chalkboards too …

plant a garden slate

But have you noticed something that all of my chalkboards have in common?  They are all black.  In fact, I’ve always thought green chalkboards just didn’t cut the mustard (pardon the pun that will be apparent shortly).  I even painted over a green one with black once.

Then a year or so ago I shared my friend Meggan’s house with you all, and she had a green chalkboard that looked pretty fab.

Meggan chalkboard

And that started me thinking that maybe green wasn’t so bad after all.

Recently Miss Mustard Seed posted the most amazing chalkboard.  Did you see it?  If not, check it out {here}.  And it’s green!  Apparently a green chalkboard does cut the mustard 😉

Her chalkboard is painted in MMS milk paint in a combination of Boxwood (green) and Artissimo (dark blue).  Wowza!  I love it!  Miss Mustard actually copied the recipe from Allison at The Golden Sycamore.  It’s 2 parts Artissimo to 3 parts Boxwood.  I just happened to have those colors on hand, so I knew I had to try this myself.

I started with a mirror that I had removed from a dresser.  The harp that held it in place had come apart, but even if it was still intact I probably wouldn’t have left it on the dresser.

garden chalkboard frame before

 I had taken the mirror glass out of the frame already, so all I needed to do was ask Ken to cut a piece of hardboard to fit the opening.

  Next I painted the mirror frame with MMS milk paint in a blend of whites (Linen, Grain Sack & Ironstone).  But wait, before we get that far, take a look a this …

green chalkboard frame before detail

Sometimes it’s just funny what people will do to ‘repair’ something.  Ken and I shake our heads over this sort of thing all the time.  Ken is always flabbergasted when people try to repair something with nails instead of glue.  I have to say that this example really takes the cake.

Anyway, I painted the frame in my mix of Mustard Seed whites (painting right over those nail heads).  I did not use bonding agent (would have been happy to get some chipping, but really didn’t) and I didn’t add a top coat of any kind.

green chalkboard detail

I also mixed up the ‘recipe’ for the chalkboard green and painted my hardboard.  I did three coats for extra good coverage.  Once dry, I sanded lightly to make it smooth and then I seasoned the chalk board by rubbing chalk all over it and then wiping it away.  And voila, I have a chalkboard!

green chalkboard

I used some of my new chalkboard skills to add a little spring-like message.

green chalkboard final

I’ve been in a green and garden-y mood lately, maybe since yesterday was the official first day of spring.

So stay tuned this week because there will be a few more garden themed goodies coming your way!

playing with crayons.

When I was a kid I always loved getting a new box of crayons.  Especially if it was the box of 64 with the built in sharpener.  You can probably guess some of my favorite colors; Sea Green, Robin Egg Blue, Cornflower.

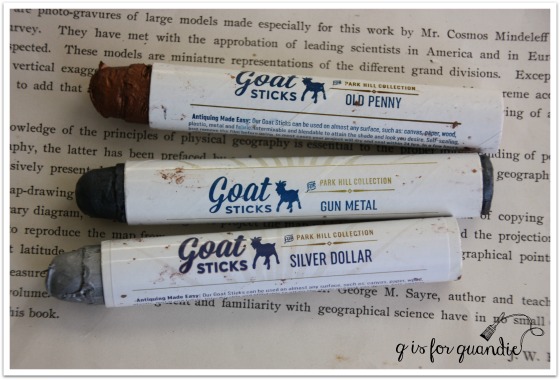
Well recently Allie from Little Billy Goat offered to send me some of their products to try out.  In addition to some paint and other supplies, she also sent me a bunch of their Goat Sticks.  What’s a Goat Stick?  It looks like a giant crayon …

goat sticks

But basically it’s a metallic wax (although there are a couple of non-metallic options as well) that comes in crayon form.

I used the Gold Leaf crayon on the knobs for my Lake Superior credenza.

ls knobs

Since the credenza already had some brassy gold trim on the top drawers (plus some brassy feet), I decided to stick with a gold metallic for the knobs.  I originally purchased these knobs from Hobby Lobby …

hobby lobby lucite knobs

They really looked fabulous on the credenza.  The gold worked beautifully with that trim.  But they simply wouldn’t stay straight, no matter how much I tightened the base, that lucite and gold cross piece would always continue to turn.  I could just imagine how annoying this would be to live with for the final owner of the credenza.  So they are going back to the store.

When those didn’t work out, I remembered that I had these arrow knobs (also purchased at Hobby Lobby).  But they weren’t gold, they were black-ish (they call it ‘bronze pewter’ on the Hobby Lobby website).  No problem!  I pulled out the Gold Leaf Goat Stick and got to work.

arrow knobs

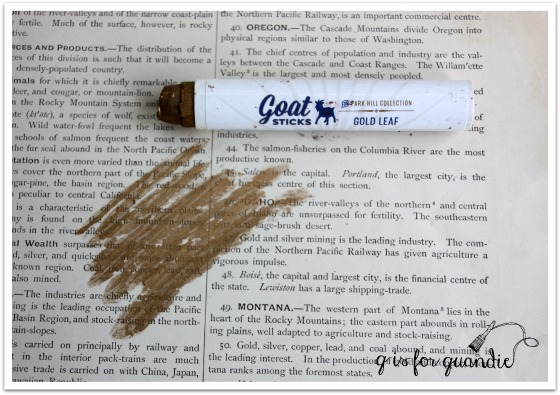
To begin with you have to remove the hard outer layer on the Goat Stick.  You can sort of peel it away, but I just rubbed mine on some paper until I got to the softer wax underneath.

gold leaf goat stick

By the way, the Goat Sticks are self sealing after 24 hours, so you’ll do this each time you use it.

For my knobs, I then just ‘colored’ the gold right onto them with the crayon.  However, I then found that it needed some additional blending so I used a q-tip to blend the wax and smooth it into the groves of the feather tips a bit more.

blending gold leaf

Since the Gold Leaf was so much fun to play with, I decided to try some of the other colors that Little Billy Goat sent me.  I really love the Old Penny.  With copper becoming so popular, I’m sure this will be a top seller.  In hindsight, the copper would have been an awesome choice on my Lake Superior Blue credenza.

old penny goat stick

I experimented with Old Penny and a couple of other colors on some old lion’s head drawer pulls that I had on hand.

lion heads

That’s Silver Dollar, Gunmetal and Old Penny (from left to right).

I have to admit, I still enjoy playing with crayons!

One thing that I want to be sure and point out is that it takes about 24 hours for the wax to dry and seal itself.  When you first put it on it is malleable and blend-able … which also can translate to ‘wipe-off-able’.  When using it, be sure to blend it to the point where you like the result and then don’t mess with it for 24 hours because you can rub it off during that period.

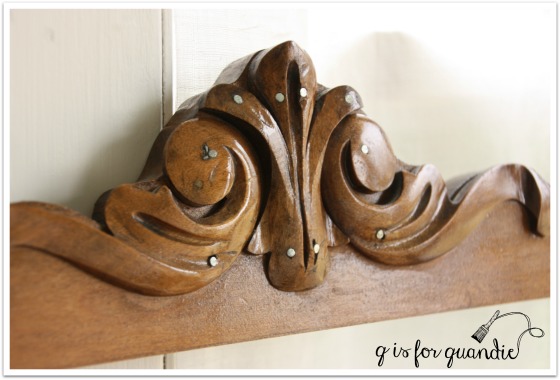
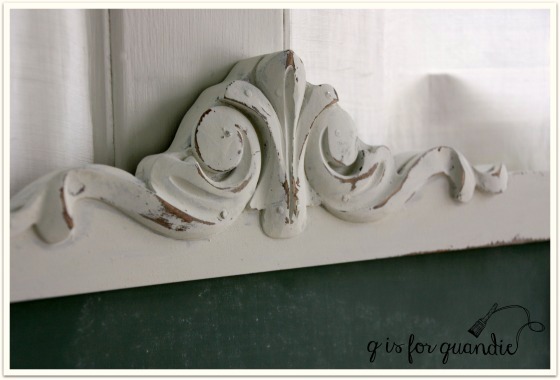
In addition to metallics, the Goat Sticks also come in Cream and Saddle (a medium brown).  They can be used on wood, plastic, metal, paper and fabric.  You could use them on wood trim (I’m going to experiment with the Cream on some wood trim later this week).  There are so many possibilities for these.  If you are local, you can find them at Reclaiming Beautiful in Stillwater where they are priced at $14/each.  If you’re not local, check out Little Billy Goat’s site to find a retailer near you.

Or better yet, I’m giving away a Saddle and a Gunmetal.  So if you like to play with crayons too, leave me a comment by Friday at midnight and I’ll put your name in the hat to win this pair!