hanging it up.

I really debated using that title for this post.  I didn’t want to give any of you a scare, thinking that I was giving up blogging.  Nope, so far I am hanging in there (bwa, ha, ha, ha).

This post is about actual hangers.  Although maybe I could give the title a double meaning.  I’m hanging up the Wednesday travel posts, and instead I’m going to try to feature a small decorating project every Wednesday.  Something that can be pulled together in an afternoon.  We’ll see how long I can keep it up.

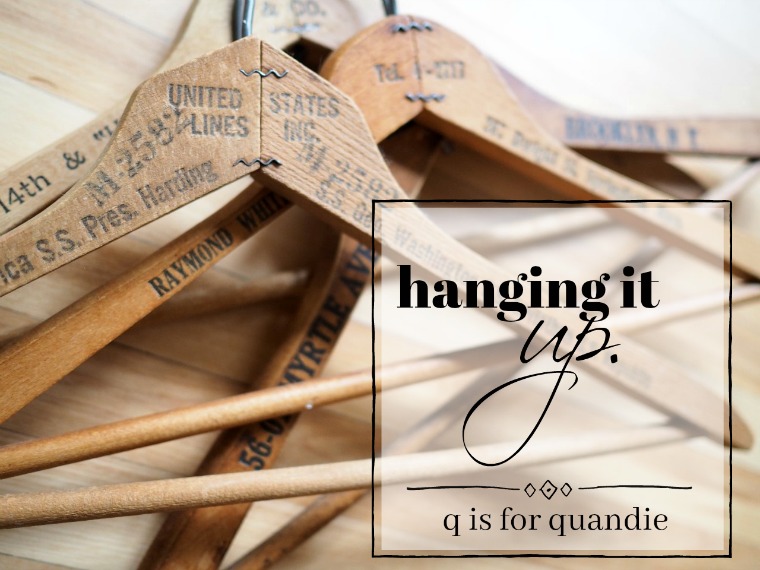
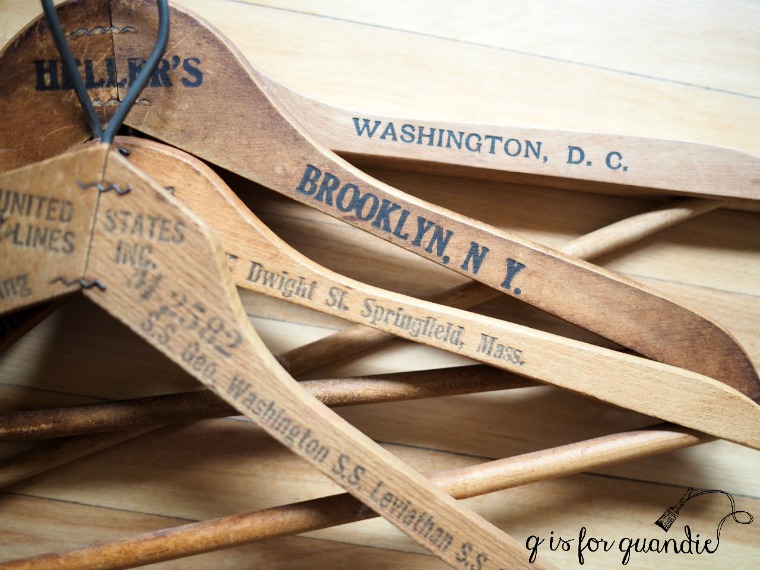
So, as I said, today’s post is about actual hangers.  Vintage wooden advertisement hangers that is.

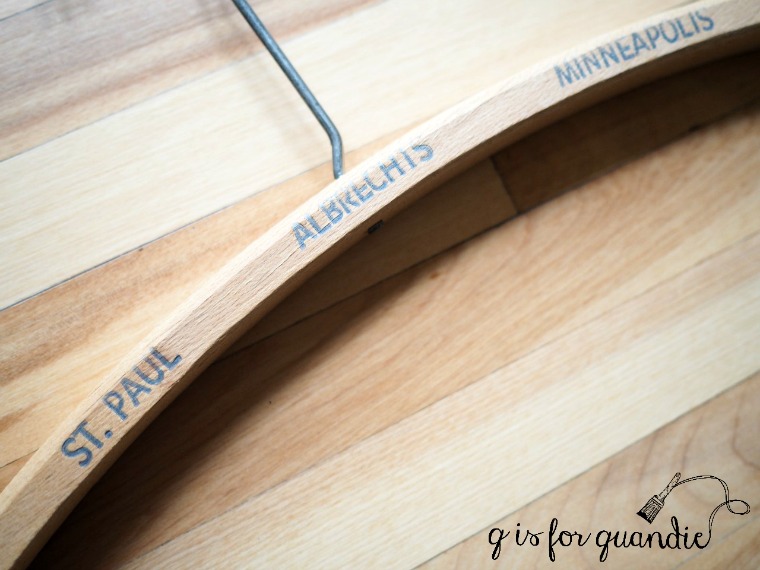
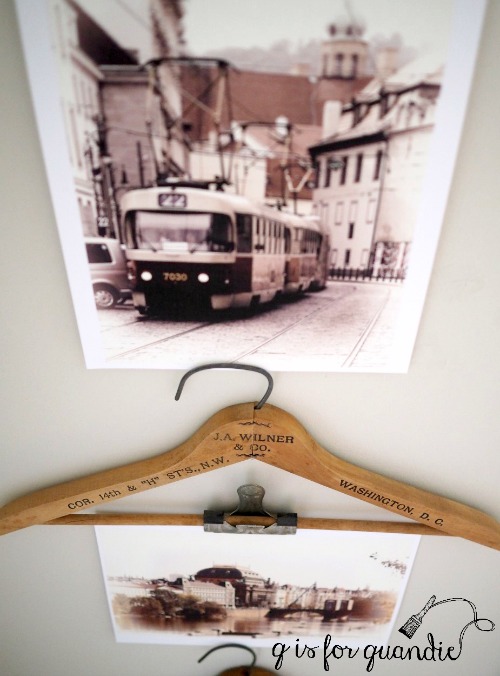
I pick these up whenever I see them at garage sales.  Sometimes if you dig through a box of plain wooden hangers you’ll find one or two with advertising on them.  I usually pay less than a dollar each.

Oddly enough, I rarely find hangers from local shops.  So far I just have one, and it’s not one of my favorites.

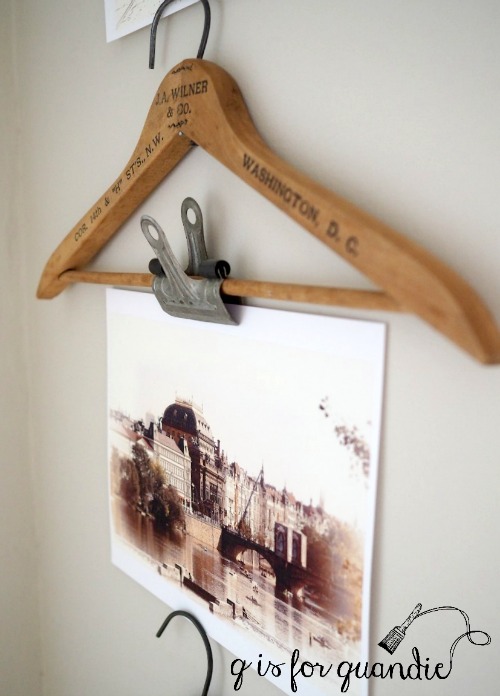
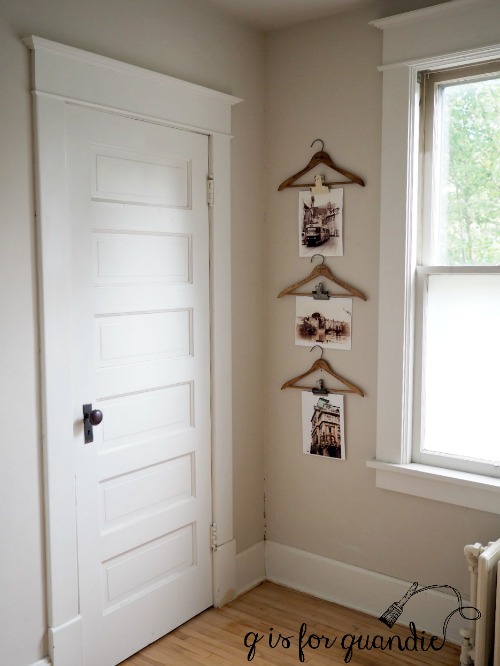
I decided to use a few of the hangers in the simplest way possible in my master bedroom.

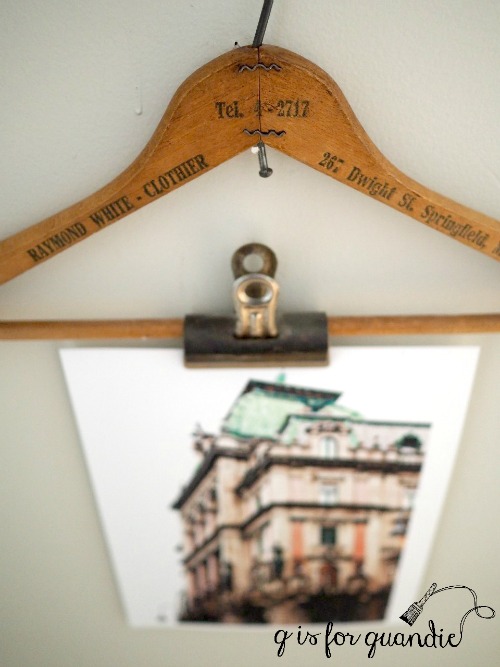
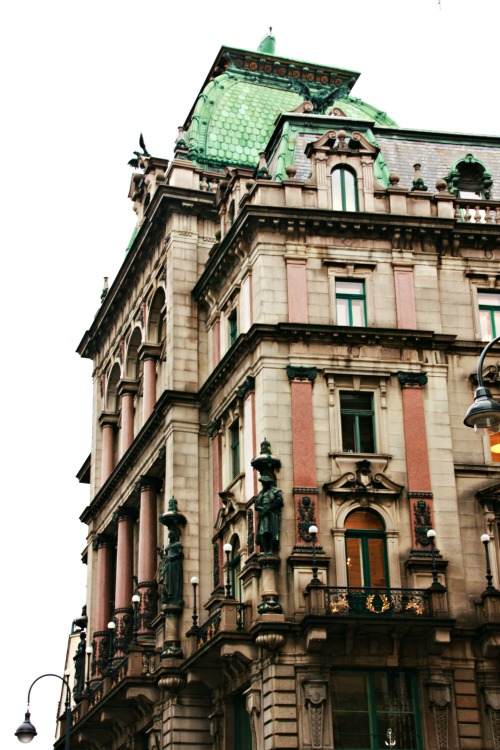
First I printed out some of my favorite travel photos (oh, maybe there is a hint of a travel theme to this Wednesday post after all).  The top two photos on the wall are from Prague, the bottom photo is from Vienna.

Several years ago I had Photoshop on my computer and I had some great plug in’s.  When my computer crashed in 2014 I lost them and never took the time to reinstall them.  Now I can’t even remember the name of the plug in!  Ugh.  But the two Prague photos were altered using that plug in.  The Vienna photo was altered using a Picmonkey effect called Filmstock.

Isn’t that a gorgeous building?

I printed the photos on matte photo paper (I use Target’s Up & Up brand).

  Then I gathered up some vintage metal clips (another thing I like to grab whenever I see them at garage sales) and simply clipped the photos to the hangers.

Easy peasy.

I hung them on the wall between my windows and my closet.  They fit perfectly there and it seems apropos to have ‘hanger art’ next to the closet.

I wondered whether or not the photo paper would curl a bit in humidity, but they’ve been up for close to a month now and we’ve had plenty of rainy weather and so far, so good.

Down the road I can easily change up the photos on a whim, or if they start to look less than fresh.

So the next time you see some old advertisement hangers, consider nabbing them and creating a gallery of ‘hanger art’ yourself!

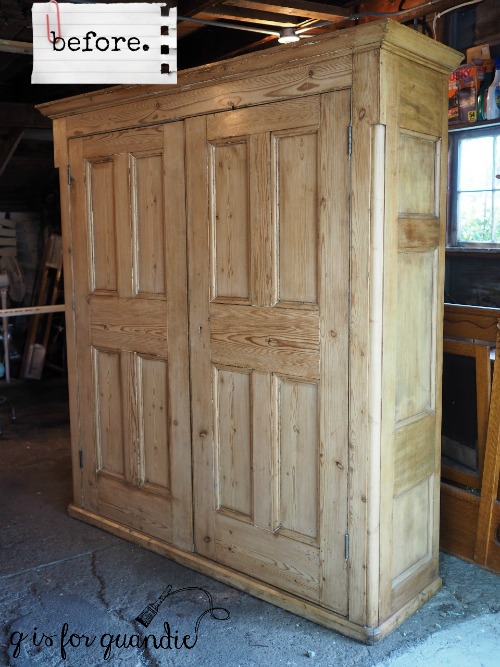
my giant English cupboard.

For quite some time now I’ve been looking for a giant cupboard for the Q branch.  I wanted something that would mostly fill up this wall …

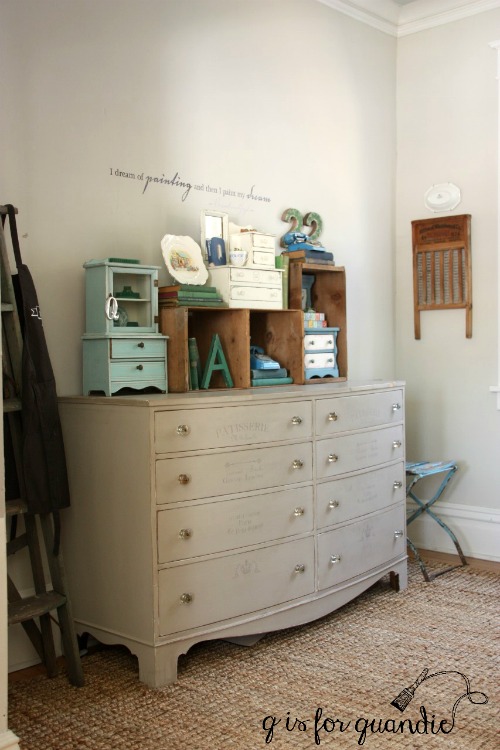
The dresser that I currently have in that spot is very functional, it holds lots of crafting supplies and camera paraphernalia.  There isn’t anything wrong with it, but I don’t love it.  It’s a bit more traditional than I am.  Since it was functioning well, I wasn’t in a hurry to replace it, but it’s something that has been in the back of my mind for some time.

I like the idea of being able to shove everything inside a cupboard and shut the doors leaving the room looking nice and tidy.  Otherwise I tend to pile stuff up on the dresser and it looks messy most of the time.

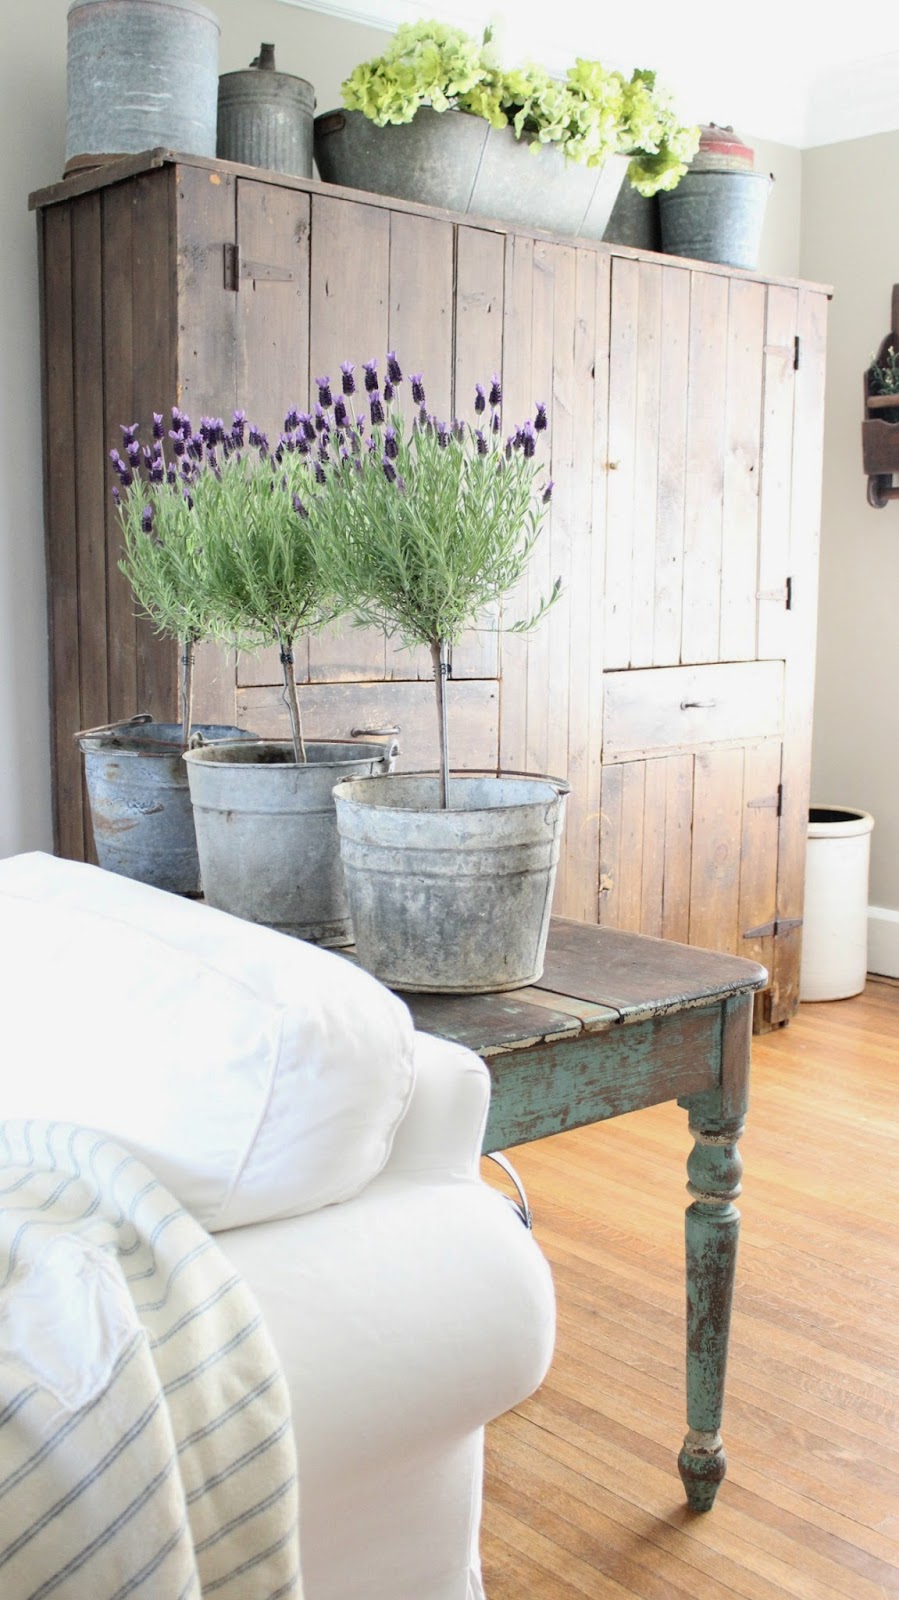
I’ve pinned quite a few examples of large cupboards as inspiration, like this beautiful example from Rustic Farmhouse

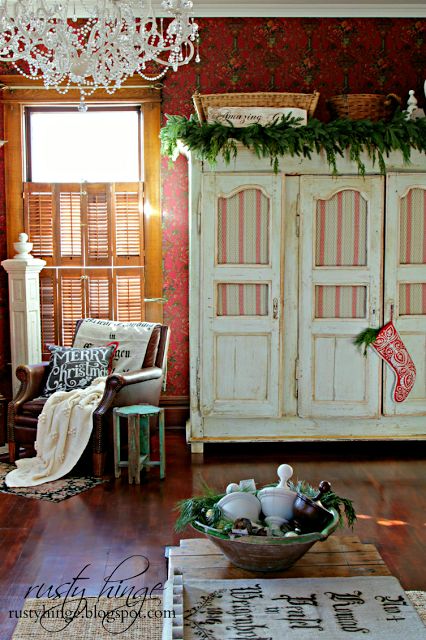
And this gorgeous cupboard from Rusty Hinge

Amazing, right?

So I’ve been keeping an eye on Craigslist for a suitable candidate.  To begin with, pieces this large are few and far between on Craigslist.  In addition, when I do find them they tend to be newer pieces that were intended to house clunky television sets in the 90’s.  But I have seen a handful that were fabulous vintage pieces, but for the most part they were way out of my price range.  And by ‘way out’, I mean over $1,500.

For example, I’ve been admiring this gorgeous cupboard for months now (here’s a link to the ad if it’s still out there) …

But the price tag is $1,800 and it hasn’t come down since I started looking at it last winter.  I suspect the buyers are holding firm.  It does have a gorgeous original painted finish.  I’m not saying it isn’t worth that much, I’m just saying that I can’t pay that much.

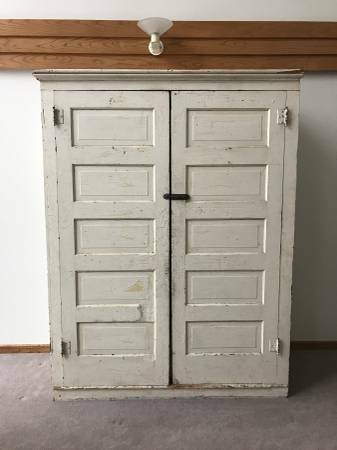
Then I spotted the ad for this one …

The ad was very short, it simply said “Antique English country armoire (late 18th / early 19th century) with the original lock.” And it gave the dimensions:  63″W x 17.5″D x 72″H.  But it was priced at $900, which was pretty high for me.  Still, I couldn’t stop thinking about it.  So I checked the measurements first and they were perfect for my space.  Next I contacted the seller to ask what was inside because there were no photos of the inside included with the ad.

The seller got back to me and said there were bars inside for hanging clothes, but no shelves.  However, she said there were supports for shelves, so at one time it must have had shelves.

So.  No shelves.  $900.  I decided to put it out of my mind.  It wasn’t really right for me after all.

I sent an email back to the seller letting her know that it was just too far out of my price range with the cost of adding shelves on top of the $900.  I didn’t hear back right away and assumed that was that.

But then one Saturday morning I got an email from the seller saying she would take less and asking me to make an offer.  So I offered $600.  I really didn’t expect her to go for it.  And I thought for sure she’d counter with $750, which was still going to be too high for me.  Let’s be honest, even $600 is a lot for me to spend.  I was surprised when she emailed back and said “Great!  I’ll take $600 if you can come today.  We’ve just moved and we need to get it out of our garage.”

As luck would have it, Mr. Q had already left the house for the day with his truck.  But nnK (my neighbor Karen) said her dad, Larry, was coming over with his truck and he’d probably be game to let us use it to pick up the cupboard.  Shortly afterwards Larry showed up and instead of his truck he was driving his baby blue classic Oldsmobile.  Hmmmm, that wasn’t going to work!  Next nnK suggested we borrow Ken’s trailer.  We could hook it up to her SUV.  So we called Ken next, and he said ‘sure!’   So we hooked Ken’s trailer up to nnK’s SUV, and then Ken and Larry both decided to come along for the ride too, so the four of us headed out.

As nnK says, we must have looked like one of those Shriner clown cars when we got to our destination and all four of us piled out of the car!  The sellers did look a little surprised that I had brought the entire neighborhood with me.

I headed into the seller’s garage to check out the wardrobe.  It’s an interesting piece.  It’s made out of pine and looking closely I could see that at one point it was painted (there are still traces of paint in the grooves), but it had been stripped.  Pine pieces were typically painted, so that didn’t surprise me.  And it was good news to me because if I decide to paint it, I won’t feel guilty about painting over an original finish.

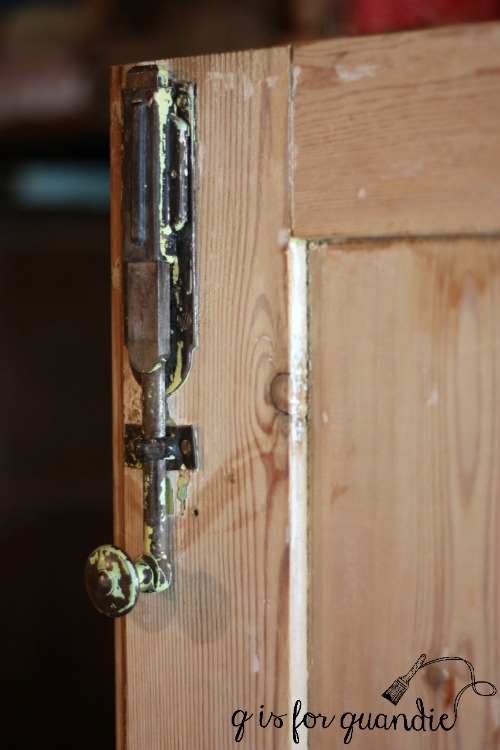
It has some really cool hardware inside including this gadget used to hold one door closed …

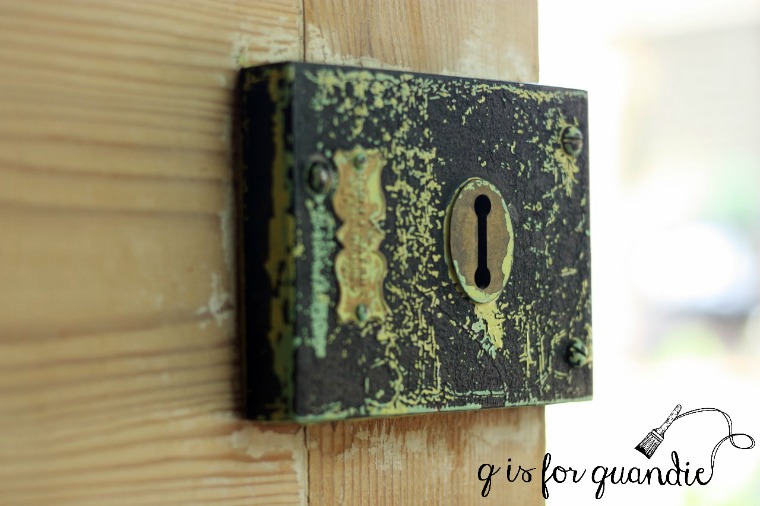
And a huge lock mechanism …

The husband of the woman I’d been emailing with asked if I wanted to know the story behind the piece, and of course I did!  He said he was from Texas and he purchased the wardrobe from an antique dealer in Texas who regularly travels to England, buys antique cupboards, ships them back to the U.S., refinishes and repairs them and then sells them.

I always hear stories like these and wonder how in the world it is possible to buy something in Europe, ship it back here, refurbish it and still make any sort of profit.  The guy didn’t tell me how much he paid for it, but I’m guessing it had to be a lot more than $600.

While listening to the seller’s story, I was also giving the piece a thorough inspection.  The back of the cupboard was obviously a replacement.  It’s made out of cheap particle board.  Or possibly this cupboard was originally a built in and never had a back, but instead just used the wall as its back.  I wasn’t convinced that the cupboard was as old as the ad said it was (late 17th, early 18th century), but it’s definitely an old piece.  I loved the simplicity of the design.  And the size was perfect for my space.  So after much scrutiny, I said “I’ll take it” and handed over the cash.

Next came the fun part.  Loading this monster into the trailer.  In the end it took 6 people!  The seller’s neighbor came over to help too.  Part of the problem was that there just wasn’t anything to grab onto to lift it off the ground.  We ended up putting cardboard under it and then sort of sliding it out of the garage.  Once we’d cleared that space we were able to tilt it backwards with three people on each side and then lift it up and into the trailer.

We strapped it down and headed out.  I wish I’d taken some photos.  The cupboard is huge and hung halfway out of the trailer.  We took back roads all the way home to avoid traffic and high speeds.  We made just one stop at the Dairy Queen.  I’d promised my helpers some ice cream for their efforts.

So for $600, plus the cost of two malts, one blizzard and one small cone, I am now the proud owner of this beautiful antique English pine cupboard.

 Now that I’ve got it home, Ken will work his magic on this inside and then I’ll work some magic on the outside … maybe … I still haven’t decided.

What do you think?  Should I paint it, or shouldn’t I?

the rest of the bed.

I showed you guys the full bedroom set that I purchased just to get the headboard for my master bedroom.

If you look just in front of the tall headboard you can see that the bed came with a foot board.  It also had side rails, but they aren’t pictured.

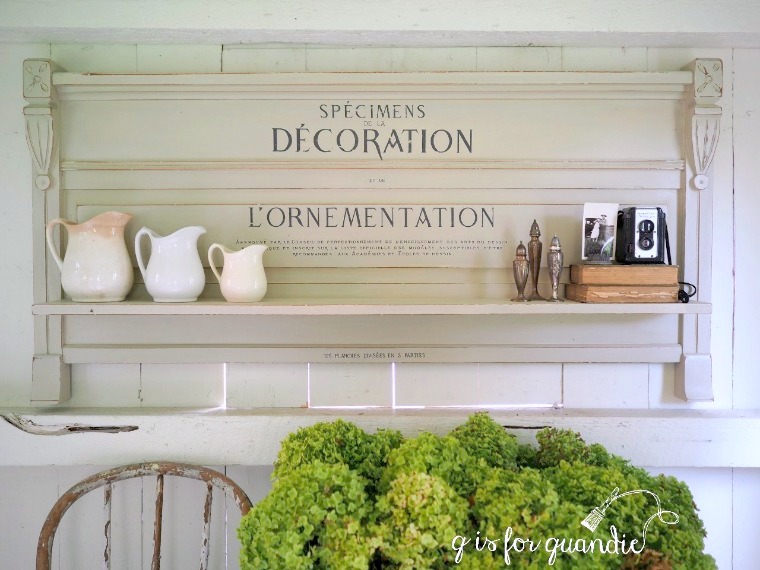
Since I modified the full size headboard to fit my queen size bed, I couldn’t use the side rails or the foot board, so I decided to re-purpose them.  I called Ken over for a consultation and explained that I wanted him to cut down one of the side rails and attach it to the foot board as a shelf.  Oh, and cut several inches off the legs.  Ken has gotten so used to me now that he doesn’t even question my crazy ideas anymore.  He just takes the pieces away to his workshop and a few days later brings them back completed.

And then I take it from there.

Initially I was going to paint this piece white.  I pulled out the packets of milk paint that Homestead House generously provided me with last winter to see what I had in white. I had Sturbridge White, a fairly bright white, and Champlain, which is more of an off white.  I also had a packet of Miss Mustard Seed’s Ironstone, also a bright white.  I knew I didn’t want bright white, so I chose the Champlain.

One thing you should know about the lighter colors of milk paint is that they sometimes will take on color from whatever is underneath them.  It’s not necessarily the same thing as when the stain bleeds through your paint because it’s more of an overall color not so much random spots of bleed thru.  This foot board had a very orange-ish colored stain on it.  That gave my Champlain a bit of a peachy look.  Ugh.  Not what I was going for at all.  So after two coats of Champlain, I switched gears and added a final coat of Homestead House milk paint in Stone Fence.

I love this color.  It’s a pale greige.  In hindsight this would have been the perfect color for something in my own bedroom!  It reminds me quite a bit of the Edgecomb Grey I used on my walls.

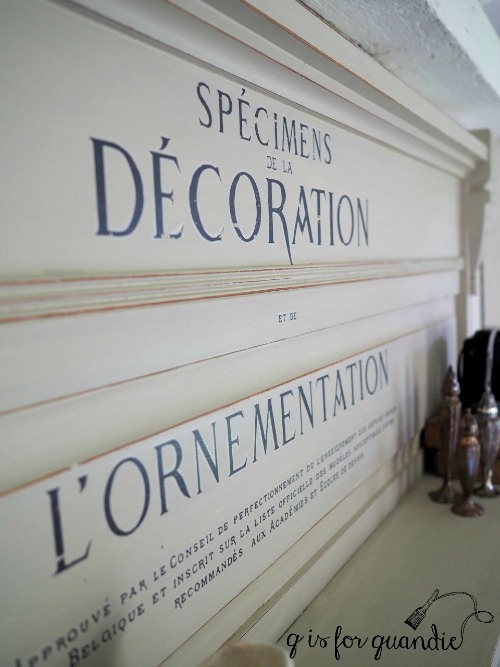
Once the paint was dry I sanded to distress, vacuumed away the dust, wiped it down with a clean cloth and then added an Iron Orchid Designs transfer.  I had to cut and paste the elements of the design to fit on the foot board, but that worked out perfectly.

I sanded over the transfer just lightly with 220 grit paper to take away a little bit of the shine.

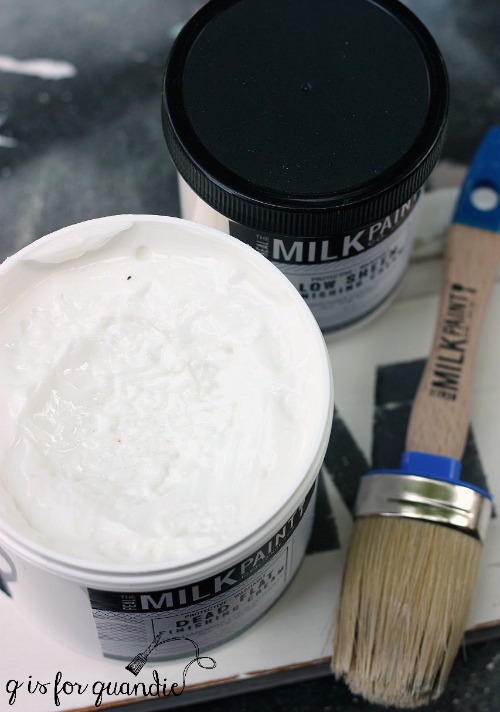
Finally I applied some Dead Flat Finishing Cream from The Real Milk Paint Co.

A while back I tried the Low Sheen Finishing Cream from The Real Milk Paint Co and I loved it.  I wanted something just a bit more flat though, so I asked if they would be willing to send me a free sample of the Dead Flat in exchange for a review on my blog.  They were game and sent some out asap along with a brush for applying it.

The first thing that I really love about this product is how easy it is to apply.  It has the consistency of a thick body cream …

To apply I just dipped the end of my brush in the cream and then brushed it onto the surface.  You don’t have to work it in like wax, you don’t have to wipe away any excess like with hemp oil.  You just brush it on without over working it.  It dried quite quickly for me and I was careful not to over brush as it started to get tacky.

What I also love about this product is that there is very little smell.  I would definitely feel comfortable using this inside my house in the winter, which is an important quality for painters in Minnesota!  Furthermore this is a non-VOC product, it’s water based so you can clean your brush with soap and water, and after 24 hours drying time the finish itself is washable.  Also, you can paint back over the Dead Flat with milk paint as soon as the finish is dry.  That is not the case with wax or hemp oil.  That could be very handy if for some reason you need a do-over.  Say for example you realize that an IOD transfer looks terrible over dark green milk paint (been there, done that) and now you want to just start over.

I’d been looking for a finish to use over milk paint that is more durable than wax or hemp oil, but still has that matte look that I love and this one fits the bill perfectly.

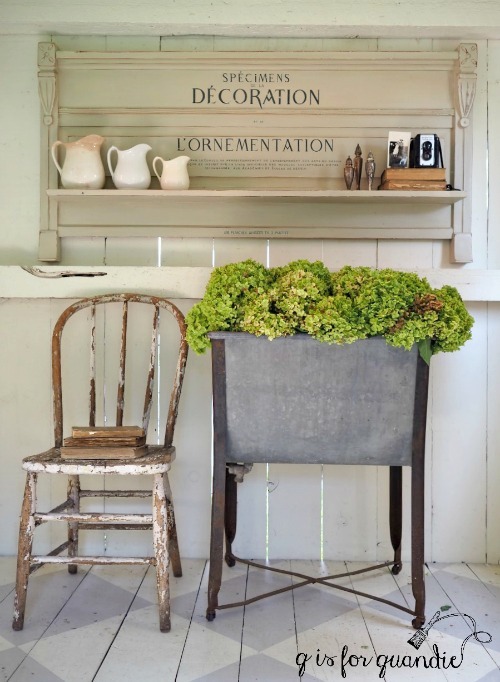
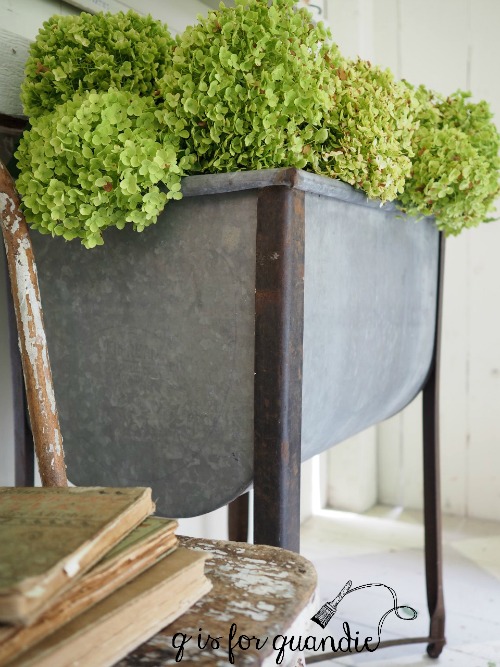
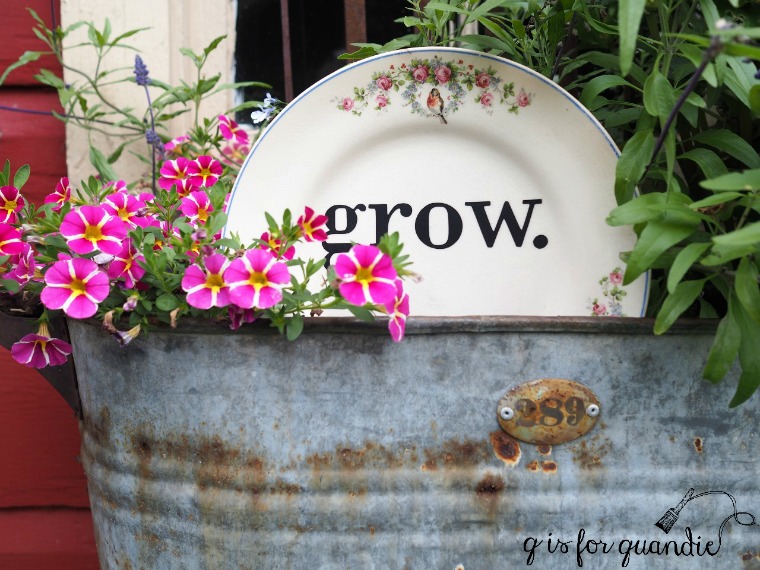
I used an old galvanized tub full of Annabelle hydrangeas in my photos.

I’ve had this tub for years and I usually use it to hold shopping bags for my annual occasional sale.  Since I’m not having a sale this year, I decided I should dig it out and use it for something more decorative.  I filled it with flowers from the Annabelle hydrangea that is out back in my cutting garden.  This time of year the Annabelle’s turn really green, while the Limelights are starting to get a pink tinge.

Oh, and as for the other side rail from the bed, I turned it into a Farmers’ Market sign.  I painted it with the Homestead House Sturbridge White milk paint, stenciled it with Funky Junk’s Farmer’s Market stencil, sanded it lightly and then finished with the Dead Flat.

It would be perfect hanging above a sideboard in a dining room, don’t you think?

Since I don’t have an appropriate spot for either of these pieces in my own house, they are both for sale locally.  If interested, check out my ‘available for local sale’ page for more details.


the beamish.

I feel just a little sad to be bringing you the last post about our trip to Norway & Scotland.  I have really enjoyed reliving the trip while writing these Wednesday posts and I’m going to miss doing them.

Our last port of call was Newcastle upon Tyne, England.  I’m starting to sound like a broken record, but we didn’t actually dock right in Newcastle, we docked in a rather industrial area with not much at all to see right there at the port.  However, once again there was a locally provided shuttle service that would take you into Newcastle or several other locations (including the Beamish, if only I’d known).  But this port is where we took our one and only ship sponsored shore excursion, a trip to the Beamish.

If Disneyland and a traditional museum had a baby it would be the Beamish.  The Beamish is an open air museum that was founded by Dr. Frank Atkinson.  He was inspired after visiting some of the Scandinavian open air museums, like the one that we visited at our first port of call, Oslo (it’s as though we have come full circle!).  He wanted to preserve the history and culture of this more industrial part of England.

The Disneyland part comes in because first of all the place is quite large at 350 acres.  Second, it’s basically set up as a series of themed areas situated around a circular 1.5 mile road.  And finally, because you can ride on various vintage forms of public transportation to get around (much like on Disney’s Main Street).  The only thing that it’s missing is a boat ride with singing dolls, and of course The Mouse.

We decided to start off in the 1820’s section of the museum and so after entering we headed to the right towards St. Helen’s, a lovely medieval church that was saved from demolition when it was moved here.

I truly felt as if we were traipsing through the English countryside exploring incredibly charming out of the way places.  This is exactly the way I picture England in my imagination (probably a result of all of the Father Brown shows I watch).

Here is a view from inside the church.

After visiting the church, we made our way through the beautiful Georgian landscape up to Pockerly Old Hall.

As you can see, the place isn’t just buildings and functioning vintage transportation.  There are also plenty of animals like the horse above, and this comical guy who stared me down through the fence.

 Plus there are costumed characters demonstrating what it was like to live and work in each era, such as this woman doing a little baking in the manor house.

You could test taste the results too!

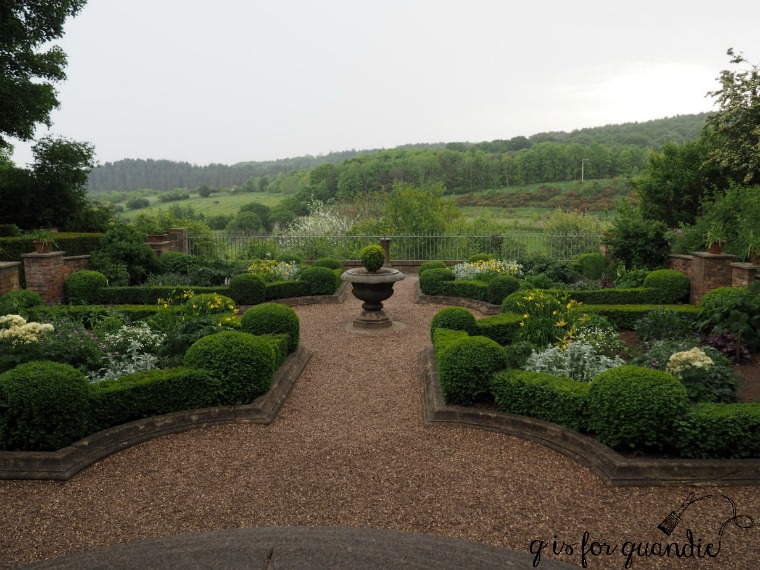
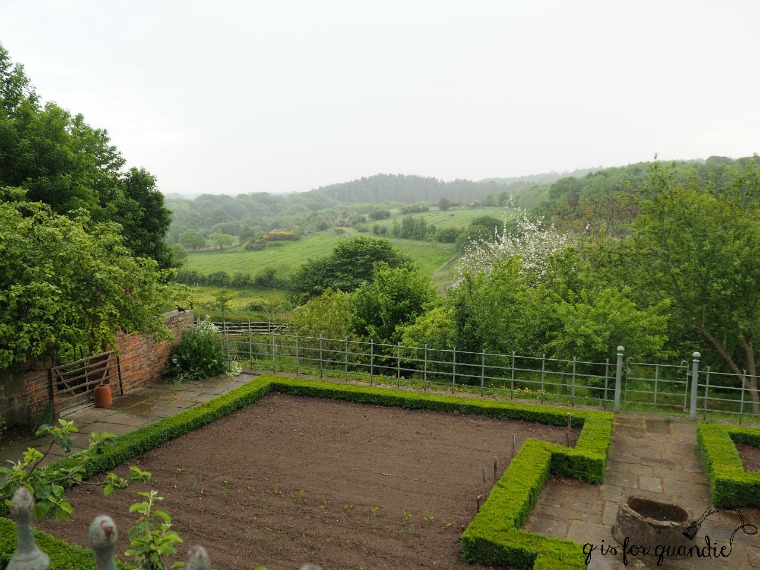
It started to rain a bit just as we got to Pockerly, but I braved the elements to snap some quick photos of the gorgeous terraced gardens.

Don’t forget, this was May so things were just sprouting in the kitchen garden.

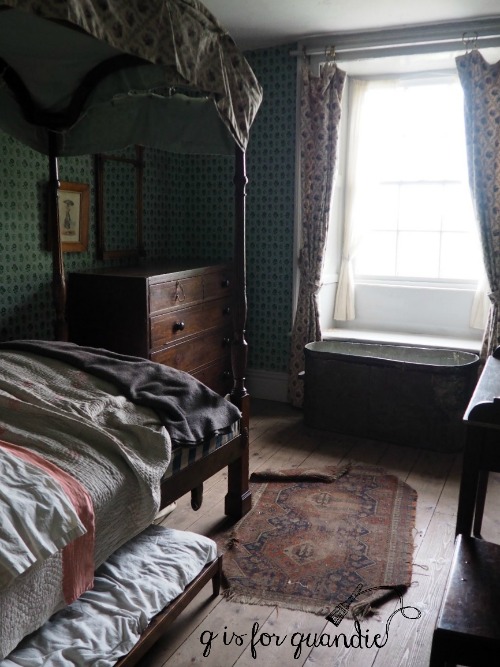
Then we headed back inside the hall to get out of the rain and tour the fully furnished rooms.

I would love to get my hands on that dresser.  It needs a little milk paint and some new knobs.  It seems to be missing ‘just one.’

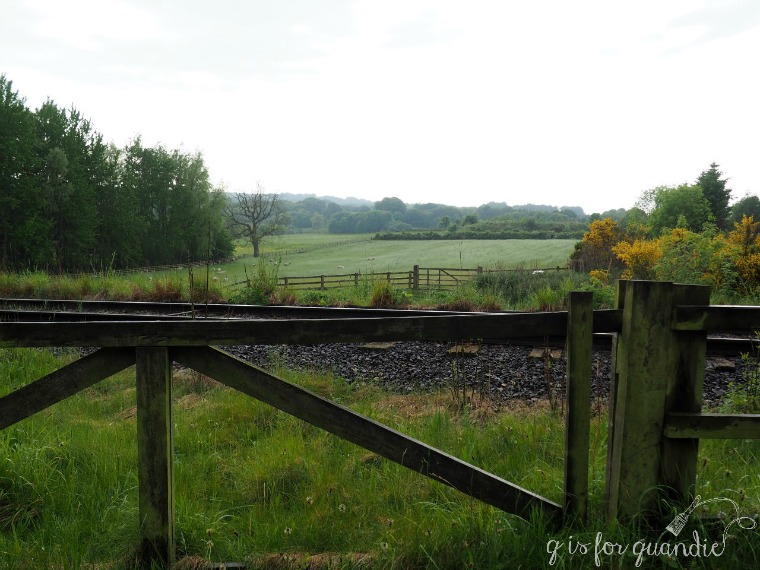
After touring the rest of the manor hall we decided that a little rain wasn’t going to hurt us, so we headed off through the ‘English countryside.’

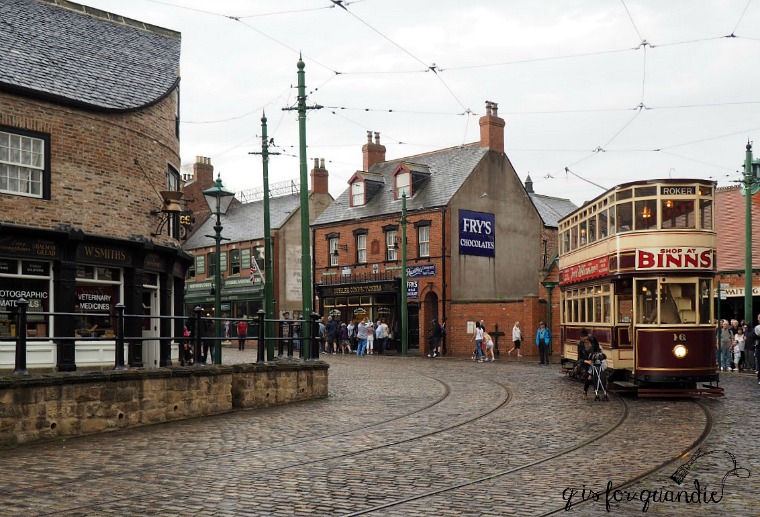
We followed some pretty country lanes back to the main circular road which then led us to the 1900’s town.

There were a few more people in town than there were in the countryside, but there was also a lot more to explore.  All of the buildings are furnished appropriately for the period and you can walk through them.  Many of them also have costumed workers who can tell you more about the place.  There are so many buildings that I’m not going to take the time to list them all, but you can check out this link to the Beamish website to read more about them if you like.

The inside of the print shop was full of interesting bits.

Just check out the fabulous old cup pulls on the print cabinet.

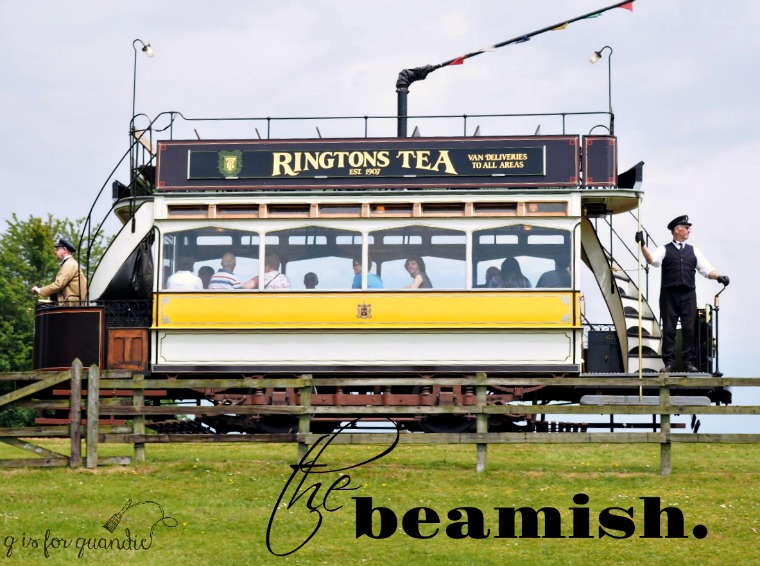
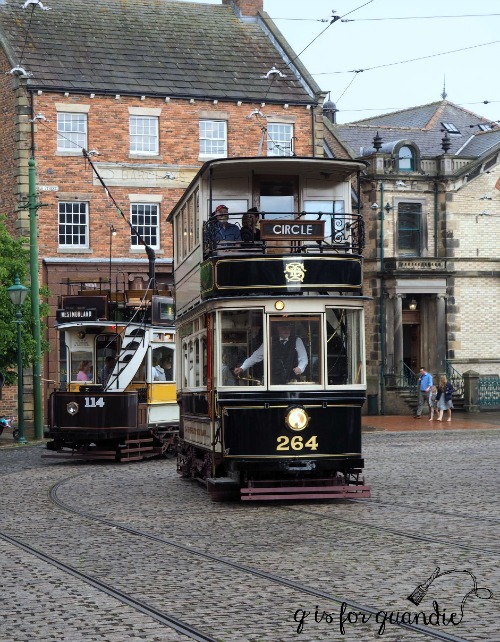
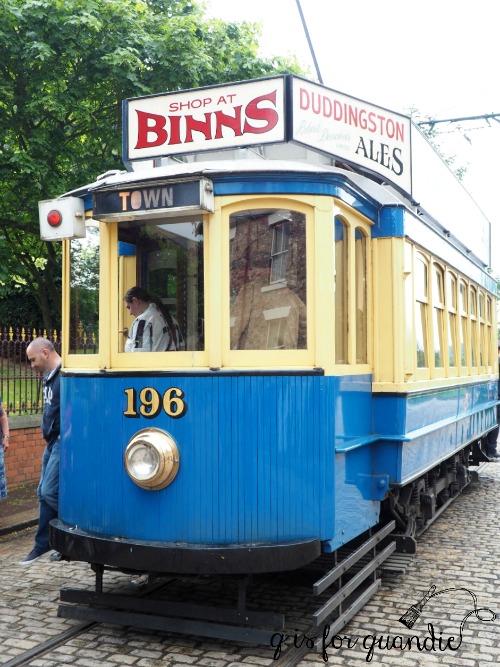
Even though we never actually rode on any of the old street cars, it was fun to see them being used.

The rain had ended by the time we were done exploring the town, so instead of riding we opted to continue on foot.  Our next stop was the 1940’s farm.

This area focuses on life in England during WWII with rationing, land girls, and finding ways to ‘make do and mend’.

The final stop on our circuit was the 1900’s pit village.  I wasn’t really sure what exactly a ‘pit village’ was, so I looked it up on wikipedia …

A pit village, colliery village or mining village is settlement built by colliery owners to house their workers. The villages were built on the coalfields of Britain during the Industrial Revolution where new coal mines in isolated or unpopulated areas needed accommodation for the incoming workers.

I’ll admit I wasn’t terribly excited about seeing something called a ‘pit village’, but I ended up loving it.

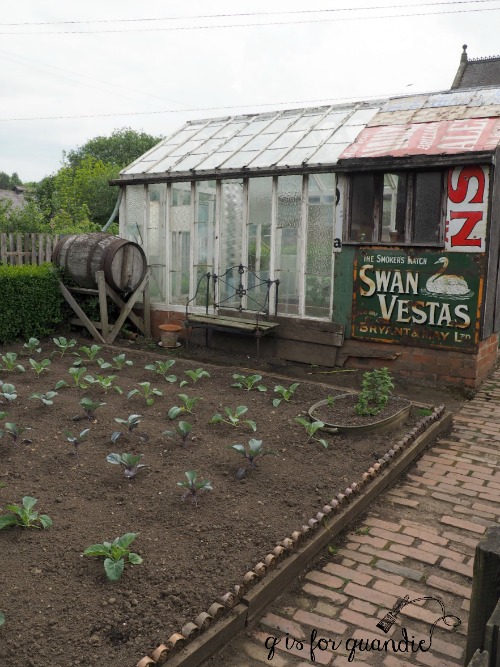
Especially the miner’s cottages with their small gardens and cobbled together green houses.

I’d love to have one of these in my own backyard!

This area was so charming.

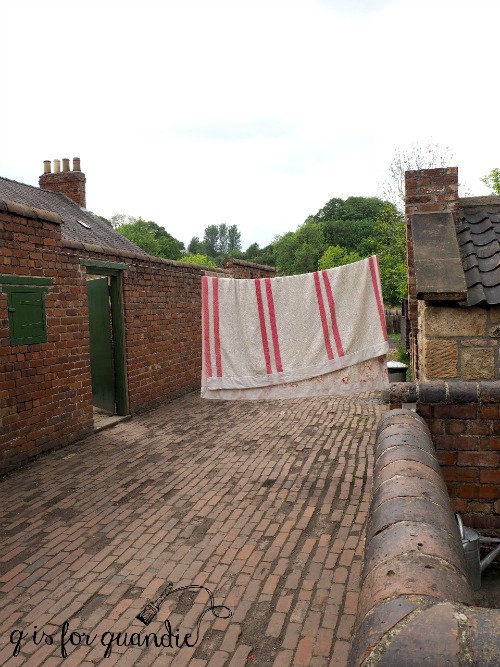
They really paid attention to the details with things like old quilts hanging on the laundry line …

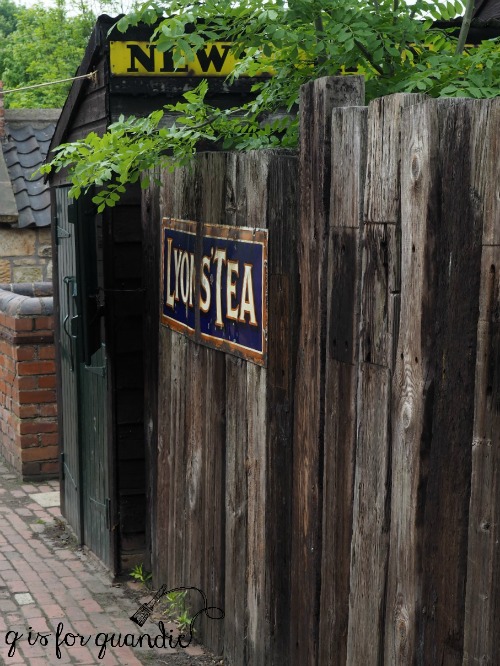
and old posters pasted to the walls …

We really enjoyed our afternoon at the Beamish.  It was a little bittersweet knowing that it was our last port of call and our trip was coming to an end.

But honestly, 16 days of traveling was just about perfect for us.  We felt like we saw so many great places, but we were ready to head home and sleep in our own bed again.

Overall it was an amazing trip.  If you’ve been reading my posts and thinking that one day you’d like to take this cruise, well sadly Holland America doesn’t seem to be offering this exact itinerary next year.  They still have a cruise called the ‘Fjords & Highlands‘, but it only has one stop in Norway at Kristiansand, which if you’ll remember was my least favorite of the Norway ports.  Otherwise they have switched out all of the Norwegian ports for Ireland.  I’m puzzled as to why they are still calling it by that name because it doesn’t even seem to sail through any fjords.  Are there fjords in Ireland?

Anyway, this brings my Wednesday travel posts to an end.  I hope you enjoyed them!  I’m still not sure what I’m going to do with my Wednesdays after this, but I’m sure I’ll think of something.  You’ll just have to stay tuned to find out!

the gold rush.

My sister picked me up bright and early this past Saturday and after a quick stop at the local cash machine we headed south on highway 52 towards the Oronoco Gold Rush.

Gold Rush is an antiques market that has been taking place since 1972 in the little town of Oronoco, just north of Rochester, MN.  Their website is pretty basic and doesn’t really provide much in the way of stats.  I’d love to know how many vendors they had, and what the estimated attendance was but I couldn’t find that info.

Let’s just say that on Saturday there were LOTS of people there.

And there were also LOTS of vendors.  I don’t think we made it to all of them.  It’s easy to get turned around and lose your way.  Did we go down that street?  Did we head up that hill?  We lost track after a while.

Update:  since originally posting I found an article with some numbers, 275 – 300 vendors and 20,000 shoppers per day.  Yep, like I said, lots!

There was a real mix of stuff at this event.  There were traditional antique dealers with things like glassware, military collectibles, and expensive furniture.  There were Scentsy vendors and Tastefully Simple vendors.  There were lots of vendors selling those welded metal lawn ornament type things.  There were vendors with food items, like fudge or those wine slushy mixes (yep, purchased some of each).

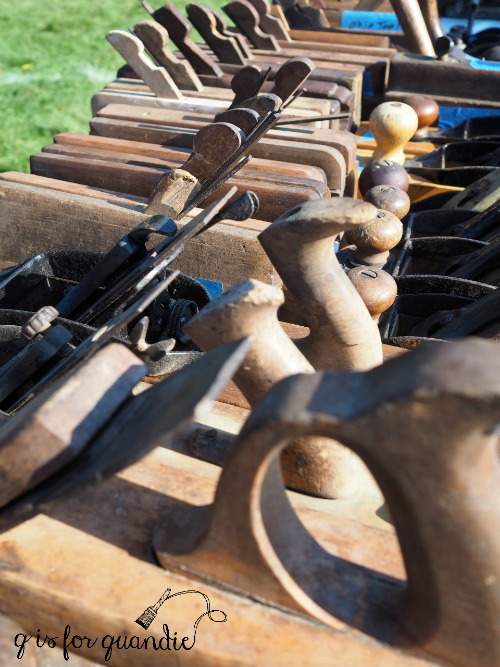
I’m always amazed by the vendors who have a whole lot of one kind of thing, like this one with a table full of vintage woodworking tools.

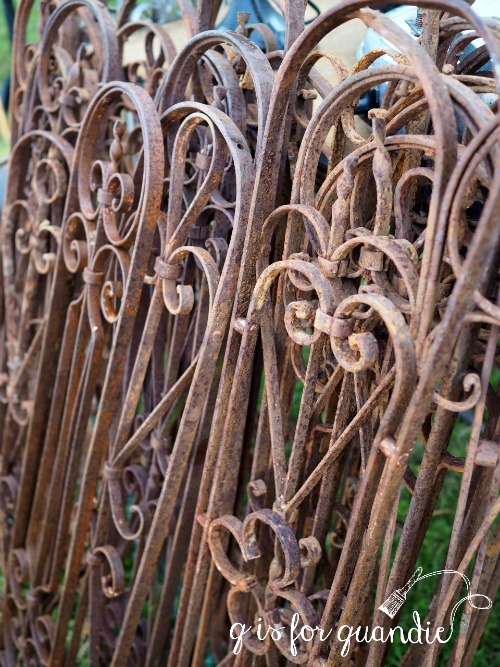
Or this guy who had all kinds of vintage, rutsy iron fence/railing thingies (do these things have a name?)

My sister bought a couple of them to use in her garden.  I have some already, and I use mine in my planters and window boxes.

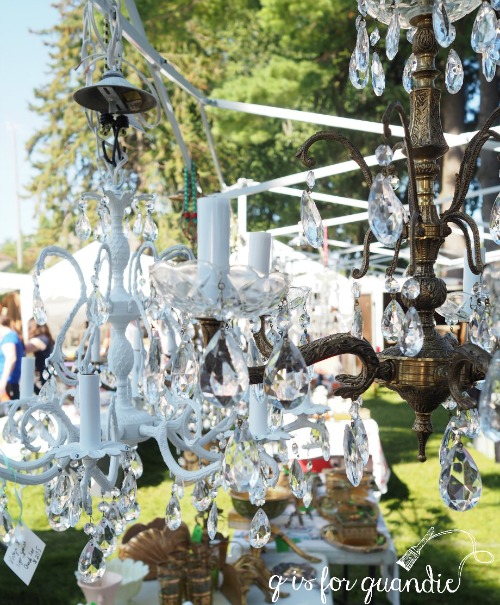
This vendor had a whole bunch of gorgeous chandeliers.

There are a couple of booths that really stand out as show stoppers.  One is the booth by Checkpoint 19 Antiques.

Their stuff is just so incredibly cool.  It has a vintage science experiment sort of vibe.

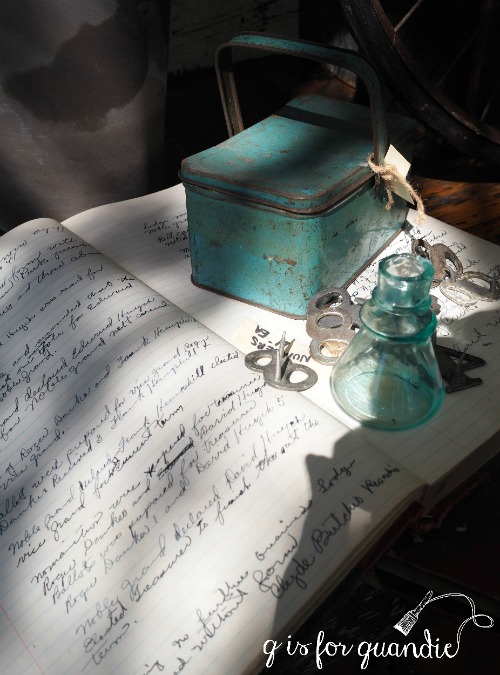
You guys, I was so busy admiring the style of this next vignette that it didn’t even occur to me that I should check the price on that fab aqua metal box.  Dang!  I’m kicking myself now.

I just loved all of their adorable topiaries and I was so tempted to buy one of those.  But sadly, I have a bad track record with topiaries.  I consider myself to have a fairly green thumb too, but somehow proper topiary care eludes me and every one I’ve ever had has died within a year.

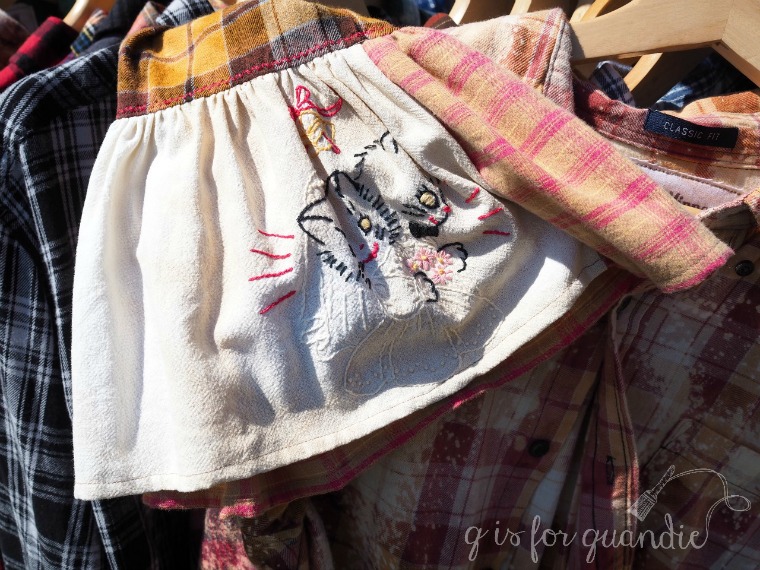
Another vendor that really stood out above the rest was Angry Minnow Vintage.  They create the most amazing upcycled flannel shirts.

I really loved the ones that had flared cuffs made out of vintage linens.  What an awesome idea, right?

Corrabelle Rose had a stunning booth full of pretties.

This was a great spot for getting your color fix.

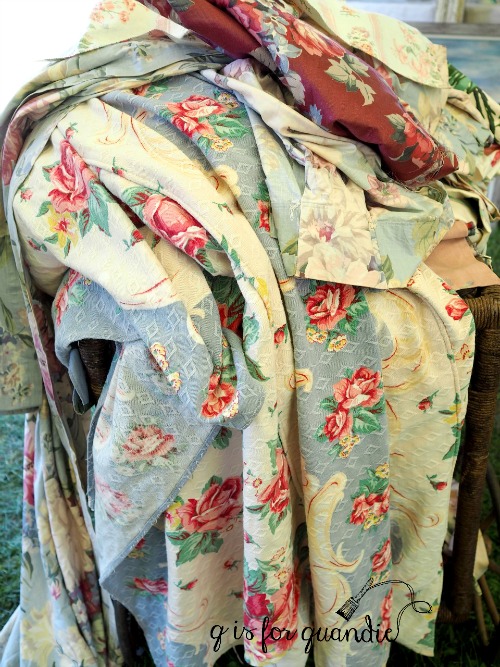
Everything in this booth was just lavish!  There were luxurious piles of vintage florals.

This was the only booth where I saw any ironstone.

It was out of my price range though.  As were most of the things in this booth.

You know, I’m really just a garage sale girl at heart.  I tend to look at a lot of these things and think to myself I bet I can find that at a garage sale for a couple of dollars.

The gals from Vintage Junkies and Sparrow Antiques were much more my speed.

They really had a knack for display.  Both my sister and I made some purchases at their booth.  I came home with a great grain sack pillow, and Debbie got some dish towels and some vintage cookie cutters.

By about 1:30 in the afternoon we were getting pretty hot, our feel were killing us, Debbie was out of cash and our cart had gotten really heavy (we brought a ‘granny cart’ for our haul), so we decided to call it good.

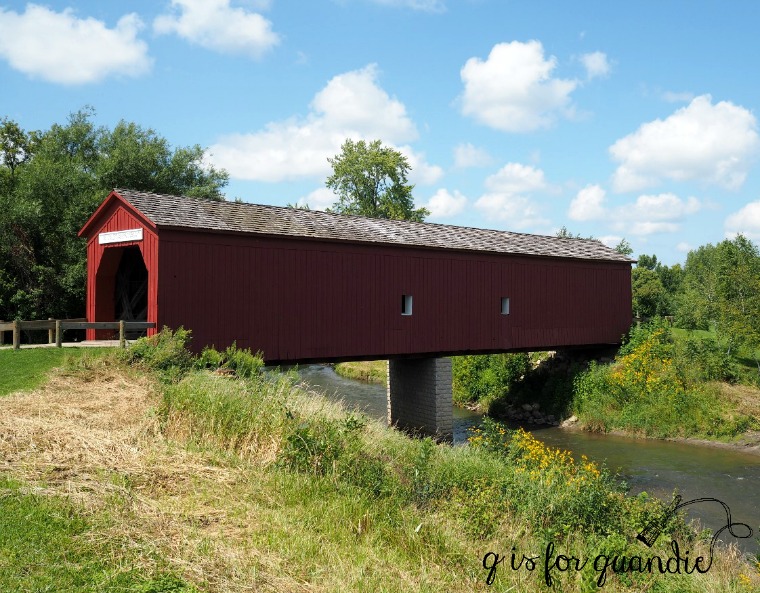
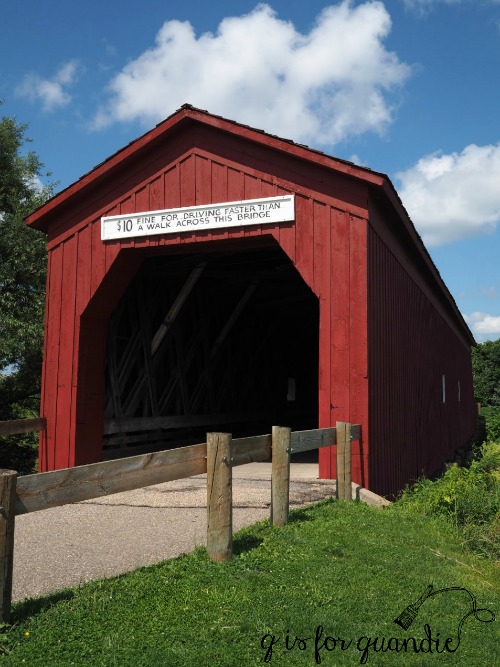
On the way home we made time to stop off in Zumbrota to see the covered bridge.

The day could not have been any more beautiful with that blue sky filled with white fluffy clouds.

And here is the modest pile of goodies that we came home with.

Nothing too earth shattering.  My sister is going to plant a fairy garden in the radio flyer wagon next year.  I’ll add the vintage tablecloth to my non-collection (because remember, I don’t collect stuff).  Even though we didn’t buy a ton of stuff and a lot of things were way out of our price range, we’re still looking forward to going back next year!  Any you never know, maybe next year we’ll get to visit a Miss Mustard Seed booth at Oronoco, after all it’s practically in her backyard now, right?  Fingers crossed!

the garden club.

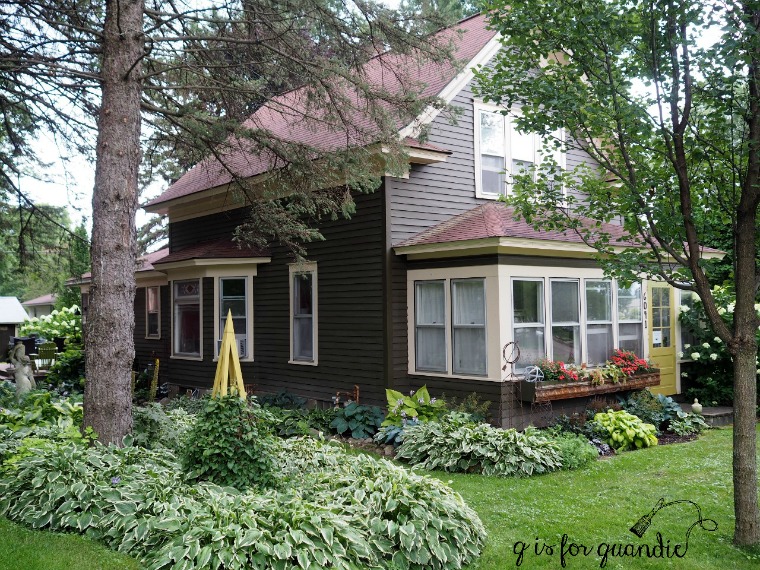
I mentioned a while back that my neighbor across the street, nnK, won the Acorn Award this year.  The Acorn Award is our city’s award for landscaping that goes ‘above and beyond’ normal standards.  After nnK won the award, the garden club contacted her and asked if they could plan a time to tour her garden (I shared nnK’s pond garden here).  They also asked if they could tour my garden while they were in the neighborhood.

Unfortunately the date they had available for a visit was this past Monday which was definitely not the best time to visit my gardens.  I’ve mentioned in the past that I usually throw in the towel on gardening by mid-August.  The weeds begin to take over, I’ve usually got a fair amount of Asian beetle damage by now, and inevitably I have some (or in the case of this year, lots of) hail damage.  The Ostrich ferns start to die back in August and the prettiest perennials, such as the peonies and lilacs, are long past blooming.

But mid-August was what worked for the garden club schedule, so I made a little last ditch effort to spruce things up a bit for their visit.

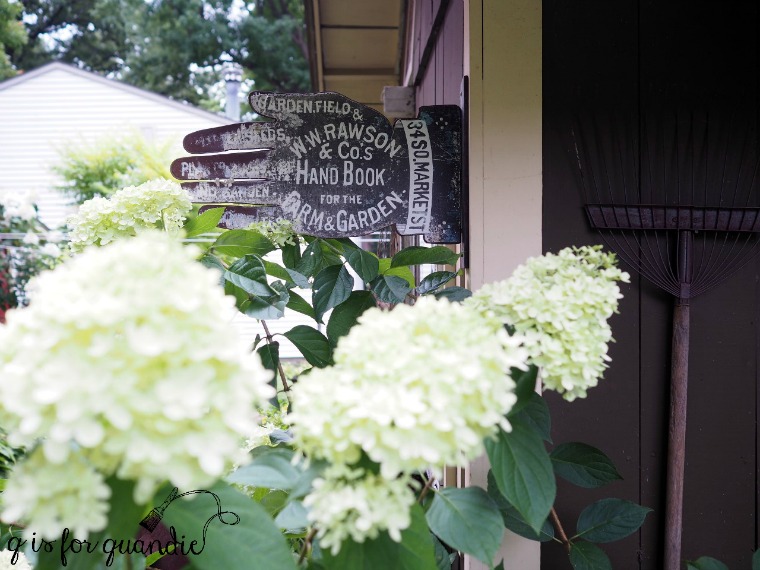
The fact that the hydrangeas are blooming helped quite a bit.

And the annuals in my planters added a bit of color.

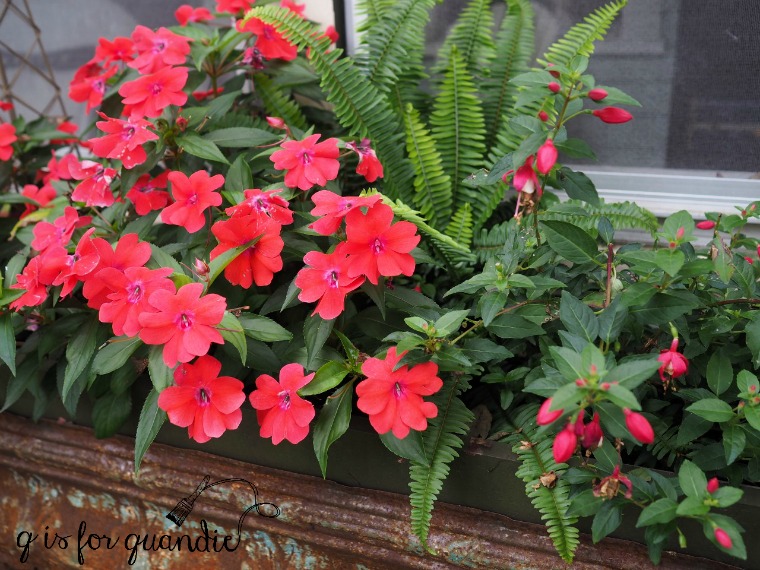
I planted New Guinea impatiens and fuchsias in my front window box this year and they are going gang busters.  I’ll plant them again next year.

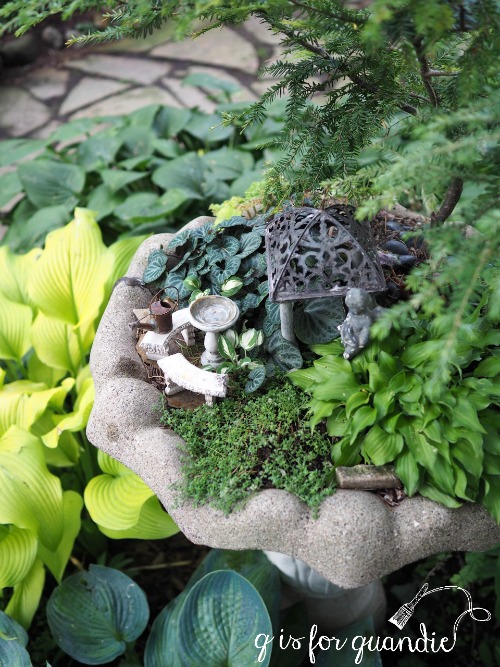
I think the fairy garden was a big hit.

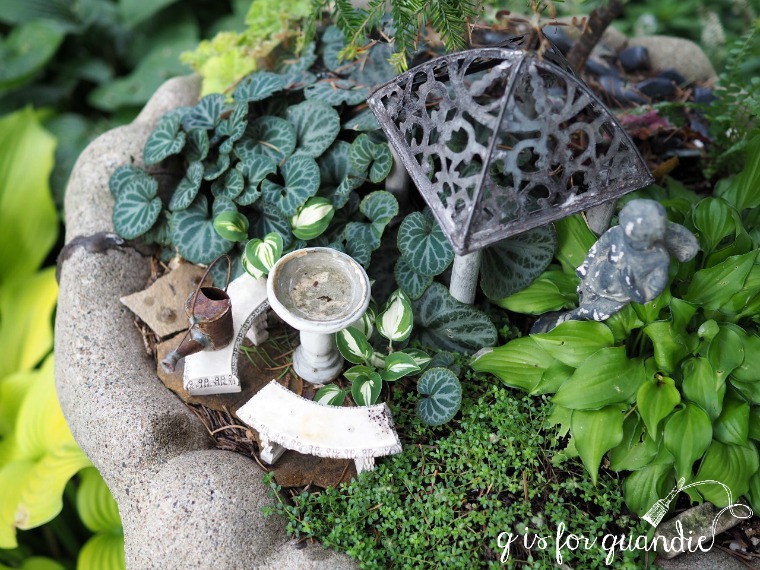
If you haven’t seen it before, my fairy garden is planted in an old concrete bird bath that is cracked so it won’t hold water anymore.  That makes it perfect for planting because it allows for drainage.

My bright green/yellow lamium has finally taken off after a very slow start this spring and luckily my concrete rabbit doesn’t eat much (you can see some of that hail damage on the hosta on the upper left side of the photo).

I love this stuff for adding a bright spot in a shady garden.

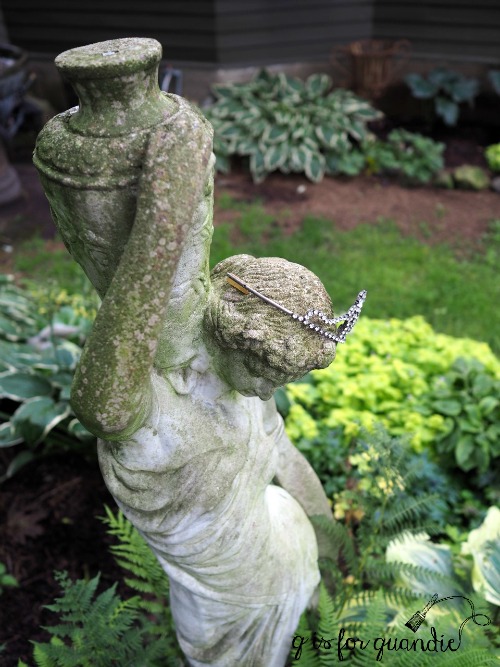
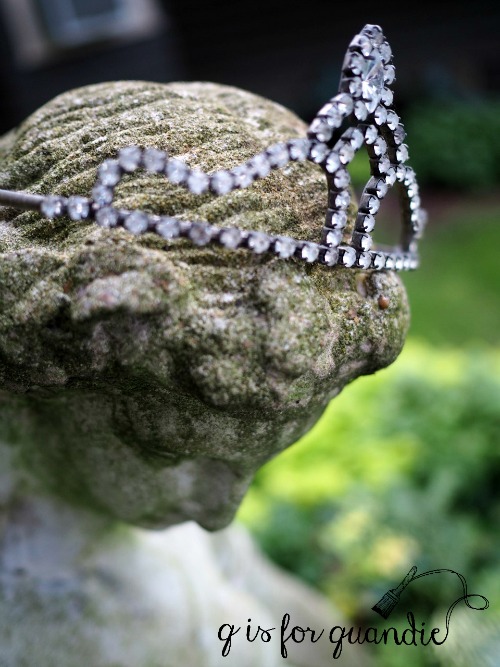
My statue, Cossetta, was a garage sale find.  I think some of the garden club members found her tiara amusing.

But hey, what girl doesn’t want to wear a tiara now and then?

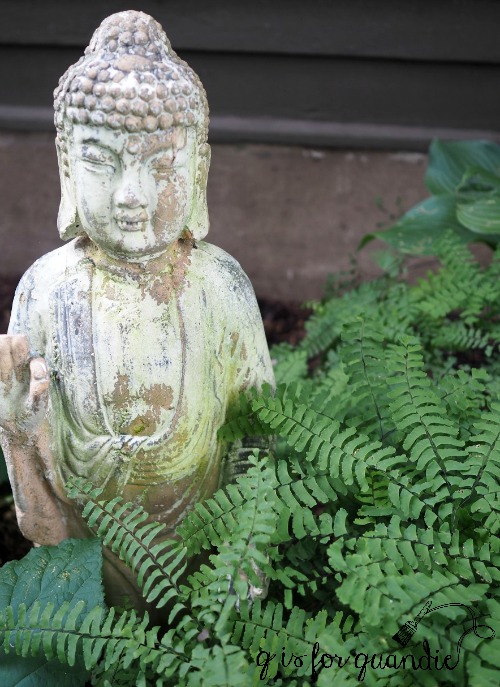
Even though the Ostrich ferns in my fern garden were mostly brown, the Japanese painted ferns still look good.

As did the Maiden Hair ferns.

I feel like the summer is just slipping away from me again this year.  Fall is right around the corner, and this is probably the garden’s last hurrah so it was fun to share it with both the garden club and you guys.

My sister and I are off to Oronoco Gold Rush bright and early tomorrow morning.  Hopefully we’ll find some fun vintage goodies that I can share with you next week.  Fingers crossed!

edinburgh.

Happy Wednesday!  It’s time for the next segment from my series about our May trip.

 Edinburgh, Scotland is another spot in Europe where your ship is a distance away from the city centre.  Large cruise ships will anchor near the Firth of Forth Bridge (which, let’s face it, is just fun to say).

You’ll take a tender (a small boat) to the pier in South Queensferry (and maybe you’ll be greeted by some awesome bagpipers like we were).  From there, you need to find transportation into Edinburgh.

This is a port where Mr. Q and I decided to fly by the seat of our pants, sort of.  We didn’t have a specific plan for getting into Edinburgh from South Queensferry.  The ship offered an ‘Edinburgh on your own’ shore excursion option for $69 per person.  It included a bus ride into the historic district at a specified time, about 5 hours to explore the city on your own, and then a return trip by bus at a specified time.  That seemed like a pretty steep price for what was basically a shuttle service with no flexibility at all.

So I followed a hunch that I had based on lots of travel experience, that there would be some sort of independent shuttle service that would be much cheaper.  And I was right.  As soon as we walked off the pier we were met by a sign for a shuttle service to Edinburgh that cost £10 (or around $13) per person round trip.  Plus the shuttle departed and returned every half hour up until 5 pm.  You could time your stay to suit your wishes.

Wowza, right?  The ship was charging a whopping $56 more per person for less flexibility.  This sort of thing is a regular occurrence on cruise ships.  If you ever take a cruise, just be aware of this and know that there are usually lots of options outside of the ship sponsored shore excursions.

Mr. Q and I hopped on the shuttle and after about 30 minutes or so it dropped us off in the heart of Edinburgh, just behind Edinburgh Castle.

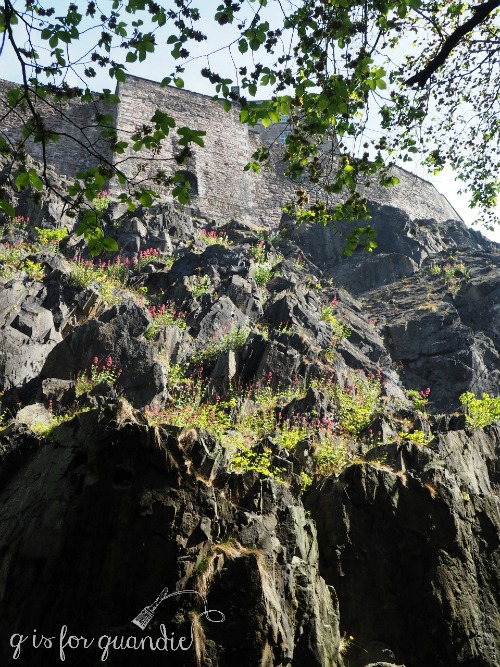
Edinburgh castle sits on top of the remains of an extinct volcano.  There has been some sort of settlement on this spot since the Bronze Age, which totally makes sense because it’s a very defensible position.

We walked around to the front and then up the hill to the Castle only to discover that it was completely overrun with tourist groups, people following guides holding up those flags so their followers could keep up.  We managed to make our way all the way up to the entrance of the castle and then we looked at each other and we both said “nope, not doing it.”  We just couldn’t convince ourselves to battle our way through the crowd to see the Castle (the most visited tourist attraction in Scotland).

So we turned around and headed down the Royal Mile only to find that was where the rest of the tourists were!

I haven’t mentioned it yet, but Edinburgh was having unusually warm, sunny weather while we were there.  It was full sun and in the lower 80’s.  We thought we had come prepared for Scottish weather with our rain jackets, umbrellas and scarves.  As it turned out we weren’t prepared for lower 80’s at all.  We had no sunscreen, no hats, no shorts.

I suspect the gorgeous weather brought everyone out to enjoy the sunshine, tourists and locals alike.

We had a little more than an hour to kill before our planned Book Lovers Tour, so we decided to get out of the sun and away from the crowds by heading into the Scottish National Gallery.  This photo is taken while standing at the entrance to the National Gallery looking out on Princes Street Garden.  As you can see, people were out in droves enjoying the park as well.

We didn’t have time to see as much of the museum as we would have liked, but did see some beautiful artwork and enjoyed the peaceful atmosphere inside.

Next we headed towards the Writers’ Museum to take the Book Lovers Tour with Allan Foster.

Allan led us around the historic center of Edinburgh while sharing stories about famous Scottish authors like Arthur Conan Doyle, Alexander McCall Smith and Robert Burns.  He showed us the coffee shop where J.K. Rowling wrote portions of her Harry Potter books.  None of the locations were particularly fascinating on their own, but Allan was a great story teller and that’s what made the tour so fascinating.

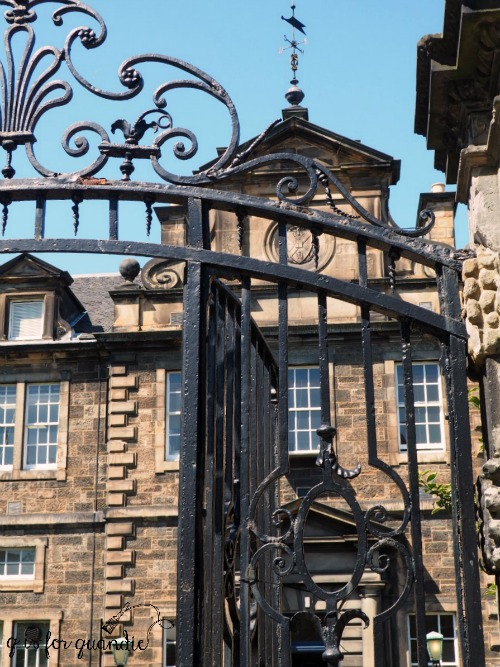
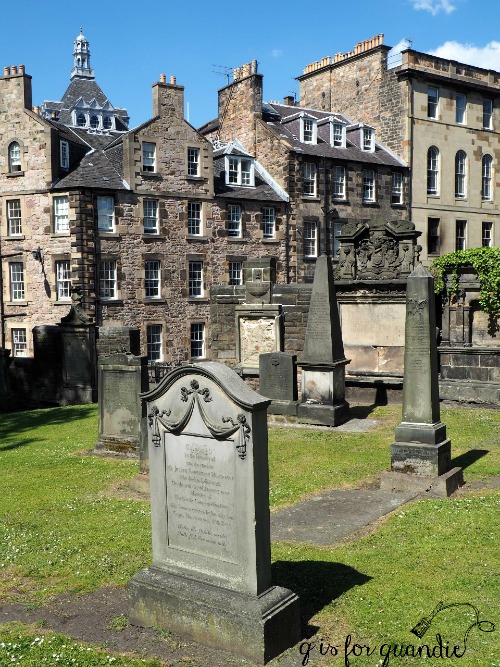
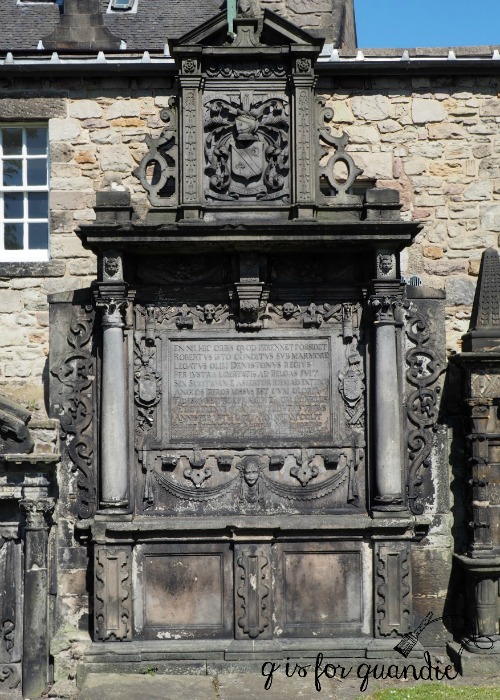
The tour concluded at the famous Greyfriars Cemetery, supposedly the most haunted spot in Edinburgh.  Considering Edinburgh must be a pretty haunted place, that’s saying a lot.

I’ve seen lots of photos online of a misty, spooky Grefriars, but all of my photos have blue sky and sunshine.  Not quite as atmospheric!  It’s a bit more difficult to imagine spooky ghosts under these conditions.

After checking out the cemetery we found a kiosk selling bottled water, which we badly needed.  We were hot, sweaty and worn out, so we made our way back to the designated spot for catching the next shuttle back to the pier.

We really just barely scratched the surface of this uniquely beautiful city.  This is definitely a spot that I would like to return to someday and see much more in depth.  Maybe we could even brave the crowds and head into the castle next time.

But for now we say goodbye to Edinburgh.  Next Wednesday we head to Newcastle upon Tyne, England.  Be sure to check back to read all about the final port of call on our trip and the fabulous Beamish open air museum!

les industries d’amateurs.

I find that things never tend to look quite like I pictured them in my head.  This is especially true when I am decorating a room.  I’m sure there are people out there who are much better able to envision exactly how something will look, but those people are probably professionals while I am definitely an amateur.  Although then again, I’ve been watching old Fixer Uppers on Hulu lately and I just saw one where Joanna Gaines repainted an entire house because her first color choice didn’t look right.  So maybe we all have this problem.

When I started planning my bedroom makeover I knew I wanted to paint the jelly cupboard in my bedroom that I use for storing my clothes.  Easy enough.  I painted it in Miss Mustard Seed milk paint in Grain Sack, and then I added some Iron Orchid Designs transfers to the doors.  So far, this is exactly how I pictured the cupboard would look.

By the way, the IOD transfers that I used are meant for clay pots (google ‘Iron Orchid Designs French Pots III’ to find sources for purchasing online).  They come in a set of 3 different designs.  To get two of the same design I purchased two sets.  As you can see the design is curved to work with applying it to the curved surface of a pot, but I thought it worked just fine on the flat surface of my cupboard door as well.

I felt like the design of the one I chose was particularly appropriate.  Les industries d’amateurs for sure!

It was the next step that threw me off.  I had this vision of bringing up the vintage suitcases that were beside the Welsh cupboard in my dining room.  In my head they were going to be perfect stacked next to the cupboard.

But once I had them in place they looked really … well … brown.

Don’t forget that on the other side of the room is my black headboard …

But I do also have the brown bench.  And the bedding and walls are very warm greige tones.  So brown isn’t wrong, but I felt like the stack of suitcases was throwing the balance of the room in favor of brown tones and I didn’t like it.

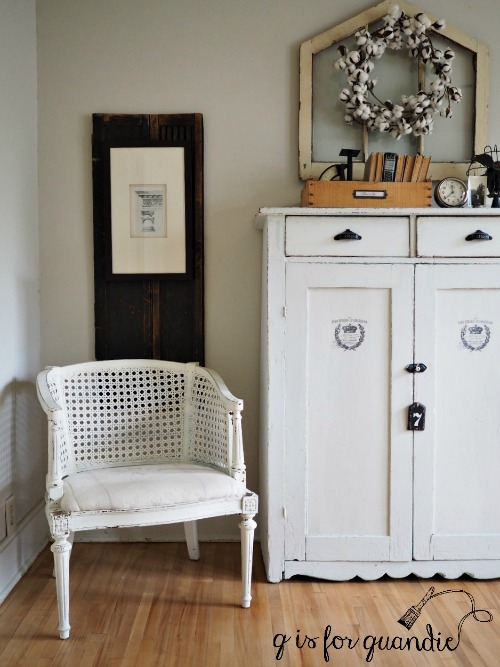
So I took them away and I brought up the cane back chair from the living room.  I also added an old black shutter on the wall layered with a framed architectural drawing.

Definitely less brown.

But the height of the chair is a bit off, don’t you think?  It’s just too low for next to the tall cupboard.  But I love the shutter and print in that spot.

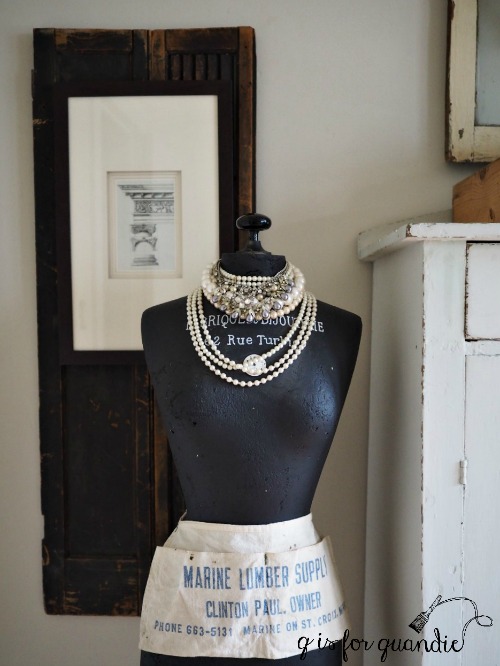
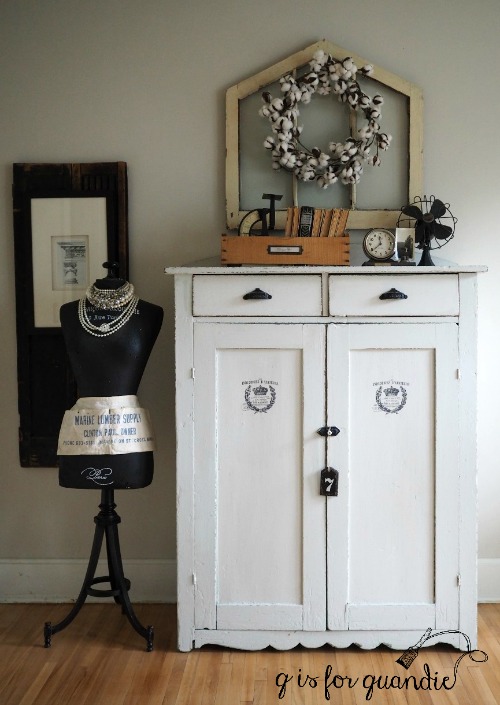
So I took away the chair and shopped around my house for something else to put in front of the shutter and I came across my faux dress form, Lula.

Turns out she is the perfect height for that spot, don’t you think?

When it comes to adding details to a room I often tend to ‘shop’ my own house.  I like to move things around, they always feel fresh when they are placed in a new spot.

I had to laugh when I was editing the above photo by the way.  Can you see why?  There are two things that are upside down.  I hadn’t really noticed that until I took a close look at the picture.  Did you spot them?  The Arctic Aire label on the fan, and the label on the spine of the book are both on upside down.  What a weird coincidence!

Anyway, I didn’t purchase any new things for this side of the room.  I just worked with items I already had.  Which is a good thing since I am pretty much out of money for this makeover after buying all of that bedding.  Luckily it’s almost done.  I’m just waiting on some mail order items and once they arrive and are installed I’ll share the full reveal.  In the meantime, I’m back to working on other projects.  I have a gorgeous dresser almost completed that I’ll be sharing soon.  So be sure to stay tuned.


the bed.

As part of my bedroom makeover, I knew I wanted to get rid of our 90’s sleigh bed.

I thought about using the barn doors that I salvaged from my in-law’s barn as a headboard.  But with the ship lap wall behind the bed the planked barn door felt like it would be a bit redundant. I also considered using a vintage door that I had on hand and placing it sideways on the wall behind the bed.

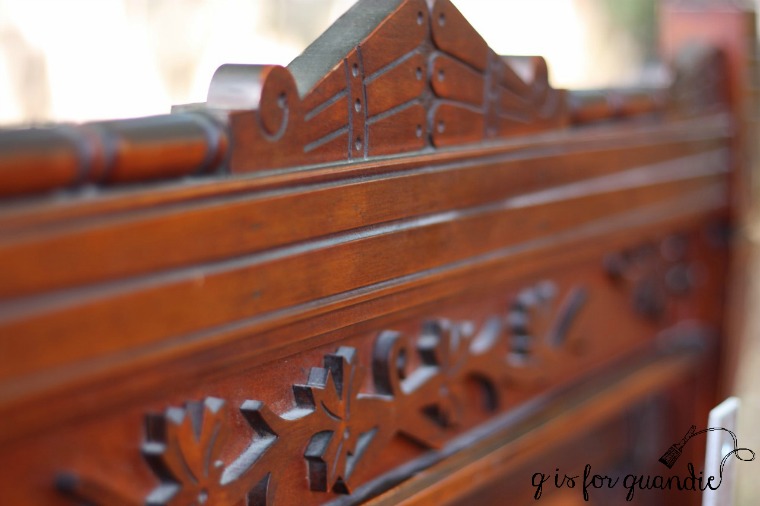
But then I saw this idea of modifying an antique headboard from Rachel at Shades of Blue Interiors.

Isn’t it gorgeous?

I started looking around on Craigslist for likely candidates and it quickly became apparent that the slanted wall behind my bed definitely limited my options.  Just scroll back up and look at that inspiration photo again, it’s tall!  And the height is a big part of what makes it fabulous.  I found several similar beds on Craigslist, all of which were far too tall to fit under my slanted wall.

Next I started looking for an antique headboard that either was short enough already, or could be cut down.  That’s when I spotted the ad for this bedroom set.

The headboard was about 4” too tall, plus the photo with the ad showed the bed with a mattress and box spring in place.  I couldn’t see the legs of the headboard to determine if they could be cut down.  So I contacted the seller and he happily provided both a photo of the legs and the opinion that I could easily cut 4” off the bottoms of them.

As you may know, Queen and King sized beds did not become popular until the 50’s and 60’s.  For that reason it’s next to impossible to find antique bed frames in those sizes.  But you can modify a full sized antique headboard to fit a queen sized bed pretty easily and I’m about to show you how.

The first step was to send the headboard over to Ken’s workshop.  It was a bit wonky and most of the joints were coming unglued.  Ken enjoys a project like this.  Remember the Humpty Dumpty dresser?  He likes to take these pieces apart and then put them back together again with all new glue (he also really enjoys jigsaw puzzles).  At one point the headboard was nothing more than a pile of pieces.  But Ken put it all back together again and now it’s nice and sturdy.  He also cut 4” off the bottom of each leg.

In the meantime, Mr. Q ordered a basic metal bed frame from Amazon.  Free shipping with Amazon Prime, and it was priced at less than $40.

Next we measured the width of the bed frame and Ken cut a board to fit that width and I painted the board black.

I debated stripping and refinishing the bed, which would have been lovely but a bit of a project with all of those details.

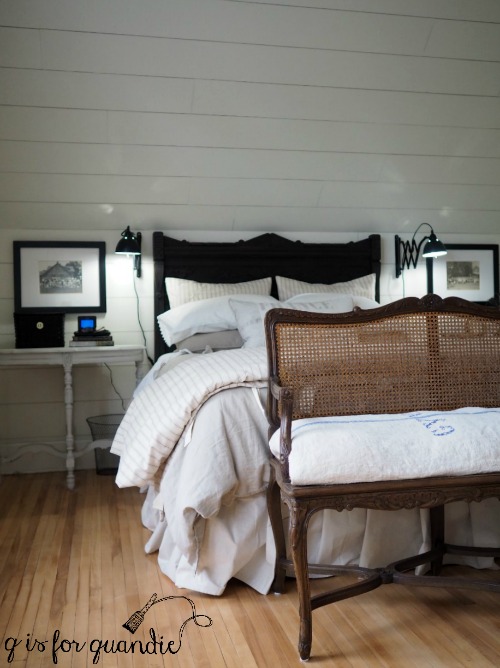
Since I firmly believe that every room should have a pop of black I ultimately decided to paint it black instead.  I painted it with Homestead House milk paint in Coal Black and I used their black wax as a finish.  I like pairing the black wax with the black milk paint because it deepens up the black so nicely.  By the way, in case you are wondering, the black wax has not rubbed off on our pillows at all and I waxed the bed about 4 days before we started using it.

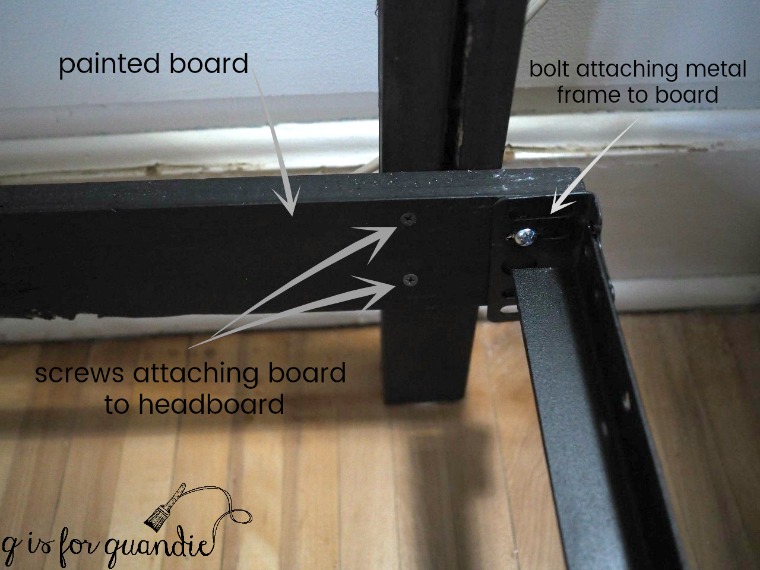
Once all of the details were in place, we brought the headboard, the metal frame and the black board up to our room.  Ken thought it would best to assemble it in place.  Assembly was super simple.  Ken started by drilling holes in the board and bolting it to the metal frame.

Then we simply snugged it up to the headboard and attached the headboard to the board with screws.  Easy peasy.  As you can see, the metal frame is just a couple of inches wider than the headboard.  Once all of the bedding is in place, this difference won’t be noticeable at all.  Honestly, this could not be any simpler.  Anyone can accomplish this with a drill and some hardware.  So if you’re thinking about a new look for your bedroom, check out your local Craigslist and find a gorgeous antique that you can modify (if you are in the Twin Cities and can have a taller bed than I can, check out this one and this one).

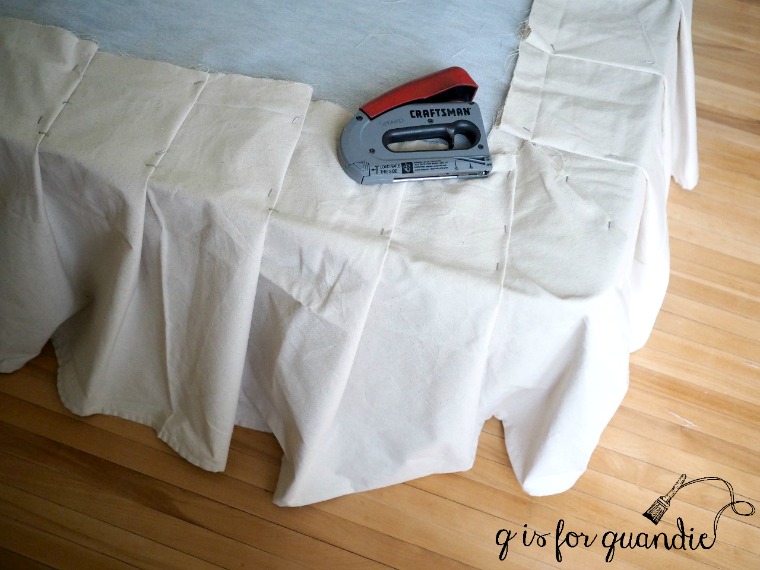
Next came the bed skirt.  Since I wasn’t able to use the side rails and foot board that came with the bed, it definitely needed to have a bed skirt.  I looked at several online that I liked and the cheapest option was still $110.  It was much more affordable to copy from Catherine on Home Talk (check out that link if you want specific details) and use painter’s drop cloths.  I was able to get by with one 4’ by 15’ drop cloth that I cut in half lengthwise giving me two pieces that were 2′ by 15′, and it cost less than $15.

Catherine used upholstery tacks to attach the drop cloth, but I just used staples.  Honestly, I’m not sure how well they are going to hold it in place over time, but I can always reattach it with tacks if it becomes a problem.

Now comes the pricey part of the whole deal, the bedding.  Have you ever noticed that it’s easy to spend more on bedding than you do for a bed?  It adds up fast.  In my case I felt like it really was time to update more than just the duvet cover, it was time for new pillows, a new featherbed and a new down alternative duvet, plus the duvet cover and pillow shams that are the only items visible.  So I headed to my local Bed, Bath & Beyond to see what they had.  This was the second highest expense of the entire makeover.  I’d like to say that this post is sponsored by Bed, Bath & Beyond and they gave me all of this bedding for free, but no, I paid for it.

In addition to the pillows, etc. I found a Kenneth Cole stone washed linen duvet cover and pair of shams in the discount bin.  The color is called Mineral and is perfect with my wall color.

Since I wasn’t sure about all of the different shades of greige I had going on in the room plus the lack of any kind of pattern, I also ordered a ticking stripe duvet cover and pair of Euro shams from Ballard Designs in a color called Sandalwood.

I didn’t really intend to keep both duvet covers.  I thought I could try each and pick a favorite.  Instead I discovered that the bed looks amazing with both of them.  Dang!

In addition, the Ballard duvet cover is really very heavy, perfect for winter, while the Kenneth Cole duvet is quite lightweight, perfect for summer.  Can you tell that I’m working really hard to justify this expense?

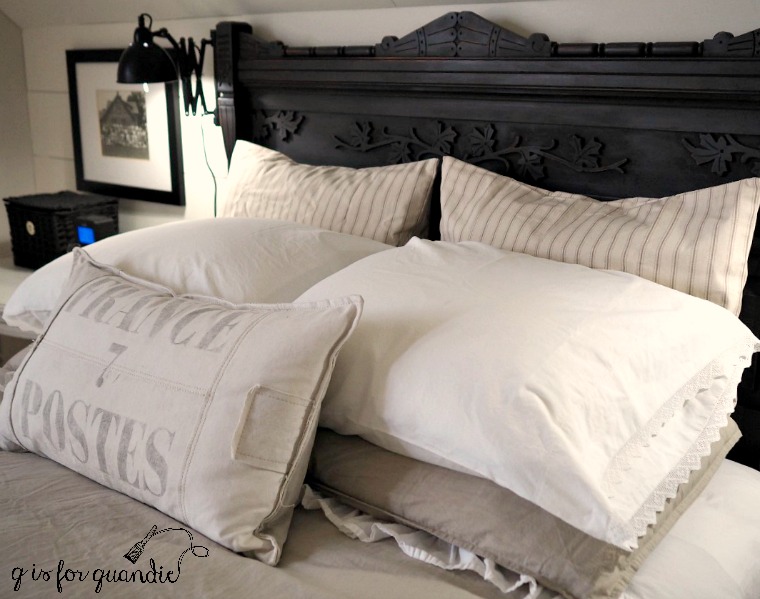
I didn’t need new sheets, I’m just using a set of white sheets that I already had.  I’m also using a pair of vintage pillow cases with a tatted edge that I purchased at a garage sale.  You’ll sometimes find vintage linens like these at garage sales and it’s obvious that the owner never used them.  They probably were a wedding shower gift and were put in the cupboard back in 1959 and never taken back out.  These vintage linens have the most amazing weight, so much better quality than most things you can buy new.

The France 7 Postes pillow is one I purchased many years ago, I’m pretty sure from Restoration Hardware.  I have a pair of these and they get moved around all the time.  The mate to this one is currently being used on the Belgian bench in my dining room.

Overall, the bedding was a huge splurge for us and this is by far the most beautifully dressed bed we’ve ever had.  I figure now that we’ve made it nearly to our mid-50’s it’s about time we had some grown up bedding, right?

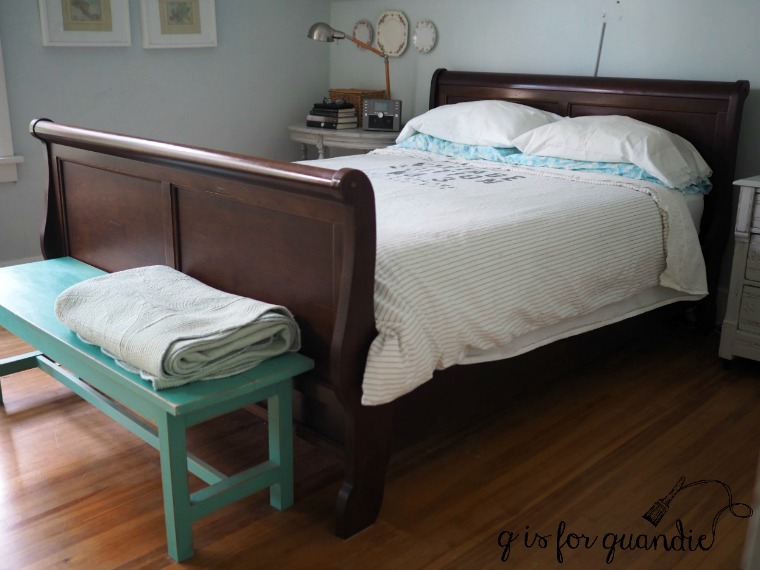
By the way, there is the cane bench at the foot of the bed.  What do you think of my choice to leave it unpainted now that you’re seeing it in place?

I’m loving how much more ‘presence’ the bed has now.  The height of the headboard is perfect.  It fills up the space all the way up to the angle in the wall.  I also love the black up against the ship lap.  I really could not be any happier with how the bed turned out.

So, at this point I’ve shared my faux ship lap wall, my refinished floors, the refreshed cane back bench, my repainted nightstands, and now my bed.  But there is still more to come for Mission Possible, I hope you’ll stay tuned!

Sharing with Feathered Nest Friday on French Country Cottage.

the best day ever.

Here’s something to know about Inverness, Scotland.  If you travel there by cruise ship you won’t actually dock in Inverness, but instead you’ll be docking in the Cromarty Firth at Invergordon.

The harbor in Invergordon is deep enough for large cruise ships and your ship will be able to dock rather than having to use tenders to ferry passengers to shore.  However, this does leave you about 40 minutes away from Inverness.  And from what I could tell there is very little to see in Invergordon.  By the way, this is a fairly common practice in the cruise industry.  Itineraries will often say ‘Paris’, ‘Rome’, ‘Florence’ and so on, but none of these cities are actually on the coast.  Just a little thing to be aware of if you ever plan a European cruise.

In this case, this was no problem at all for us because this is the port where we chose to hire a private guide through Invergordon Tours.  We try to hire a private guide at least once on every trip.  In some places (Budapest, Prague) it’s more affordable than others.  This guide came with a car and that definitely added to the expense quite a bit.  So it was a pretty big splurge for us, but based on the cost of most of the ship’s shore excursions we only spent about $165 more for six hours with a guide and her car for just the two of us v. being on a bus with 60 other passengers for a 3 hour packaged tour.

We were able to go exactly where we wanted and spend as much or as little time in each spot as we wanted.

Our guide was a lovely woman named Alda.  She met us at the pier with a sign with our name on it.  She was parked just across the street, so she led us off to her vehicle which was roomy, comfortable and spotlessly clean.  Once settled in the car, Alda reviewed our plan for the day (which we had arranged in advance via email).  We could have made changes to it at that point, but we didn’t.

Our first stop was the Falls of Shin.  Honestly, if I had a do-over I would have skipped this spot (although they did have nice, clean, brand new bathrooms).

Apparently when the salmon are spawning you can see them leaping up these falls, but there were no salmon that we could see.  Honestly, the falls themselves are not very impressive, especially when compared to the gorgeous Gooseberry Falls near Duluth.

But that is the beauty of having a private guide!  We were able to take a quick look at the falls and then say ‘let’s move on’.  Had we been with a group we would have had to wait for 60 people to line up and use those brand new bathrooms.

Our next stop was the Big Burn walking trail in Golspie, Scotland.  I had read about this trail online before our trip and thought it looked like a beautiful place.  In Scotland, a ‘burn’ is a stream or brook.

Alda told us to take as much time as we wanted hiking the trail, she’d be waiting at the car when we returned.  The trail follows a small stream (burn) up to the Big Burn Gorge, and then there are a series of footbridges that crisscross the gorge.  It was so lush and green all along the trail.

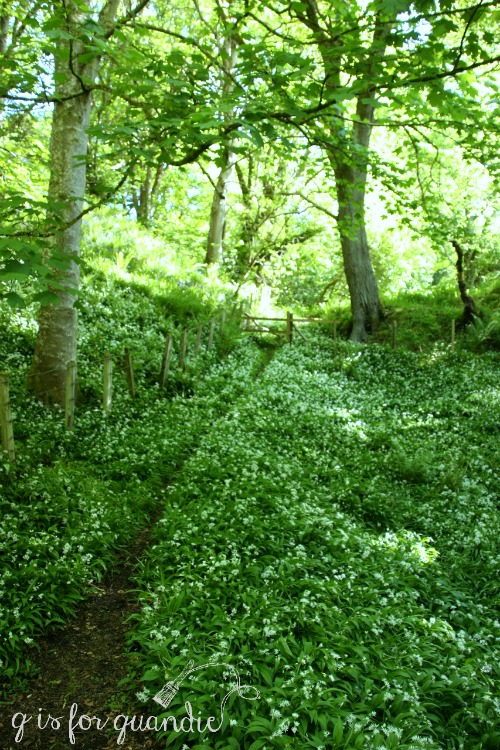
I will always remember Scotland as a very green place!

The Scottish Bluebells were in bloom and there were fields of them everywhere.

It was a gorgeous, sunny day.  We really enjoyed hiking this trail and were able to take our time enjoying the gorgeous sunny day.

After our hike we piled back into Alda’s car and headed towards Dunrobin Castle.  But first we made a quick stop at Carn Liath, the remains of a Broch (a prehistoric fortified dwelling).  Here are Mr. Q and our guide Alda on top of the wall of the Broch.
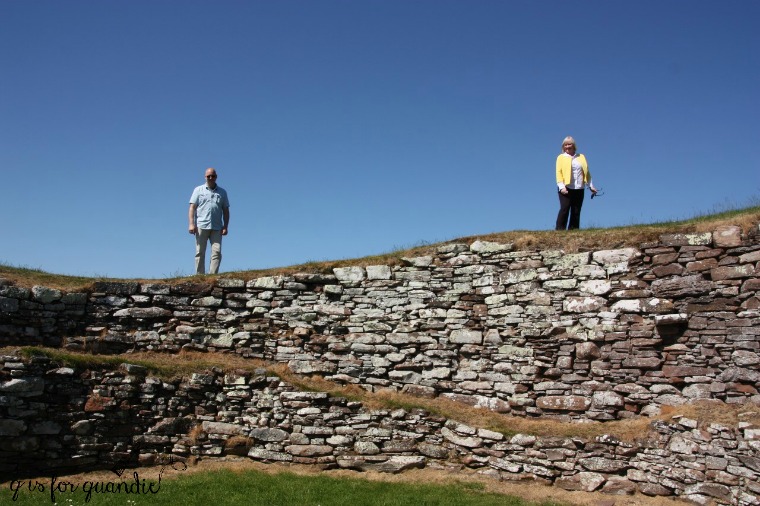
We had the place entirely to ourselves.

There was a gorgeous view of our next stop, Dunrobin Castle, from the top of the broch.
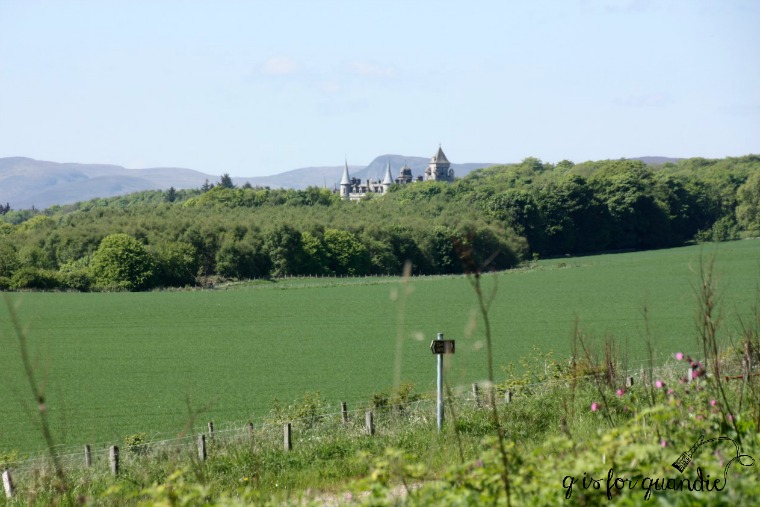
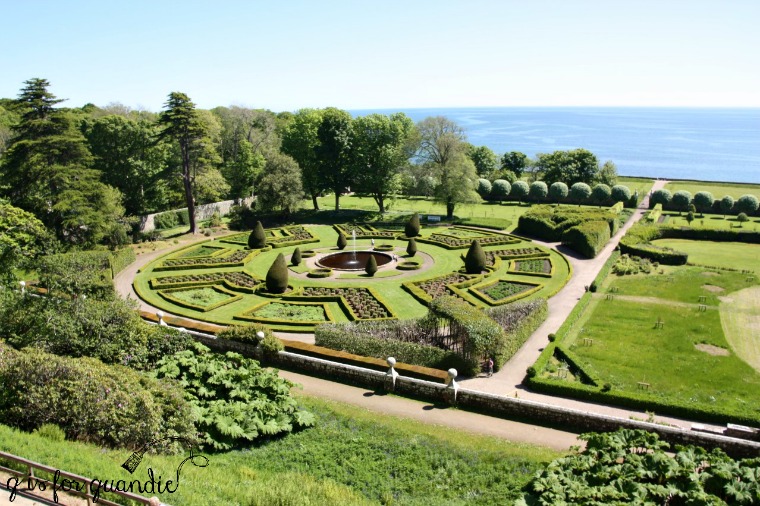
Although parts of Dunrobin Castle date as far back as the 14th century, most of it was built between 1835 and 1850 for the 2nd Duke of Sutherland.  It has 189 rooms, and although at one point it started to feel like the tour included all of them, of course it really didn’t.  Unfortunately, I wasn’t allowed to take photos inside so I can’t share any of those rooms with you.  However, since we were on a private tour, we were able to spend as much time touring the formal gardens as we wanted to and I was free to take unlimited photos out there!

Remember, this was the end of May, so the gardens probably weren’t quite as lush yet as they would be later in the season.

But the allium was in bloom.  Seeing this big clump of them makes me want to add more to my own garden.

And of course all of the formal shrubbery was looking lovely.

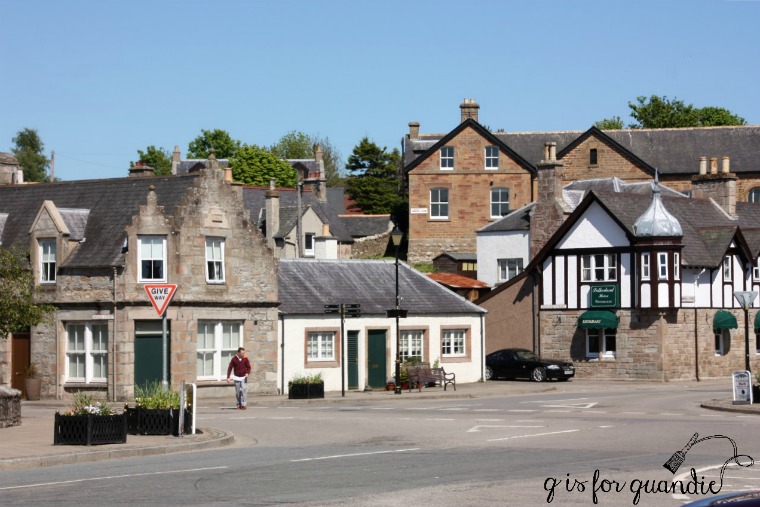
Once we’d seen enough of Dunrobin, Alda took us to her hometown of Dornoch, Scotland.  It was the most charming little village.

She recommended we pop into the Dornoch Patisserie for a bite to eat.  We just had some simple sandwiches and some ‘chips’ (what we call french fries), but they were delicious and no one was claiming that they were the ‘best of Scottish cuisine’.  The people in the restaurant were so friendly, it was just a pleasure to be there!

After eating we walked around the Dornoch Cathedral where I was surprised to find this gargoyle peering down from above.
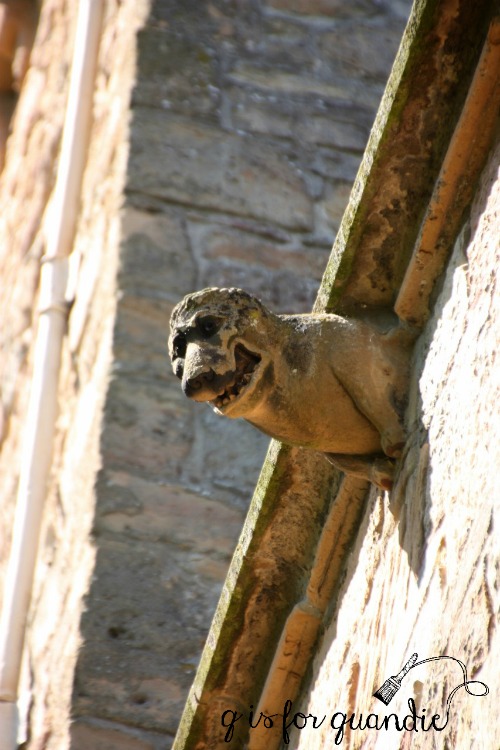
Does that guy remind anybody else of a certain large purple children’s character?

 

I know that gargoyles are meant to be frightening, I’m not sure they succeeded with that one.  What do you think?

We walked around Dornoch a bit longer, and then hopped back in the car to make our way back to our ship.

After spending a totally enjoyable 6+ hours with our guide, I thought that our day could not possibly get any better.  We had just returned to our cabin on the ship and were putting away our bags when I heard what sounded like distant bag pipes.  I went out on our balcony and was met with the most amazing sight.  An entire band of bagpipers and drummers marching down the pier towards our ship.

It was a pretty long pier, this photo gives you an idea …
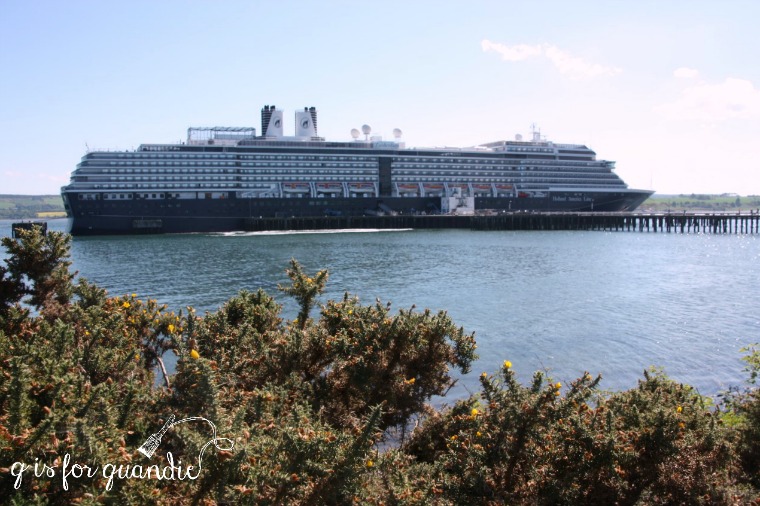
The Sutherland Schools Pipe Band marched all the way down that pier playing the entire time.

Once they got to the end they formed a circle and kept playing.  The drummers were so entertaining to watch!

They would spin and twirl those drum sticks over their heads.

Seriously, this was the coolest thing ever!  I wish I’d gotten video, but since I didn’t you can check out this YouTube video instead.

And they just kept on playing the whole time our ship was preparing to sail away and as we finally pulled away from the dock.

This was definitely one of those magical moments that I will always remember!  And once again, something we would have missed if we hadn’t had that balcony!

As we continued to sail away from Invergordon I admired the bright yellow fields of rapeseed, isn’t that some lovely countryside?
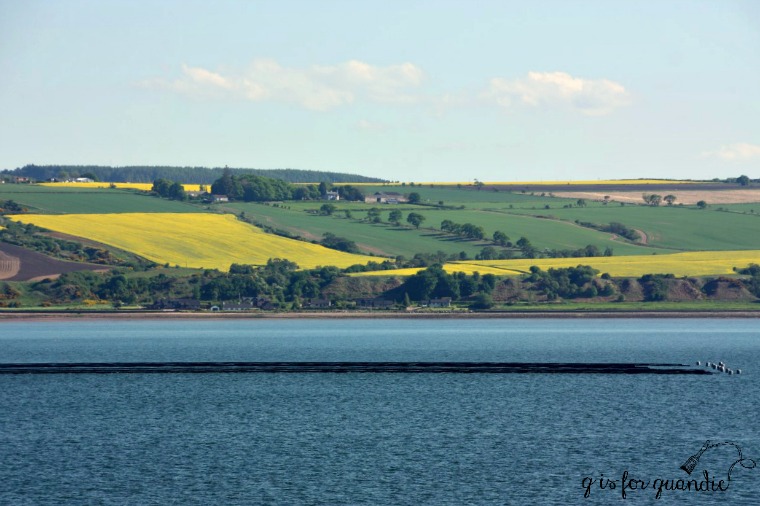
Overall this was one of the best days on our entire trip.  It was well worth the splurge to hire the private guide.  She catered to our every wish and made it so easy to see everything we wanted to see in the time we had on shore.  We would definitely do this again on a future trip!

I hope you enjoyed this post about Invergordon, Scotland.  Remember when I said it was going to take me all summer to post about our trip?  I wasn’t wrong.  We have two more ports of call remaining, Edinburgh and Newcastle, which will take us right through August 23.  I’m not sure what I’ll do with my Wednesday’s after that, but I hope you’ll stay tuned.