mismatched bedside tables.

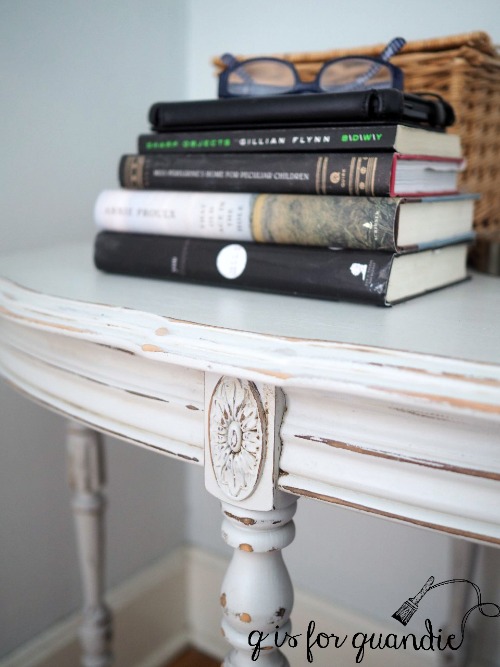
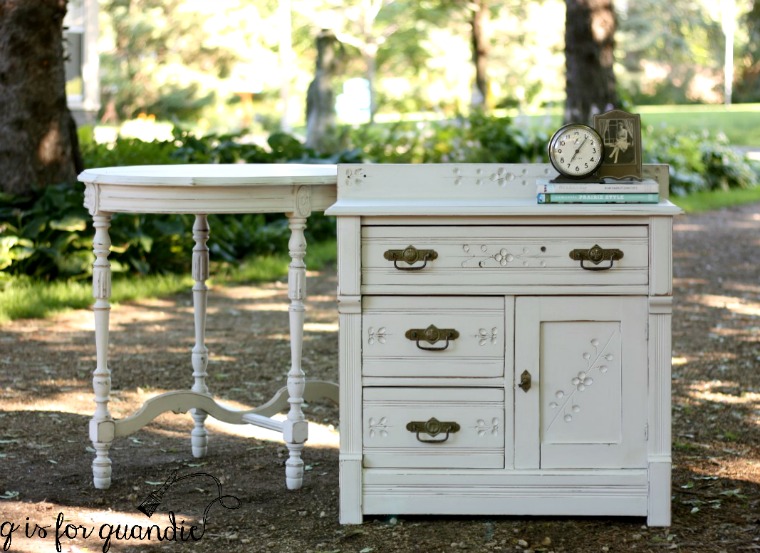
I shared my mismatched bedside tables with you in the post about Mission Possible.

His.

Her’s.

I was loosely planning to leave them ‘as is’ in the new version of the room, but as tends to be the case, the more silvery gray on the nightstands ending up being all wrong next to the Edgecomb Gray on the walls.

So I sanded them just a little, cleaned them with some TSP Substitute and painted them both with two coats of Miss Mustard Seed milk paint in Grain Sack.

Painting previously painted pieces with milk paint can sometimes be a little bit of a gamble.  Especially if you don’t know what kind of paint you are painting over.  Paints with a satin or glossy finish will likely resist the milk paint giving you a chippy look which can be great if you don’t mind the original color showing through all of those chips.  In this case I really didn’t want to see that color.

However, I originally painted these two pieces with homemade chalk paint (latex paint mixed with plaster of paris and water).  So I knew a little sanding and cleaning with TSP substitute would be all I needed to make sure my milk paint adhered fairly well.

I always feel a little more comfortable experimenting with new products on pieces that I’m keeping rather than selling, so I decided to try using Low Sheen Finishing Cream from the Real Milk Paint Co. to top coat both of these pieces.

I applied it using my Miss Mustard Seed wax brush.  The Finishing Cream is really quite different from wax.  First of all, it has a consistency sort of like a thick body cream.  You brush it on, but you don’t work it in like wax.  You also don’t need to buff it when you’re done applying it.  It’s quite a bit less labor intensive than wax.  It is a no-odor, zero VOC, water based gel top coat.  Although I applied it outside this time, you know I love products that I can also use in the house during our cold Minnesota winters and this will be great for that.  After 24 hours of drying time the finish is fully washable.

I read mixed messages online about whether or not this finish will change the color of milk paint, but in my experience it darkened up the color just ever so slightly.  Not as much as a wax would, and definitely not as much as hemp oil would.  It also adds just a little bit of a sheen.  Personally I prefer the really flat finish of milk paint without a top coat, but I want to add protection to my pieces.  The Real Milk Paint Co also makes a version of their Finishing Cream called Dead Flat.  I’m looking forward to trying that one next.

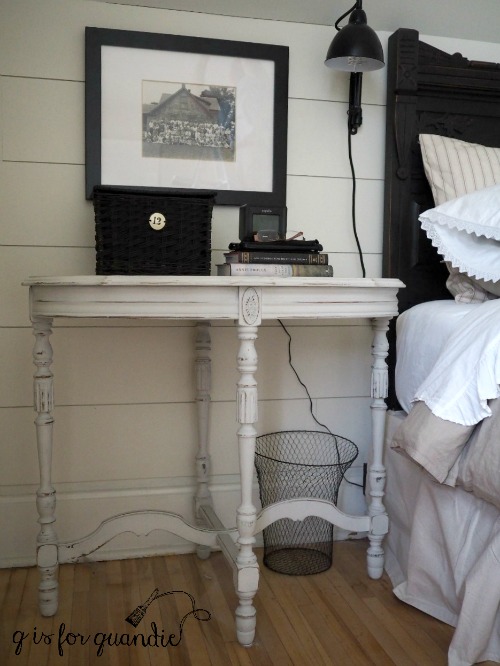
My bedroom is really coming together now.  Here’s my nightstand in place.  Initially I’d thought I might re-hang the floral plates that were over the nightstands before, but I soon realized that they didn’t work with my new look at all.  Instead I added some old black & white family photos in black frames.  I also hung some reading lamps that I purchased from World Market on either side of the bed.

I spray painted the lidded wicker basket where I keep my important bedside items out of sight, like lotion, tissues and lip balm.  I found the inexpensive alarm clock at Target.  Here’s what it has going for it; dual alarms, lights up at night, doesn’t tick (it’s electric) much smaller than my old clock.  Here’s what it’s missing; style of any kind.  If any of you have a source for vintage looking alarm clocks with modern functionality (I must have dual alarms), I’d love to hear about it.  I scoured the internet and came up empty.

Here’s Mr. Q’s nightstand …

It’s totally ‘staged’ for this photo with a vintage alarm clock and fan (both non-functioning).  These won’t actually stay on his nightstand, but it was fun to pretend just for these photos.

The room is really coming together now.  I’ll be sharing the story behind our new headboard on Friday, be sure to check back!

my refinished floors.

I showed you the awful ‘before’ condition of my upstairs floors a couple of weeks ago.

That photo doesn’t even really capture how orange they had become over time.  I think I mentioned in that post that these floors were already in fairly rough shape when we purchased our house in 1988.  And we’ve never done anything with them in all of this time.  Yep, they were very sadly neglected.

After getting the quote from the professional re-finishers and deciding to spend our money on a trip to Norway & Scotland instead, I started to give some thought to DIY alternatives for the upstairs floors.

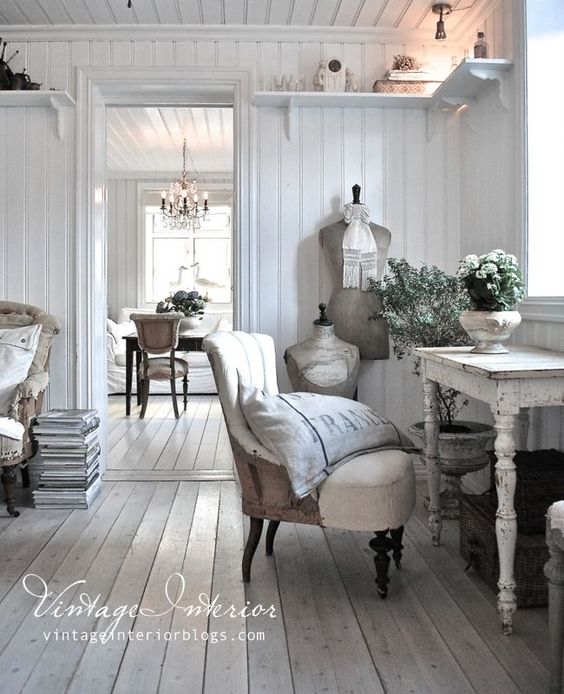
I seriously considered painting them.  I love the look of a painted floor like this example from vintageinteriorblogs.com …

I even thought it might work to add a painted checkerboard pattern like this example from pinterest …

But I have two painted floors already, my front three-season porch floor is painted.

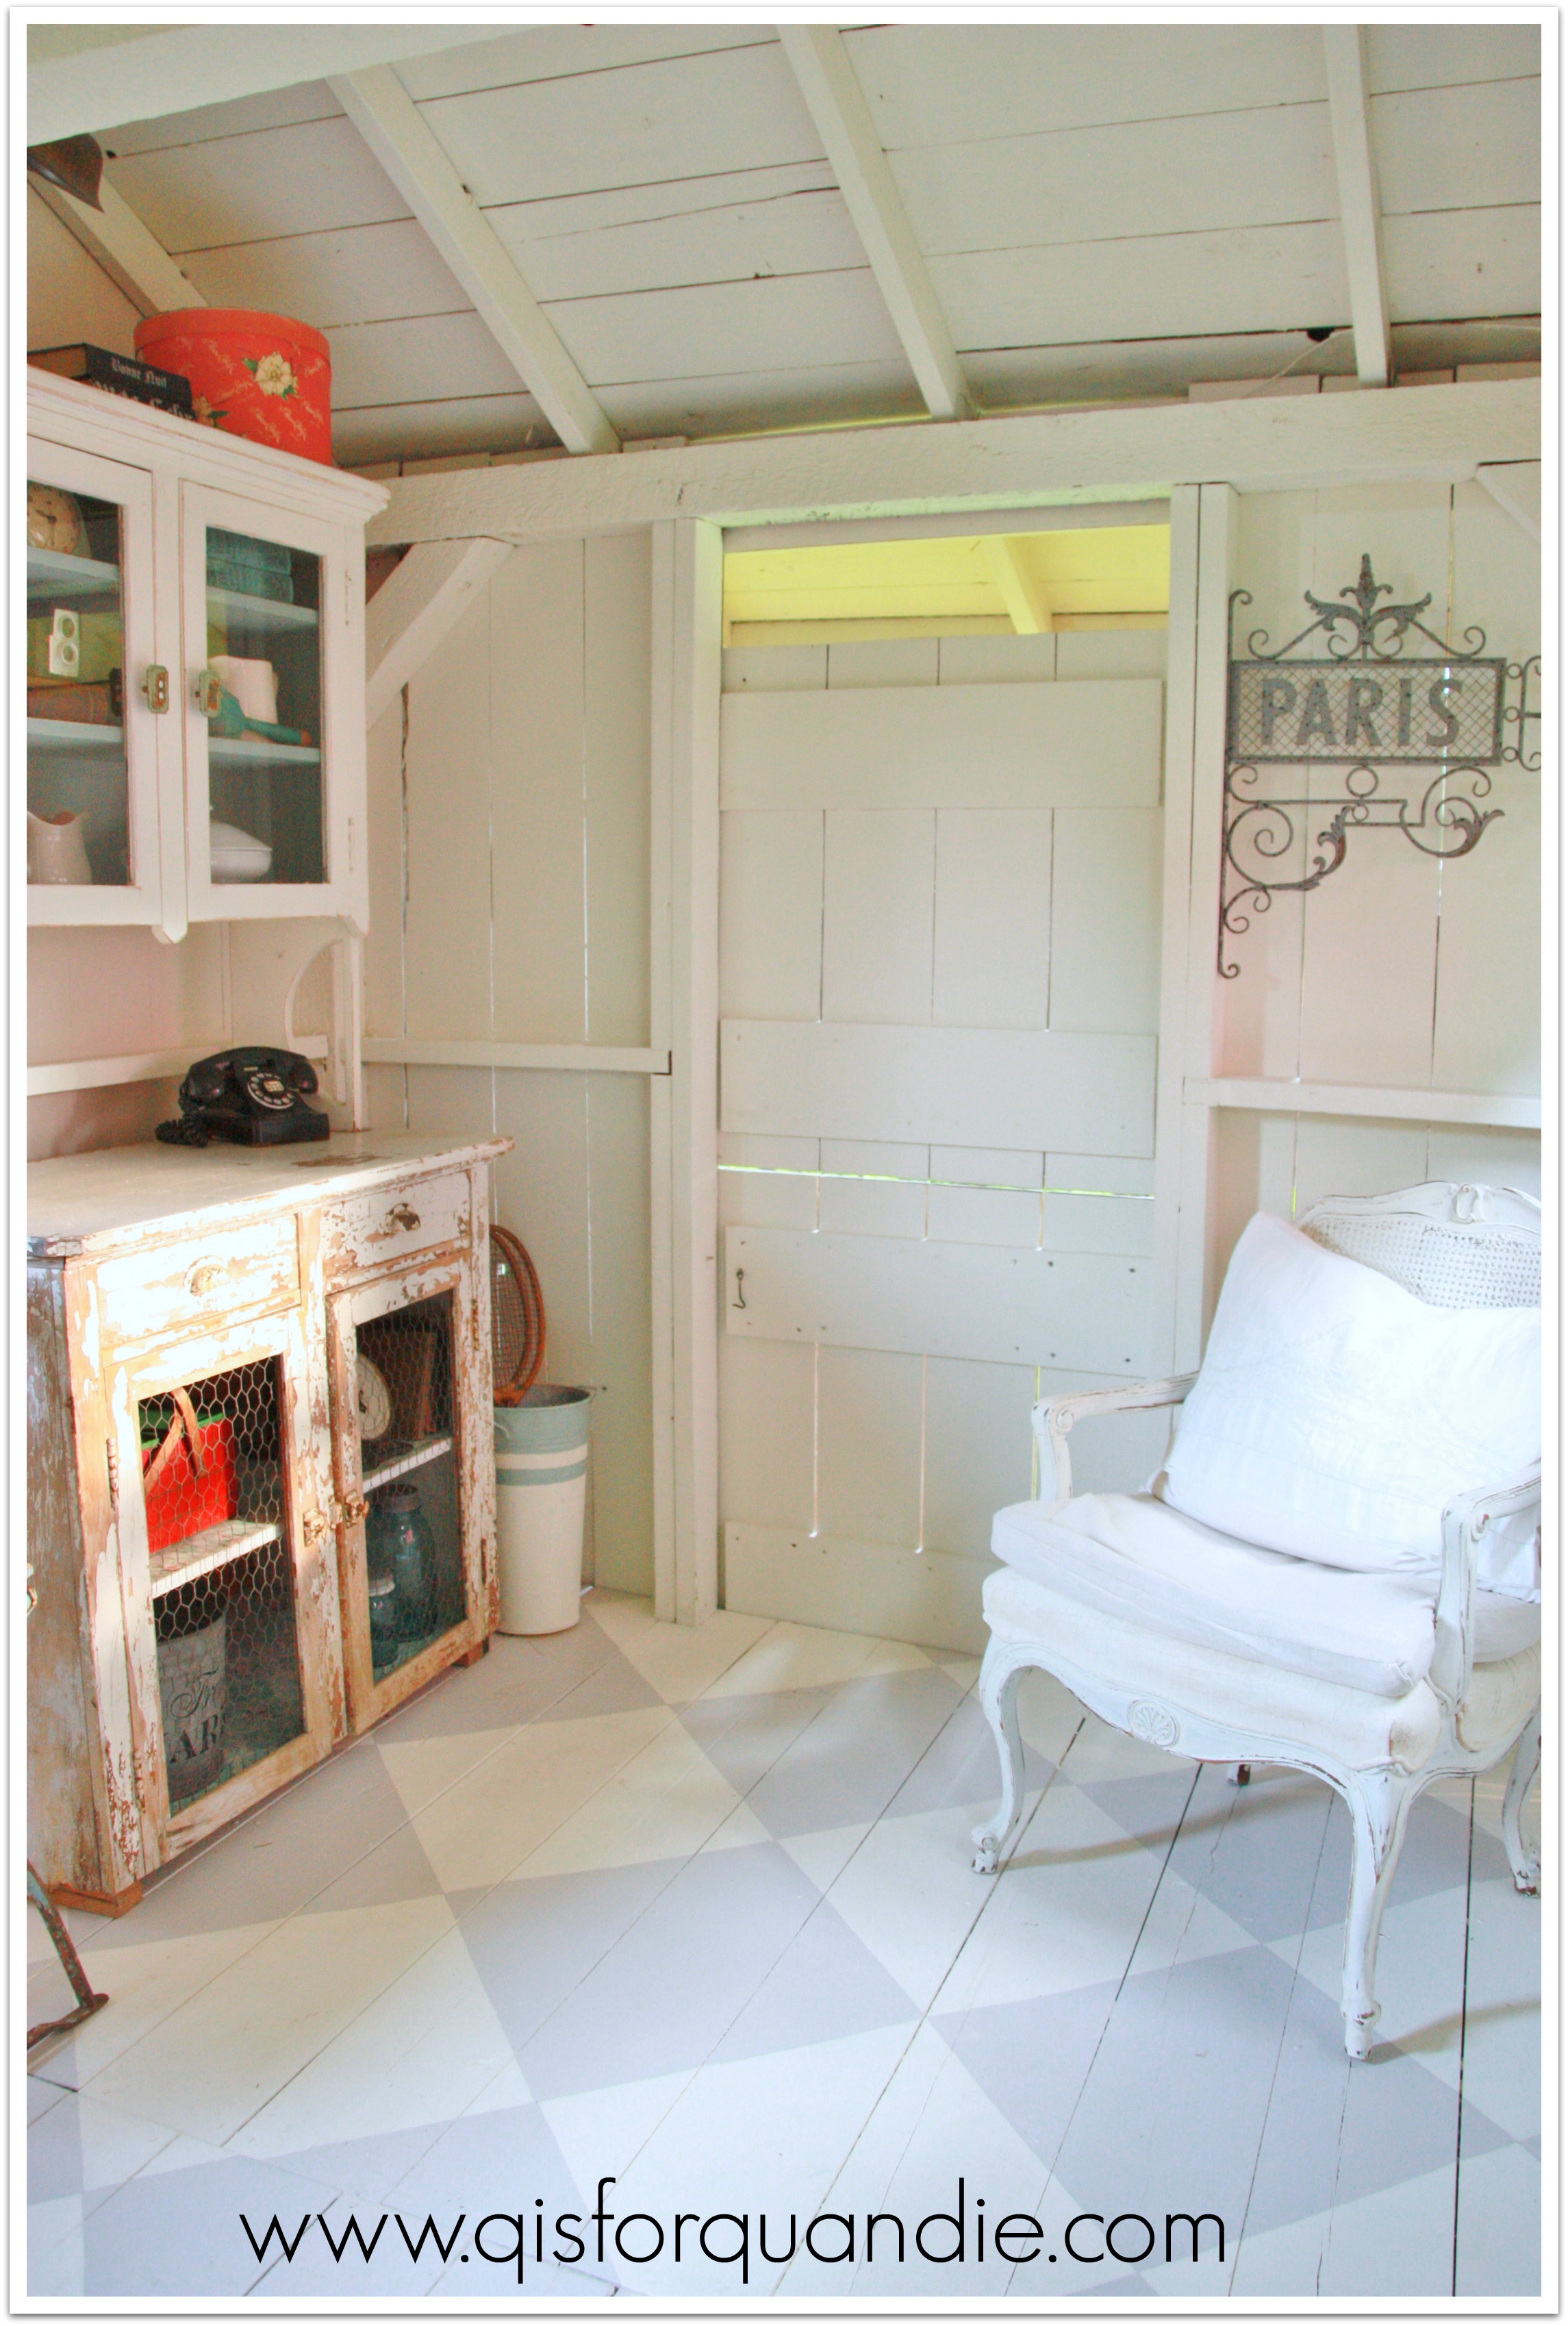
And the floor in my photo cottage is painted.

I did both of those floors myself so I know just how much work it was, and the master bedroom floor alone is about four times the size of these floors.  So a checkerboard paint job was definitely out of the running.  I also know that painted floors are hard to keep clean and they scratch fairly easily over time which is not a great look.  So after discussing it, Mr. Q and I decided that a painted floor in the master bedroom was not going to work for us.

Next we considered renting sanding equipment and refinishing the floors ourselves.  I knew that applying the finish would be within my skill set, but I wasn’t sure about operating the sander.  I’ve heard that they can be difficult to control and it’s easy to gouge your floor or end up with uneven sanding.  Plus it’s really hard work.

We were discussing this during my sister’s move.  On moving day we had help from some of nnK’s students.  I’ve mentioned before that nnK (new neighbor Karen who lives across the street from me) is the athletic trainer at a local high school.  She always seems able to pull together a crew of athletes from her school to help with any heavy lifting.  Well, it just so happened that two of the guys helping us with Debbie’s move were also working for a company that refinishes gym floors this summer.  They said they’d been learning a lot on the job and would be willing to give us a quote on refinishing our floors.

So we had them out and they looked at our floors and gave us a ballpark price, which was well under the price from the professionals.  We knew we were taking a risk since these guys were young and relatively inexperienced, but they were enthusiastic and we decided what the heck.  It was a way to spruce up our floors and not break the bank.

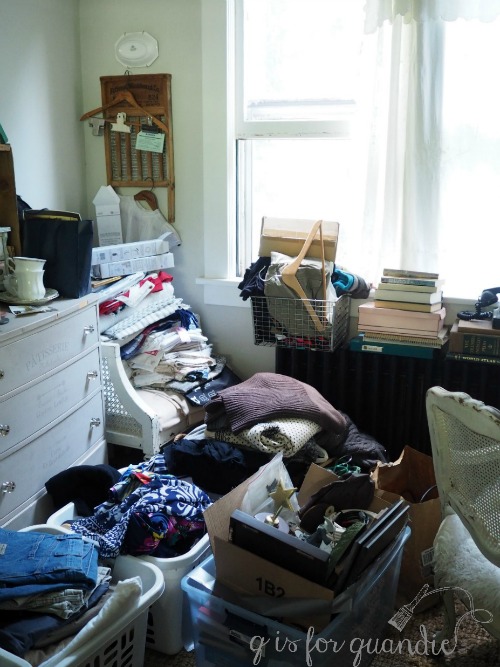
We set a date and I took the preceding week off work as a working staycation to prepare.  During that week I painted all three rooms upstairs and we started emptying them out.  Yikes!  There was almost 30 years of accumulated stuff in those rooms!  We started out being methodical and putting things out of the way on the front porch or tucked into corners, but by the end we were just throwing things anywhere there was a spot.  Here’s how the Q Branch looked for over a week …

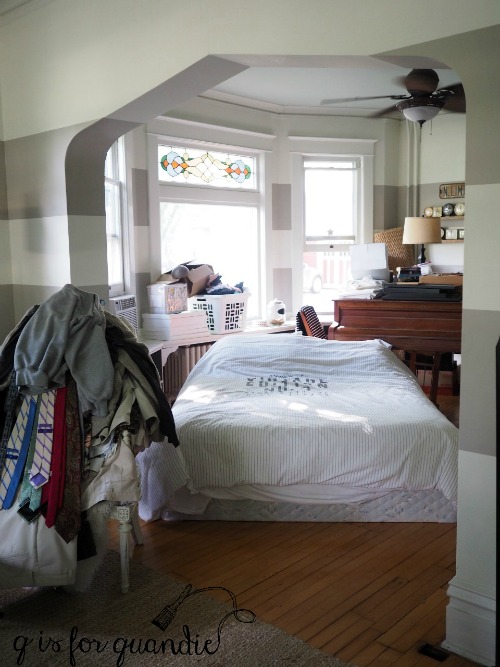
And here is where we slept …

I’m not going to sugar coat it, it was an exhausting week.  Adam and Alek showed up on Friday to start the floors.  It took them a good part of the day to get them sanded.  It was loud, dusty, sweaty, hard work and as I was watching them I realized how glad I was that we hadn’t tried to tackle this project ourselves.  By about 8:30 Friday evening the guys had sanded the floors, cleaned them, put down a coat of sealer, went home for dinner while that dried, came back and buffed the floor again and then put down a 2nd coat of sealer.  They came back Saturday morning to buff again and put down a coat of finish, then again Saturday evening to add a 2nd coat of finish.  Finally they came back again on Sunday to remove the tape around the baseboards and check their work.

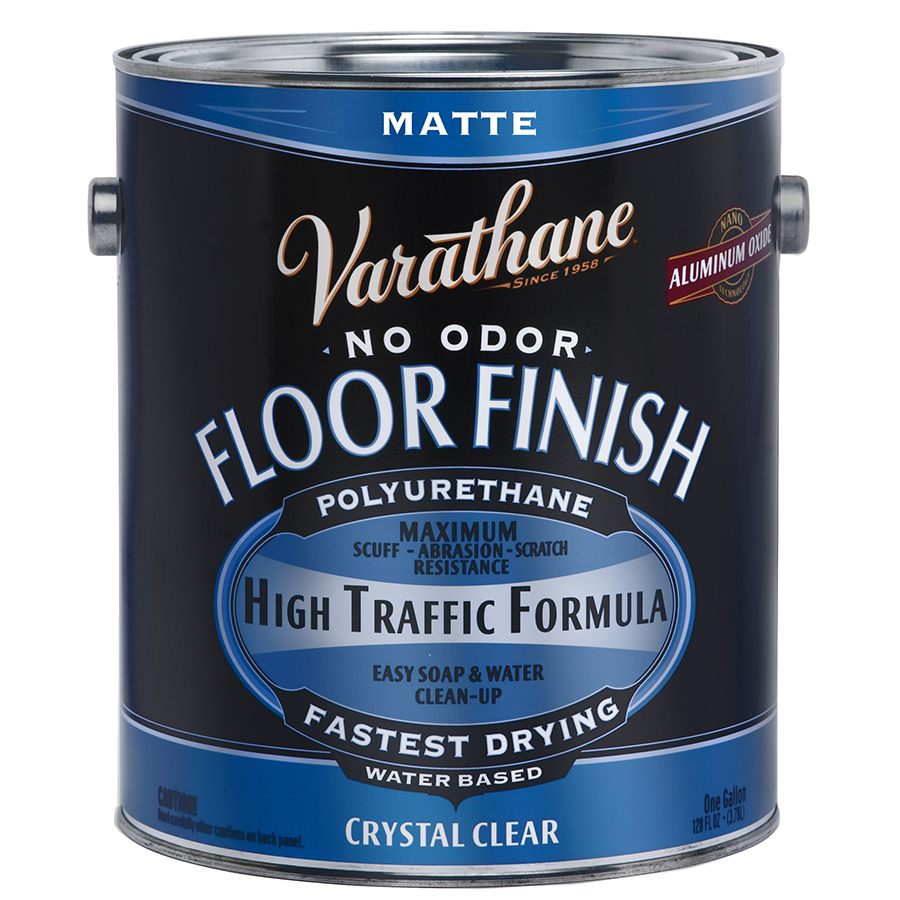
I wanted a natural look with no stain and a matte finish.  The guys chose to use this product from Varathane …

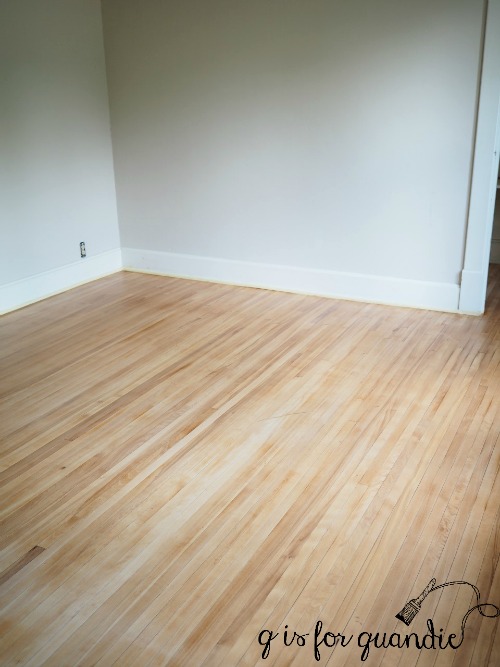
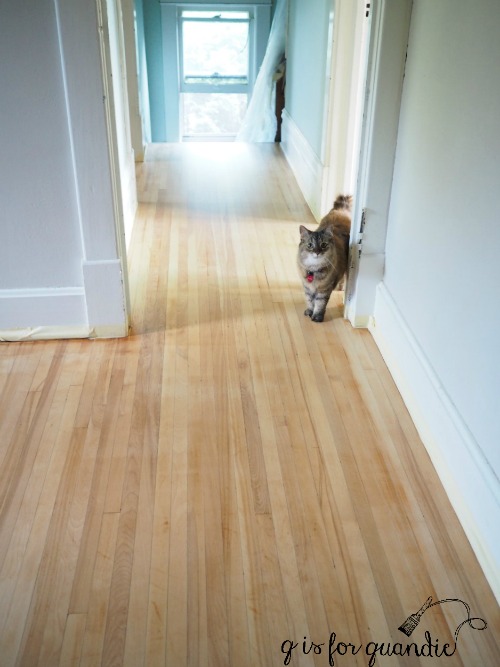
And now my floors look like this …

I absolutely LOVE the color.  I wanted them to be pale and natural looking and that’s exactly how they turned out.

Lucy inspected them and was happy with the results too.

Keep in mind that these floors are 113 years old.  They are maple and as I mentioned we opted to not stain them.  There are some natural variations in the color of each board.  They also have some deep scratches and other flaws, and there are spots where the boards are a little warped and thus didn’t sand evenly.  I was OK with those imperfections and did not expect pristine, new looking floors.  Also, the guys told me they didn’t know how to get under the radiators and I was fine with that.  They struggled a bit with the edges and corners too.  There is one edge that really could use a touch up and the guys were more than willing to come back out and fix it.  But in the end we decided that since it would be covered with furniture anyway it just really wasn’t worth the effort.

My main goal with the floors was to get rid of the orange tone that they had developed over the years and that was accomplished perfectly.

Mission Possible is really starting to come together now.  I have a few more details to complete such as new switch plates, re-paint the baseboards, replace the ceiling fan, and make a decision about window treatments.  Be sure to check back next week when I share what we did for a headboard, and how I changed up the nightstands!


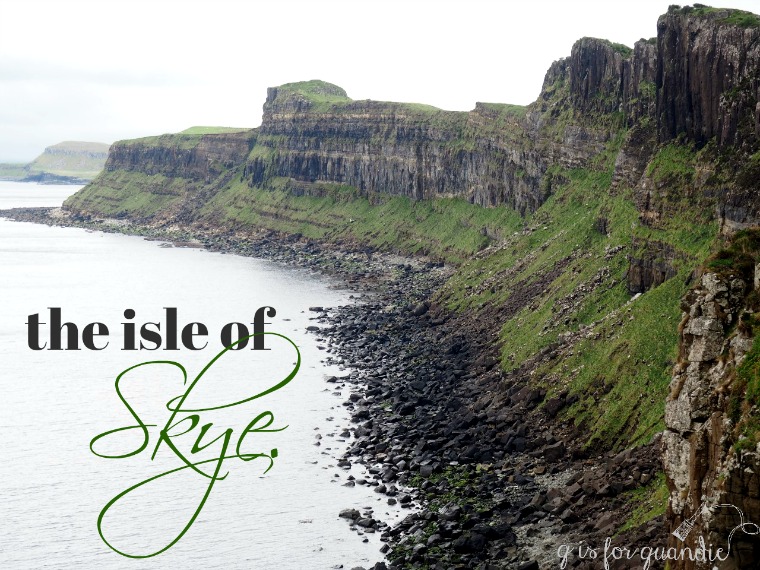
the isle of skye.

Way back when Mr. Q and I were trying to figure out where to go on our vacation this year it was Mr. Q who stumbled across the cruise we ended up booking.  The main reason he was drawn to this particular itinerary was the stop at the Isle of Skye.

You see, Mr. Q’s step-dad is a McLeod.  And Castle Dunvegan on the Isle of Skye is the seat of Clan McLeod.

So you could say that this entire trip was planned around seeing Castle Dunvegan.

And this is where my story takes a turn for the dark side.

I made the decision to book an independent shore excursion to Castle Dunvegan with a company called Tour Skye (not to be confused with several other tour companies operating on Skye with similar names).  I’ve booked shore excursions with independent companies before and always had good luck with them, so I wasn’t particularly worried about the fact that we had to pay in full in advance (and after all, we also paid for our ship sponsored excursions in full in advance as well).  But when I couldn’t get the tour operator to commit to a specific start time for the tour I started to get a little nervous.  Instead we were just told to get off the ship as soon as possible and we would be met at the pier.

I understand where they are coming from on this.  They are taking a group, and they want everyone to get off the ship as soon as possible while at the same time they don’t want people to be worried that the tour will leave without them if they aren’t the first people off the ship.  Since this port requires a tender (that means the ship is anchored away from shore and you take a small life boat to the pier), it can take a while to get everyone off the ship.

Sure enough, we were met at the pier as soon as we disembarked from our tender and we were told to walk up the hill to the town square and wait there for our entire group to be assembled.  So far, so good, I thought.  But what I didn’t realize was that our group of 8, all of whom were ready and waiting at the appropriate meeting point by 8:30 a.m. would be left waiting in the town square until 9:45 for our tour guide and van.  It seemed as though our guide was responsible for getting all of the other tours organized and on their way before she could head out with us.

Had we known how long we would be waiting, we could have walked around Portree and at least enjoyed a little of the town.  Instead we sat in that square not knowing if our guide was going to show up in five minutes, or in 75 minutes.  Turns out it was the latter.

But we finally loaded into our van and headed off to see the Isle of Skye.

It was a foggy, drizzly day, but I actually loved that.  It was exactly the kind of weather I expected to find in Scotland and it gave everything a misty, mysterious air that was very romantic and lovely.
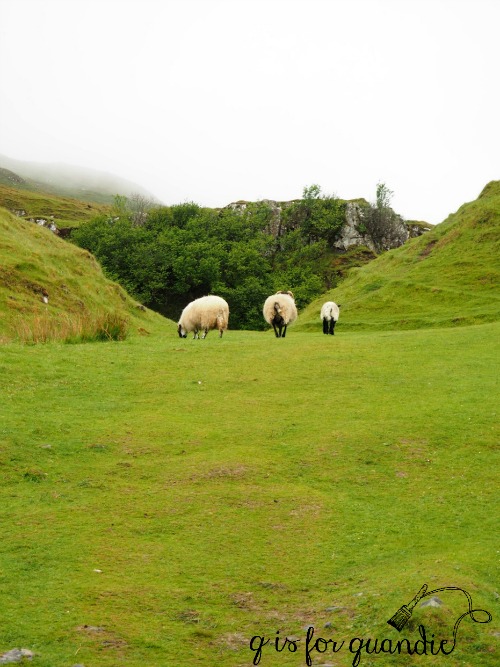
As we drove along our guide explained that she was taking us to a scenic overlook, but we might not be able to see much in the fog.

 Sure enough, we pulled off the road and were surrounded by nothing but fog.  We drove on to another site with a similar result.

We drove to a third site, Kilt Rock, and this time we could see the view and it was lovely.

But I was starting to wonder, when were we going to go to Castle Dunvegan?  Did we somehow get on the wrong tour?  Our tour was supposed to include a morning stop at Castle Dunvegan, then a lunch stop where we would dine on “the very best of the Scottish cuisine”, followed by a “whiskey tasting experience” in the afternoon.  After our late start it was already closing in on lunch time and we hadn’t even gotten to Dunvegan yet and the last tender to our ship was leaving at 3 pm so how were we possibly going to fit it all in?

Our guide next drove us quite a long way down a harrowing single track lane in ever thickening fog to take us to the Fairy Glen.  If you aren’t familiar with the concept of a single track lane, it is basically a narrow road that is only one car wide, but yet it isn’t a one-way road.  Cars can travel either direction, but every so often there is a little spot where one car can pull off and let another pass.  So, if you come upon another car and you aren’t near one of those spots, one of you has to back up until they can pull off.  Cars are bad enough, but people drive camper vans down these roads.  And trucks pulling trailers.  It was quite the experience!

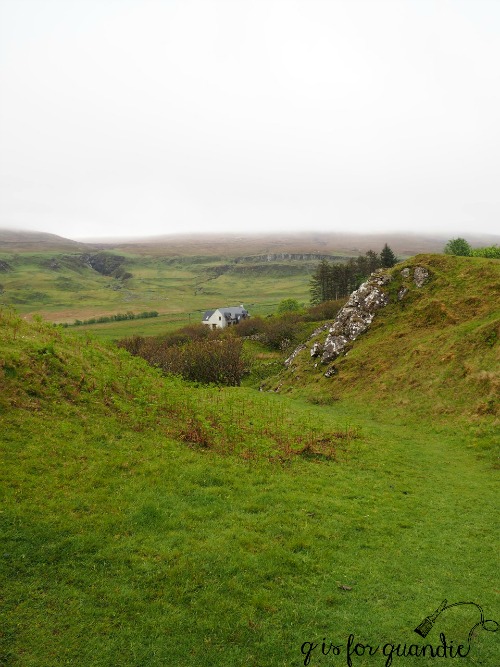
But we made it to the Fairy Glen in one piece.  The Fairy Glen is made up of unique geological formations that were the result of a landslip.  Or, as I prefer to believe, it was created by fairies and they may still live in ‘Castle Ewan’ (below) to this day.
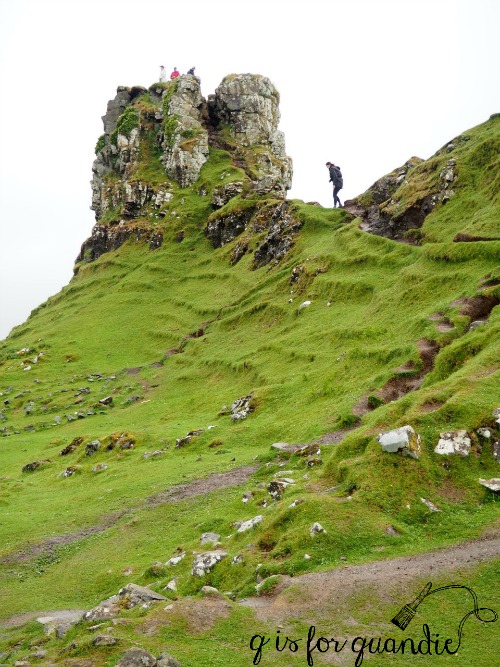
The Fairy Glen was beautiful and so unique, and it was perfect seeing it in the misty fog.
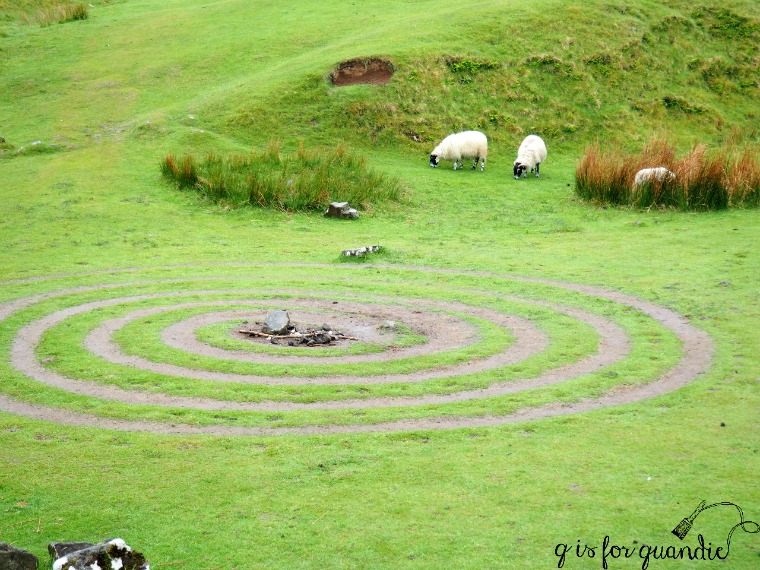
As much as I loved seeing it, it really wasn’t supposed to be on our itinerary so I approached our guide and asked “um, we are going to Castle Dunvegan right?”

“Oh yes,” she said.  “We’ll have lunch next and then we’ll go to Dunvegan.  Don’t worry.”

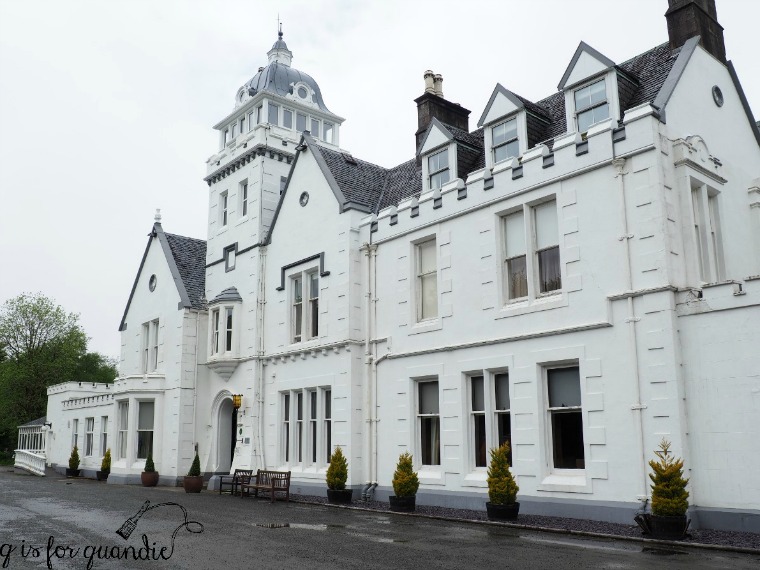
Our lunch stop was at a lovely hotel, but I was surprised when asked if I preferred a ham sandwich or an egg/mayo sandwich.  Huh?  This is “the very best of the Scottish cuisine” that we were promised?  A sandwich and some tomato soup.  Underwhelming, to say the least.

At this point it was about 1:30 in the afternoon.  Everyone in our small group of 8 was wondering how in the world we were going to fit in a Dunvegan visit and a whiskey tasting and still make it back to our ship in time for the last tender.

Our guide kept assuring us this was possible though, so I was shocked when I asked her how far away from the ship we were and she said about 40 minutes!

By the time we pulled into the parking lot at Dunvegan it was 2 pm.  And we were 40 minutes from the ship!  It doesn’t take a rocket scientist to figure out at this point that not only are we not going to get to the whiskey tasting, but we are only going to have 20 minutes to see Dunvegan.  Oh, and did I mention that our guide/driver hit a pedestrian with the van in the Dunvegan parking lot?  Thank god the person wasn’t injured, just startled and rather pissed off.

Dunvegan looked like a lovely place, what little we got to see of it.  We took some really quick photos including one of Mr. Q in front of the castle so he could prove he really was there.
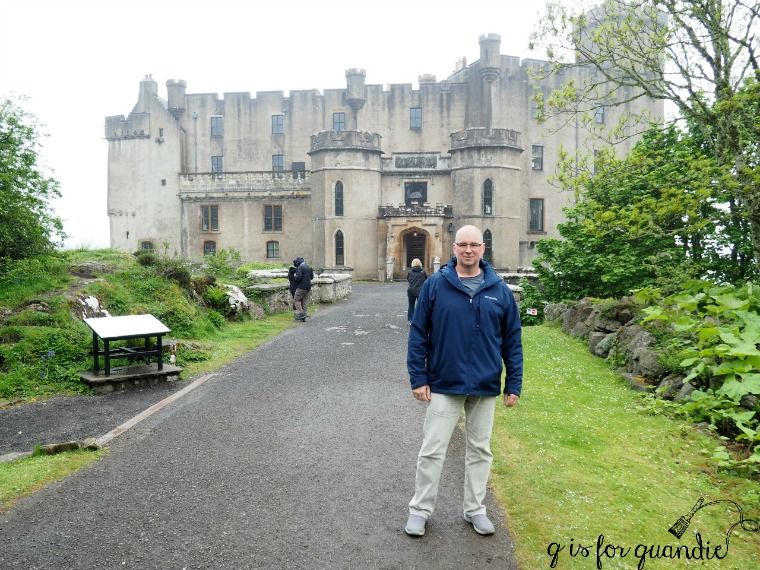
I felt just sick inside that we were standing right there at Dunvegan castle, but we were going to have to race through it and not see much.  I had this experience once before at Versailles and I am still bitter about it years later.
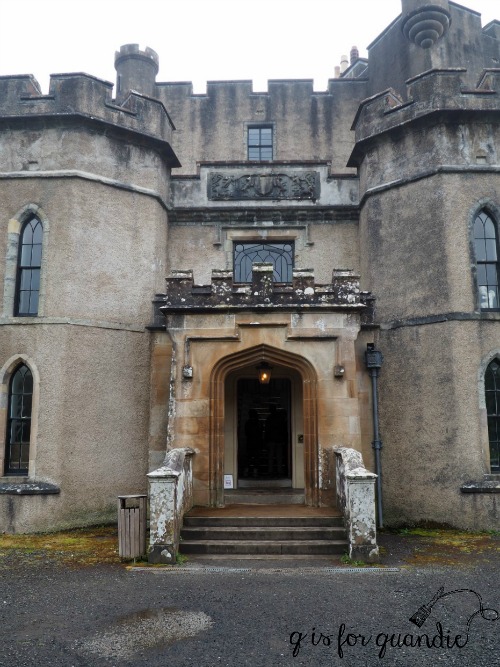
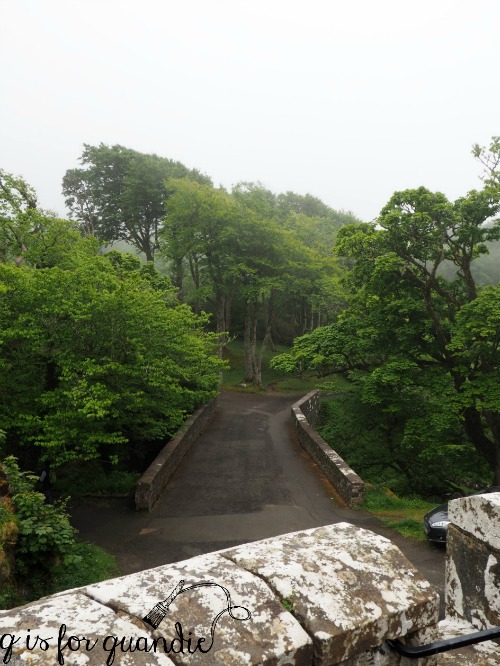
The quick glimpse I got of the gardens while running past them told me that I was missing out by not getting to see them at all.
We basically dashed through the castle straight to the gift shop.  We HAD to bring souvenirs back for Mr. Q’s step-dad.  After making our purchase we literally had to run back to the van.

What followed was a nail biting 40 minutes of dead silence as our guide drove us back to the port.  Not a single person said a word that entire time including our guide.  I think we were all wondering the same things, were we going to make it back in time?  Would our ship really sail without us?  Is the last tender at precisely 3 pm, or will there be another at 3:10 for the stragglers?  How far is it to our next port of call if we miss the ship and have to get there on our own?

I think I looked at my watch about 25 times during that ride.  I kept thinking that surely the port was just around the next corner.

We finally screeched to a halt at the pier at 2:58 p.m.

We all practically jumped out of that van and kissed the ground.  The personnel from our ship were there to greet us and welcome us back on board the Zuiderdam with smiling faces.

We had made it!

Upon our return home I sent an email to Robert at Tour Skye to express our dissatisfaction with the tour.  Of course, that email as well as a 2nd email have fallen on deaf ears.  I haven’t even received a reply, let alone an apology or remuneration of any kind.

I don’t want to leave you with the impression that booking independent shore excursions is a mistake.  As I mentioned at the beginning of this post, I’ve done this many times and never had a problem.  I’ve also had equally bad experiences with ship sponsored shore excursions, like the time my tour bus caught on fire.  The local tour guide told us to stay in our seats, even though the bus was on fire (obviously we ignored that instruction and everyone got off the bus!).  We had to be rescued by another completely full tour bus from another cruise line, and then stand in the aisle of that bus all the way back to the ship.  I didn’t get my money back from the cruise line for that excursion either!  Although that time we did get to see all of the promised stops on our itinerary, they were just augmented by a potentially life threatening situation.

Travel is always going to involve some glitches of course, but it’s so disappointing when people don’t live up to their promises and can’t even be bothered to apologize for it.  Perhaps Mr. Q and I will make it back to the Isle of Skye someday.  If so, we’ll definitely do it differently next time!  It really was a beautiful place and we’d like to see more of it.

But let’s move on, shall we?  It’s definitely time to put our bad experience with Tour Skye behind us.  Be sure to come back next Wednesday to read about the opposite side of this coin, our fantastic experience in Invergordon with our private guide, Alda.