I know, I know. These craft paper scroll signs have been around for years. As tends to be the norm for me, I’m the last one to catch on to a new (and by now, old) trend.
I really debated even sharing this project, fearing that you guys will all be thinking ‘been there, done that’.
But I’ve always wanted to try my hand at making one of these, and I never found the time when I was a 9 to 5’er. Now that I am retired, I’m going to have time to get to more of these little side projects.
Not only that, but for me this project was completely free, only requiring supplies that I already had on hand. Now that I’m on a fixed income, I’ll need to be watching my budget more closely. Ha … who am I kidding? I’ve always been a penny pincher, nothing has changed there.

First up, I gathered my supplies. I always have a giant roll of brown craft paper on hand. In addition, I pulled out my Dixie Belle paint in Caviar, my re.design with prima 1.5″ wax brush (which works great for stenciling larger designs), some stencils and some string (oh, and not pictured, some paper toweling and some Frog tape).
I rolled out a section of the kraft paper and weighted down the ends with heavy items that were close at hand to keep it from rolling back up as I worked. Then I used yellow Frog tape to secure my stencil (I ended up going with my North Pole Trading Co stencil from Wallcutz). I left about a foot of paper at the top and bottom to roll up later, and then cut this piece from the roll.

The yellow Frog tape is the one for delicate surfaces and I really recommend it for this project in particular because it won’t leave a mark on your craft paper when you pull it up.

Libby left me a comment last week suggesting I write a post about my stenciling technique, and I plan to do a more detailed one later, but for now, here is one of my most important q tips … always use a dry brush for stenciling.
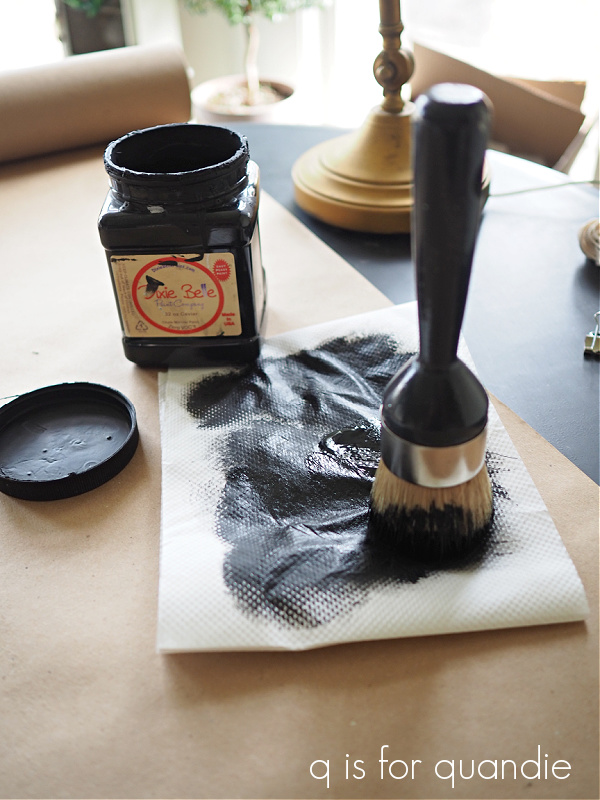
What does that mean? Well, basically you load your brush with paint and then dab most of it off onto a paper towel before using it. It feels rather wasteful, but it’s the best way to get a clean result.
Another of my stenciling recommendations is to use a thicker paint. In this case, I am at the very bottom of this particular jar of Caviar. I’ve gunked up the threads on the jar so badly with dried on paint that the lid no longer seals tightly. As a result, the paint has really thickened up, making it perfect for stenciling!

Patience is also key while stenciling. If you aren’t getting immediate coverage with your dry brush, that’s OK. Wait for the first coat to dry and then go back over it with a 2nd coat. Just make sure your stencil hasn’t shifted in the meantime.

Once the paint was dry, I used my Carpenter Square to make a pencil line where I wanted to trim down the width of my craft paper.

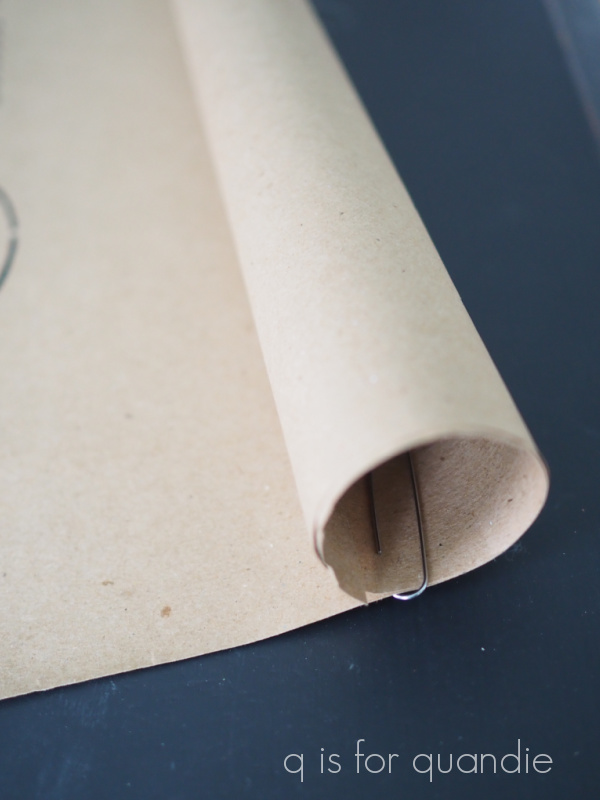
After trimming off the excess on the side, I simply rolled the top and bottom and secured the rolls using paper clips.
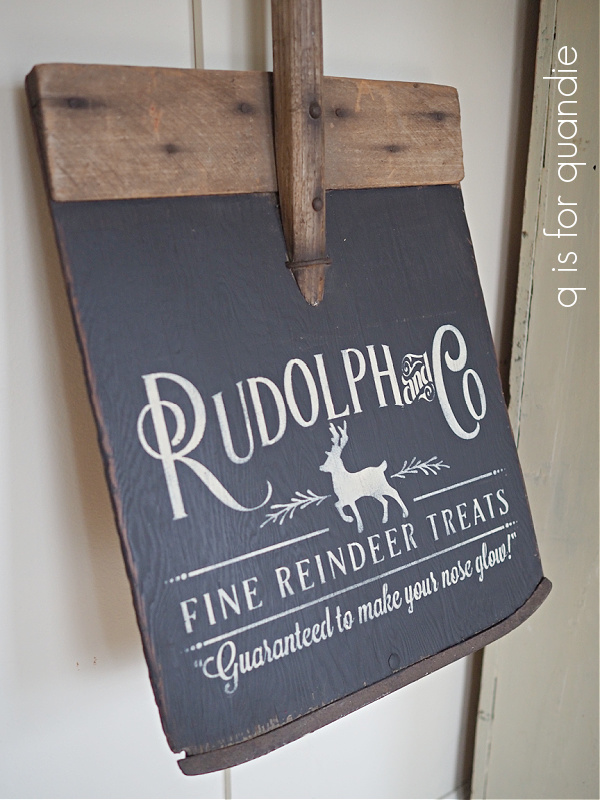
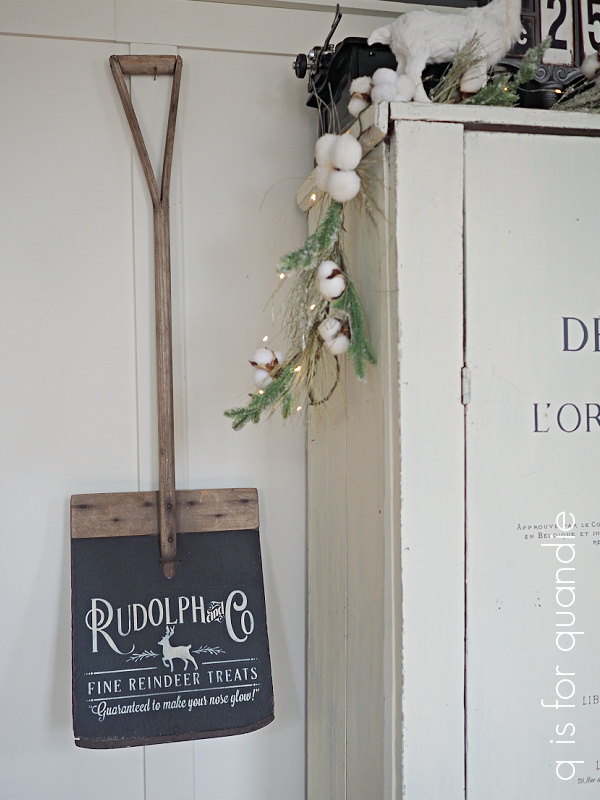
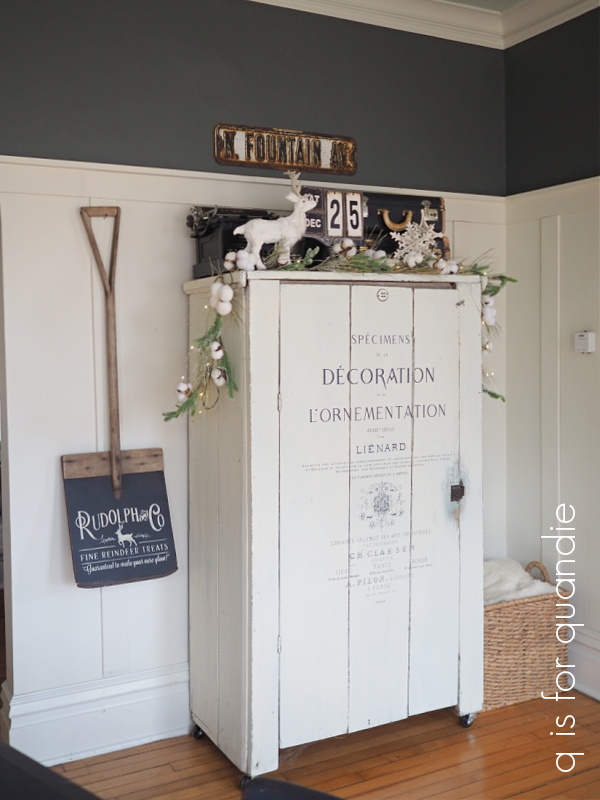
Then I threaded my string through the top roll, tied it in a bow, and hung my scroll on the wall.

Ultimately I felt like it needed just a little something more, so I added a garland of faux greenery to the top to dress it up.

This project couldn’t have been more simple, or more cheap.
Have you ever tried making a craft paper scroll? Am I hopelessly behind the times with this project? Been there, done that? Leave me a comment and let me know.