If it ain’t broken, don’t fix it. But if it is broken, well … sometimes you still can’t quite fix it.
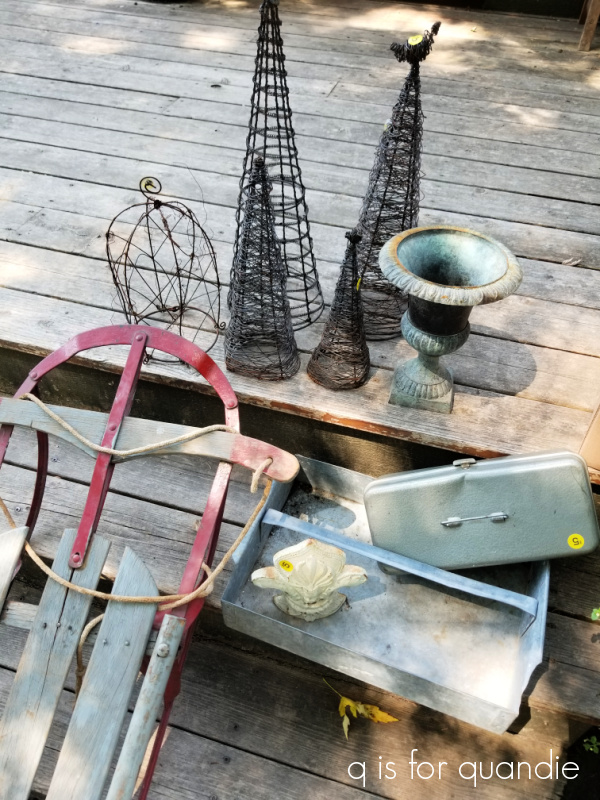
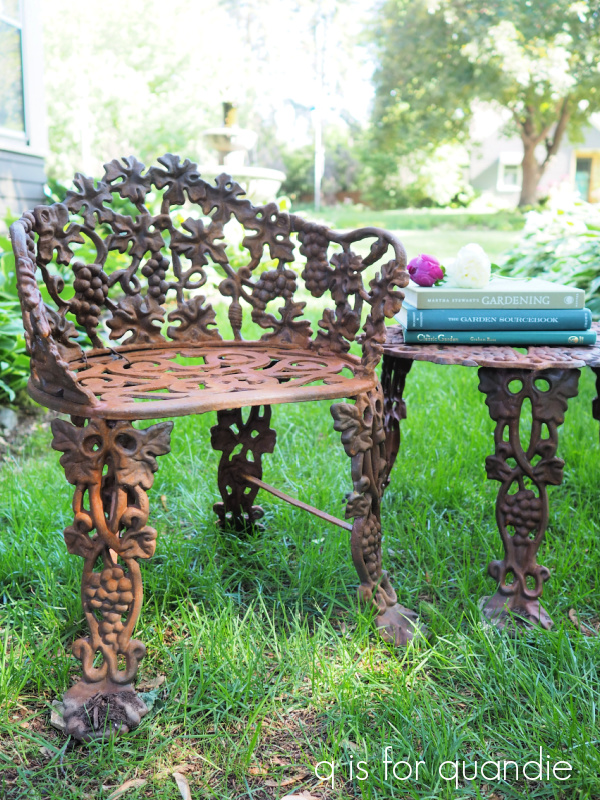
A few weeks back my handyman/neighbor Ken and his wife asked me whether or not I would like to have their cast iron garden furniture. It’s your typical set that includes a bench (not pictured below), two chairs and a little round table, all in the classic grapevine pattern.

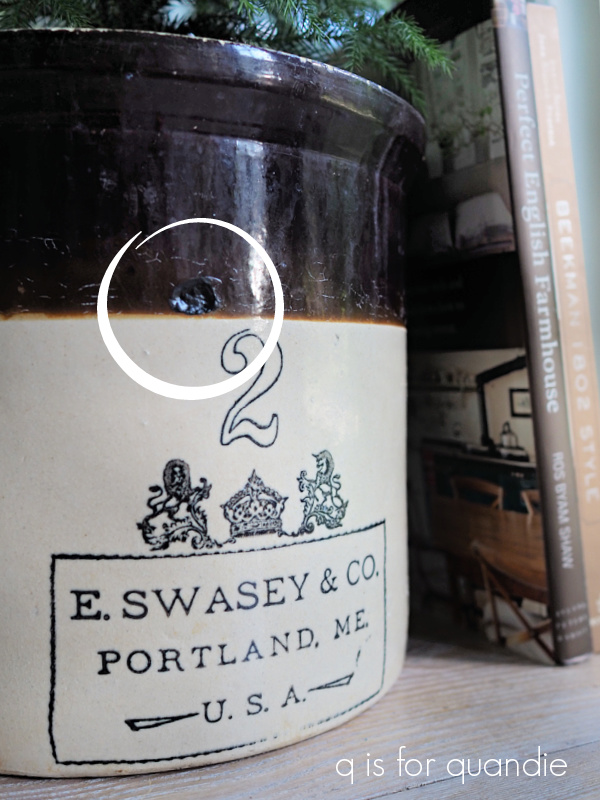
By the way, the giant pot is not from the neighbors, I only put it in the ‘before’ photo because I was working on it at the same time. Kinda wish I hadn’t done that, but that’s water under the bridge now.
Ken and Arlene have had this set for decades. I’m sure at least 40 years or more. Every year they would haul it into their shed for the winter to save it from the elements. But over the years, Ken has found that task more and more difficult because these pieces are pretty heavy. For the last few years my other neighbor (the athletic trainer at a nearby high school) has gotten some football players to help with that task. Still, Ken wanted to be rid of the furniture. He’s tired of storing it in the shed every year (and I also suspect he’s tired of re-painting it bright white every few years), but his wife won’t have it any other way.
When they offered the set to me, I had to point out that I would leave it out in the winter. Not only would I leave it out in the winter, but I would purposely make it rusty. So if they couldn’t handle seeing that, they shouldn’t give it to me.
But they were still willing, so I took it!
There were a couple of issues though. Both the bench and one of the chairs have broken legs that Ken wasn’t able to repair. If you’ve followed me for long, you know that Ken is my fixer. So if Ken can’t fix it, well, I’m not even going to try. Apparently he even went so far as to have a welder attempt to weld the legs in place, and that didn’t work.
So basically, neither of those two pieces are suitable for actual sitting.
Well, that’s OK with me. I planned to use the Dixie Belle Patina Paint to make them rusty, and unless you seal them, that makes them unsuitable for sitting on anyway. Plus, let’s face it, it’s not like this furniture is comfortable, right? Does anyone ever actually sit on it? This is definitely one of those form over function sort of situations.
So I made them rusty. The bright white just wasn’t ‘me’. As per usual, I started off in the wrong direction. I decided to give them a dark base color so there wouldn’t be any patches of white poking through the rust. I also decided to use spray paint for this, simply because it would be way easier than painting them with a brush. I had a couple of cans of gloss black on hand, so I thought it would be OK to use that. So I sprayed them up … and boy was that gloss spray paint SHINY. Like so. very. shiny.
I didn’t want to see super shiny black spots behind my rust, so I switched directions and gave the pieces a base coat of flat red spray primer. Much better.
One caveat re: the primer, if I was concerned about these pieces rusting for real I could have used the Dixie Belle Prime Start. It contains an acid blocker that prevents the activator (green spray) that you apply later from eating through the paint and degrading your metal item. But I’m OK with these pieces rusting away for the next decade or two.
Next I followed the normal process with the Dixie Belle Patina Paint in Iron, followed by the green spray (you can get detailed info on that process by clicking on the image below).

For reference, it took most of the 8 oz. container of the Iron paint to do the two chairs and the round table (I haven’t gotten to the bench yet). So if you’re planning a rusty project, maybe this gives you an idea of how far the paint goes.
I really loved the rusty look I achieved on these pieces.

Yep, rusty is much more to my taste than the bright white … or the glossy black for that matter.
As I’ve mentioned in the past, the rusty patina can take a while to fully develop. I’ve also noticed that a little rain falling on the items will speed up that process.

Dixie Belle does make a sealer specifically for use over their patina paint called Patina Guard.

You may want to consider using this sealer to protect a rusty finish, or more importantly to protect yourself from sitting on a rusty finish. But personally I don’t like the sheen it imparts, so I prefer to leave my rusty pieces unsealed. You can read more about that in this post.
I’ll be splitting up all of these pieces rather than keeping them together as a set.
One of the chairs has found a home in my front garden next to the fountain.

I also have a spot picked out for the bench (once it’s done).
I did have a plan for the other chair and table, but ended up not liking them in the spot I picked out. So now I’m going to attempt to sell those two unbroken pieces. So if any of you locals are in need of a rusty table and chair for your garden, be sure to check out my ‘available for local sale‘ page for more details.
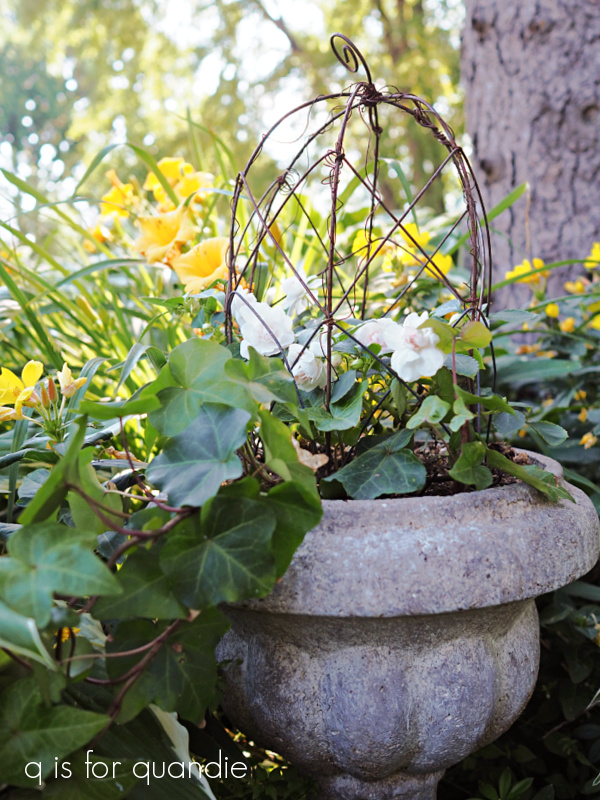
As for that pot, I made that rusty too, and here is how it turned out …
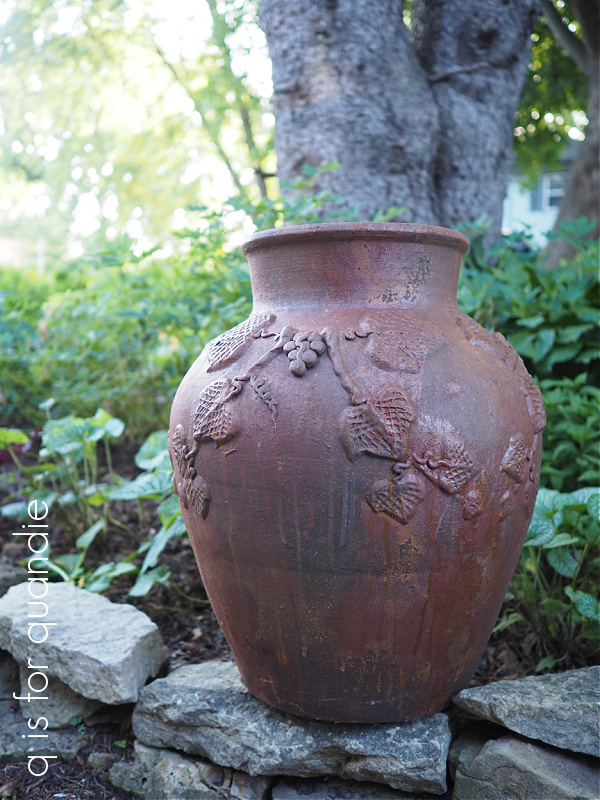
The pot also has a grape vine motif that looks great rusty.

It’s also available for local sale.
While I’m at it, I also have this pair of tall rusty planters and obelisks available.

These are quite tall and would look amazing flanking a door, or maybe a path in your garden.
Be sure to check out my ‘available for local sale‘ page for the details on all of these rusty items.
Have I gone overboard with the rusty look? I don’t think so. In fact I have another pair of planters that are going to go rusty next, and I still have to get to that bench!
As always, thank you to Dixie Belle for providing me with their Patina Paint products.