I know I’m not alone in wishing that I.O.D. would release another typography transfer similar to their retired Label Ephemera. But so far we are left wanting.
Rather than complain about it though, I’m on a quest to come up with other options and that brings me to the new I.O.D. stamp set called Ephemeral Type.
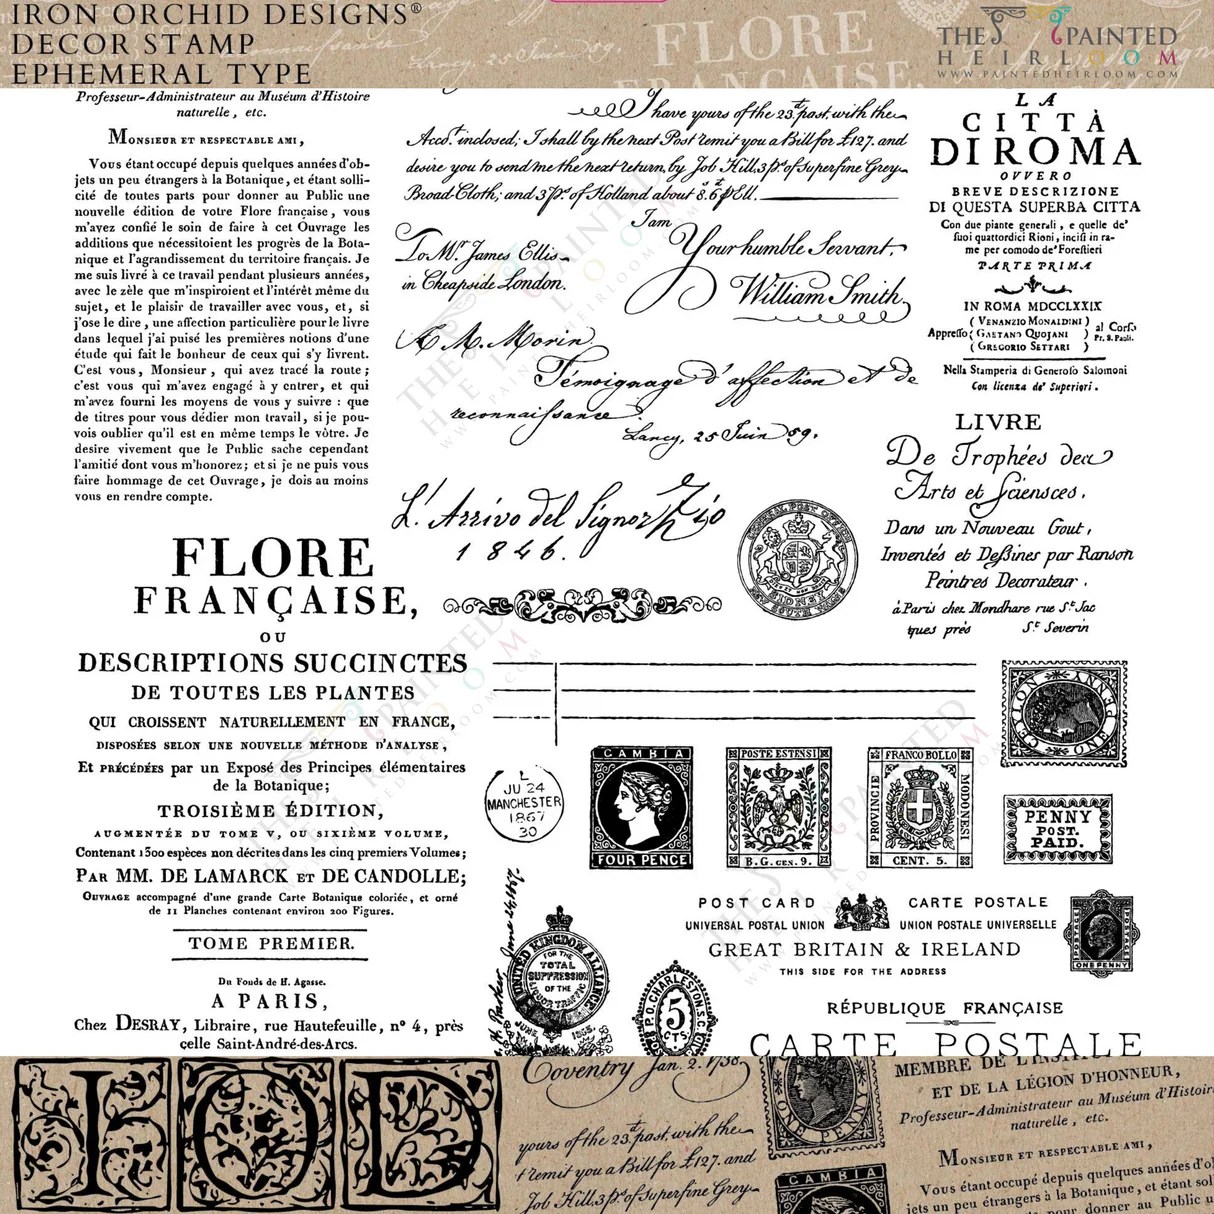
There is some fantastic typography included with this decor stamp. I’m especially drawn to that Flore Française section at the bottom left.
Unfortunately, my stamping skills are somewhat lacking. But as they say, practice makes perfect. So maybe I just need to get practicing.
I ordered the stamps and then looked around for some guinea pigs.
I painted up these books back in February 2018 …

Good gracious, that was over six years ago. Time flies.
I’d been using them as decor in my own house, and they were ready for a refresh.
I started by painting over them with a couple of coats of Dixie Belle’s Drop Cloth. Then I pulled out the Ephemeral Type stamps and some Versafine Clair ink. One of my readers recommended this ink to me the last time I tried to work with stamps.
Now, I’ve watched quite a few YouTube videos where creators just pull the stamp off the backing sheet, add ink, and then carefully pop it onto their surface, gently press all over it and voila. The perfect image.
Yeah, it didn’t quite work out that way for me. Here is my first attempt.
It’s a bit of a mess. Luckily, I can just paint back over this book cover and try again.
Maybe with enough practice over time I could get better at that technique. But for now, I think I need to stick with using an acrylic block to apply my stamps.

You can buy these blocks in different sizes at any craft store. The I.O.D. stamps cling to them quite nicely, and then peel right back off when you’re done using it.
Using the block makes it easier to keep the stamp from wiggling around.
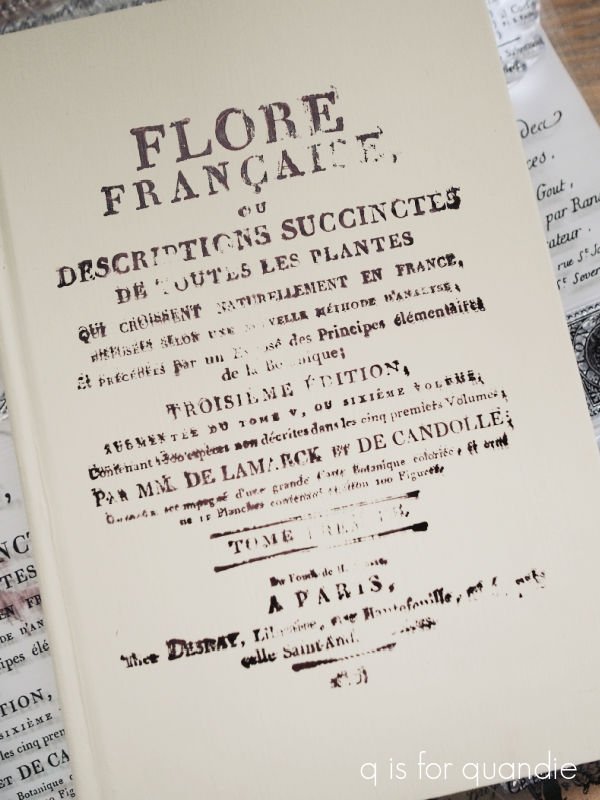
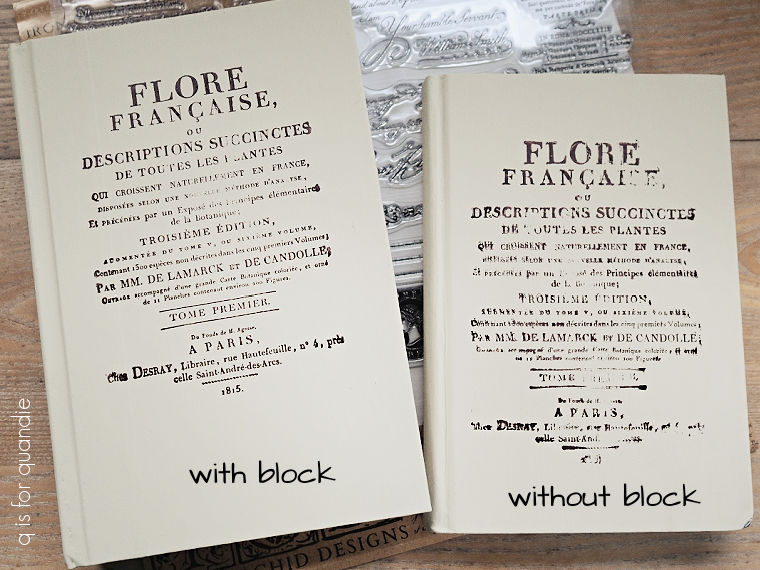
Here is my 2nd attempt at stamping on a book cover, this time using the block.
So much better! I just applied a tiny bit too much pressure on the far right.
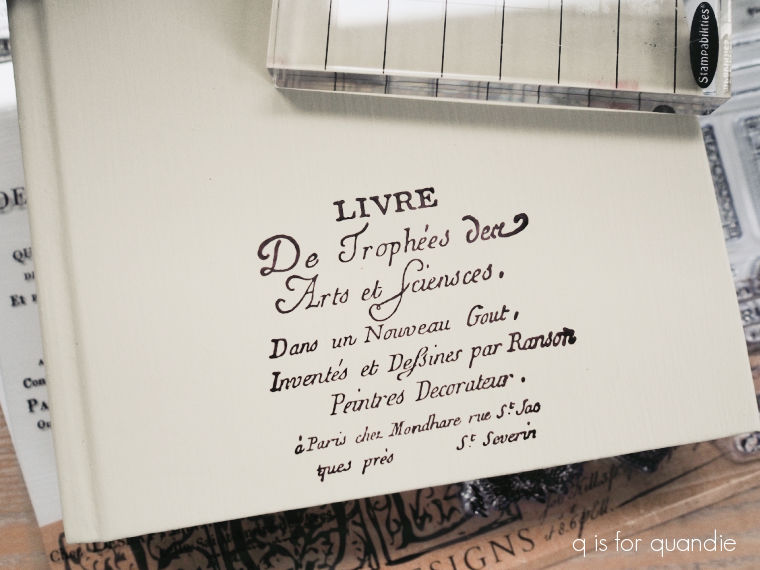
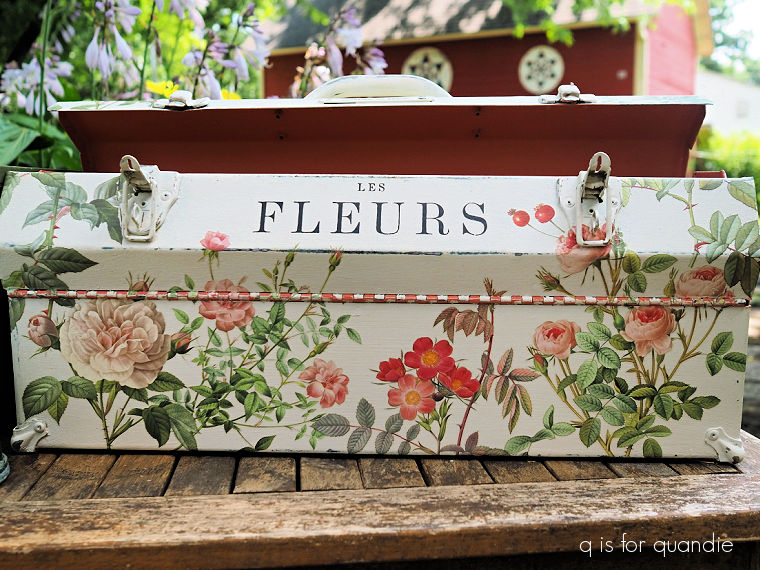
I went back and tried the larger stamp using the block as well.
So much better.
There is a downside to using a block, you have to be stamping onto a fairly flat surface. It’s a bit tricky to try and maneuver a block around a corner or over a curve.
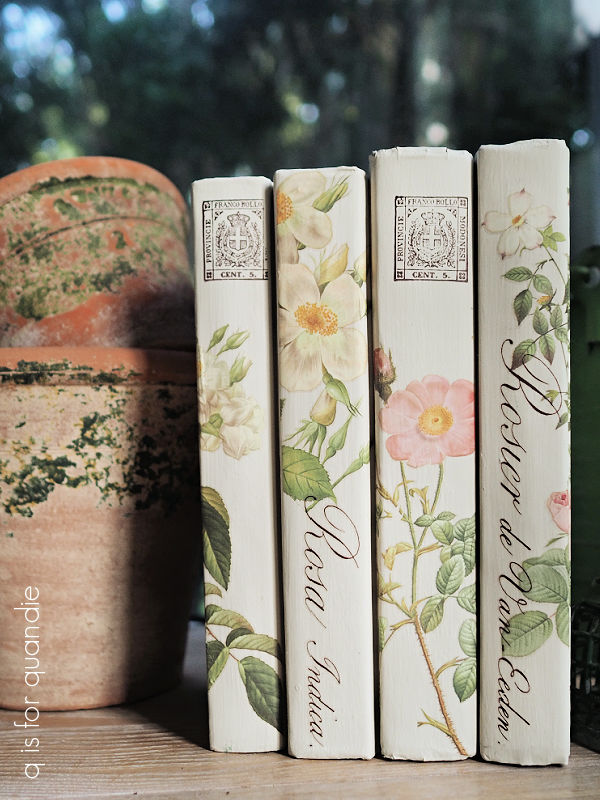
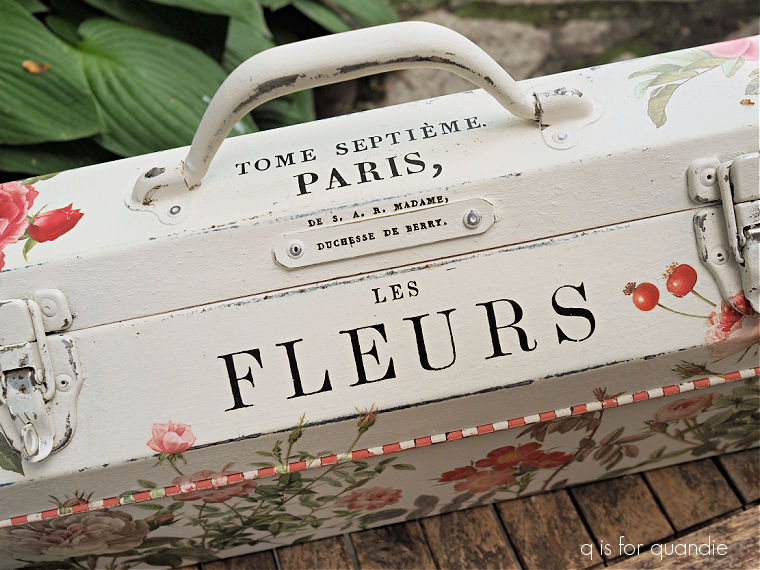
I was able to make it work on the spines of the books using a smaller stamp.
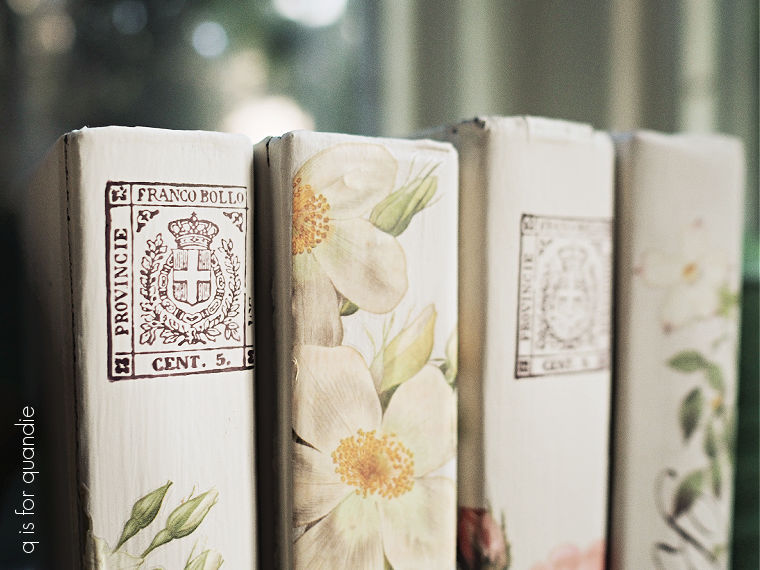
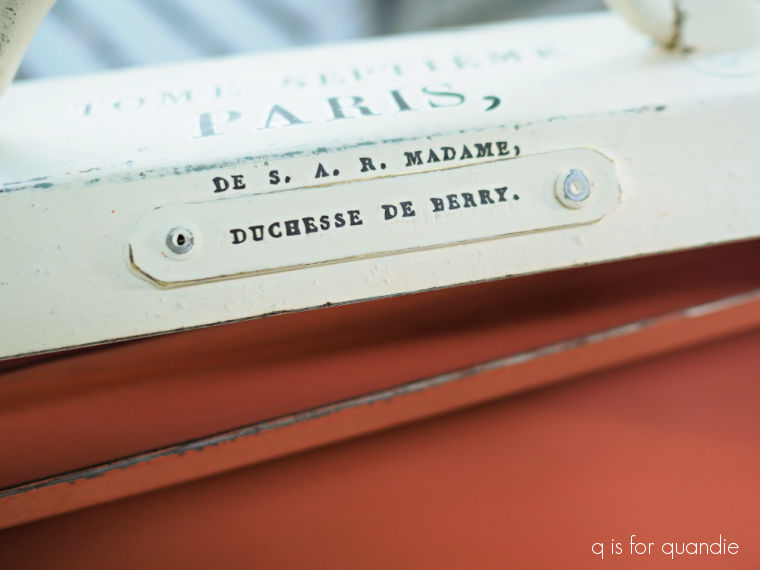
I carefully rolled the stamp just a bit as I lightly pressed it onto the spine, giving me a pretty good result.
Maybe over time, with a bit more practice, I can get good at stamping without a block. Or, maybe I’ll just stick with using one because the results are a little more predictable.
Either way, I’m hoping to get some good use out of this stamp set.
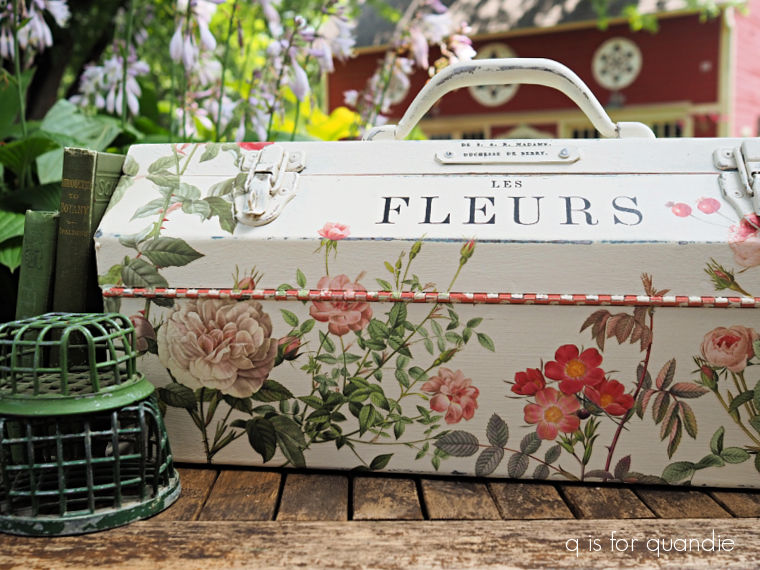
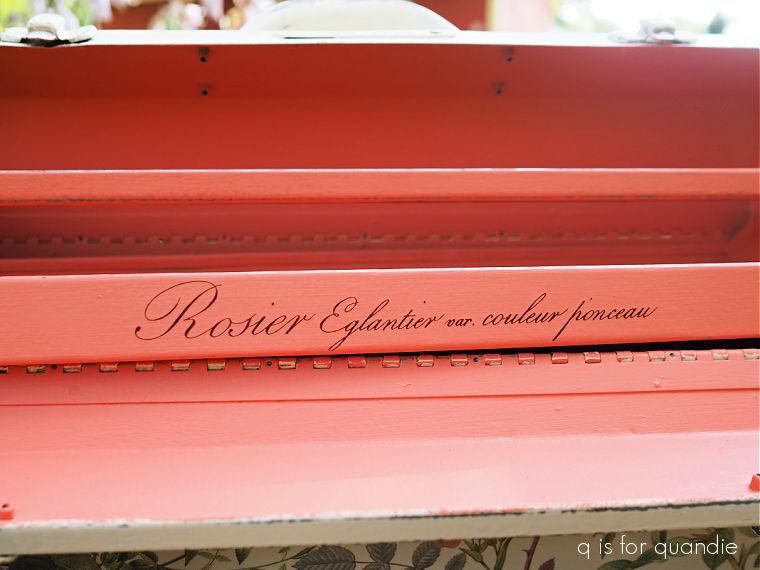
As for the books, I finished them off with some of the Rose Botanical transfers from I.O.D.
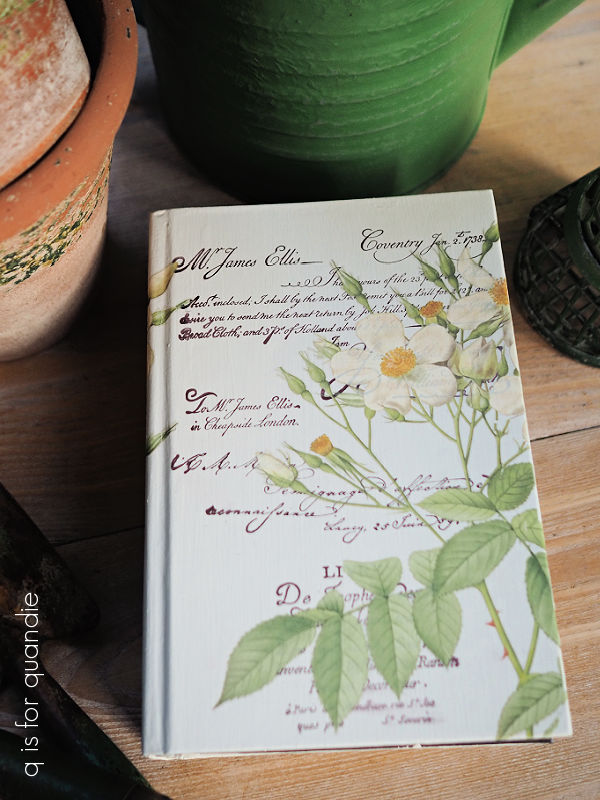
I’m definitely going to need to order some more of them, I absolutely love them.
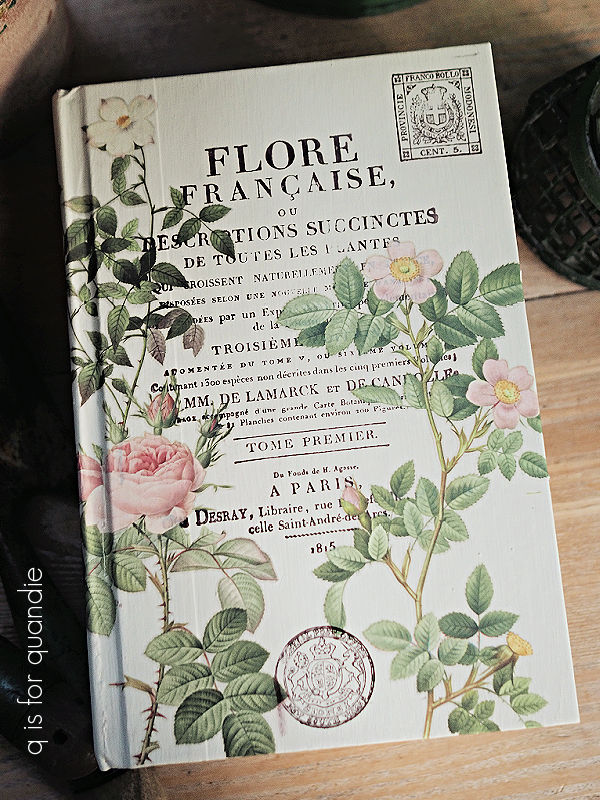
The wording on the spines of the books is also from the Rose Botanical transfer set.
Oh, one last thing. About that Versafine Clair ink. I did have some issues with it smearing. You can see that on the left side of the round medallion stamp at the bottom of the book with the pink roses. I found that I had to let the ink dry for several hours before applying the transfers over it. I do have some of the I.O.D. ink around here somewhere (I think). I’m going to have to dig that out and see if it works better.
In the meantime, I’ll touch up that little smear with some paint. Just to be on the safe side, I’m also planning to seal these with the RustOleum matte spray sealer to avoid any further smearing.
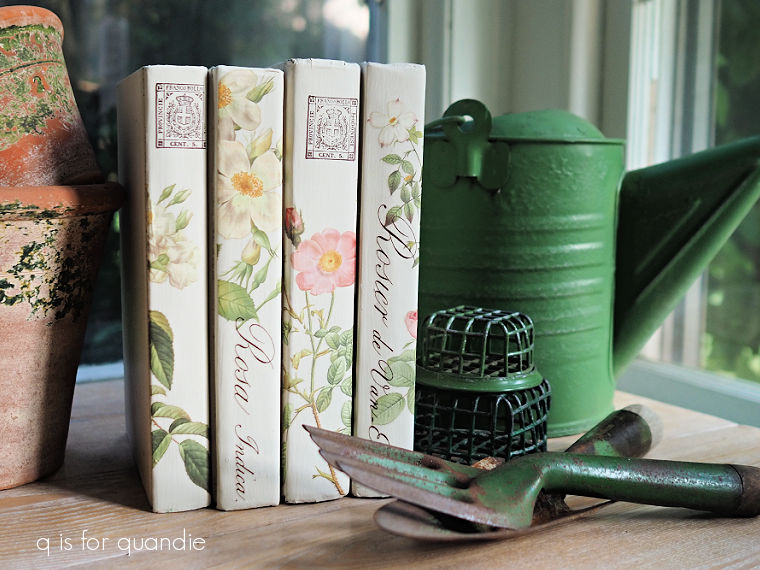
All in all, I’m fairly happy with how the books turned out. I do need to get in some more practice with stamps though, so stay tuned to see what else I can come up with.
In the meantime, are any of you expert stampers? Feel free to give me some tips in the comments!


 That was back in September 2017 (you can read all about it