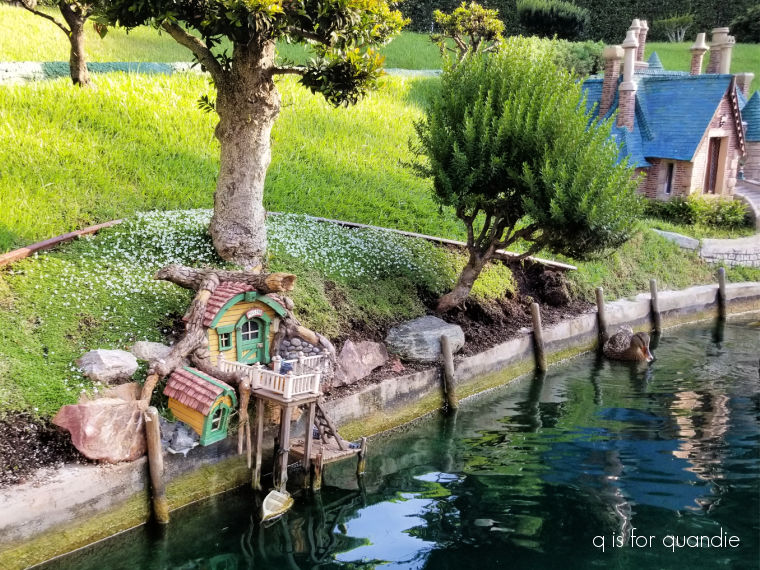
Do any of you remember back when I said that I was giving away my dollhouse?
That was way back in 2017. Gosh time flies! Seven years have flown by in the blink of an eye.
If you weren’t around back then, the story behind the dollhouse is this. My dad retired early from I.B.M. on his 52nd birthday. Not only did he have a pension, but I.B.M. also paid for health insurance for both my mom and dad until they were 65, and they gave him an early retirement bonus where they added the amount of social security he would be eligible for at 62 to his pension payment for the next 13 years. Can you imagine any employer offering that kind of a deal now? It was too good to pass up.
However, he had been fairly recently transferred to Lexington, KY, and he wasn’t finding much to keep him occupied there.
So when I suggested it might be fun to make a dollhouse, he jumped on the idea with gusto. It was helpful that there was a really fantastic dollhouse supply store near him in Lexington with owners who quickly became his besties.
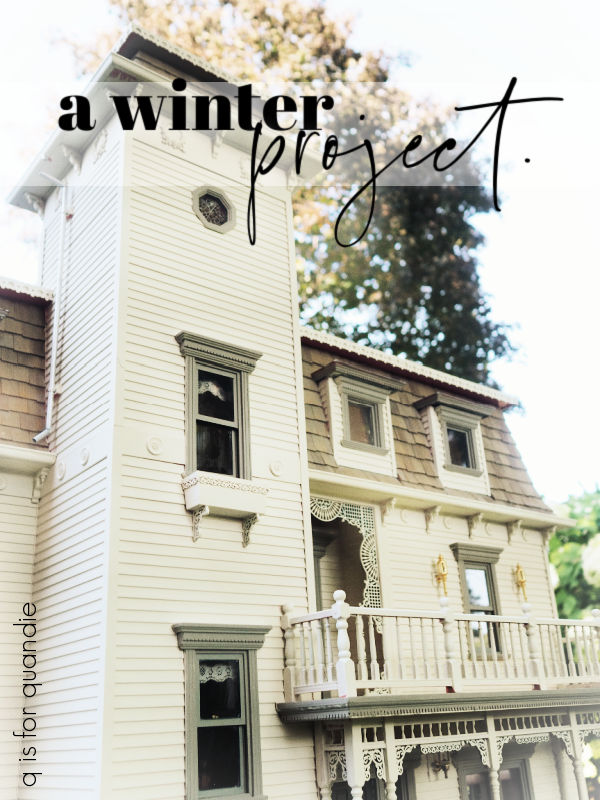
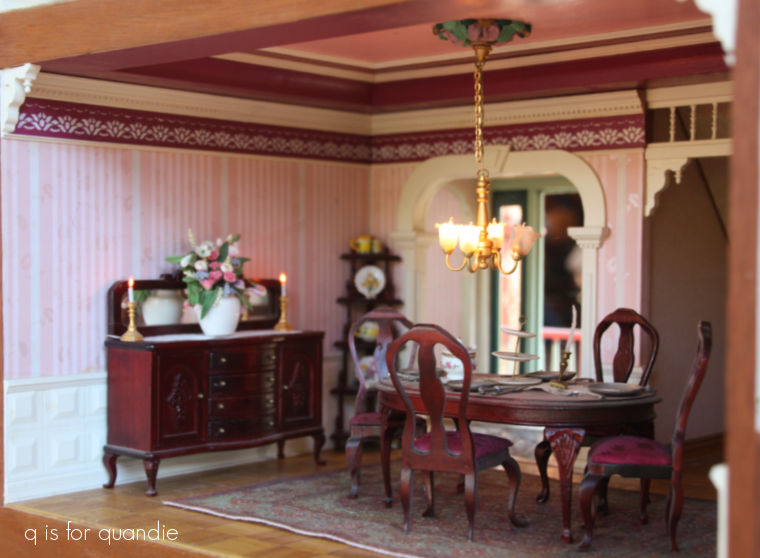
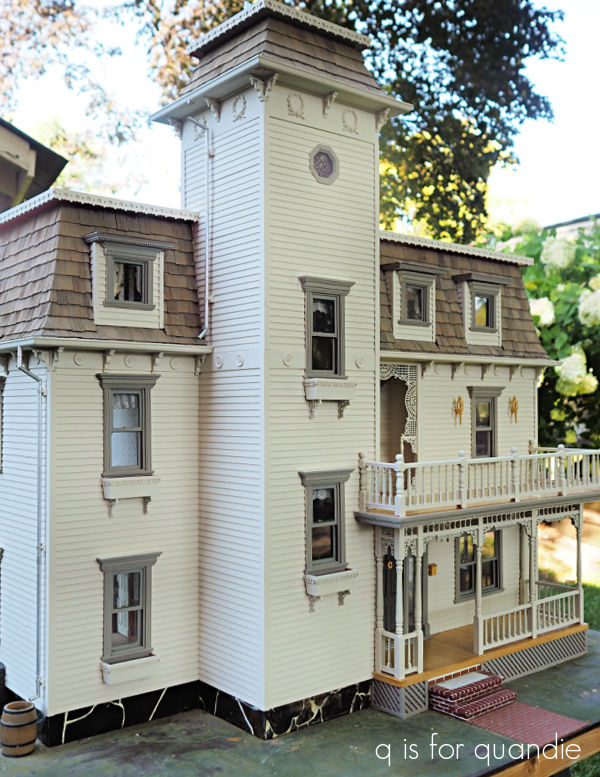
It took him about 9 months to finish it, and as you can see, he spared no expense and added every kind of detail imaginable.
He also took photos every step of the way.

I chose all of the colors (egads! what was I thinking?), wallpapers, furniture, etc. But I was already living here in Minnesota then, so we did everything by phone and/or mail. Remember when long-distance calls cost money? And there was no such thing as email? Or Amazon? It was a different time for sure.
But anyway … back to giving the dollhouse away. Flash forward to 2017 and it was just gathering dust out in the carriage house. I felt like it should go to someone who would appreciate it and take care of it. So I offered it to my in-laws. They love working with miniatures, so they were happy to have it and planned to refurbish it.
But that never happened. Instead it ended up just gathering dust at their house too.
Meanwhile, after working on the toy barn makeover back in March …

And then my clock case project back in April …
I kinda got the bug to work in miniature. So I decided to ask if I could have my dollhouse back. The in-laws couldn’t have agreed more quickly. They were clearly happy to see it go.
So last week Mr. Q and I drove out to their place in Wisconsin and brought the dollhouse back home.
I plan to give it a refresh. It has a bit of a dated vibe, and not in a good way. So why not give it an update?
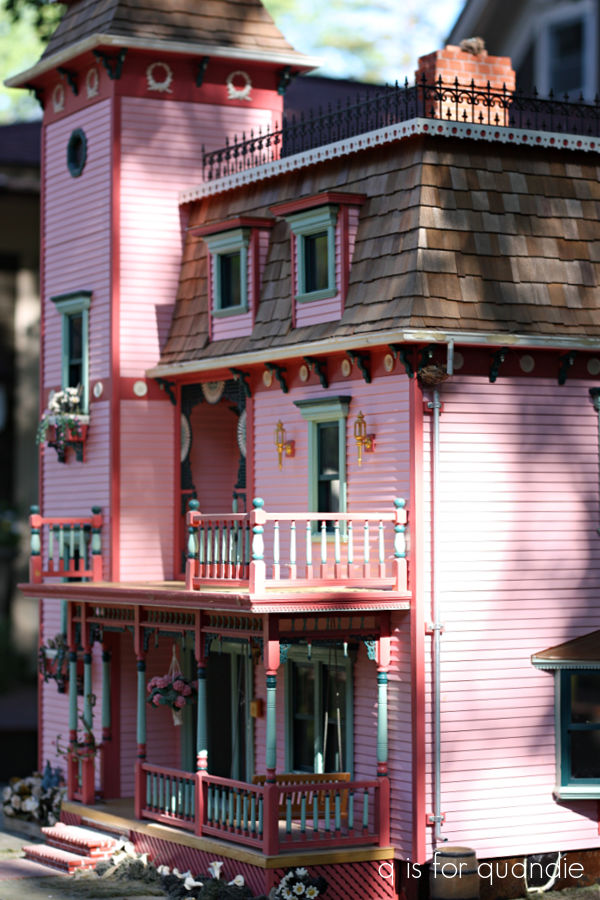
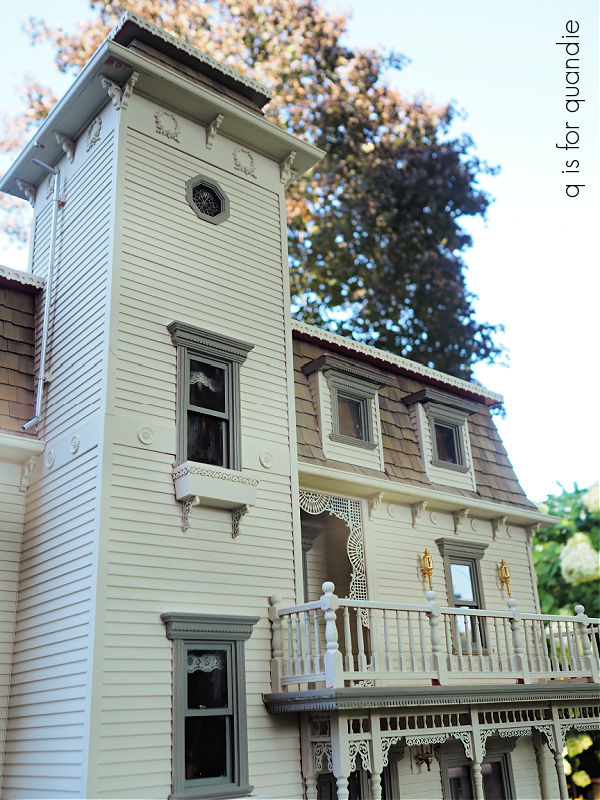
I have to point out that the photo above was taken before the dollhouse went to the in-laws. They subsequently stripped away all of the landscaping, and also repaired the upper level railing.
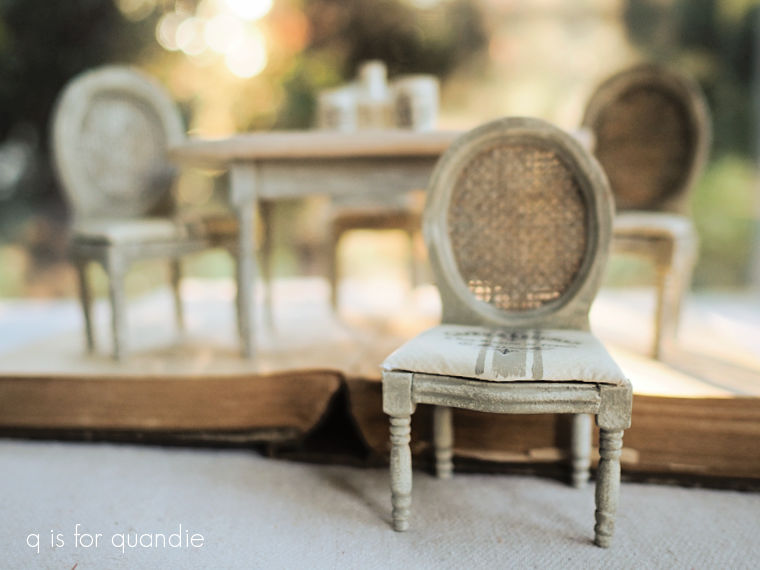
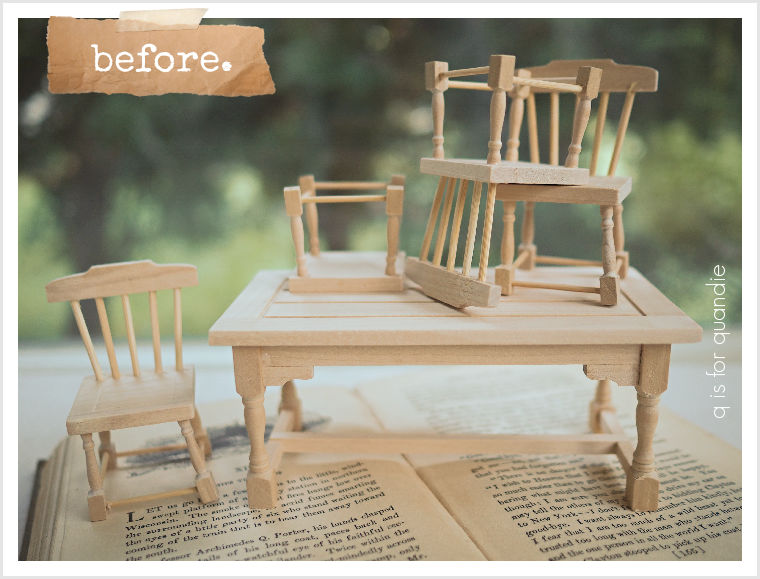
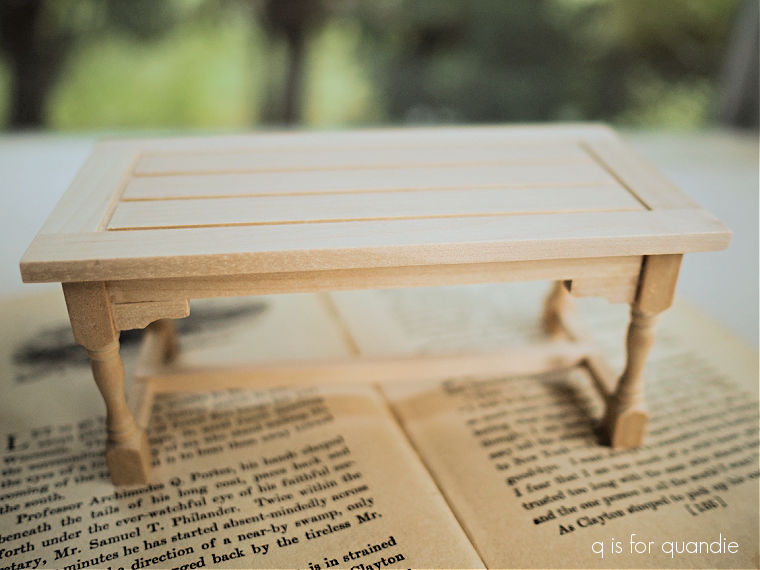
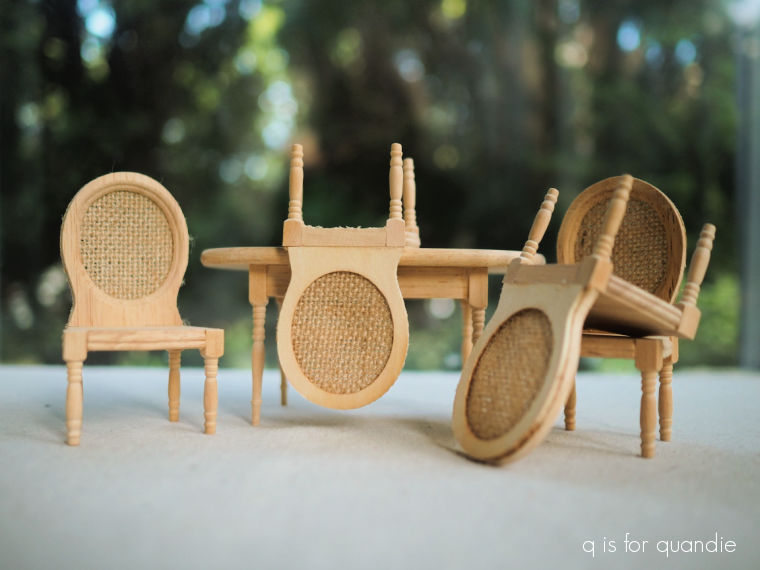
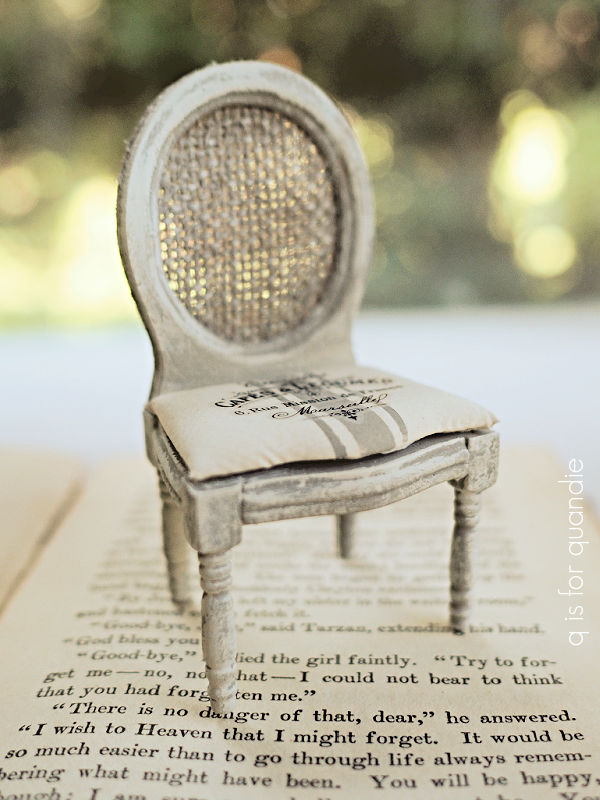
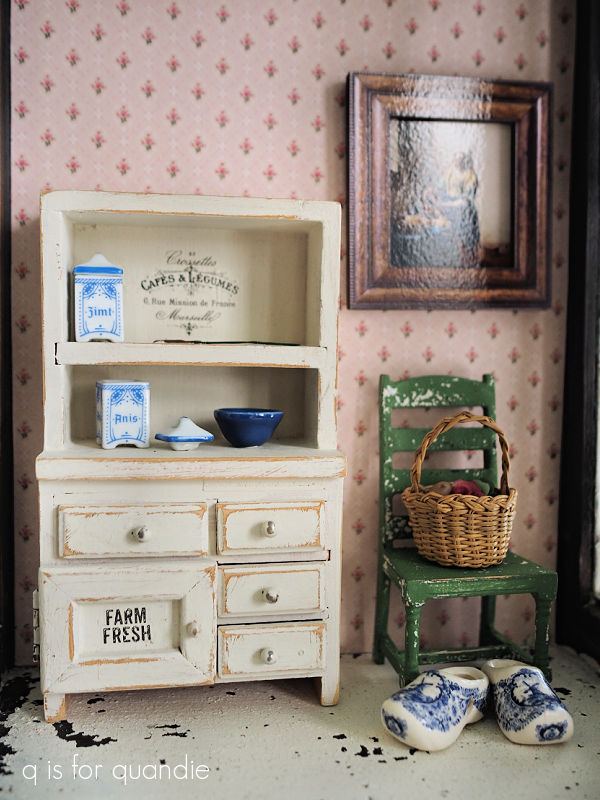
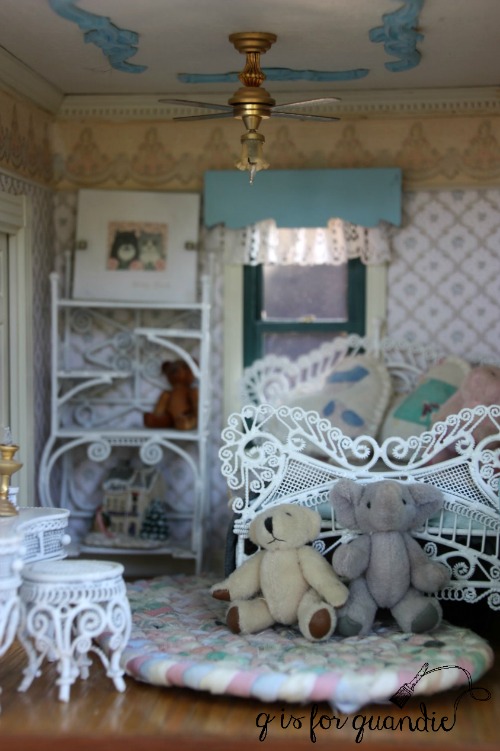
They had also boxed up all of the contents except for the bed in the master bedroom, and now aren’t sure exactly where that box is. But that’s OK, I’m calling this a blank canvas. I can start fresh from scratch with furnishing the interior. Many of the furnishings were pretty dated, and no longer my style anyway.
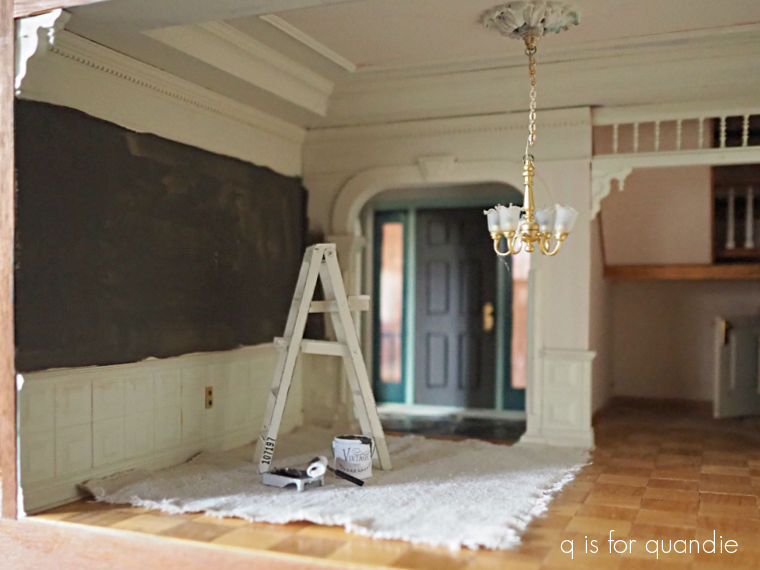
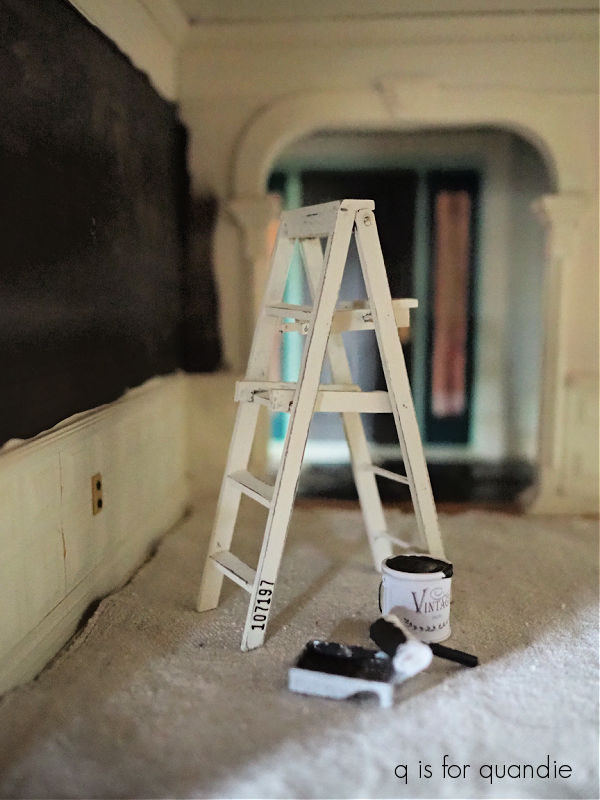
But first, I had to get the exterior painted. I thought it would be easiest to paint the outside while I could still work in my carriage house workshop. It can get too cold to paint out there as early as October (it’s not heated).
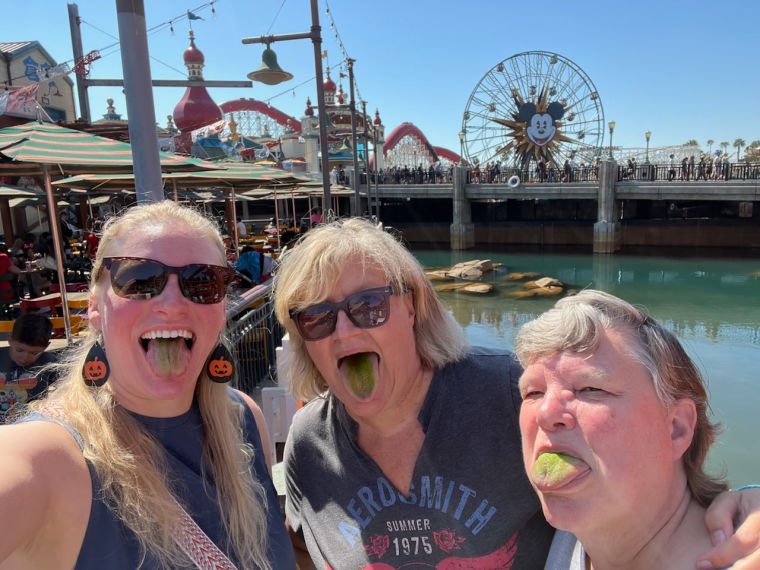
So since I’m taking a two week trip out to visit my mom and go to Disneyland with my sister and niece in just a couple of short weeks, I needed to get cracking.

I’ll have to get all of my paints back into the house before I leave.
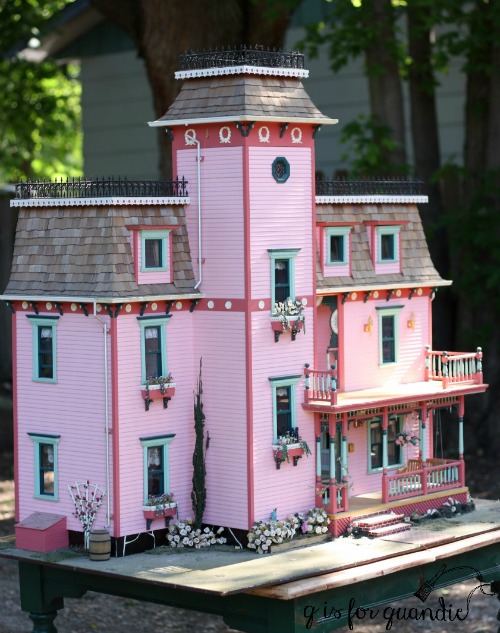
The pepto pink with seafoam green and teal trim just wasn’t cutting it for me anymore, even though they were my picks back in the day.
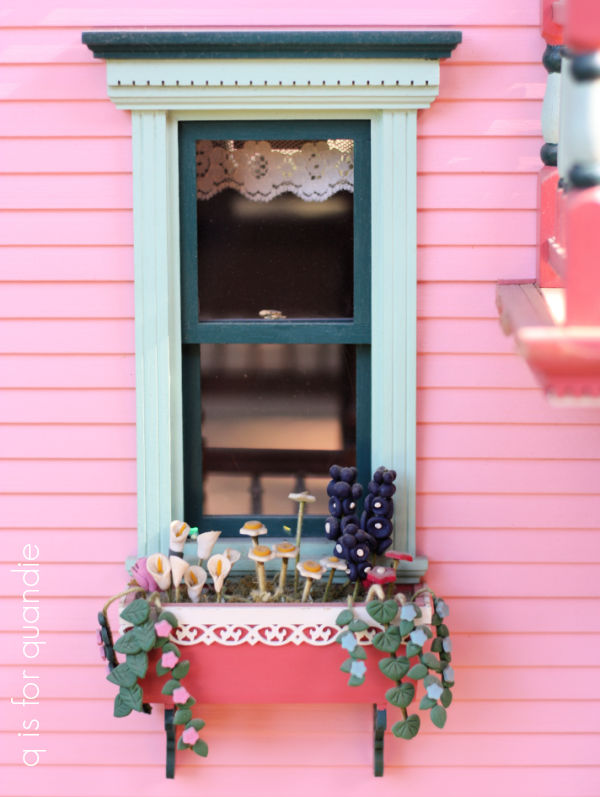
By the way, I had made all of the ‘plants’ using FIMO clay. I’m not sure if I’ll attempt that again, or try something else in those window boxes this time around. Stay tuned on that one.
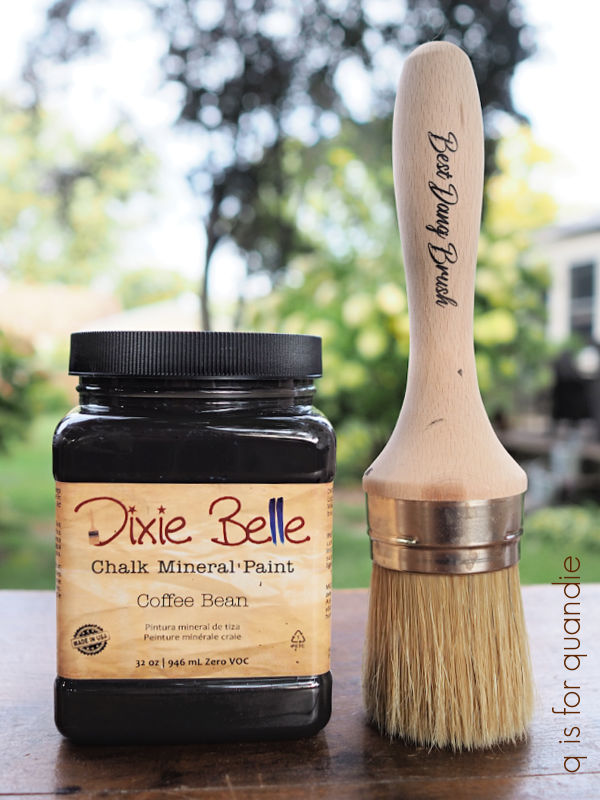
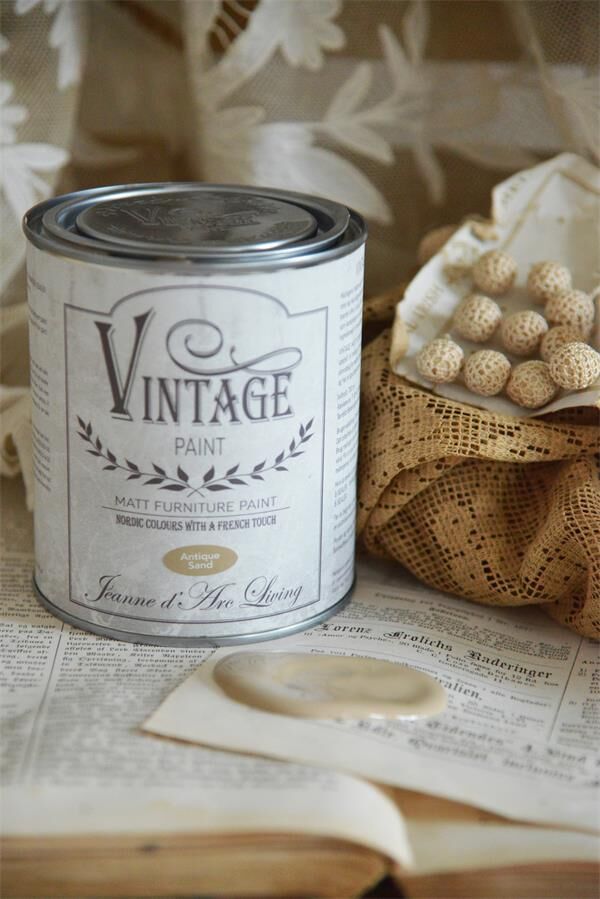
But first, the exterior painting. Naturally I pulled out my favorite warm white, Dixie Belle’s Drop Cloth, for the siding.
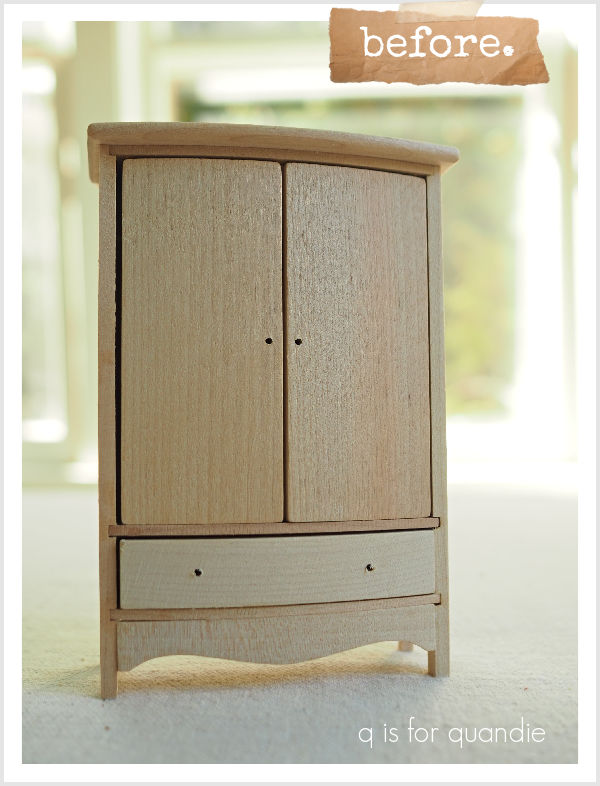
As I was painting I quickly realized that my dad had a bit of an advantage. He was able to paint everything before installing it. I was never going to be able to get the same level of detail while painting things in place.
So this …

Became this …

I also quickly realized that my dad had a lot more patience for detail work than I do, so I went with just two colors on the exterior rather than four. Well, technically three if you include the doors which are painted in Dixie Belle’s Gravel Road. The window trim is painted in Dixie Belle’s French Linen.

But the really fine details like the corbels along the roof line, or the railings on the porch are all just painted in Drop Cloth now.

I also added a French Linen wash to the roof shingles.
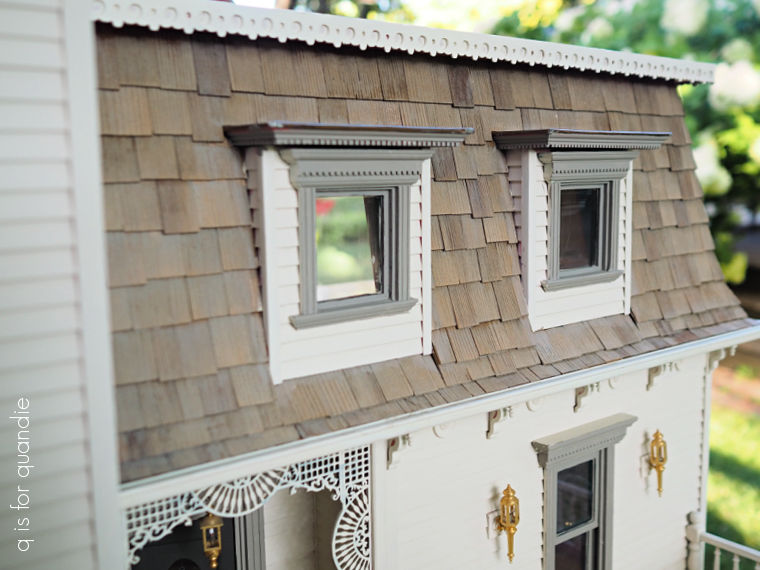
If you’ve never done a wash, it’s super easy. Just water down your paint until it’s quite thin (like the consistency of 2% milk maybe), brush it on, then immediately wipe it back with a rag. I really love the subtle change that made to the roof.
I have to admit, this paint job took much longer than I anticipated. There were so many nooks and crannies! And so many things to paint around like the ‘galvanized’ downspouts.
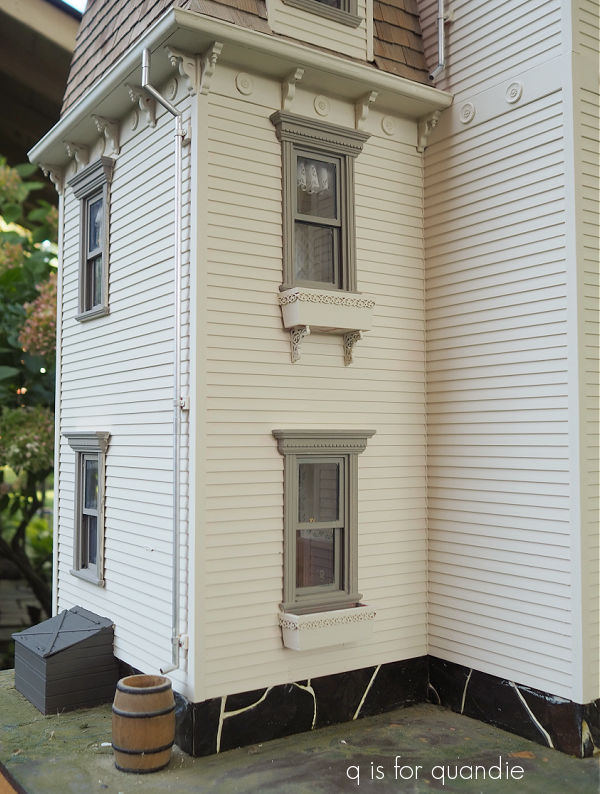
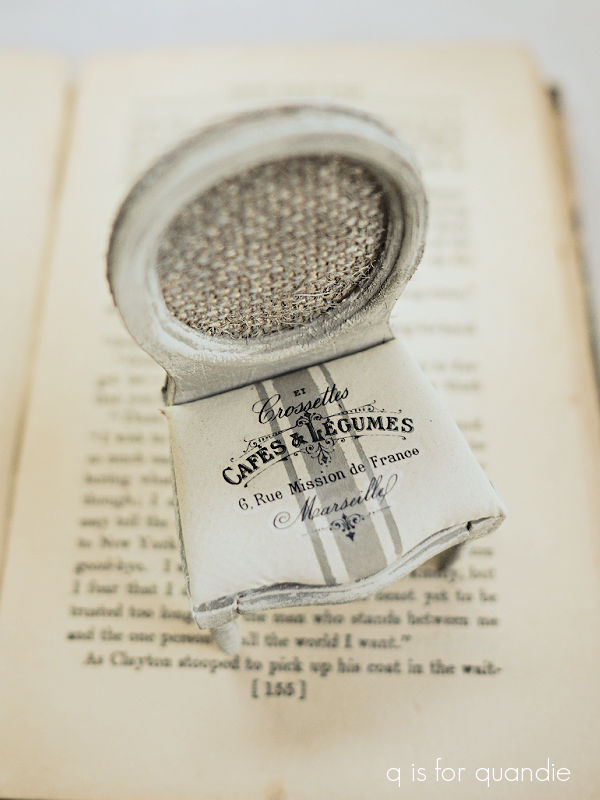
By the way, the slate that is around the foundation of the dollhouse came from a field somewhere around my parent’s house. My dad just went and picked it up from the ground. The foyer floor is also made out of this slate.
This more subdued color palette is much more my speed now.
I’ll be working on redecorating one room of the dollhouse at a time over the winter. Eventually I’ll also re-do the exterior landscaping. We’ll just have to wait and see how that goes. Will I get tired of it before I finish? Will it take much longer than I anticipate? Will it completely blow my budget? All of the above probably.
In anticipation of the many blog posts that will come out of this, I’ve added a new category to my blog called “mini’s”. If you’ve never explored the categories, when you’re on a computer you’ll find them over on the right hand side of the screen under “sorted.” . If you are reading this on your phone you have to tap on a specific blog post (any post), then scroll all the way down to the bottom past any comments and then tap on “sorted.” and select a category.
I’ve already started accumulating some fun decor for the next step in this process.
So be sure to stay tuned to see what I do next.


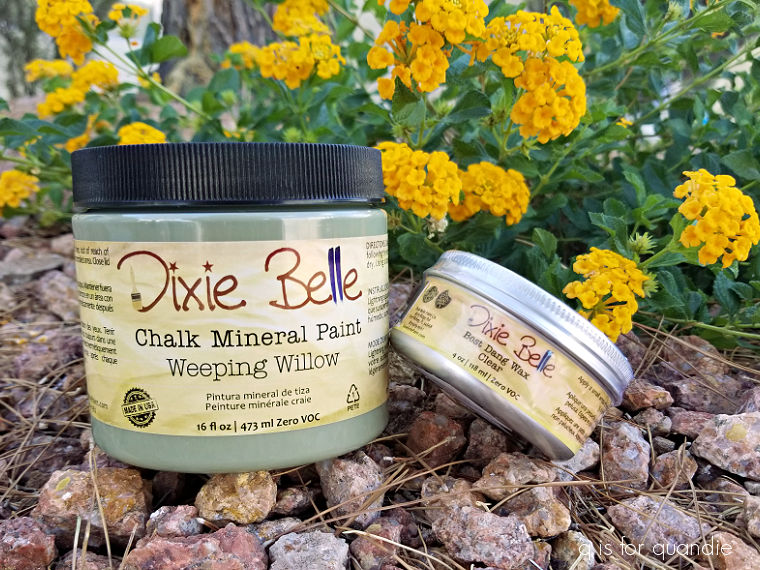 I didn’t want to get in trouble with the TSA people, so I had ordered a brand new unopened 16 oz. paint and a small 4 oz clear wax to pack in my suitcase.