rêves doux.

The other morning after my hubby left for his yoga class (at 5:30 a.m., yes I believe he is crazy), I fell back asleep.  When my alarm went off, I got up and went downstairs and there was my sweet little dog Sasha waiting by the door to be let outside.  Just like usual.

Sasha

I went to let her out, and then thought “hey … wait a minute … this isn’t right …”   but I decided that since she was there, I shouldn’t question it.  Instead I should take advantage and give her lots of hugs and kisses.  So, I called her to me and buried my face in her soft fluffy fur and gave her lots of love.  I kept thinking she’d disappear, but she just stayed right there and I kept on petting her.

Then, Mike pulled into the driveway and I let Sasha out the door so she could run up to his truck and greet him like she always did.

I followed her out to say “Look!  It’s Sasha!  Isn’t this great!” … and that’s when I really woke up.

Sasha 2

It was bitterly cold a year ago today when we lost Sasha.  She was 16 years old, and she’d had a good, long life.  I still miss our little fluffer-nutter and expect to see her waiting for me by the door, so it was especially sweet of her to visit me in my dreams.

bittersweet.

I usually am more than ready to put away the Christmas decorations by January 1.  Somehow this year, it seems like I just barely got them up, and now they are coming down.  Maybe because there was such a short time span between Thanksgiving and Christmas.  Or maybe because I made the crazy decision to repaint two rooms in the intervening weeks.

I took a few pics to share with you, before I put everything away for another year.

I have a few vintage Christmas postcards.  I love the graphics on them.  This one would greet you just inside my front door.

wheel

This is the garland that was draped across my black ‘owl pull’ dresser near the back door.

garland collageAs you can see, a lot of what I use is not strictly for Christmas.  Like the glittery Eiffel tower, the golden “S” and the little crusty birdcage.  The same is true of the tarnished silver platters in the display above my microwave in the kitchen.

microwaveHere are some photos from my scrap book room.

scrap room collage

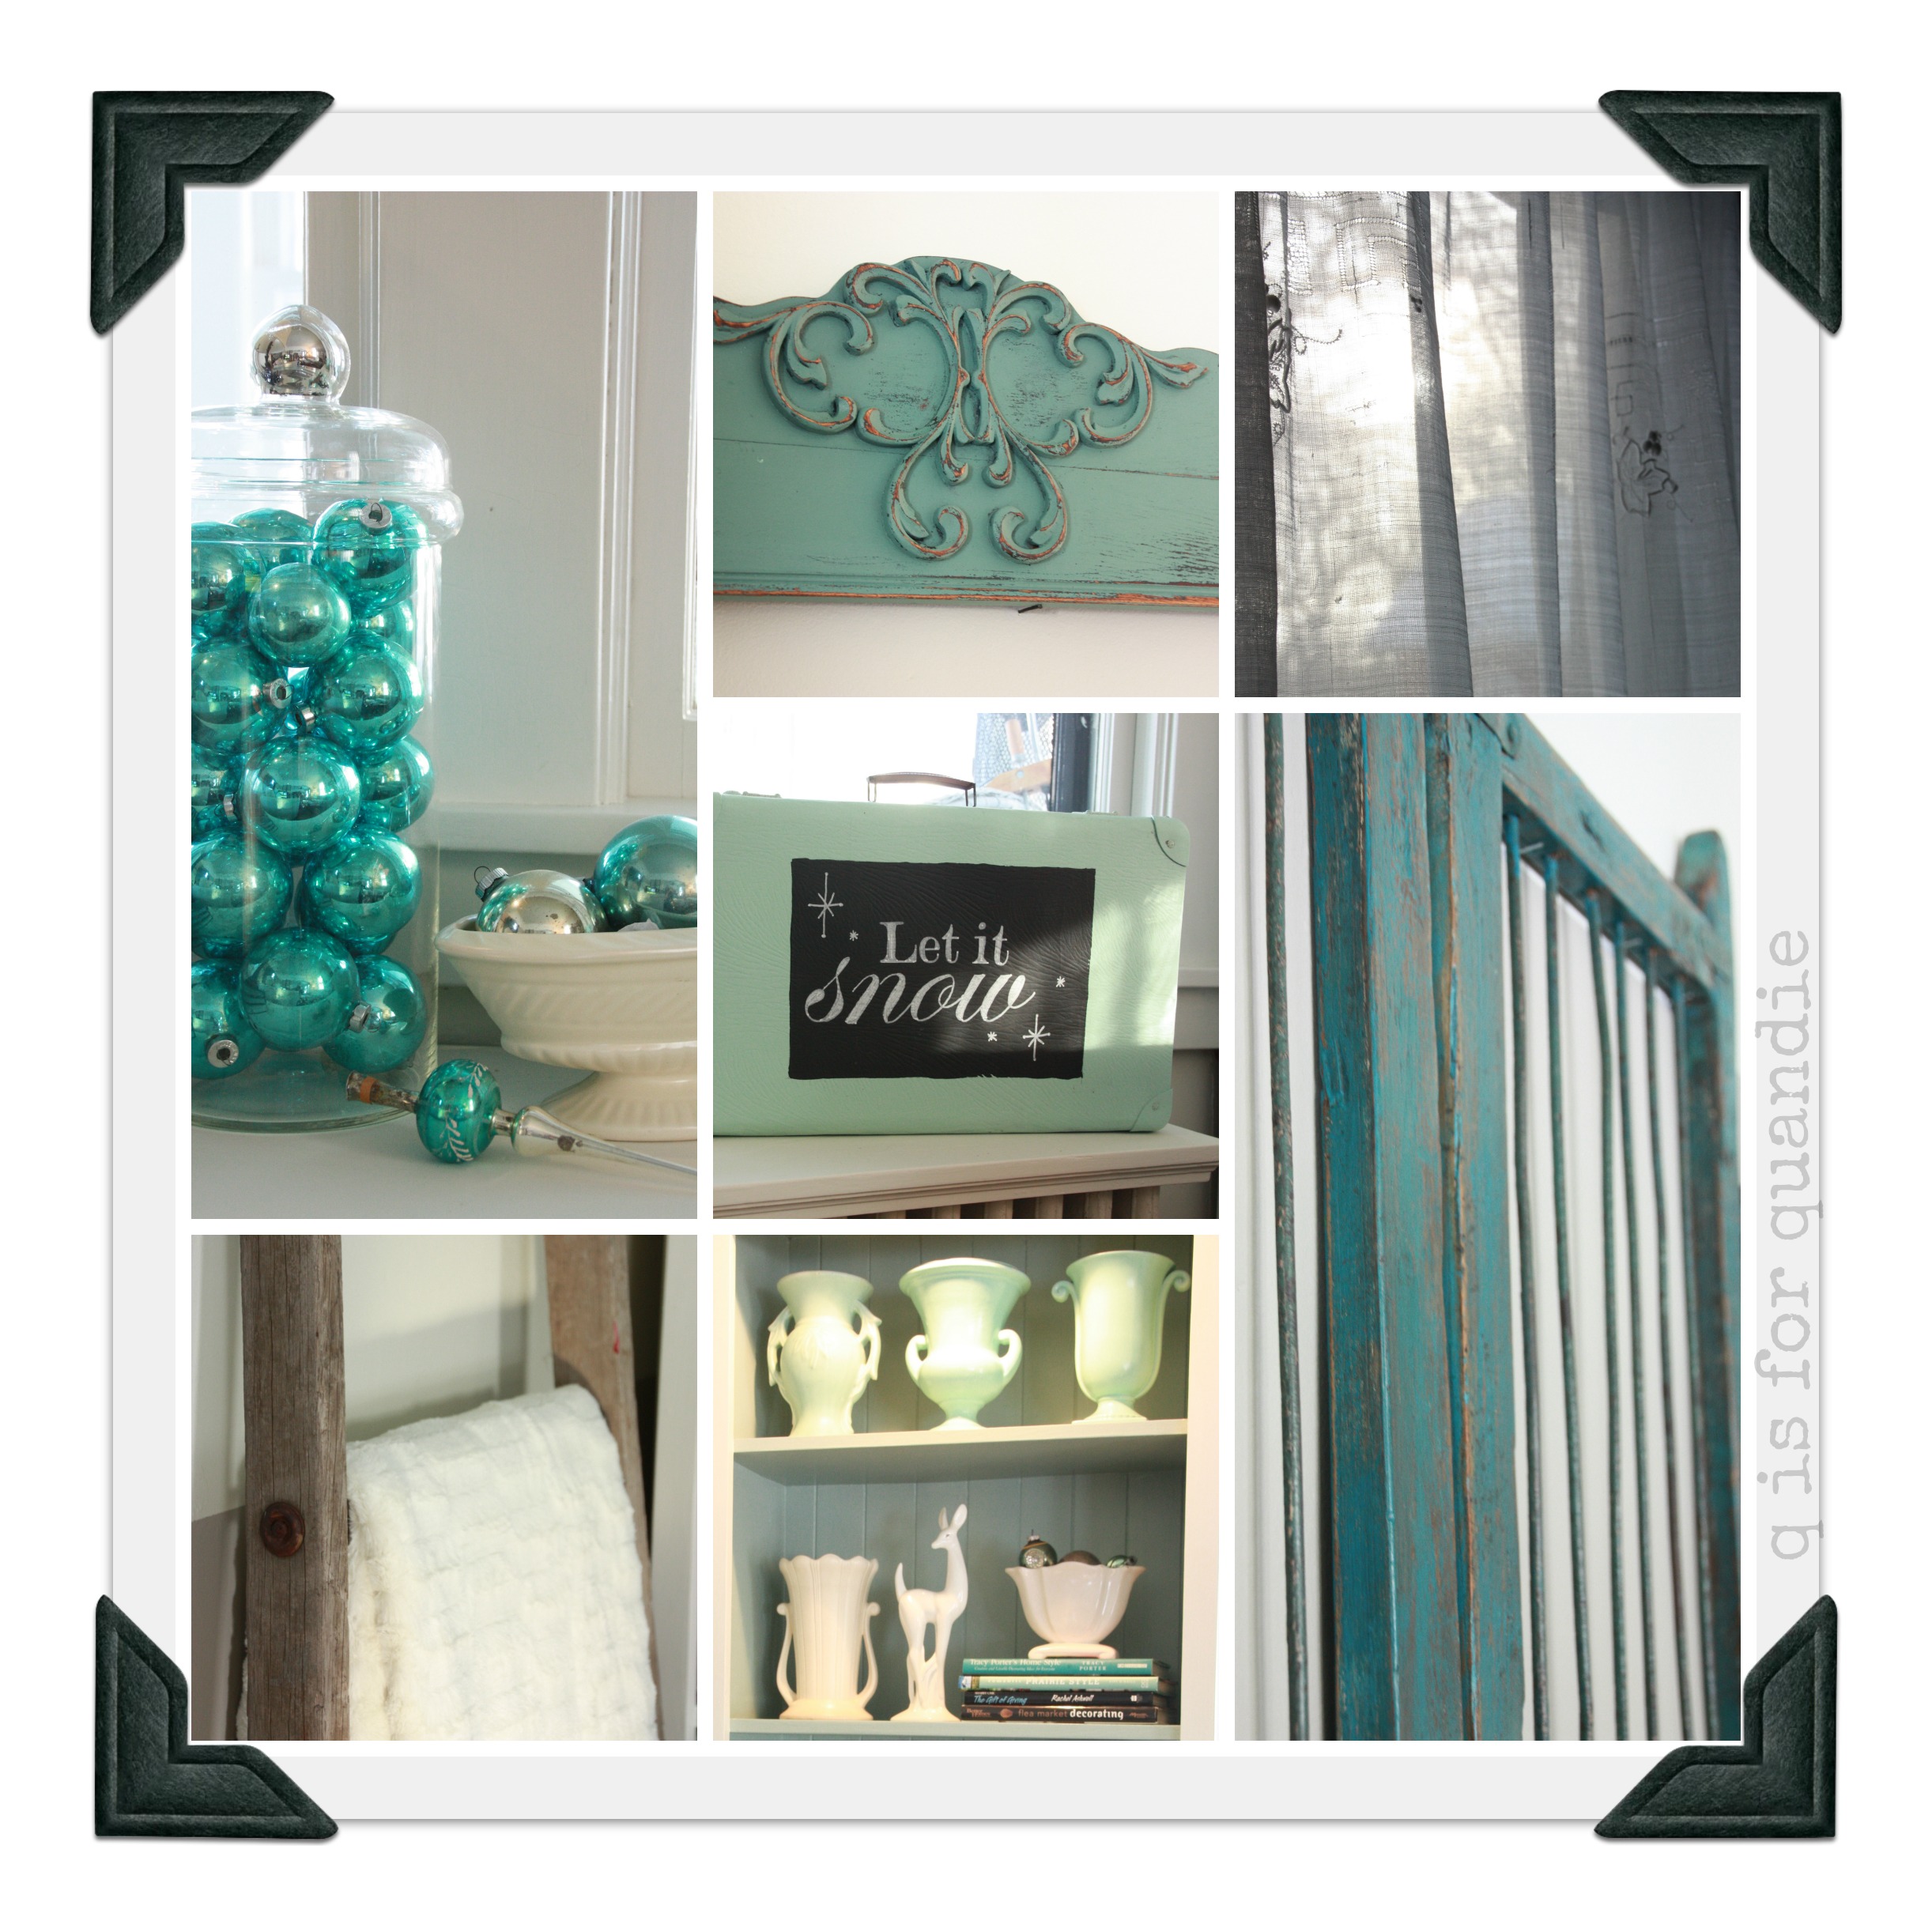
and some of my aqua decorations from the living room.

blue balls

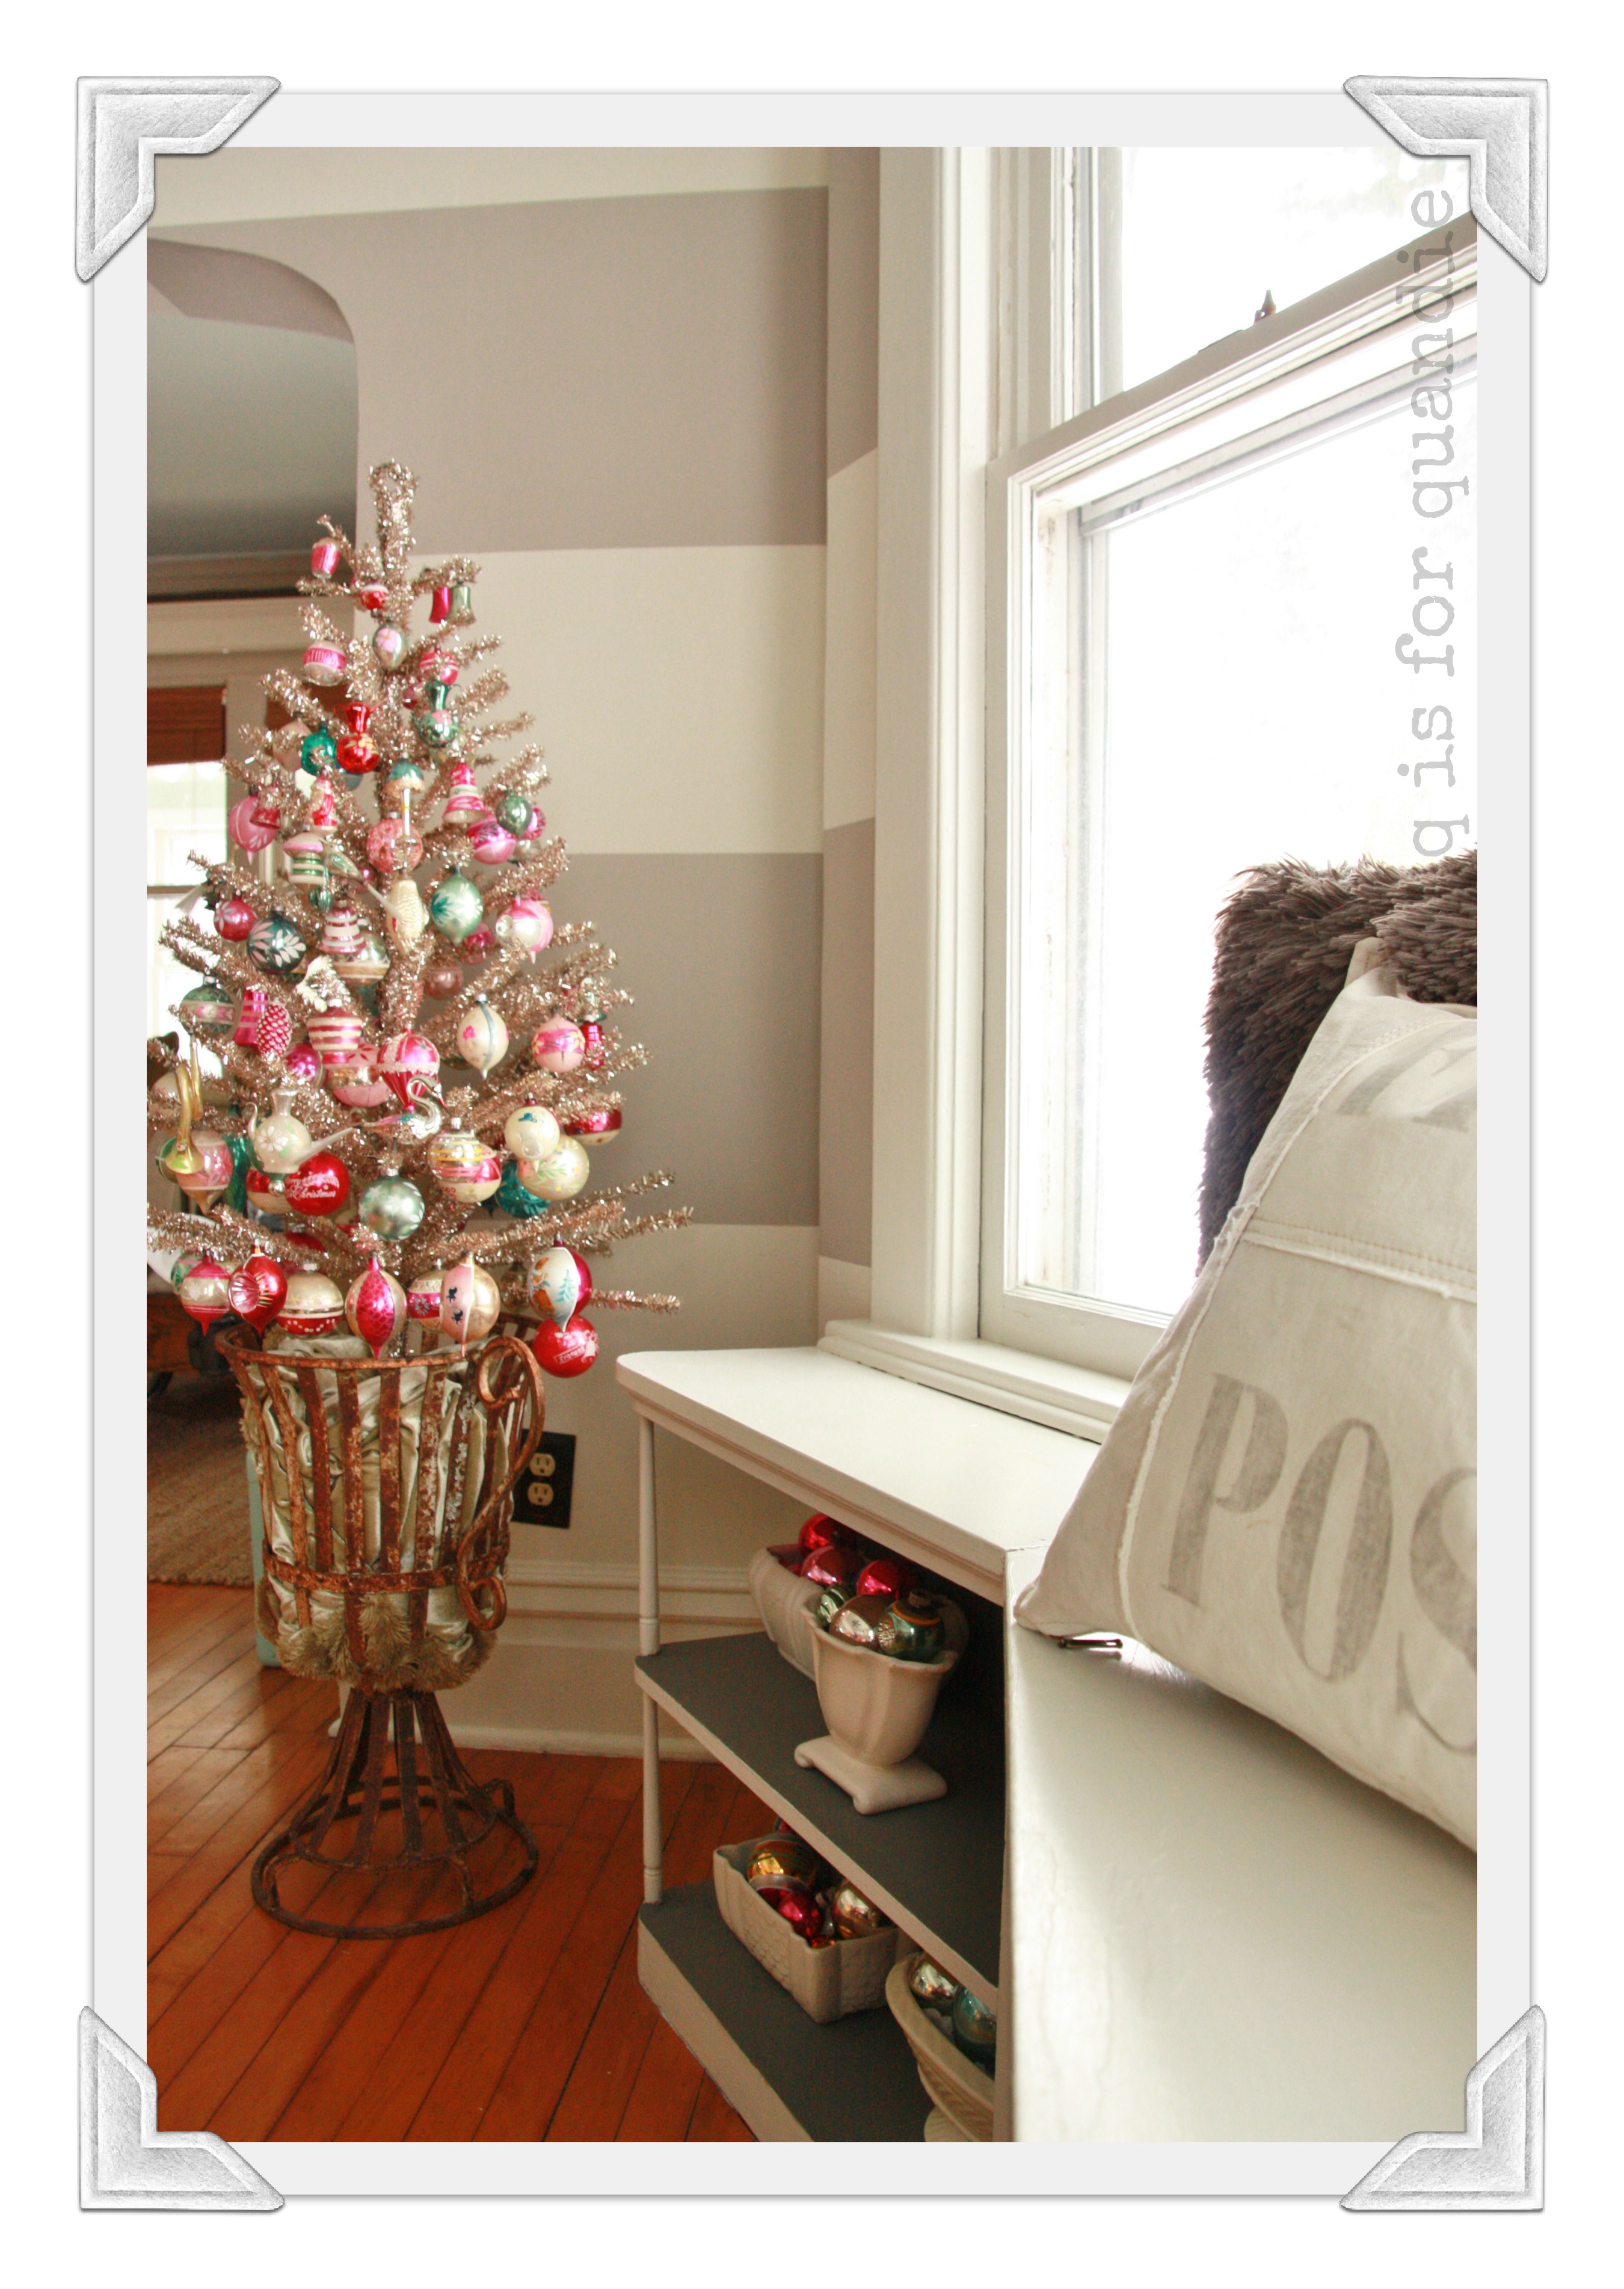
Of course, there is my lovely little tree with my collection of vintage glass ornaments.

ornament collage

And let’s not forget outside … we had plenty of snow here for a white Christmas this year.

outdoor collageThese outside decorations are meant to stay up throughout the winter … not just Christmas decorations, but winter decorations.  I’ll get to enjoy them for quite a bit longer here in Minnesota.  When these come down, I promise you I will be good and sick of them and thrilled that they are being put away for another year!

never quite done.

I never consider a room DONE.  There is always some detail that still needs to be tweaked.  Rooms are continually evolving.  And in the end, I’m never quite completely happy with them.  The perfectionist in me has a problem with that.

So, that being said … I’ve ‘finished’ project ‘domino effect’ … sort of.  But not quite.

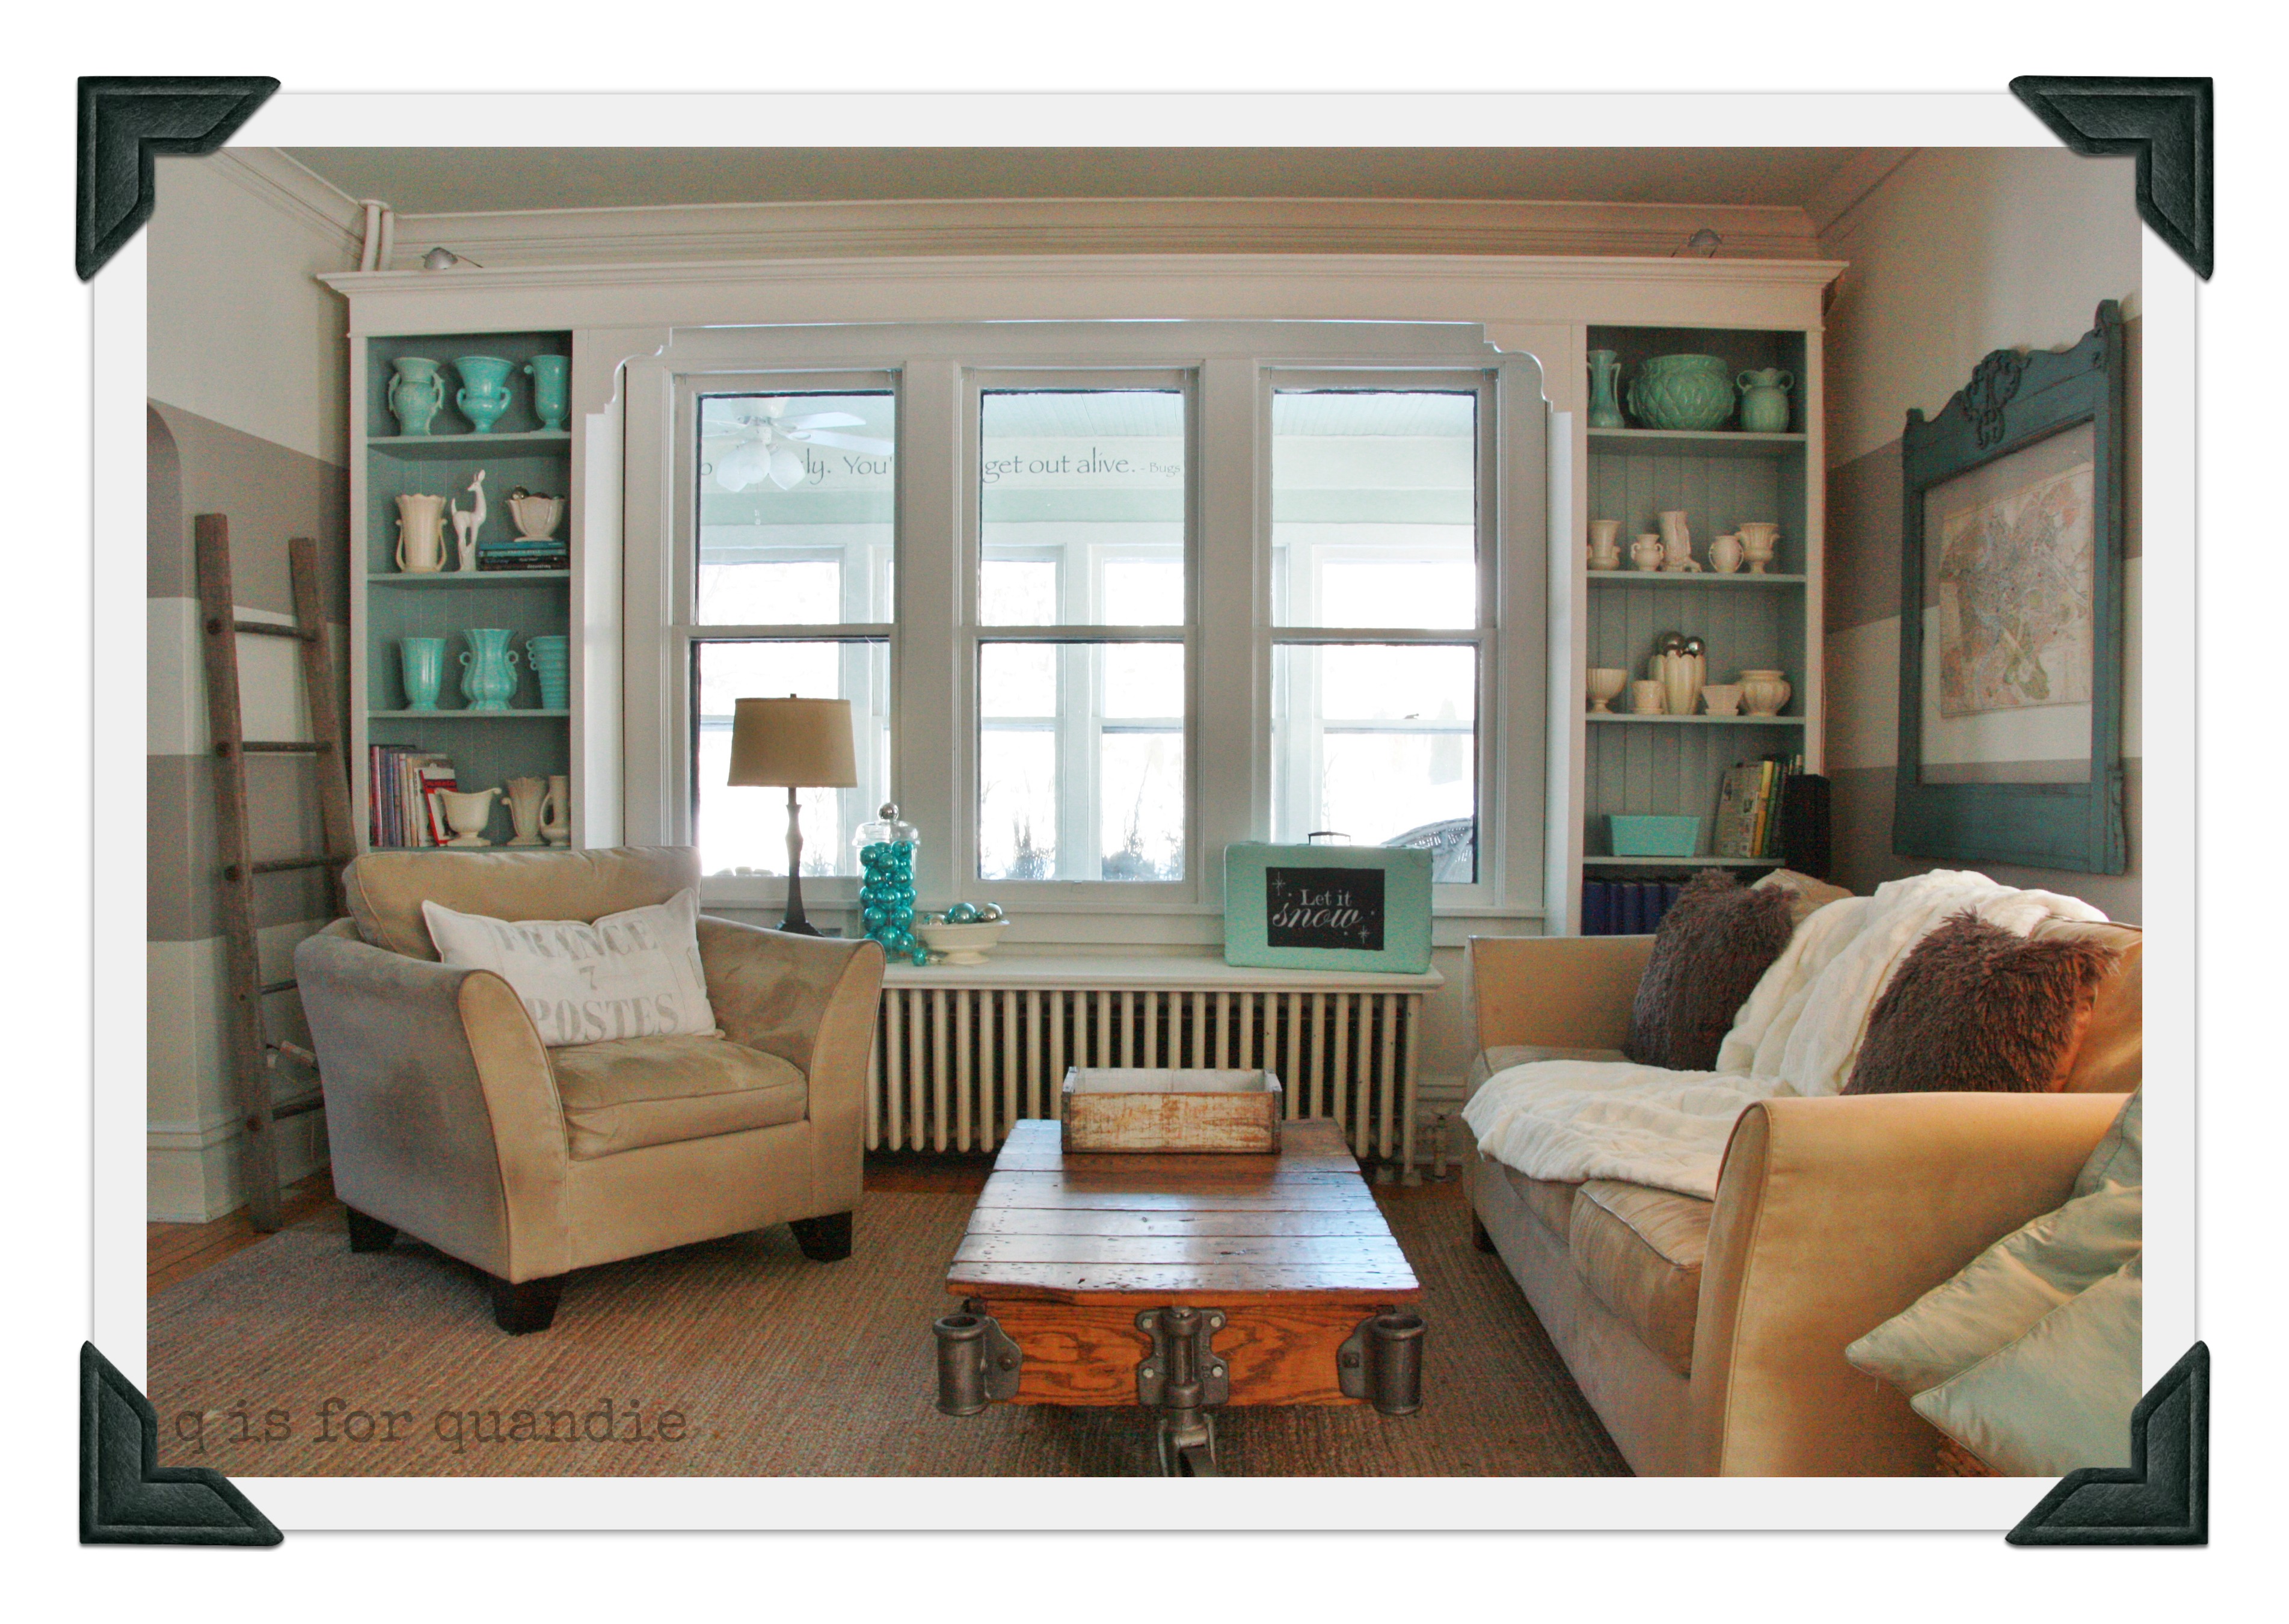
As you can see, my living room is small.  This is a 1904 farmhouse.  There is nothing extravagant about my house.  These windows face the street (and north).  I have an enclosed porch out front and that is what you are seeing through the windows.

full room

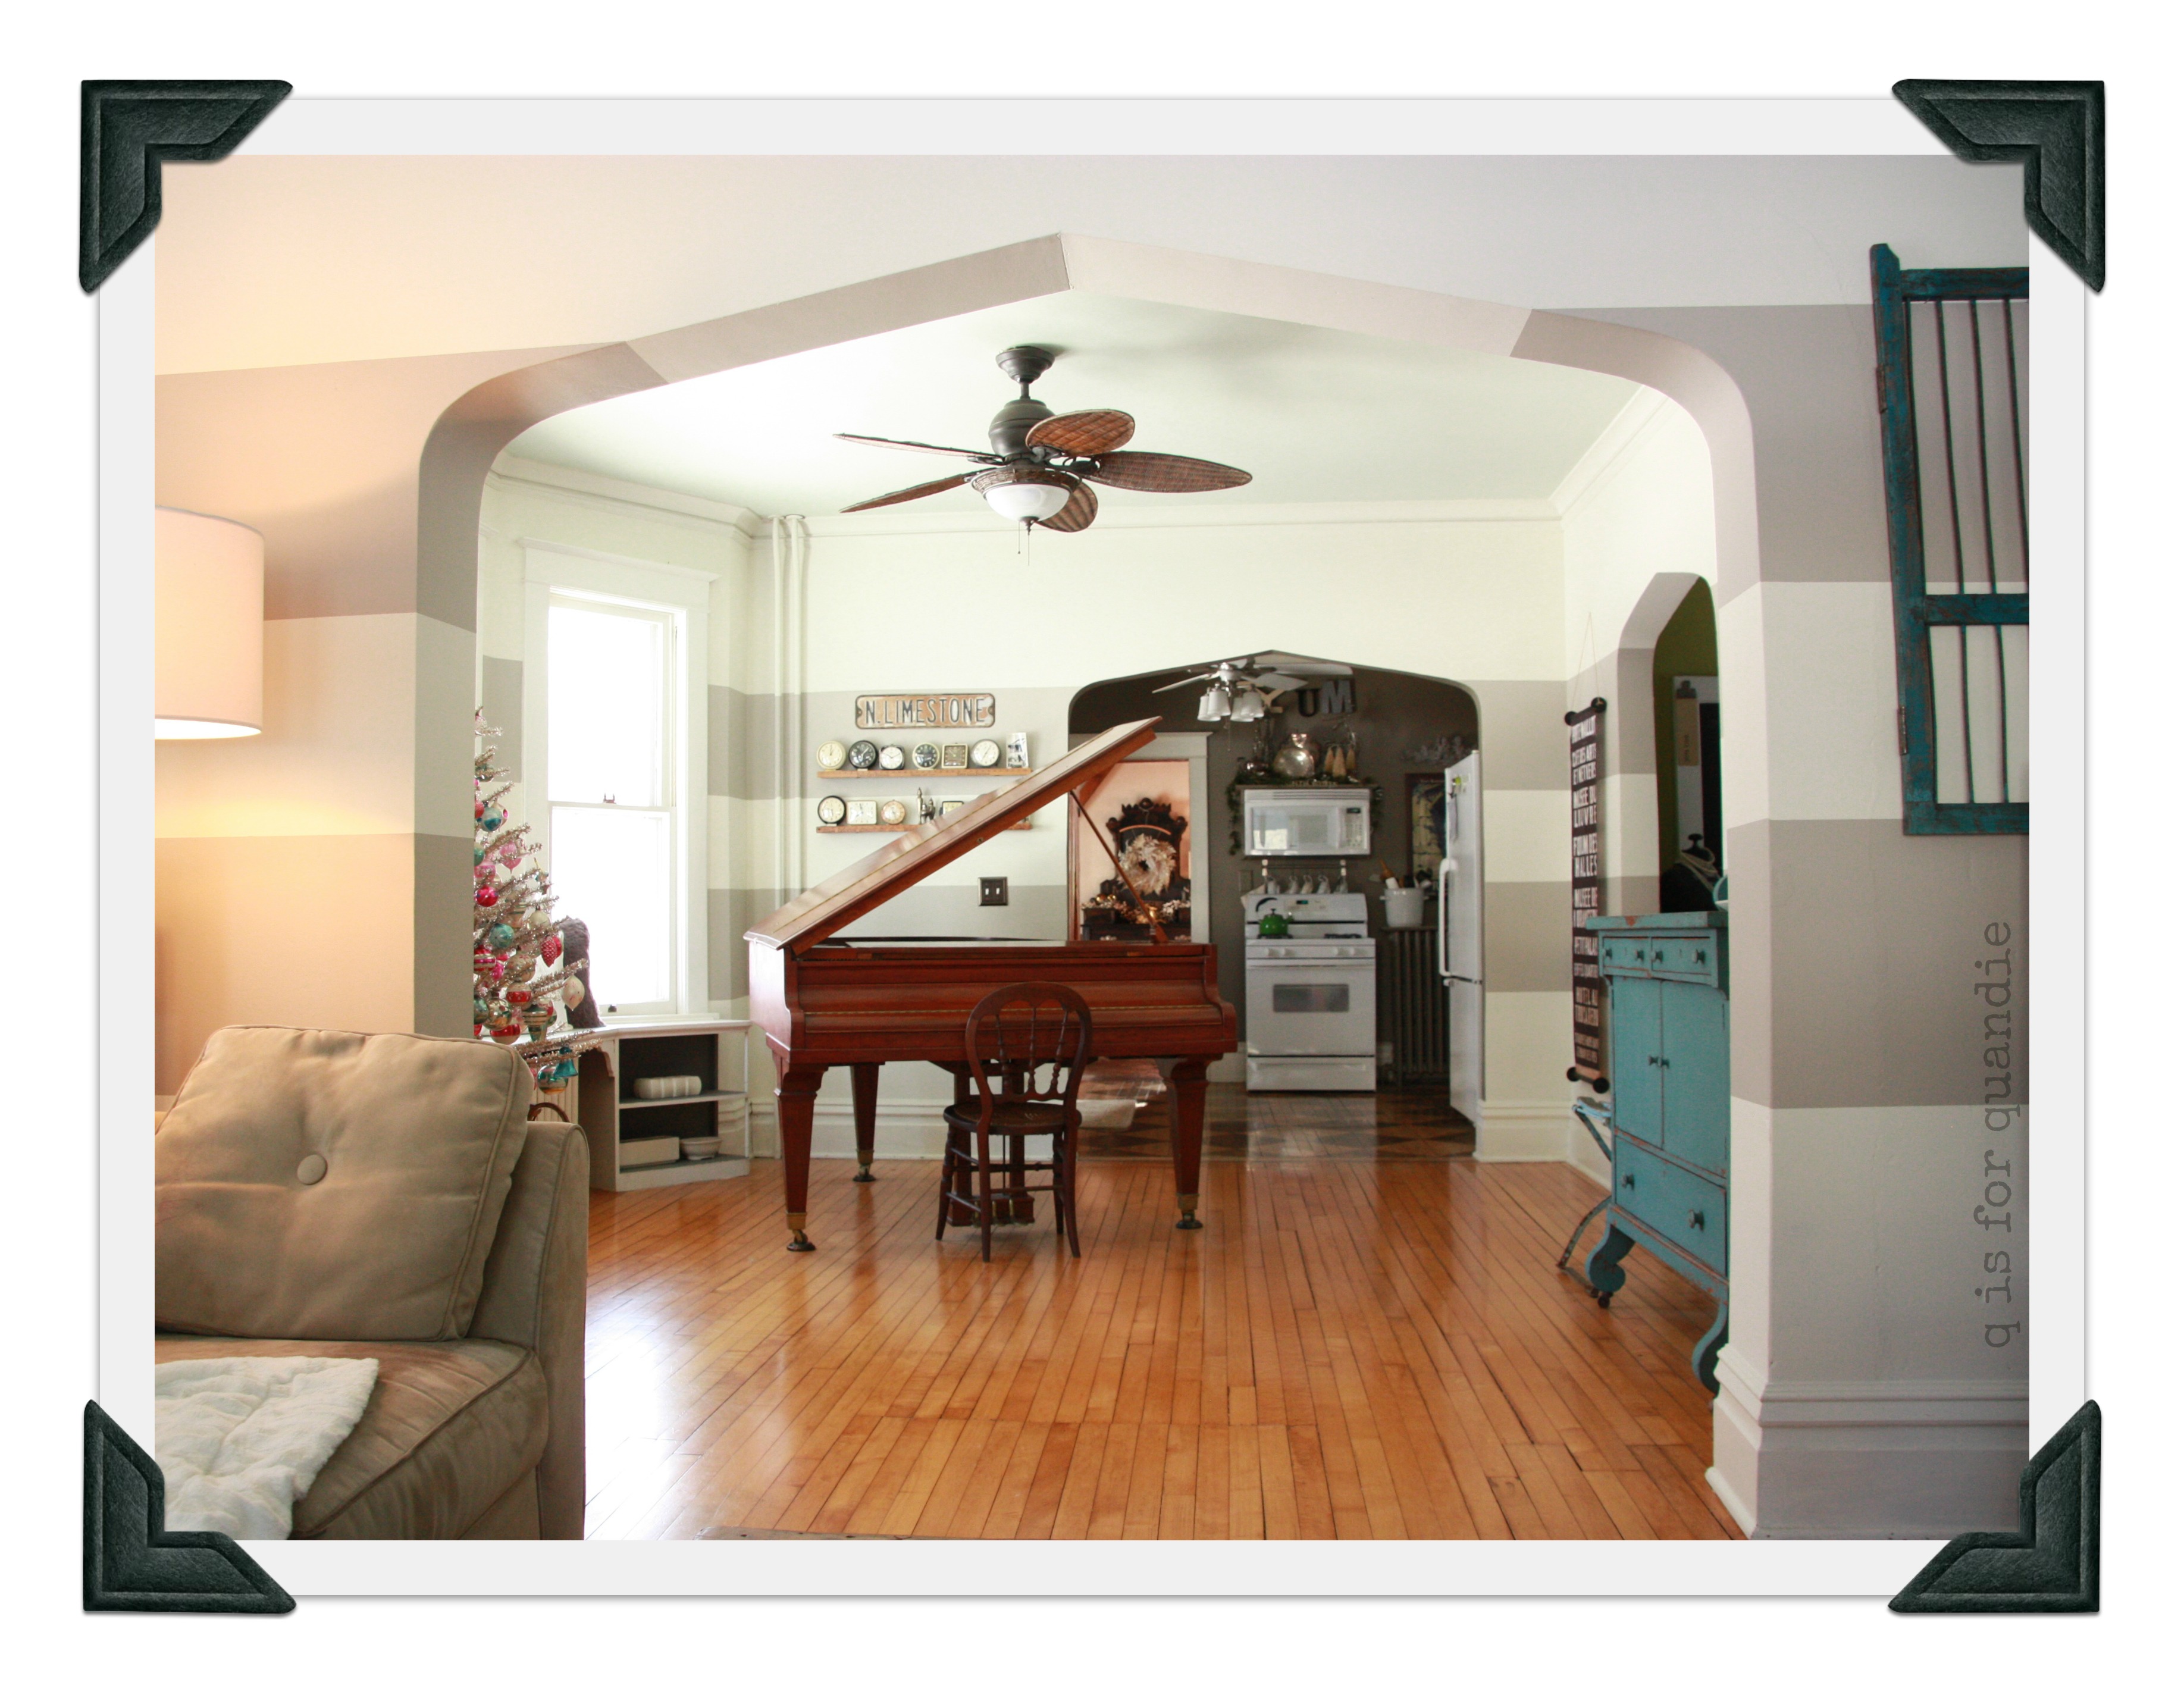
If I do a complete 180 from this spot, I see this view.

piano room

The wall and trim paint is finished in both rooms (thanks to a little help from Lacqui and nnK).  As you can see, I carried the same stripes from the piano room through the archway into the living room.

 I’ve decided that I can keep my sofa …

finished

and chair for now.  I was worried they would look dingy and too beige, but they actually just continue to look neutral.  They still match each other, and down the road I’d like to replace one or the other.  But they are really super comfy and aside from being filthy, still in pretty good shape so I will get them professionally cleaned and call it good for now.

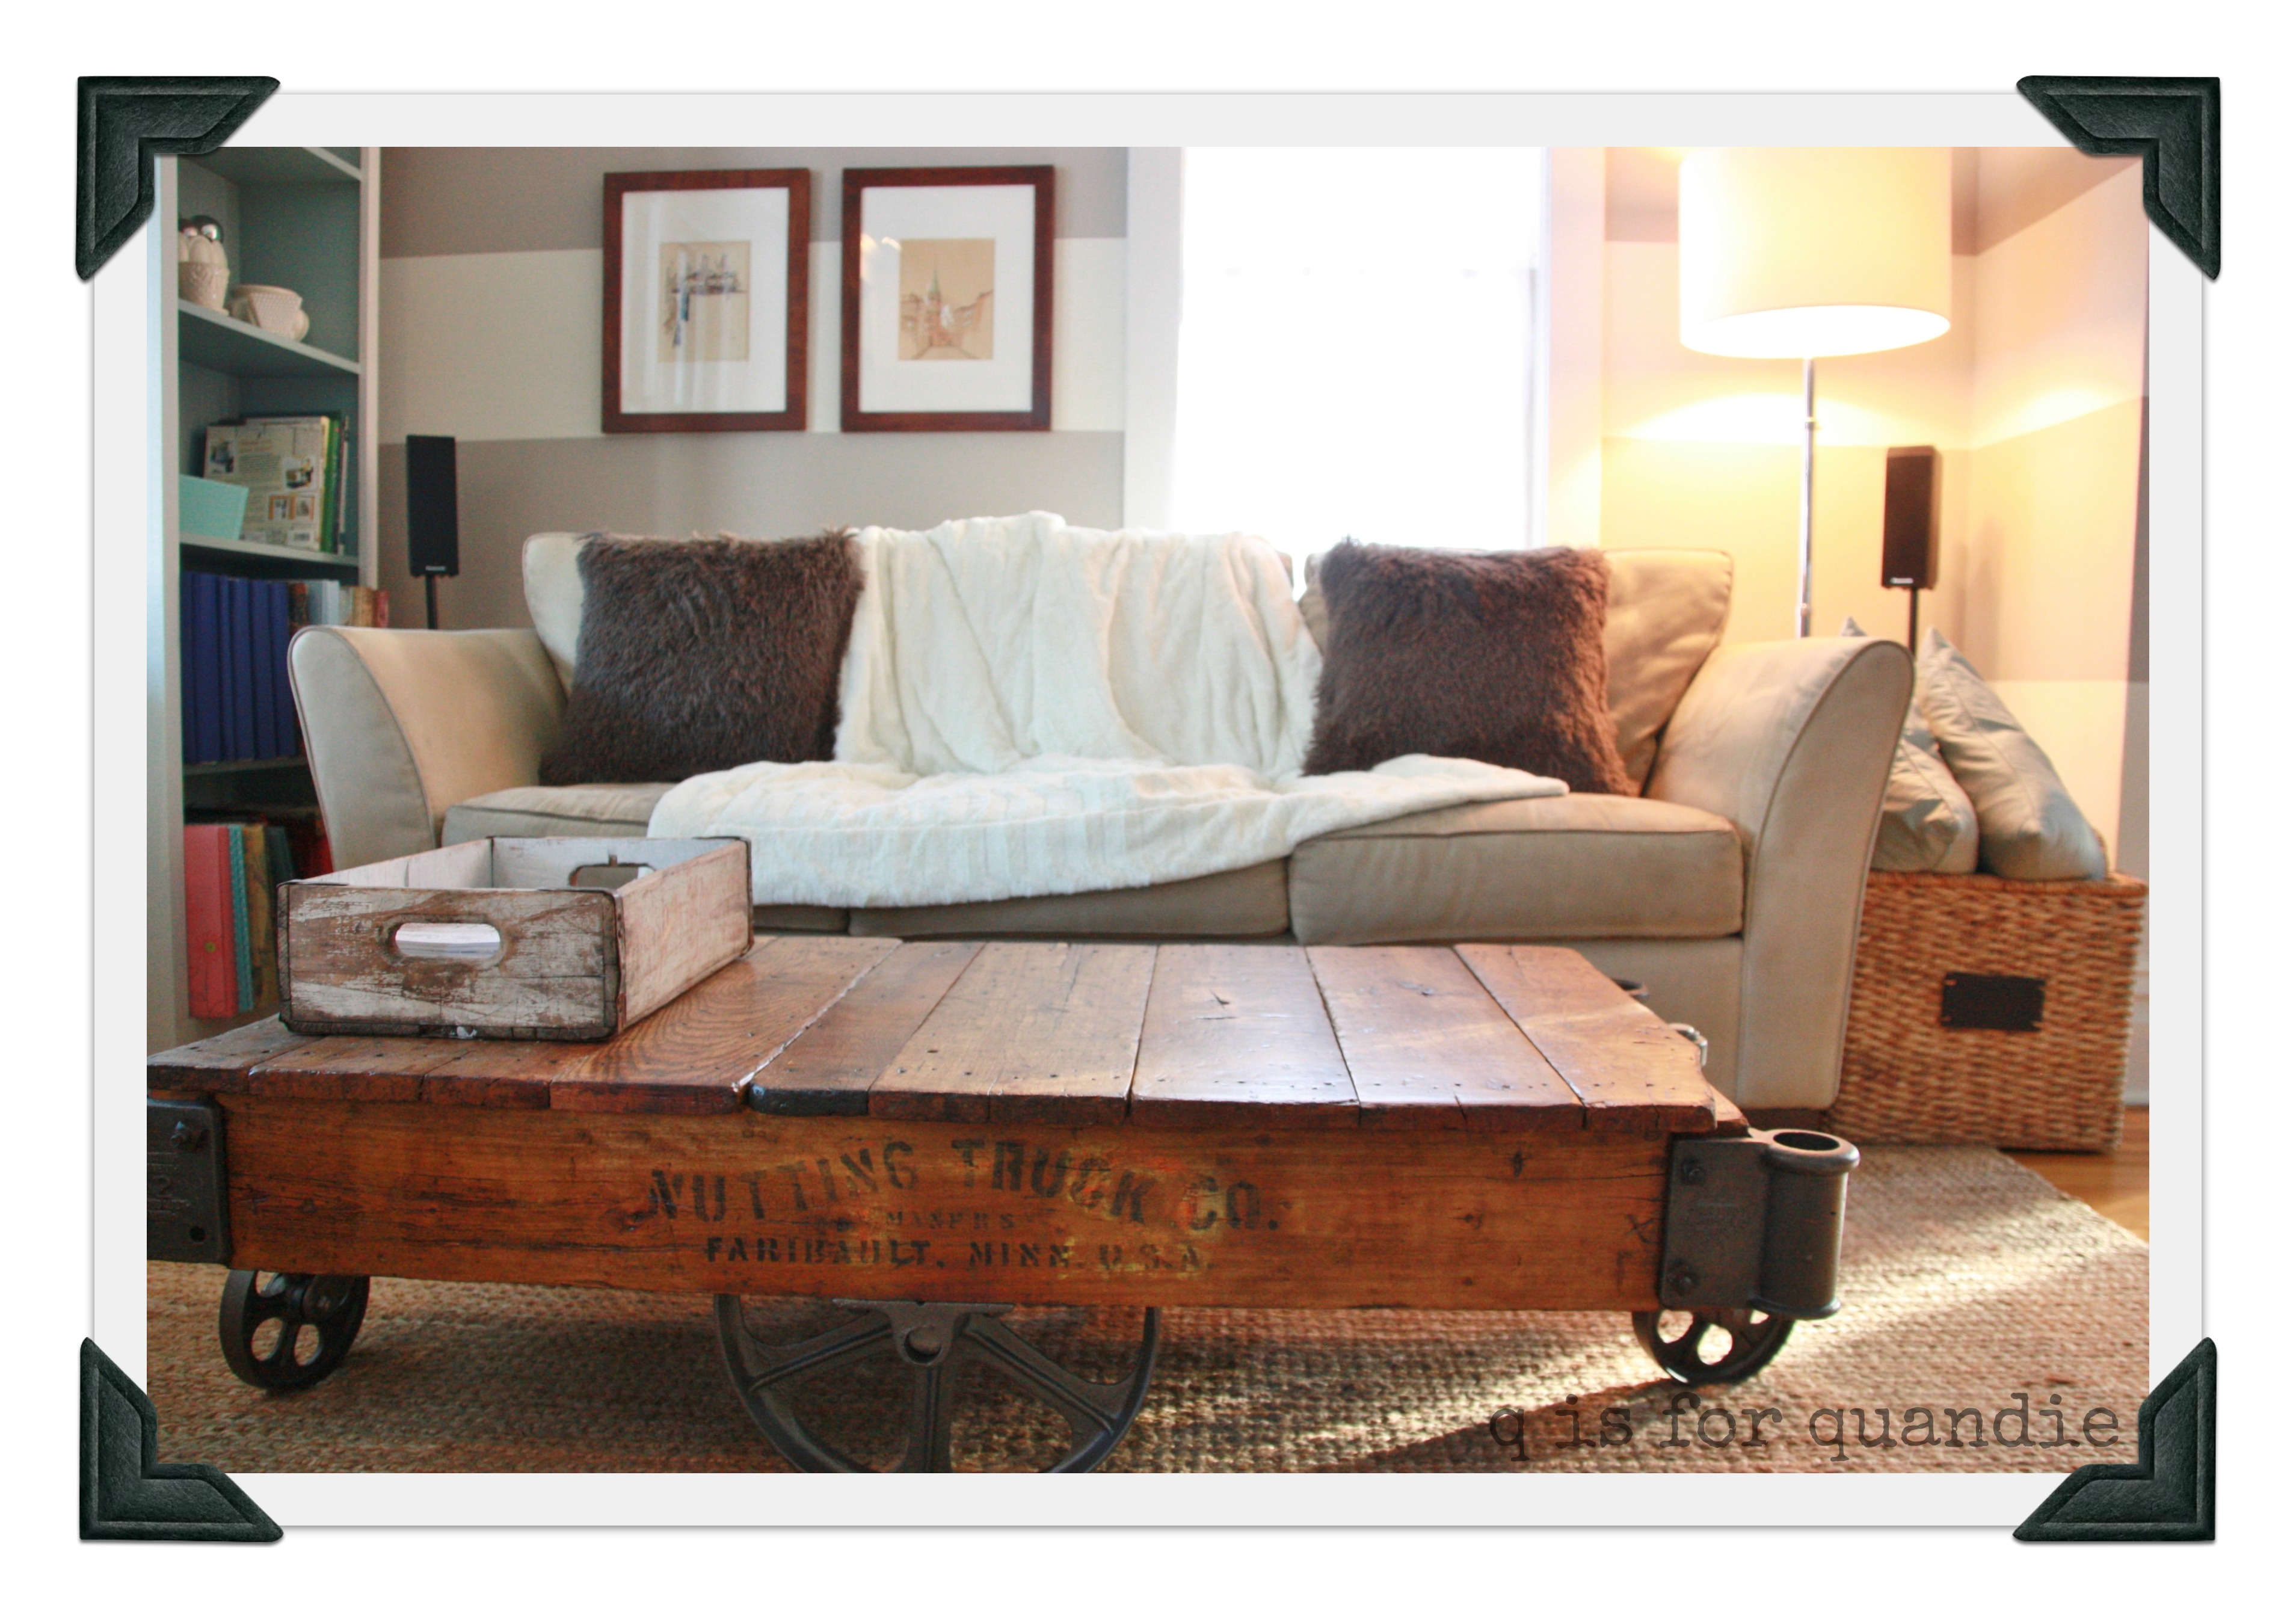
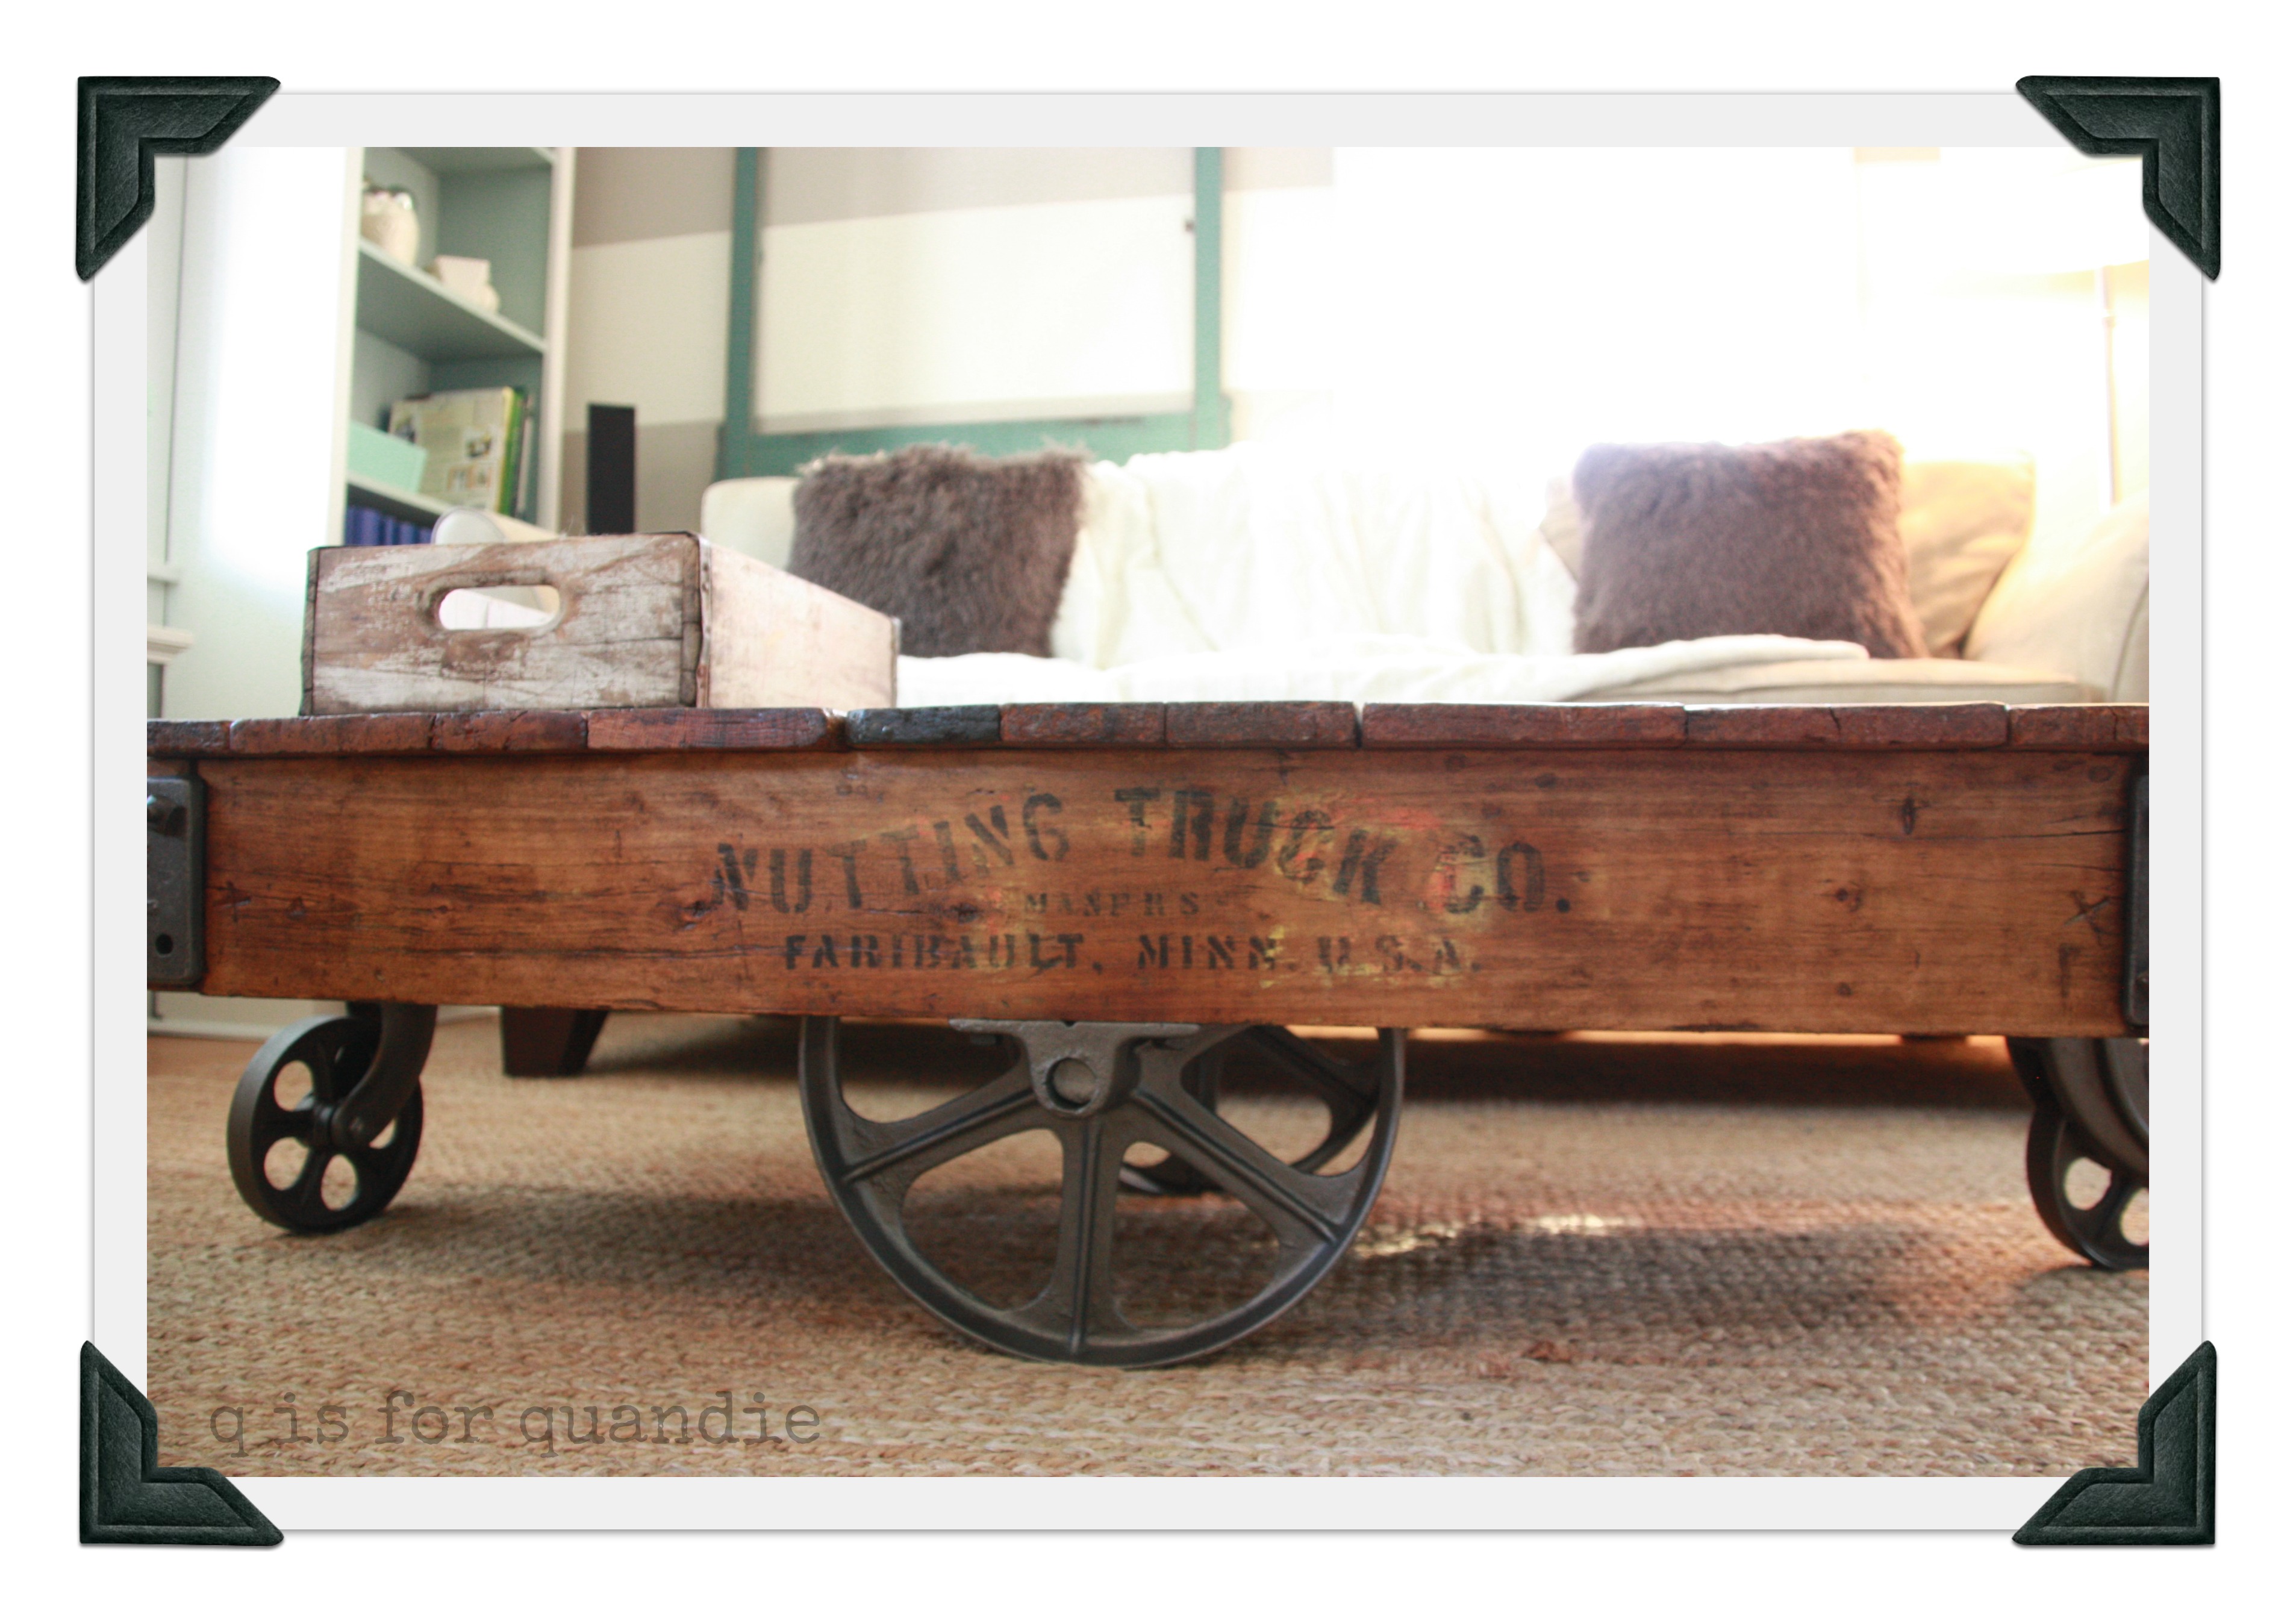
chairMy big splurge for this re-do is the new coffee table.  I struggled with this purchase.  Part of me felt like I should get creative, and find something fabulous to re-purpose as a coffee table on my own.  But, I’ve always admired these factory carts, and when I saw this one on craigslist I knew I had to have it.  I’ve mentioned that I’m usually a complete cheapskate, but sometimes I’m not afraid to spend a little more on something that I absolutely must have.

factory cart  I sent my husband to Minneapolis to pick this up from Josh and Heather of Ferrous Furnishings.  You can see some more of their very cool stuff here:  https://www.facebook.com/FerrousFurnishingsMinneapolis (check out the amazing bar cart!).  I was a little nervous because I couldn’t go with him, and I was entrusting him with the final purchase decision.  But I had exchanged several emails with Josh, and he answered all of my questions and was super nice to boot.

The hubby thought the cart was fab on sight and brought it home and it’s perfect for our living room.

Now, you may have noticed a couple of things.

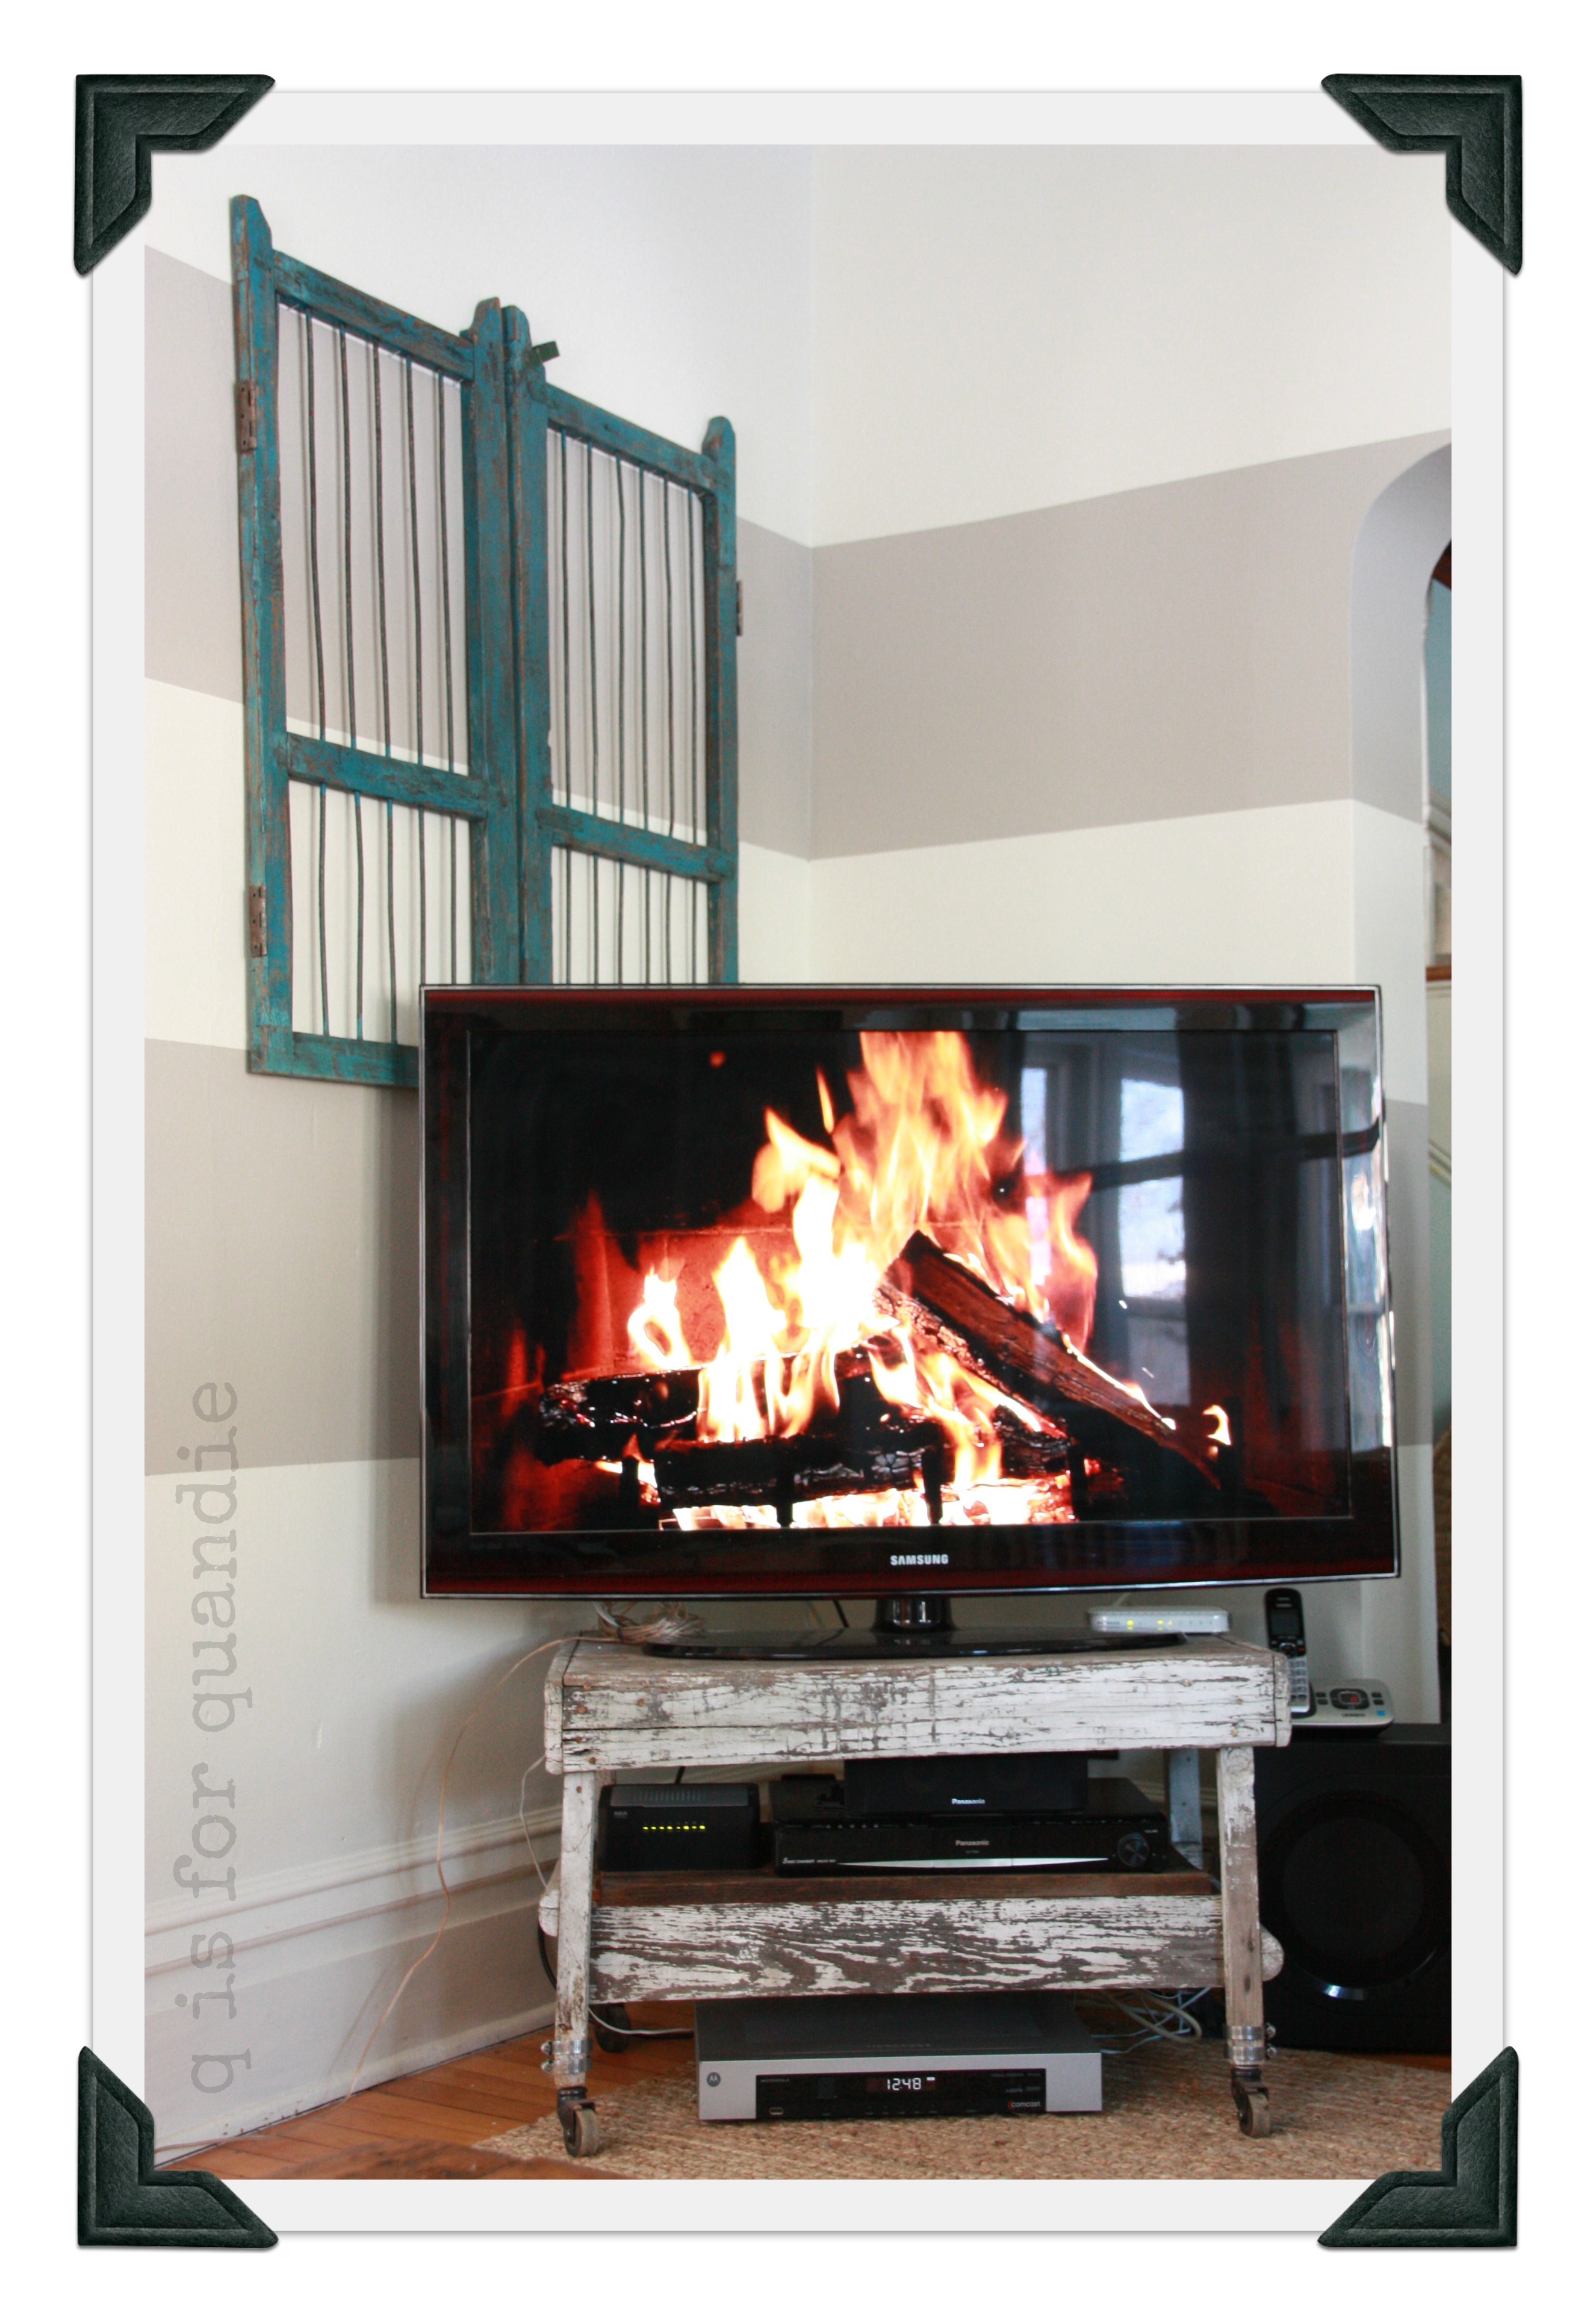
First, I haven’t added much to the top of the factory cart aside from a wooden box full of my fav magazines, Jeanne d’Arc Living.  I’m struggling with what to place on it that won’t block my view of the TV (hey, a girl has to be practical!).  Do I need something more, or should I just leave it?  You’ll also notice that I haven’t shown you the TV, here it is in it’s own little corner.

tv

As you can see, I don’t bother to try and hide it.  Candace Olson, when asked what decorating items to get rid of, said “a big monstrosity of a TV cabinet with the television concealed behind doors. Get over it, honey, TV is here to stay.”

Next, once again I am in a quandary about the window treatments.  I’ll leave the three front windows bare, but I must have something on the window behind the sofa.  Unfortunately the neighbor’s living room window has a bird’s eye view straight in through that window.  For now I have used a vintage linen tablecloth hung from a simple tension rod.  It’s lovely when the sunlight is shining in through it, but is it too delicate for this room?

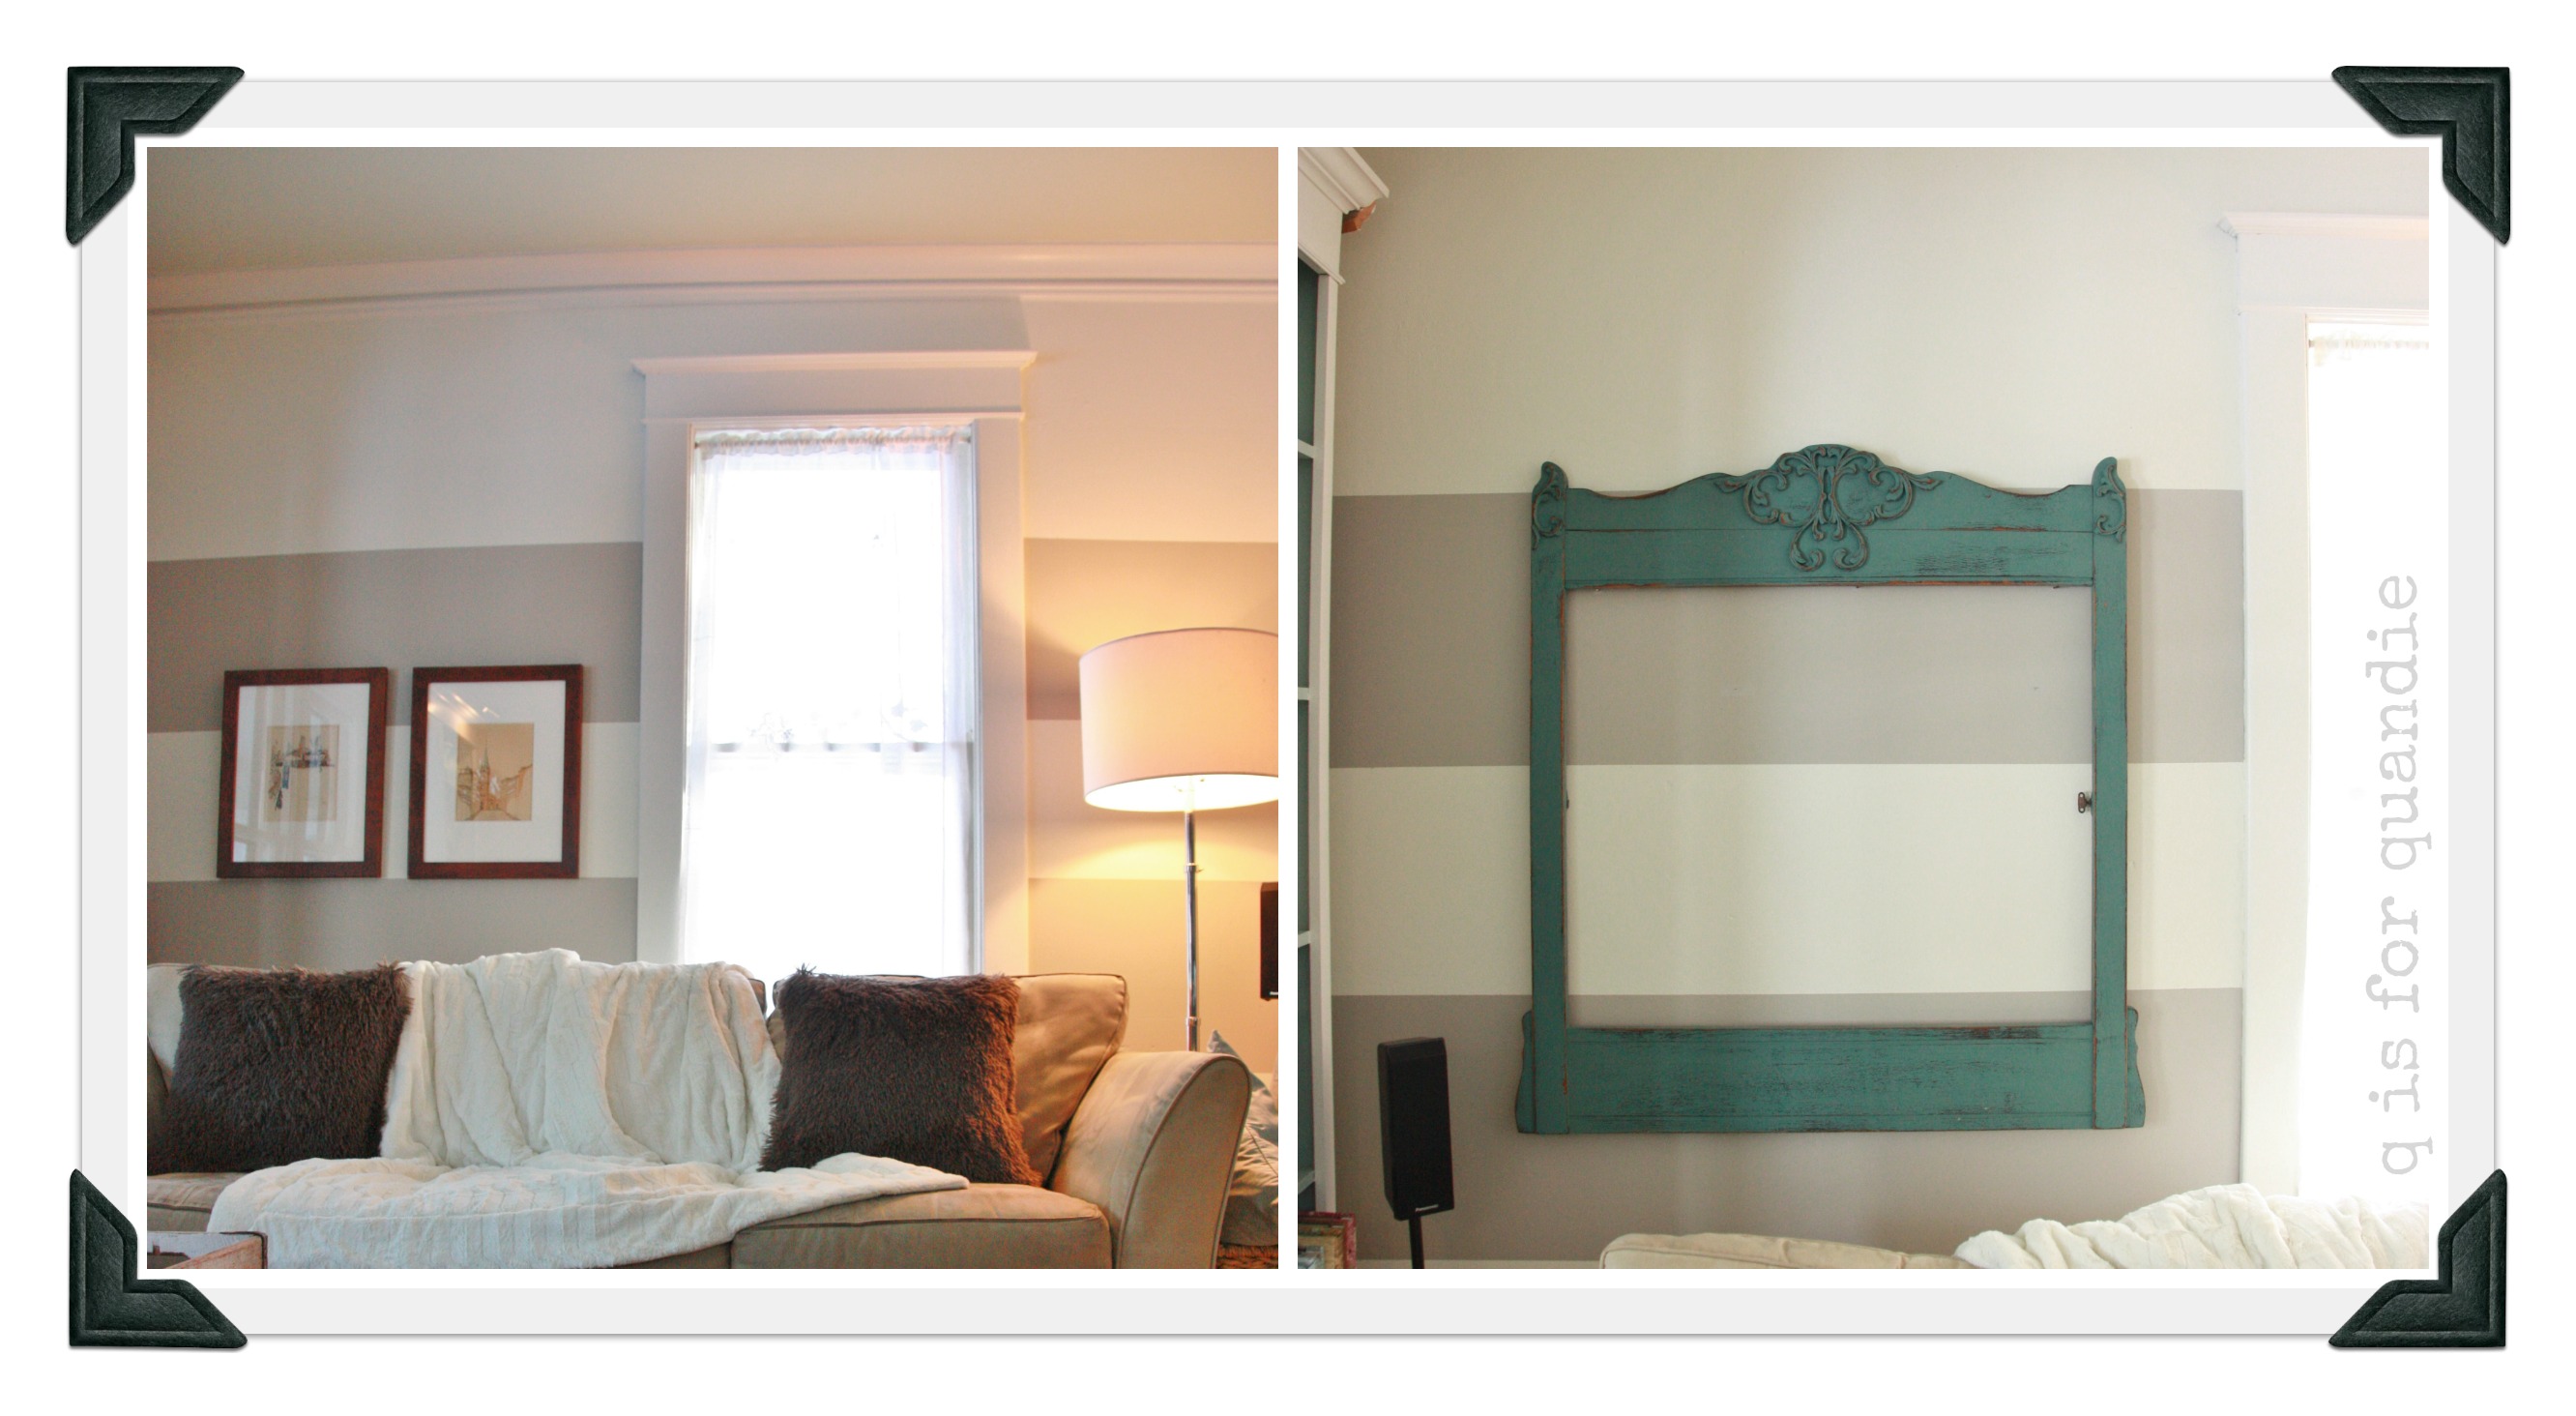
Finally, I started out with my grandfather’s watercolors on the wall above the sofa.  They may look OK in the pictures, but I felt they were too small.  There was a lot of empty space above them.  So, I pulled out this old mirror frame, quickly painted it in my new favorite color, Kitchen Scale, and threw it up on the wall.  It’s the perfect size, but now I need to come up with something to put inside it.

wall collage

A reproduction vintage map of Rome?  A collage of ironstone plates?  Some vintage family photos?  So many possibilities … what do you think?  See what I mean?  I’m never really done.

details collage

the jonas brothers.

No, not those Jonas brothers.  If you expected to find some handsome pop singers here, sorry for the disappointment, but I’m talking about these handsome Jonas brothers.

jonas bros. collage

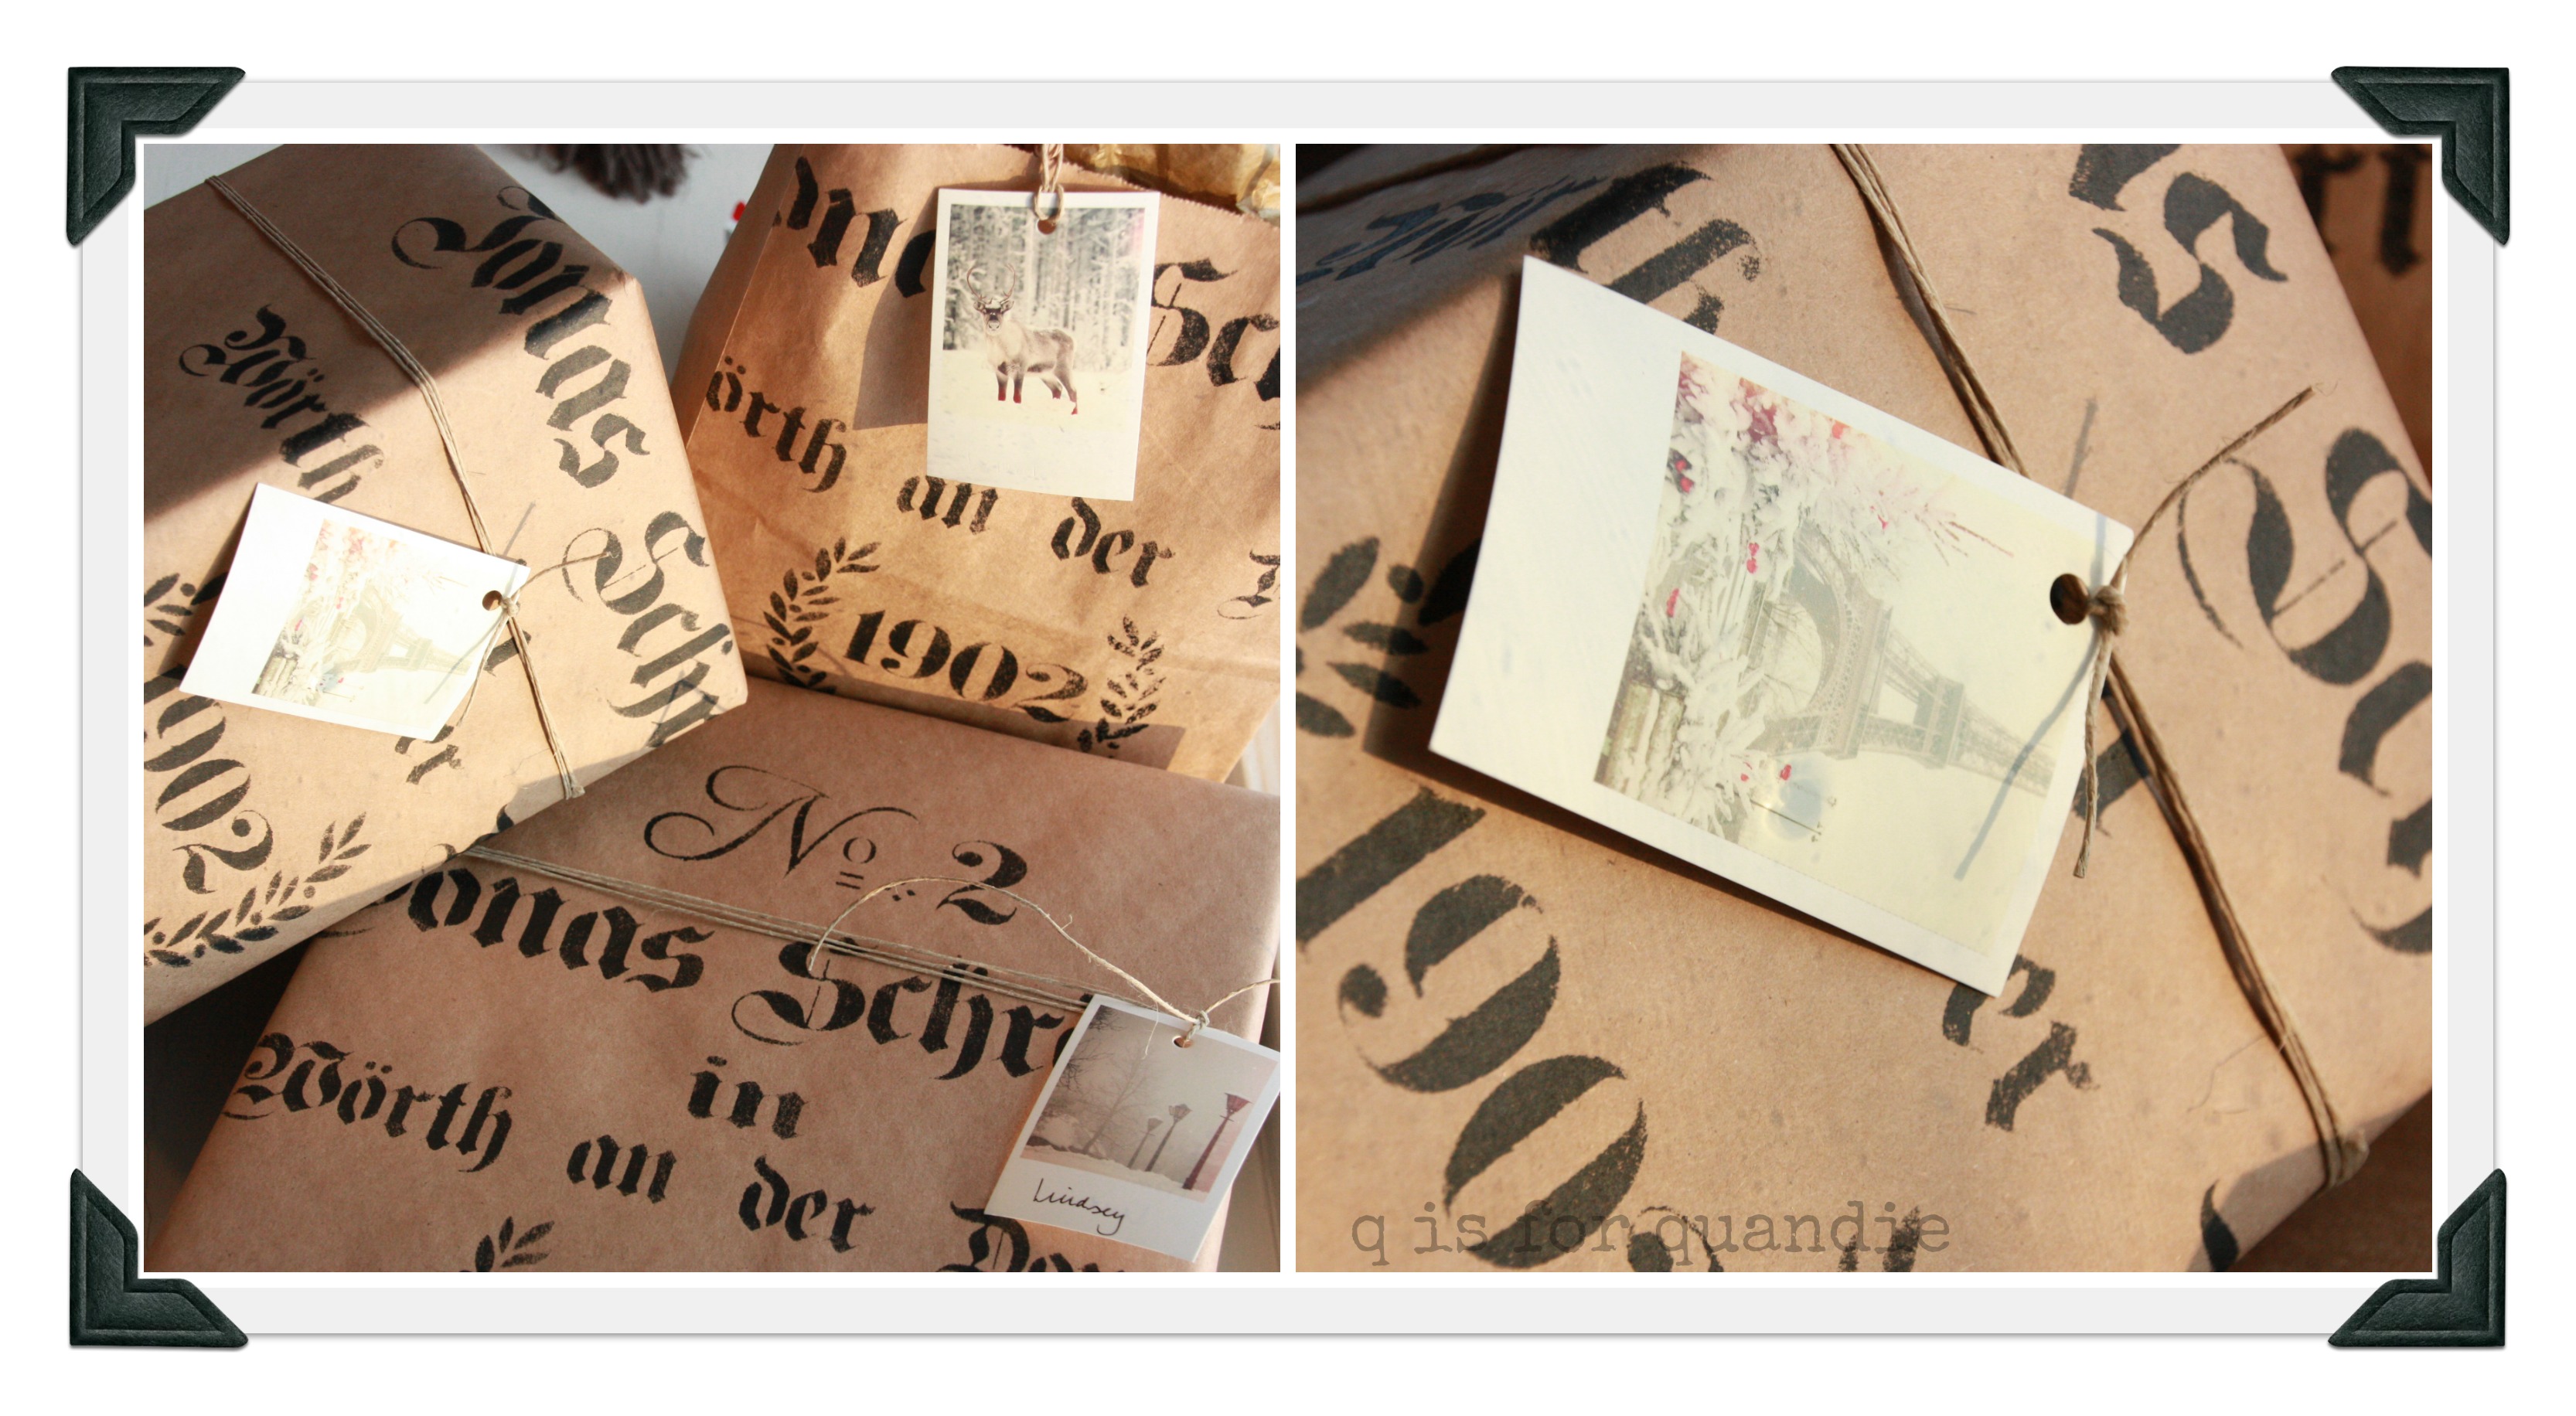
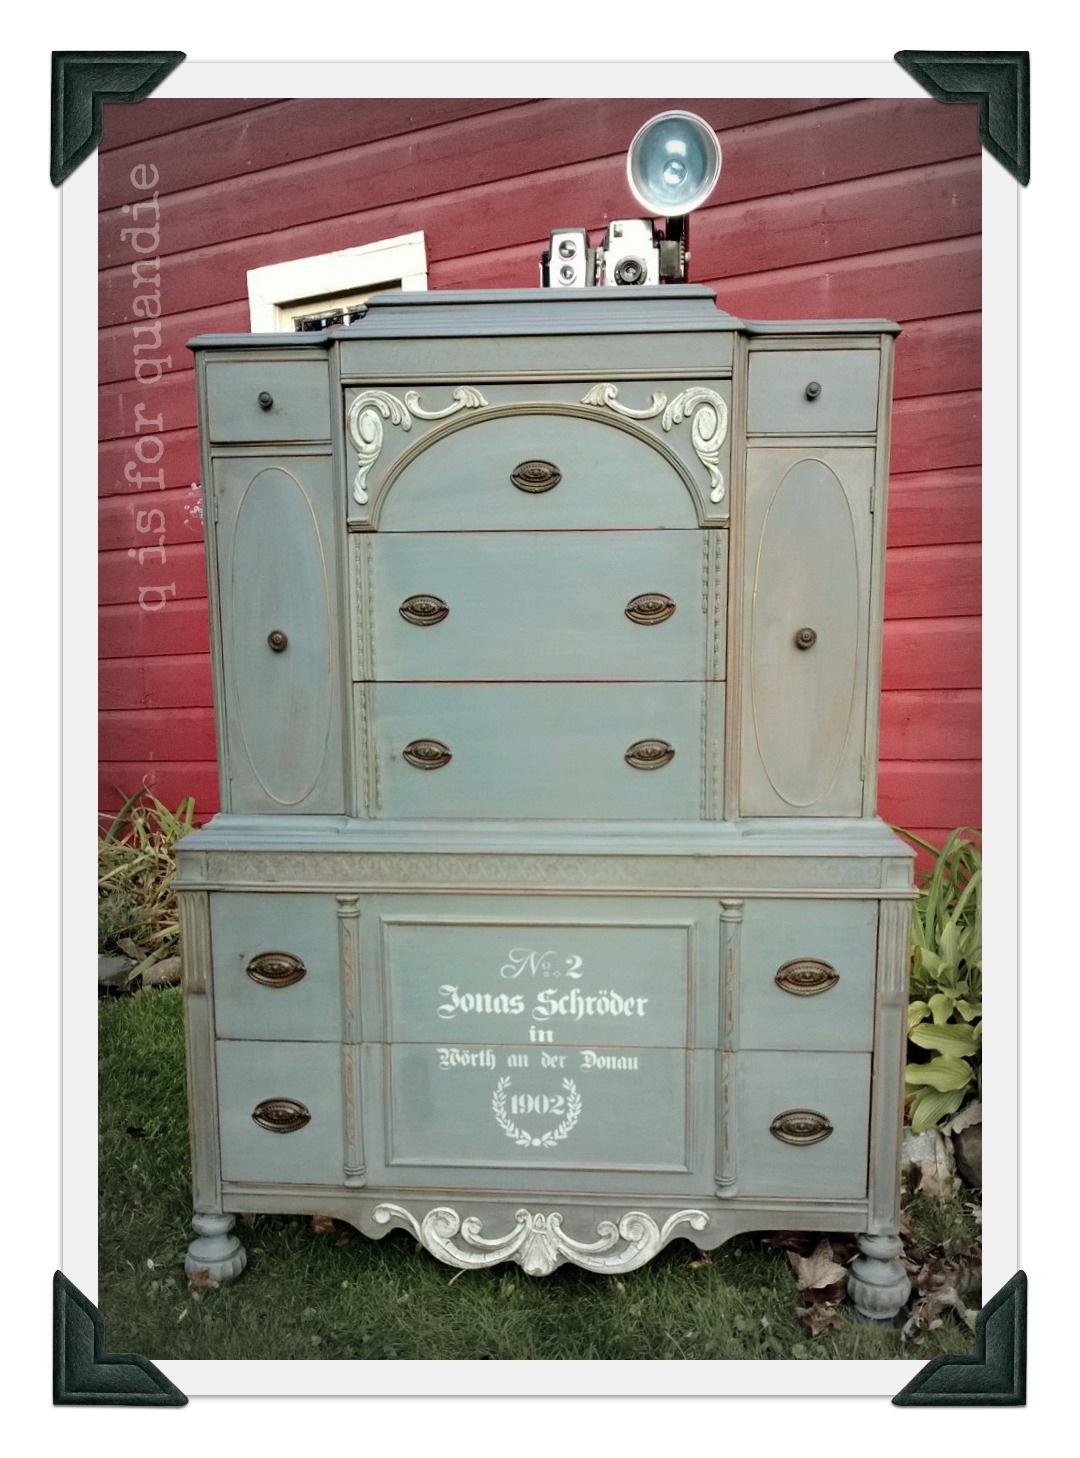
I purchased the Jonas stencil via Etsy from Euro Stencil Designs.  It was $38 plus shipping, and has been worth every penny.  I’ve used it on a bazillion things.  I even used it on this year’s Christmas wrapping.

jonas package

I did three dressers with this stencil last summer, and they were super popular.  Probably nearly as popular as the band!

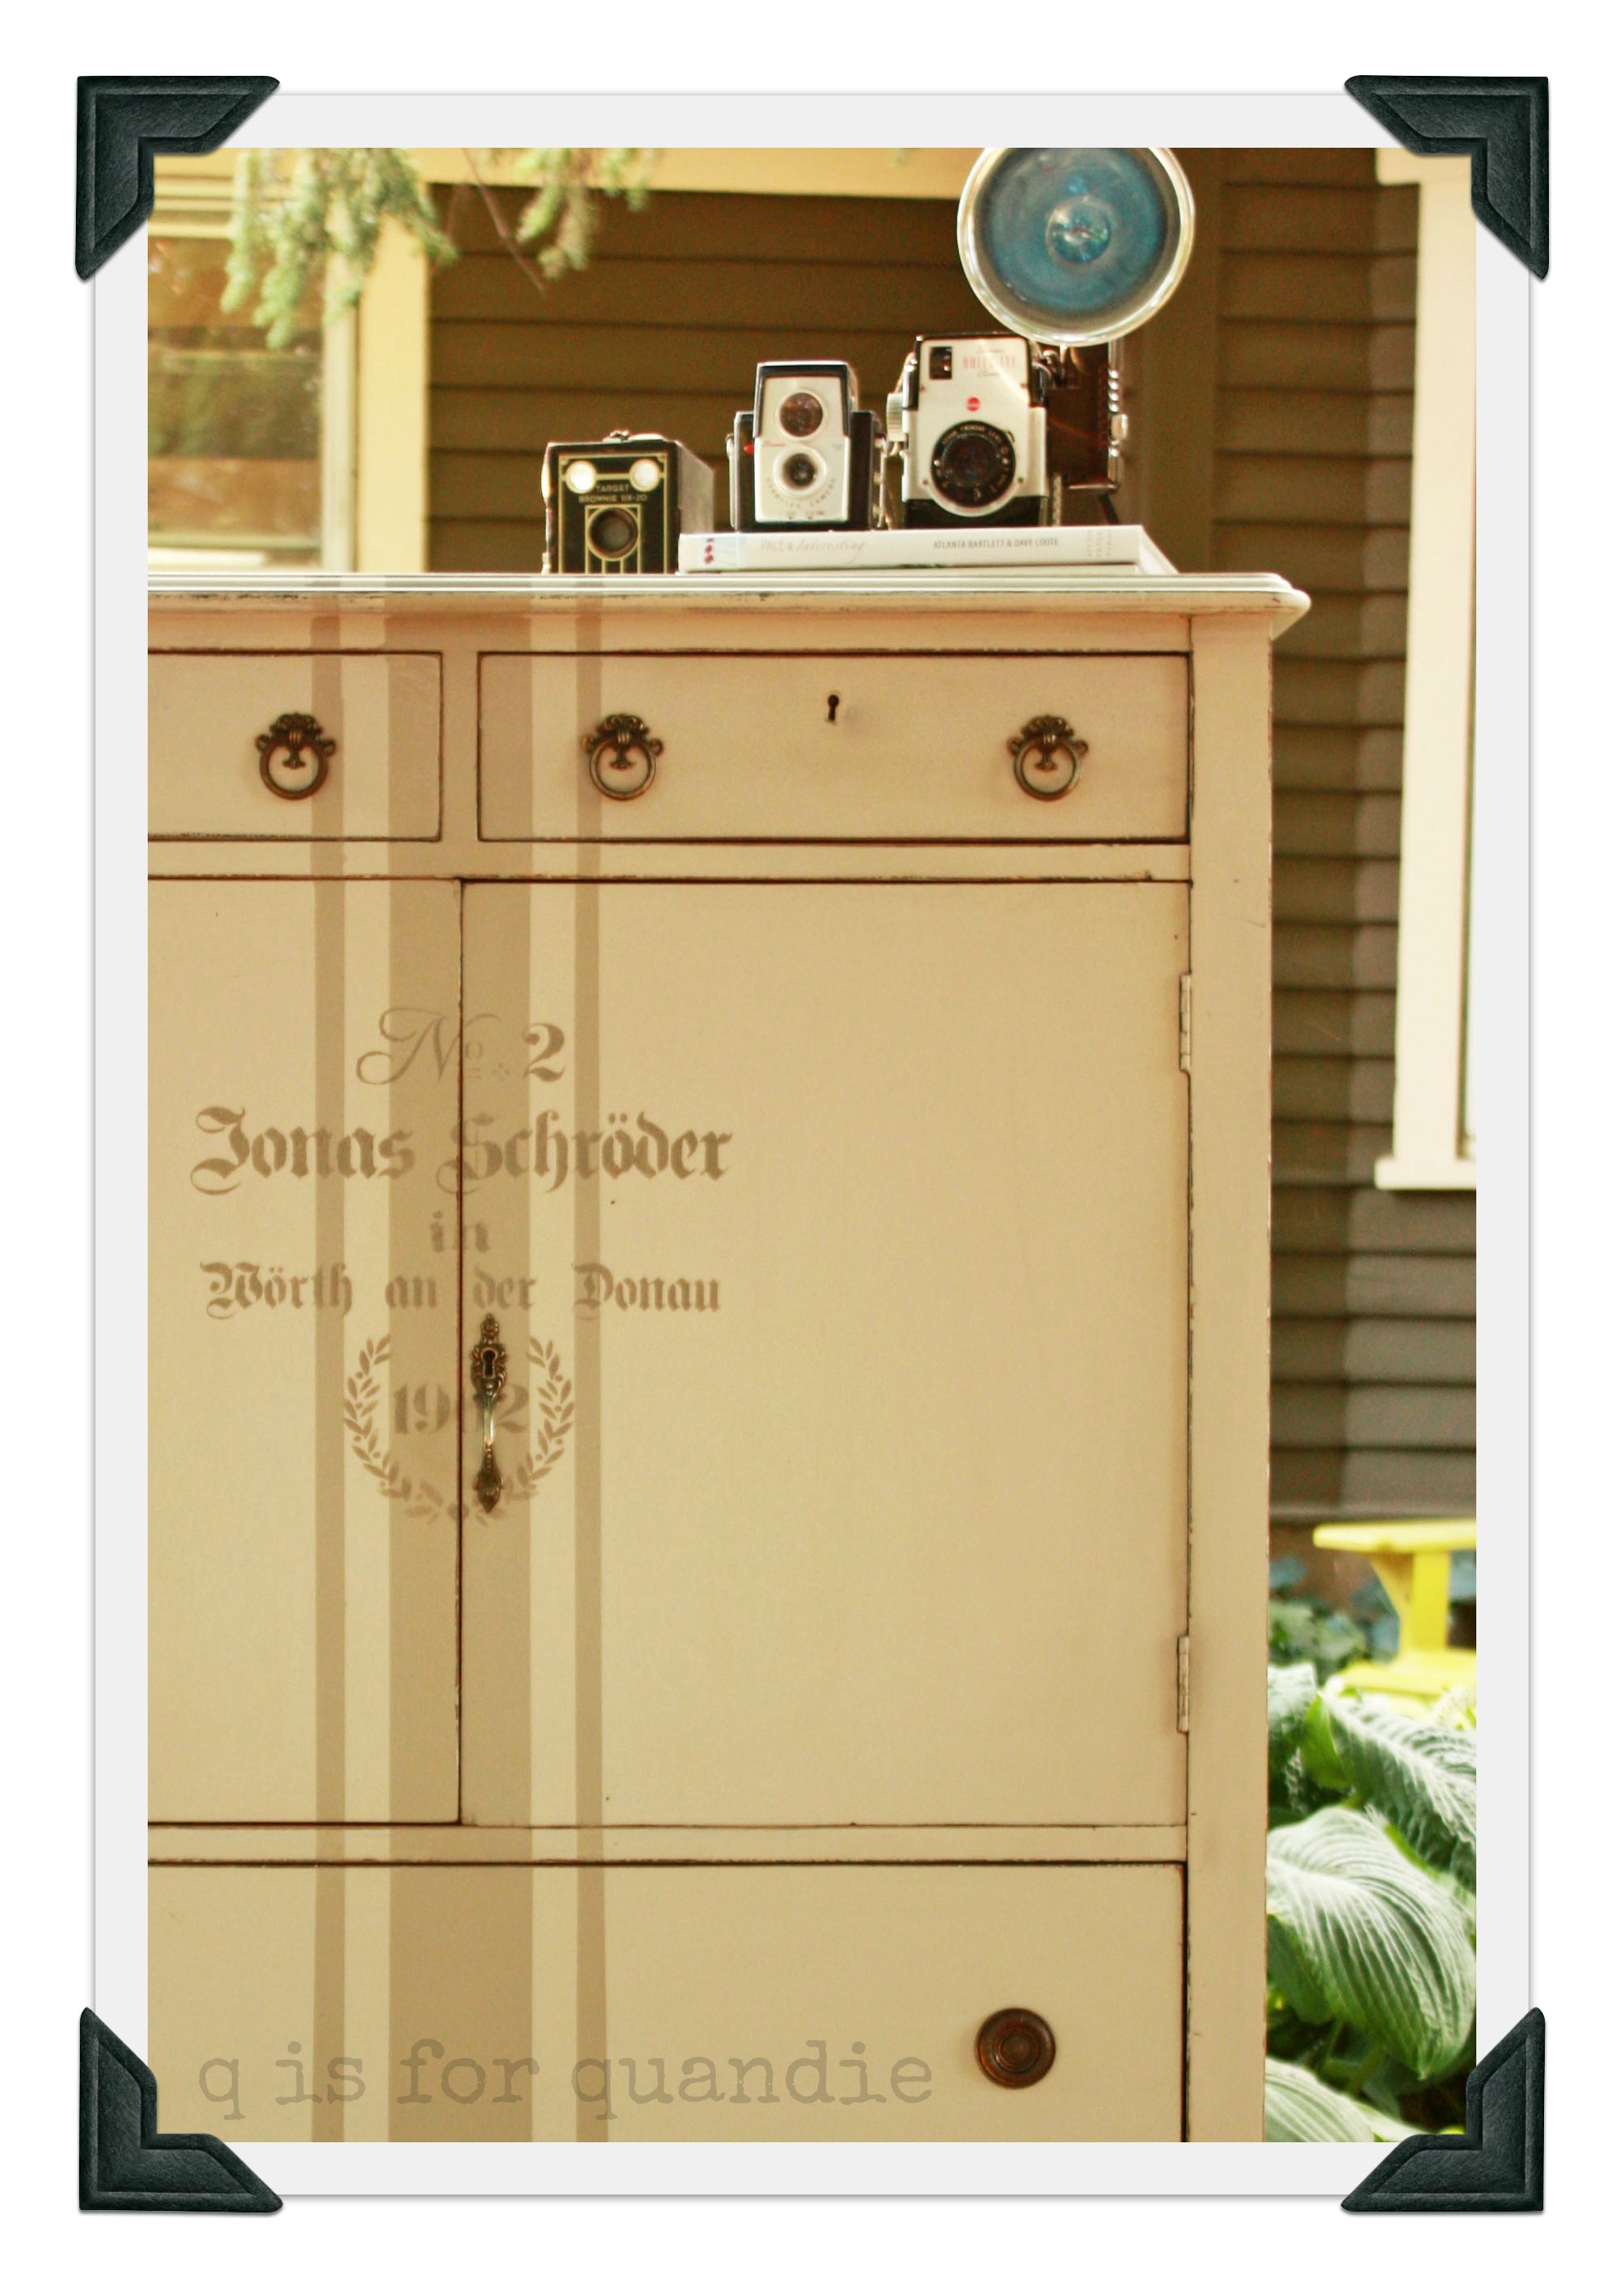
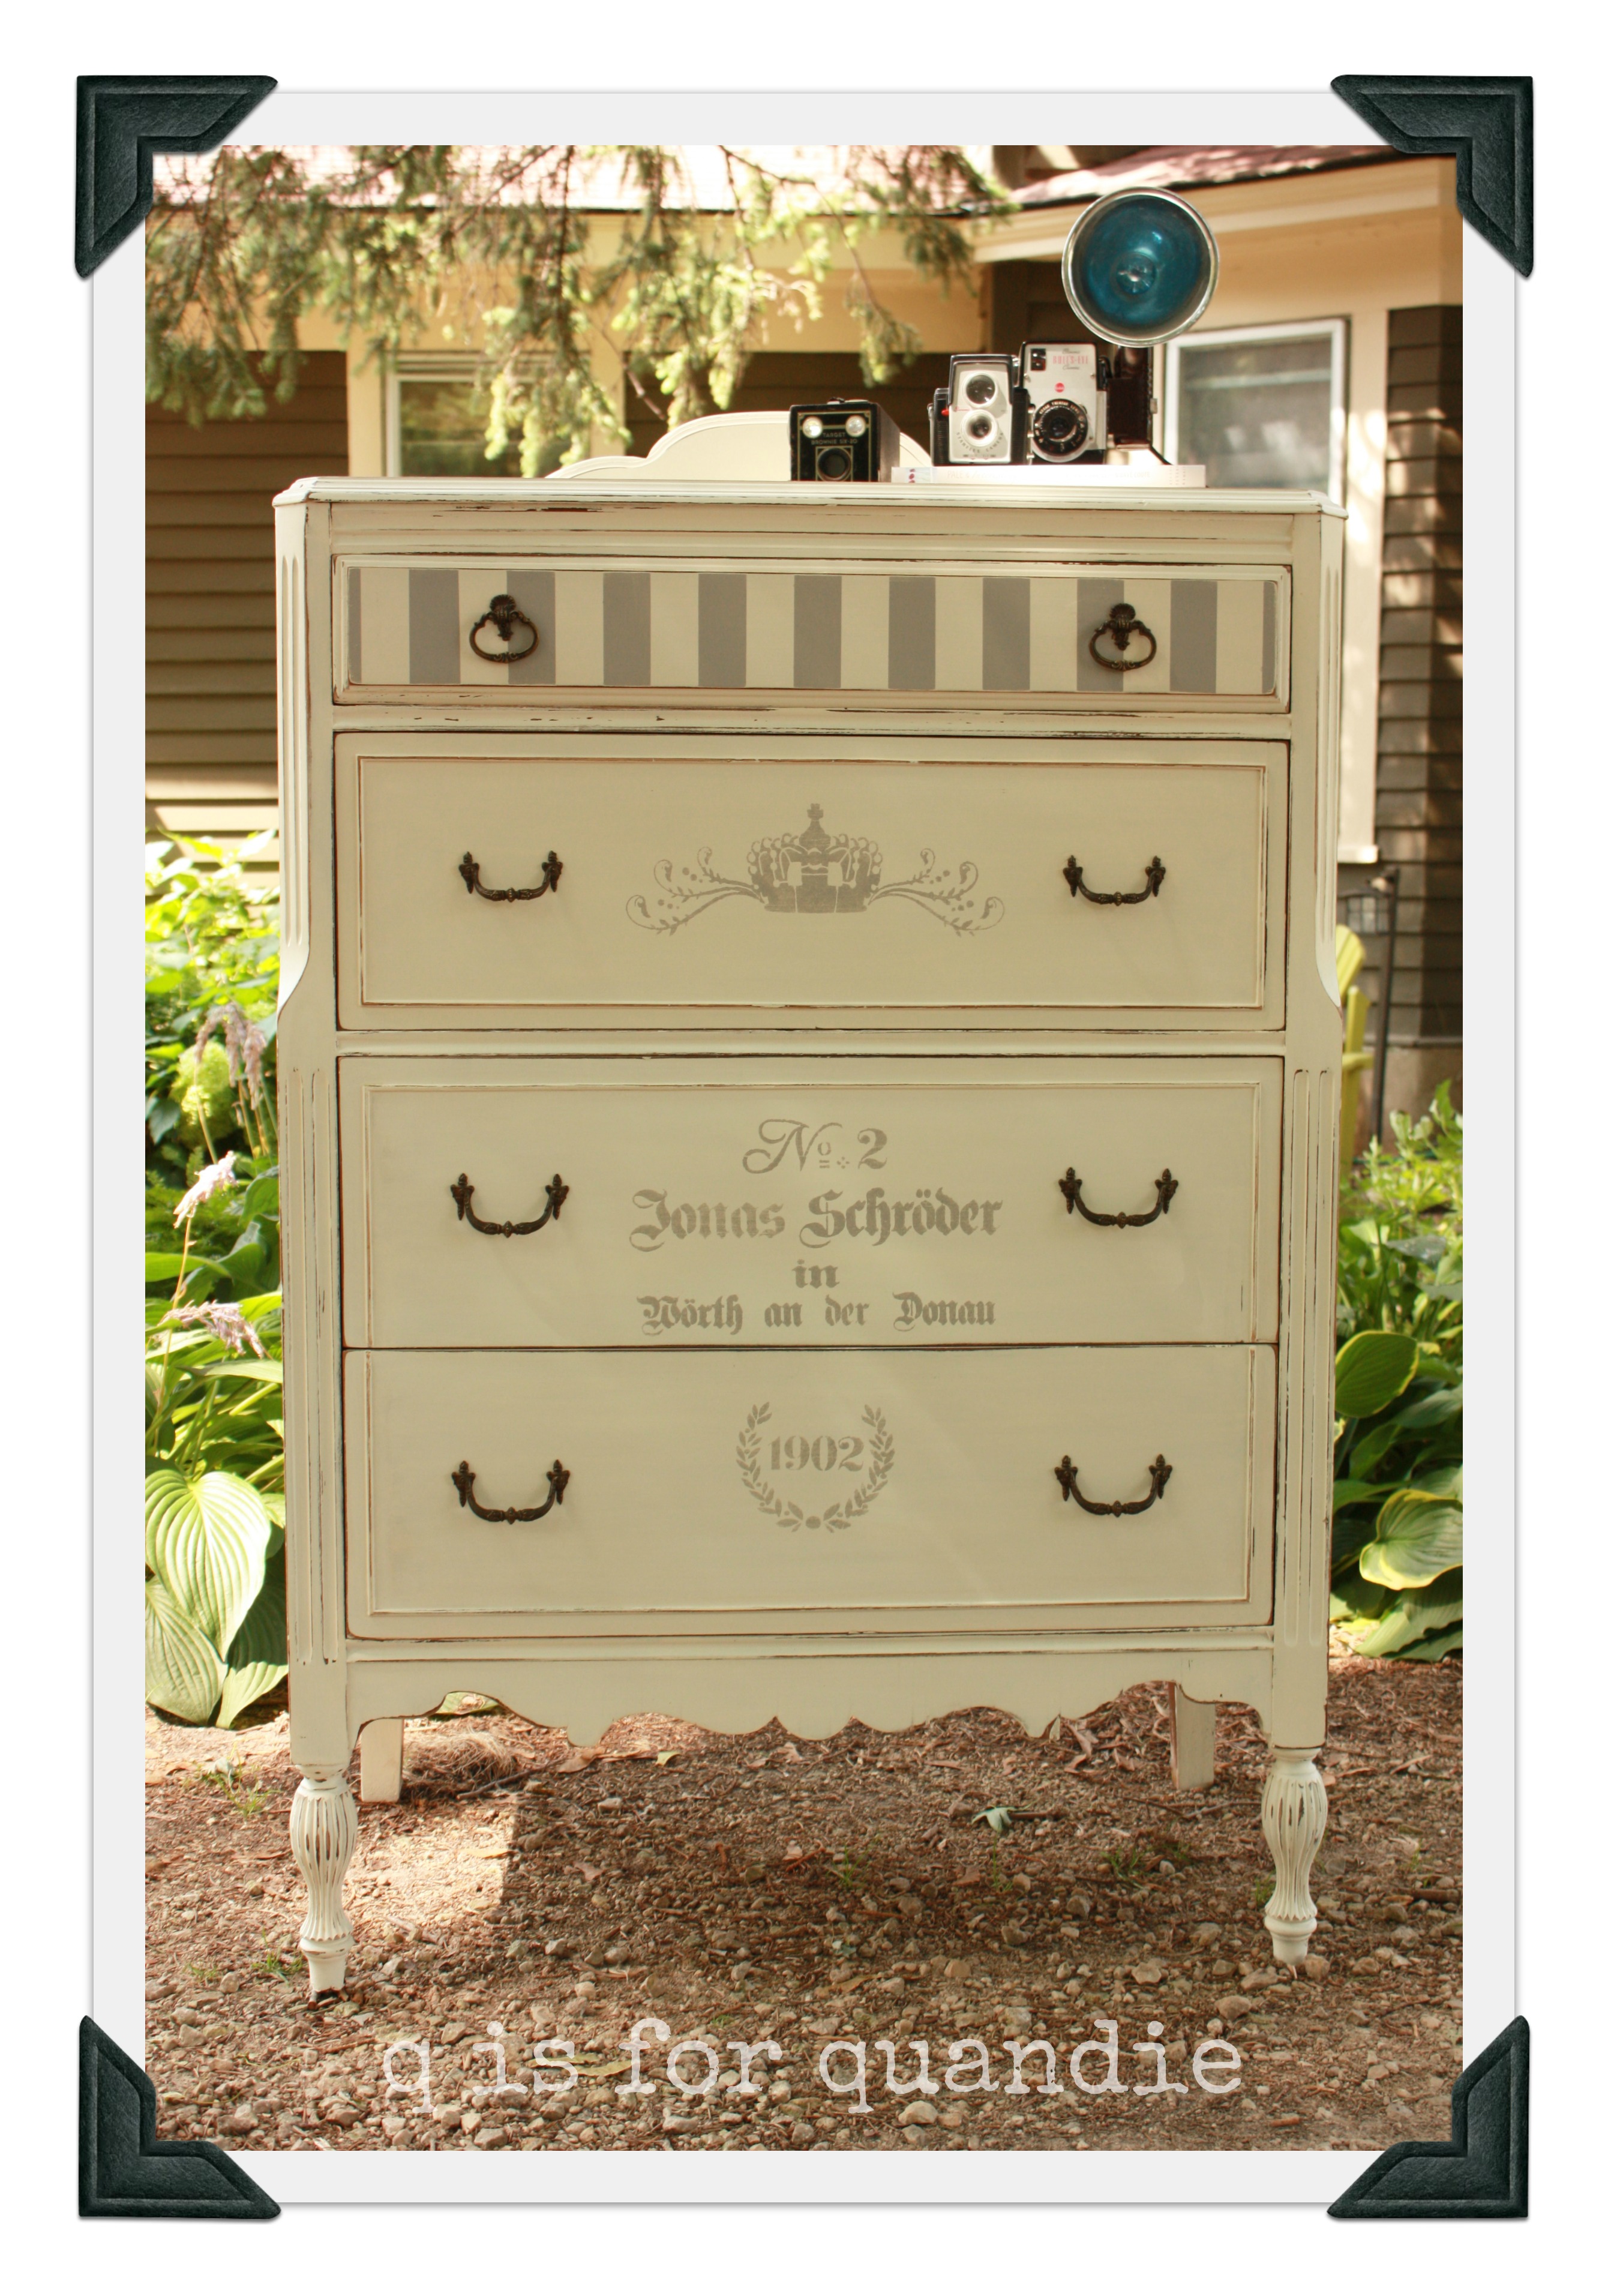
I started with this one.  I painted him using homemade chalk paint.  Have you read about this?  It’s easy to make.  Just mix equal parts warm water and plaster of paris until smooth, then add about two to three times as much satin paint.  I don’t measure, but I have a good feel for the consistency I’m looking for.  I don’t know what it is about adding the plaster of paris to the paint, but somehow it just goes on smoothly, dries more quickly, sticks to the furniture better, and distresses more easily.  I usually finish the piece off with paste wax when I use this paint, as I did in this case.  The original hardware was all intact on this guy and I prefer to keep it when that is the case.

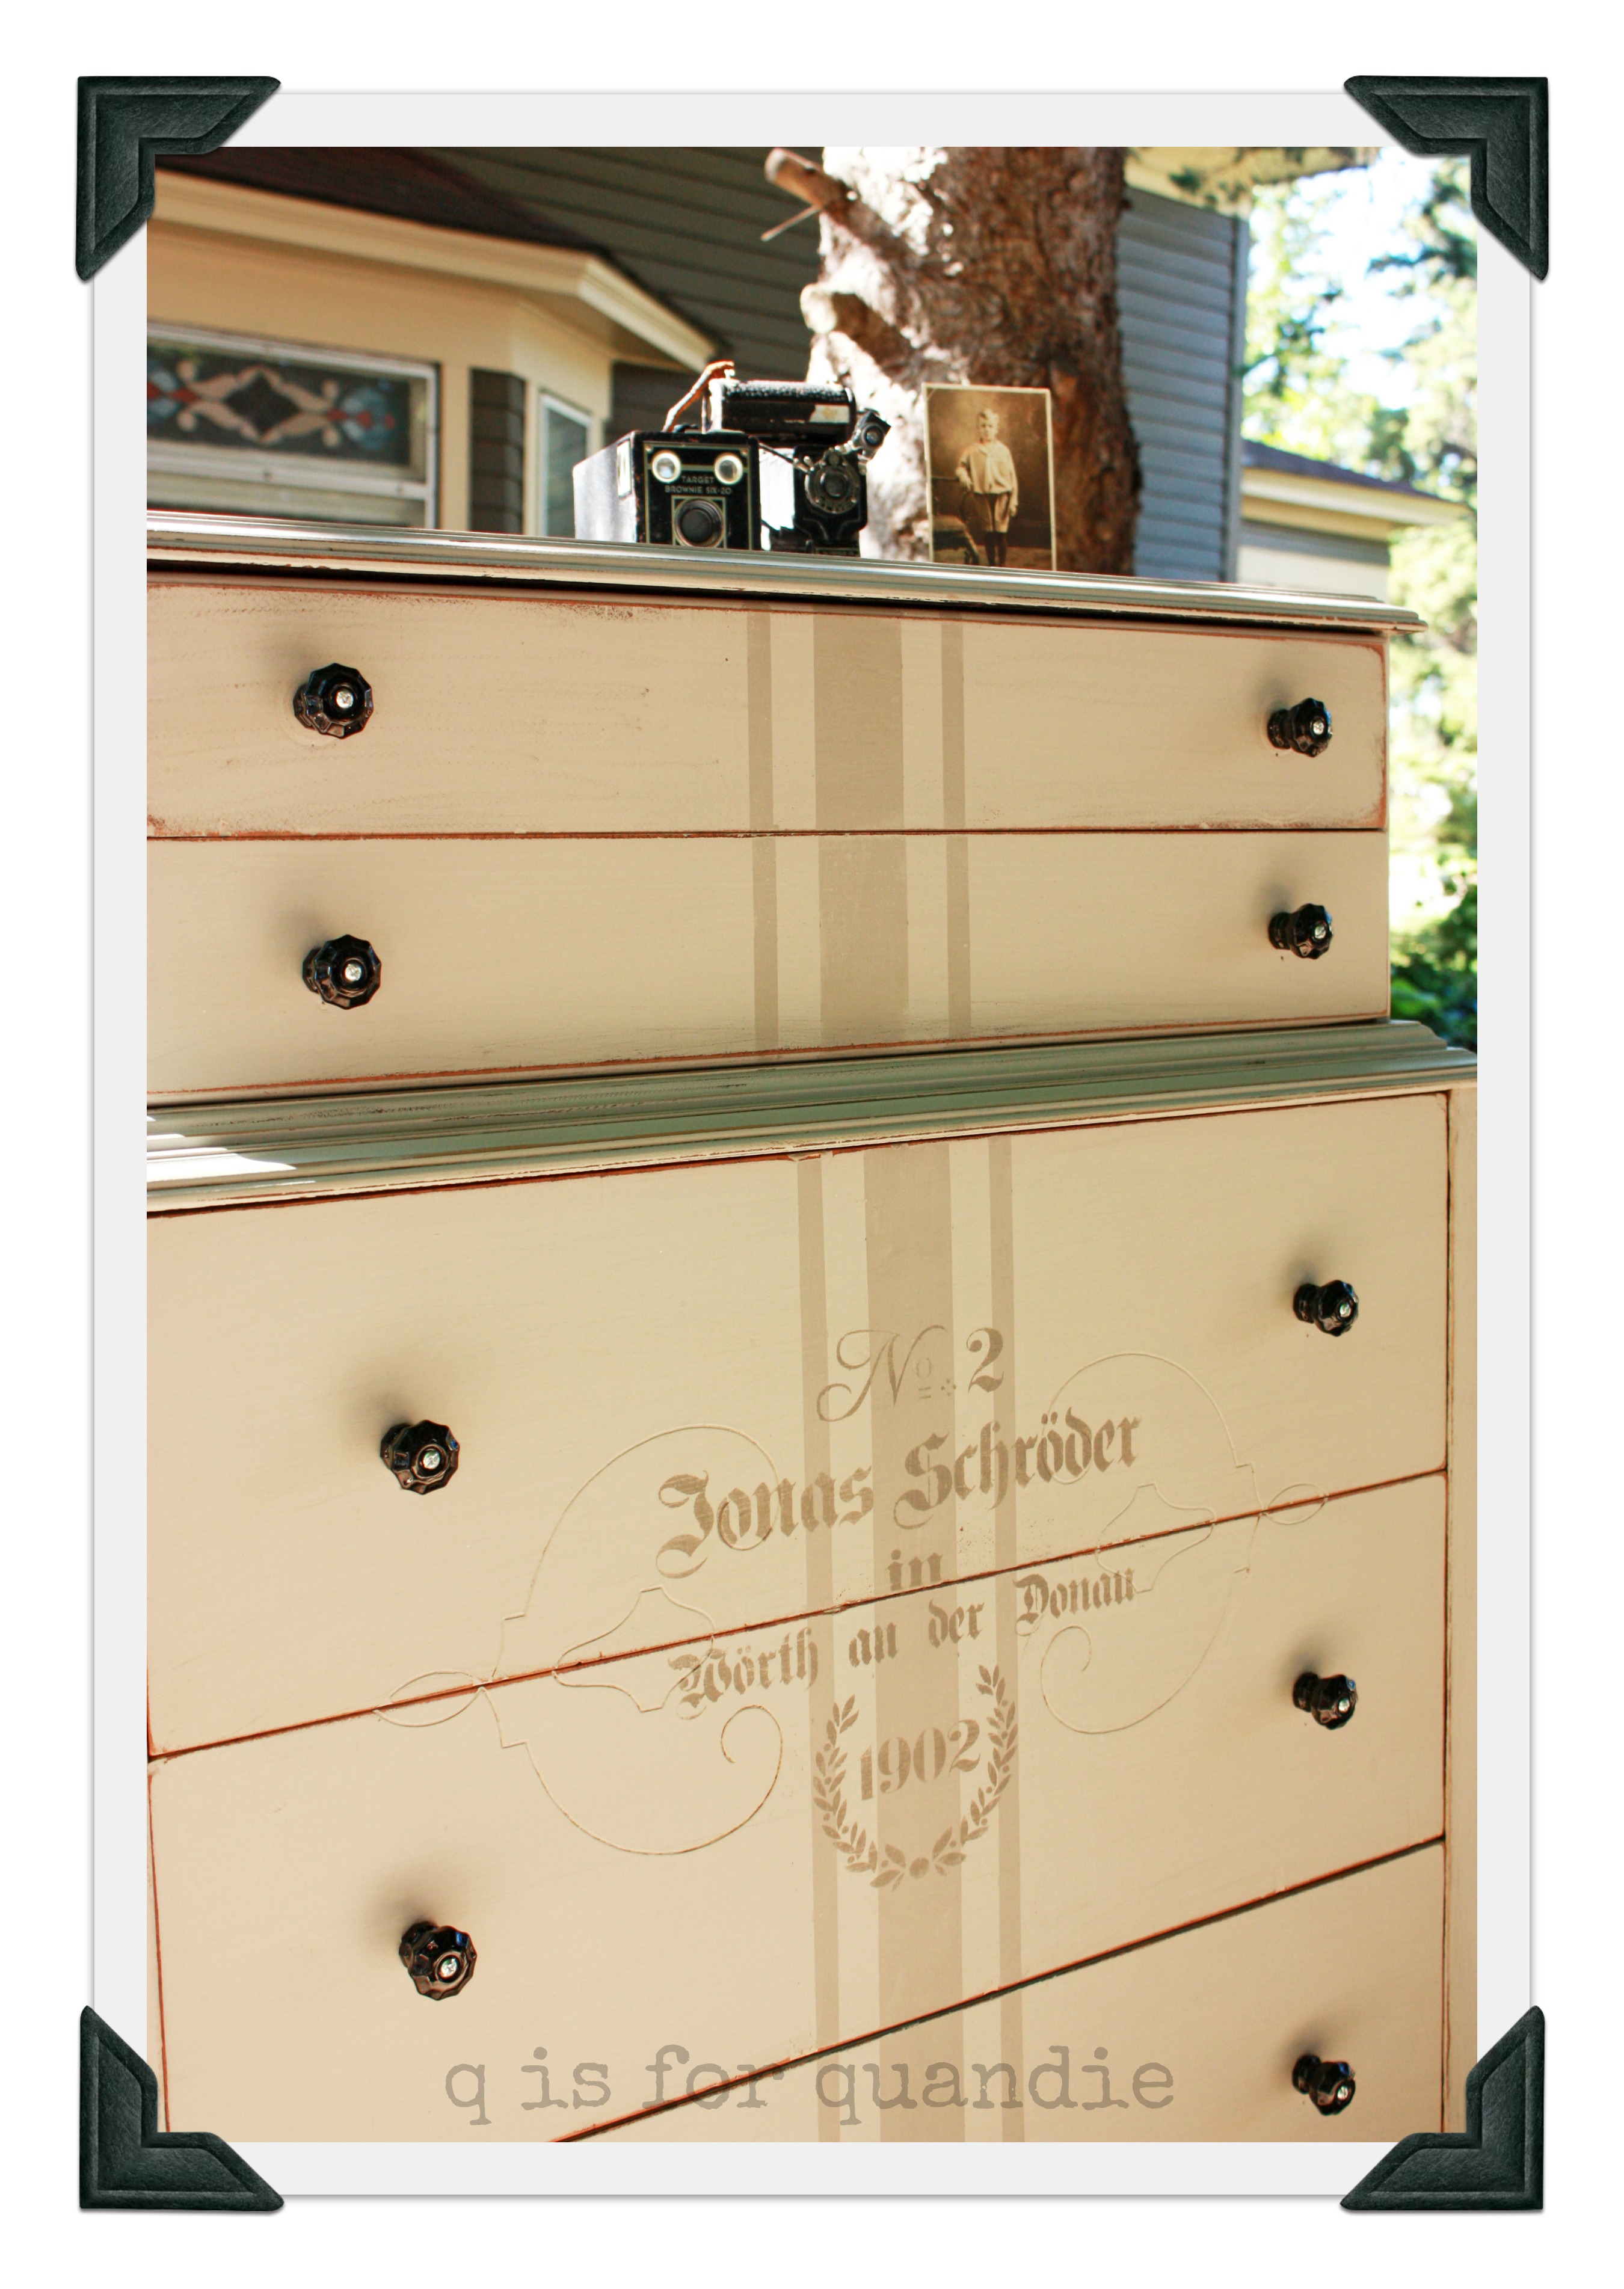
Jonas 2 brightNext I painted this one using the same technique.  This one was missing some hardware though, so I switched it all out for some vintage black glass knobs.  I love the way the stencil fit perfectly inside the scrolls carved into the drawer fronts.

jonas bros 2 closeup

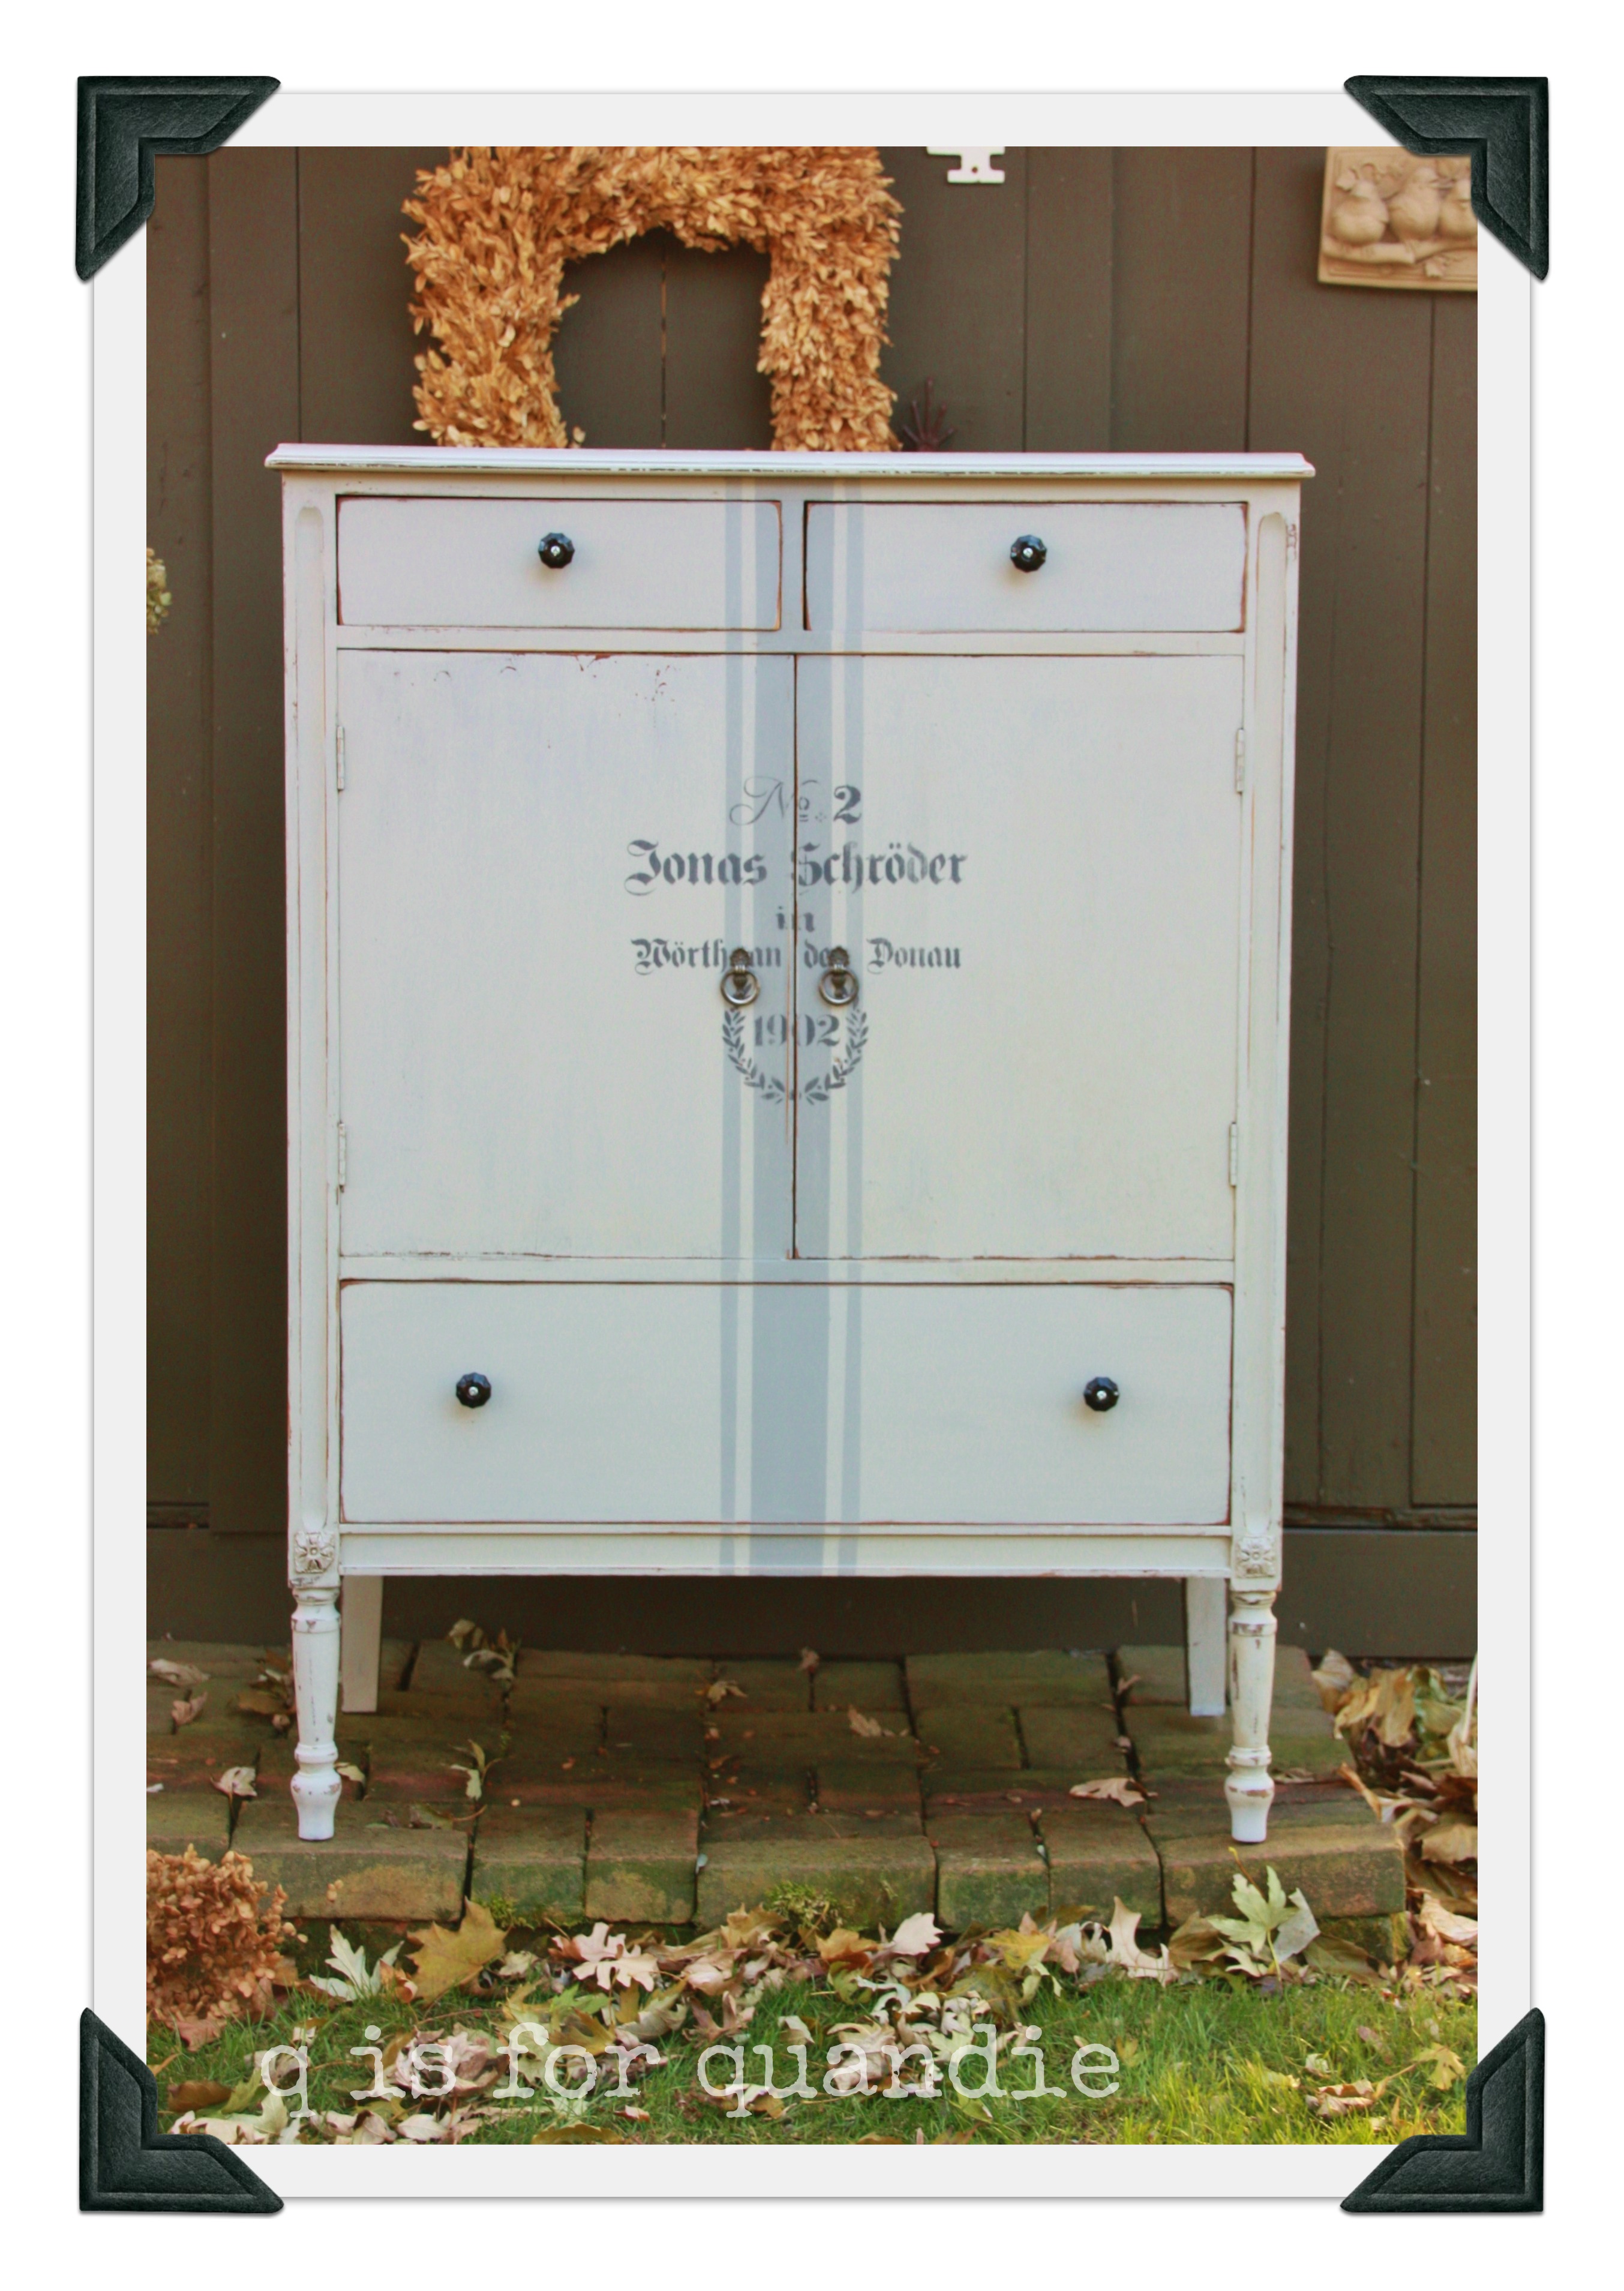
And finally, this one.  Same painting technique, and this time I saved some original hardware but had to add some black glass knobs as well.  I wish I’d had all the original drawers pulls as they are the prettiest silver, but no such luck.

jonas bros. 3

The latest Jonas project is book painting.  I saw this on pinterest and thought I’d give it a try.  I think these are turning out fab.  I’ll be selling them at the Round Barn and possibly at my own occasional sale in June as well.

books

the cokato furniture.

I regularly scope out CL (that would be craigslist) for deals on furniture.  I try to stick with stuff that is 1940’s or earlier, but occasionally I throw in a mid-century piece.  I also try to stick with stuff that is less than $100.  So, when I surf CL, I usually put in a max dollar amount, just to avoid seeing all of those ‘antiques’.  You know, the ones that you just know would be gorgeous painted, but are way out of your price range.

But somehow, last fall, I ended up spotting an ad for a bedroom set, $200 for all 3 pieces.  The pictures in the ad were terrible, and did not do this set justice at all.  I think this is the only reason that no one had snatched it up right away.  That, and the fact that they were in Cokato.  About an hour’s drive from civilization (my opinion only … if you are from Cokato, I’m sure it is a lovely town and much closer than I think).

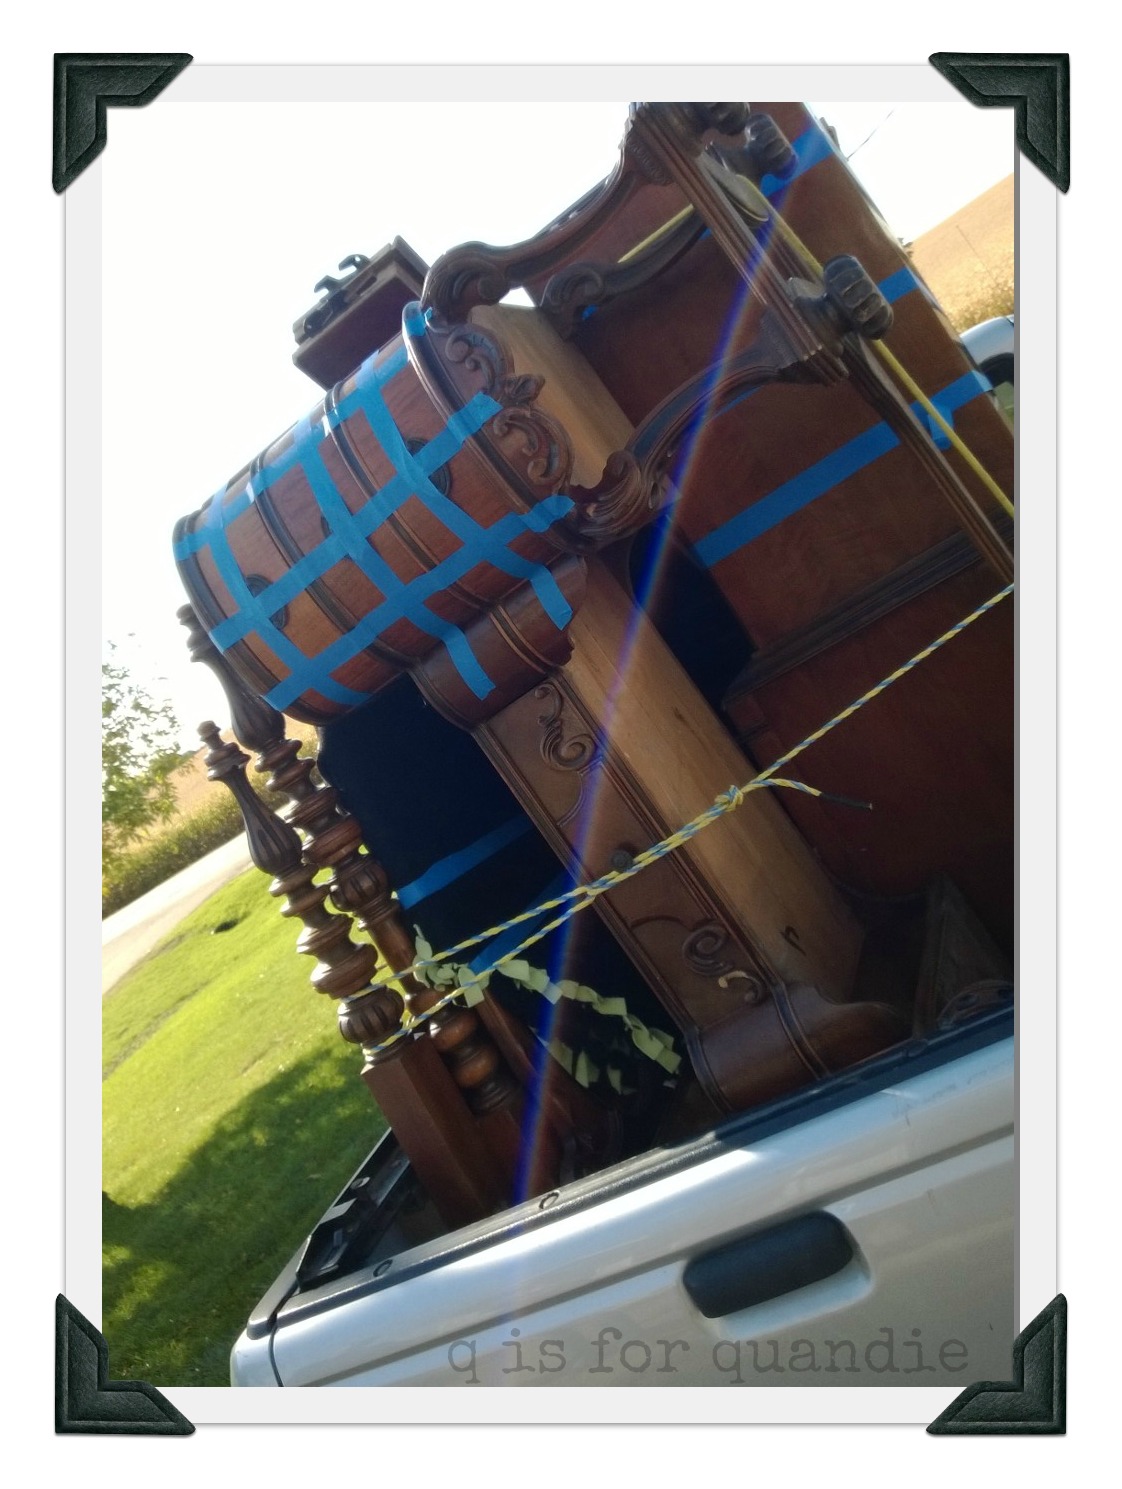
So on a beautiful fall day, the hubby and I took a road trip to Cokato, and came home with this (pardon the terrible phone pic).

furniture load (2)The sellers did not believe we could fit everything into our Ford Ranger, but they underestimated both our packing skills and our determination to not make a second trip to Cokato.

If you’ve been reading my blog, you know that I am opposed to ‘sets’ of furniture.  I fell victim to them in the past myself, but I’ve been slowly trying to eliminate them from my own house.  So, I decided right from the start that these pieces would not be painted as a ‘set’, but each piece done individually.

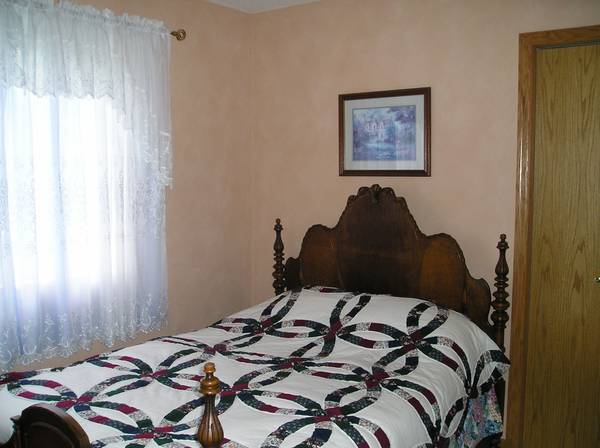
I started with the bed.  First, let me show you the CL ad pic that the seller posted.  It gives you only an inkling that it may be fabulous.

cokato bed before

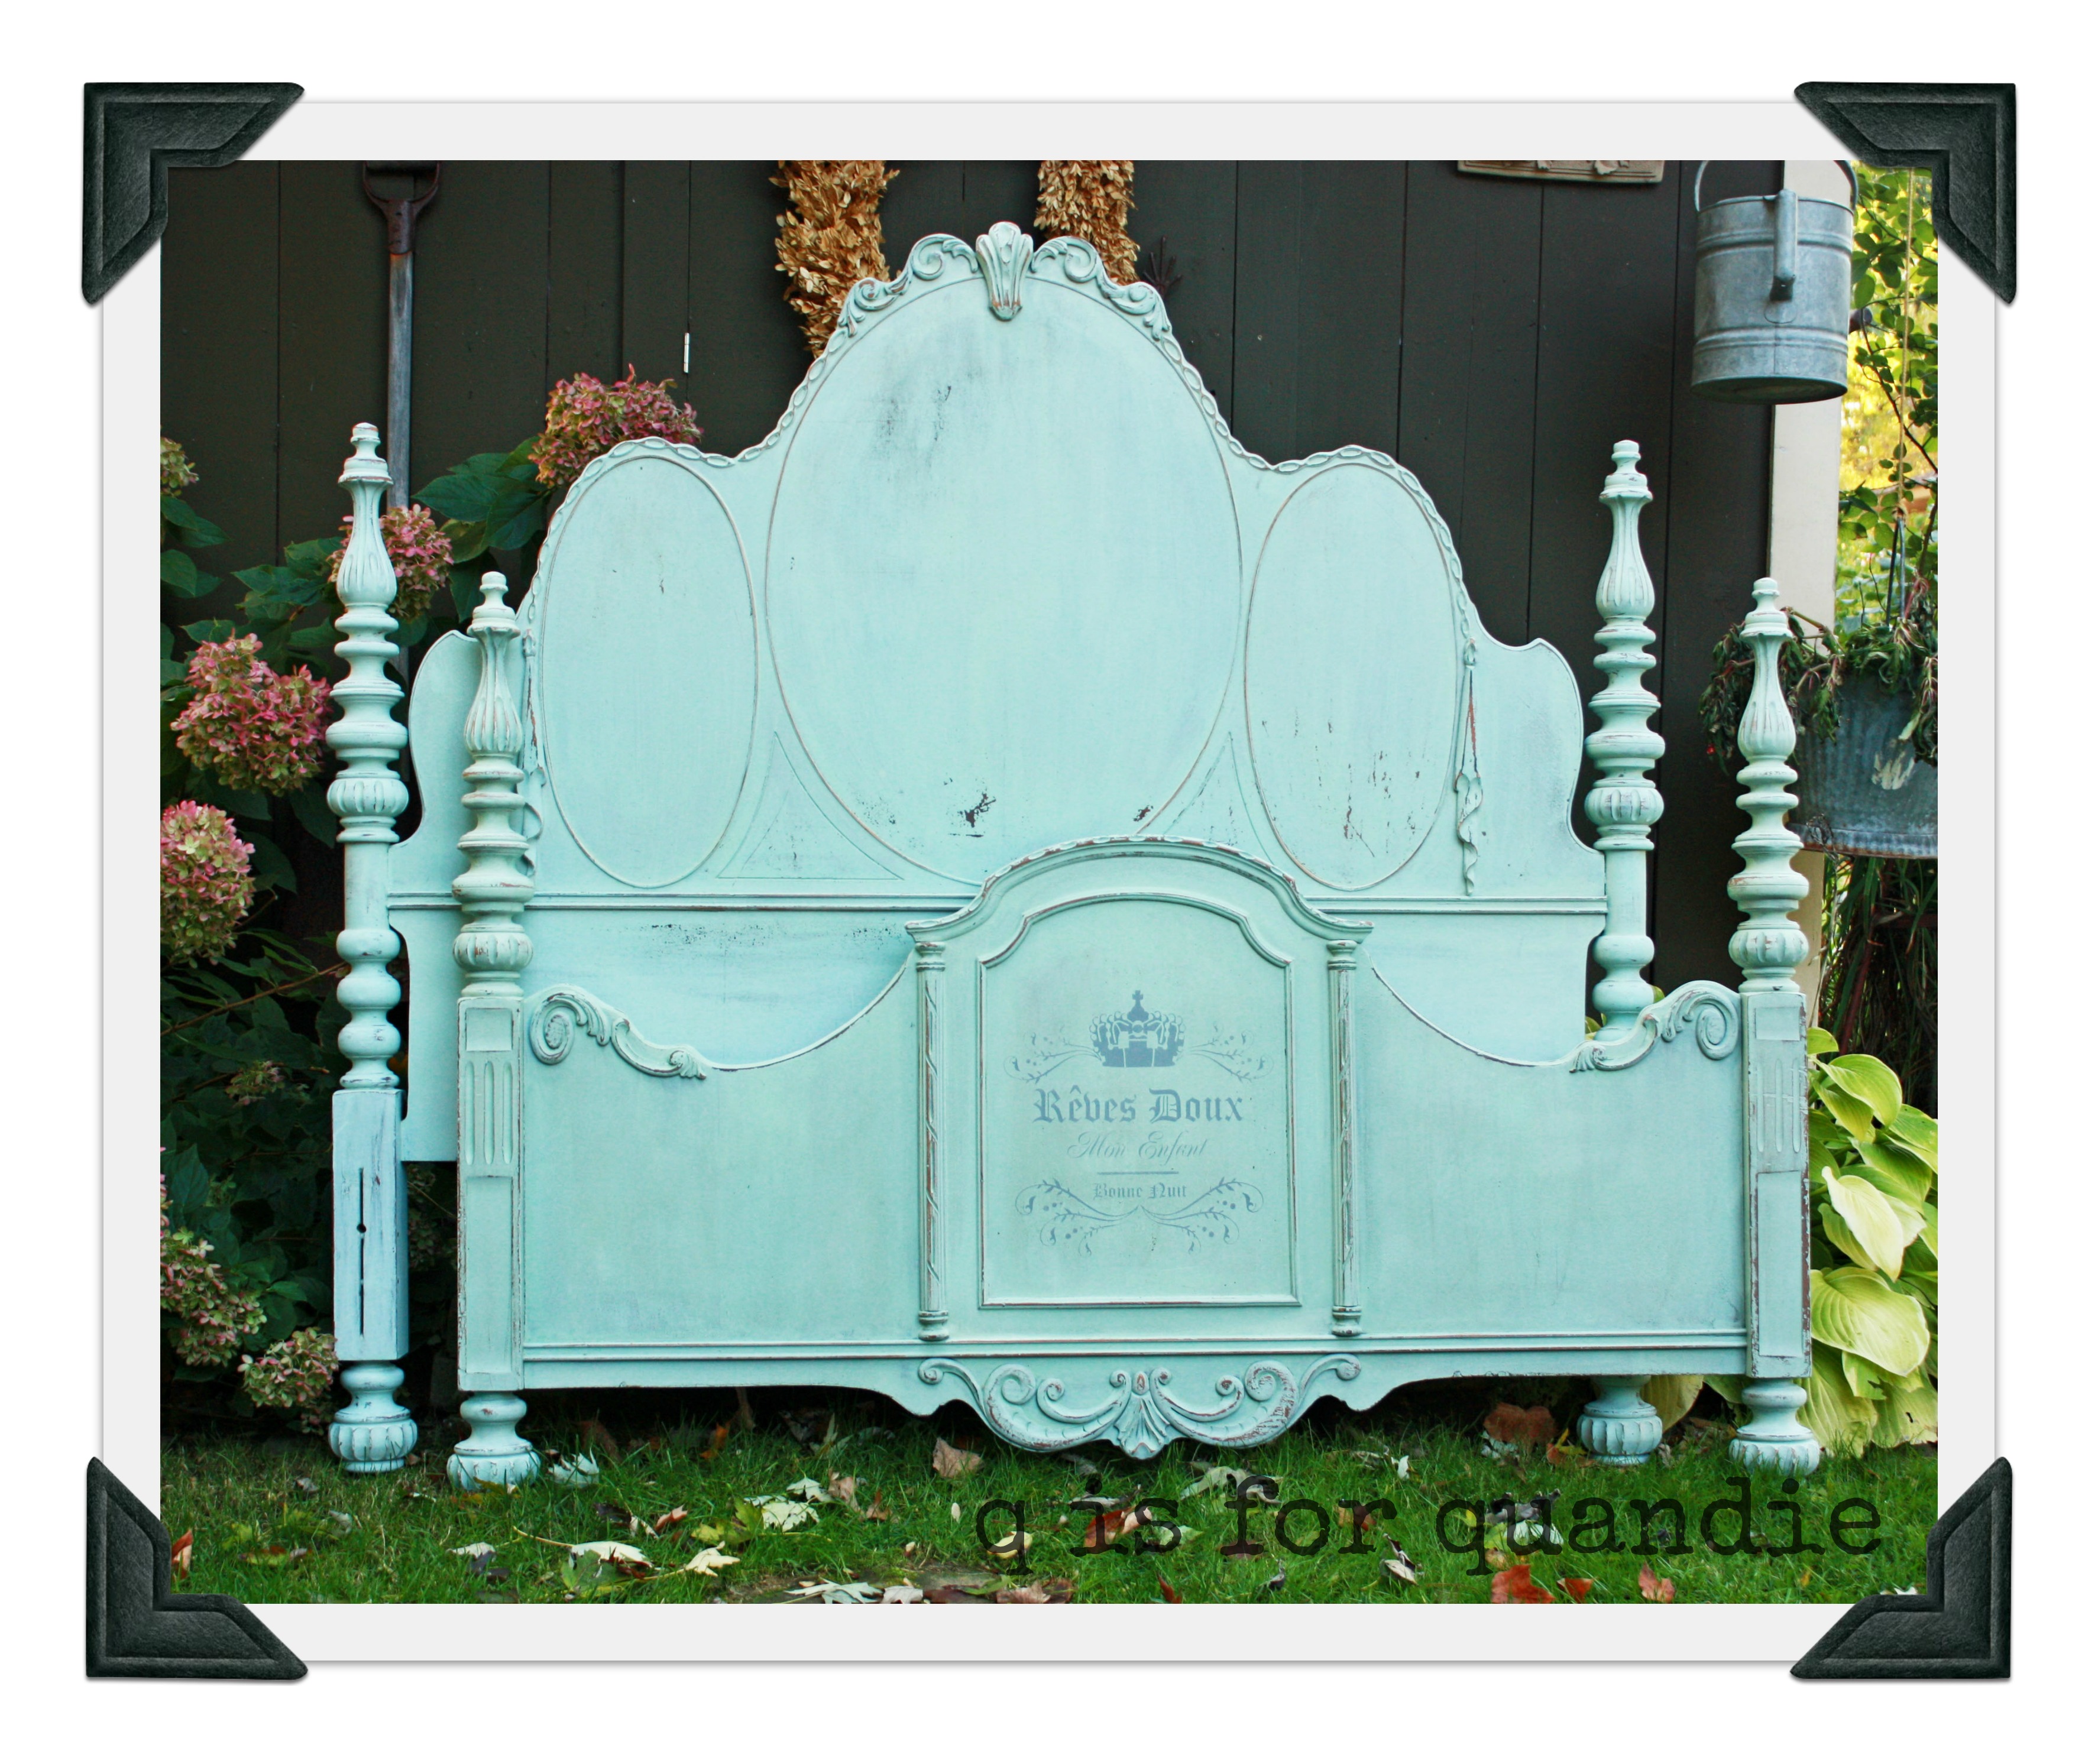
I painted it using a combination of 1 part Kitchen Scale to 3 parts Ironstone MMS milk paint.  Then I added a stencil to the foot board.

cokato bed 2Turns out it is more than fabulous!  Just look at that gorgeous foot board (and you couldn’t even see it in the CL ad).  This bed ended up selling to someone who drove all the way down from Bemidji for it.  She runs a small theatre group that was putting on a production of Evita.  She needed a bed with a regal presence for the stage.  This one does the trick I think.

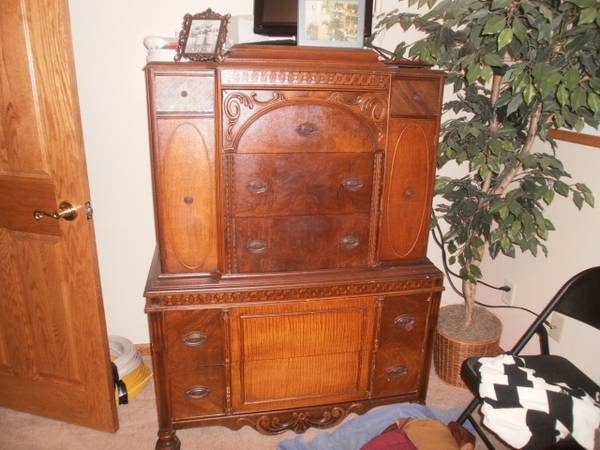
Next, I painted the dresser.  Here is the pic from the CL ad.

cokato dresser before

This piece is what sold me on the idea of driving to Cokato and buying this set.  I knew this would be fantastic painted.  Again, I mixed my own MMS milk paint using 1 part Typewriter and 3 parts Ironstone.

cokato dresserI’m not entirely happy with my photography skills on this one.  I need to quit attempting to take photos in front of the barn.  That red just reflects everywhere.  It gives this piece a pinkish glow that really is not part of the paint job.  This dresser went to the Round Barn and sold in less than a week.  I’m sure in part because it is so unique.

The final piece was the vanity.  Again, here is the CL ad photo.

Cokato vanity before

If you are put off by the garland of silk roses, the pink roses lamp, and the snowman … well, you just have to look beyond that stuff!

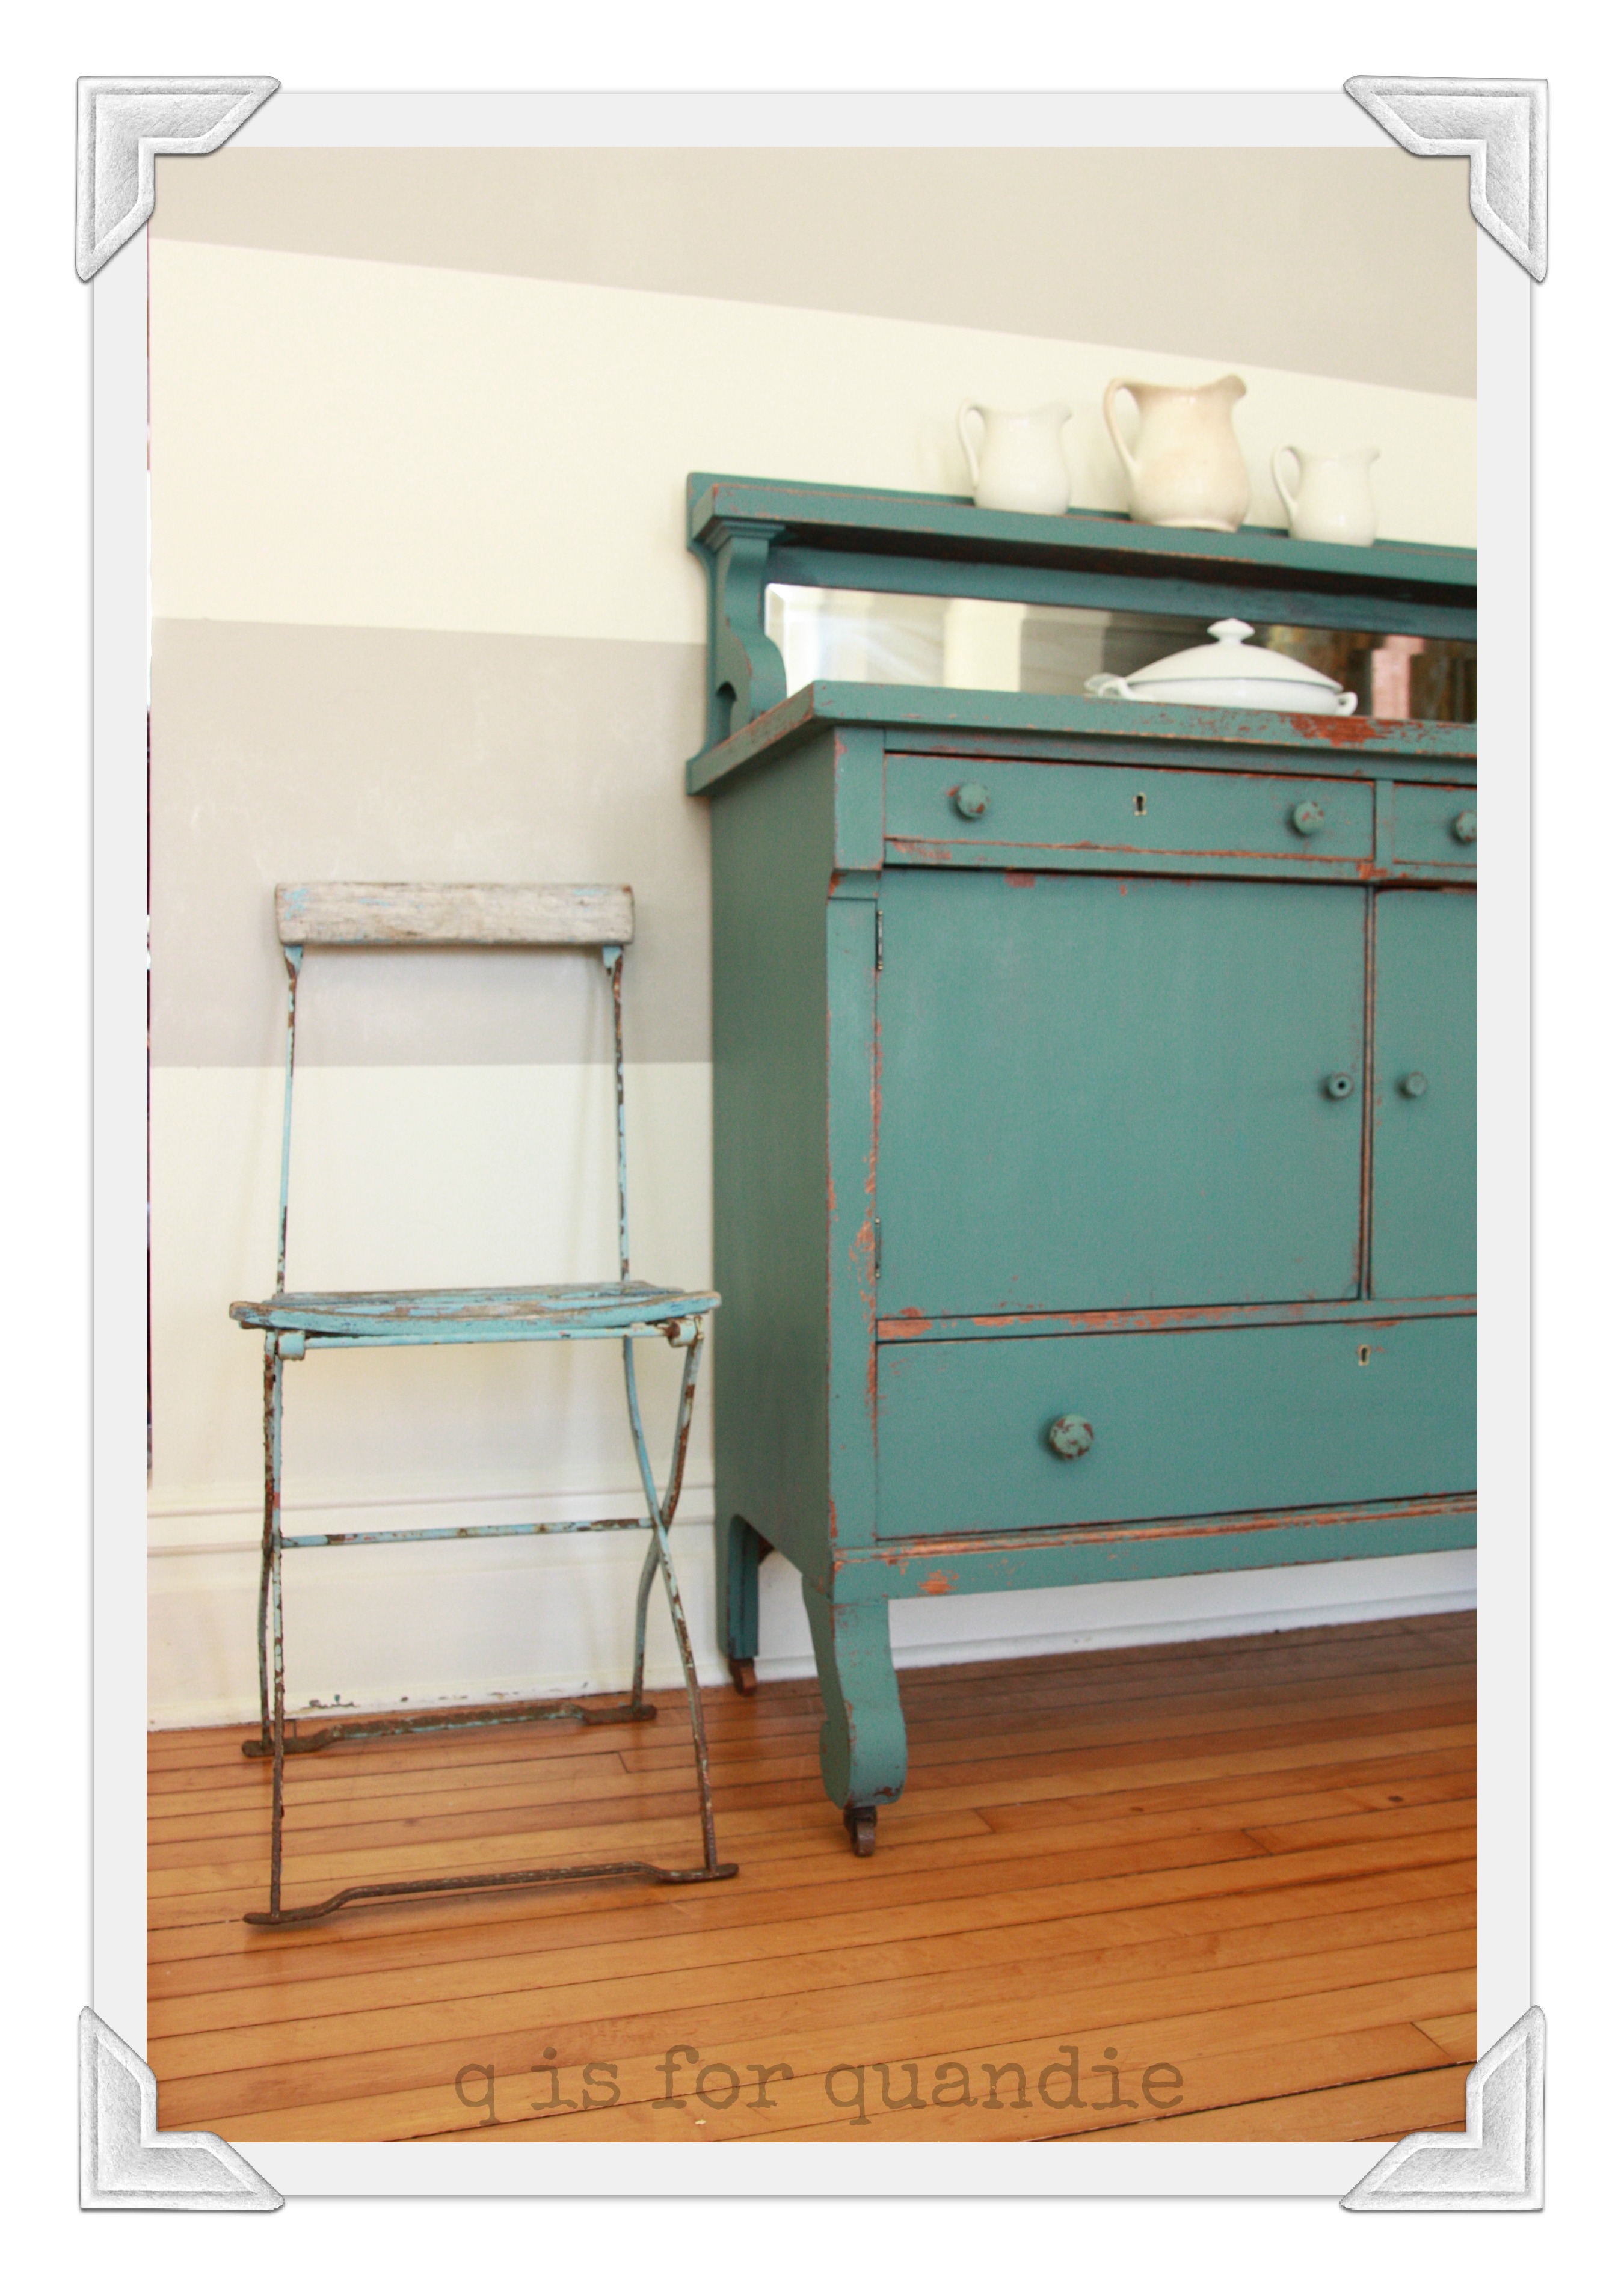
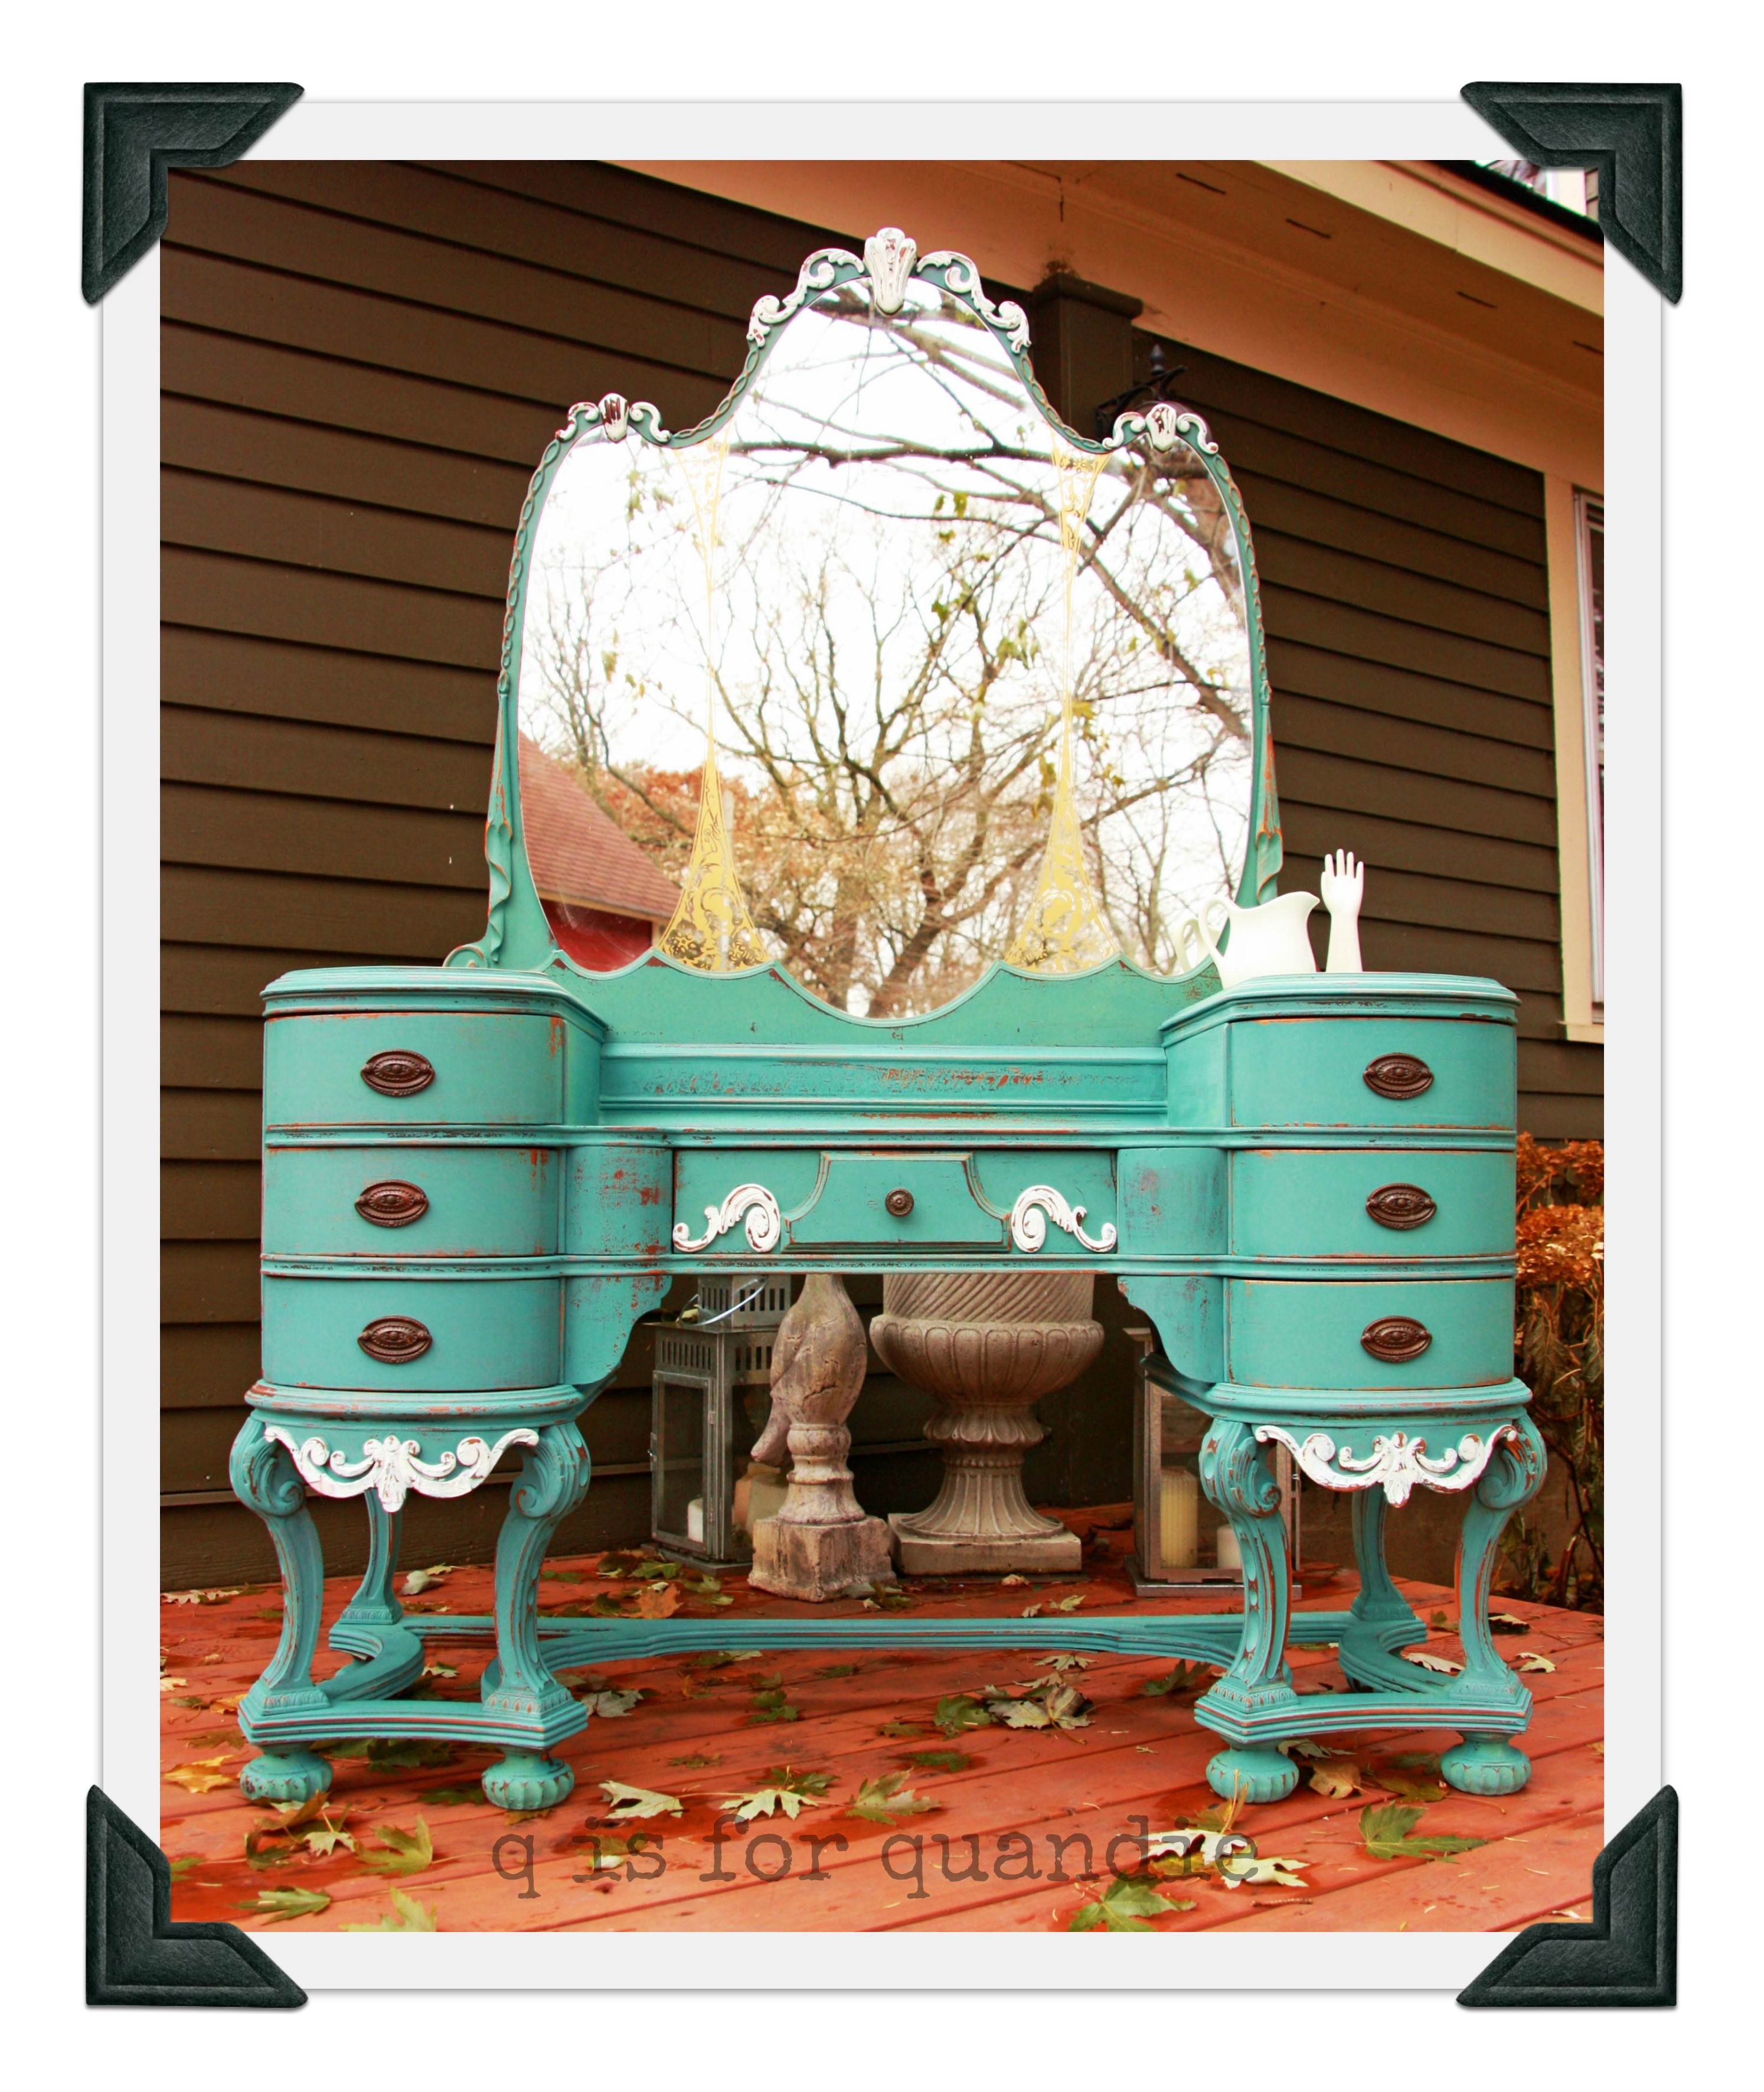
It needed quite a bit of work.  The entire bottom framework had cracked in two.  Ken repaired it for me using dowels and glue.  That Ken is a furniture magician.  I then painted it with MMS Kitchen Scale.  The scrolly details are painted in MMS Ironstone.  This was the first piece I painted in Kitchen Scale, and I loved it so much that I later chose that color for my own oak buffet.

Cokato vanityThis guy was so much fun to paint.  The MMS milk paint went on so easily.  It chipped and distressed perfectly.  The one is still for sale (last time I checked).  You can find him at the Round Barn if you are so inclined.

one down.

One room down, one to go in project ‘domino effect’.

piano room collage

The piano room is done.  And by done, I mean painted and decorated.  There was a lot of trim to paint in this room with the bay window.  I’m relieved to have it finished, and totally procrastinating on starting the next.
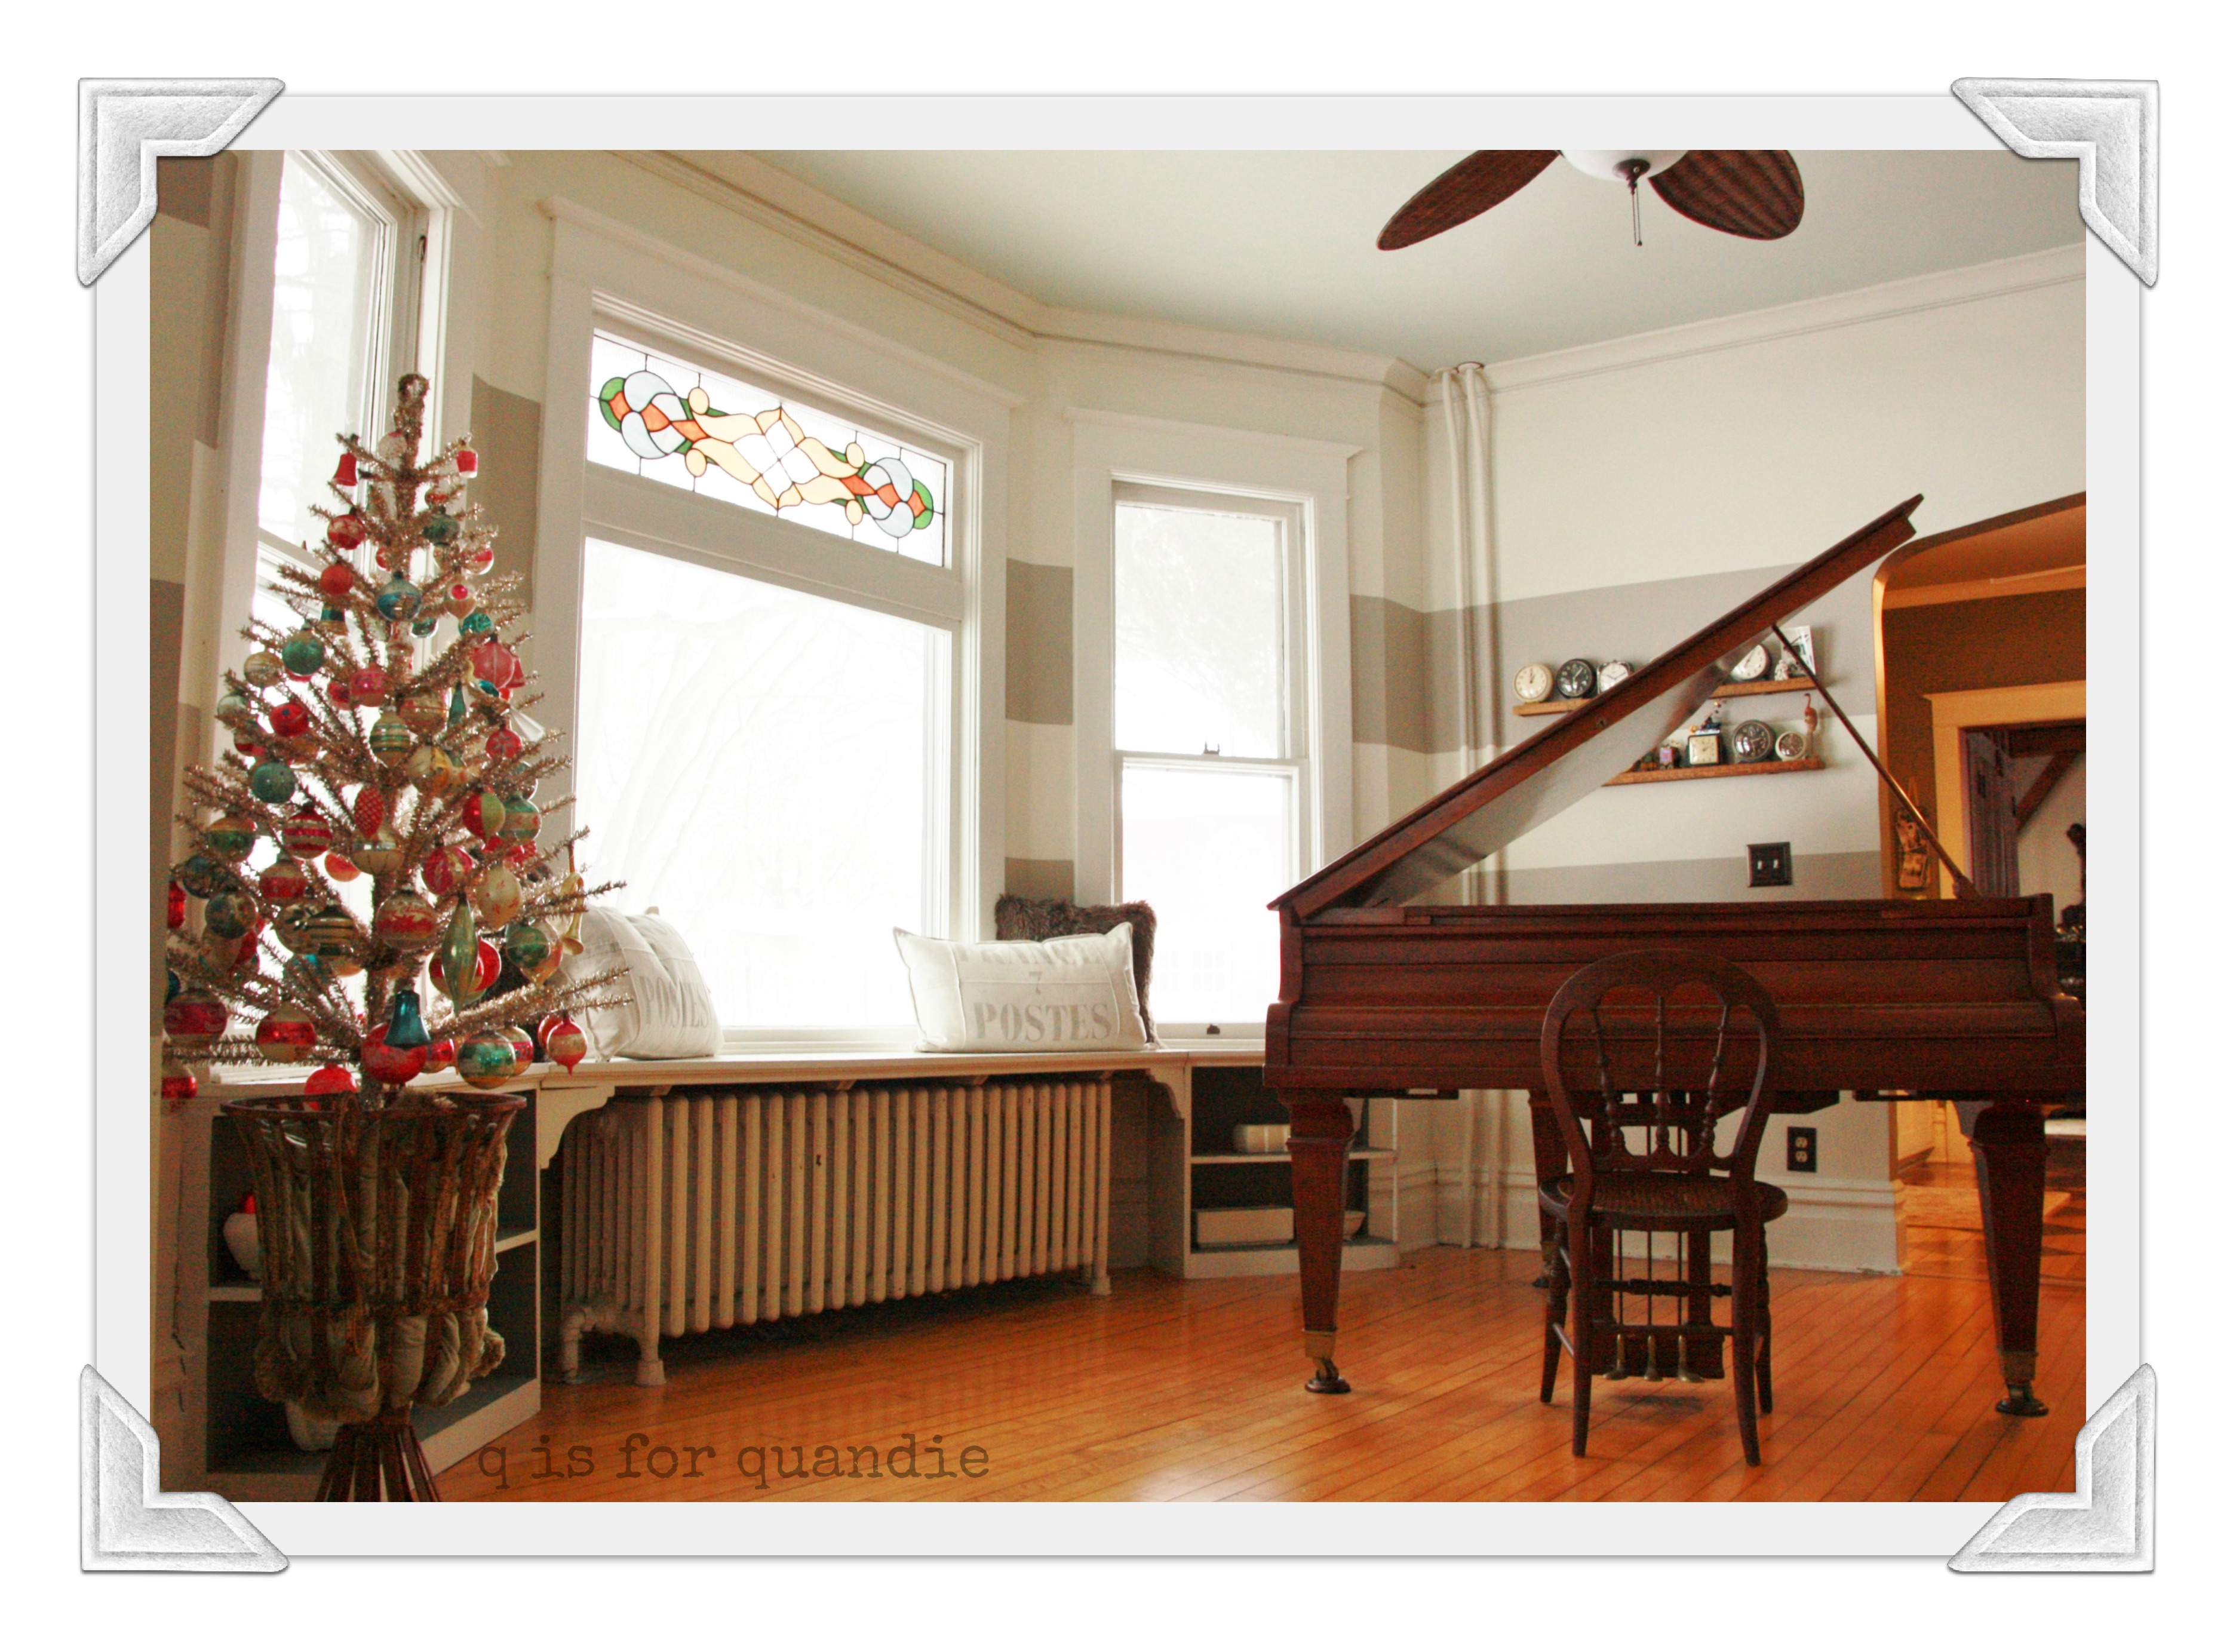
piano roomThis picture shows that my ceiling is a pale aqua.  If you’ve been debating painting your ceilings a color, I want to encourage you to go for it.  I love my painted ceilings and it’s not too hard to accomplish with an extender pole for your roller.

As you can see, I have opted for no window treatments.  For now.  I never closed the blinds in this room except on very hot days to keep it cool.  Since that isn’t a problem at the moment, I’m going to live with the windows bare and see how I like it.

The picture above is the view from standing in the living room.  That is my kitchen just beyond.

To the right, you’ll find the oak buffet and another archway leading to my office/crafting room.

piano room hutch

I’m very happy with the end results.  I really like how much lighter the room is.  Seeing this room completed is motivation to start the living room.  But first, I think I need a nap.

piano room corner

candy cane stripes.

It’s possible that I alone have kept the makers of Frog tape in business.  What can I say?  I like stripes.  And it is so easy to make them with some Frog tape, a tape measure, a pencil and some patience.

It all started with this dresser.

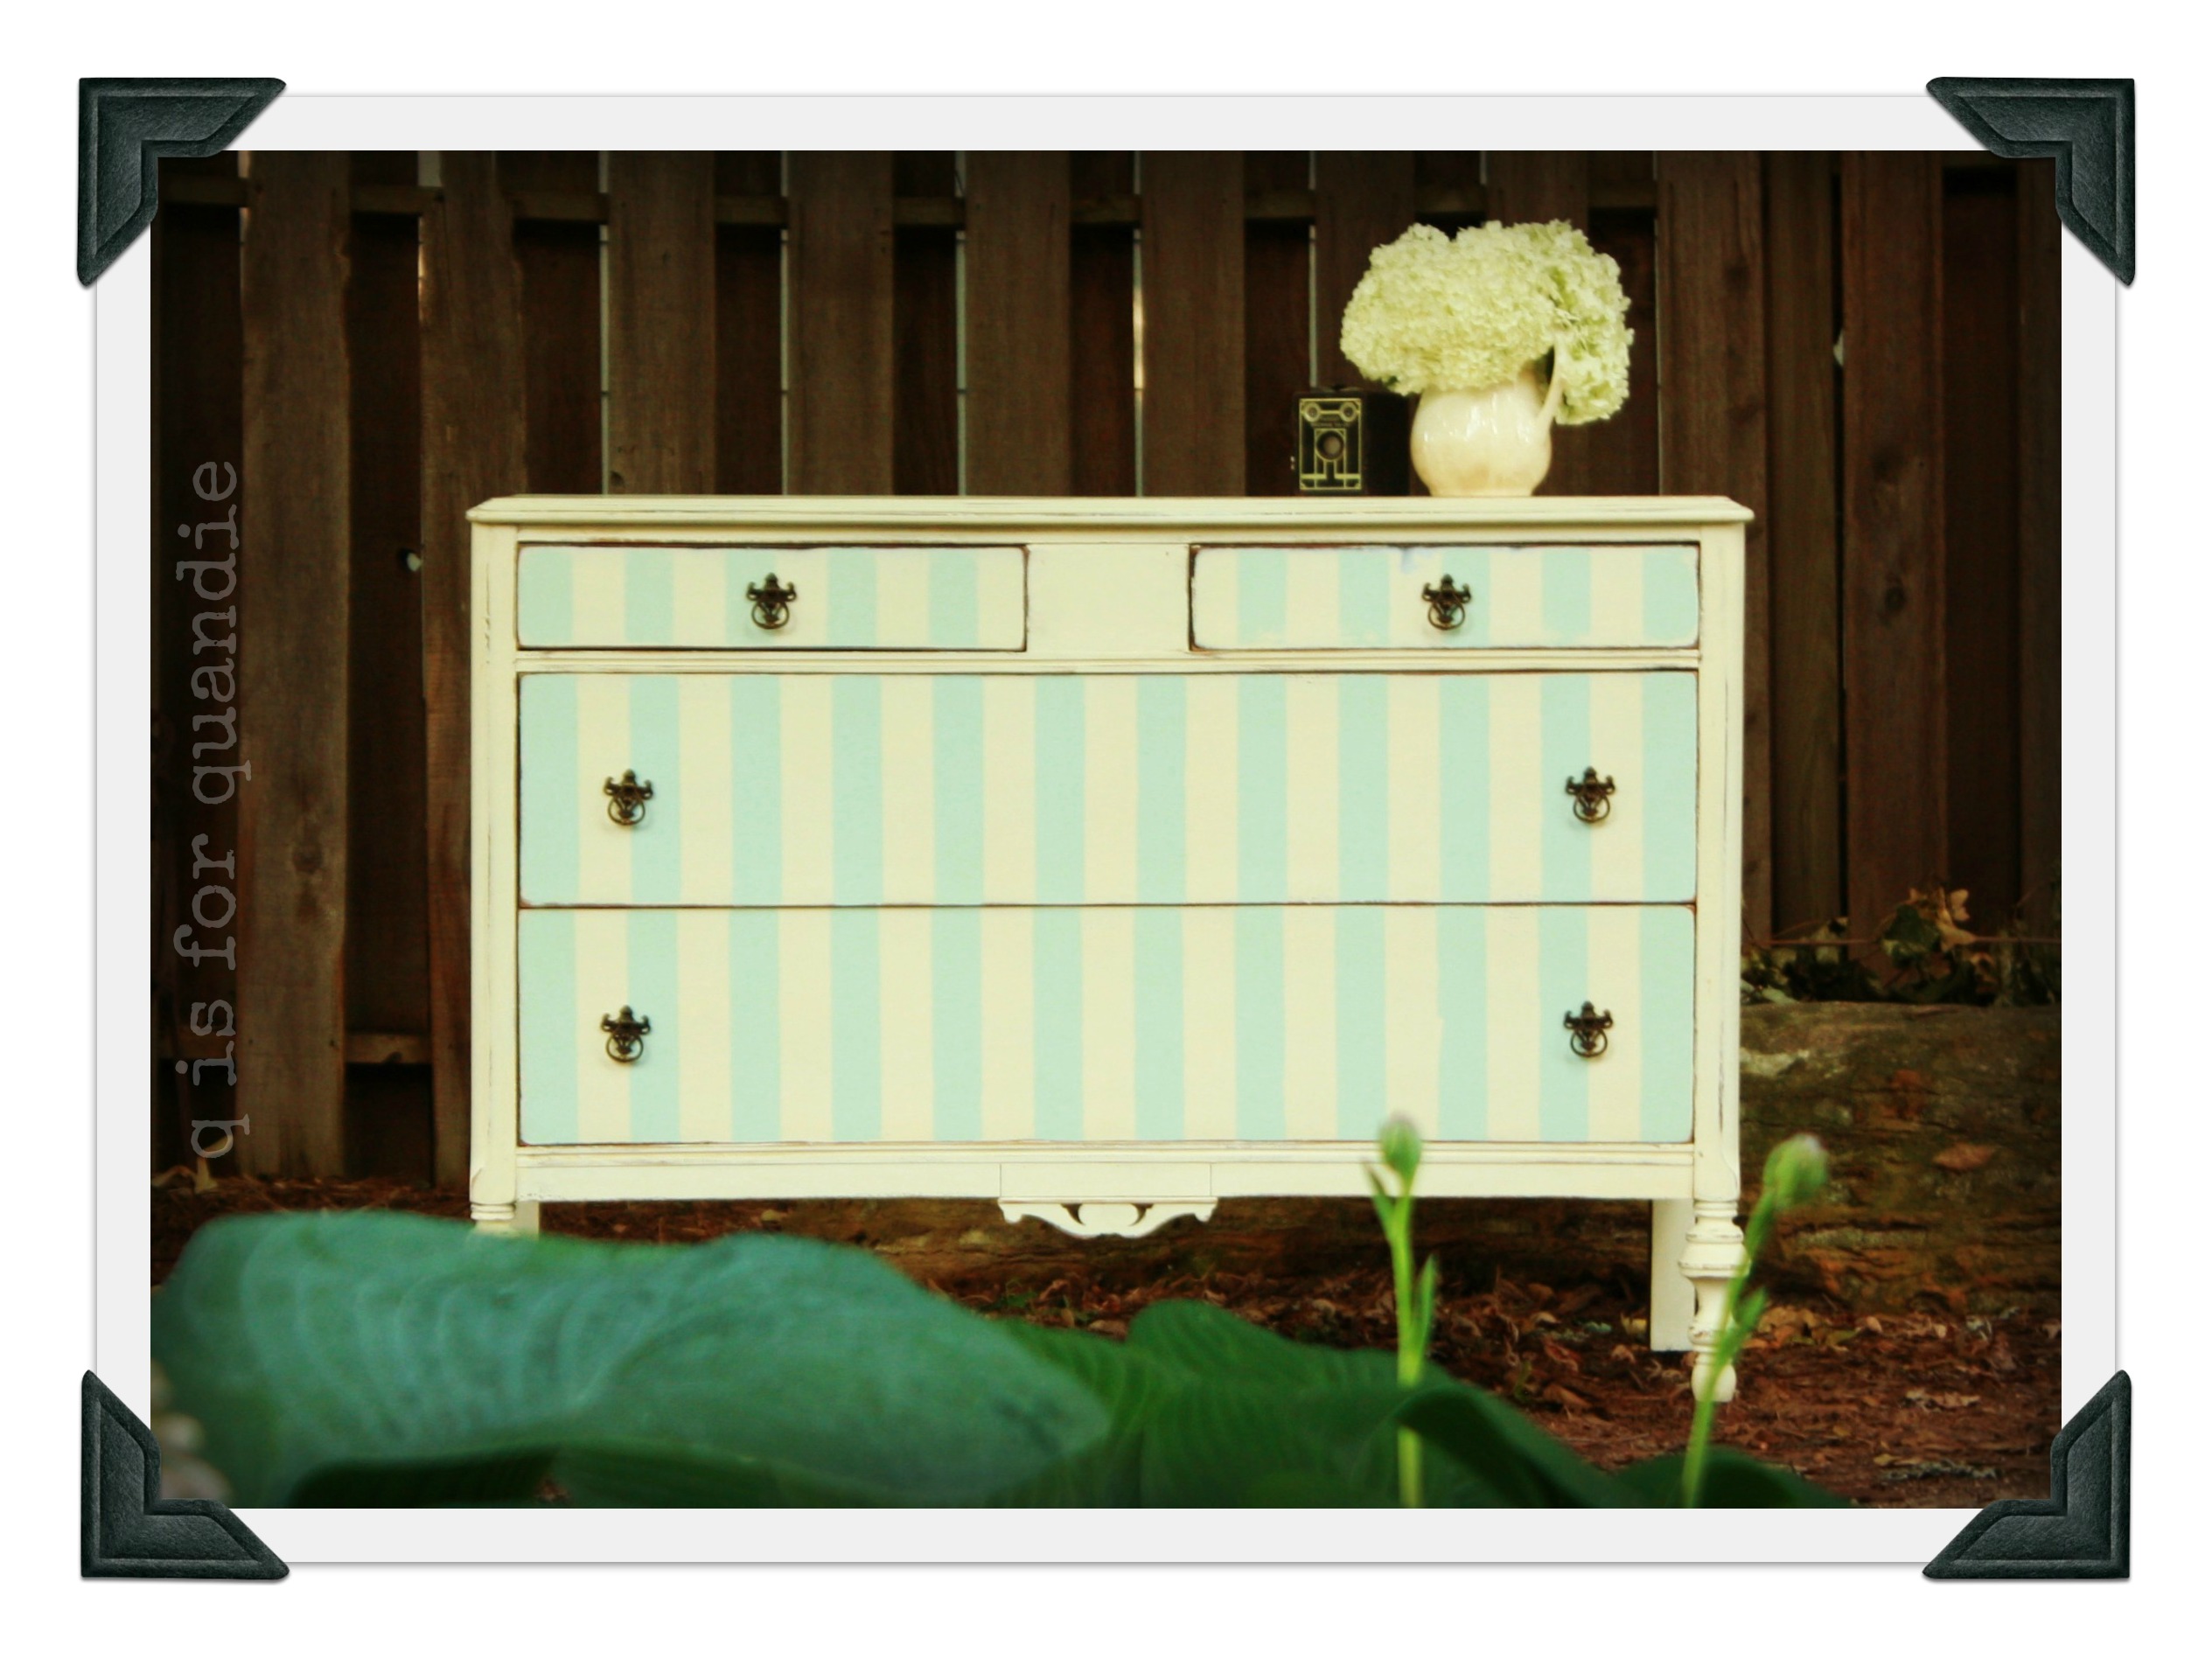
striped dresser 1 I’d seen something similar on pinterest and thought I would give it a try.  The key to making this look work is to be sure that your stripes are all lined up.  Also, be sure to start in the center of the piece and work your way out to keep the edges even.

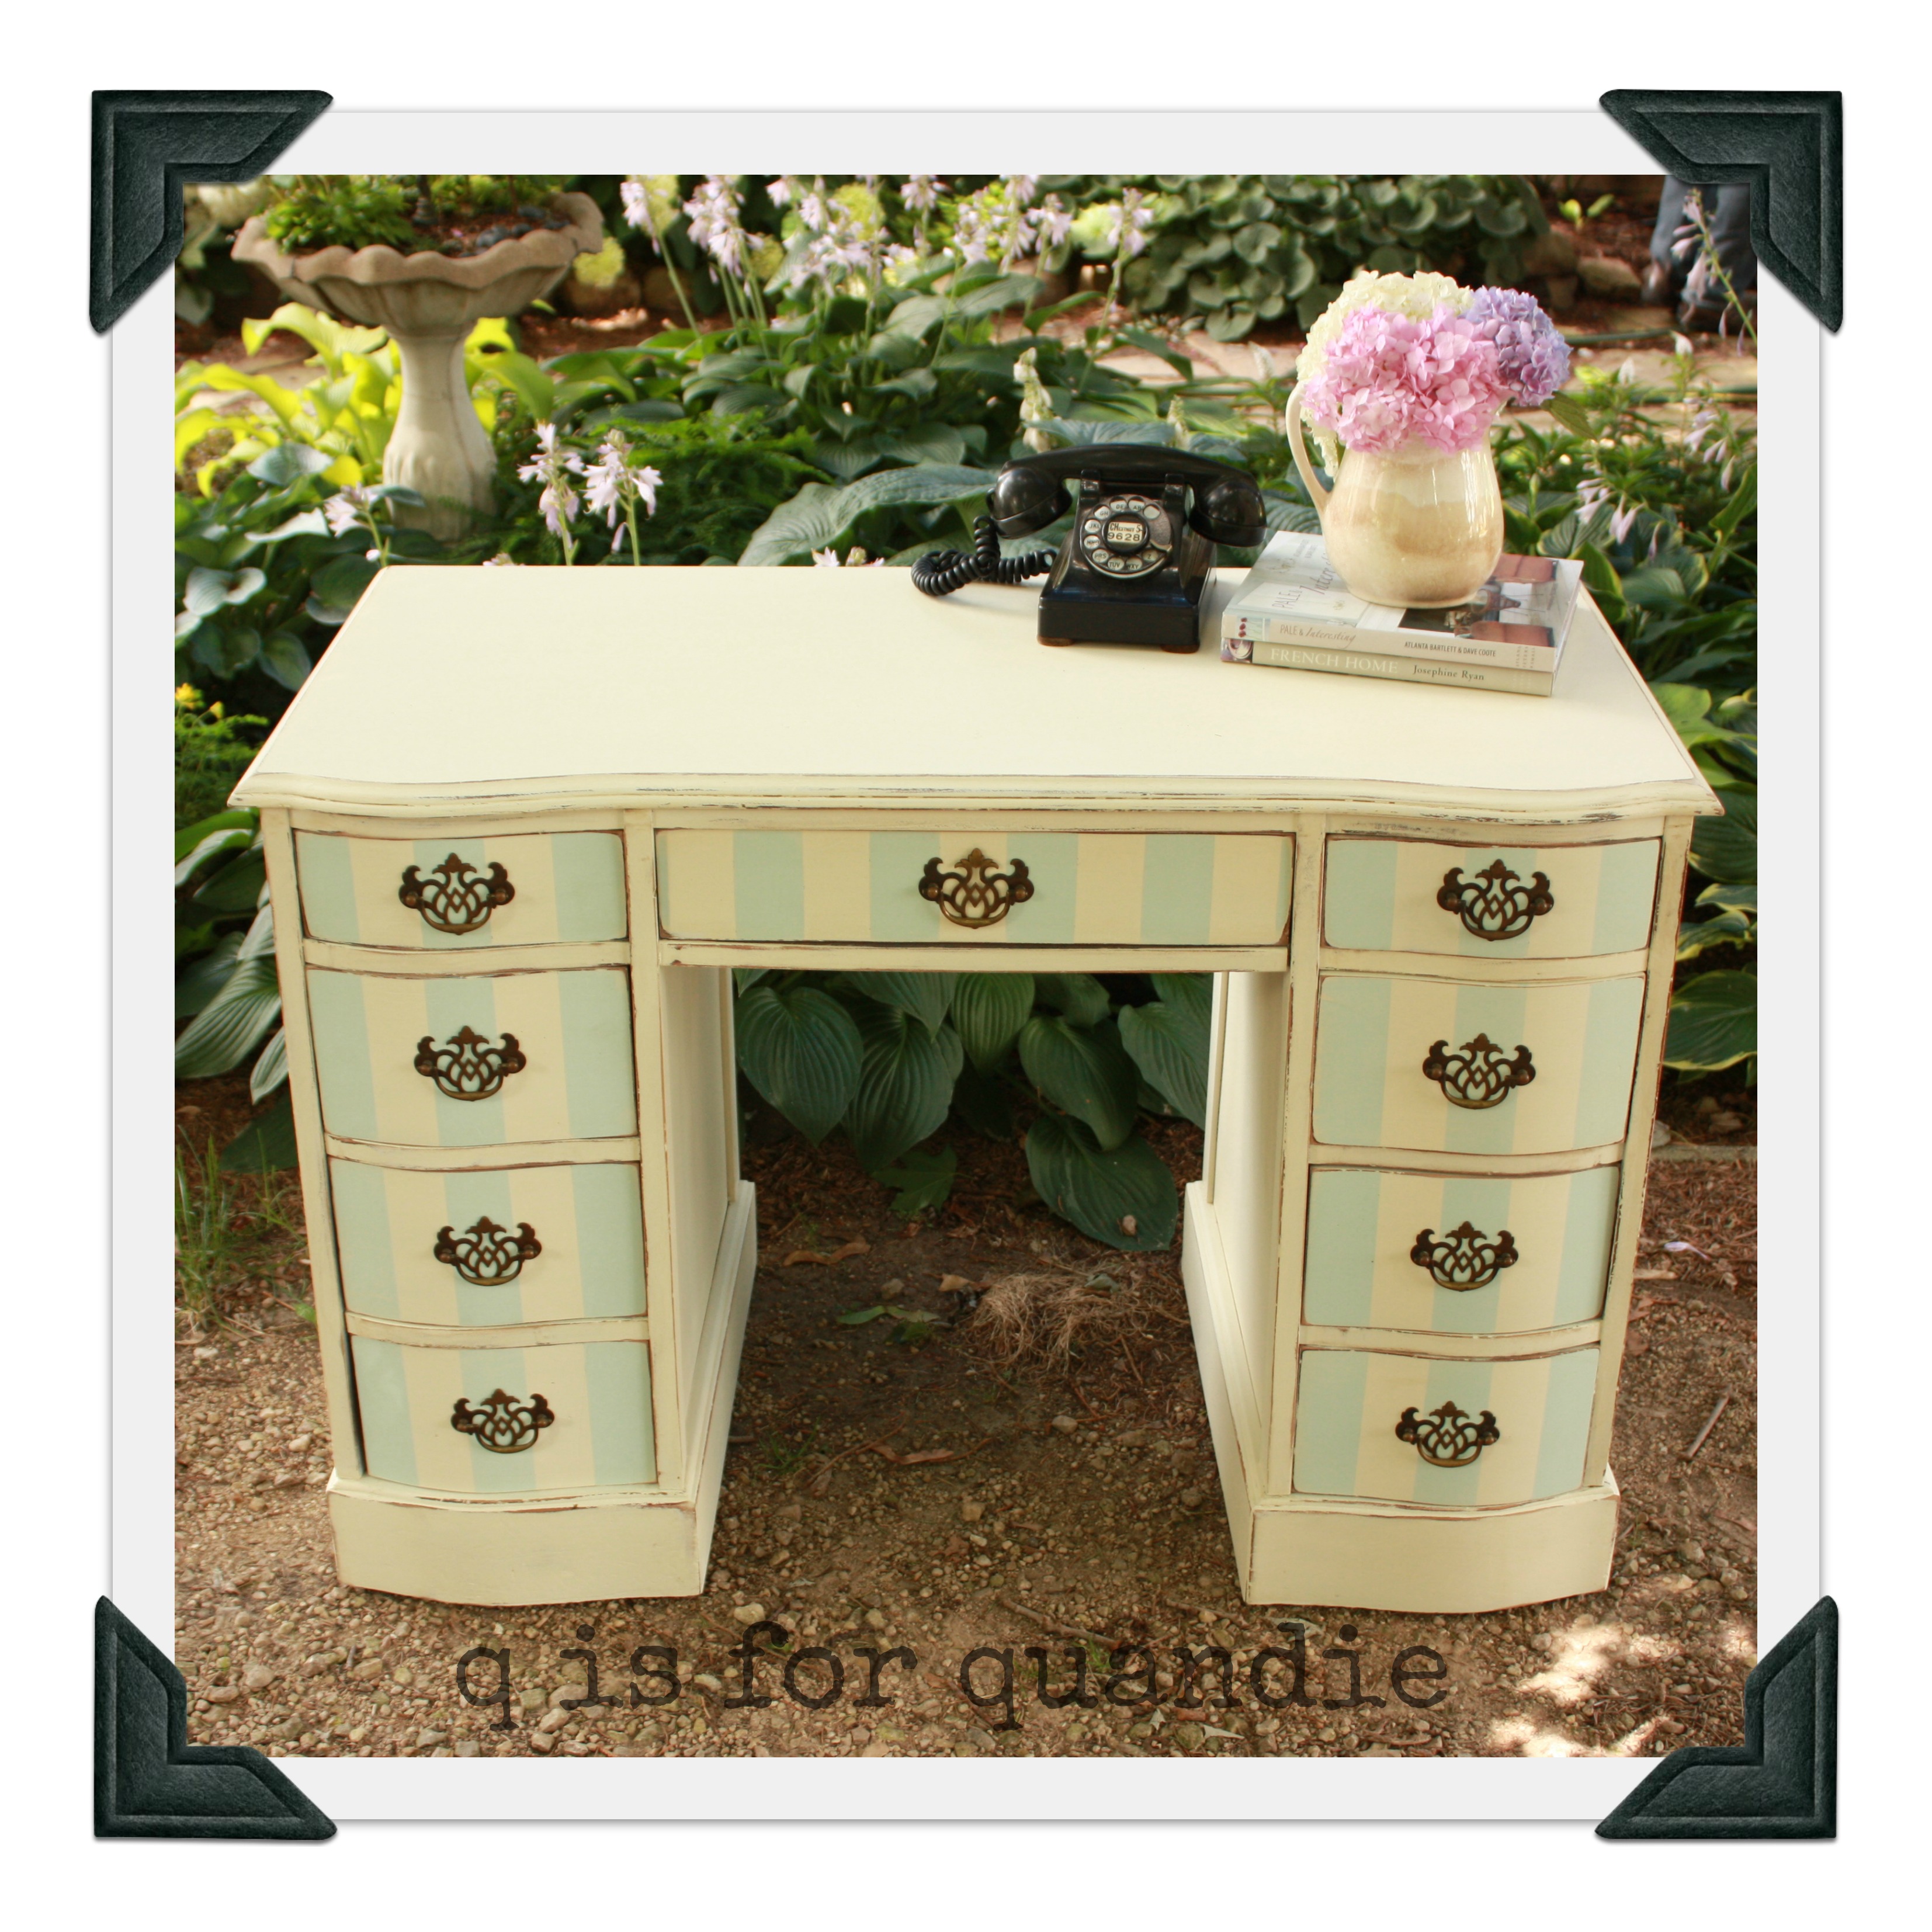
I tried it on a desk next.

striped deskEasy peasy.

I was going to paint the next one just like the first, but at the last minute switched the stripes to grey.

striped greyThen this one got stripes on just the top drawer.

striped tall

And finally, how about some celery green stripes?

striped greenI love them all.  Most of these are sold.  The desk and this last green striped dresser are still for sale at the Round Barn in Andover, MN.  Just in case you feel the need to get yourself some stripes!

the pantry.

I’m still painting trim in the piano room, but meanwhile, I thought I would share a past project with you.

My husband and I have lived in our house for nearly 26 years.  Yep.  That’s a long time.  Definitely enough time to have made plenty of changes throughout.  After that much time, you can even get to the projects that weren’t very high on the priority list.

The pantry is one such project.

I have to admit, I often hide things behind closed doors.  My mom says this goes way back to my childhood when I would shove my coat in the toy box or under the bed rather than putting it away properly.  If I can shut a door when guests come over and hide the mess, then I don’t worry too much about it.  That explains why my pantry looked like this for over 20 years.

pantry beforeOh, the shame!  Wine, cat food and toilet paper, oh my.

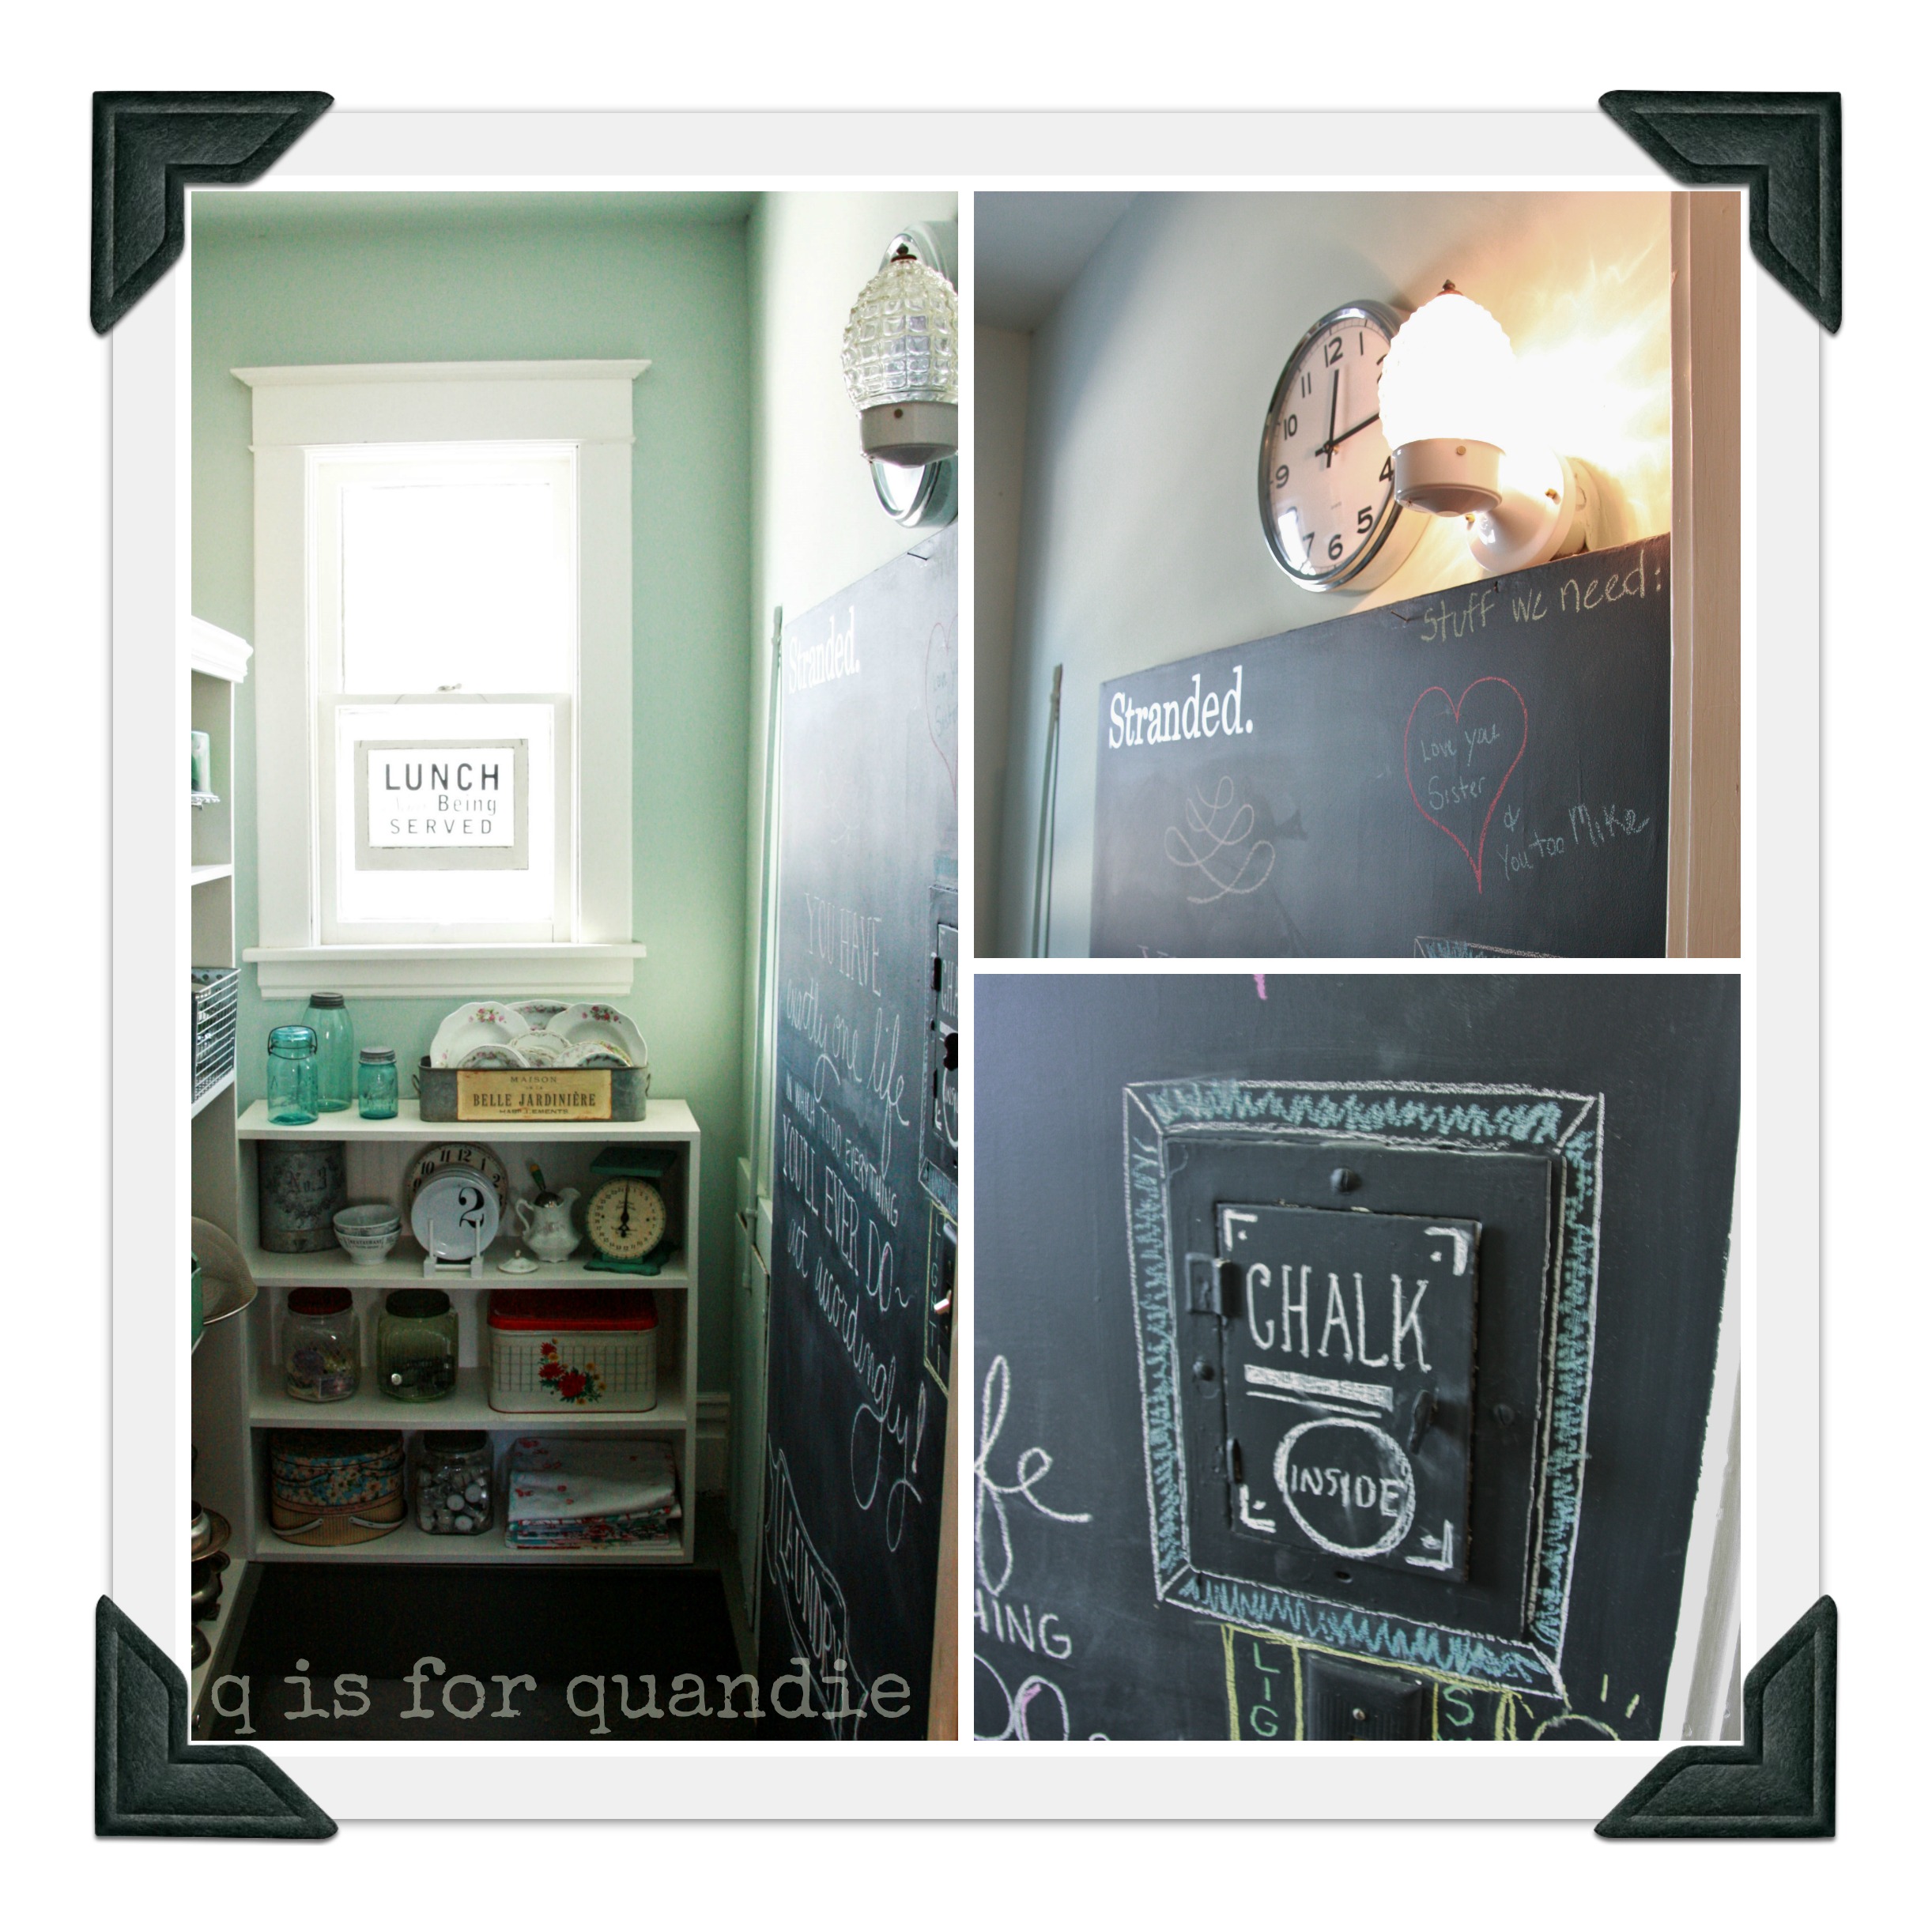
I should also clarify here that my ‘pantry’ is really just the stairway to my very creepy cellar.  So, yes, that is a big opening where the floor should be.  There are stairs going down there.  Nonetheless, this is valuable storage space that is right off my kitchen.  Not only that, the window you see faces west and gets incredible light as the sun is going down, all of which is wasted behind a closed door.  My ultimate goal was to put in a door with a window, so even when the door is closed, that light would shine into the kitchen.   Therefore, I needed to clean this up.  No more hiding the mess.

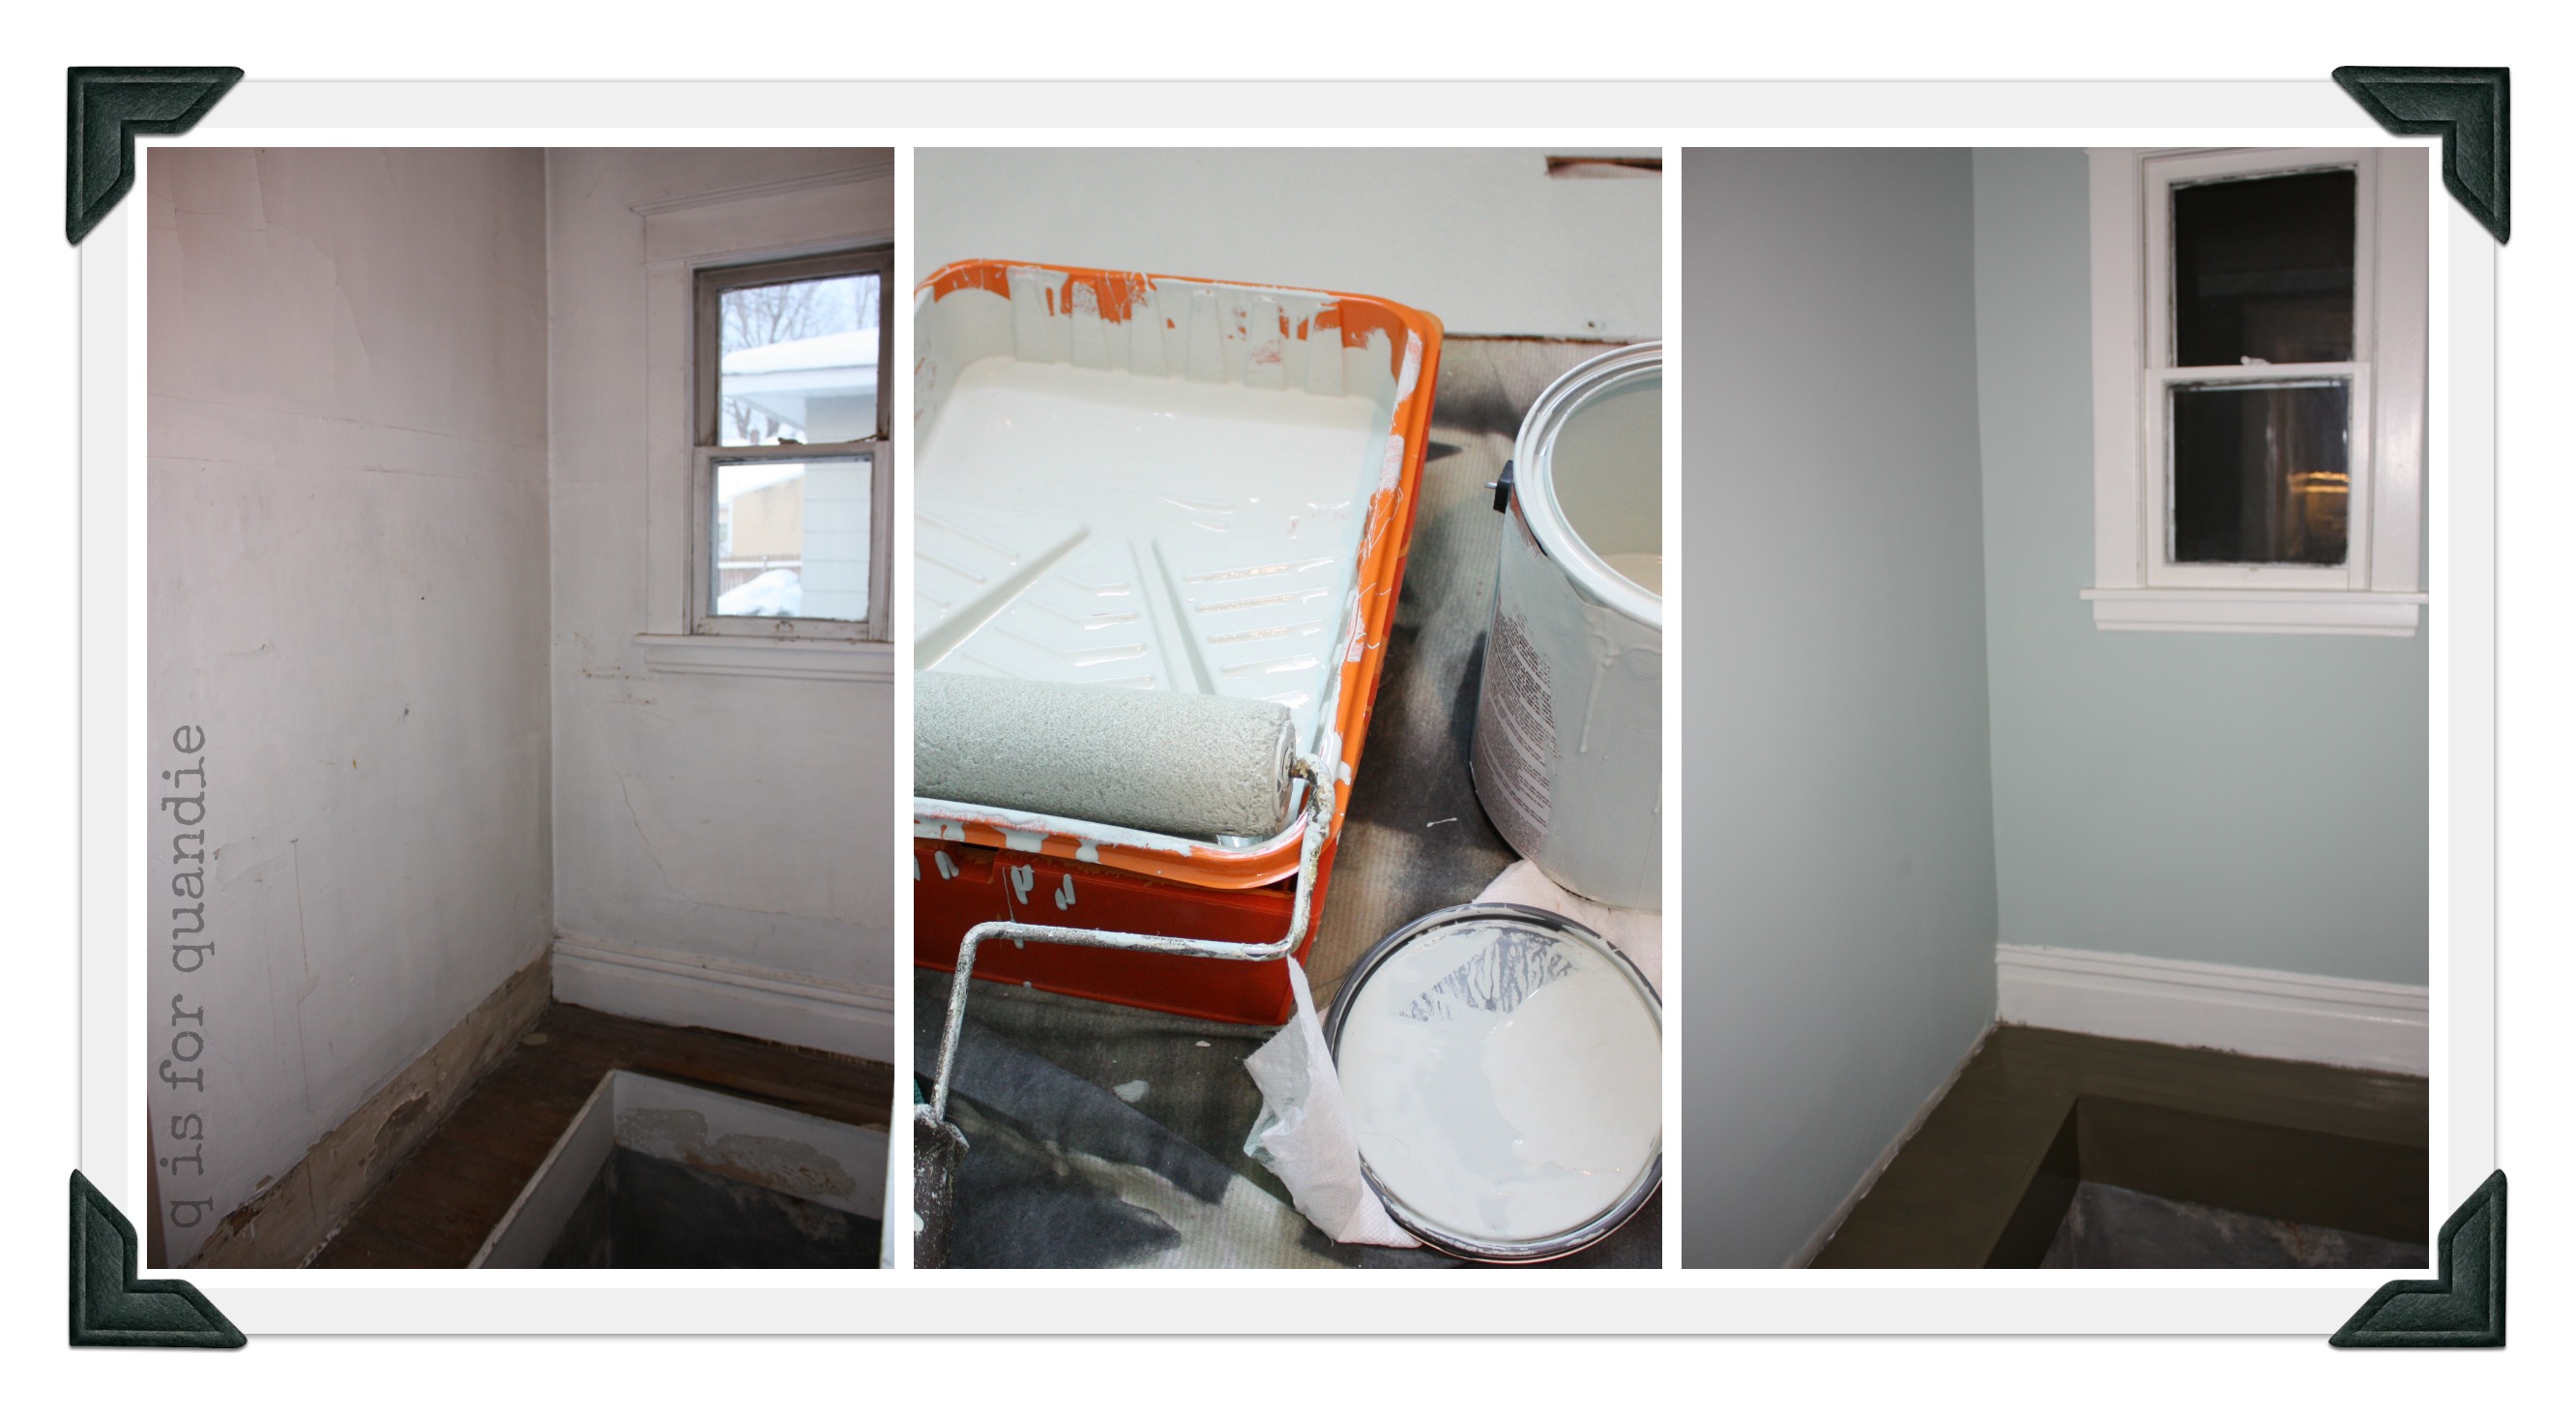
First we had some repairs made to the plaster walls and ceiling.  Next came a fresh coat of paint in a lovely shade of aqua.

pantry collage

Ahhhhh, better already.

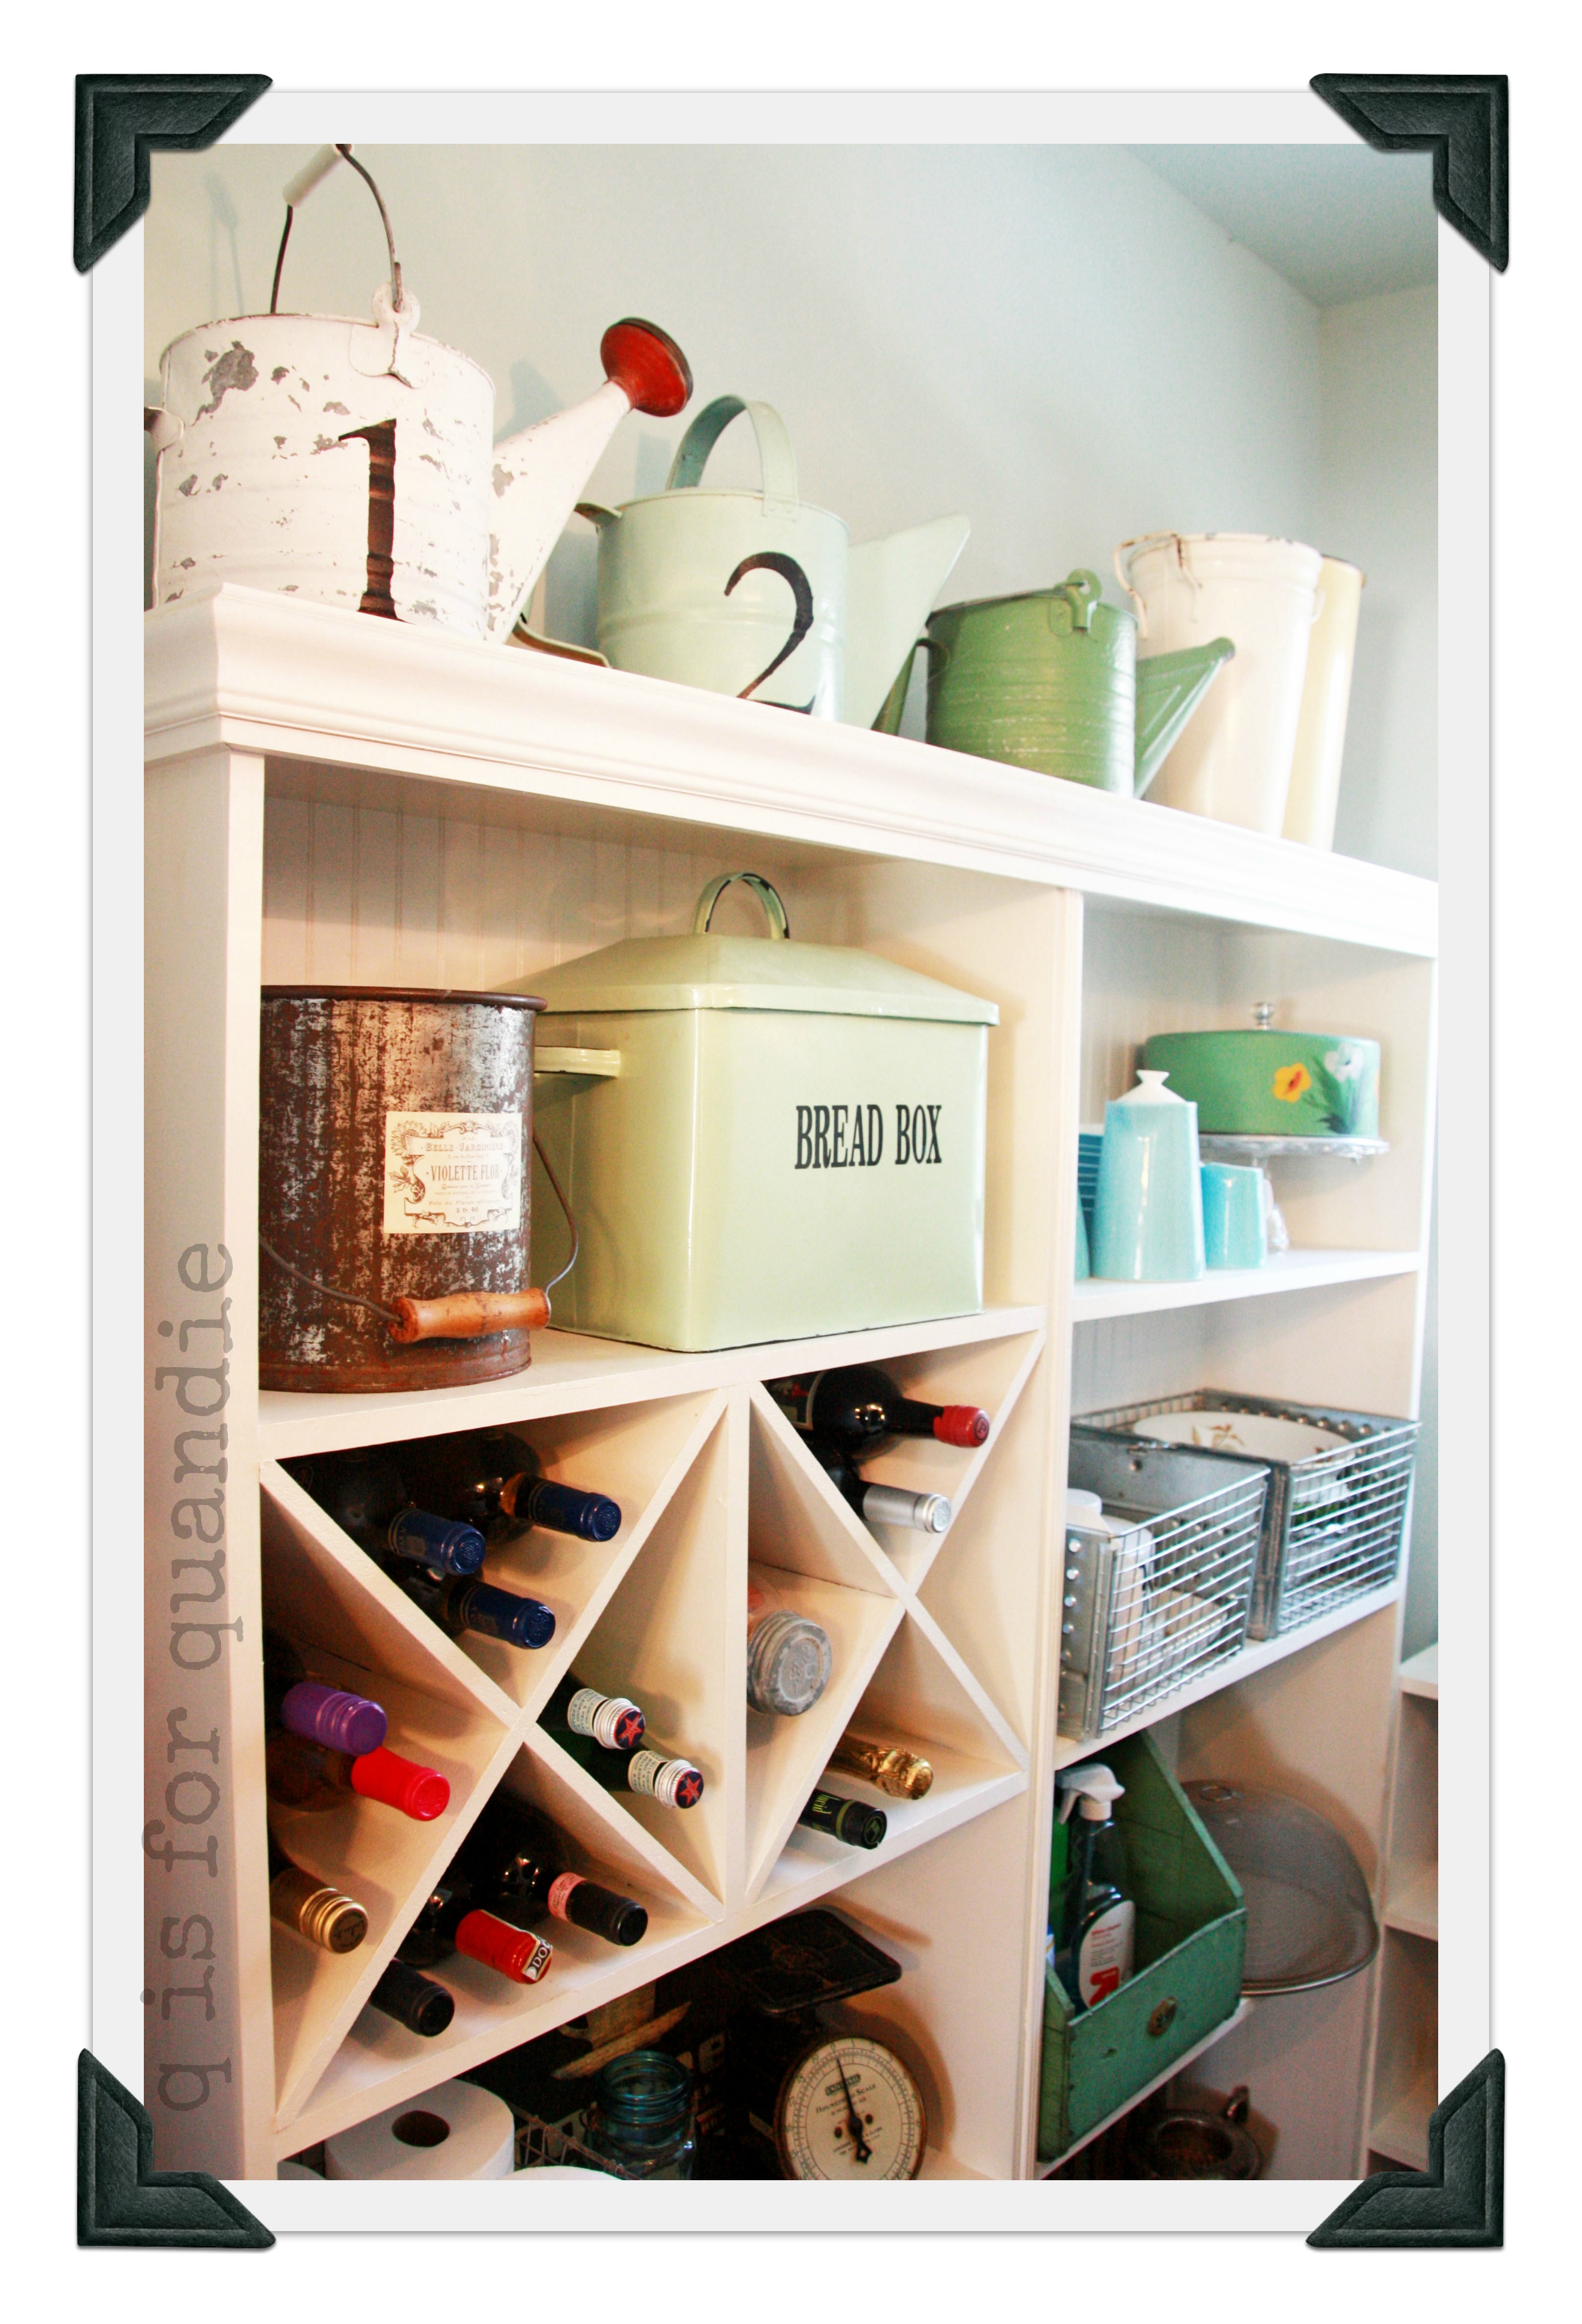
I knew I needed proper shelves in here instead of the tacky metal garage shelves.  However, I was limited by the depth of the ‘floor’.  I searched high and low for pre-made shelves that would fit my space.  No dice.  I had to bring in the big guns.  My neighbor/handy man Ken who loves to work on projects like this.  He took a million measurements, I showed him pictures in magazines, and voila, he just whipped up some custom shelves for me complete with wine storage.

shelvesFantastic, right?

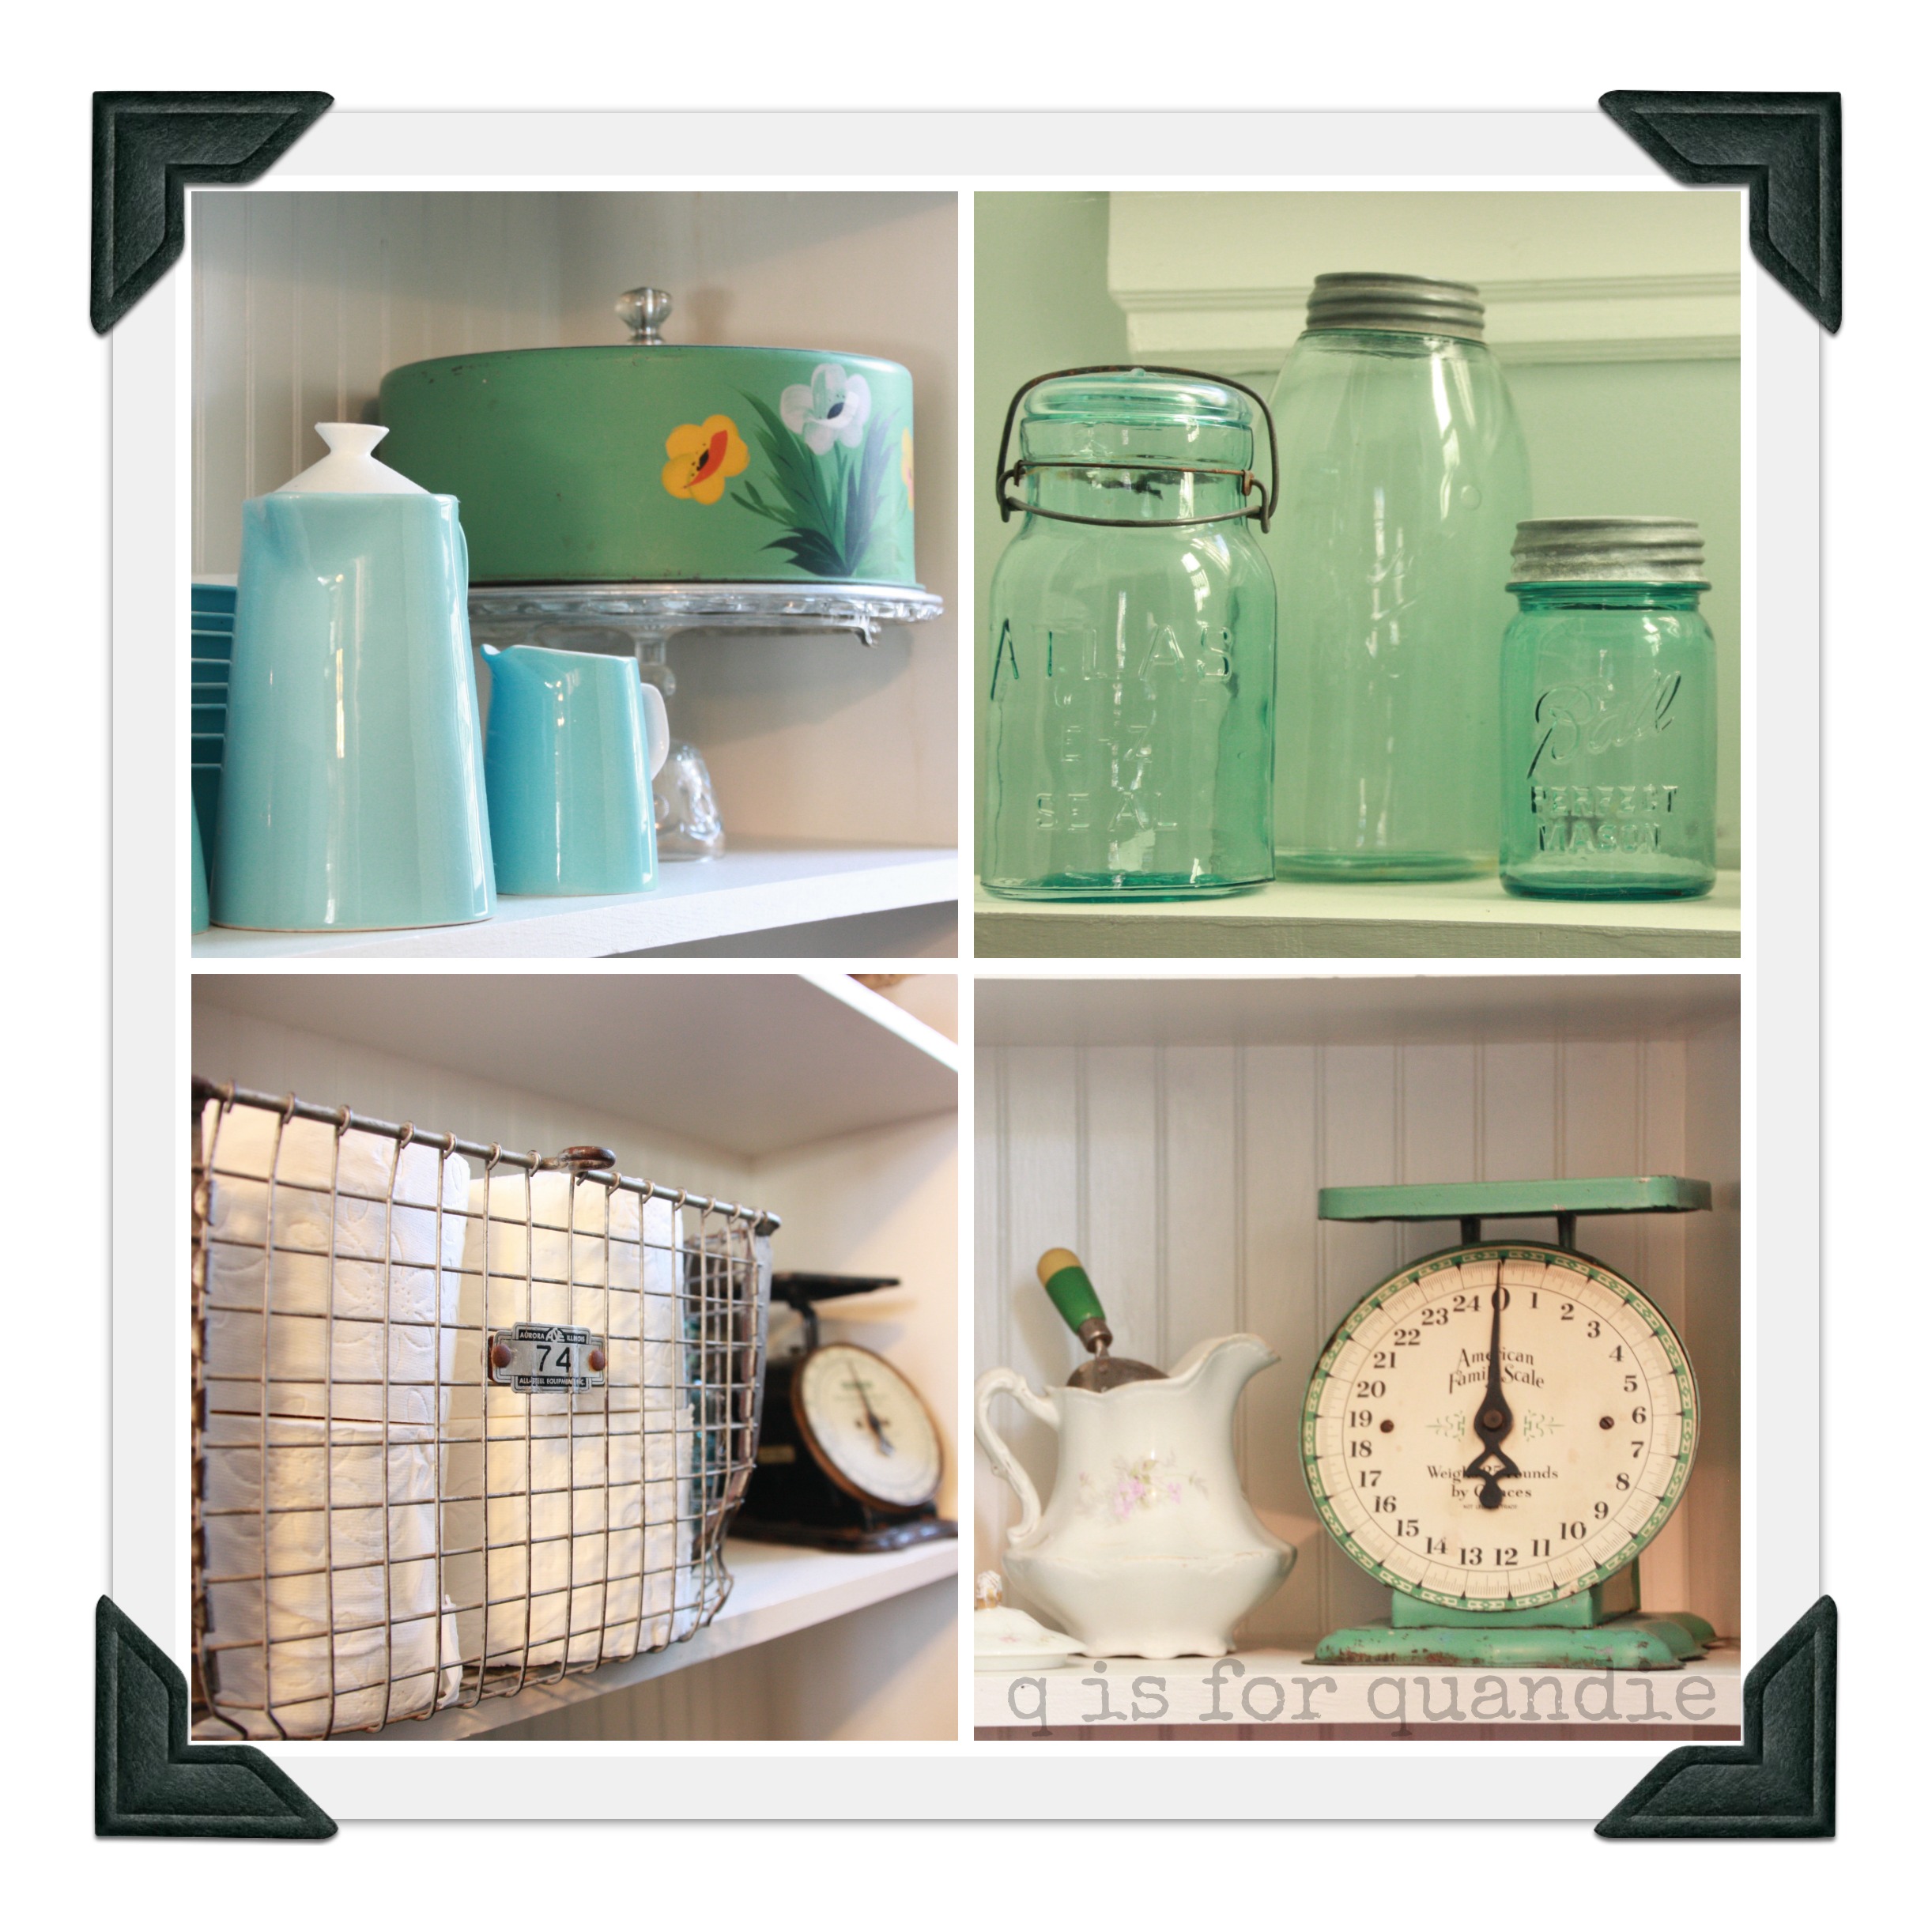
Next came the little details inside.  Vintage storage containers to disguise the less than pretty stuff, like Kleenex or cleaning supplies.  Blue canning jars, vintage cake taker, old kitchen scales and locker baskets to hold the paper goods.

pantry details collage

A wall of chalkboard paint on one side for fun and a new glass shade for the light fixture (from a garage sale, naturally) were added.

pantry chalkboard collage

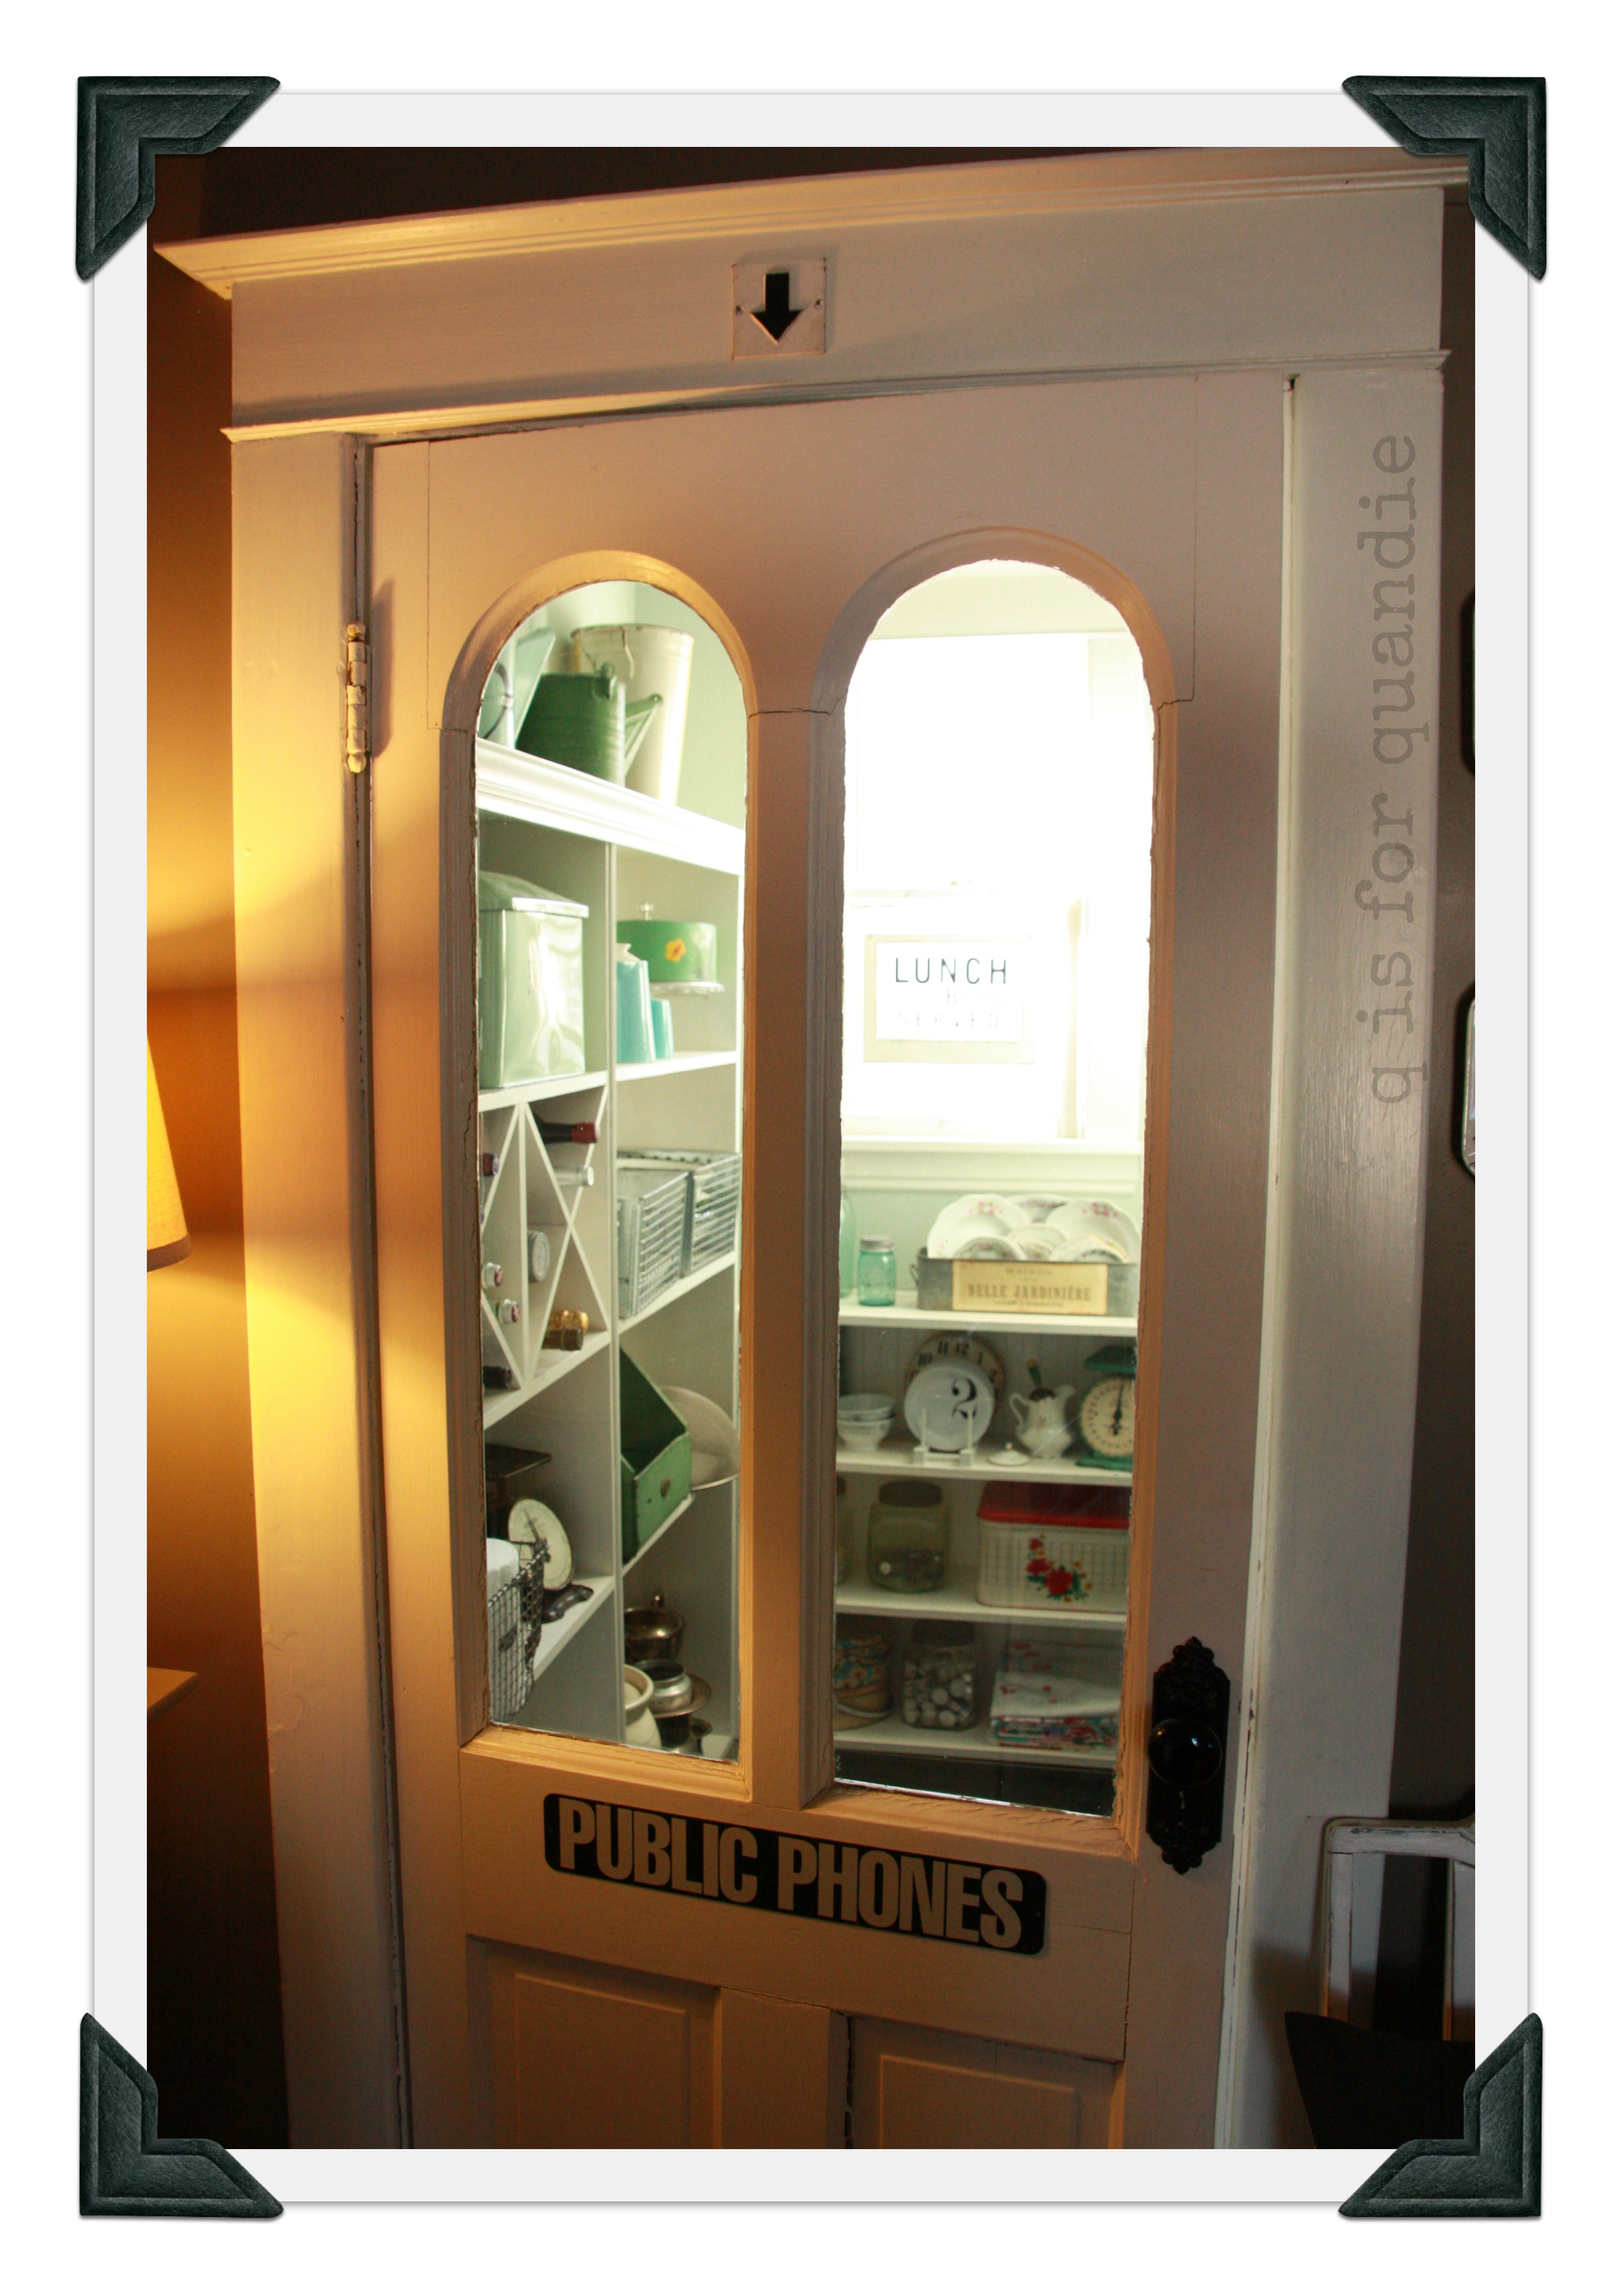
And finally, the new door.  Purchased through craigslist, outfitted with vintage hardware from Etsy, and trimmed down and hung by Ken.  Isn’t it fab?

door 2

And now that you can see inside, I keep it nice and tidy … most of the time.

step one.

Step one of project ‘domino effect’ was to repaint the walls in my living room and piano room.

Stop, let me back up a moment.  I have a traditional “L” shaped living room/dining room combo.  Two rooms separated by an wide archway.  However, I chose to put a baby grand piano in my ‘dining room’ and turn another room into the dining room.  So, now it’s the ‘piano room’.  I’d love to say that I play.  I bought the piano with every intention of learning to play, but that one is still on the to-do list.  Meanwhile, I have found that a baby grand piano is the most versatile piece of furniture.  Perfect for gift wrapping, crafting space, bar or buffet for parties, laundry folding table … endless uses.

So … as I was saying … step one was to repaint the walls in these two rooms.  I began by sanding the edges of the old stripes.  Jeanne suggested this, and she was right.  There were still a few spots where I could see the ridges of the old stripes; it would have been much worse without the sanding.  If you ever paint over striped walls, remember this tip.  Next, I covered the old stripes with a fresh coat of white.  I used Dutch Boy Platinum ‘no prep no prime’ paint in Cotton Blossom.  As you can see, it covered beautifully.  I was worried that it would be difficult to cover those stripes, and it wasn’t at all.  Of course, as per the rules of the ‘domino effect,’ a fresh white on the walls meant I also needed a fresh white on the molding (again Cotton Blossom).  Luckily I had just painted the ceilings a pale aqua last spring, so they were good to go.  Now I had a fresh blank canvas of white walls and trim with a pretty aqua ceiling.

blank canvas collage

I then whipped out my Frog tape, a yardstick and a pencil.  Using measurements that Jeanne and I worked out for the best placement of the stripes, I just measured down from the ceiling using the yard stick, made pencil marks, and ran my tape.  I don’t bother with a level, because nothing in my house is level anyway.  I don’t use a chalk line, because I find them very messy to clean up later.

taped walls

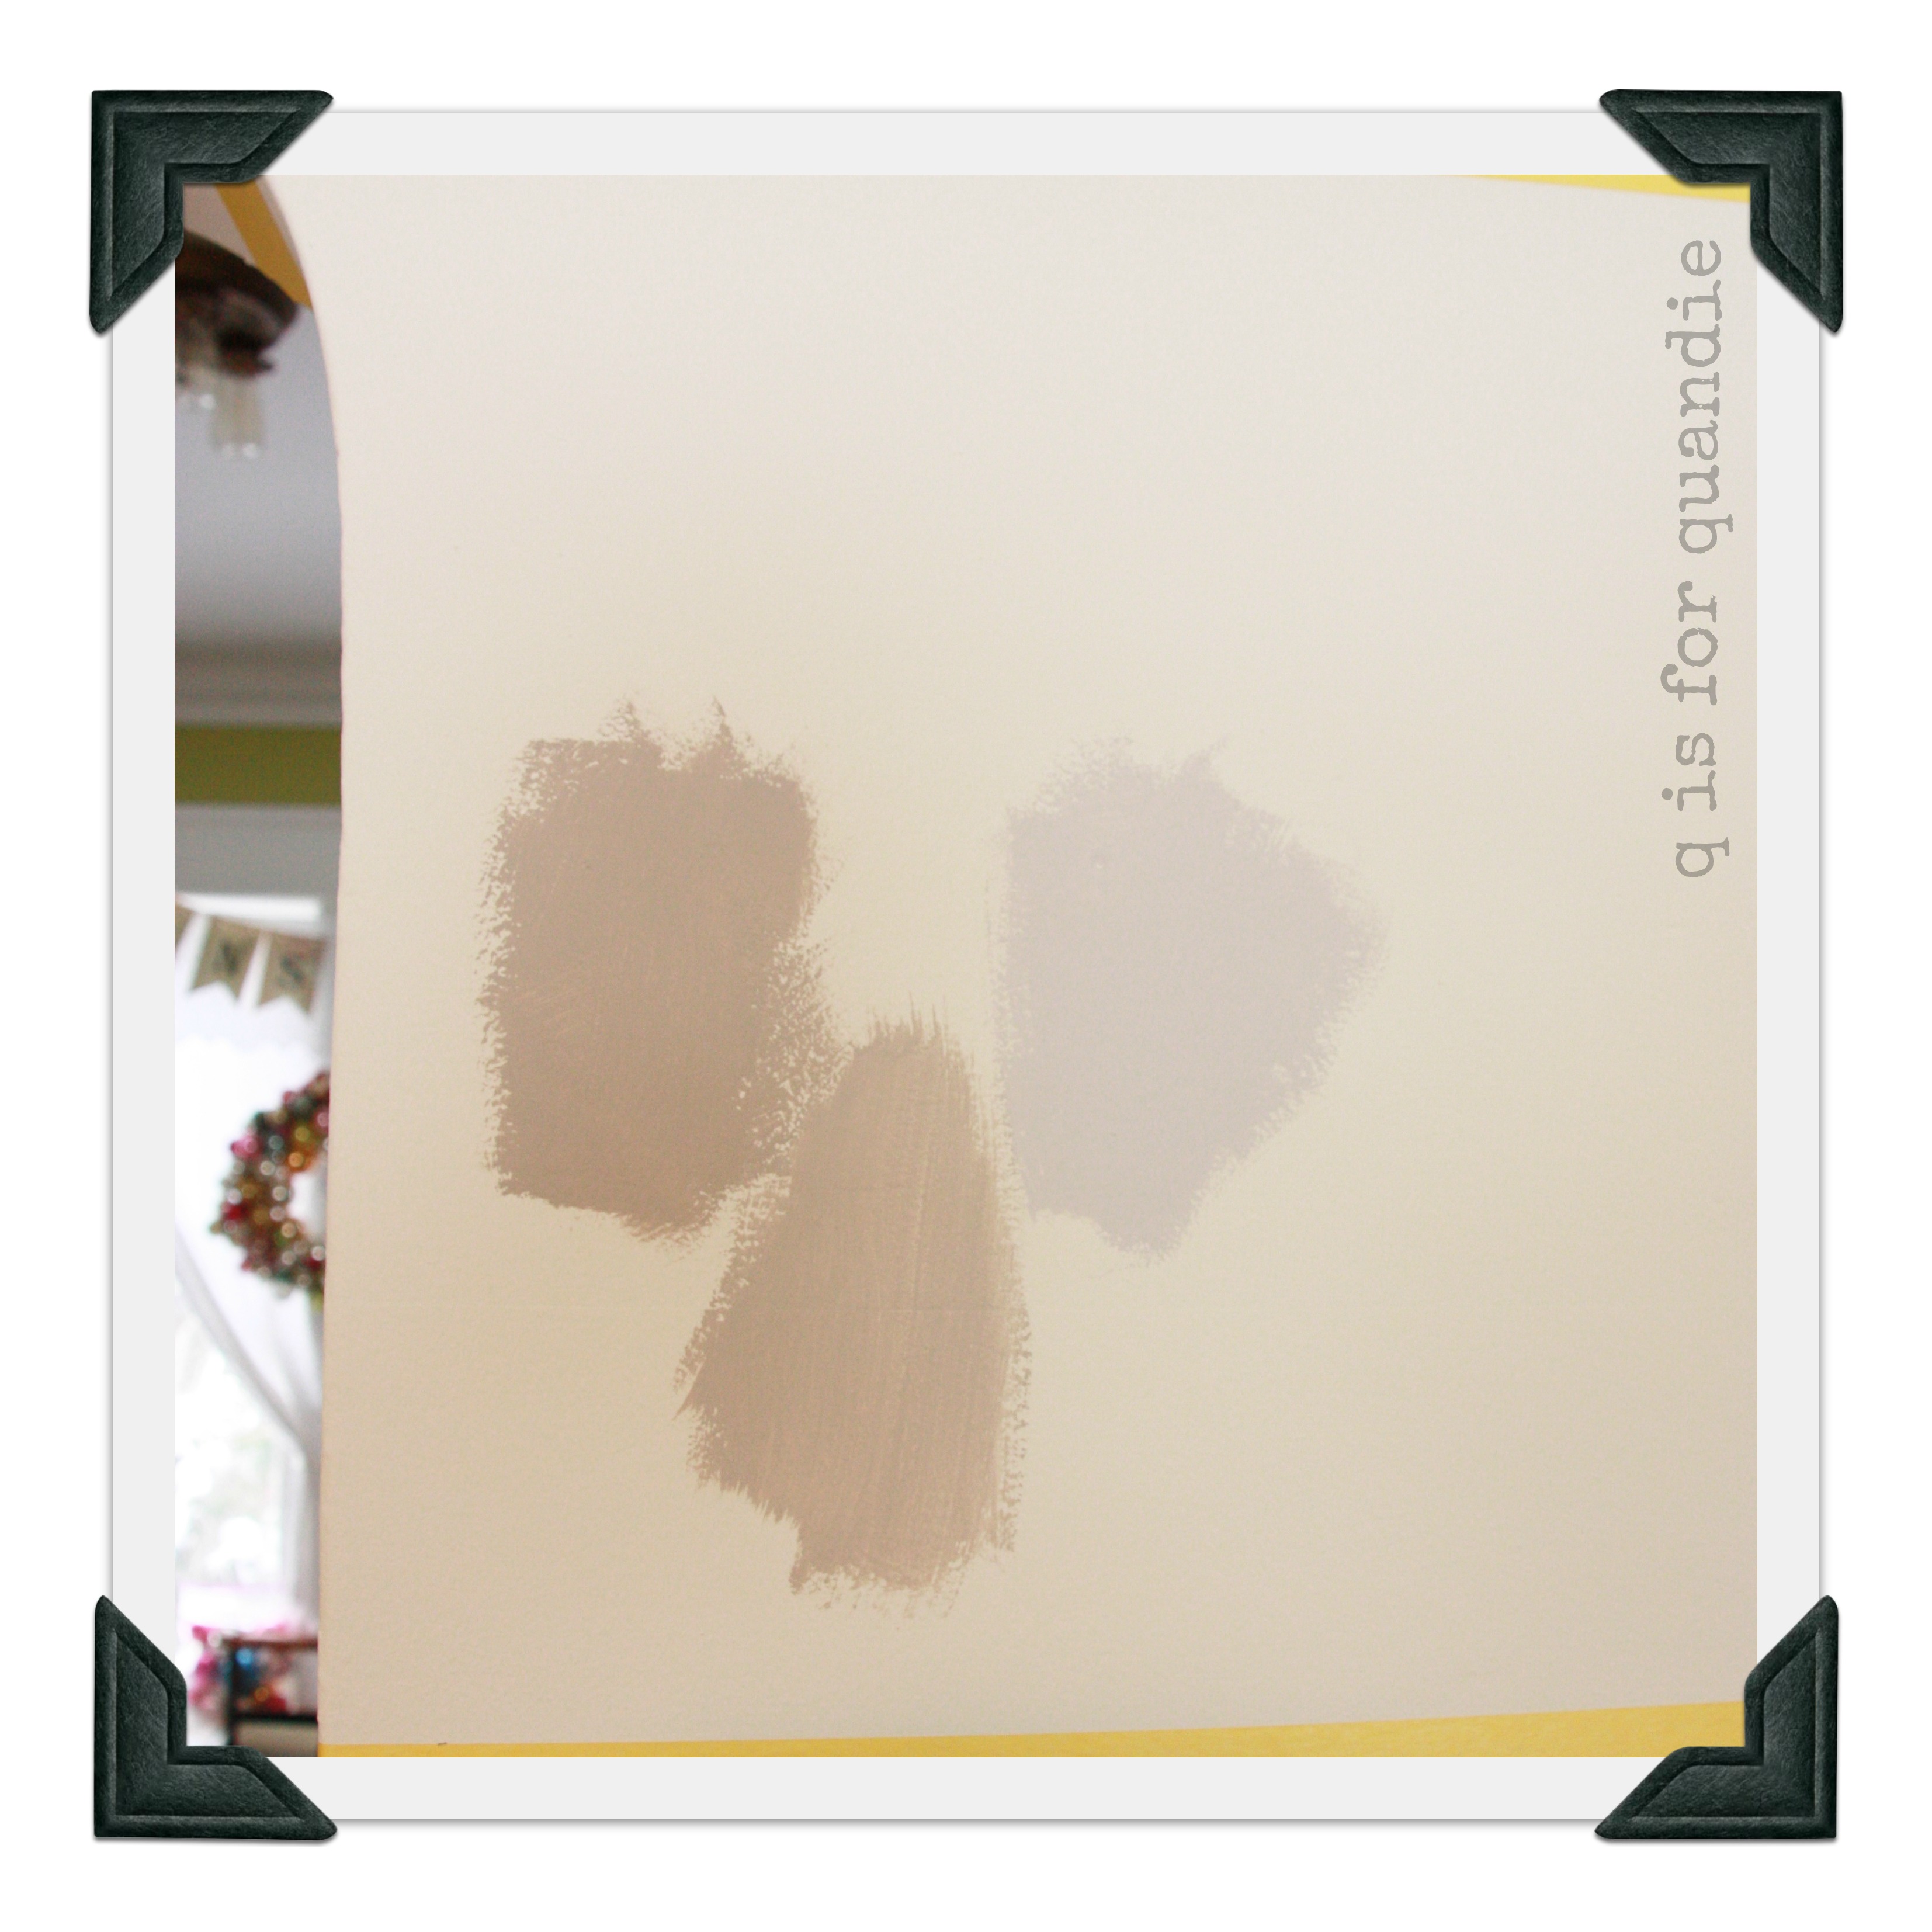
I began with just one small section of wall, and one of my favorite shades of grey that I use on furniture.  Dutch Boy’s Silver Case.  However, as I often find happens with paint, a color that looks good on furniture, or looks good in one room, suddenly looks awful in another.  The Silver Case was all wrong!  Too much of a lavender undertone.  Luckily I had an extra gallon of the grey that we used in our basement.  I splashed a little on the wall.  Too dark.  So, I added some white to it and tried again.  Perfect!

color swatches

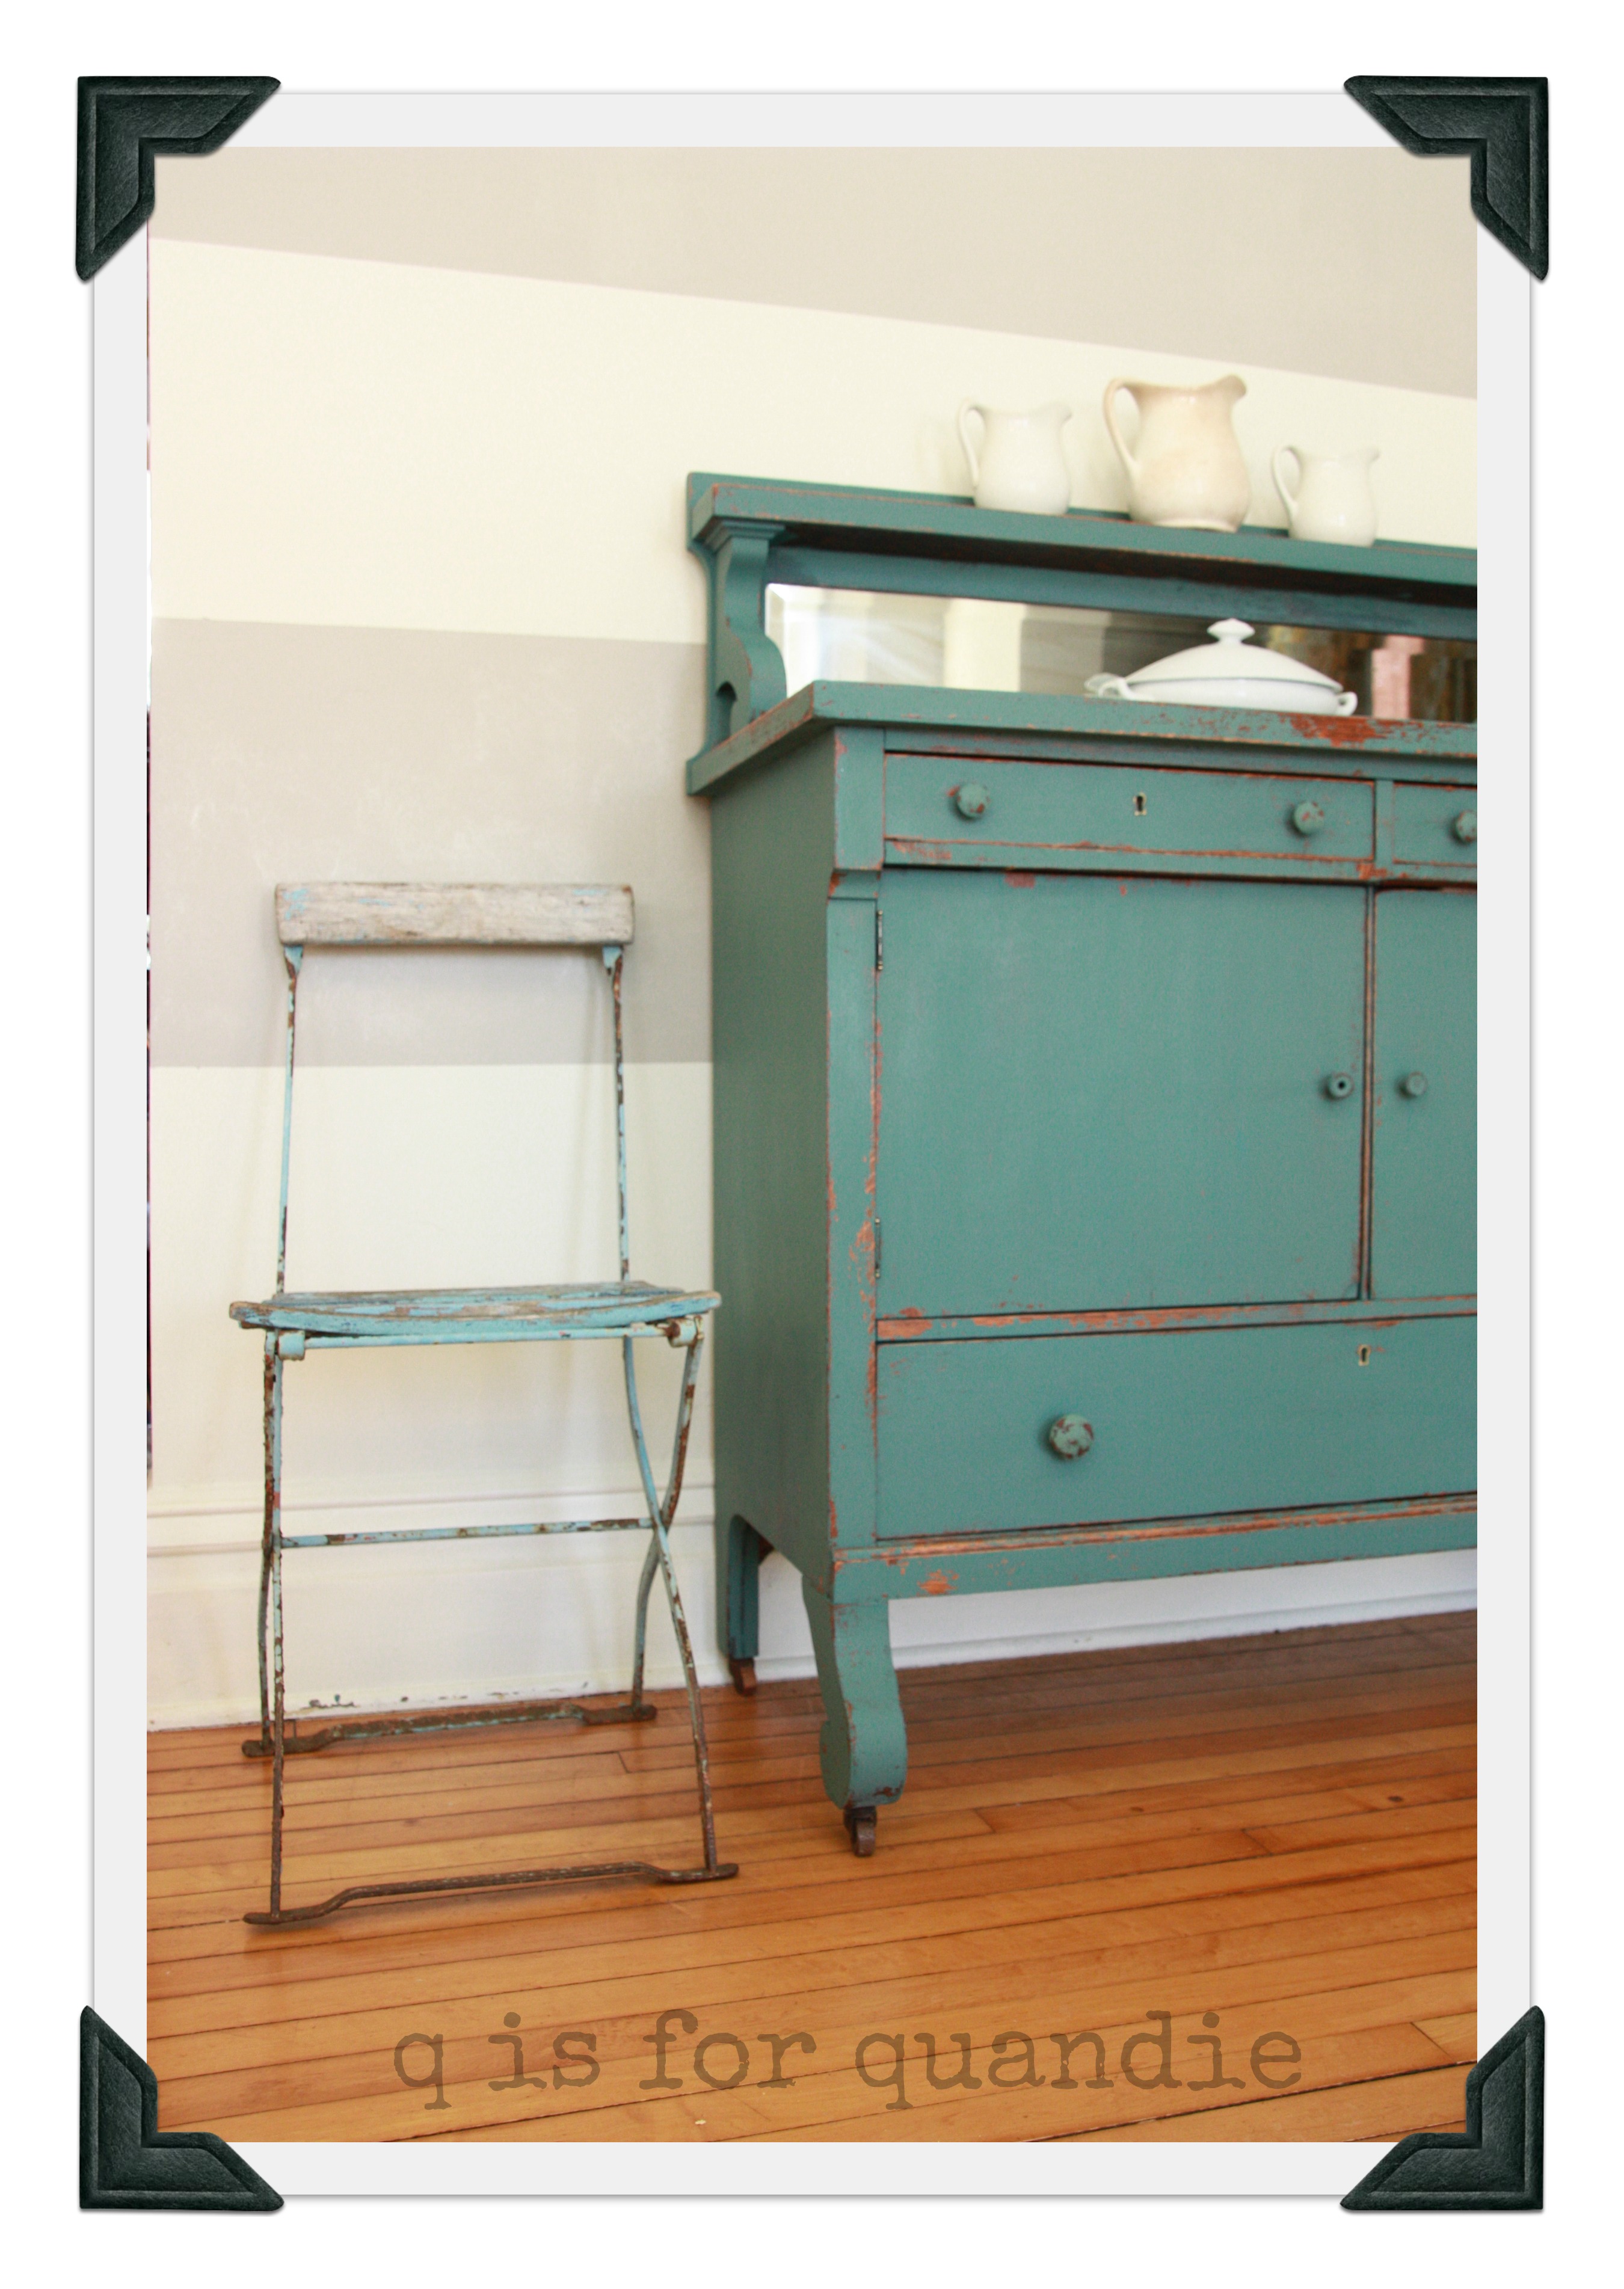
This time I chose to use just two horizontal stripes.  It was so much less work than the floor to ceiling striped wall I did last time, and I think it has just as much impact.  Plus, having the large expanse of white at the top makes the ceilings seem much higher.

Ah.  Look!  I was right.  The buffet is so much prettier with white and grey stripes.

hutch after

In one weekend, with Jeanne’s help, I was able to get the piano room walls painted.  I still need to finish painting the trim in this room.  Such a putzy job, but must be done.
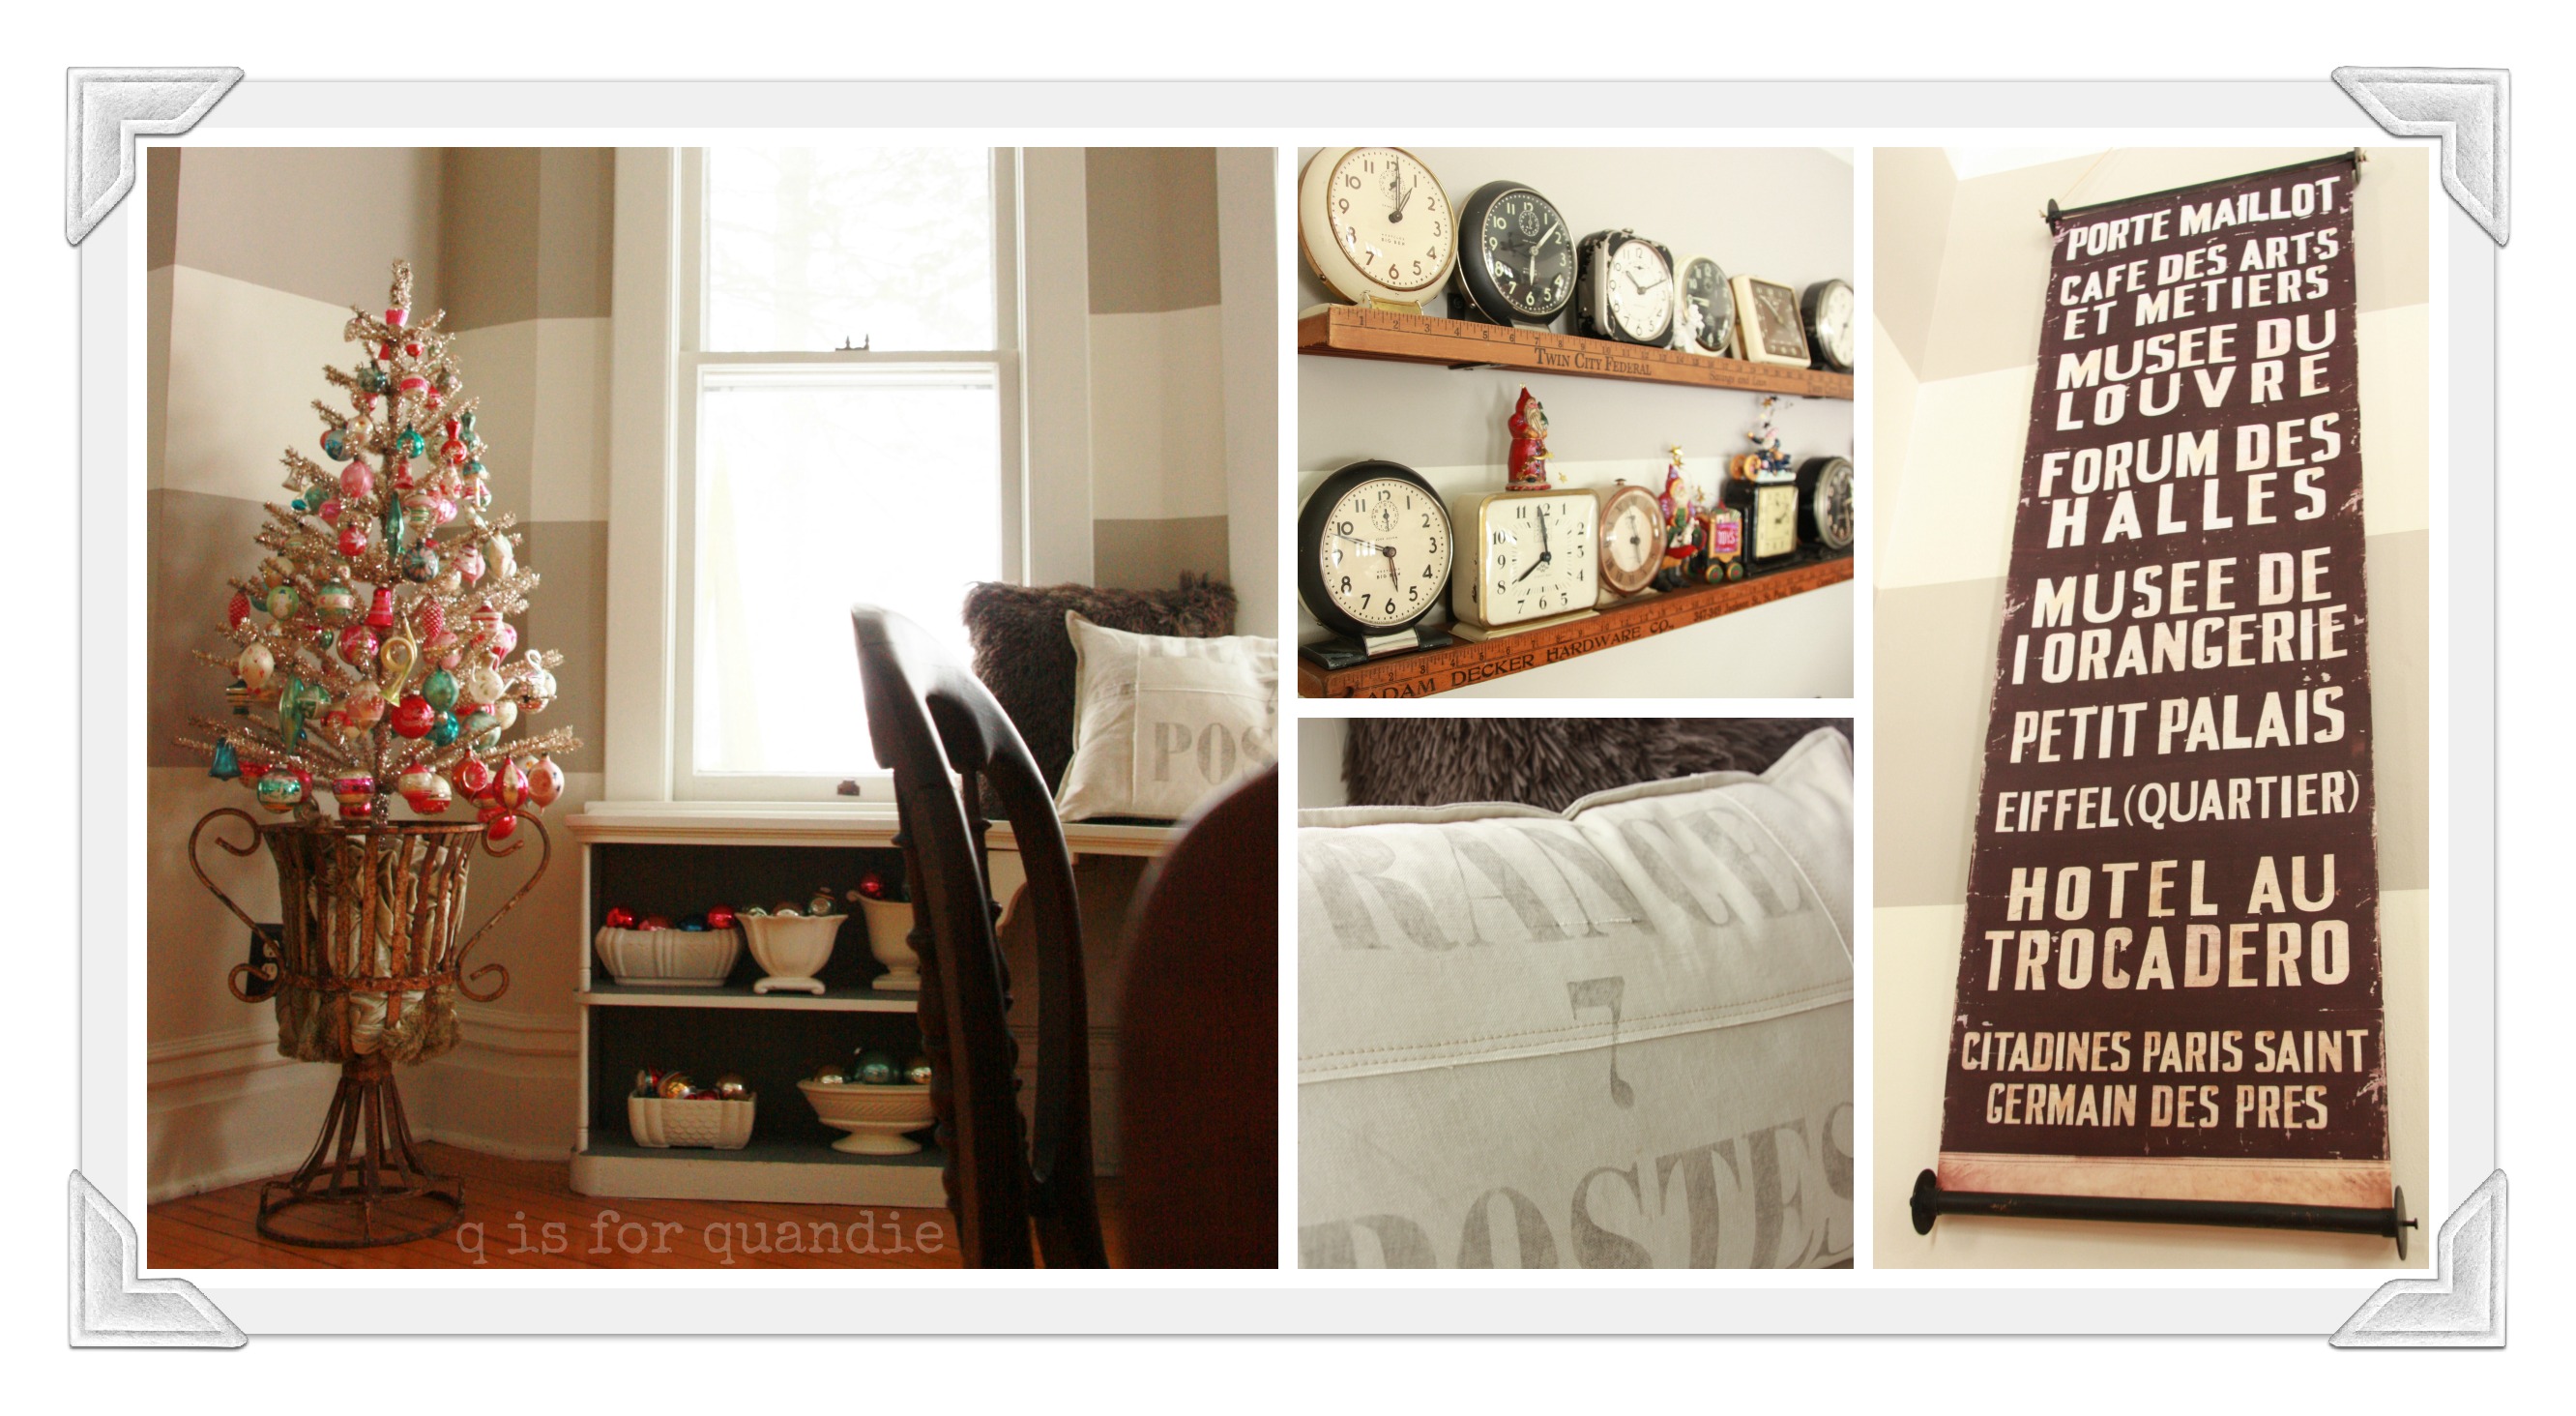
Next weekend I’m recruiting new neighbor Karen for part two of step one.  Painting the living room walls.  I’ll keep you posted on my progress!
hutch after 2