50 shades of green.

I only recently started using Miss Mustard Seed paint.  I held out for a long time simply because it is kind of expensive.  Then last summer I bought a sample of it at the Oronoco Gold Rush.  As I feared would happen, I loved it.  Damn!  Now I drive all the way across the river to Hudson to buy it.

Oh … who am I kidding … I send my husband all the way across the river to buy it.  Thanks hon!

Working with this stuff has a bit of a steep learning curve though.  One problem has been especially prevalent with the green shades.  The thing is, you don’t get the same color every time.

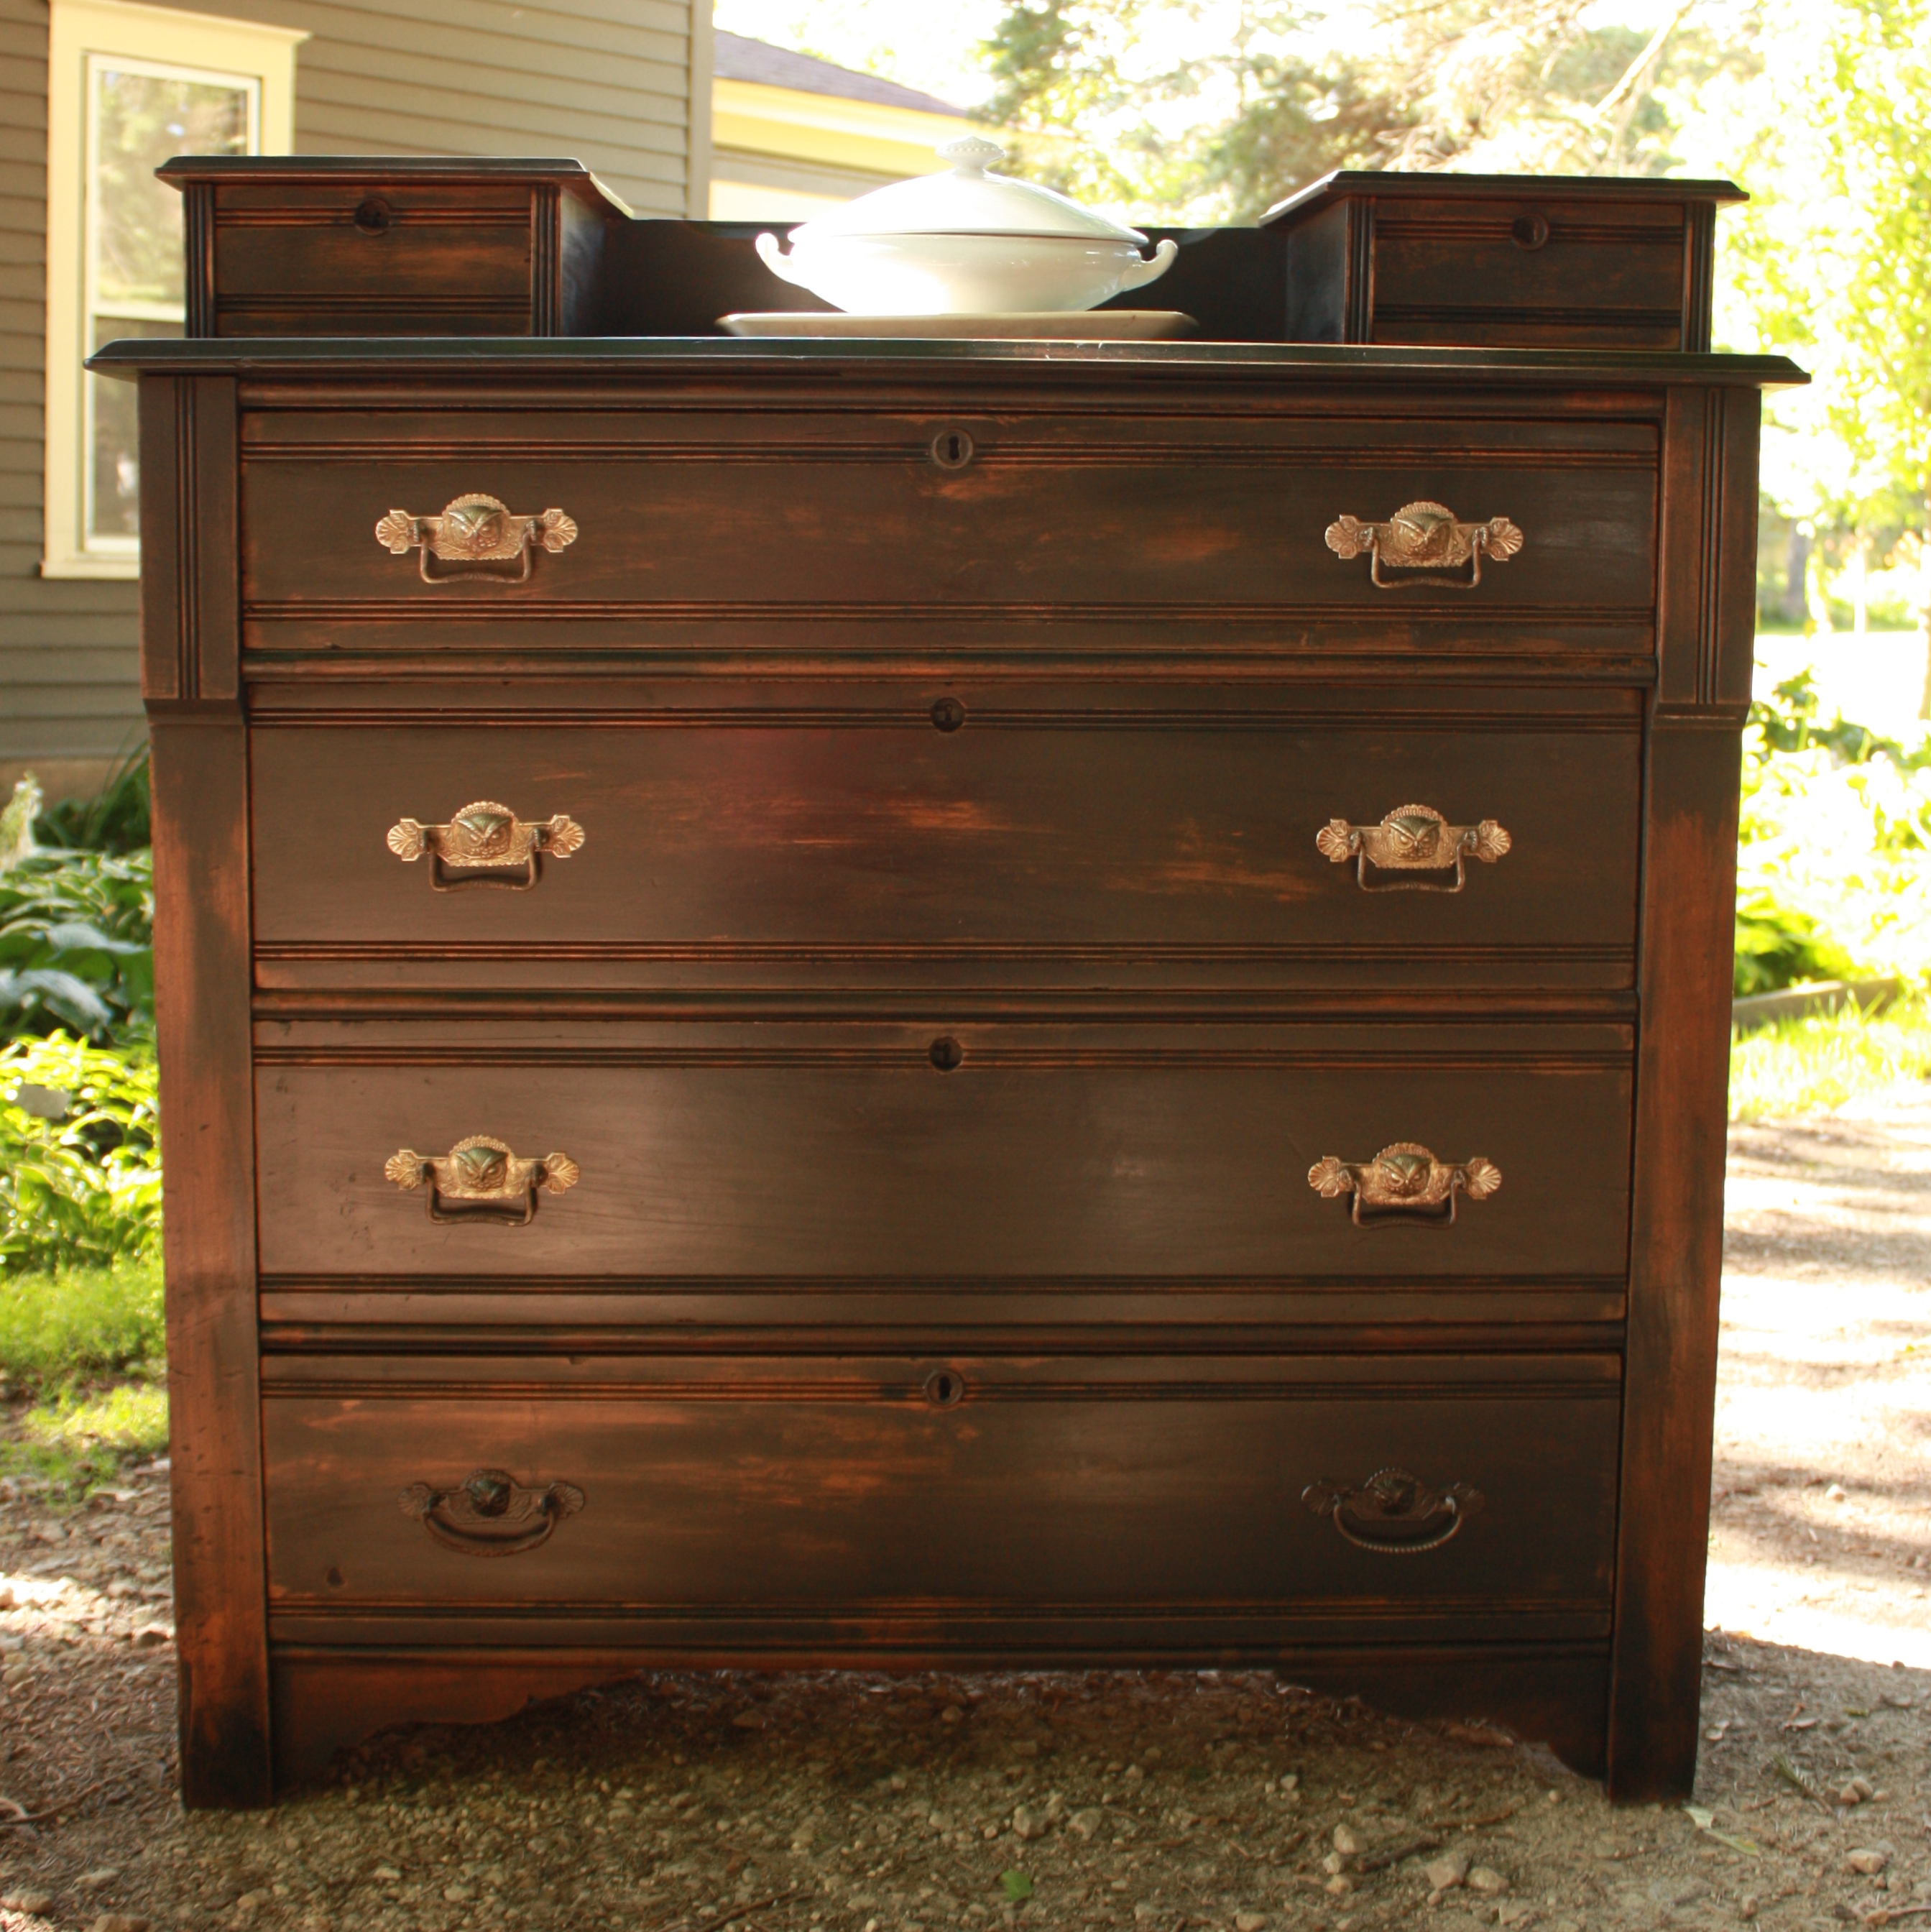
It started with a dresser I painted in MMS’ Boxwood.  After painting it, I realized that one of the drawers needed to be completely sanded down and re-done (long story for another time).  I was pretty new to MMS paint then, and I just decided to use the leftover paint from the first go around.  I gave it a good stir and repainted the drawer … and ended up with a totally different shade of green.  Argh.  In the end, I had to repaint all of the drawers with a new mix of paint.

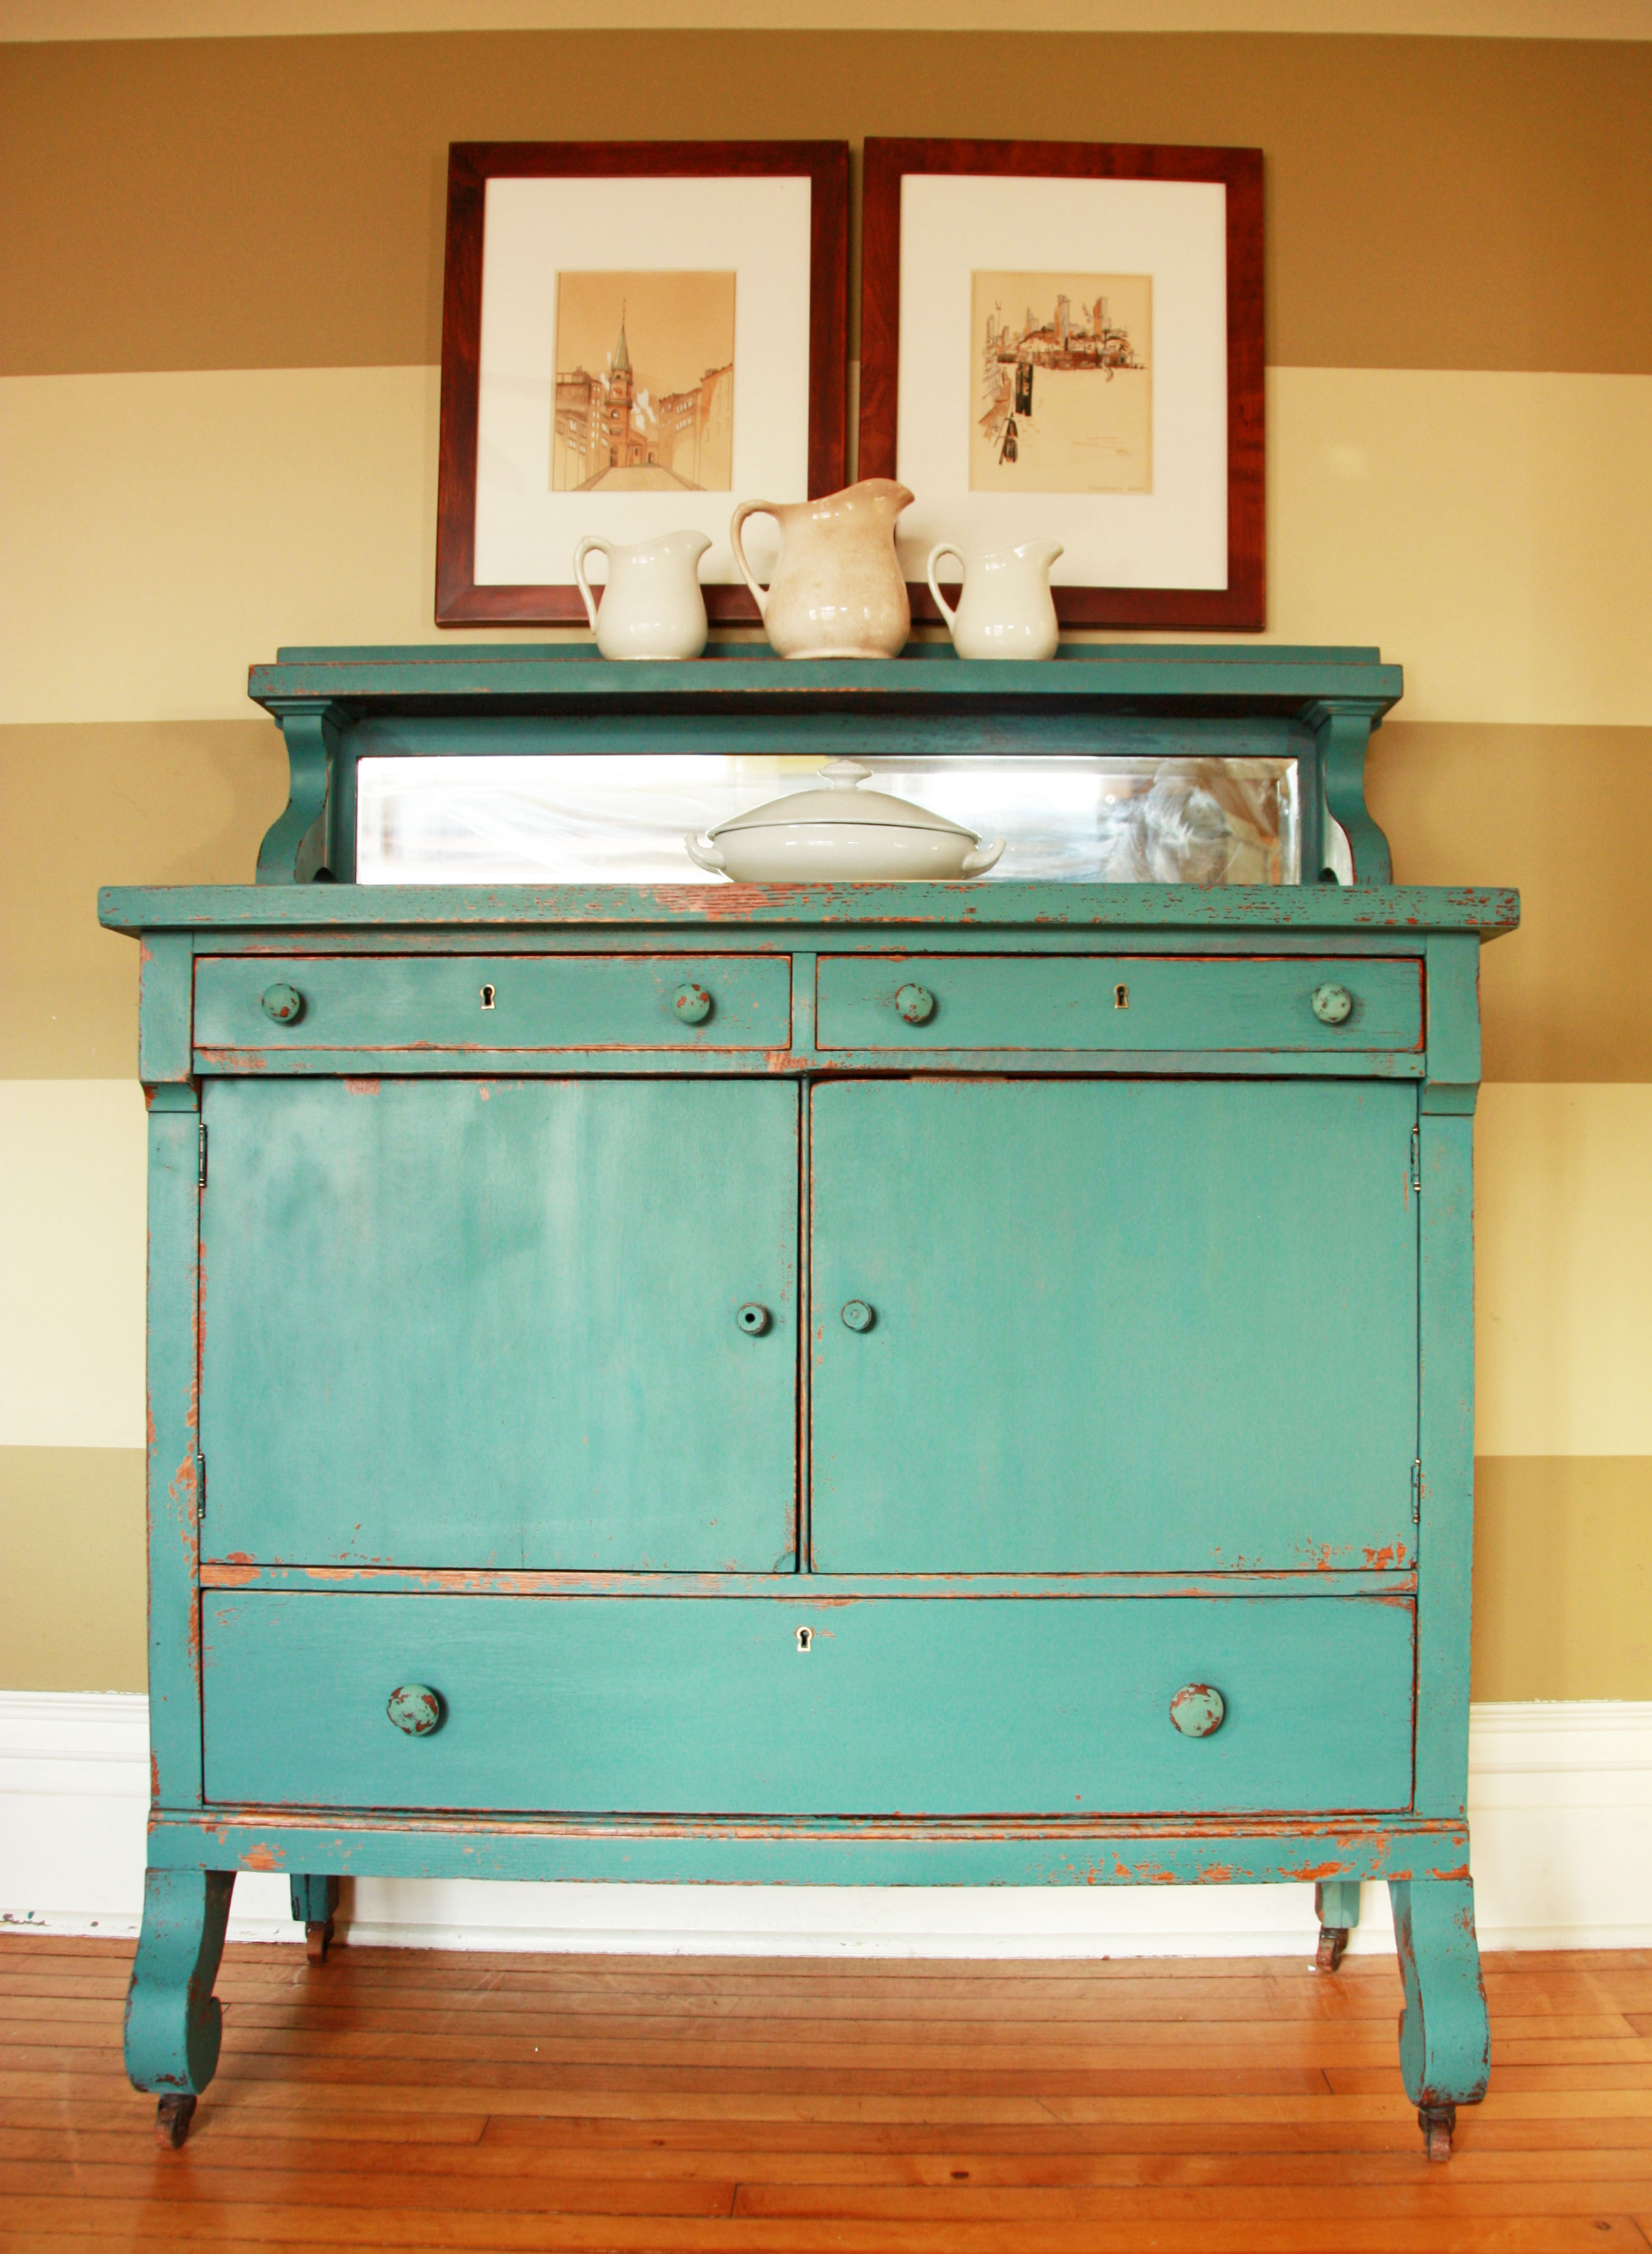
So really, I should have known better with the Luckett’s Green dresser.  But yet, I did it again.  One drawer needed repairs and was sent over to Ken for work.  I mixed up the paint and painted everything else.  This time I figured I could just mix up a new batch of paint for the last drawer.  If it didn’t sit around with the pigments separating, I figured it would be fine.  Surely it would be the same color, right?

Wrong.

oops.
oops.

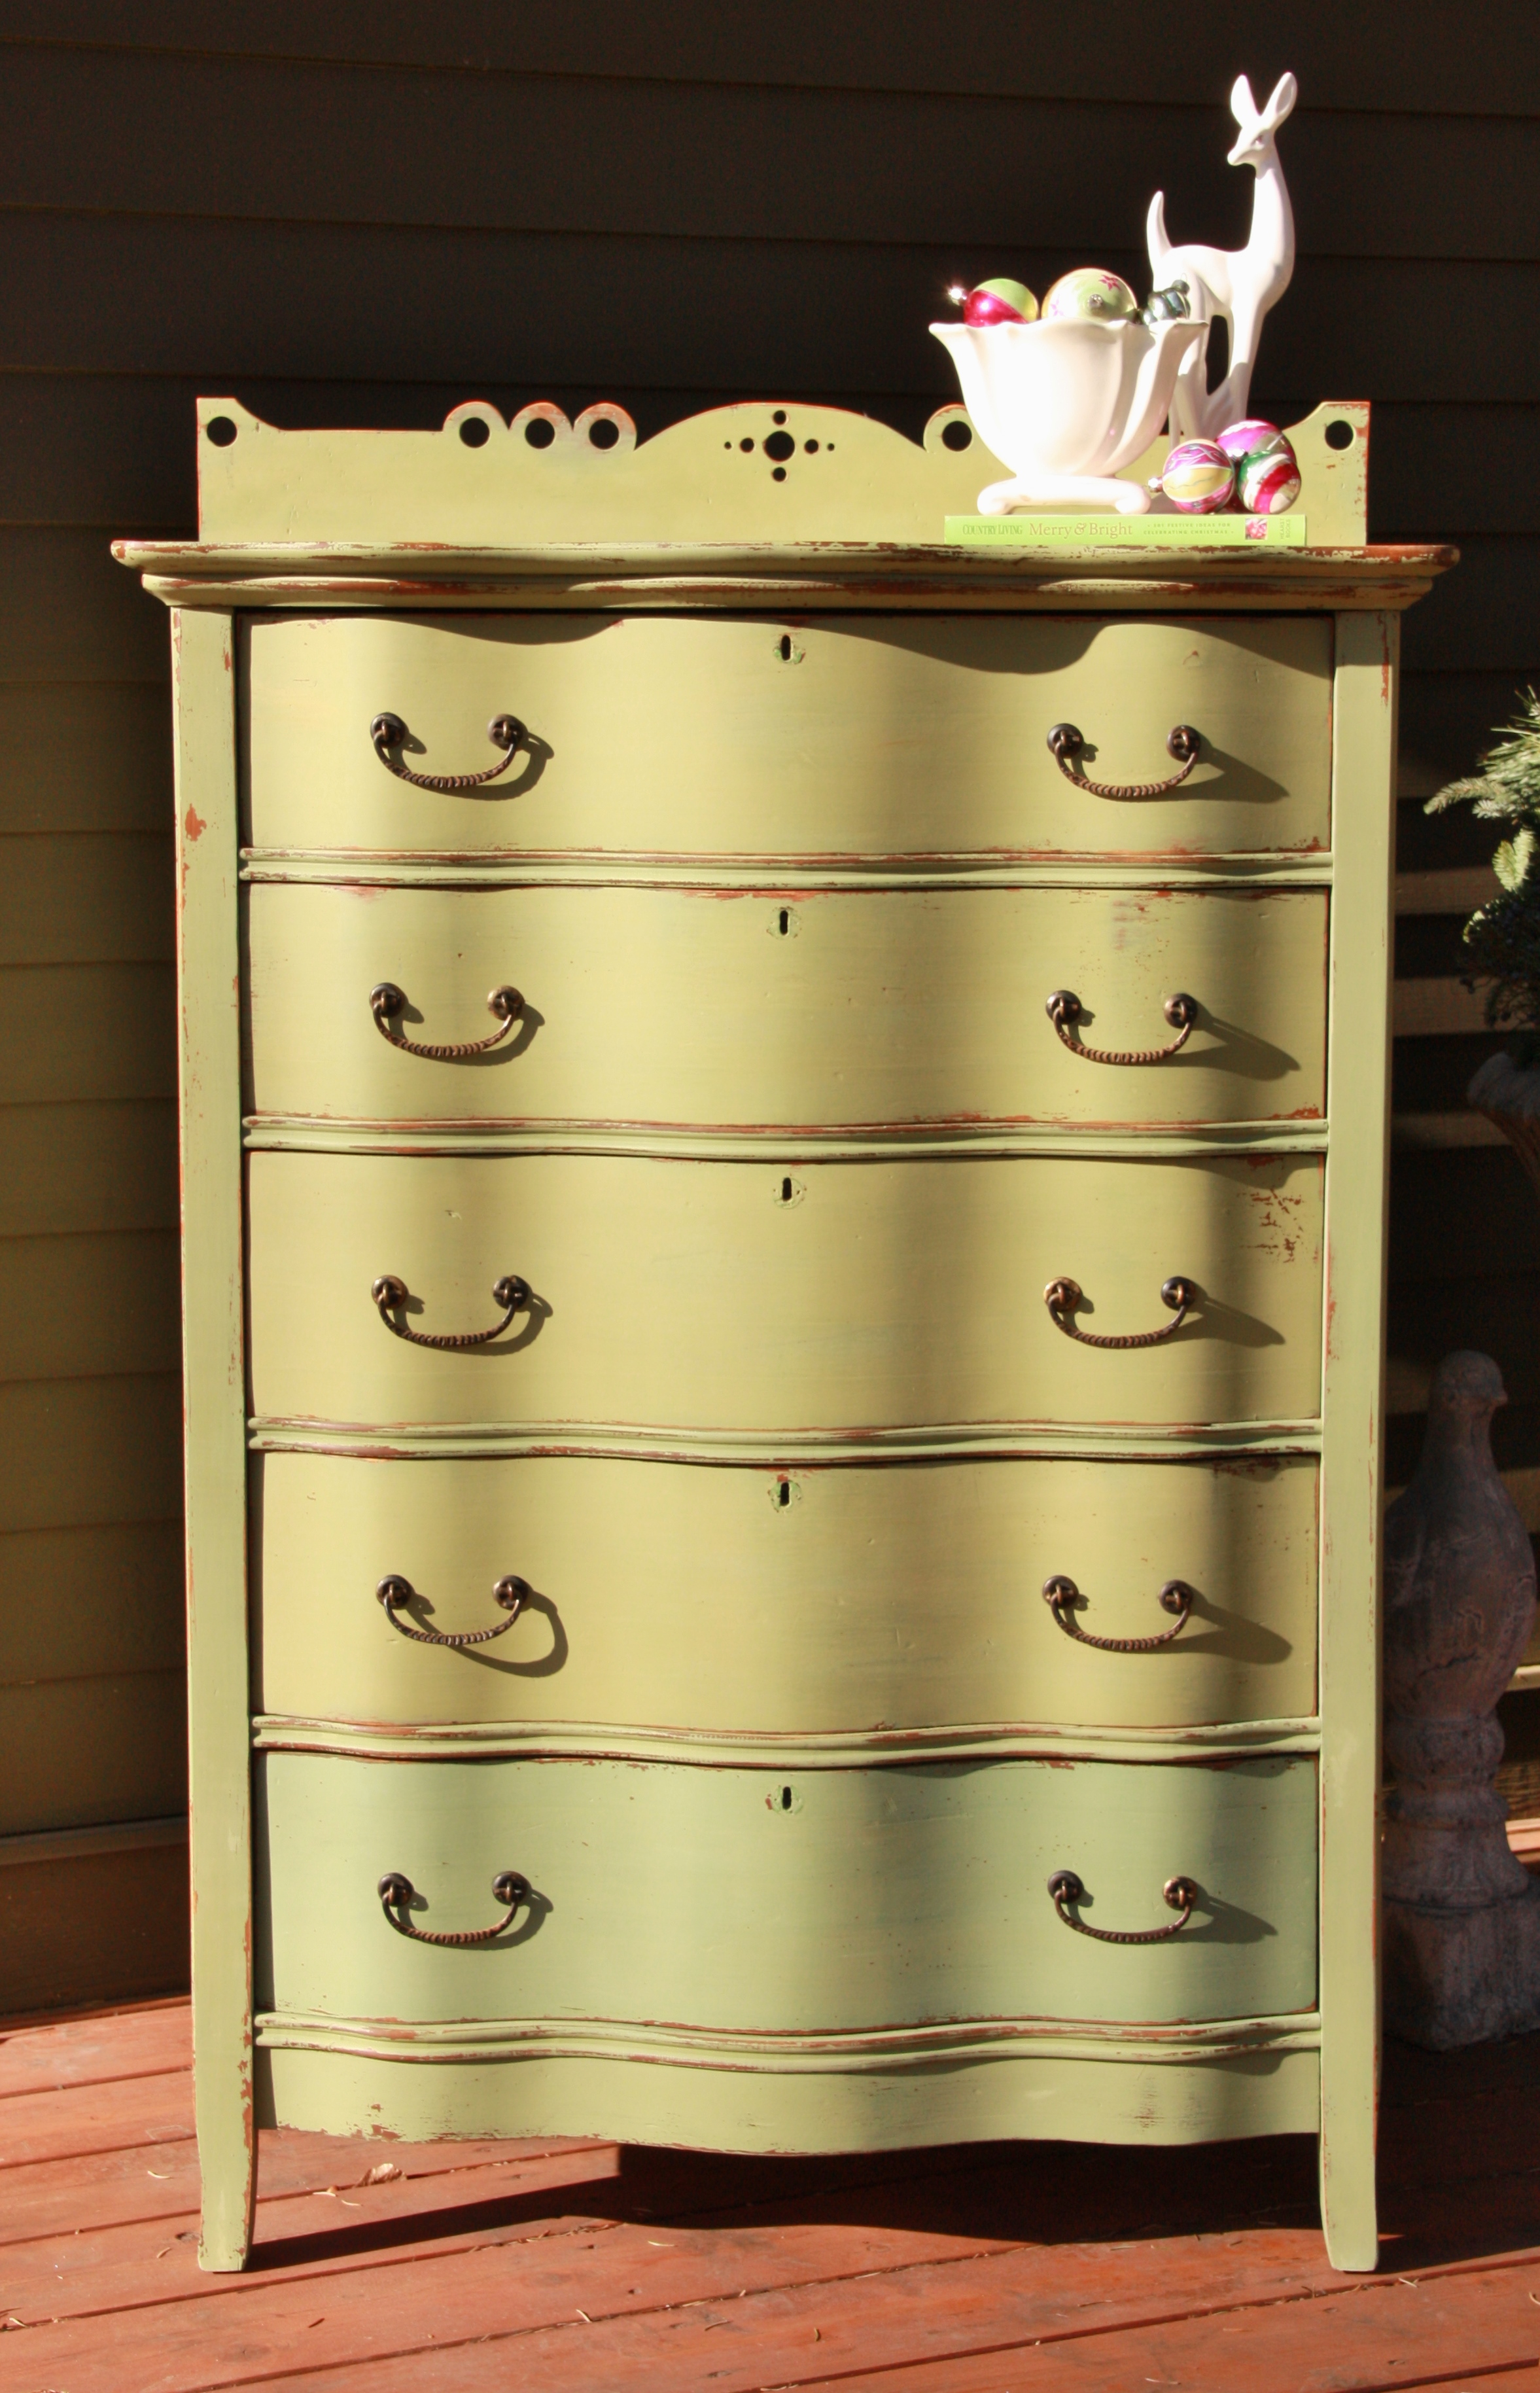
Yep, there it is.  The bottom drawer.  Not the same at all.  I don’t know why this happens.  I use the same ratio of paint to water.  I am painting the same type of wood, with the same light sanding to start.

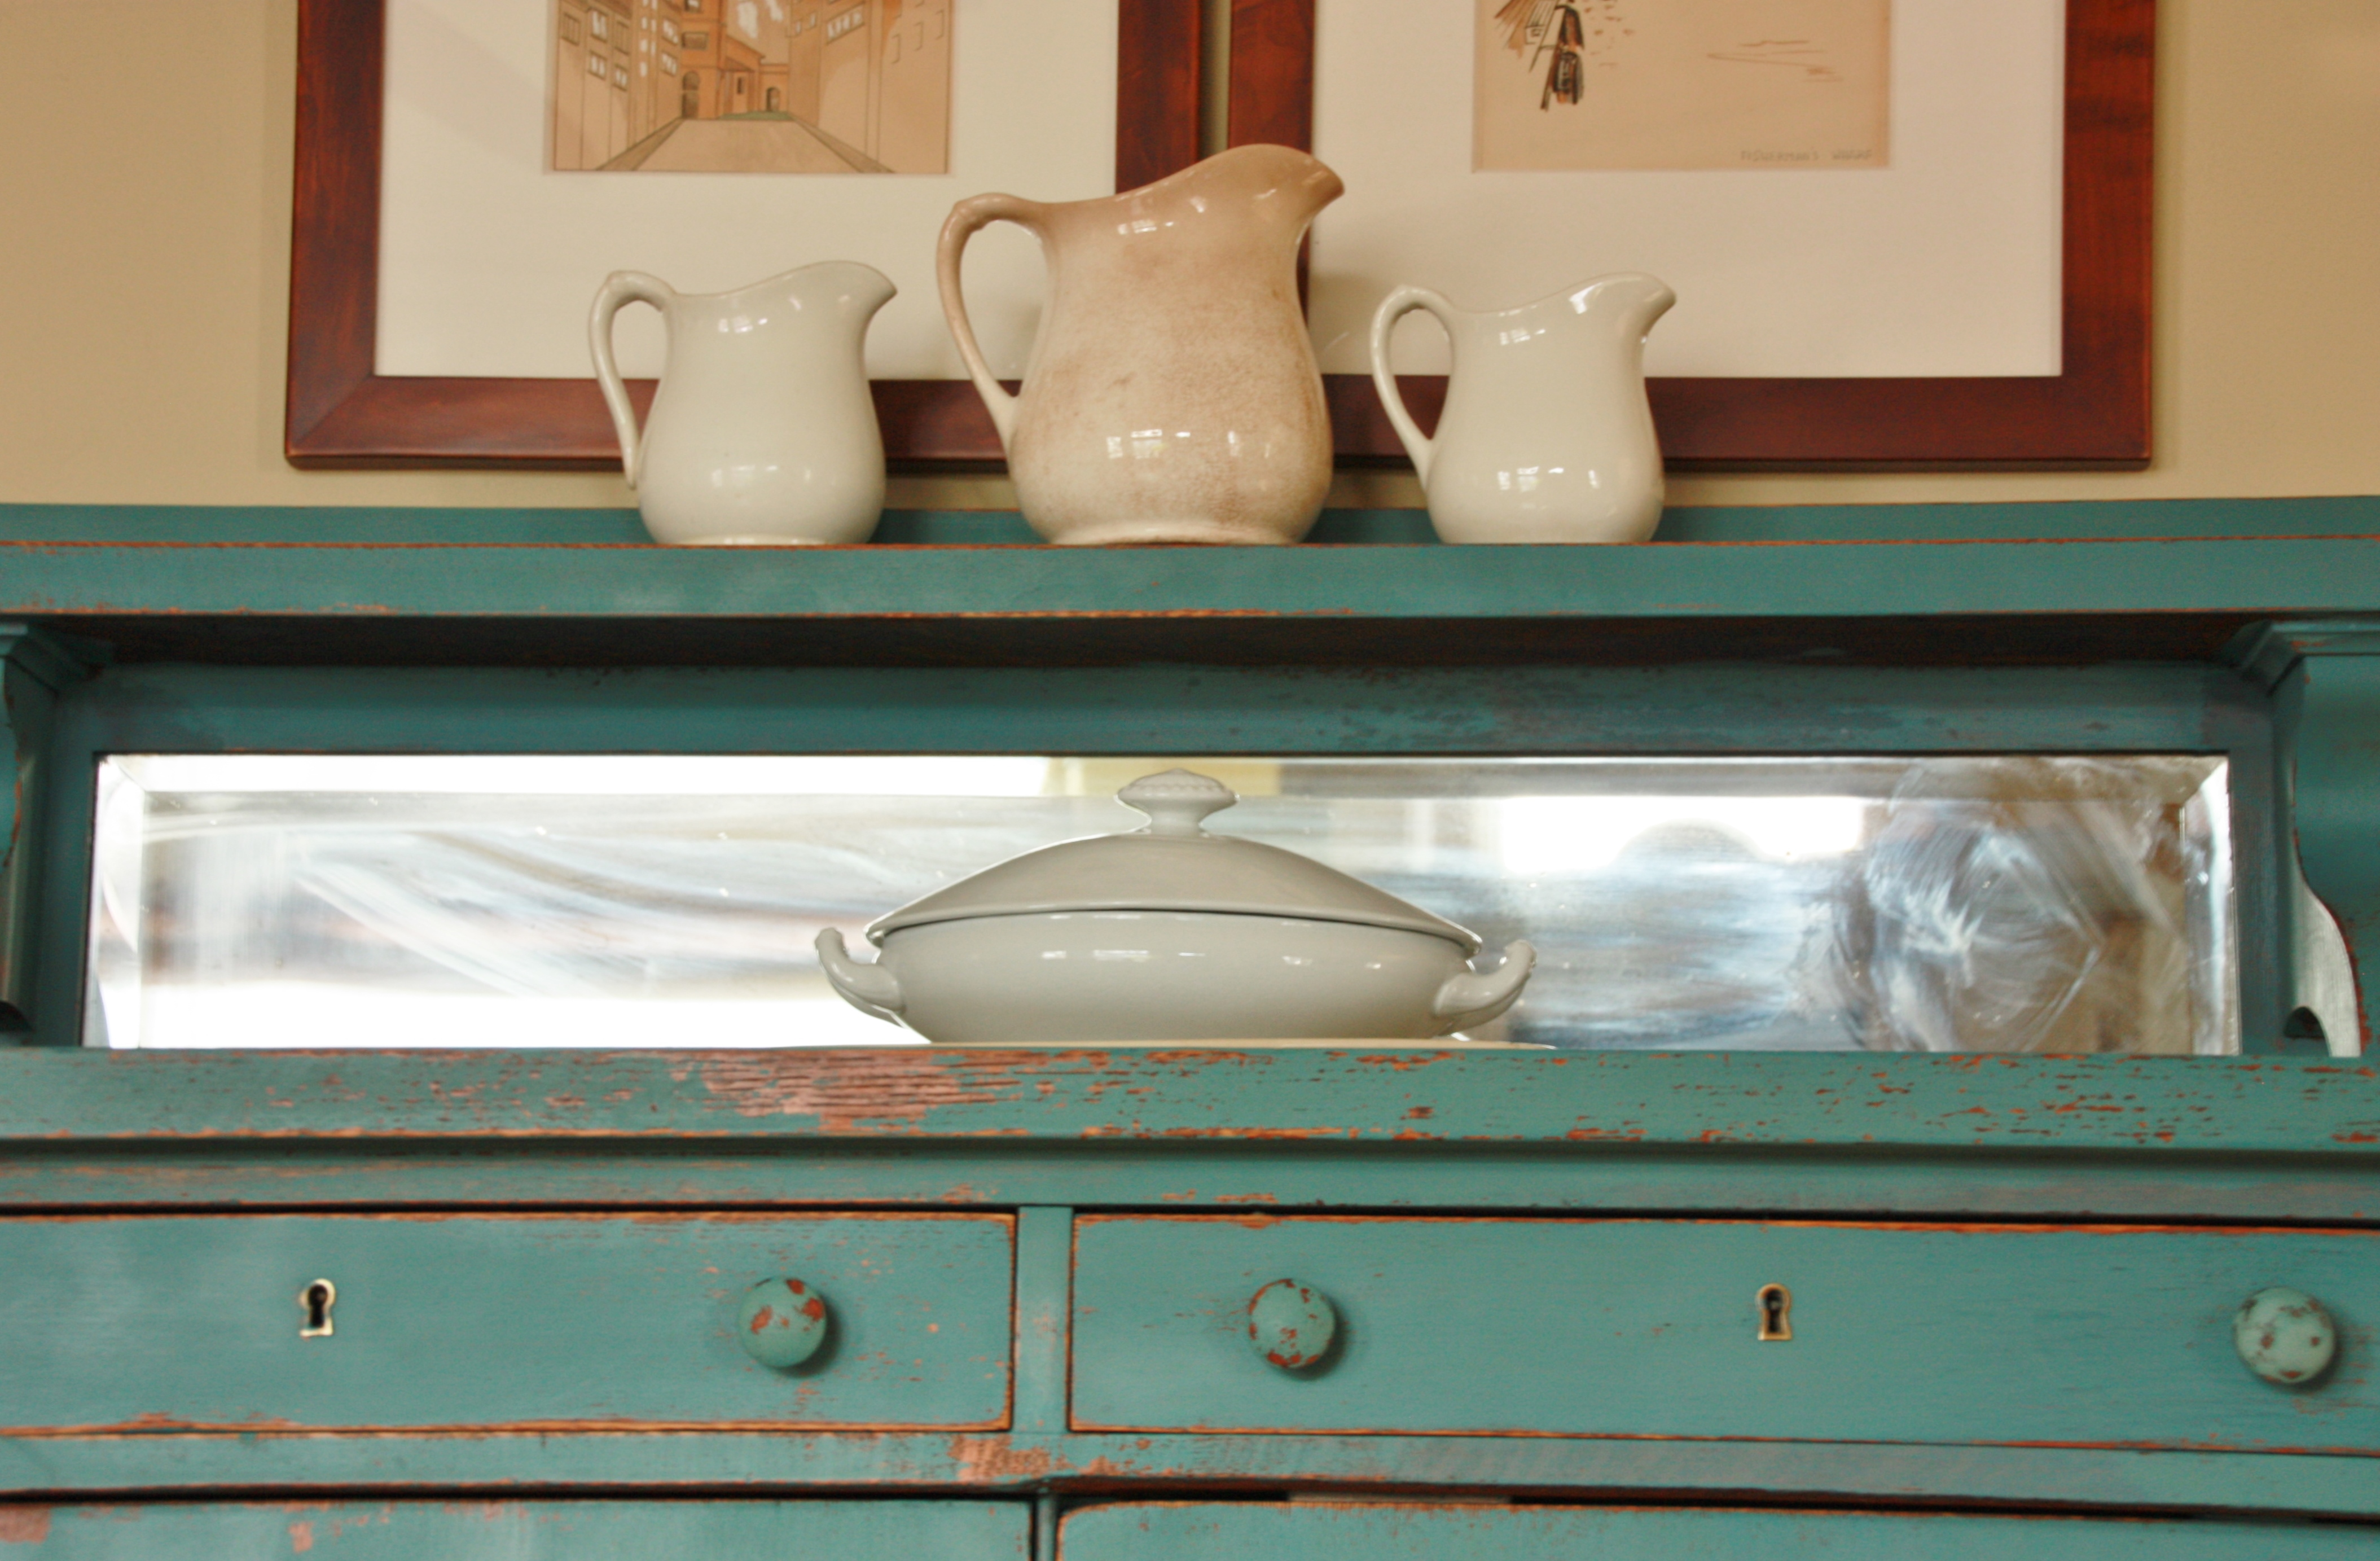
The lesson learned here.  Be patient.  Wait until you have all the pieces ready to go, and then paint them all at once.  In the end, it is worth it because you end up with this:

ah, so much better.
ah, so much better.

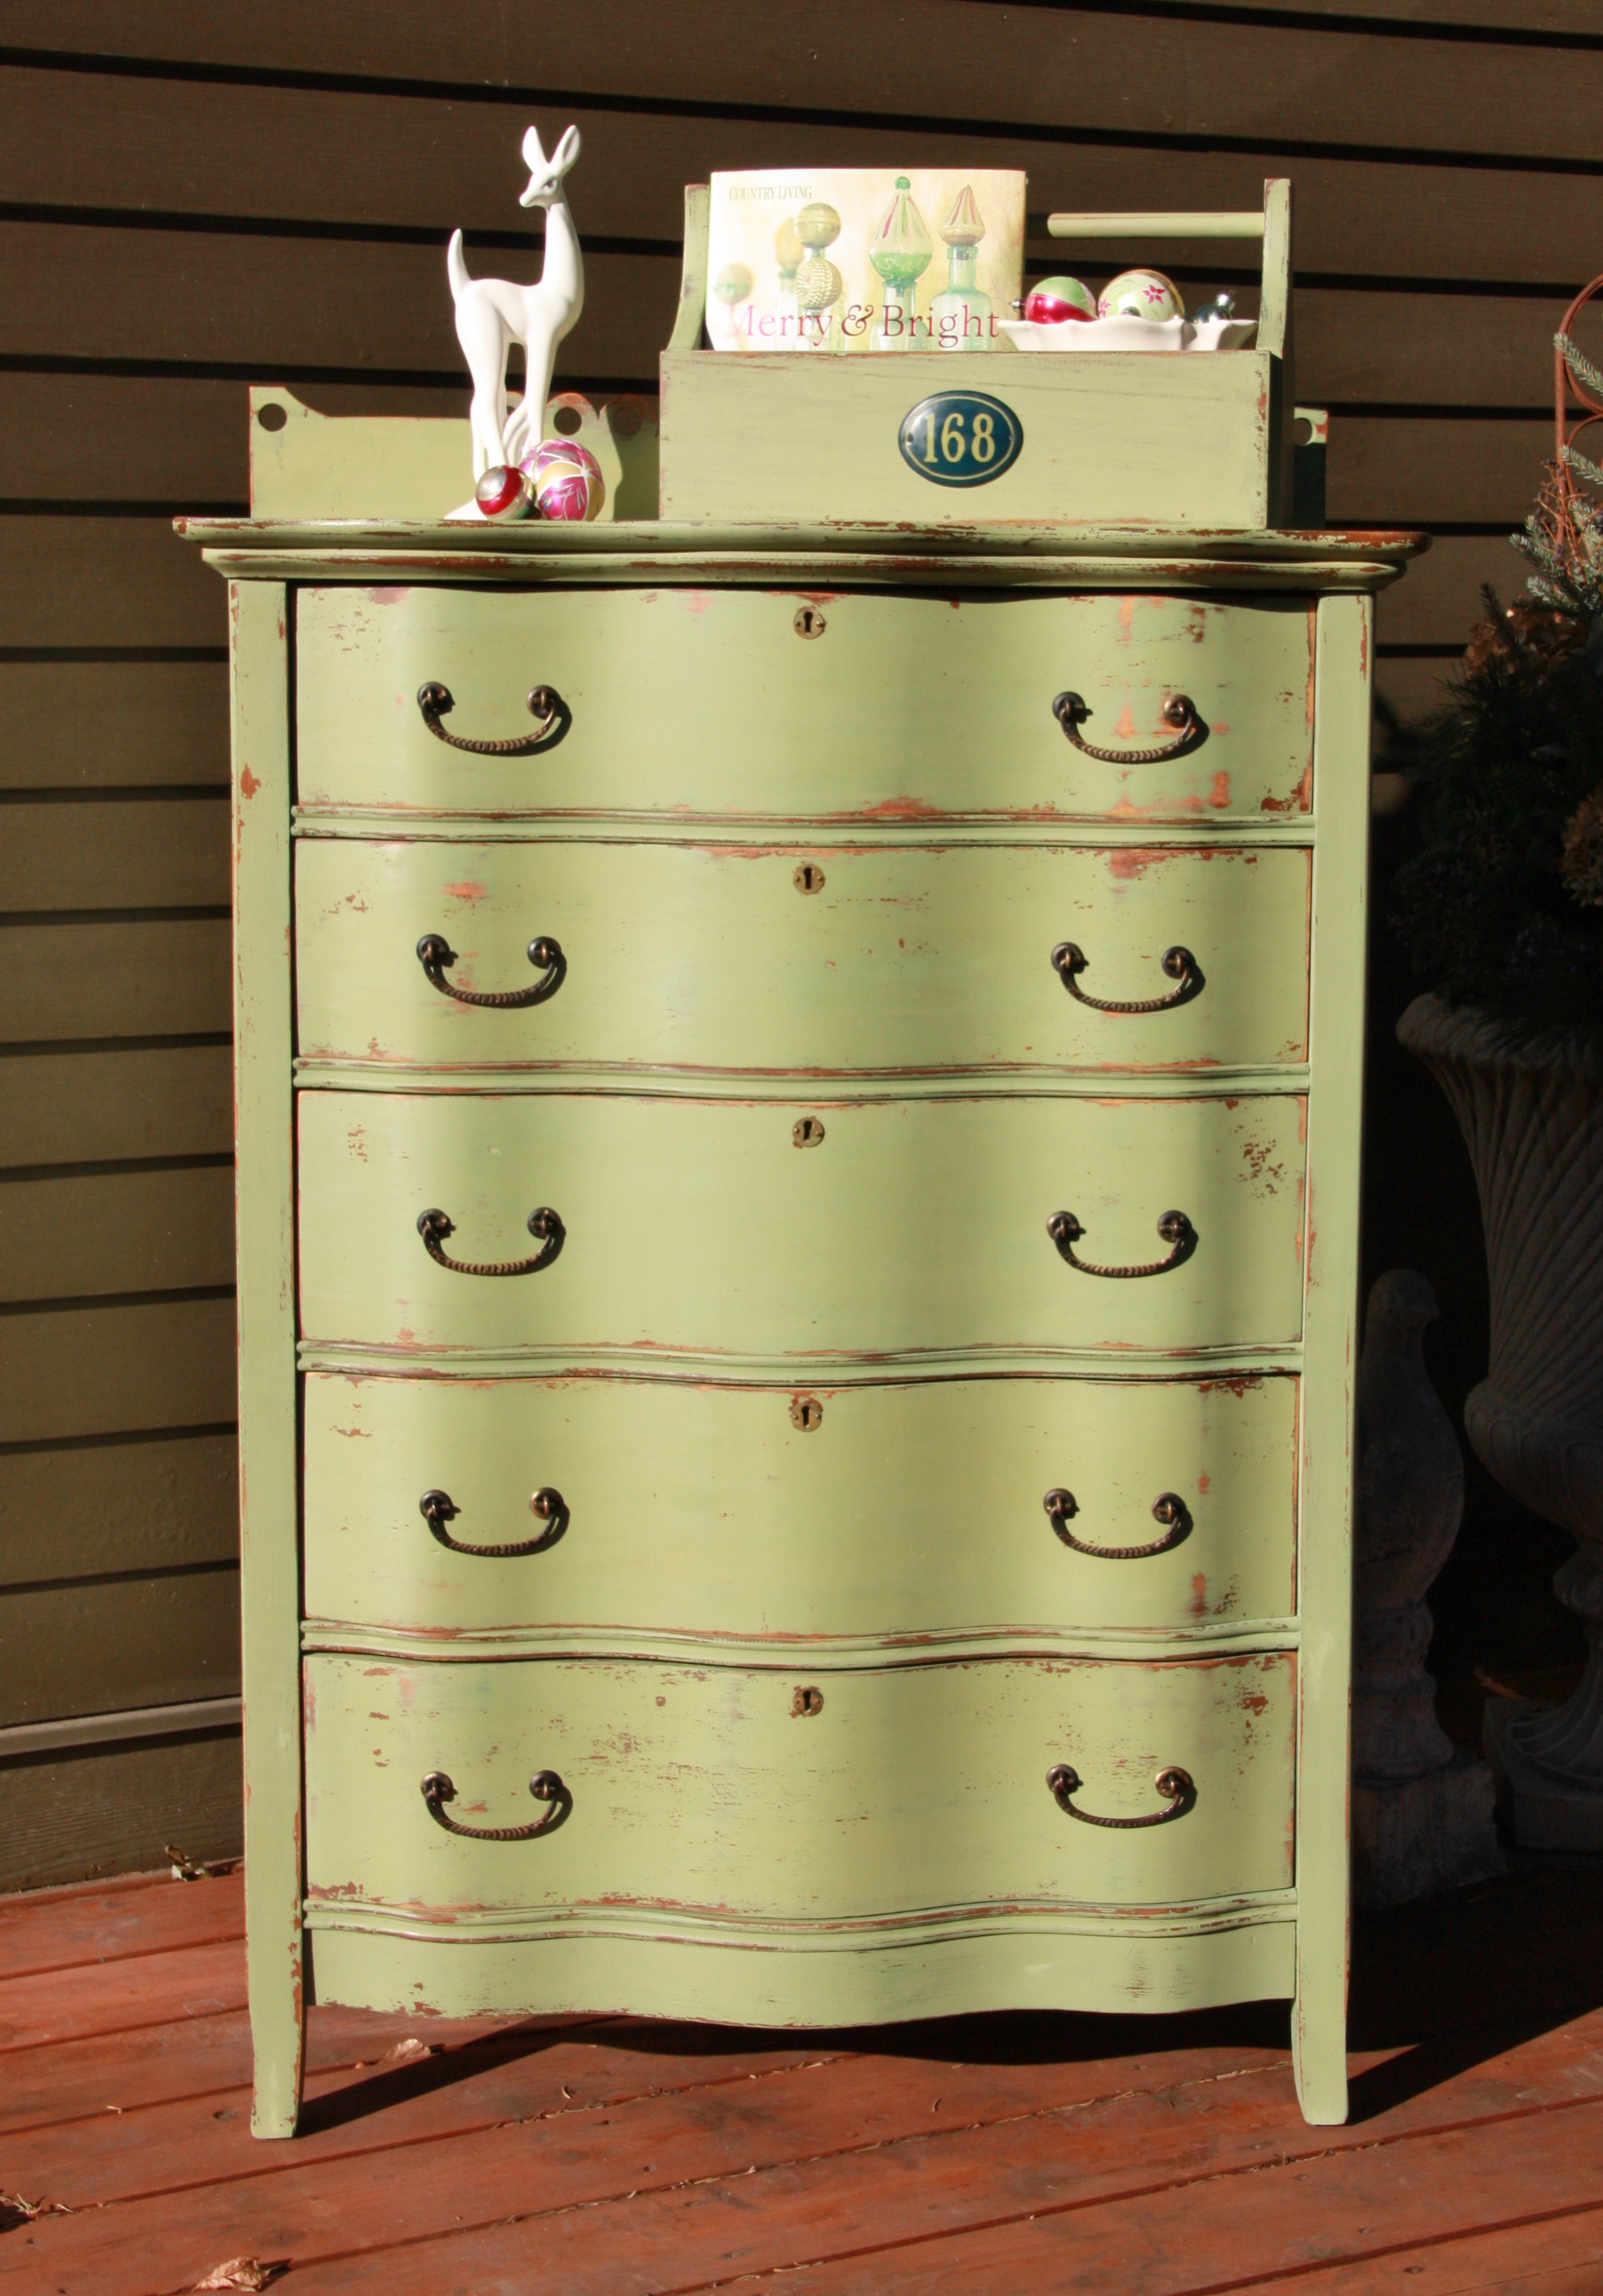
Live and learn baby, live and learn.

the long weekend.

One thing you should know about me, I have a day job.  As an accountant.  For the government.  There.  I said it.  All this means to you is that I have to let my creativity out in other arenas.

Every once in a while, I get a break from the day job in the form of a long holiday weekend.  Four whole days in a row for Thanksgiving!  I give thanks for them.

I gave myself a challenging to-do list for this long weekend.  Here it is:  put up Christmas decorations, paint hutch to be sold at Round Barn, start a blog and paint the oak buffet.  Here is it Sunday morning, and is it all done?  Almost.  I may not quite get the hutch finished, but it’s nearly there.  Everything else is checked off the list.

More on the other items soon, but let’s start with the oak buffet.  My aunt gave me this piece many years ago along with a Swedish spoon carved cupboard and a firm “DON’T paint them!”  So, for quite some time I didn’t.  Then one day I realized that I was living with pieces in my house that weren’t ‘me’ just because someone else didn’t think ‘real’ furniture should be painted.  How long is the statute of limitations on such things anyway?  I had even relegated the poor spoon carved cupboard to storage because it just wasn’t right for my house.  I was considering selling the oak buffet and replacing it with some other painted piece, when I realized how silly that was.  Whoever bought it from me could just as easily turn around and paint it!  Isn’t it better to paint it myself and keep it as a reminder of my aunt?  I say YES!

the oak buffet.
the oak buffet.

Thanks to the wonders of Miss Mustard Seed’s milk paint, I was able to finish this project in a day.  With milk paint there is little prep required.  I removed the knobs and gave just a light sanding to all of the flat surfaces (because I didn’t want excessive chipping there).  I mixed up some Kitchen Scale, and slapped it on.  It dries so quickly that I could put a second coat on within an hour or so.  Once it was dry, I lightly sanded the whole thing.  It chipped in all the right places (mostly where I didn’t pre-sand) all by itself.  I finished by applying a coat of hemp oil (while watching Hitchcock’s The Birds in the background.)

Et voila.  The oak buffet is transformed!  And I love it.

the oak buffet.
the oak buffet.

P.S.  The fab ink and watercolor drawings hanging on the wall above the buffet were done by my grandfather on the same side of the family.  Consider this area an homage to my paternal side.

the winter window box.

A couple of years ago, I asked my neighbor Ken to make a window box for me.  As is always the case, Ken did a bang up job.  I had already purchased some old tin crown molding that I knew I wanted on the front of it.  I also had some plastic rectangular planter boxes that I wanted to fit inside.  Ken took some measurements, and voila, created a window box.

It’s kinda huge.  But one of my biggest decorating rules is ‘go big, or go home’, also known as ‘never do anything half way’.  I wanted it to be the full length of my front porch windows.  However, it can be a bit expensive to fill up.  I consider it the ‘focal point’ of my front yard though, so it’s a priority to make it look fab for summer and winter.

the winter window box.

Originally the tin had a coat of white paint.  Despite numerous clear coats every spring, the paint continues to flake off, first leaving that lovely shade of blue, and then just the rust.  Since I pretty much love anything rusty, I consider this a good thing.

To fill ‘er up without breaking the bank, in winter I use stuff from the garden.  Mostly hydrangeas, but there are some other things tucked in there as well.  Some seed pods, and even some dried Astilbe.  To make it pretty at night, I’ve added twig lights that can be found at Target.

IMG_6666

I also include some fab rusty metal ornaments that work perfectly with the rusty tin.

As you can see, I don’t really go for a traditional Christmas look with reds and greens, or silver and gold.  I want something that’s going to look good for the entire winter … and here in Minnesota that means it has to last a good long time.  It won’t be long now before the window box has a couple feet of snow under it.  Dare I admit that I am looking forward to it?

the owl dresser.

The other day someone asked me “is your house full of your own painted furniture?”  My initial reply was no.  Painting stuff for myself always takes a back seat to painting stuff to sell.  I always have that one item (or ten) that I need to finish before the sale, or before the next trip to the Round Barn.

But then I looked around my house when I got home and realized the answer is closer to yes.  Most of the stuff in my house is furniture that I have painted over the years.  And occasionally I paint something intending to sell it and end up falling in love with it and keeping it for myself instead.

Such was the case with the ‘owl pull dresser’.  I bought this from a young guy in NE Mpls via craigslist.  I was drawn to the owls on the drawer pulls.

IMG_5492

Who could resist these?

I was drawn to the price too.  It was cheap.  I called the guy and he said he was moving that night!  If no one bought the dresser, he was just going to leave it in the apartment.  Holy mackerel.  I was on it.  I couldn’t get there before his going away party though, so he agreed to leave the dresser on the porch, if I would leave an envelope of money in the mailbox.  I know, crazy, right?

Once I got it home, I decided to paint it black.  I don’t do a lot of black anymore, but this dresser was so strong and masculine looking.  It was calling out for black.

Then, I did something really crazy.  This is the point where I have to swear you to secrecy.  Do not reveal my method!  I painted the whole thing with satin black spray paint.  After allowing it to dry for about 30 minutes, I then used a rag to apply paste wax.  The wax takes off some (or maybe a lot) of the paint.  This method is not for the faint of heart.  It’s messy, and you never know what kind of result you might get.  For this dresser, the result was fantastic!

IMG_5481

I loved it so much, I knew I had to keep it.  And I had the perfect spot for it just inside my back door.  This thing holds a ton of stuff too.  Bottom two drawers are all shoes.  Top two are scarves, gloves and hats.  And those two little jewelry drawers at the top are perfect ‘his and hers’ spots for the little stuff … keys, sunglasses, spare change.

So, for now, I’m keeping this one.

the carriage house.

My house was built in 1904.  Or possibly 1898.  Depends which documents you look at.  The official record says 1904 though.  It was originally the farmhouse for a dairy farm.  But now it is smack in the burbs.  The surrounding land was sold off and developed and now my house sits on a normal sized suburban lot.  The beauty of it is that my house is like a little pocket of country conveniently located near the city.

IMG_0574

One of my favorite features is the carriage house.

Yep, it’s a genuine carriage house.  It was never a barn or anything like that.  I assume they kept the carriages in it.  I still keep the carriages in it … well, the cars.  But only in the winter.

In the summer it becomes my workshop extraordinaire.  It is filled with furniture and other goodies waiting to be transformed.  Then twice a year, once in June and once in early October, it hosts the Carriage House Sale.   The occasional sale that my like minded friends and I put on.

IMG_5165

the toolbox.

If something isn’t painted, I tend to paint it.  I just can’t help myself.  I love the transformative power of paint.  Recently my friend Cathy gave me a wooden tool caddy in a dark stained wood.  I was in the middle of painting a dresser with Miss Mustard Seed’s “Luckett’s Green” and I had a little left over.  I figured it was just enough for the toolbox.

I wish I had thought to take a ‘before’ picture.  I’m sure I’ll get better at that as I go.  Right?  Right.

IMG_6630

So, a couple of coats of Luckett’s Green, then some sanding, followed by a quick rub-down with Hemp Oil and voila!  I also added a fab metal number plate that just happened to match perfectly.  I’ll display this for the holiday season with one of my fav holiday decorating books and some of my vintage ornaments, but it will likely eventually end up at my next occasional sale.

why Quandie?

Once upon a time, I got married to my fab husband, but didn’t want to give up my maiden name entirely.  So, I decided to keep it as my middle name.  I thought it would be pretty cool to have Q as a middle initial.  Probably not a lot of Q’s out there, right?  People often ask, ‘what does the Q stand for?’

Fast forward many years.  I’m reading an article in the paper about a woman who has been arrested for being drunk and disorderly … and her name?  Quandary!  Who names their child Quandary?  Do they not know the definition of this word?   A state of perplexity.  I can see it now, a woman sees her beautiful new baby girl and thinks “What shall I name her?  Such a quandary.  A, ha!  That’s it!”  Perhaps this explains why Quandary has a habit of being arrested as an adult.

I quickly emailed my pal Jeanne to say “Eureka!  I have found a name.  From now on when people ask ‘what does the Q stand for?’ I’ve got the perfect answer!

It stuck.  I should have known it would.  And leave it to Jeanne to shorten it to Quandie.  Over the years, Quandie has become my alter ego.  She tends to take action, when I am not sure.  She loves garage sales, paint brushes, vintage furniture, drinking wine on the deck, gardening, traveling and anything with hollandaise sauce.  And she is me!

So, channel your own inner Quandie and hop on board.  I hope to post about all of the above on this blog, and I hope you’ll join me.