I’m still painting trim in the piano room, but meanwhile, I thought I would share a past project with you.
My husband and I have lived in our house for nearly 26 years. Yep. That’s a long time. Definitely enough time to have made plenty of changes throughout. After that much time, you can even get to the projects that weren’t very high on the priority list.
The pantry is one such project.
I have to admit, I often hide things behind closed doors. My mom says this goes way back to my childhood when I would shove my coat in the toy box or under the bed rather than putting it away properly. If I can shut a door when guests come over and hide the mess, then I don’t worry too much about it. That explains why my pantry looked like this for over 20 years.
 Oh, the shame! Wine, cat food and toilet paper, oh my.
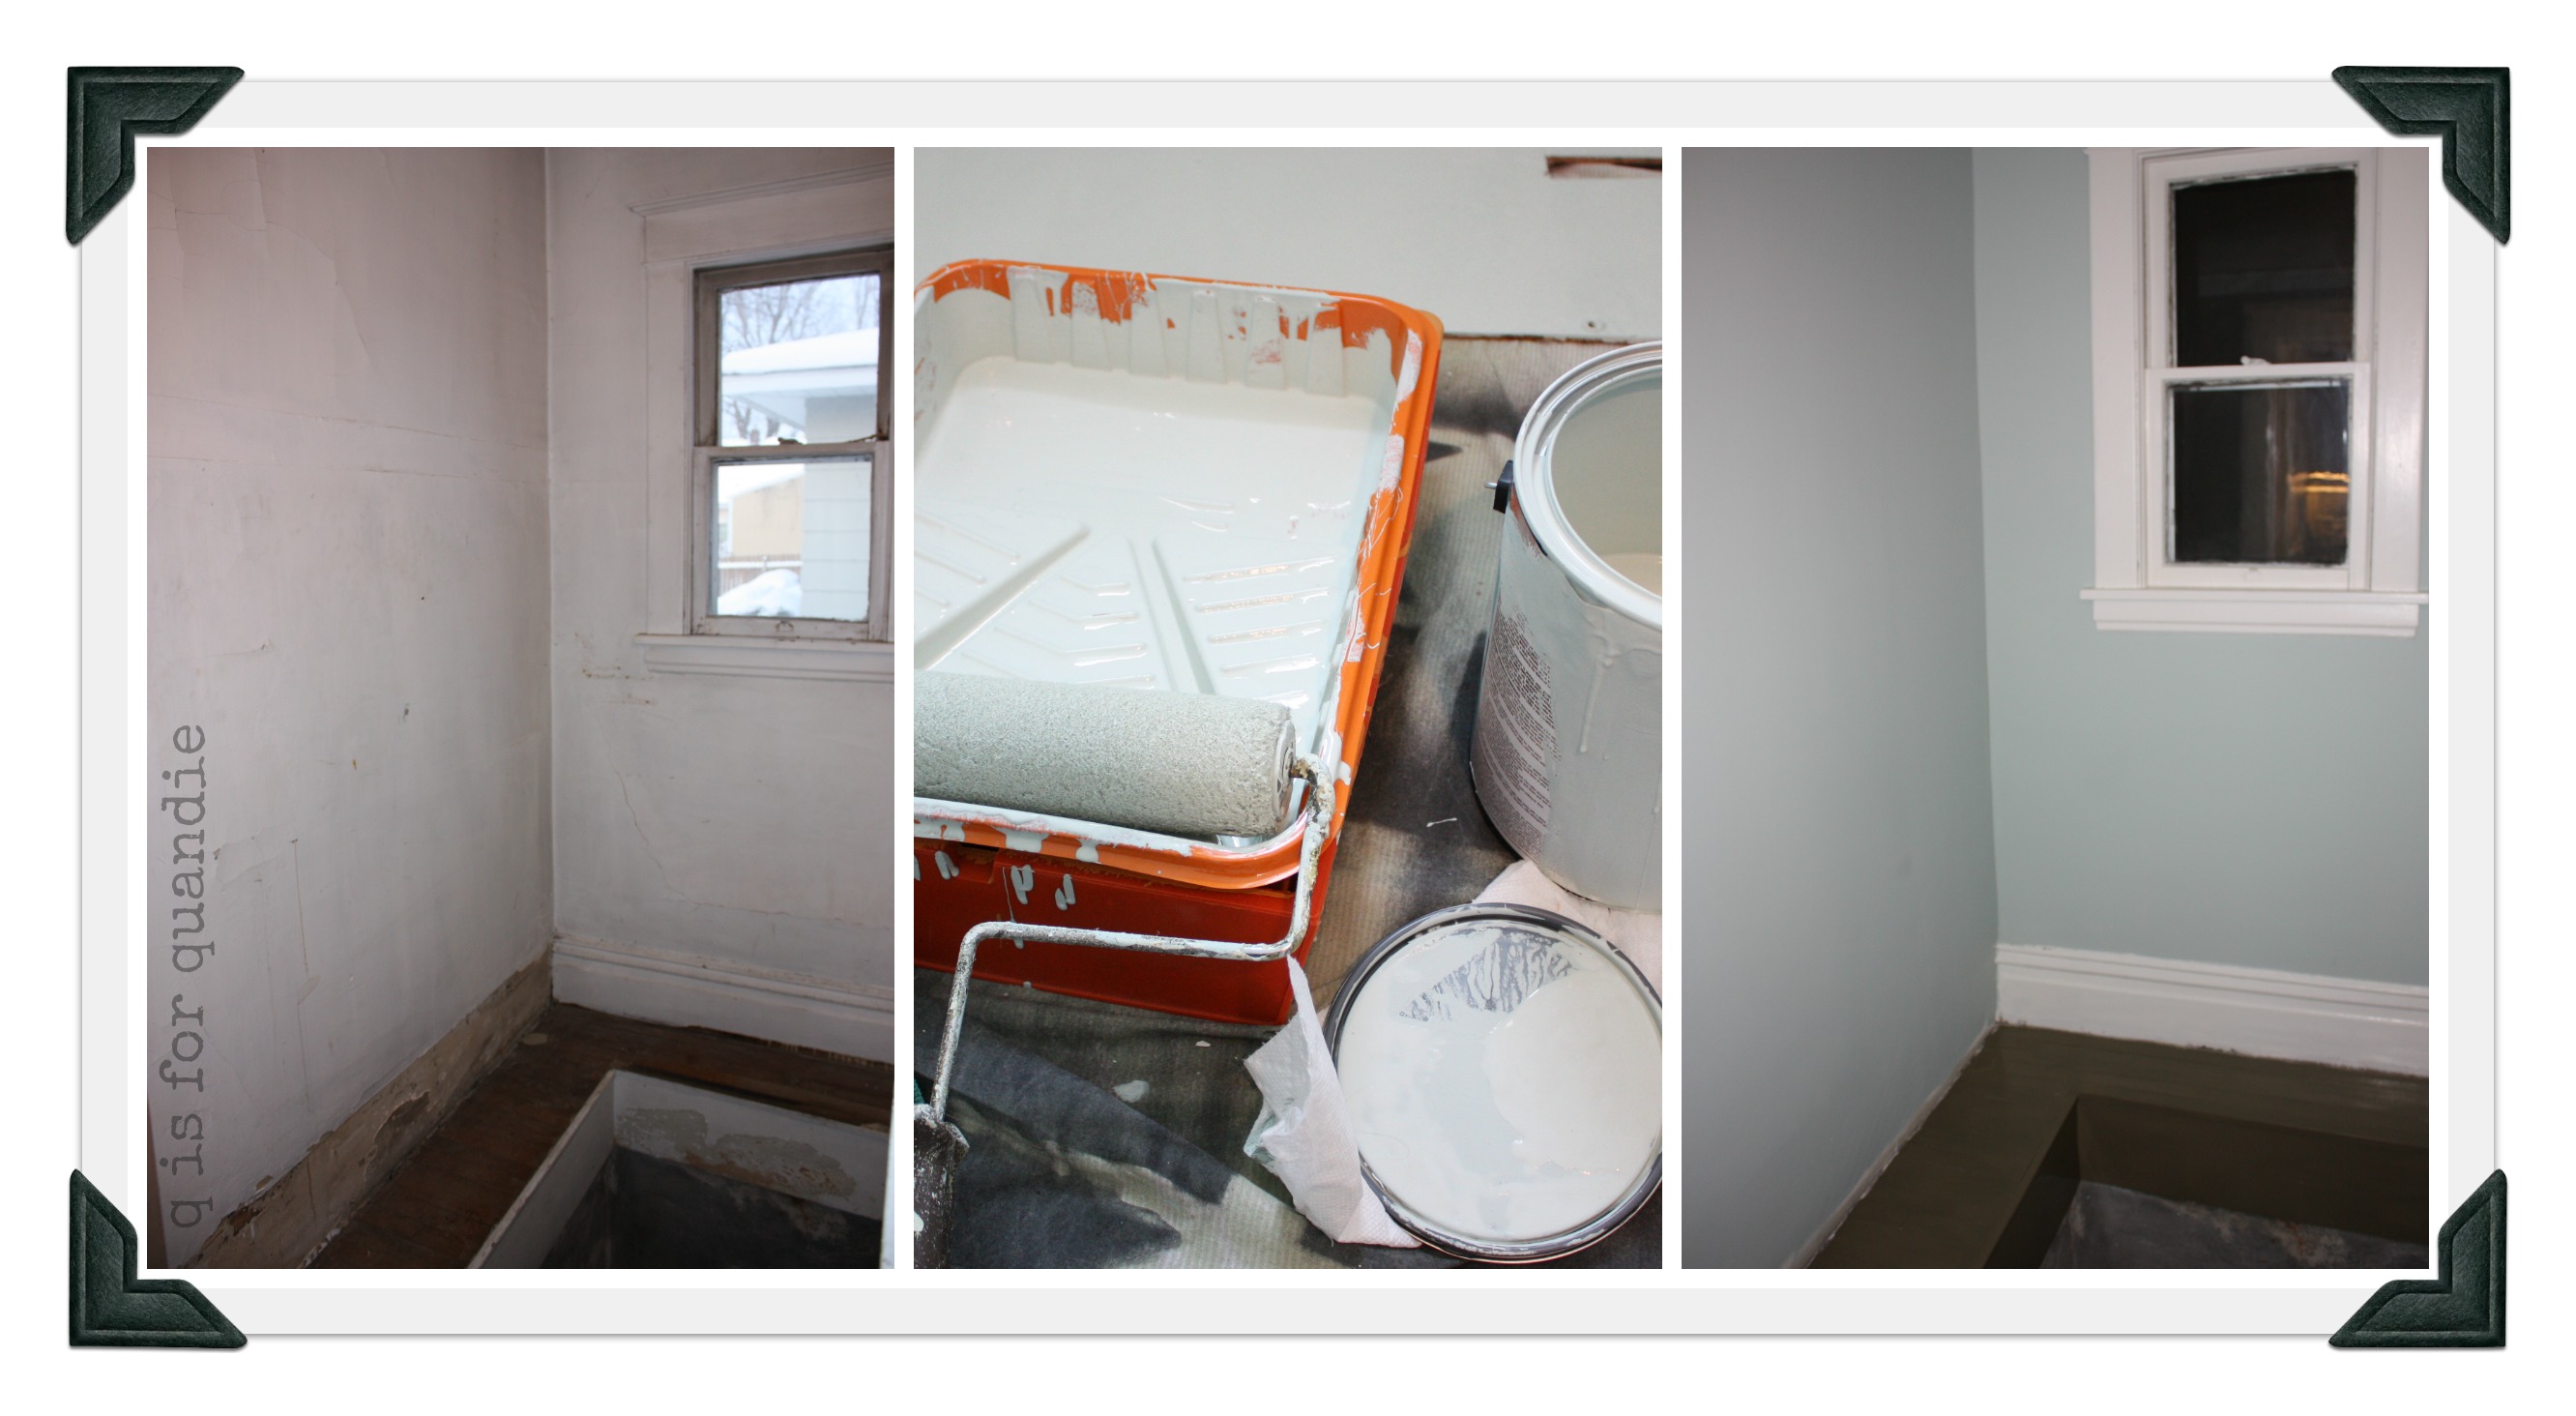
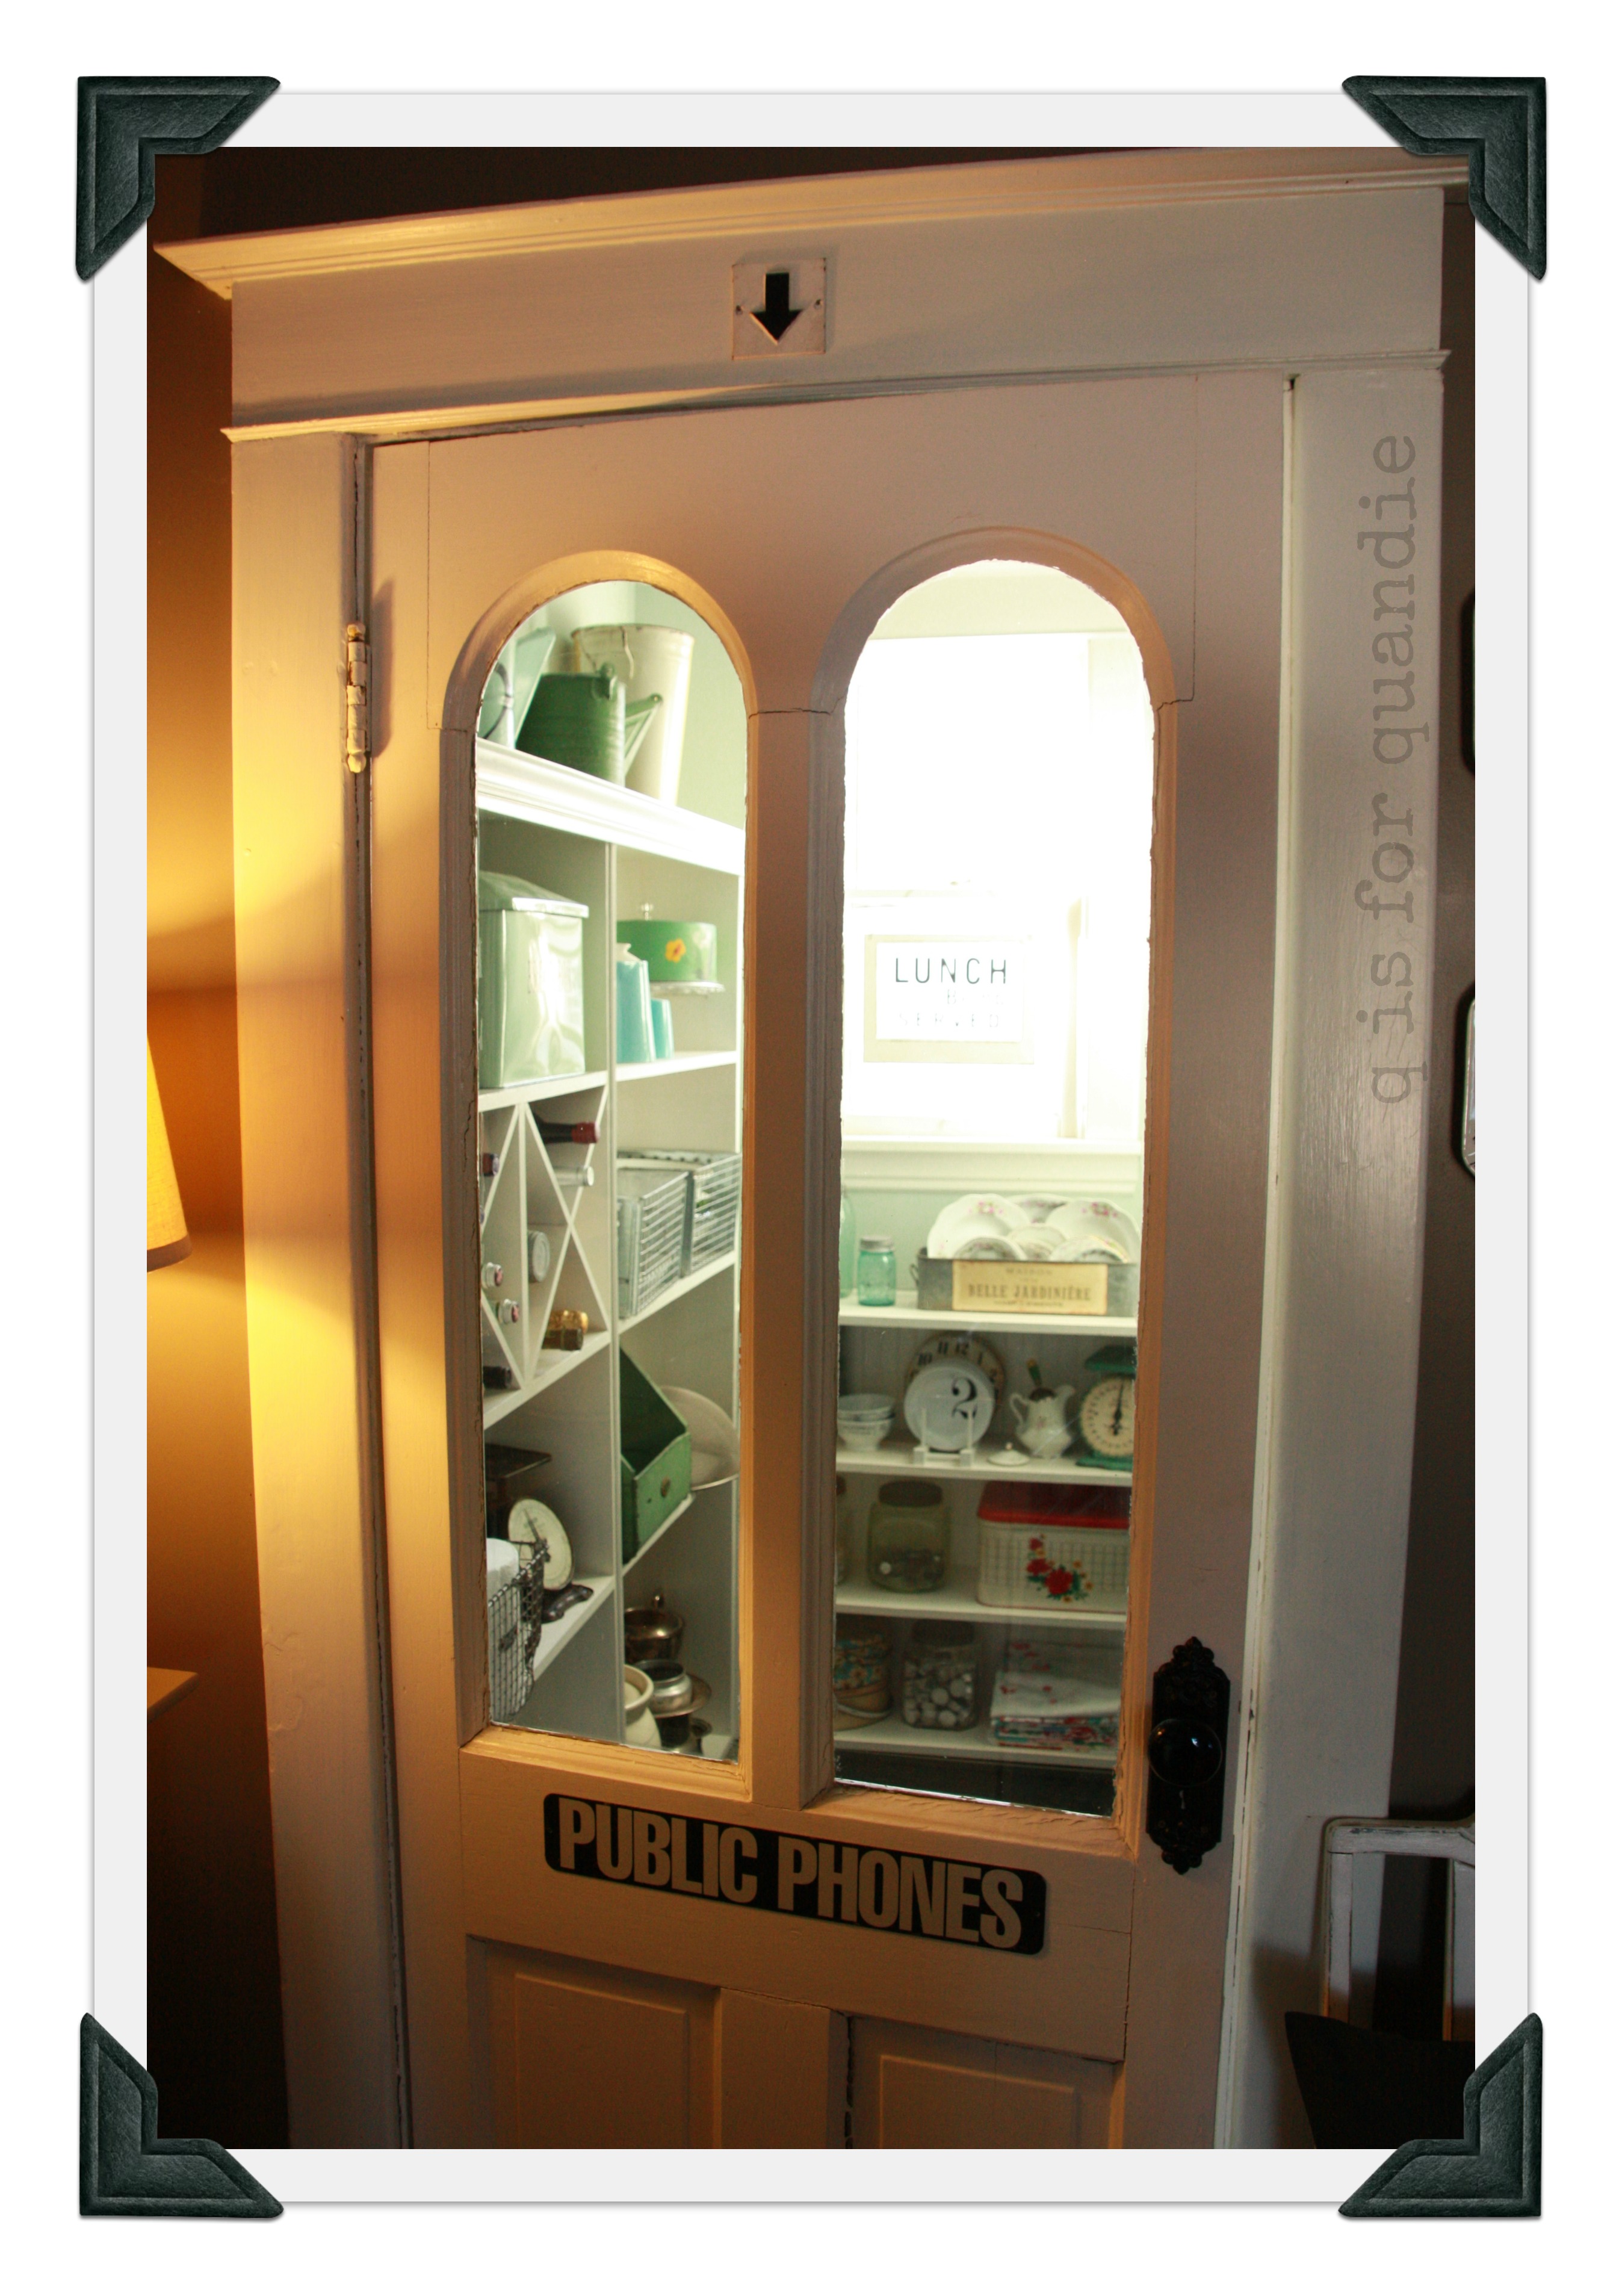
I should also clarify here that my ‘pantry’ is really just the stairway to my very creepy cellar. So, yes, that is a big opening where the floor should be. There are stairs going down there. Nonetheless, this is valuable storage space that is right off my kitchen. Not only that, the window you see faces west and gets incredible light as the sun is going down, all of which is wasted behind a closed door. My ultimate goal was to put in a door with a window, so even when the door is closed, that light would shine into the kitchen. Therefore, I needed to clean this up. No more hiding the mess.
First we had some repairs made to the plaster walls and ceiling. Next came a fresh coat of paint in a lovely shade of aqua.

Ahhhhh, better already.
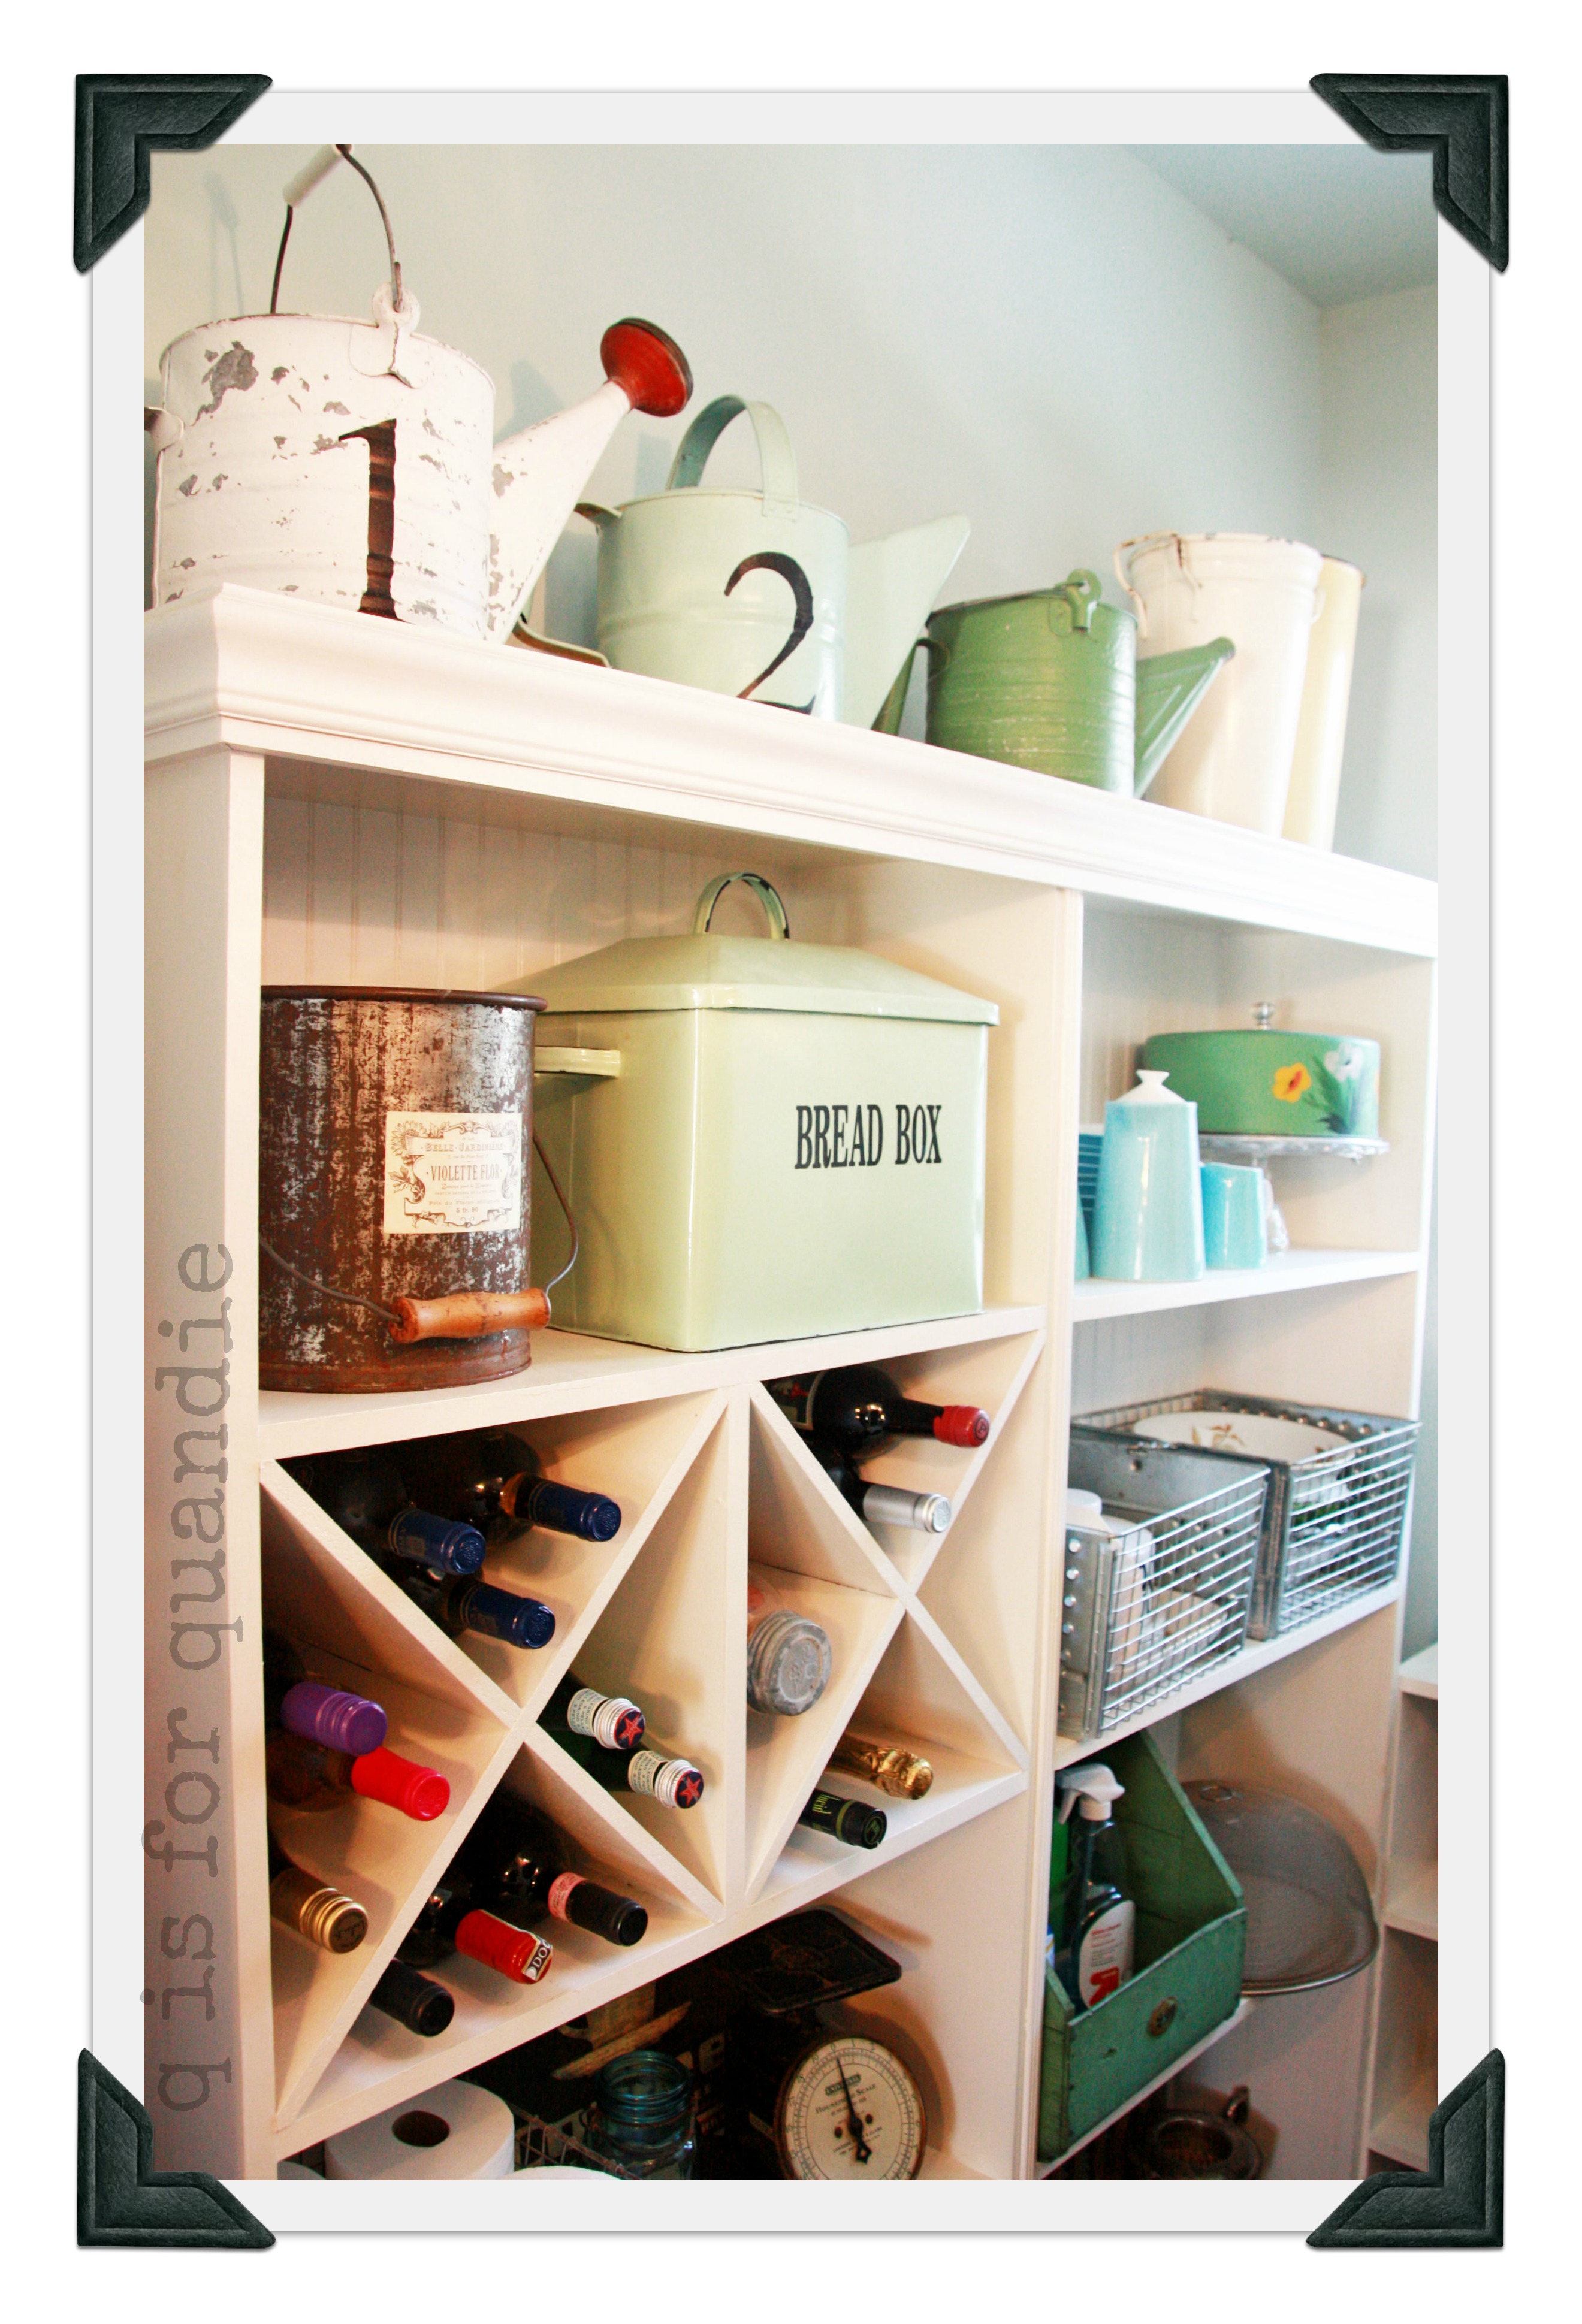
I knew I needed proper shelves in here instead of the tacky metal garage shelves. However, I was limited by the depth of the ‘floor’. I searched high and low for pre-made shelves that would fit my space. No dice. I had to bring in the big guns. My neighbor/handy man Ken who loves to work on projects like this. He took a million measurements, I showed him pictures in magazines, and voila, he just whipped up some custom shelves for me complete with wine storage.
 Fantastic, right?
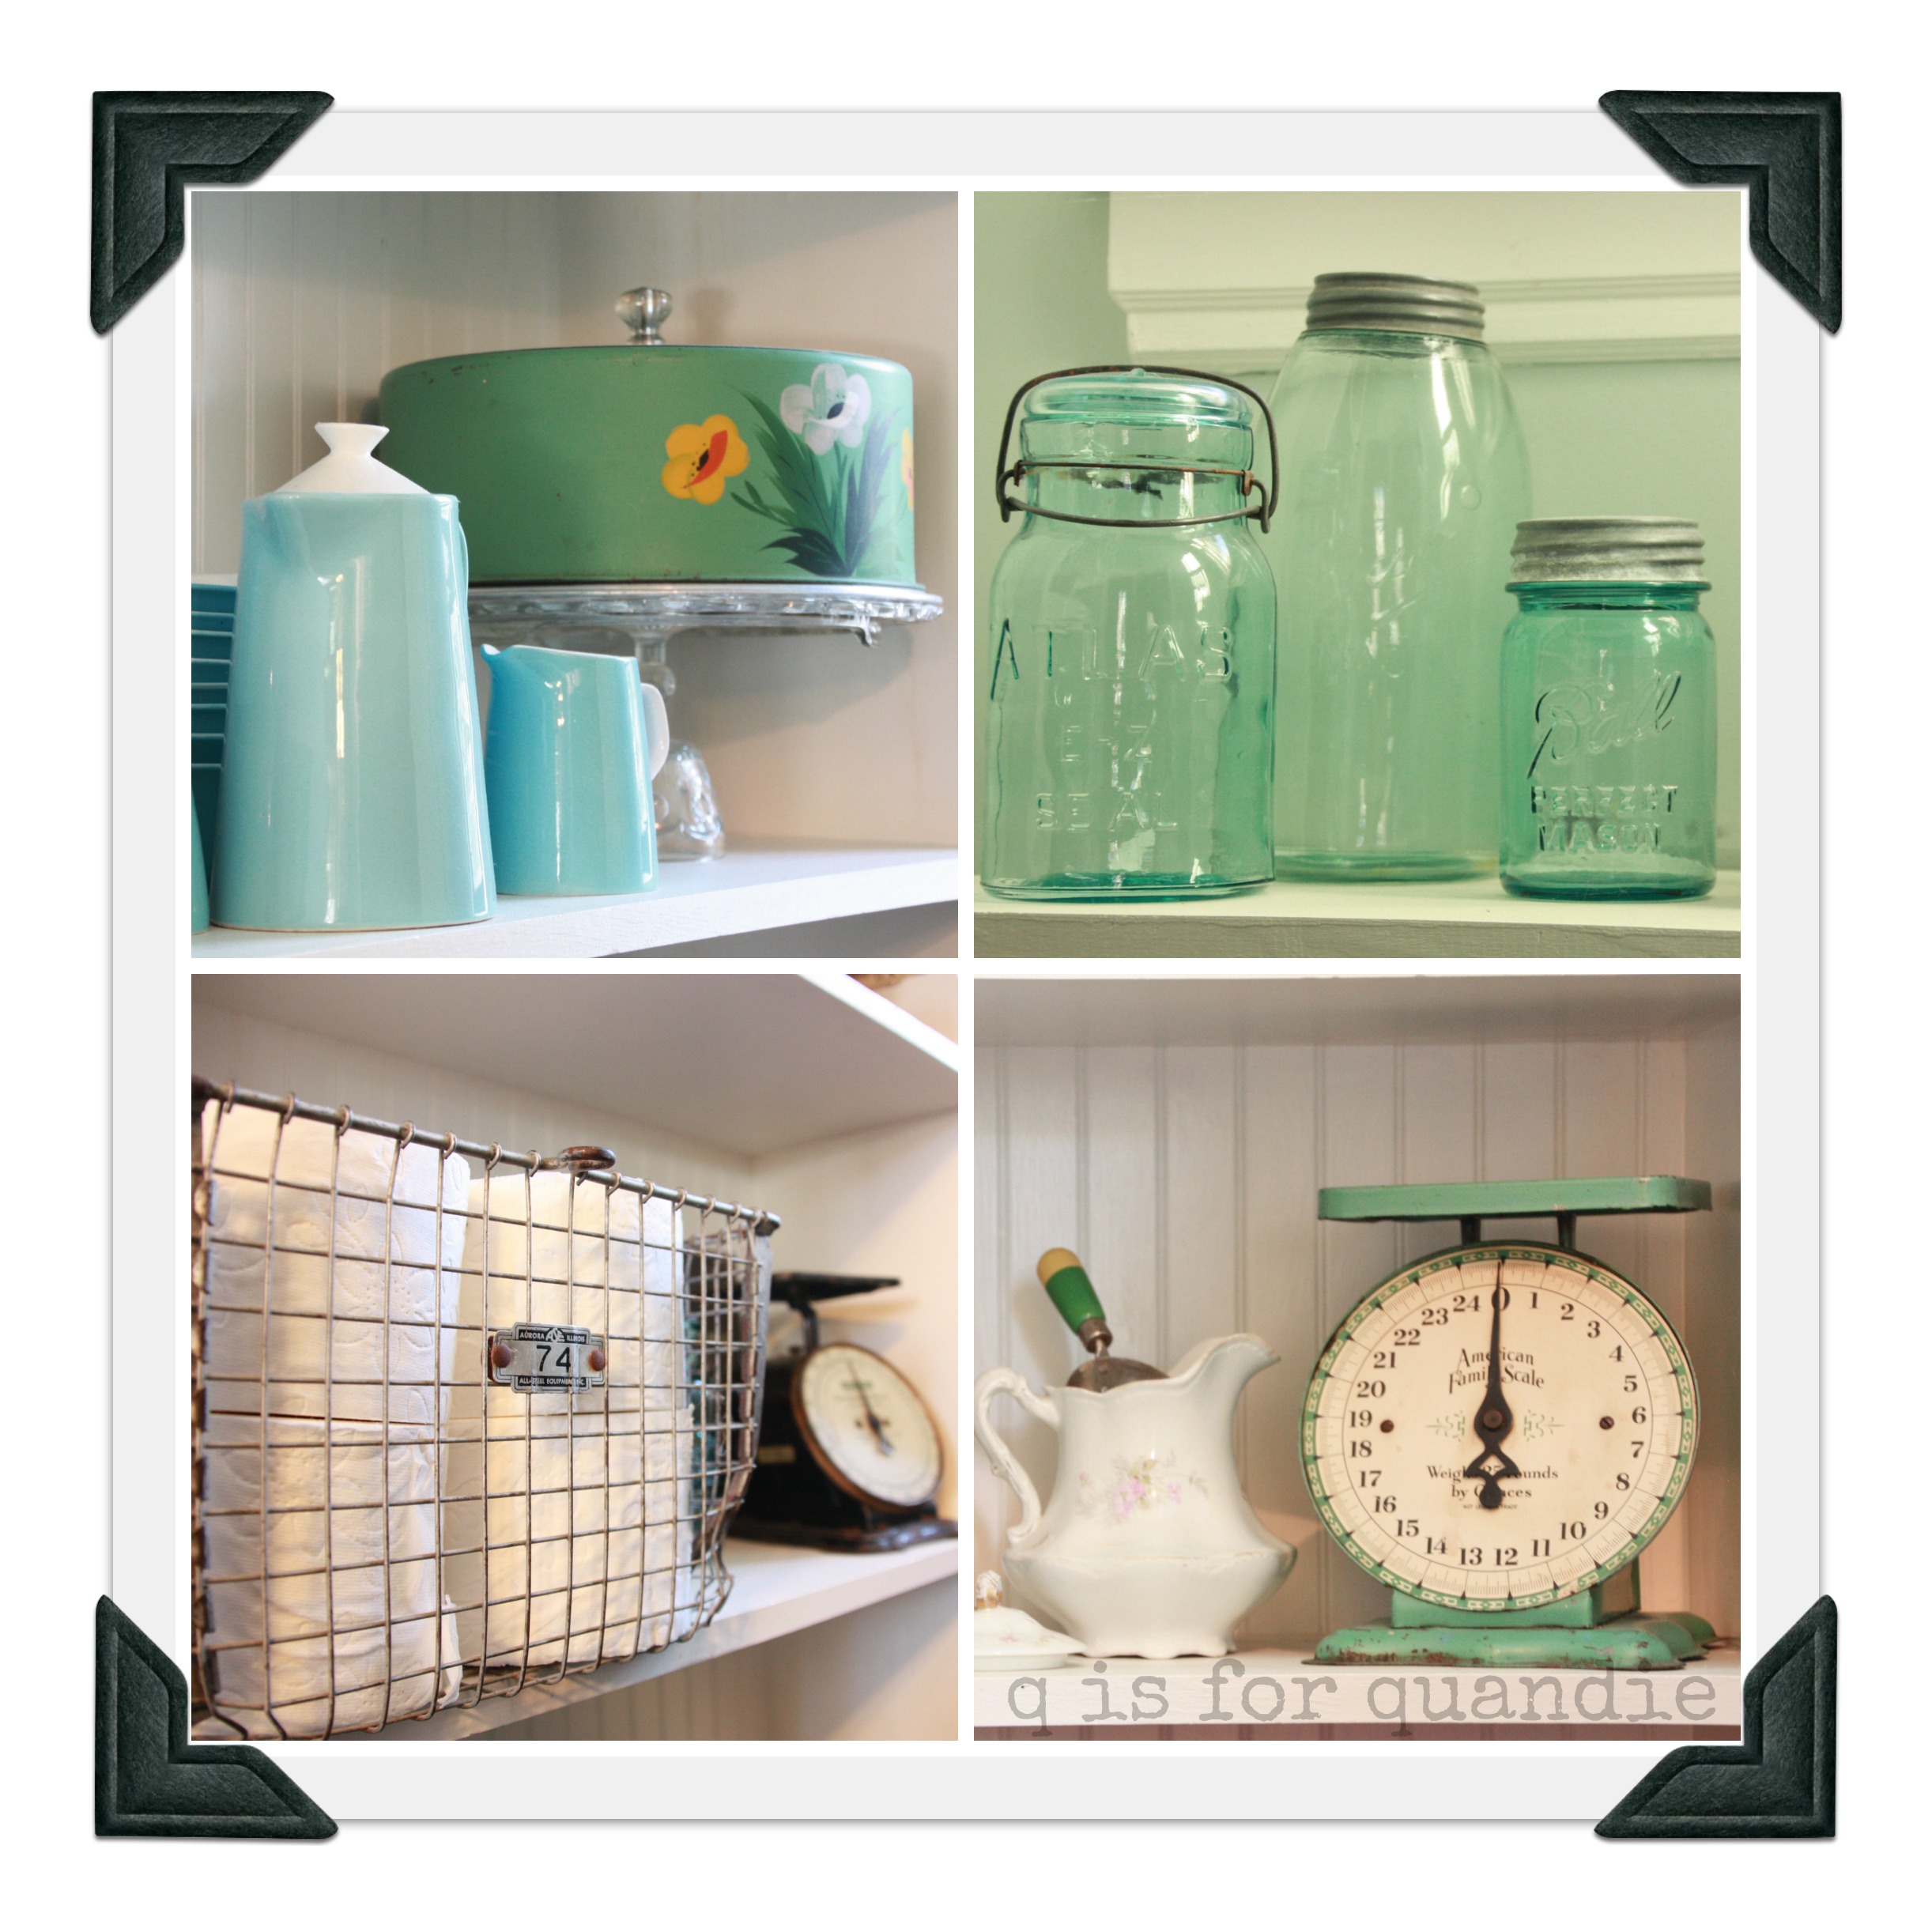
Next came the little details inside. Vintage storage containers to disguise the less than pretty stuff, like Kleenex or cleaning supplies. Blue canning jars, vintage cake taker, old kitchen scales and locker baskets to hold the paper goods.

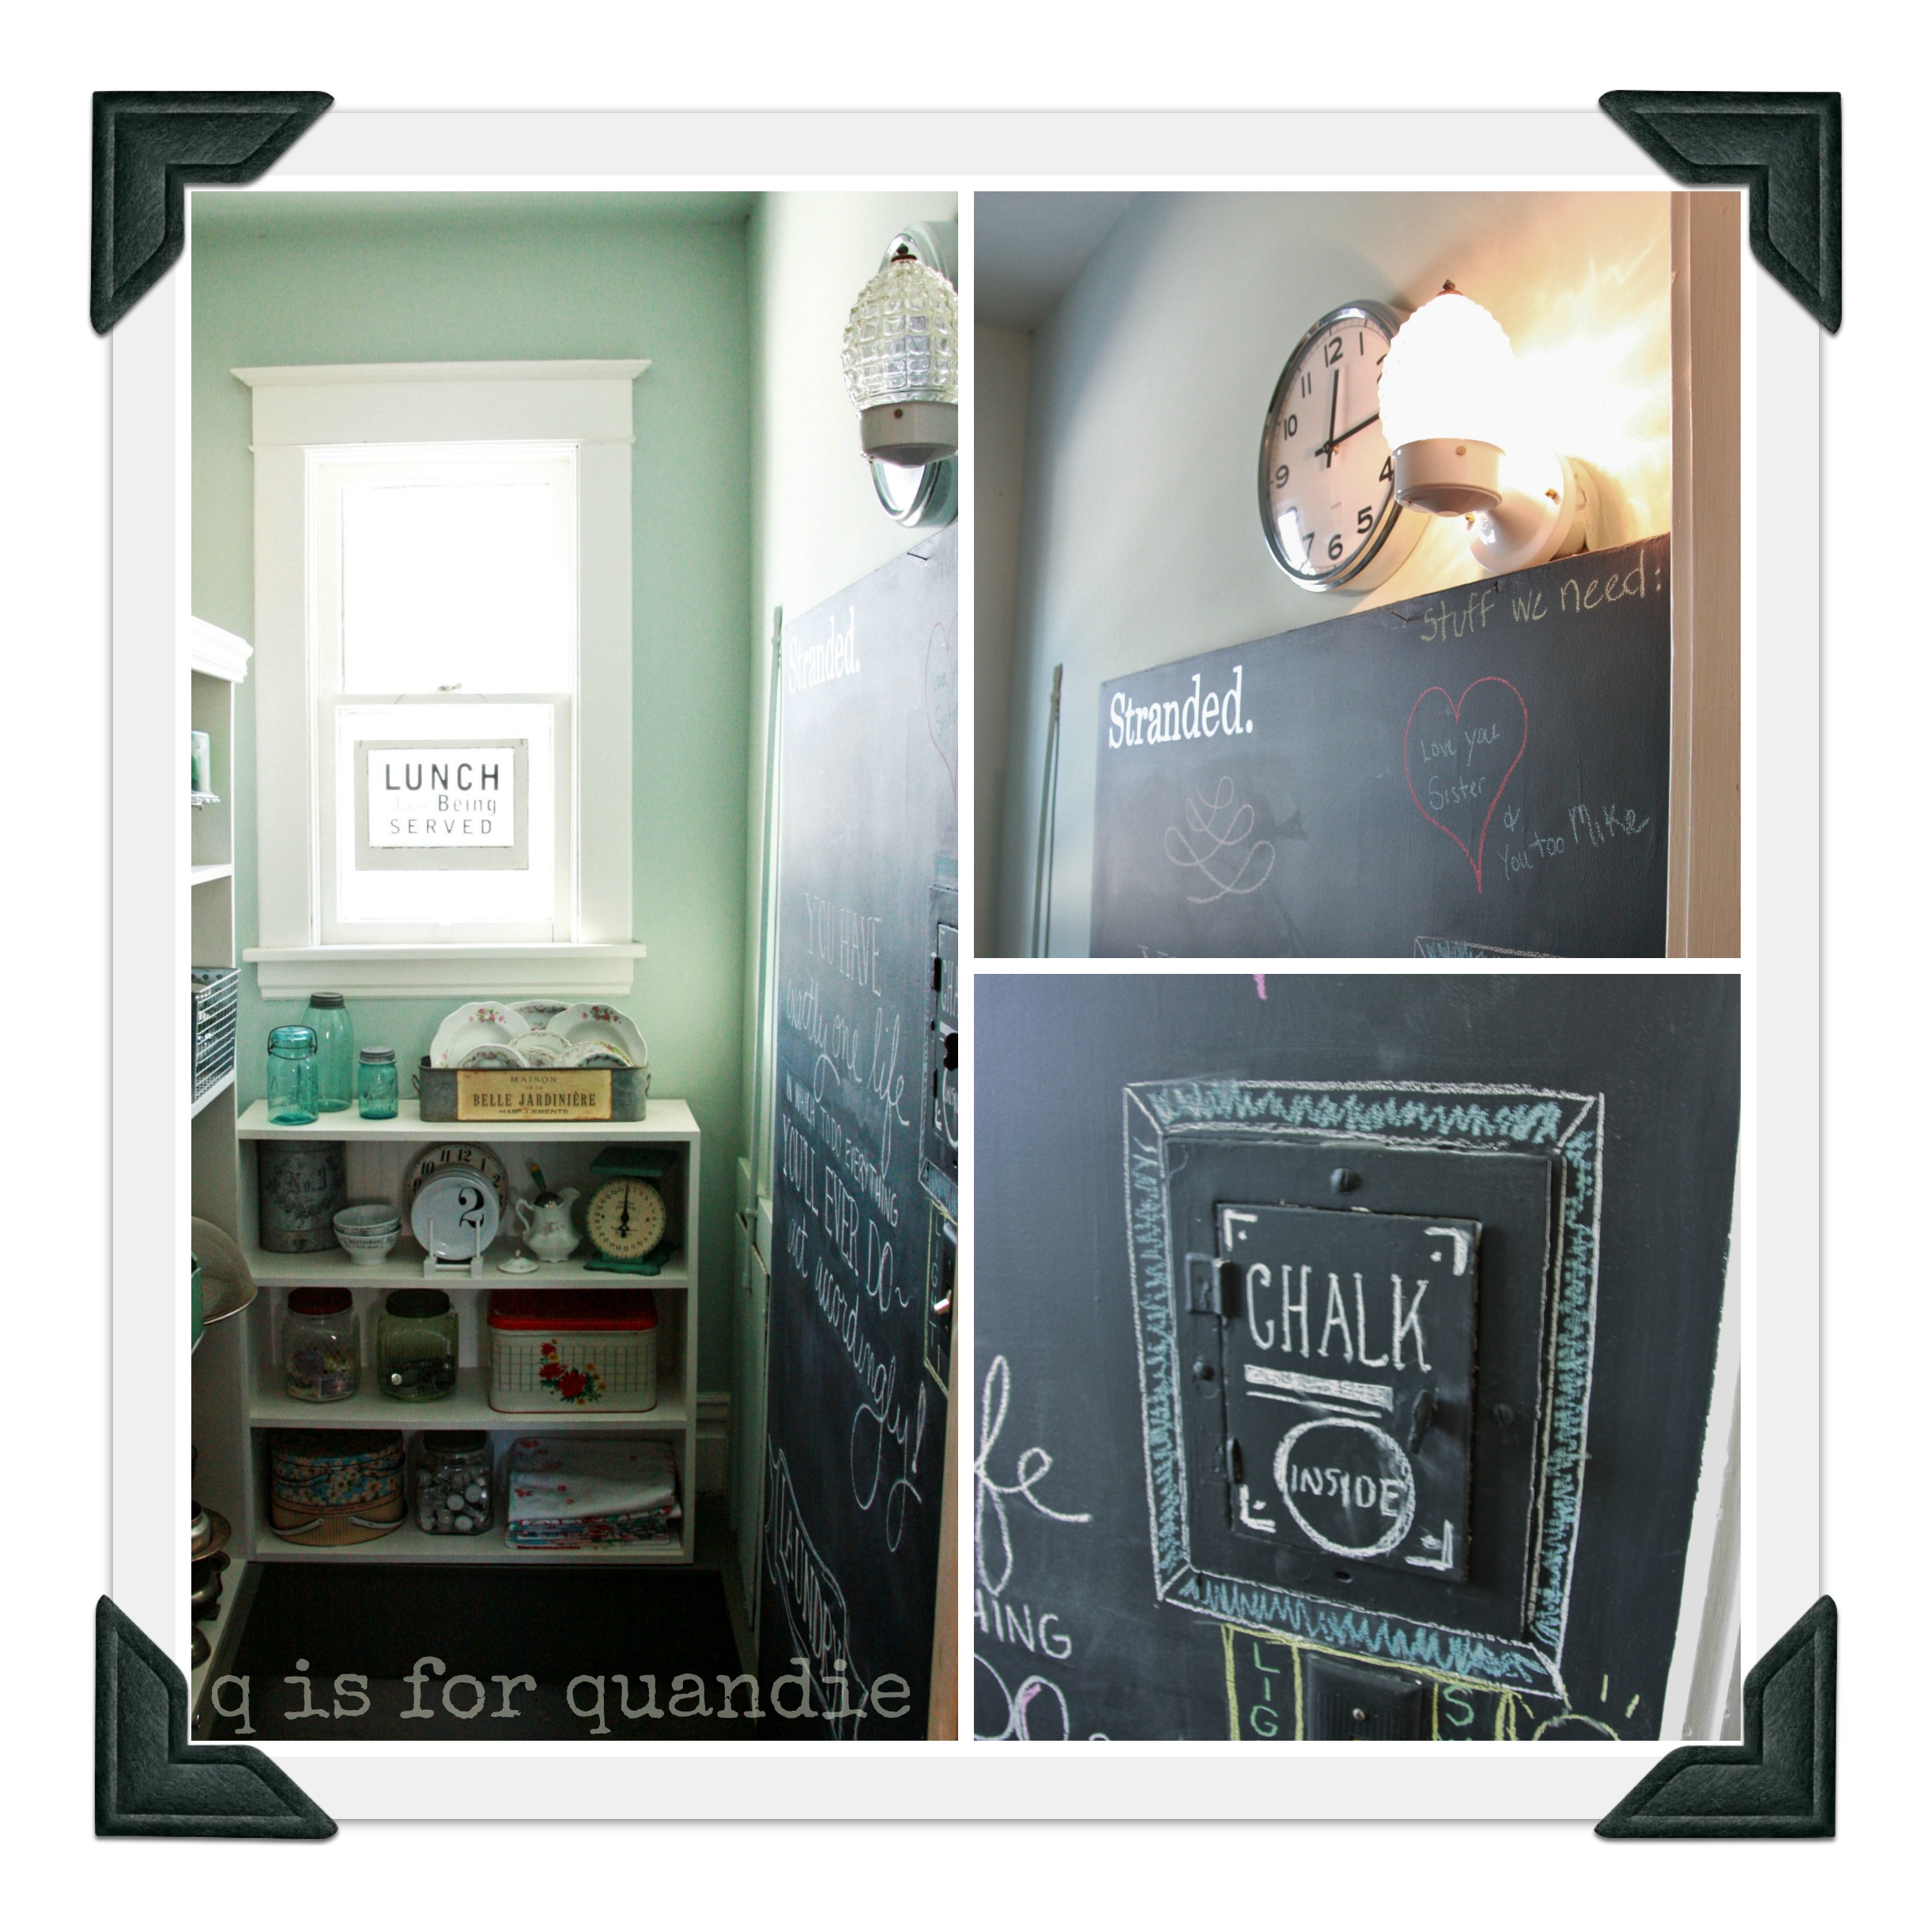
A wall of chalkboard paint on one side for fun and a new glass shade for the light fixture (from a garage sale, naturally) were added.

And finally, the new door. Purchased through craigslist, outfitted with vintage hardware from Etsy, and trimmed down and hung by Ken. Isn’t it fab?

And now that you can see inside, I keep it nice and tidy … most of the time.

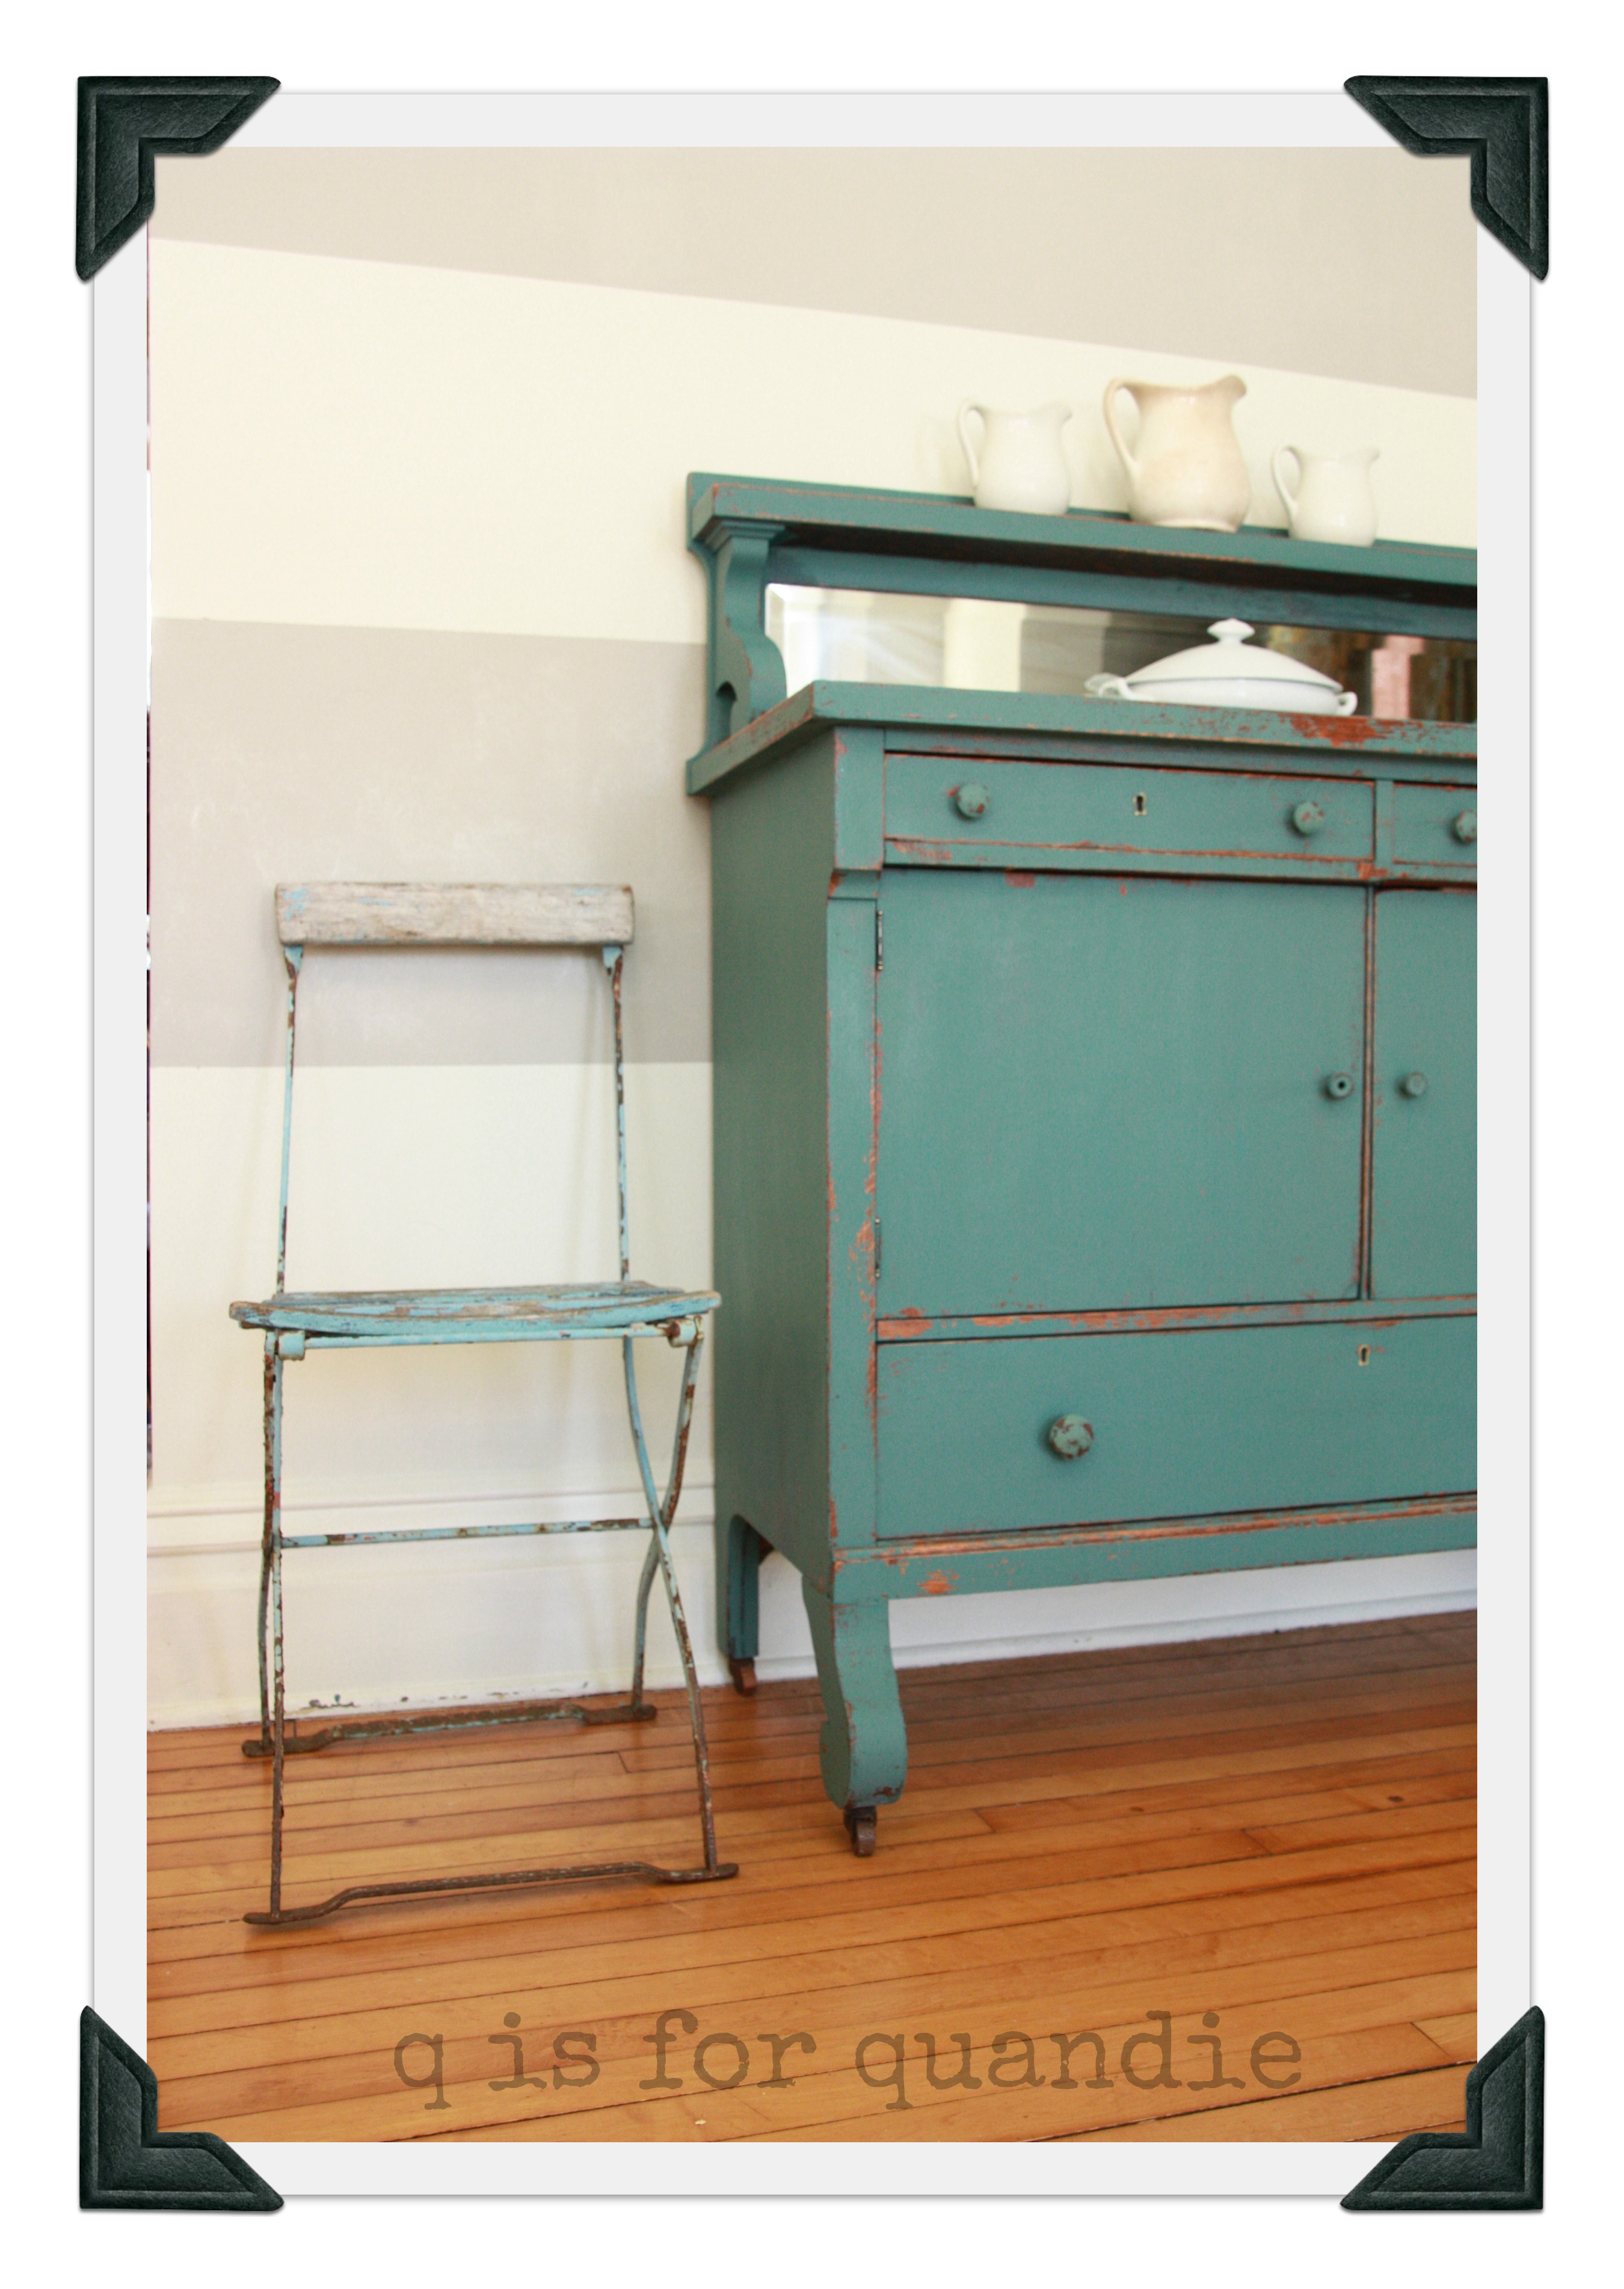
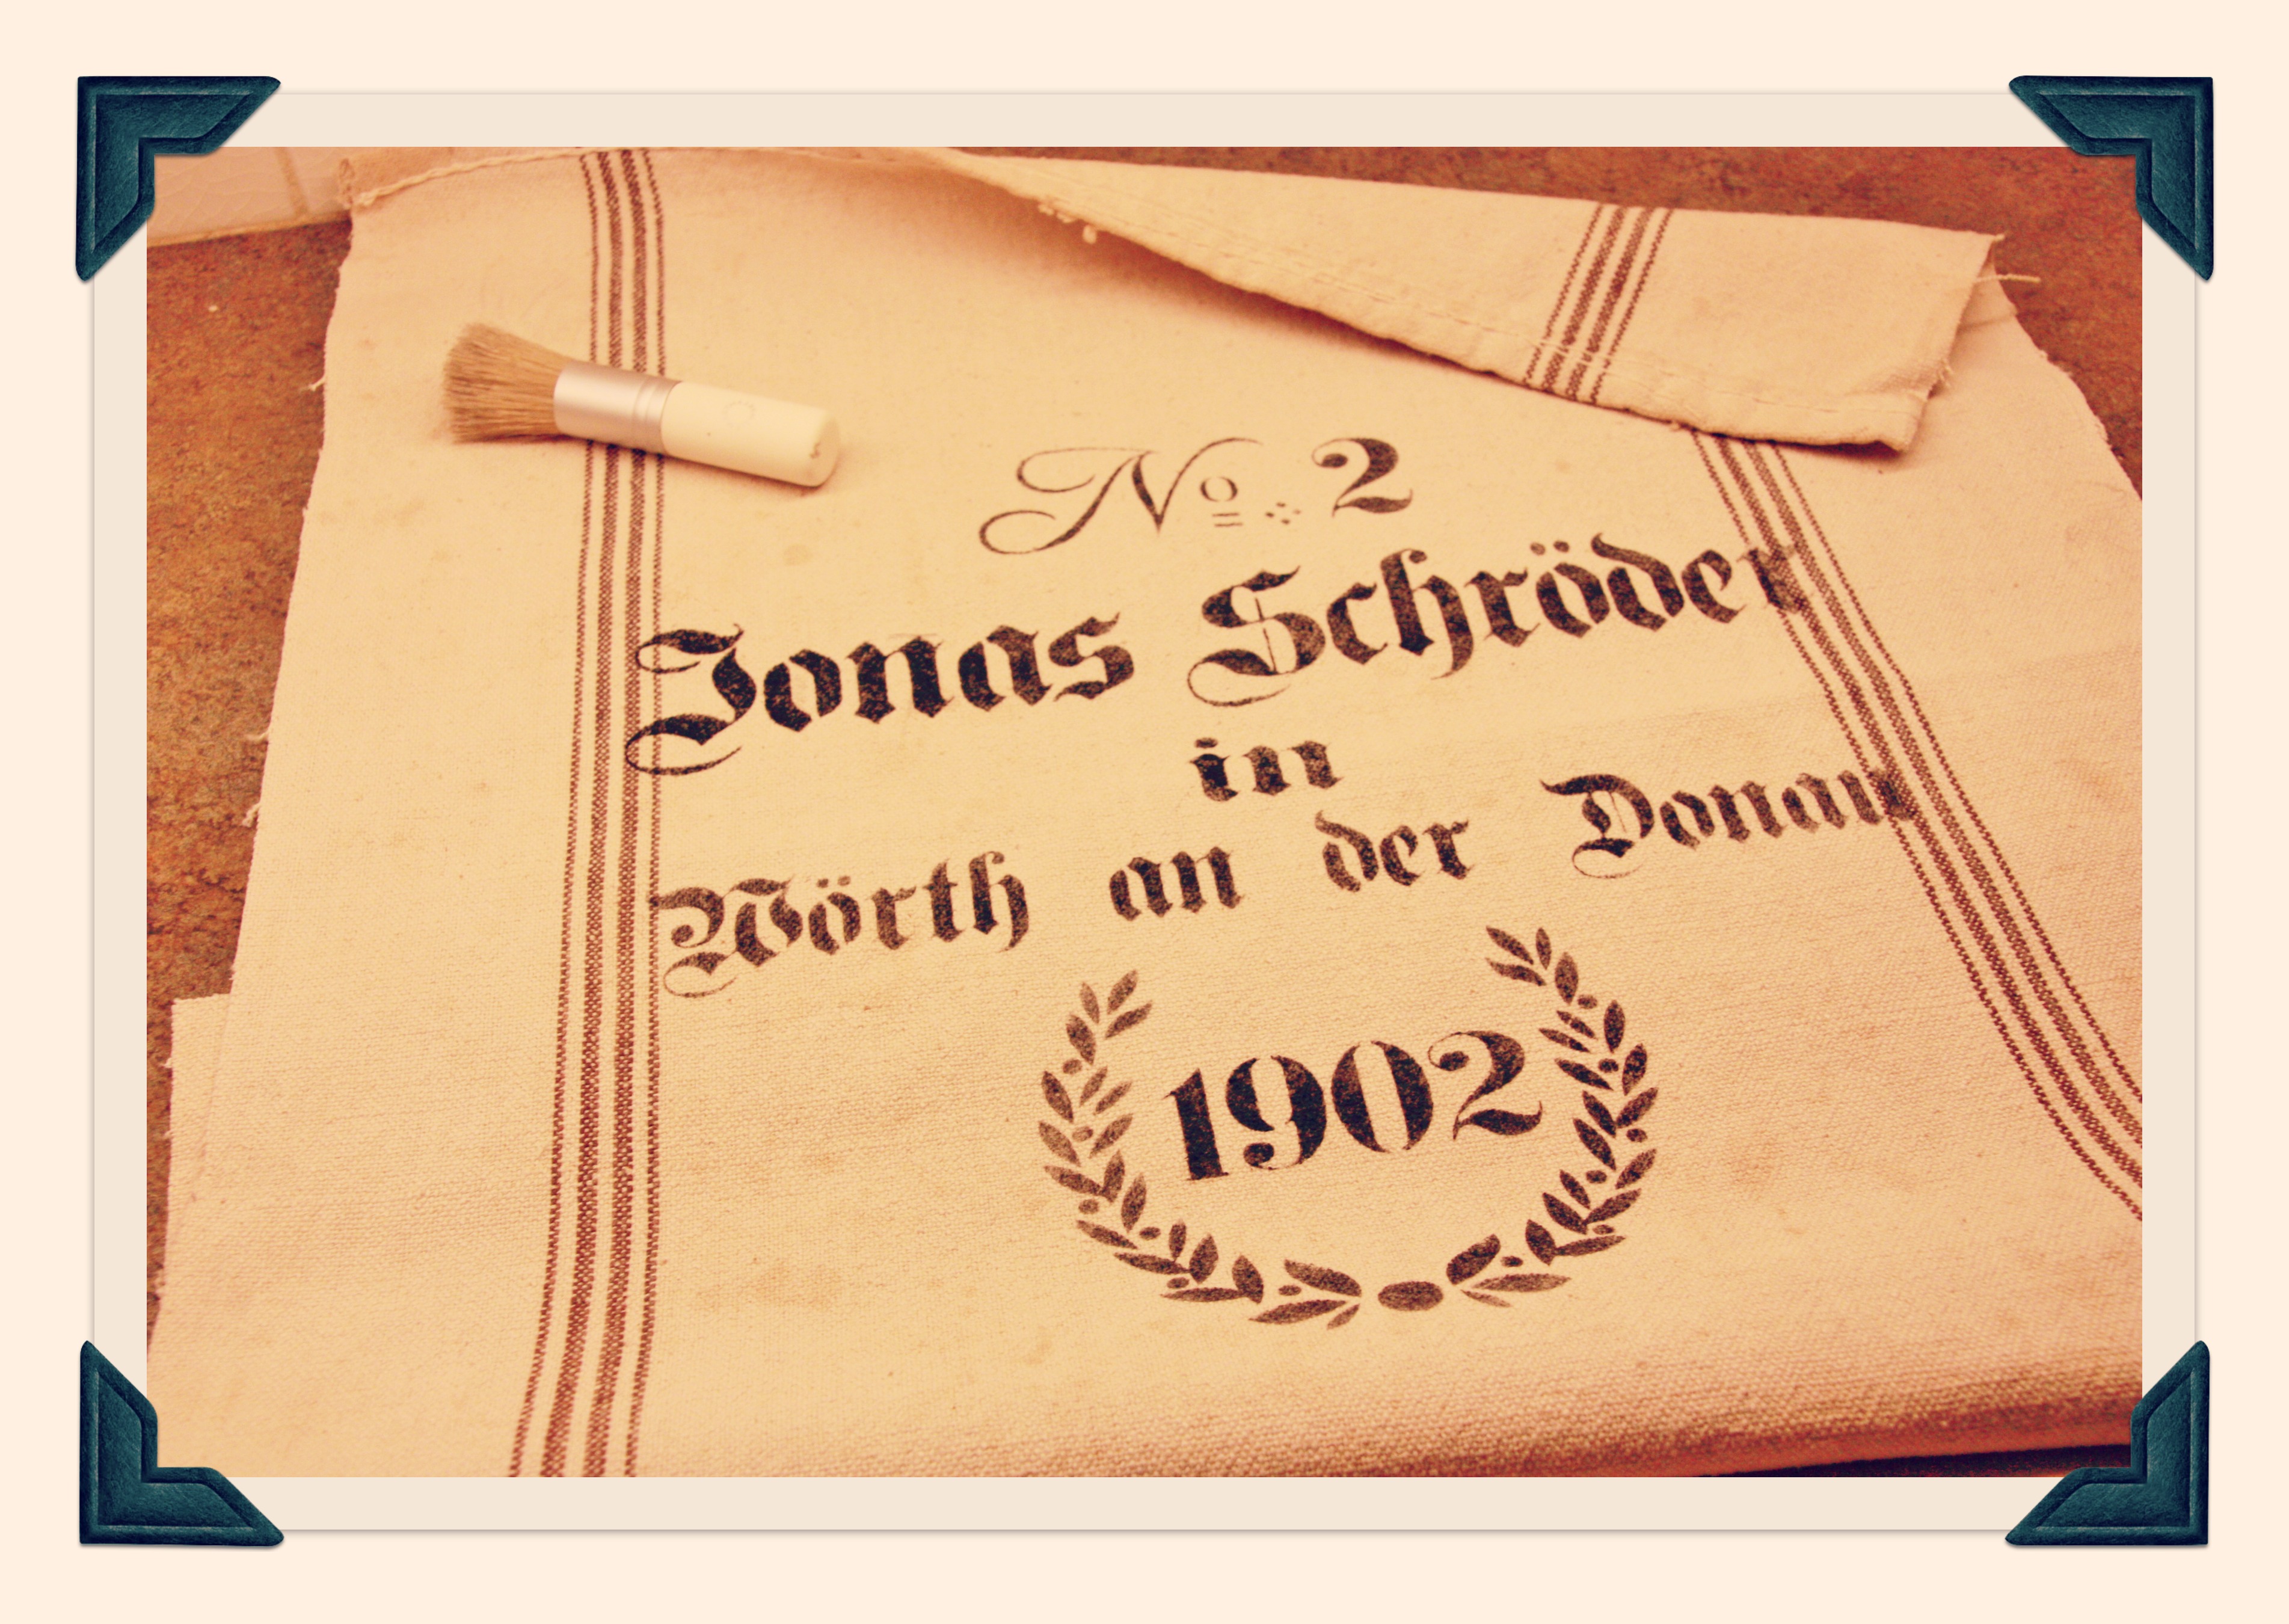
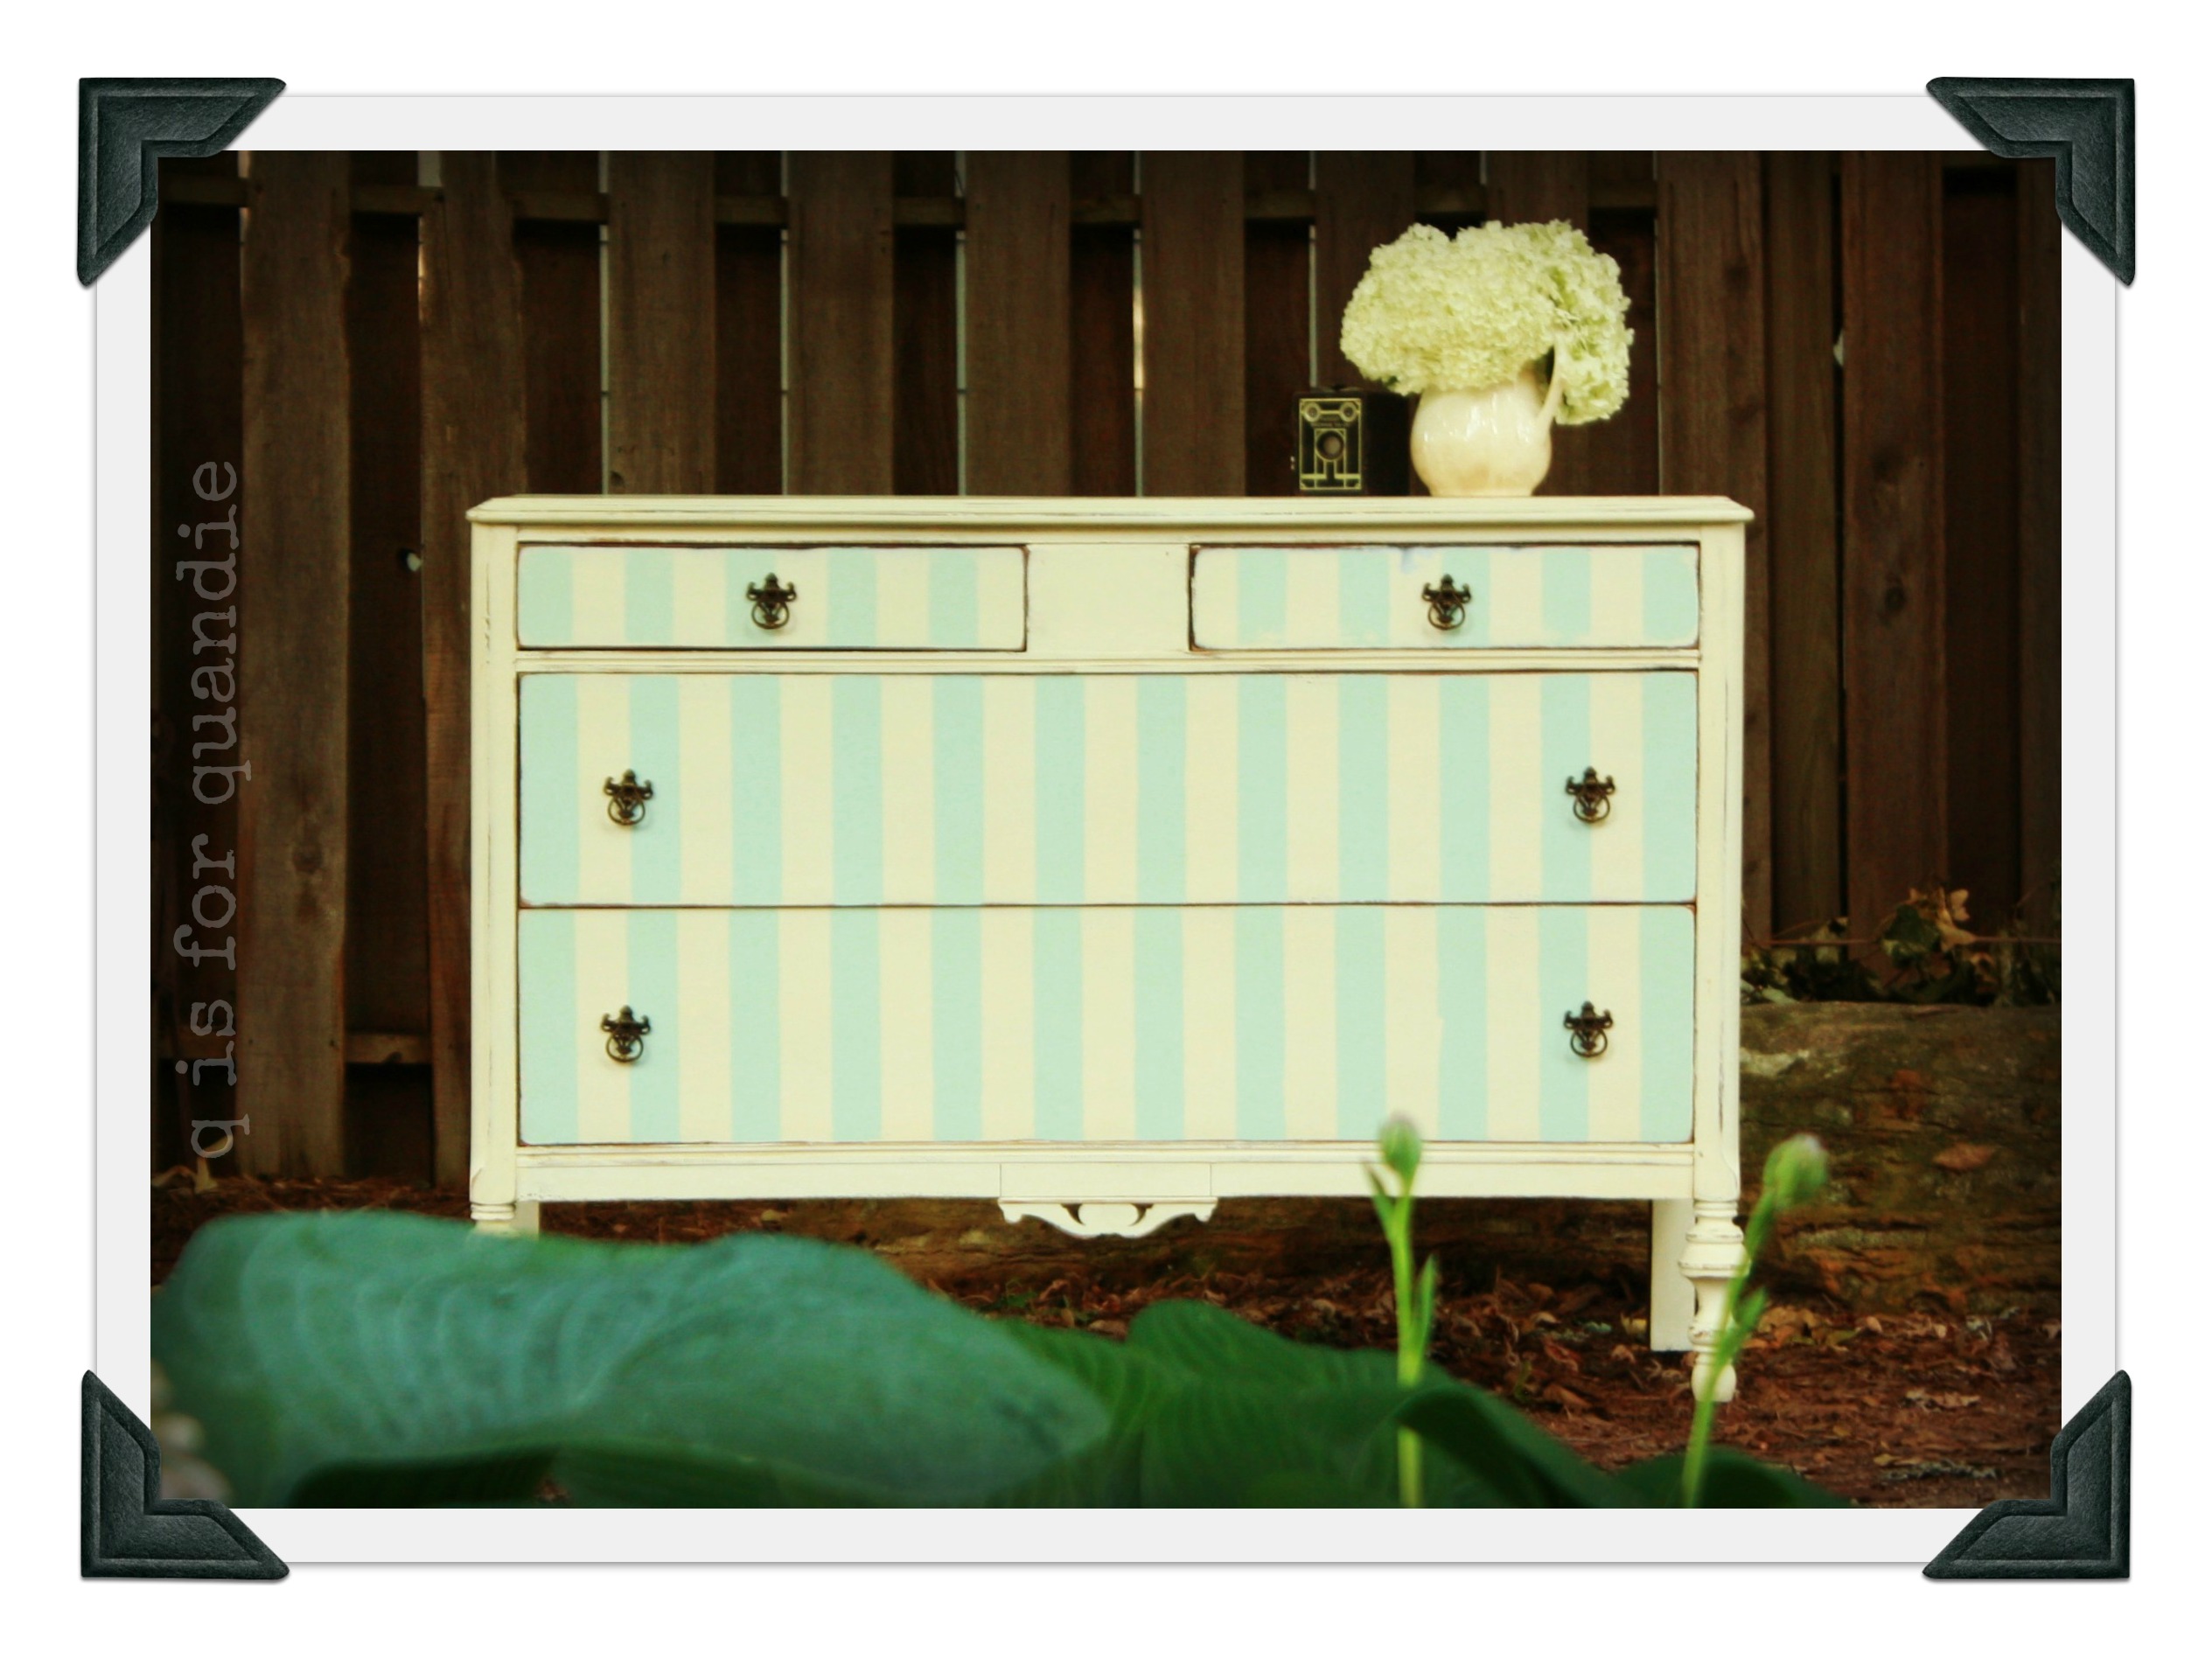 I’d seen something similar on pinterest and thought I would give it a try. The key to making this look work is to be sure that your stripes are all lined up. Also, be sure to start in the center of the piece and work your way out to keep the edges even.
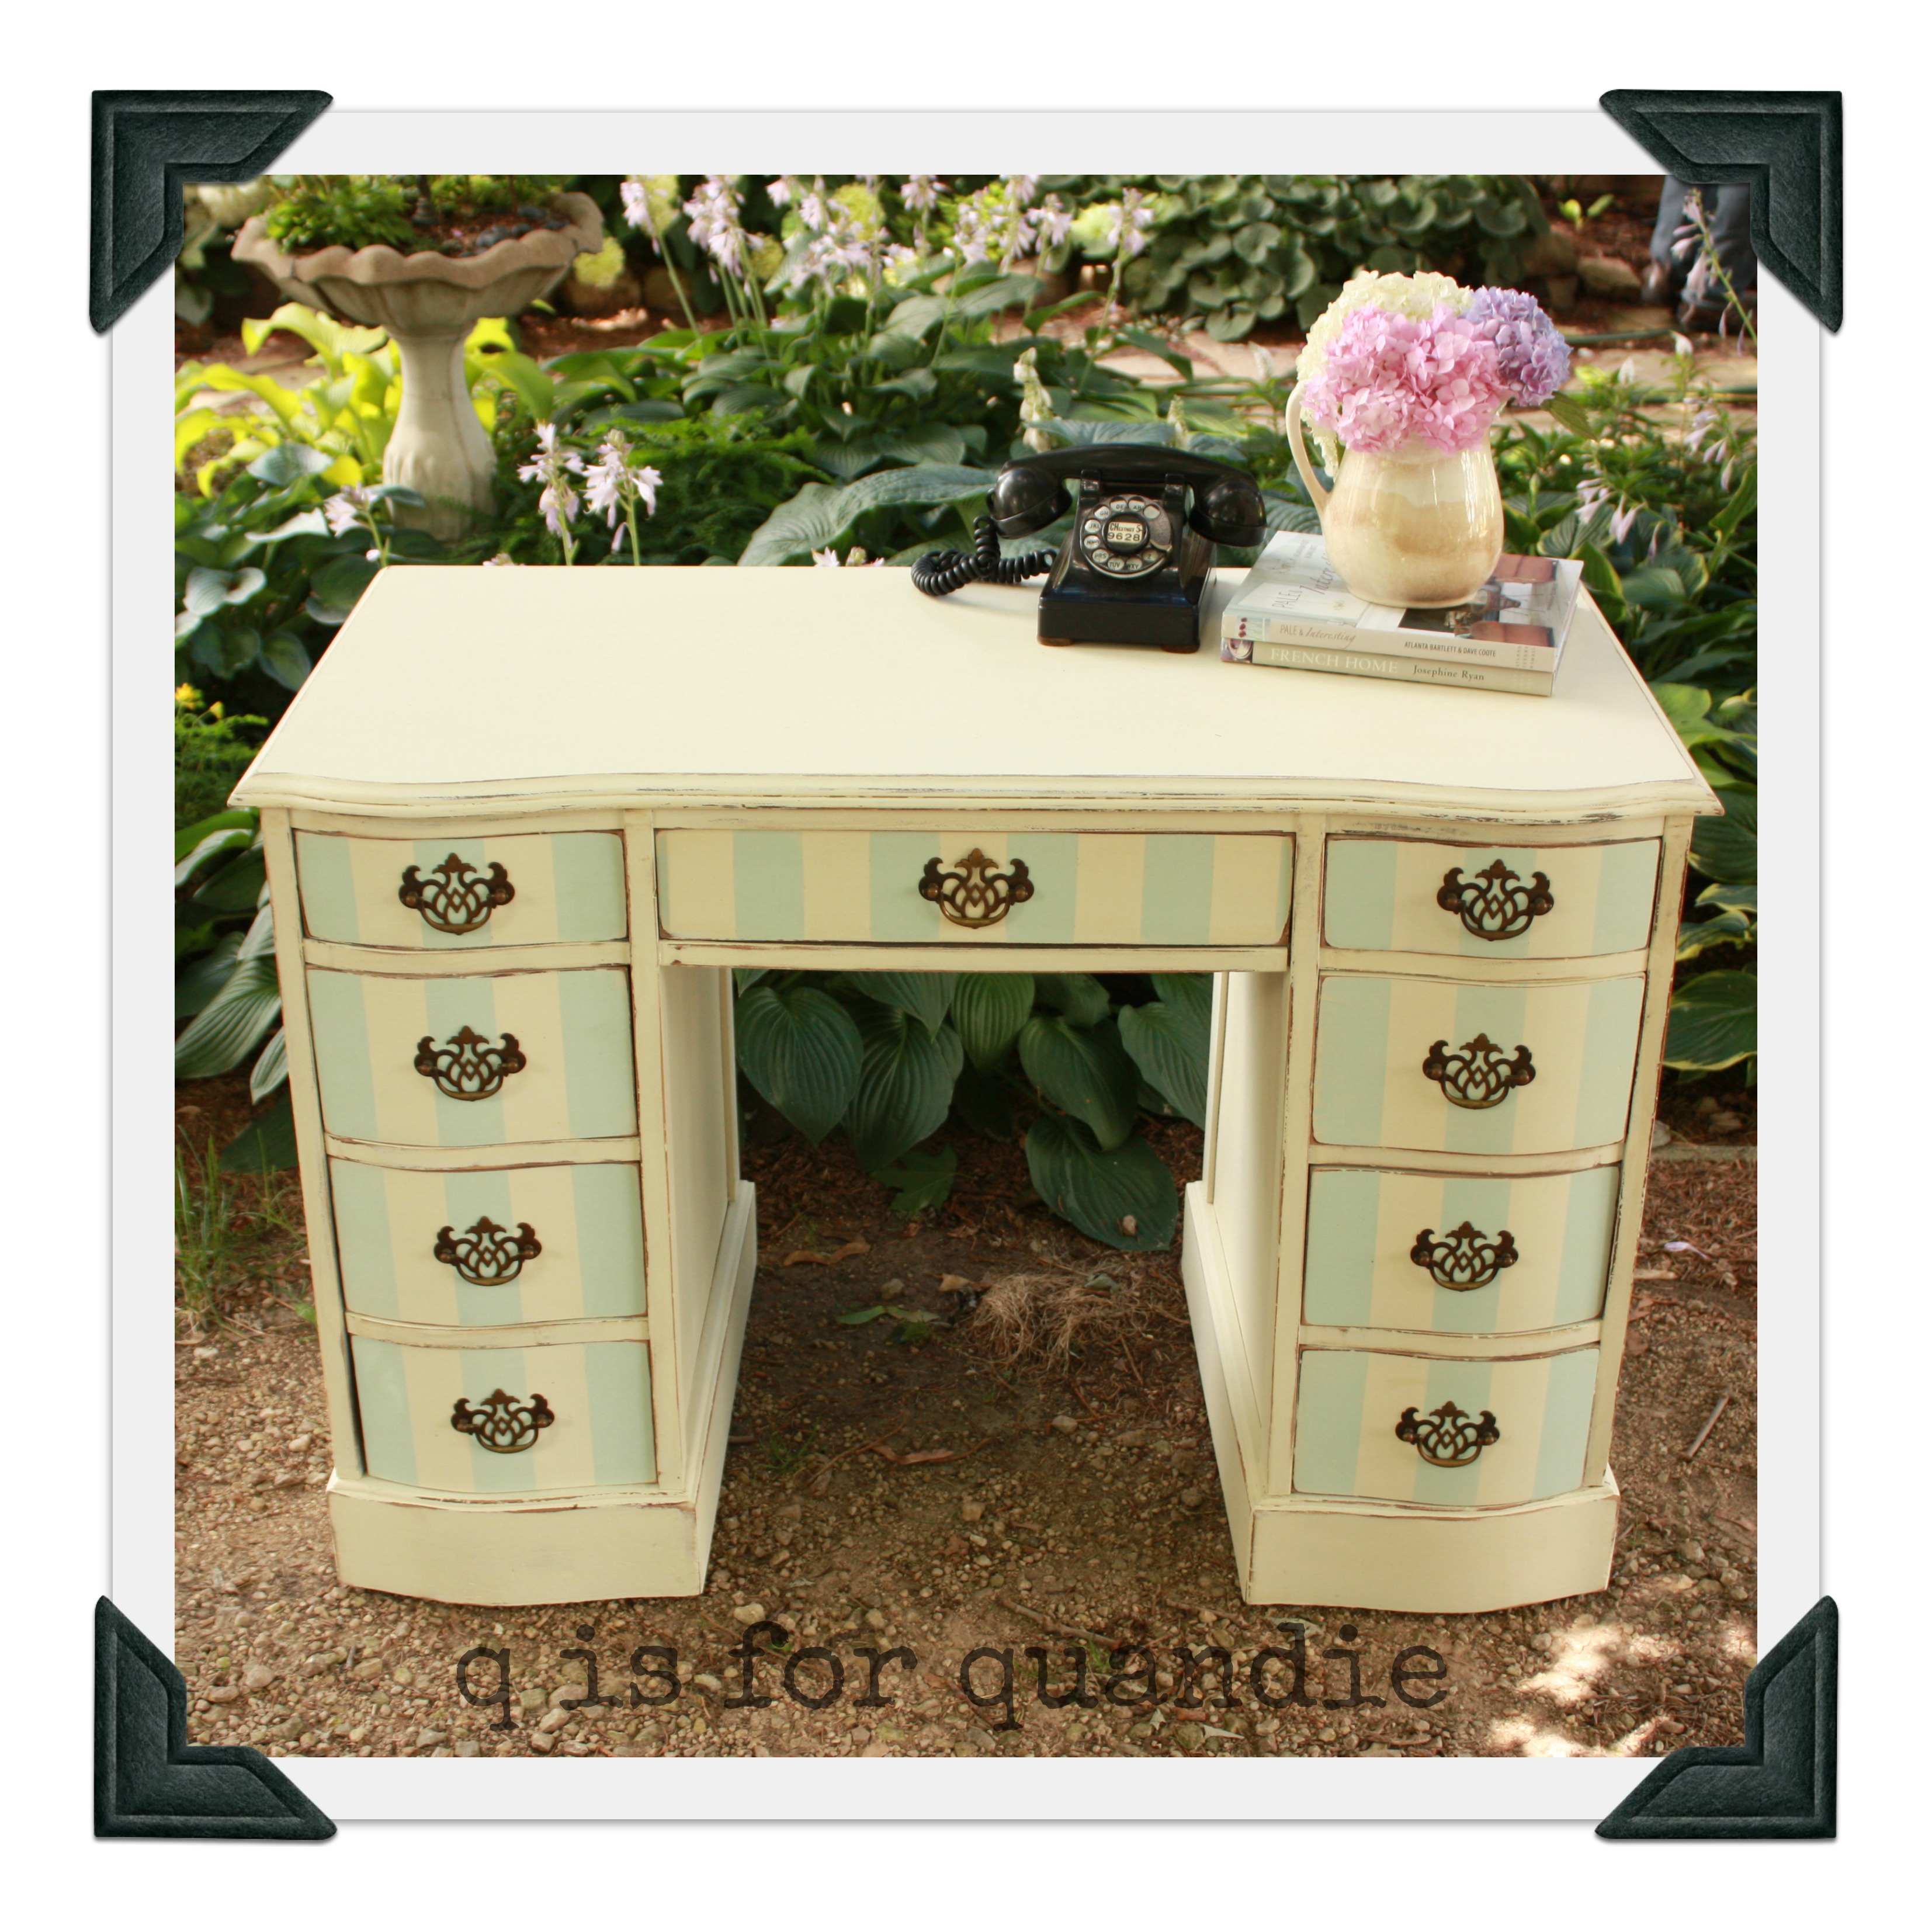 Easy peasy.
 Then this one got stripes on just the top drawer.
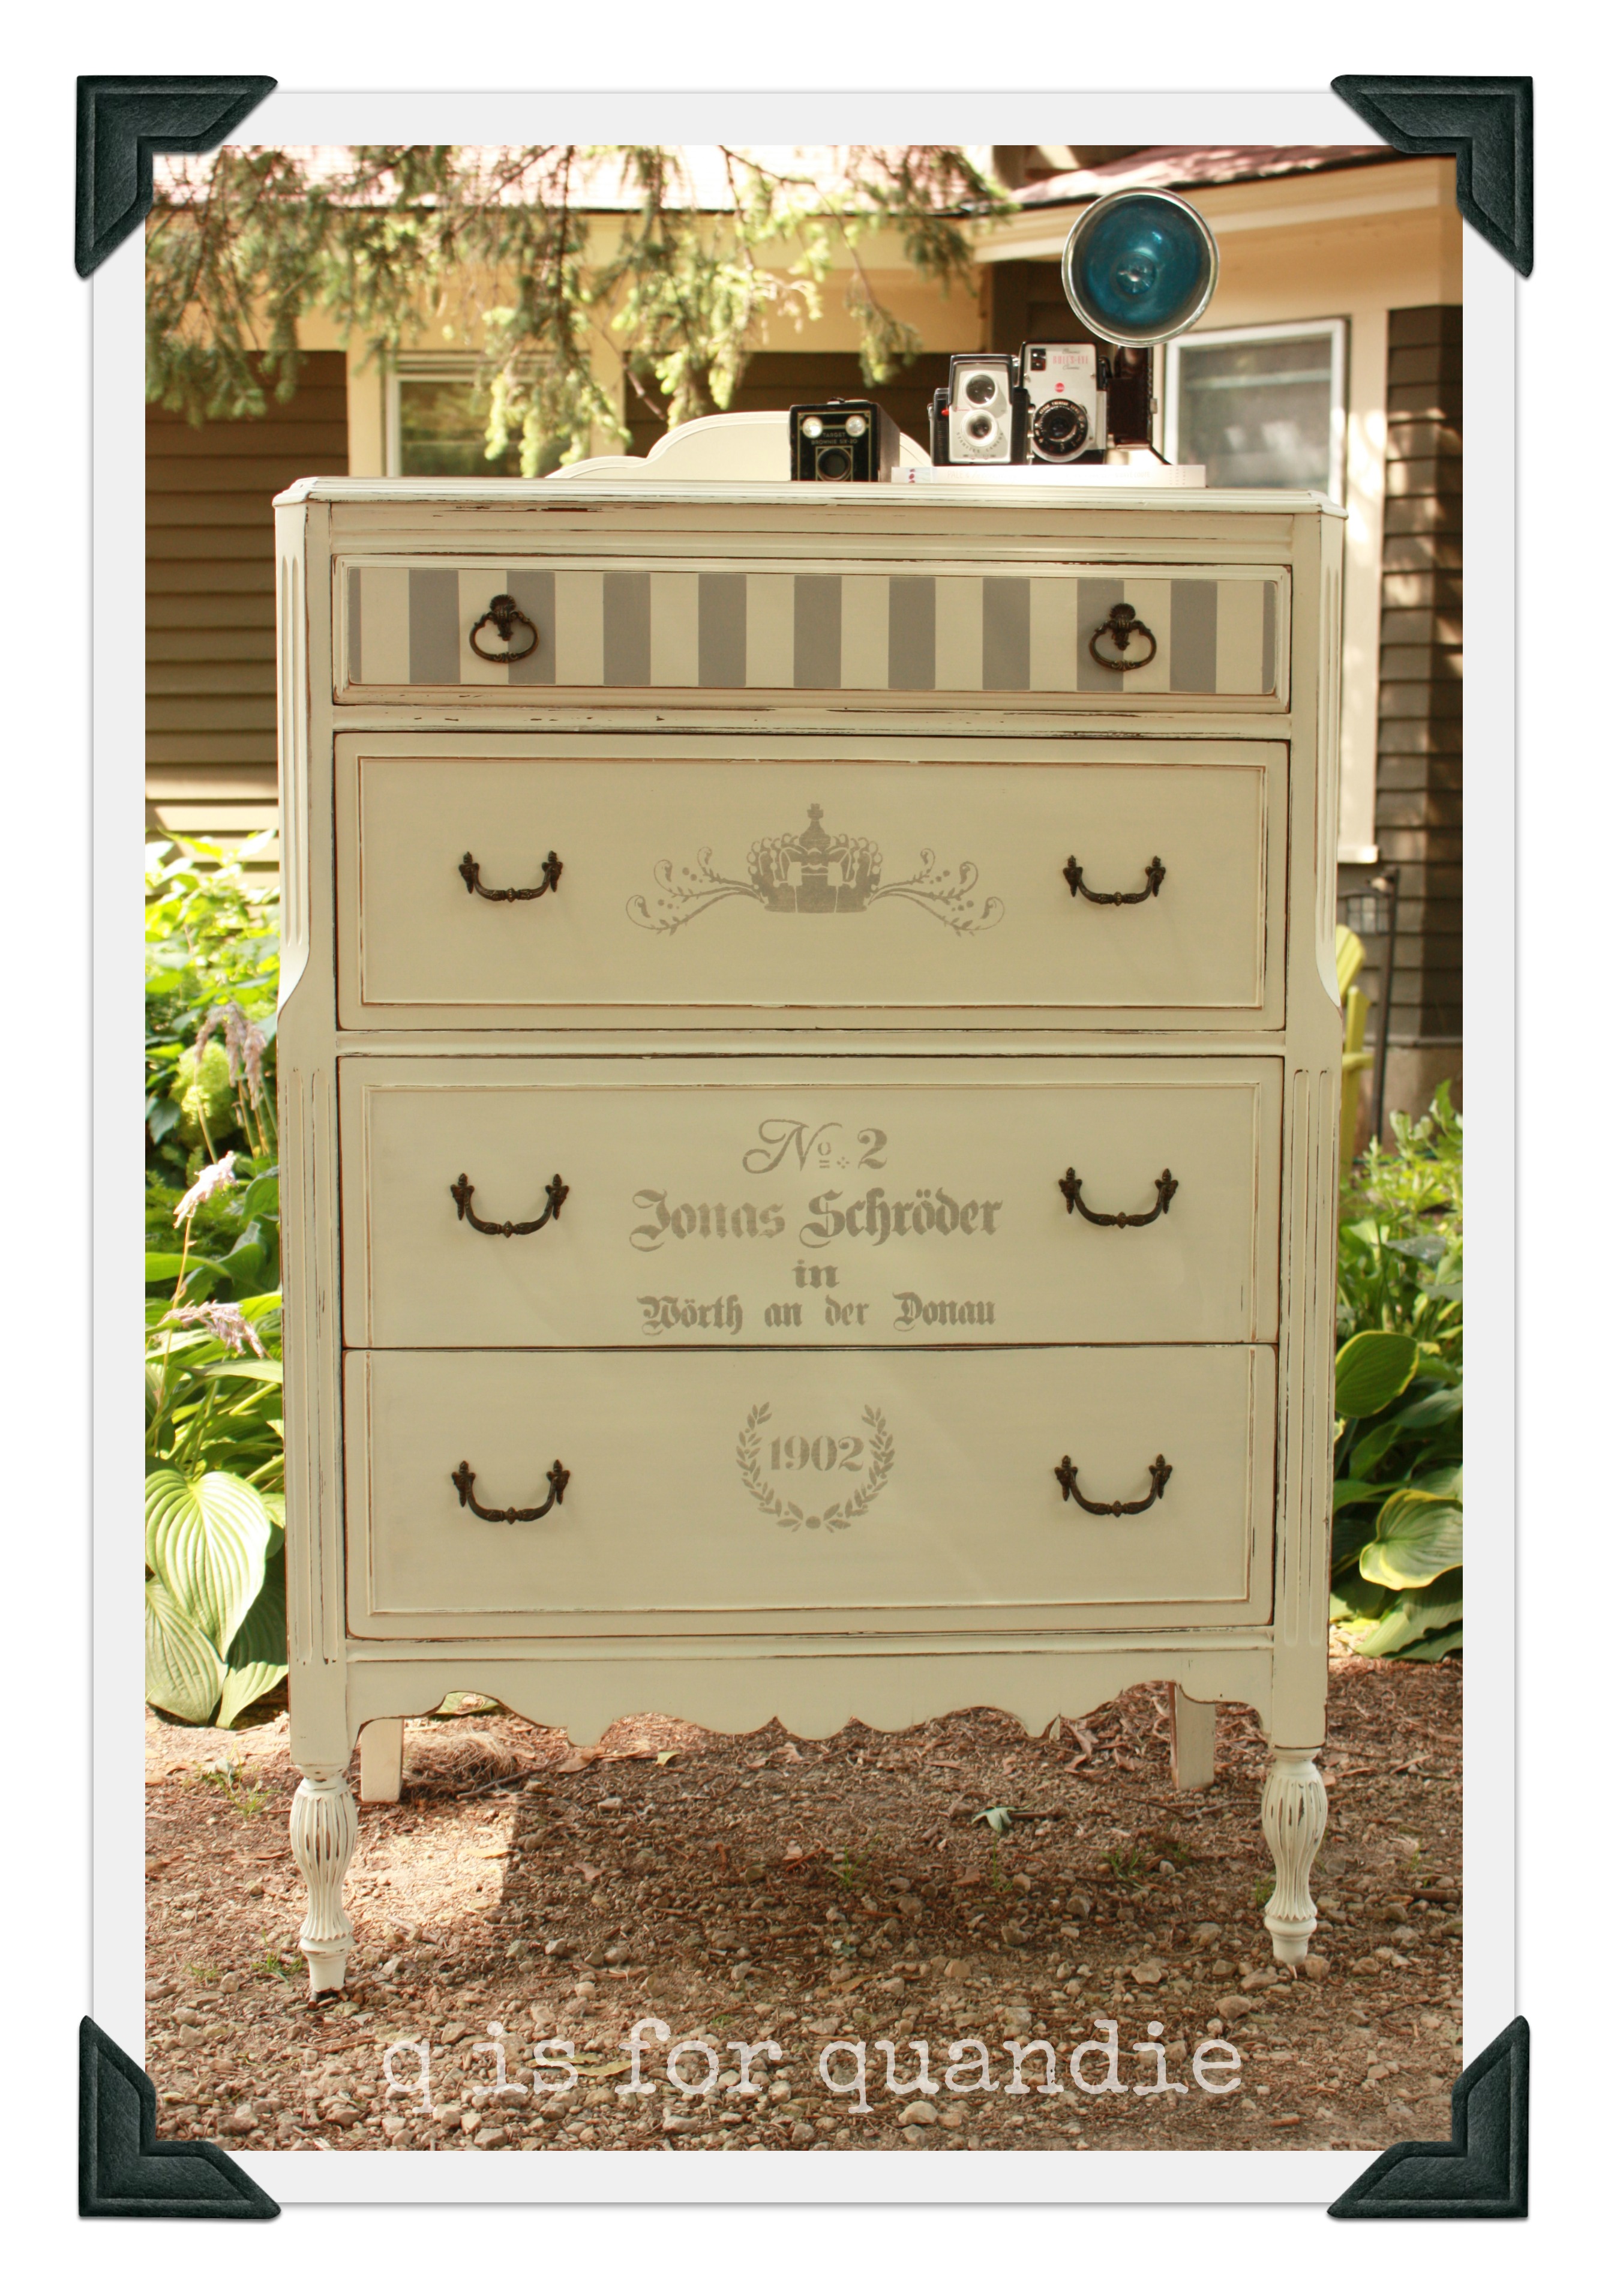
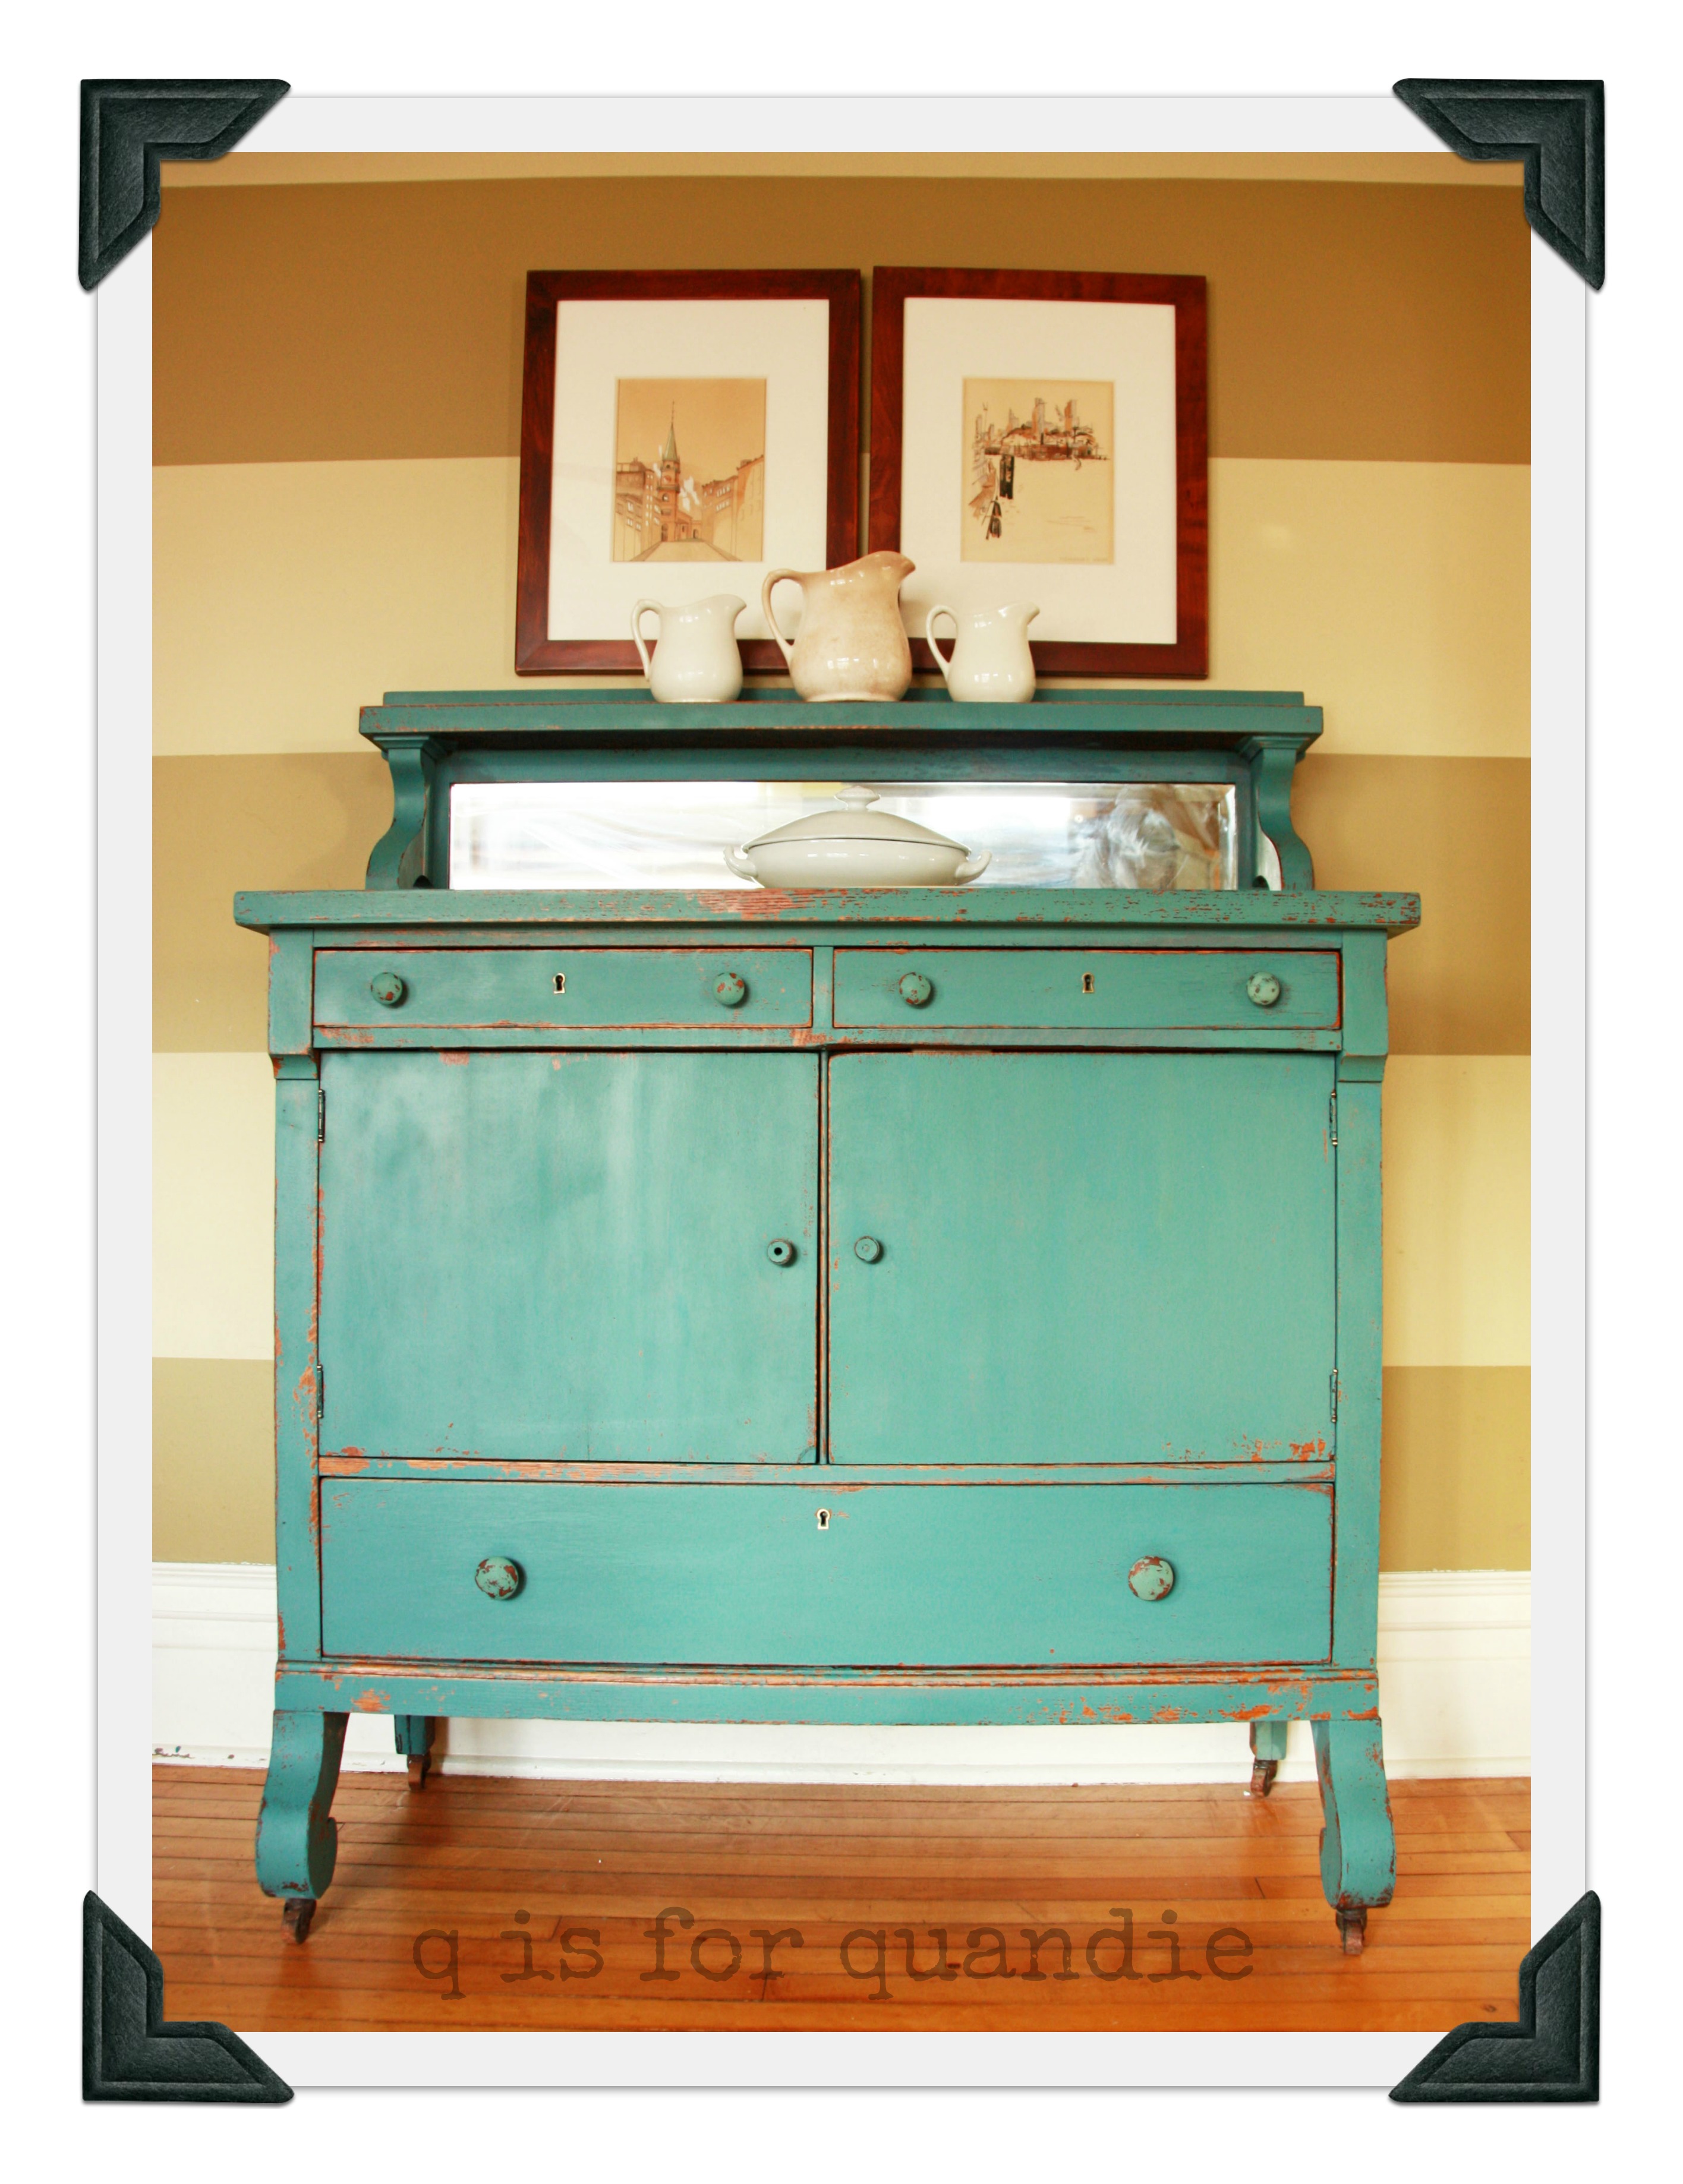
 I love them all. Most of these are sold. The desk and this last green striped dresser are still for sale at the Round Barn in Andover, MN. Just in case you feel the need to get yourself some stripes!