At first I thought Mr. Q’s idea of calling my former craft room ‘the Q branch’ was kind of dorky. But the thing is, I am a huge Bond fan (which he knew). I don’t have a favorite Bond, I love them all equally. Well … maybe I’m a tiny bit partial to Daniel Craig. I mean, who isn’t?

Oops. Got distracted there for a moment.
Anyway, what really sold me in the end was the fact that I found a fabulous logo for it!

Well, maybe if I could edit out the guns … those aren’t really appropriate. Could I somehow change them into paint brushes? I’ll have to work on that. But really, the motto? Always have an escape plan? It couldn’t be more perfect.
But meanwhile, I bet you all want to see a final post with everything pulled together in the Q branch! And I bet you also wouldn’t mind knowing how much I spent on the total room makeover would you? Well, read on, all is about to be revealed.
First of all, with nnK’s help, I repainted the walls and ceiling in the room using paint that I already had. The wall color is a mixture of the two colors I used for my living room stripes, and the ceiling paint is the same blue I used in my living room also. I had quite a bit of paint left over from those earlier projects, so I didn’t have to buy any paint for this makeover. The cost for paint, $0.

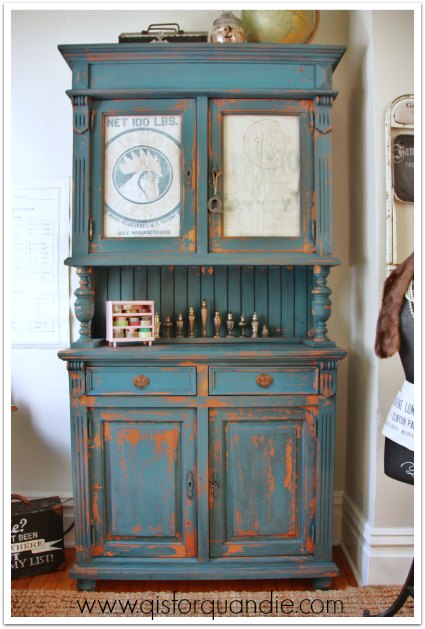
Next (after giving the floor a really good cleaning), I brought in the chippy farmhouse cupboard. I paid $195 for it on craigslist. I paid $4 for the rooster feed sack. The drawer pulls were some that I already had on hand. I used about a cup of milk paint, plus quite a lot of antiquing wax, so let’s call that about $20. All in all, I spent about $219 on the farmhouse cupboard. However, I’ll be selling my previous cupboard and am hoping to get $225 for it, a net gain of $6.
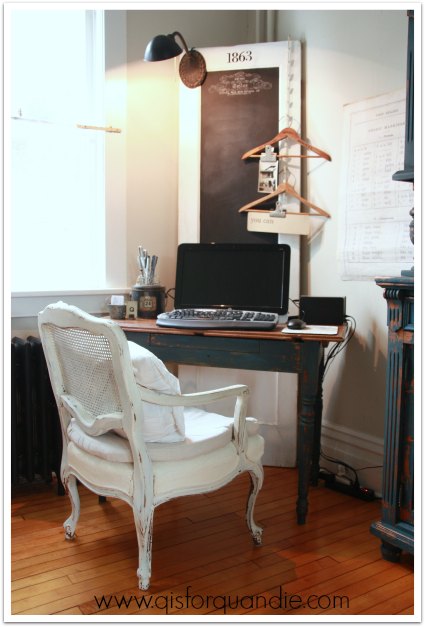
The desk is a table that I paid $20 for at a garage sale last summer. The french cane back chair came from craigslist last winter, and I paid $25 for it. The door behind the desk is one that I painted a couple of years back. I hauled it out of a dumpster, $0. So, I spent about $45 for the new desk, but I have already sold my old desk on craigslist for $225. So, a net gain of $180. So far, I seem to be making money on this makeover!
Naturally I brought Lula back into the room, but she resides in the opposite corner from where she used to be. I shared her story with you a while back, in which I mentioned that she was cobbled together from a Styrofoam manikin that was free. Behind her I hung an old rusty child sized folding chair that I turned into a chalkboard. My friend Michelle gave me this chair to see if it could be saved. It’s another item that was for sale at my last sale, but had no takers. The cost for these, $0.

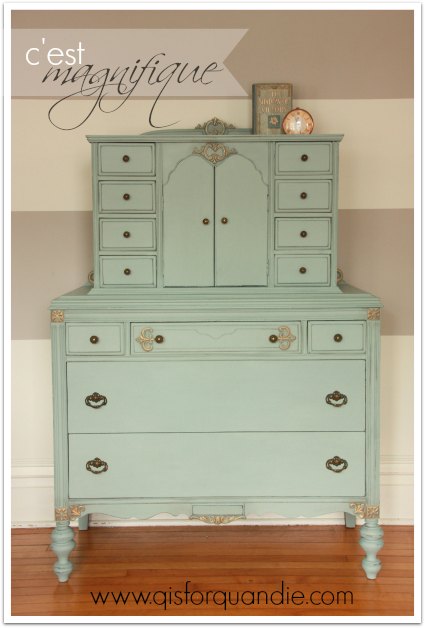
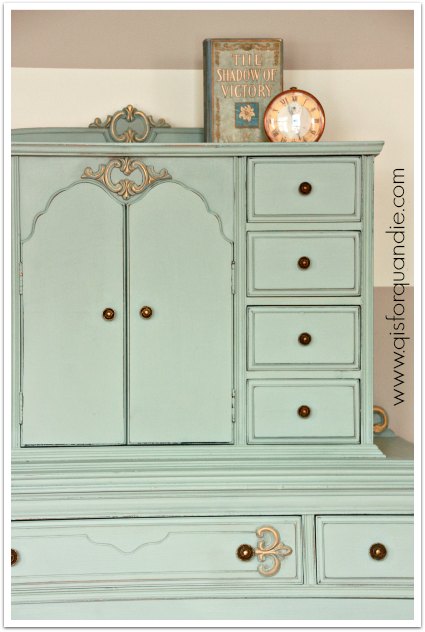
On the opposite wall, I kept the dresser that was here before, but gave it a new paint job. I used about $10 worth of paint, and I gave this piece all new knobs from Hobby Lobby. I purchased them at 50% off (never, never, never pay full price for these at Hobby Lobby, they go on sale all the time), still the knobs set me back $40 because I needed 16 of them! The cost here, $50.
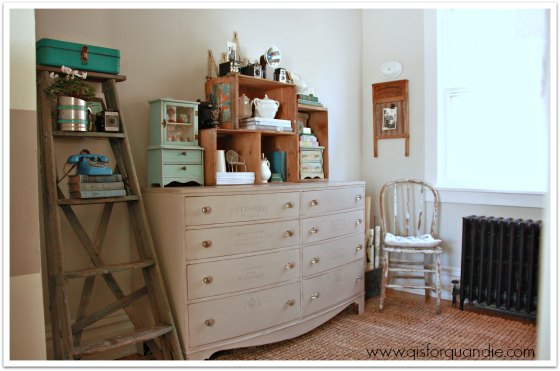
I already had all of the wooden crates. I grab them whenever I see them at garage sales and usually use them to display items at my Carriage House sale. I’m going to have to find some more before my sale next June! I had fun filling them up with some of my favorite vintage things.
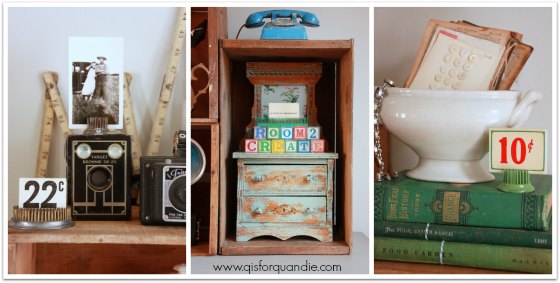
The ladder is one that I hauled in from the Carriage House. I’m not even sure where this ladder came from, it might be one that came with the place. We found a few old wooden ladders stashed in the rafters out there. I added my newly painted tackle box, a cyclamen potted in an old flour sifter, a vintage camera, some old books and a toy phone. I have an idea for a future project involving this ladder, but for now I kind of like it as is.

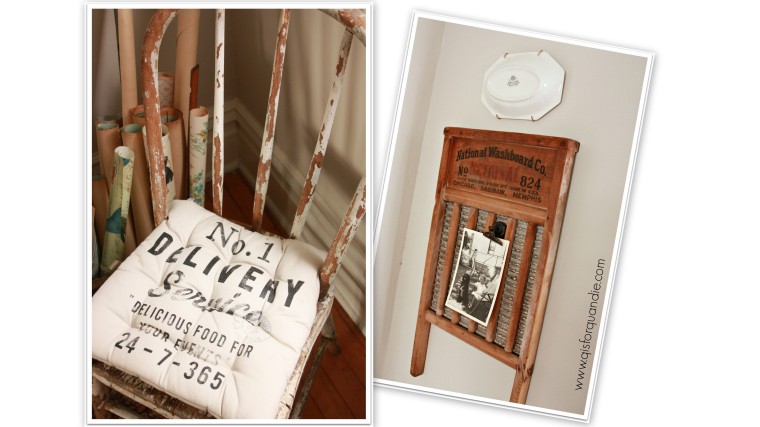
Over on the other side of the dresser is the chippy chair that didn’t make the cut for a desk chair. I added a seat cushion from H & M Home. Above the chair I hung an old washboard to use as a magnetic board and added an old photo of my mom when she was little.
The second most expensive piece in the room was the rug. It was $180 from Overstock.com. Initially I wasn’t going to splurge on it, but I felt like the room needed a rug to really look pulled together. Even Mr. Q agrees that the rug did a lot to make the room seem more cozy.
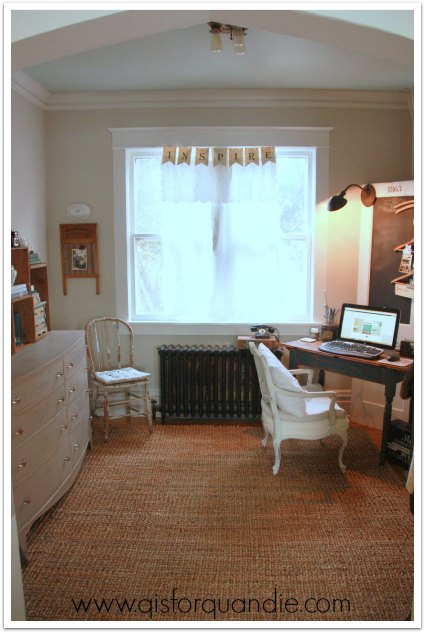
I kept my existing window treatment, which is nothing more than a vintage embroidered cutwork tablecloth hung over the window (although it is hard to see in this photo), along with my ‘inspire’ banner.
As you are about to leave the Q branch, you’ll notice that I hung some of my ironstone plates over the arched entryway. This was my friend Meggan’s idea. I had mentioned to her that I really wanted to keep these in the room, but wasn’t sure where to put them. She came up with the idea of hanging them over the arch, and don’t they look fab? Clever idea Meggan! Thanks!

So, if you are keeping track, once I sell the black cupboard I should be out only about $50 for this entire room makeover. Not bad, right?
On another note, I’ve had a couple of people mention that it’s hard to get a feel for the layout of my rooms. So I took a couple of photos to help put the location of this room into perspective for you.

It is just through an opening off the piano room. See where the Kitchen Scale buffet normally resides? When I do photo furniture shoots in winter, I move that buffet to the other side of that arched opening and use that space for staging furniture. It works fairly well because I have the buffet on those felt slider thingies, so it’s easy to just push it over, and then push it back when I am done.
Here is another angle into the Q branch.
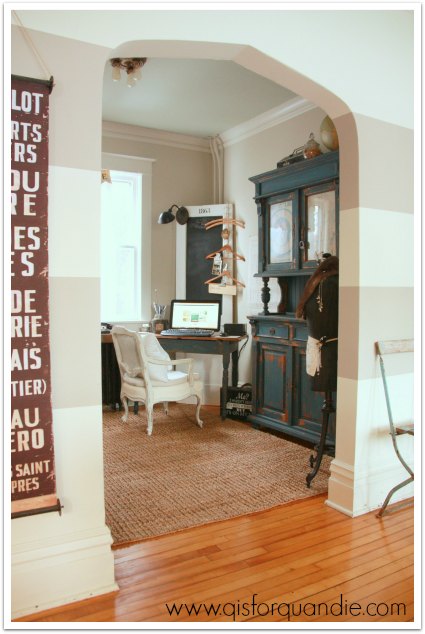 These photos explain why I felt a need to make this room prettier. It really is on display to anyone coming into our home. It also really needed to flow color-wise, which it does much better now. Hopefully now that I have spruced the room up a bit, and helped make it more functional, I’ll be able to keep it tidy. I’m really happy with the results of my makeover. I spend a lot of time in the Q branch writing up blog posts and editing photos, so it will be nice to have a lovely room for it!
Linked up with:
Elizabeth & Co