When I came home from work last Friday at dusk I had one of those eureka moments. I decided to attempt getting some night shots of my carriage house with the Christmas lights on.

I thought maybe taking the photo in the dark would help disguise the fact that we have no snow on the ground for Christmas. It’s not that often that we don’t have a white Christmas. In fact, according to the Minnesota DNR, here in the Twin Cities we have a white Christmas 72% of the time. Chances are looking slim for any snow between now and Christmas morning. Drat!
My garland and lights would be so much prettier with some snow on the ground. I purchased the garland from the boy scouts a month ago. Any time kids show up at my door selling something as a fund raiser I like to support them. I debated using the garland inside the house, but when I finally unfurled it so many needles fell off and it was such a mess that I knew I didn’t want to have it inside. So instead I added a string of lights and hung it above the doors on the carriage house.

Hanging it was a comical affair. It was a warm and thus very drippy day (snow was melting off the roof of the carriage house), and the spot I had to stand in to hang the garland was right in the drip line. My sister, bless her heart, helped me. There were the two of us trying to get this garland up with big, cold, splats of melting snow pelting us, mostly falling down the back of our necks. But Debbie hung in there with me until we got that whole length of garland up.
Below the garland I hung a lighted wreath that is simply adorned with red and green vintage garden tools …

A quick FYI, that red garden digger had an unfinished handle when I bought it. I painted it with Miss Mustard Seed’s Tricycle and then distressed it to look old. Had you fooled I bet, didn’t it?
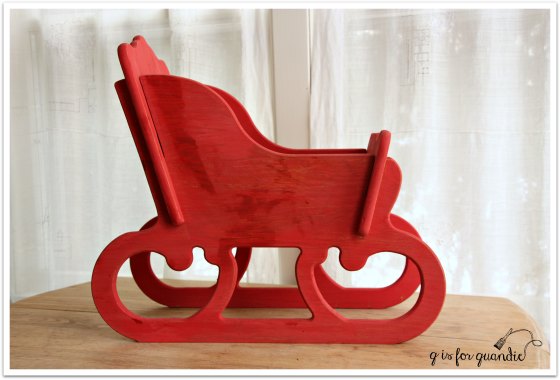
I left a sack of reindeer feed on the chair, just in case Santa pays us a visit this year and Rudolph needs a snack.

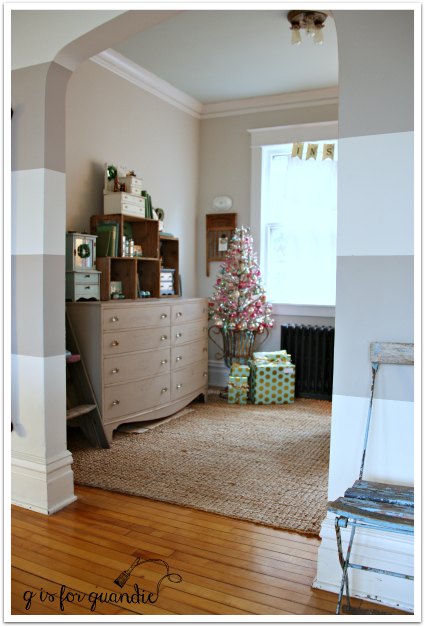
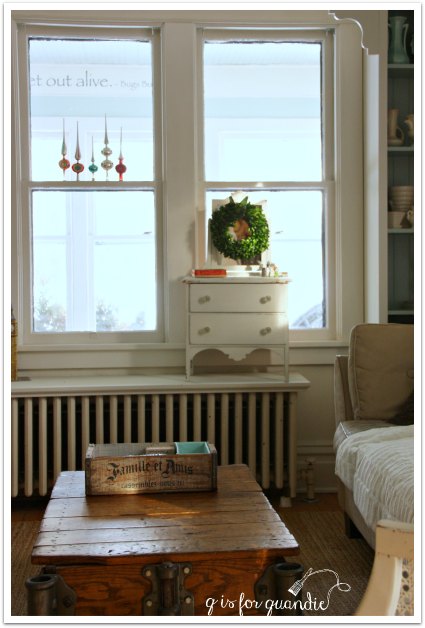
The sun finally made an appearance here last Saturday. I tried to take advantage of it and get some photos of the dining room for you.

The dining room makeover project has reached a screeching halt for the moment. I need to paint the window sill, but I’ve learned the hard way that painting window sashes in winter is a bad idea. They inevitably get stuck shut. That will have to wait for spring. I have a couple of other things to finish up as well. Hopefully I’ll get to those after the holidays.
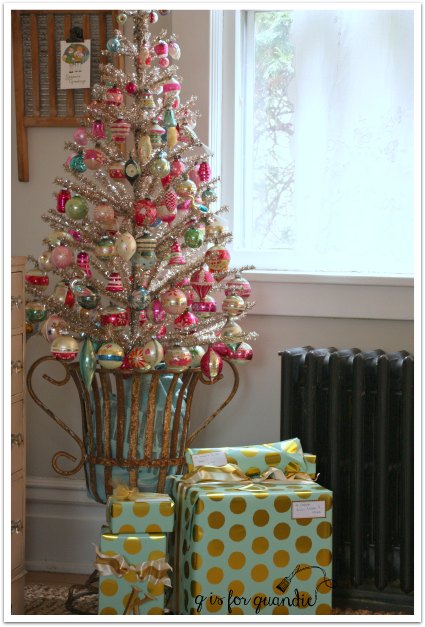
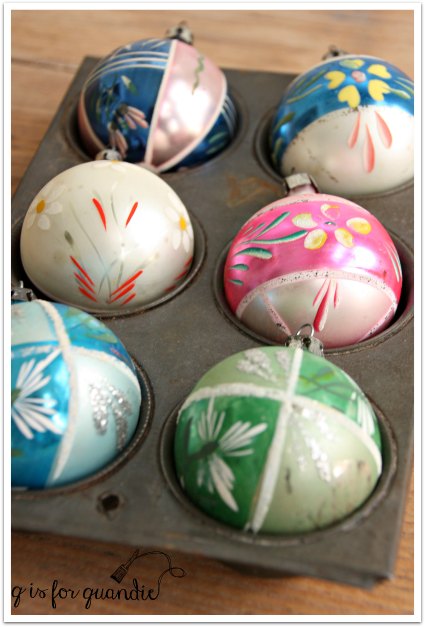
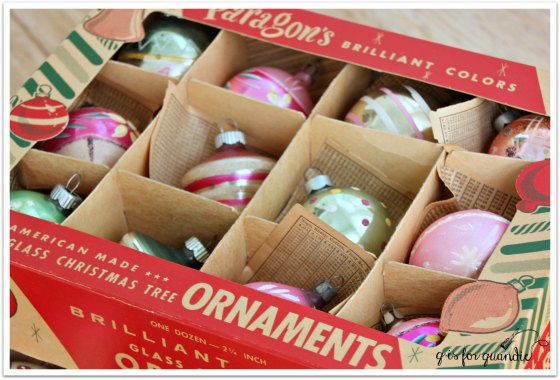
But meanwhile, I’ve gone all out decorating the dining room this year. I stuck with a silver and gold color scheme, accented with vintage book pages. Starting with my little Christmas tree which is filled with vintage ornaments, crumpled book pages and an awesome beaded wire garland that I bought last year at The Round Barn.

I think next year I want to go with a full size tree in this spot. I’ve placed this small tree in an old wooden crate filled with packages wrapped in old book pages.


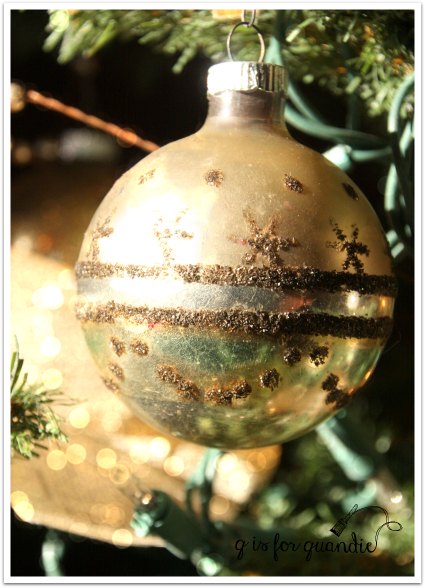
This is one of my favorite ornaments, and it works well with my gold and book page theme.

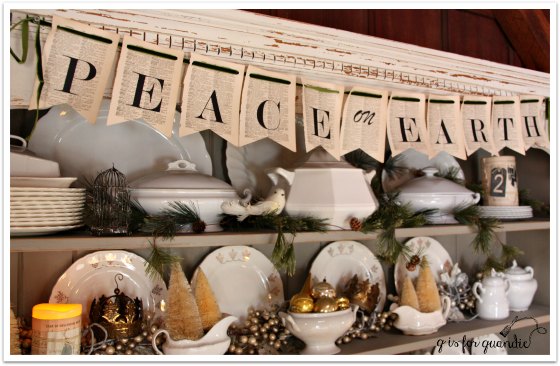
I really went to town giving my Welsh cupboard a festive feel.

I replaced some of my ironstone platters with the gold edged plates that I picked up at the thrift store a while back. I also added some gold ornaments to an ironstone bowl.

I added some bleached bottle brush trees to some gravy boats …

And these bottle brush trees are placed in old brass door knobs.

The candle is battery powered. I wouldn’t want to burn down my new cupboard before I’ve even finished the room 😉
Remember the bird cage I purchased a while back? I filled it with gold ornaments and added a vintage Christmas postcard.

I made a Peace on Earth banner using old book pages to hang across the top of the cupboard. If you want to make one for yourself, it’s super simple to do if you have a computer (obviously you have one of these!) and a printer. I measure my book page (in this case they are 4”x6”) and use the custom page size setting in Word to just print a letter onto each page. I feed the pages through the manual feed tray (rather than stacking them in the regular tray). Once they are printed, I just cut a triangle out of the bottom to give them this flag shape. I strung my banner on some old velvet ribbon, but you could also use butcher’s string, jute cord or whatever strikes your fancy.
Here is the black Eastlake style dresser that sits next to the door. You might recognize the boxwood wreath that I used in the photo shoot for the mini dresser I painted a week or so ago.

I have a little holiday confession to make now. You may sometimes wonder how I get it all done. Well, quite a few years ago I was feeling very overwhelmed at Christmas time so I sat down and decided to nix a couple of things from my to-do list. One of those things was Christmas cards. I never a photo card or included a Christmas letter, they were just cards with a signature. If something had to go, it could be the cards. Really, do people even care about a card with no news or photos? I have found that over the years a few people have dropped us from their mailing list in return, but quite a few people haven’t. Even though I don’t send out cards, I do love getting ones that have photos included or letters with news from friends and family we don’t see very often. This year I’ve stacked all of the cards we’ve received on my old Smith & Corona.

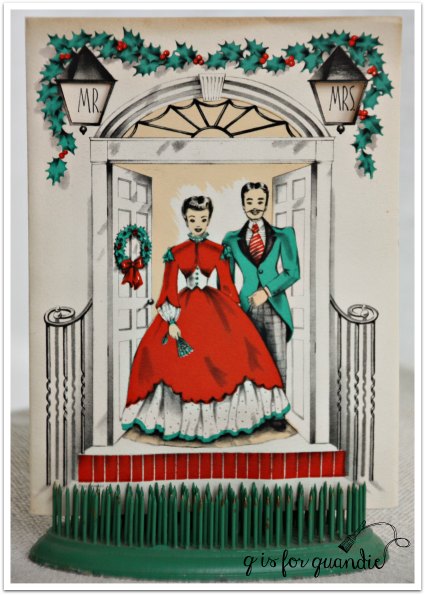
That card in front is from Mr. Q’s sister. She always does the most fabulous cards.

I love that she combined a graduation ‘heads up’ with a Christmas greeting, how clever! And the photo is awesome, right?
Even the book pages that I use for the lamp shade on my alabaster lamp got the holiday treatment.

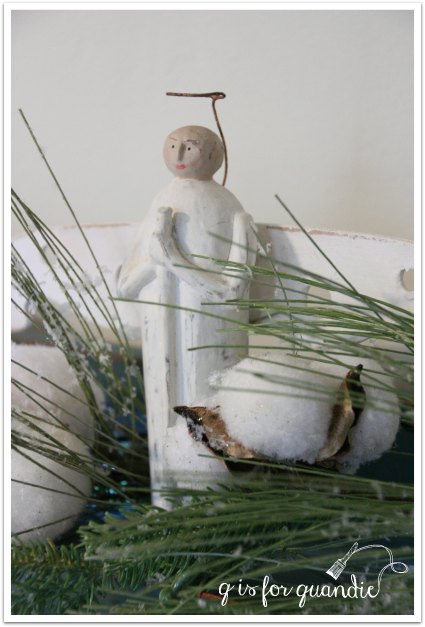
I’ve got one last thing to share in the dining room, my cobbled together centerpiece.

I just filled an old wooden box with all things silver and tarnished; some of my salt and pepper shakers, the silver ornaments I brought home from Germany last year, a glittery reindeer that has tarnished over the years. I added shredded book pages and a little baby tears plant wrapped in old sheet music.

I hoped you’ve enjoyed seeing the rest of my decorations. I feel like I’ve shared them with you just under the wire with Christmas just days away. In the blink of an eye I’ll be putting them all back away and focusing once again on some furniture makeovers. So stay tuned!


 I found a square boxwood wreath at Home Goods last week and thought it would be perfect on the pantry door. I “kitchenified” (my own made up word) it by adding old silverware.