I’m so excited that the Carriage House Sale is tomorrow!
Here are the important details:
When: Saturday, Oct 8 from 9 a.m. to 2 p.m.
Please note we take cash only for purchases under $100, and cash or credit cards for purchases over $100 (no checks!).
I’m doing a little happy dance because although it’s going to be chilly, it’s not supposed to rain!
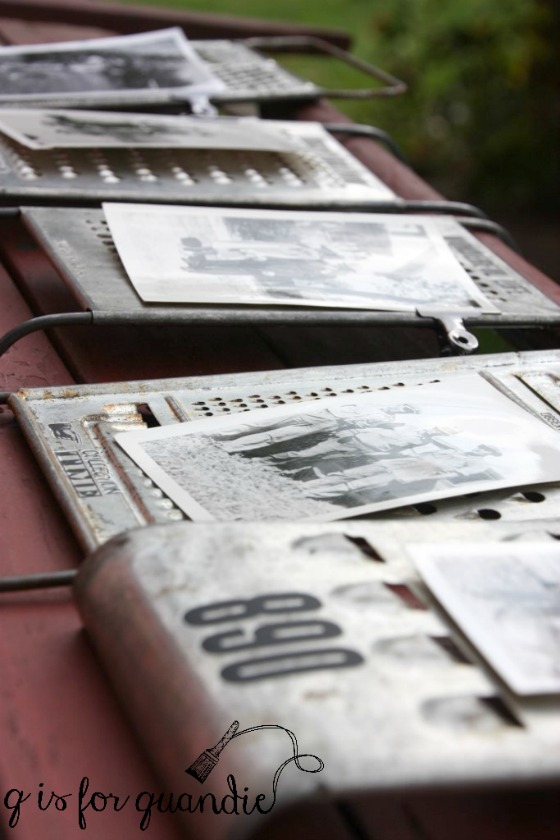
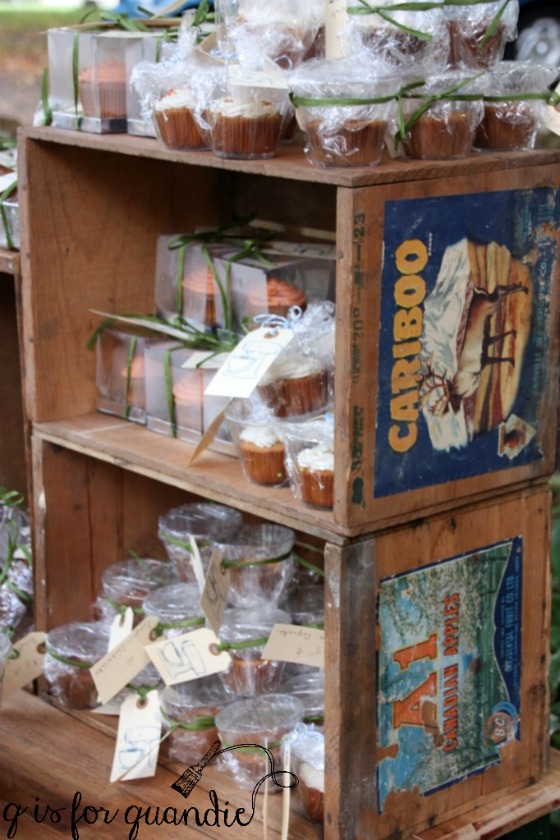
For those of you who have never been to the Carriage House Sale and are planning to come, you need to know that people start lining up before 9. We’ll have the baked goods table accessible outside of the roped off sale area, so if you’d like some banana bread to nosh on while you wait you can purchase that ahead of the ribbon cutting.

At precisely 9 a.m. we’ll cut the ribbon across the driveway and let everyone in. It will likely be a little crazy for the next hour or so.
We provide a pile of empty boxes which people grab and then fill up. The boxes run out fairly early though, so if you happen to have a box handy bring it along. You might even go ahead and put your name on it.
We also provide a holding area on the lawn near the photo cottage. Sue is in charge of the holding area. Placing something in the holding area is your commitment to purchase it. Sue will guard it for you with her life and try her best not to let anyone else snatch it out from under you. But we also hope that you won’t ‘hold’ a pile of stuff and then put half of it back later. That seriously limits our chances of selling those items to someone else.
If you want to purchase a heavier piece of furniture (one that can’t be moved to the holding area) feel free to take the price tag, thus signifying that you are purchasing it. If you want to purchase a smaller but still bulky item, like a chair or small table, ask someone with a name tag to put it in the holding area for you. I’ll have several people mingling about just for this purpose and all of our ‘staff’ will have name tags on.
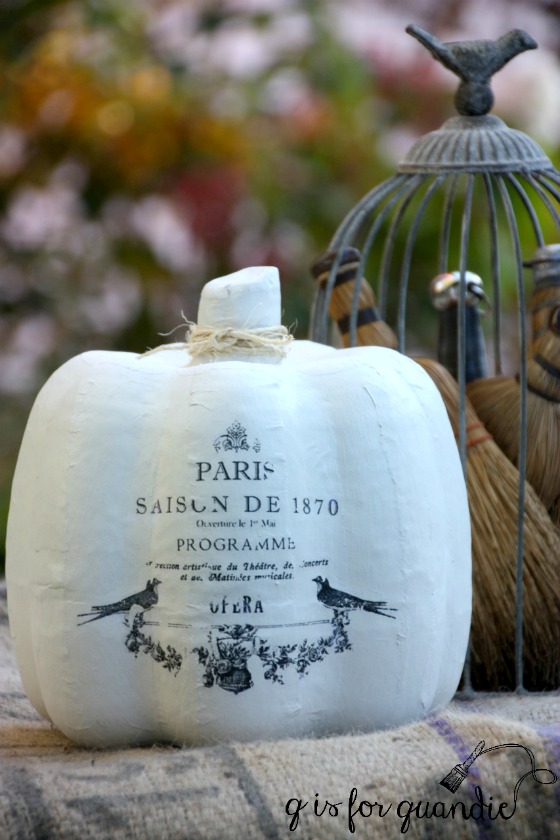
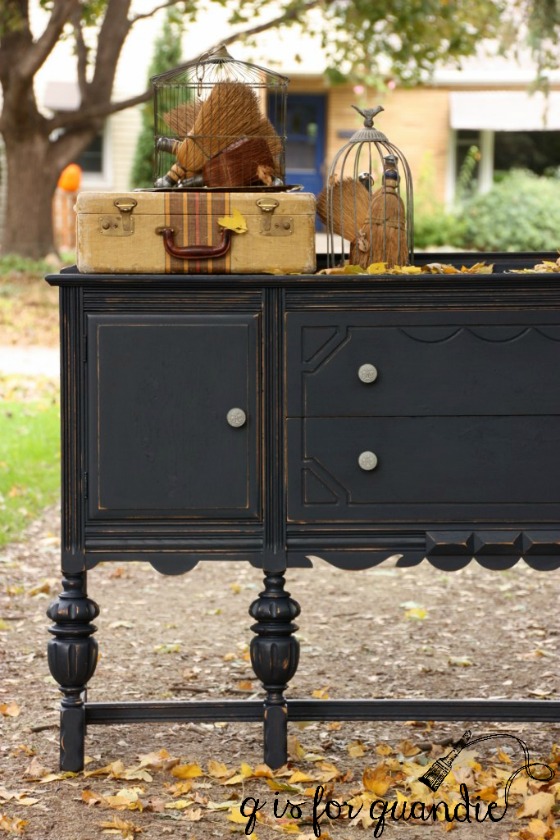
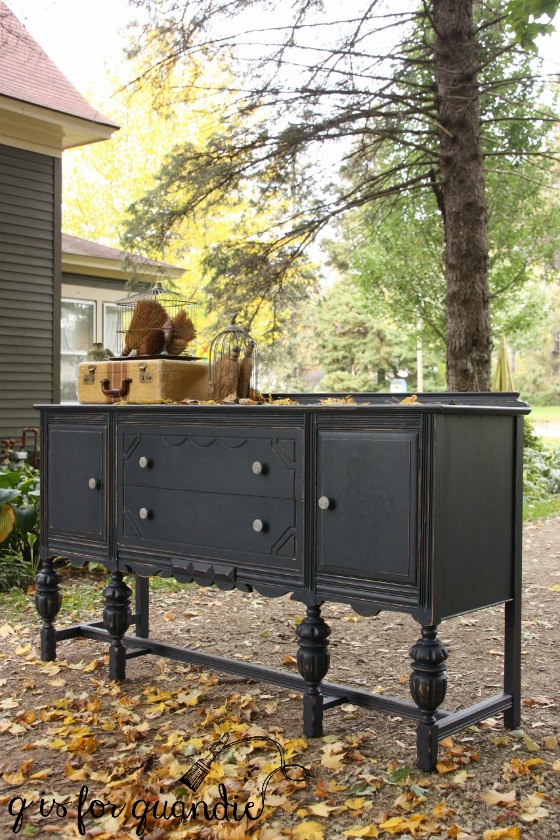
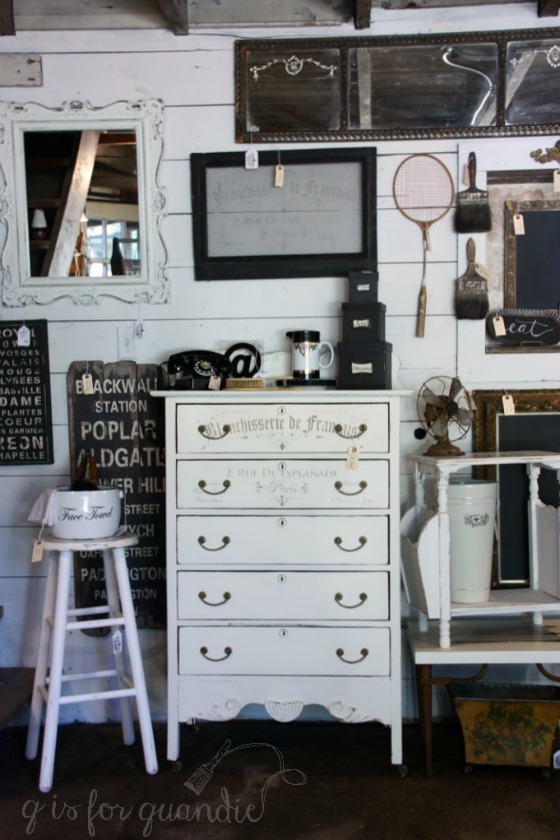
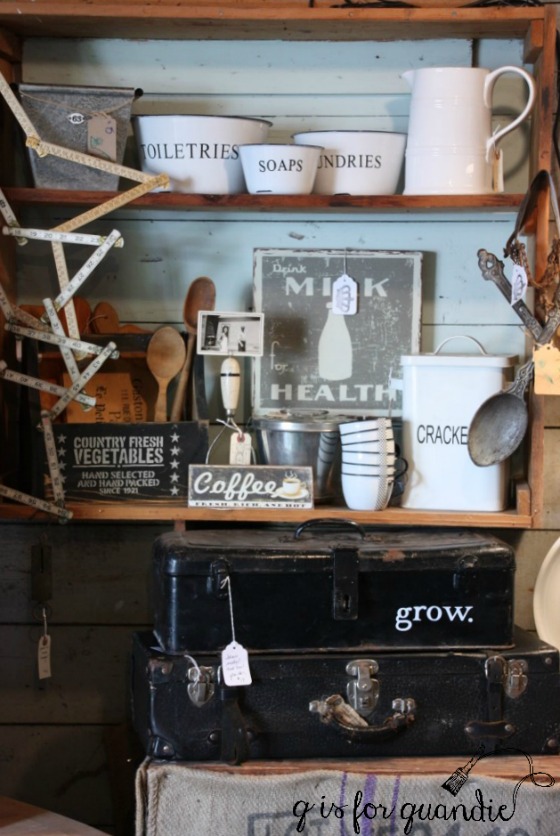
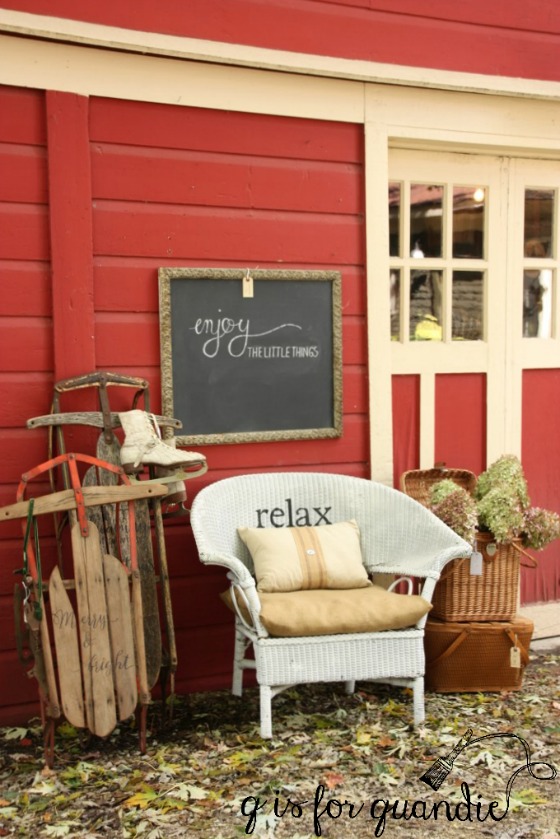
This year the left side (as you are facing it) of the Carriage House is all black, grey, white, silver and gold items. Looking for a gold framed chalkboard?
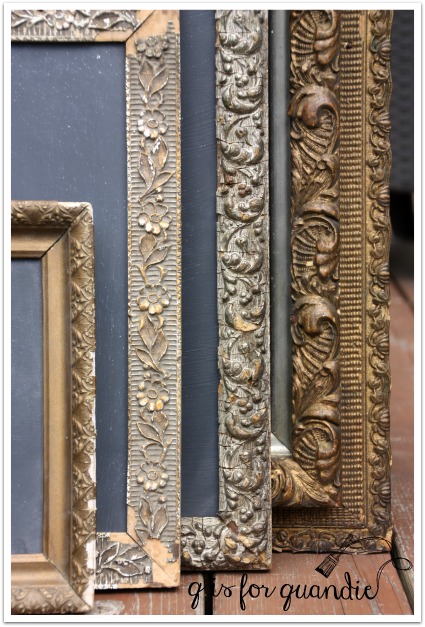
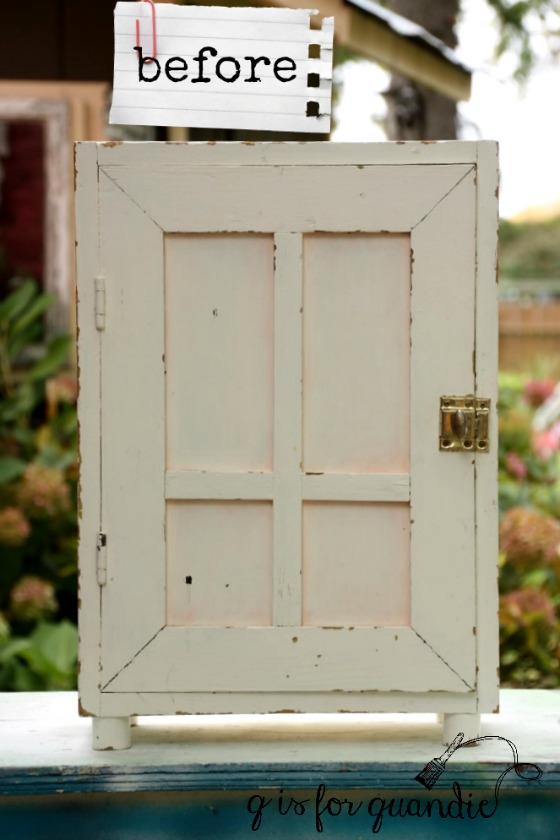
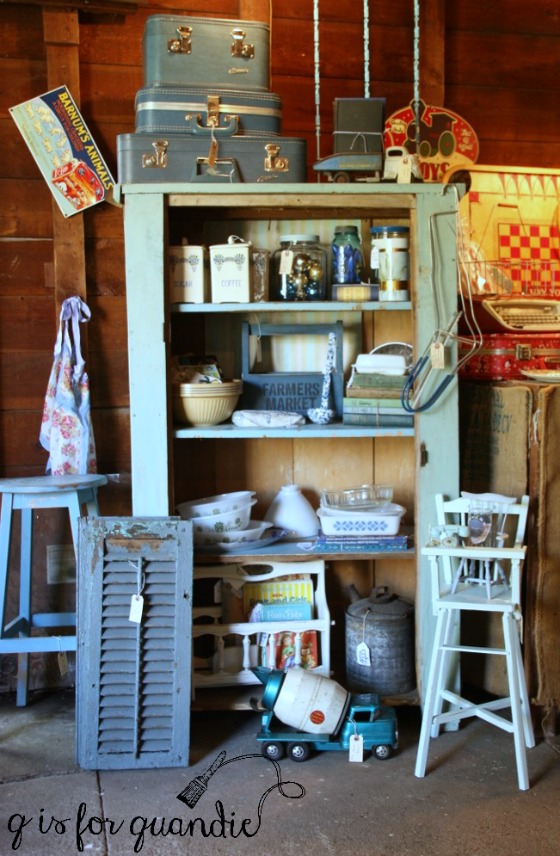
Or the French Wheat hutch, a white chippy chair or window?
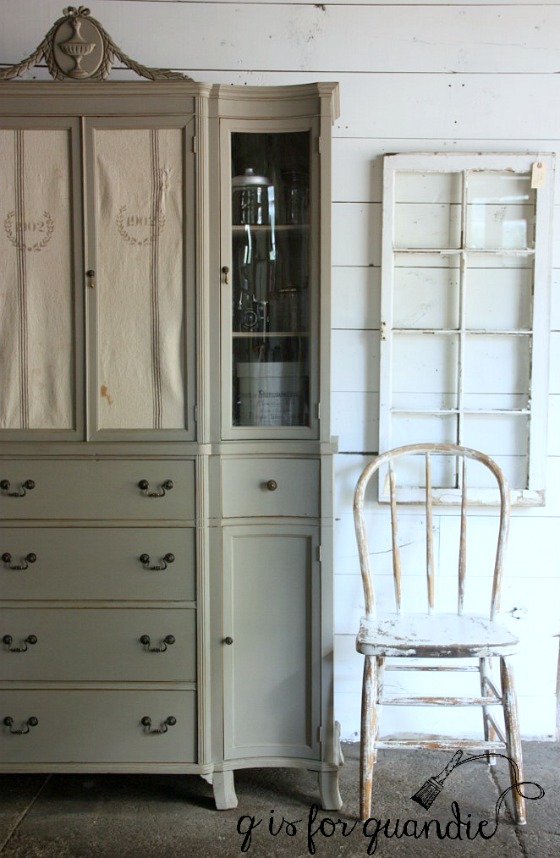
These items will be on the left side (or Bay 1 as Mr. Q likes to call it).
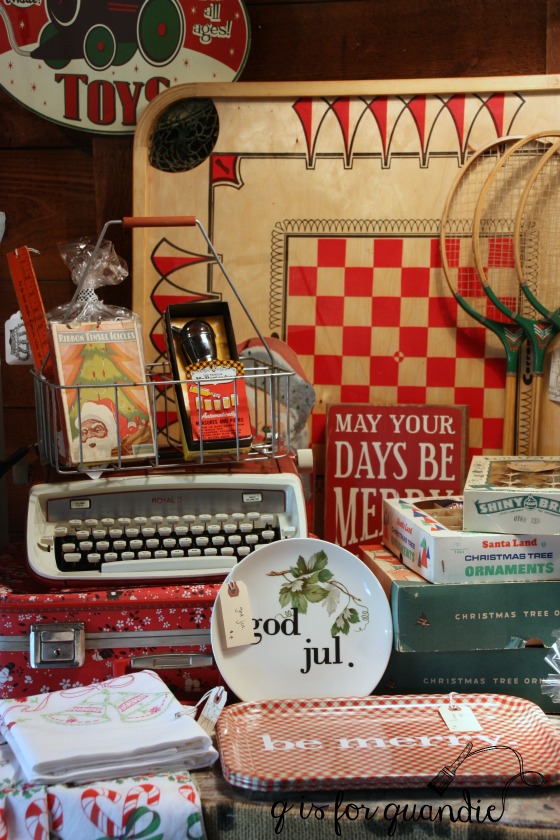
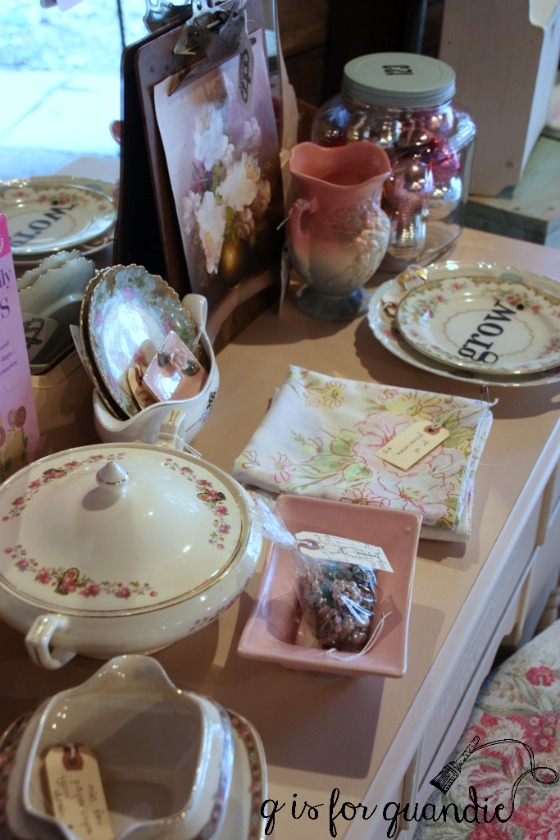
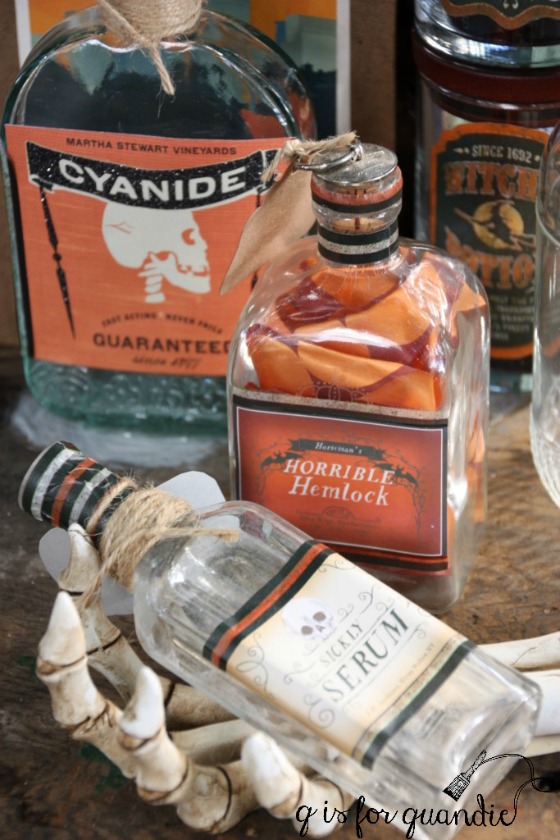
The right side as you are facing it (or Bay 2) has all of the more colorful pieces, including those vintage Christmas items I posted yesterday.

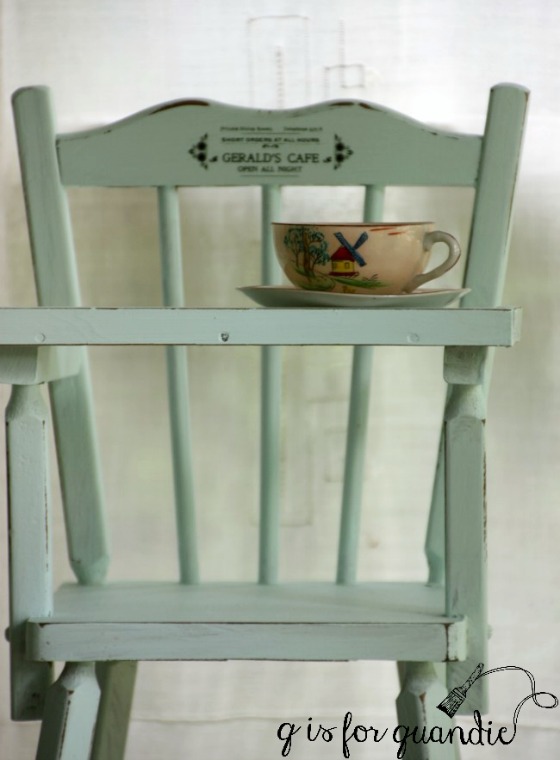
There are also some adorable kid items in Bay 2 like the toy high chair (Paris, this one’s for you) …
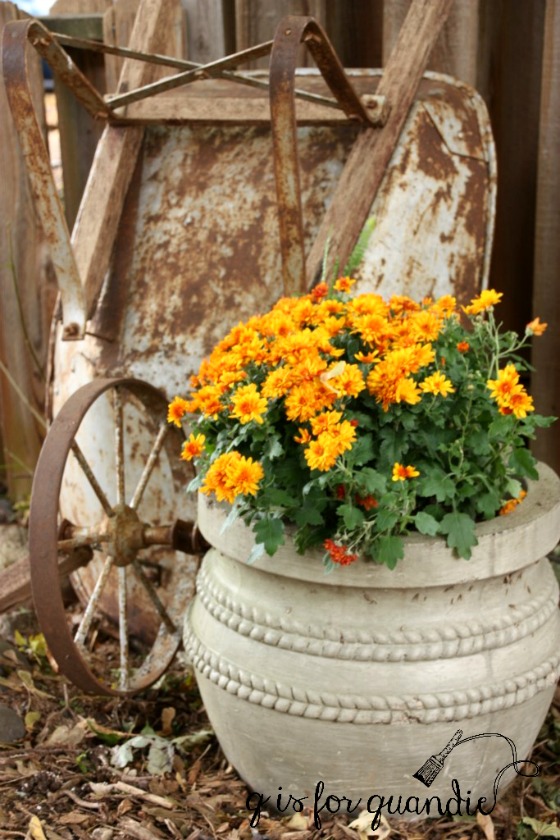
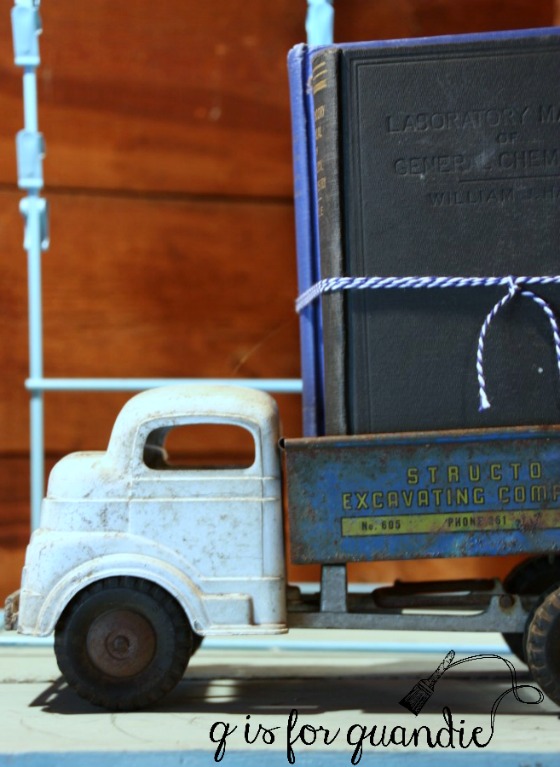
We’ll have a garden section outside near the big rock beside the driveway. If you happen to be looking for a darling white toy truck (hint, hint, Amy) it will be over there.
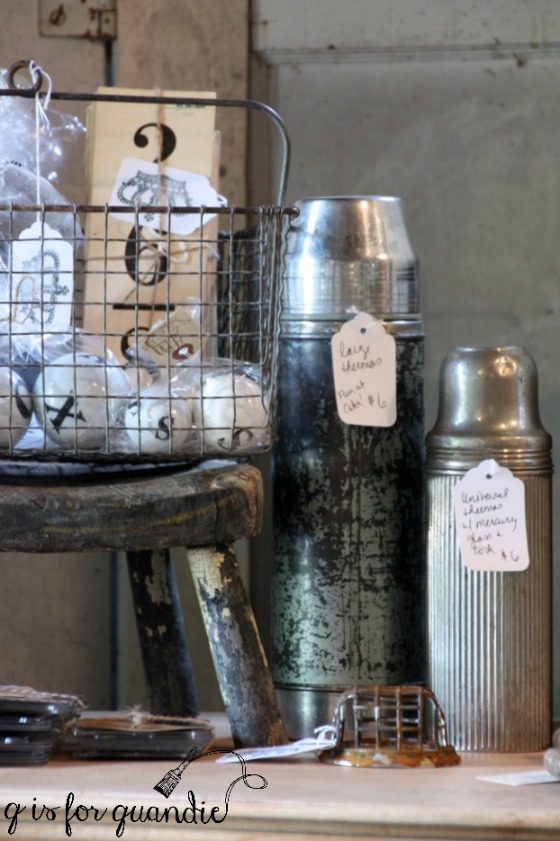
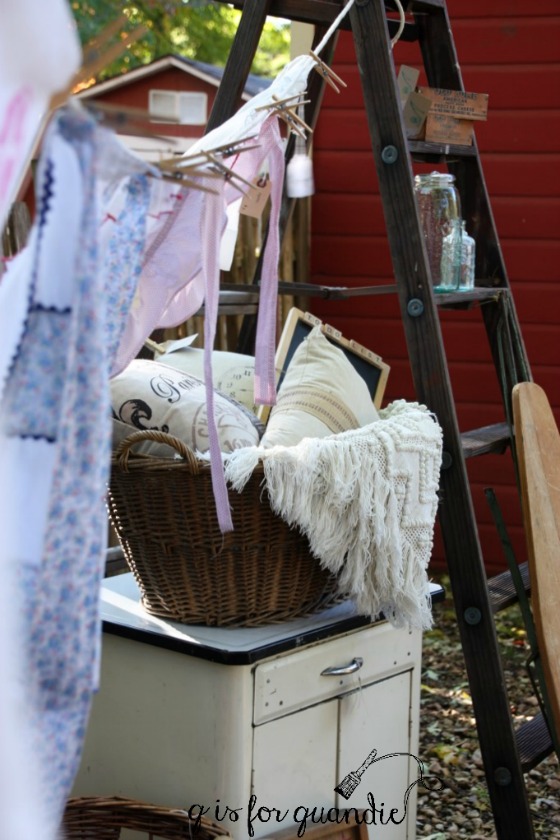
Check out the ‘laundry room’ area filled with vintage linens which will also be alongside the driveway.

If you hate crowds and lines and chaos in general, consider coming to the sale a little later in the morning, say around 11. The crowds will have come and gone and there will still be some great stuff left. Definitely not as much great stuff, but certainly still some awesome things. It will be easier to look around at your leisure and see everything we have left. We always feel like some of our best items get overlooked in the early morning rush just because of the chaos, and then there are also those items that were ‘on hold’ and then put back on the shelf.
We try to keep the checkout lines moving, but it’s a challenge during the busiest 30 minutes of the sale. We will have two lines side by side. Your cashiers will be nnK and my sister Debbie, with packing provided by nnK’s mom Judy and my niece Kris. Be sure to say hello to them! As I mentioned, we take CASH ONLY for purchases under $100, but you can use a credit card for totals over $100. The credit card thing tends to slow down the line. This is totally my fault because I’m not good with techie stuff, so please be patient!
Hope you can make it to the sale!
And for those of you who aren’t local, not to worry, all of this craziness will soon be behind us and we’ll be back to regularly scheduled programming here on the blog so be sure to stay tuned!