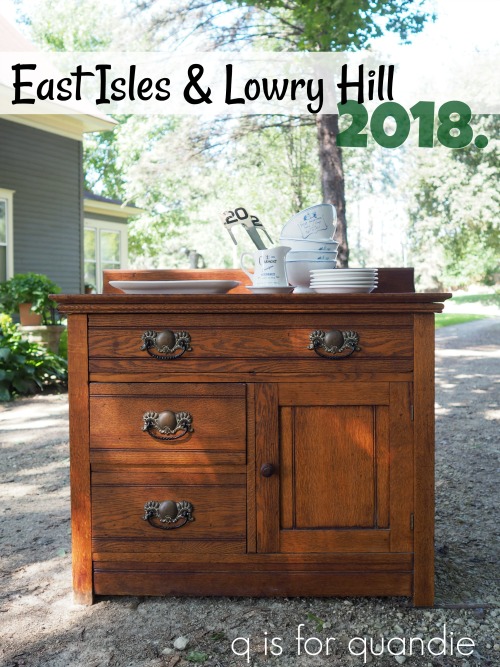
As much as I love the gorgeous pieces I’ve done lately using those beautiful Prima Marketing floral transfers, or the really cool buffet that I shared last Friday stenciled with the re.design decor wax, sometimes I like to just keep it simple. So that’s what I decided to do with today’s piece.
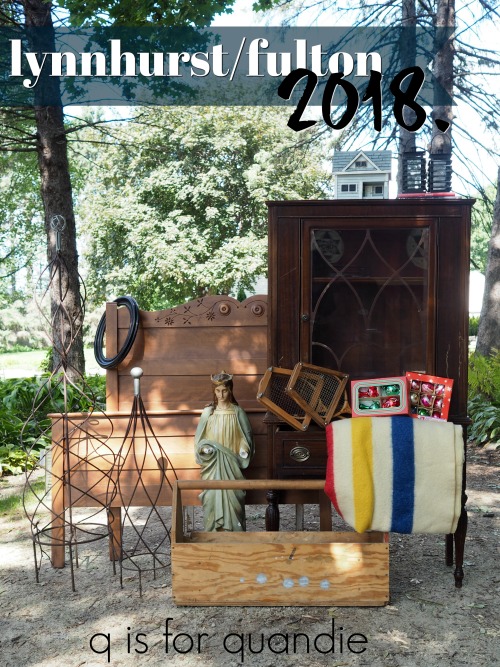
I picked this one up a week ago at the Lynnhurst/Fulton garage sales.
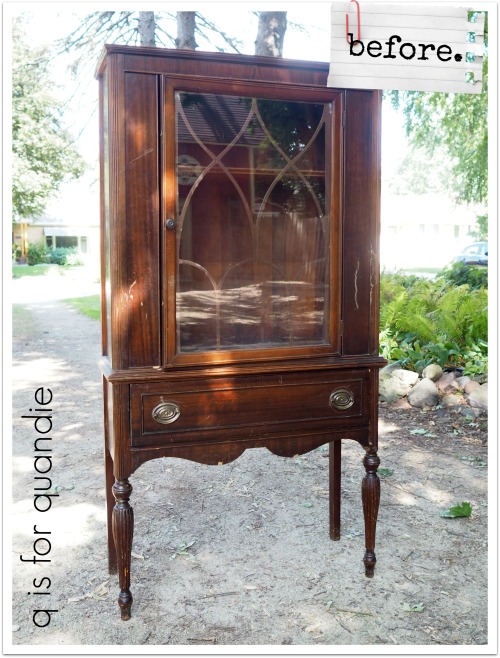
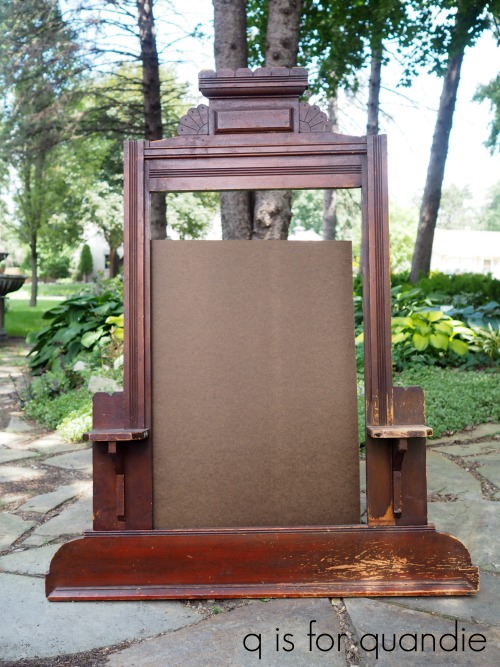
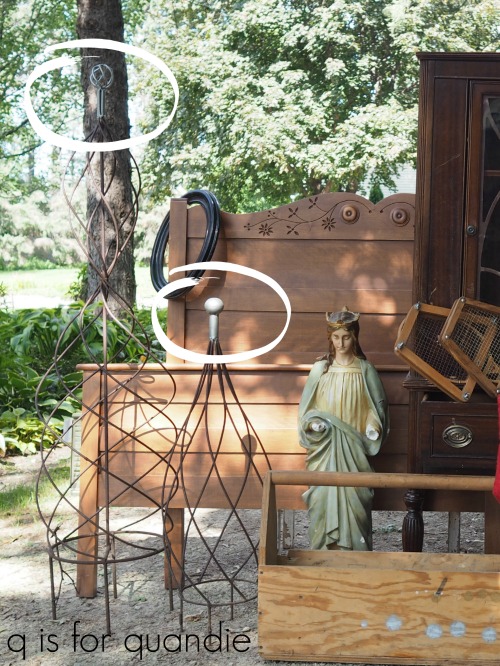
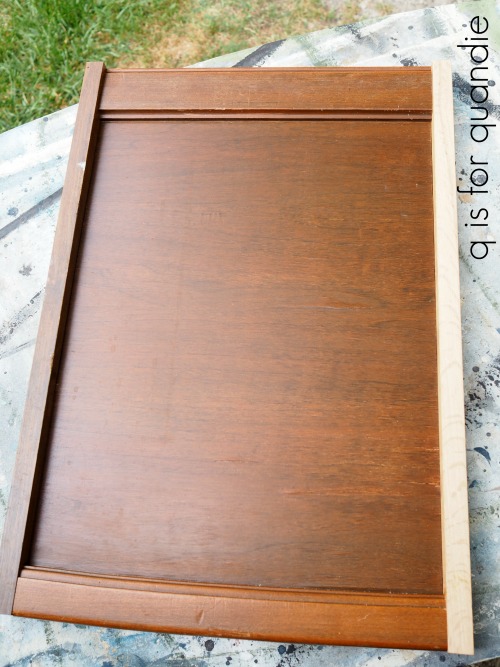
It was ridiculously bargain priced, but it also was in pretty rough shape. I didn’t get a good ‘before’ shot that shows how badly warped the top was so you’ll just have to trust me on that. But my handyman Ken had to literally cut it into strips and then glue them back together again to attempt to flatten it out. He made several other repairs that I neglected to get photos of too.
Once Ken was done with the repairs, it was my turn to make it pretty again.
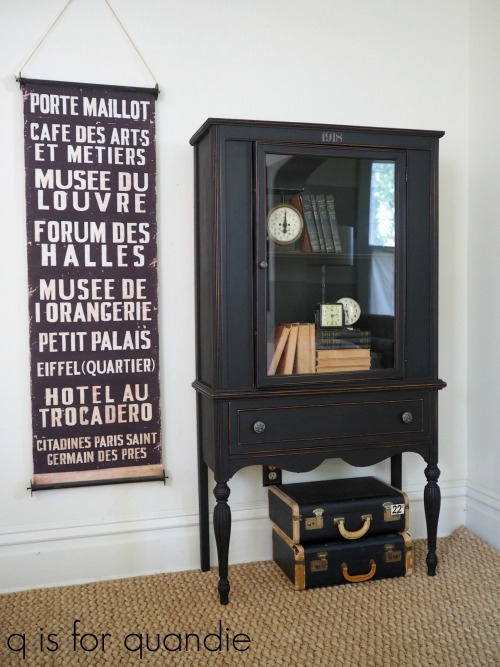
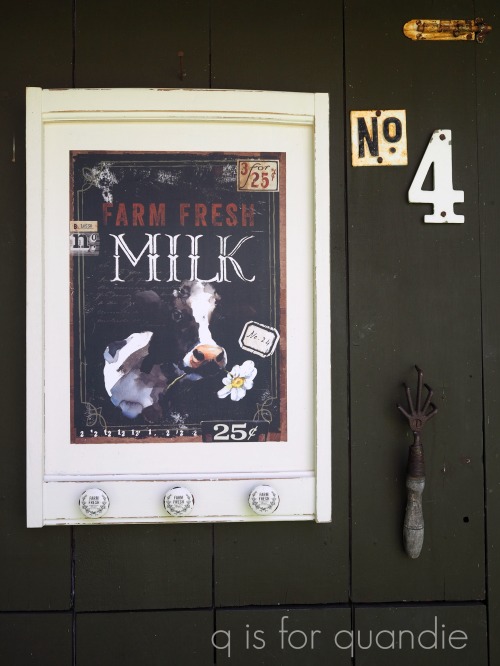
I started by painting the inside in Fusion’s Coal Black and the outside in Dixie Belle’s Caviar. You might be wondering why I didn’t go entirely with one or the other, and the honest answer is that I didn’t have enough of either one to paint the entire piece!

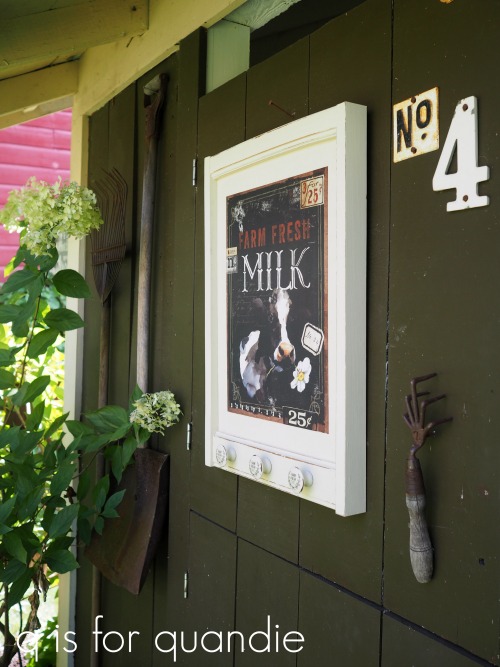
So I opted for the Coal Black on the inside because it will be fully washable once cured which is really nice on a shelf. Plus it’s rather putzy to wax the inside of a cupboard. The Fusion paint doesn’t need a topcoat, so I avoided that task. I went with the Caviar on the outside because I just slightly prefer the look of distressed and waxed chalk paint over the look of Fusion. The Fusion paint has just a little bit more shine (although it is still considered matte) than the waxed Dixie Belle paint. And by the way, I waxed over the Caviar using Fusion’s Black Wax. I absolutely love all of the waxes from that company whether it’s Miss Mustard Seed, Fusion or Homestead House. It’s soft and creamy smooth, so it goes on easily. Plus it’s perfectly safe and doesn’t contain any aromatic hydrocarbons (if you don’t know about those, check out my wax post).
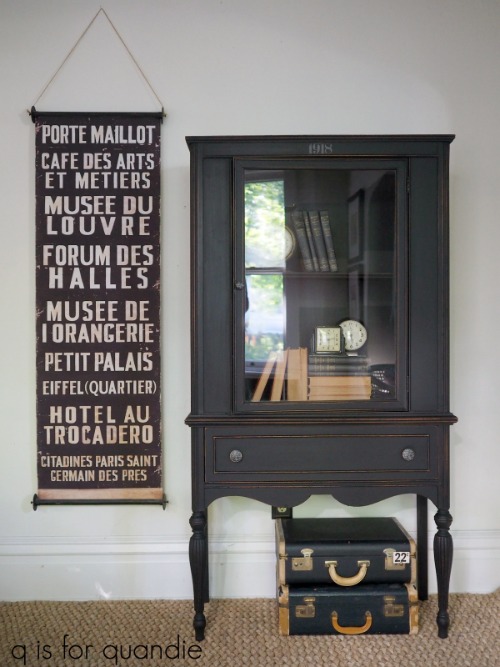
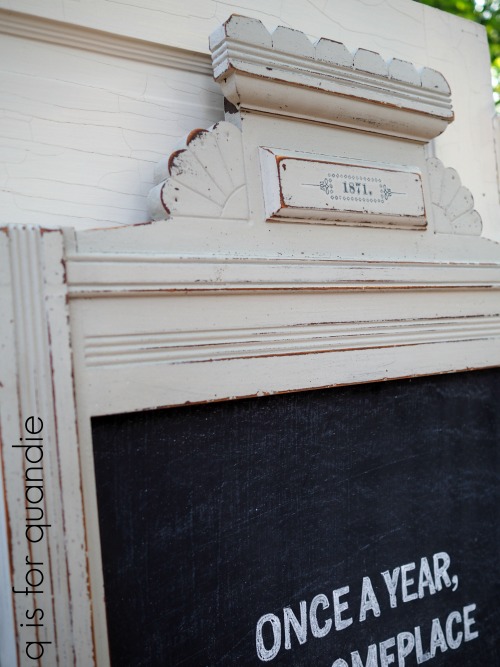
I added a simple little ‘1918’ stencil above the door. You know me and my numbers, I’ve got a thing for them.

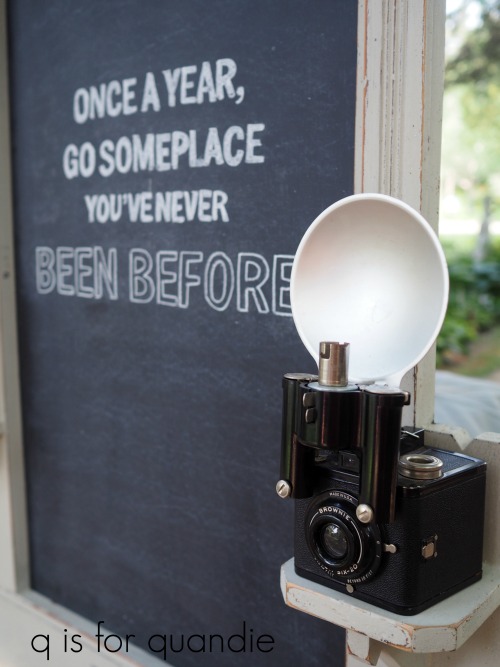
You may also have noticed that I chose to remove the fretwork from behind the glass. I really feel like I could have gone either way with that. Some people love that look, and others prefer a more simple look. Since I was going for simple with this one, I took it off.
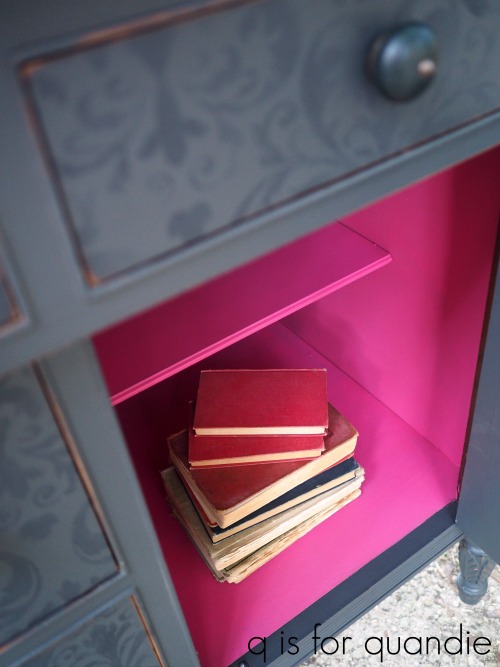
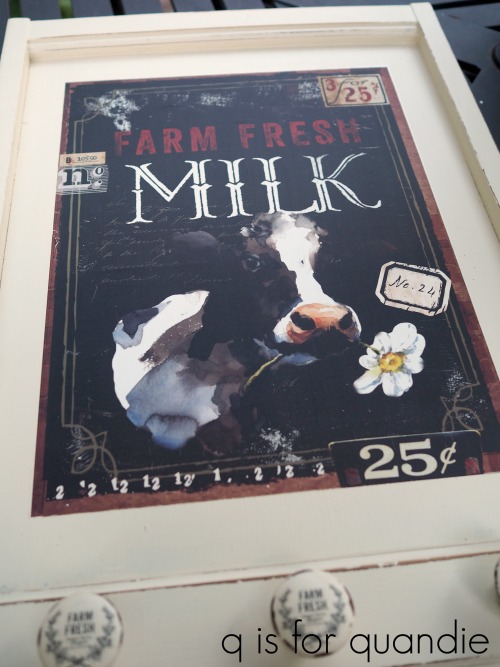
Then finally, the pièce de résistance, I used some of the Prima Marketing re.design knob transfers on the knobs!

This design is from the Cursive Letters set.
![]()
Let me explain how this style with the black background works. These are black rub-on’s. The portion that shows as white in the picture above is clear, these are not white rub-on’s. So if my knobs were painted solid black, the design wouldn’t really show up much.
Instead I painted my knobs black on the ‘stem’ of the knob, but a creamy white on the face. Then I applied the transfer. Once that was in place, I sanded around the edges of the knob to remove any excess white paint and to give them a distressed look. I followed up with a topcoat of Fusion black wax.

It may appear like the entire knob was painted black and then the transfer was applied over the black, so I just wanted to make that clear (pardon the pun).
I love how the knobs add just a little touch of the unexpected to this cupboard.

I feel like this piece is a great example showing how you don’t necessarily have to do something fancy or use complicated techniques to salvage an old piece of furniture. Sometimes all it takes is a little paint … and maybe some cool knob transfers … and your piece will turn out simply beautiful.

If you’re wondering where to purchase the Prima Marketing re.design knob transfers, check out their ‘where to buy’ page.
If you’re wondering where to buy the Fusion paint in Coal Black or their black wax, check out their ‘where to buy‘ page.
If you’re wondering where to buy the Dixie Belle Cavair paint, you can shop with them directly online or find a retailer near you.
And finally, if you happen to be local (Twin Cities, MN) and in need of a simply beautiful cabinet, check out my ‘available for local sale’ page for more details.


 There are no markings on the bottom of the little pitcher, so it’s hard to say if it’s authentically french or not.
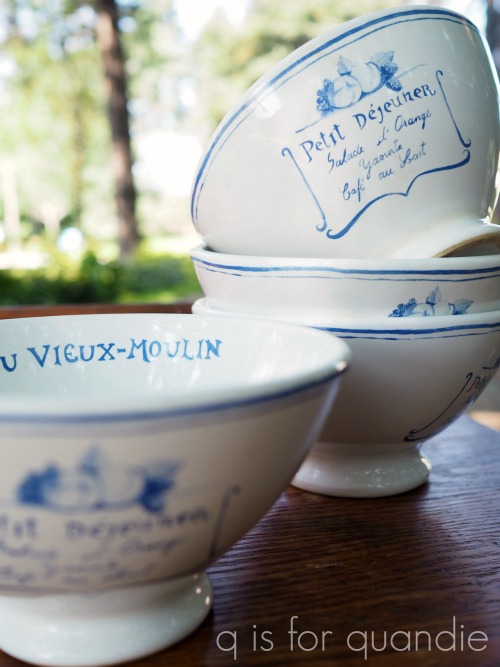
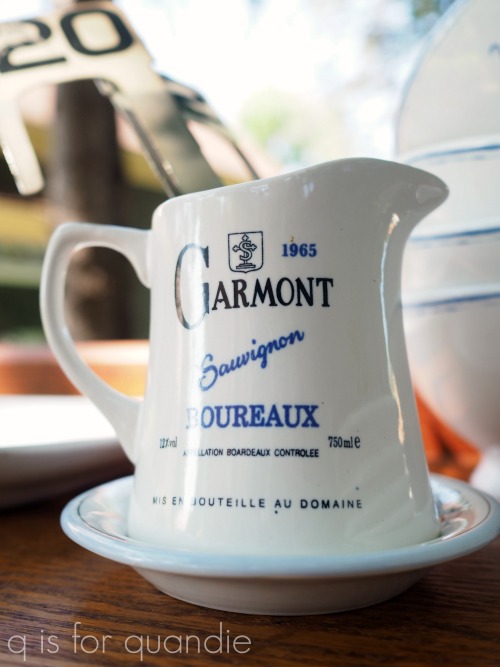 But I do think this little plate is gen-u-ine.
 It is marked with a Paris address on the back.