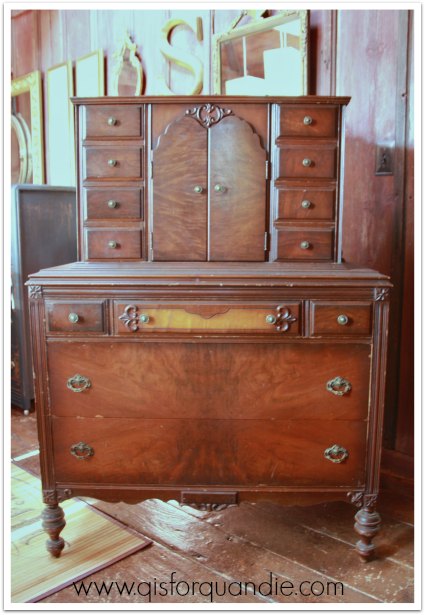
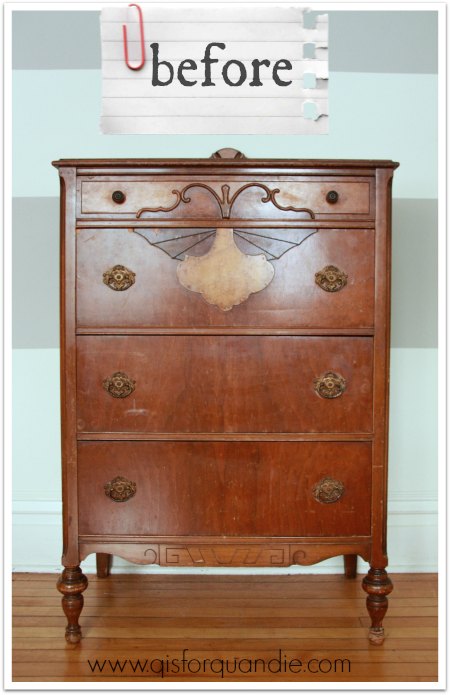
Remember the really gorgeous bedroom set I picked up a while back? I have been working on a custom paint job with a client on the dresser (and she is also purchasing the bed). I have to say that coming up with a plan for the dresser was very much a collaborative effort. We started out in a completely different direction, but once my client shared her vision for the entire room (this dresser is going to be part of a full makeover of her master bedroom) we were able to pull together a look that will work in the room. One of the major considerations was another piece that she has, a gold antique french curio cabinet. Something similar to this (although this is not her exact piece) …

I knew that she wanted a french look for the dresser, but once I saw this piece I realized she wanted what I consider a ‘Louis the XIV’ sort of french look. We had originally talked about using black on the dresser, or possibly even a grey. But I really couldn’t picture either of those colors working well with the gold piece. The gold curio is clearly a statement piece and should be the standout in the room, but the dresser will also have a big presence. I didn’t want them to compete, but instead work together. At some point, my customer mentioned that she liked the idea of adding some gold to the dresser. I’ll admit, I was not on board at first. But then I started doing a little research on pinterest. I even put together a new board called ‘go for the gold.’
This chair in particular sold me on the gold idea. I realized that when done right, a touch of gold could be gorgeous.

Also, this made me feel like I finally had a clear idea of what my client was looking for. Except instead of grey, we decided on Duck Egg blue, which will bring out some of the color in the mural on her curio (which is similar to the example above, with a gentlemen in a blue coat). It’s also the color that she originally talked about wanting to bring into the room.
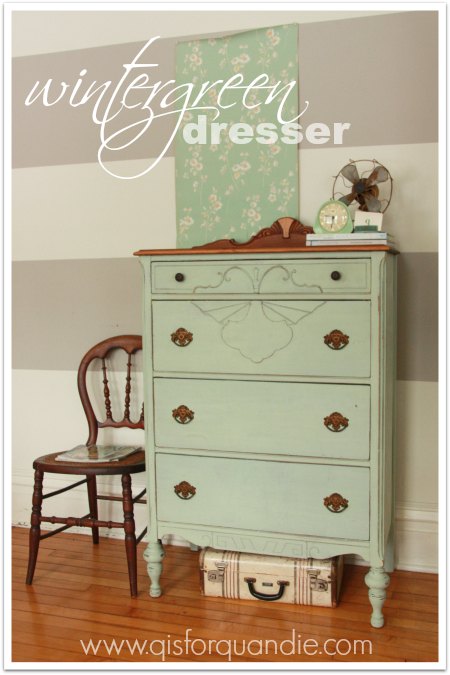
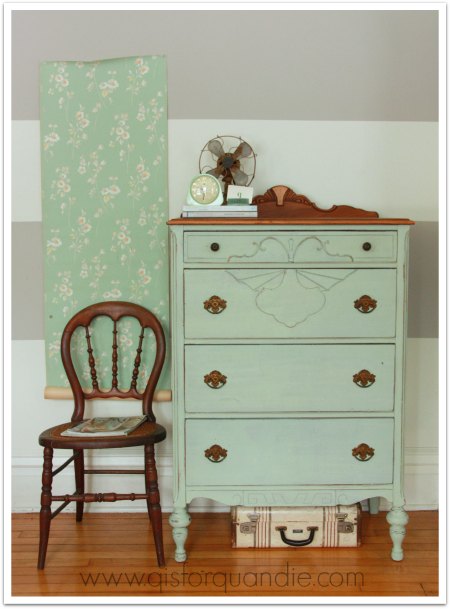
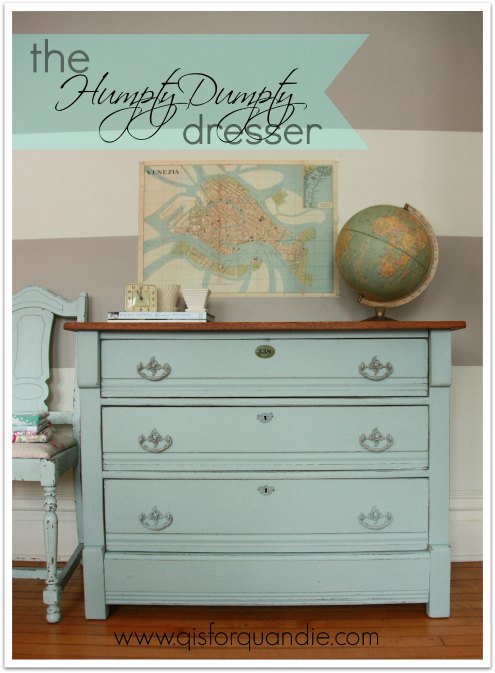
Which brings us to the resulting dresser.
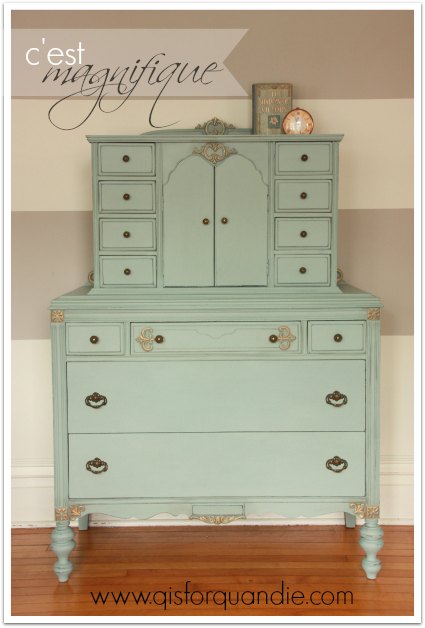
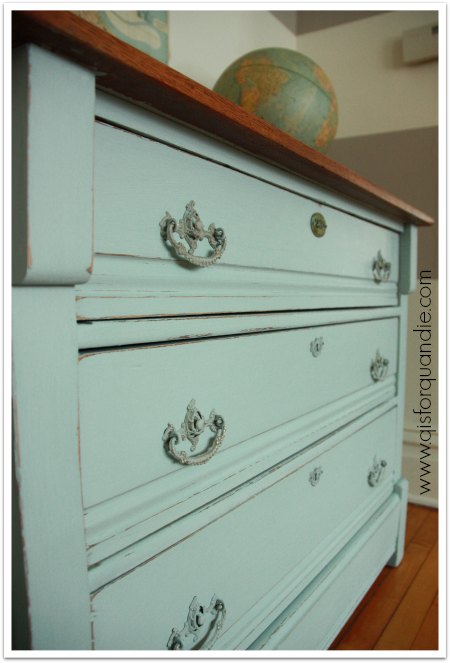
I used a light hand to apply the gold Rub ‘n Buff to bring out the details on the dresser.

It’s enough gold to help tie this piece in with the curio cabinet. I think the gold works really beautifully with the Duck Egg blue.
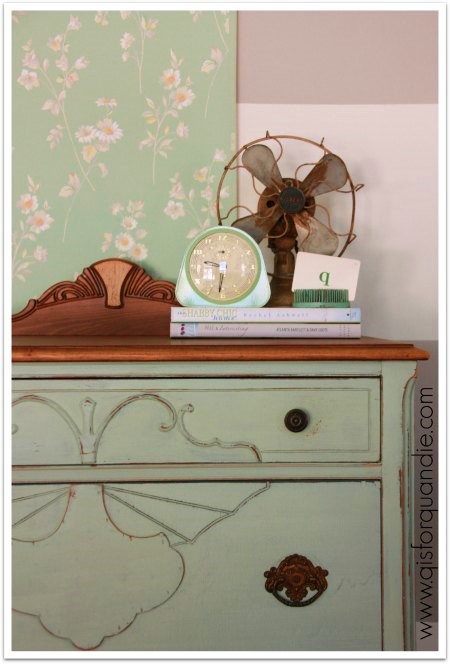
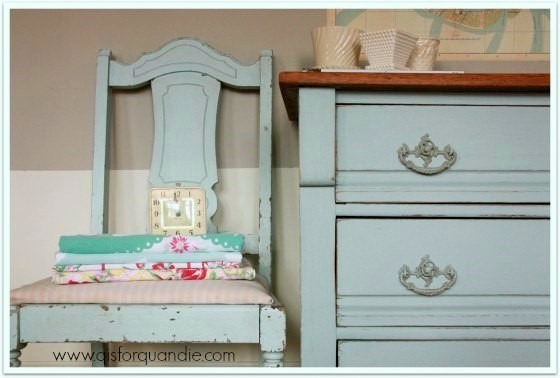
I staged this piece very simply with an old book that has the same look as the dresser, a duck egg blue with gold details, and a vintage clock.

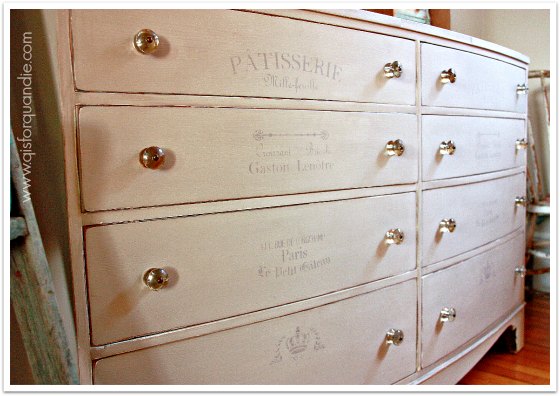
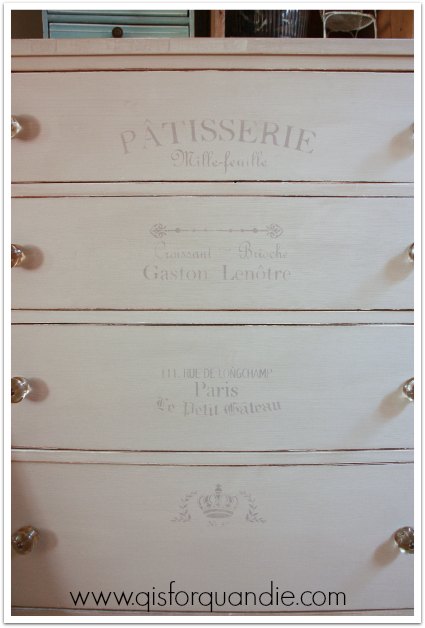
The original hardware on this dresser is very pretty, and was already gold toned. I just cleaned it up a little and put it back on.

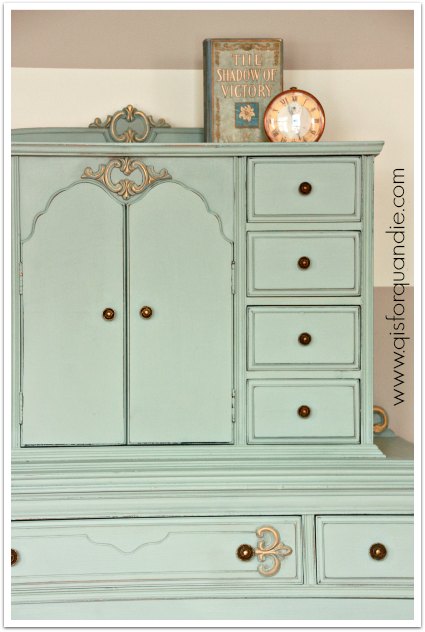
Those little doors at the top of the dresser open to reveal two shelves inside. I painted the interior to match. Don’t you just love the curvy-ness of that opening?

I also love the little detail of these pretty brackets that sit at the back of the wider portion of the dresser.

I’m more than happy with how this dresser turned out in the end. It was such a gorgeous piece to start with, so I wanted to do justice by it, and I think I did. What do you say?

P.S. That little french cane back chair with the gold accents from my pinterest board is going to be the inspiration for how I paint the vanity that matches this set. But first I have to paint the bed. Stay tuned.


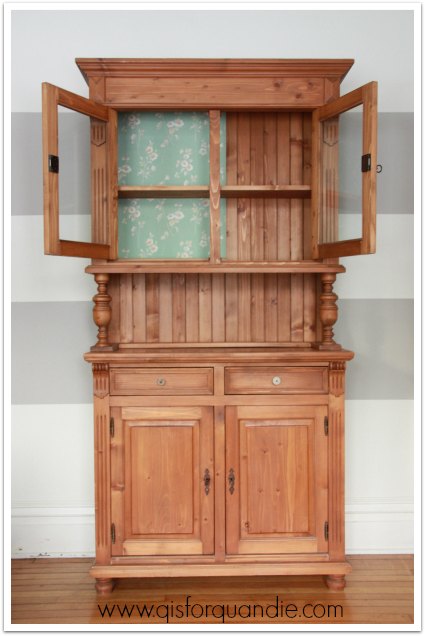

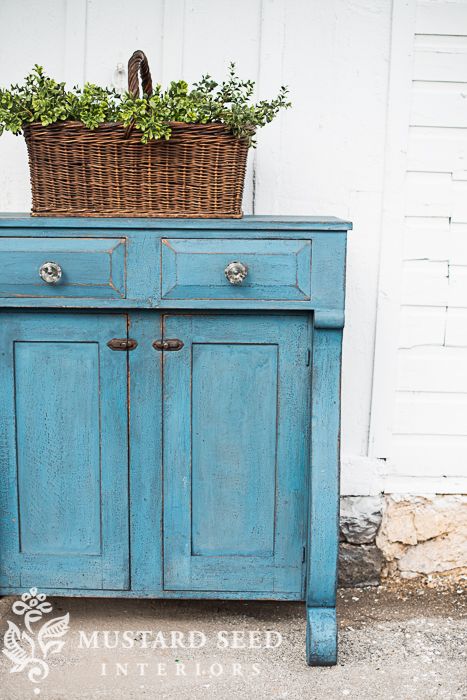
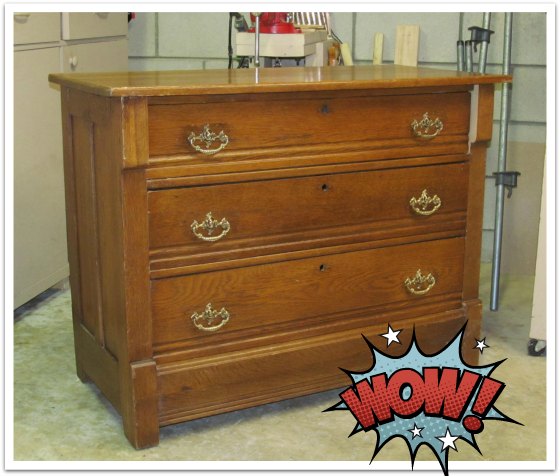
 I really wasn’t sure about this pine finish that I was painting over. I suspected it might chip like the dickens. But the first coat of Artissimo really didn’t chip at all. Hmmm. OK. I wanted a little chipping, so I was a little disappointed not to get any. I waited a full day and then moved on to add a coat of Flow Blue on top of the Artissimo. And then guess what? It started chipping. And then it chipped A LOT. I freaked out. Some cuss words may have been uttered. This is the point in many projects where I decide to sleep on it. Maybe even wait a couple of days before making any decisions. But I really thought I was going to be sanding it down and starting over with chalk paint. Not the end of the world, but I’m not a fan of starting over.