highland park.

Yesterday was the perfect day for a neighborhood garage sale and the stars must have been aligned in my favor because I came home with all of this.

highland park haulWe were in Highland Park, a neighborhood that runs along the side of the Mississippi River in St. Paul.  It is full of gorgeous old houses, many with really lovely gardens.  I should have brought my camera!

We filled up the truck before noon and then stopped off at Cecil’s Deli for lunch.  A true Jewish kosher deli.  It took me back to my days of living in Boca Raton, Florida which might have been the last time I enjoyed a legit east coast style Jewish deli.  I’m not at all sure what makes them so fabulous.  They always have the best pickles, and a fantastic selection of sandwich choices.  I had the “Nosher”; turkey, roast beef and swiss on caraway rye.  We took away some hamantaschen cookies to nosh on later.  Yum!

But … back to the goods.

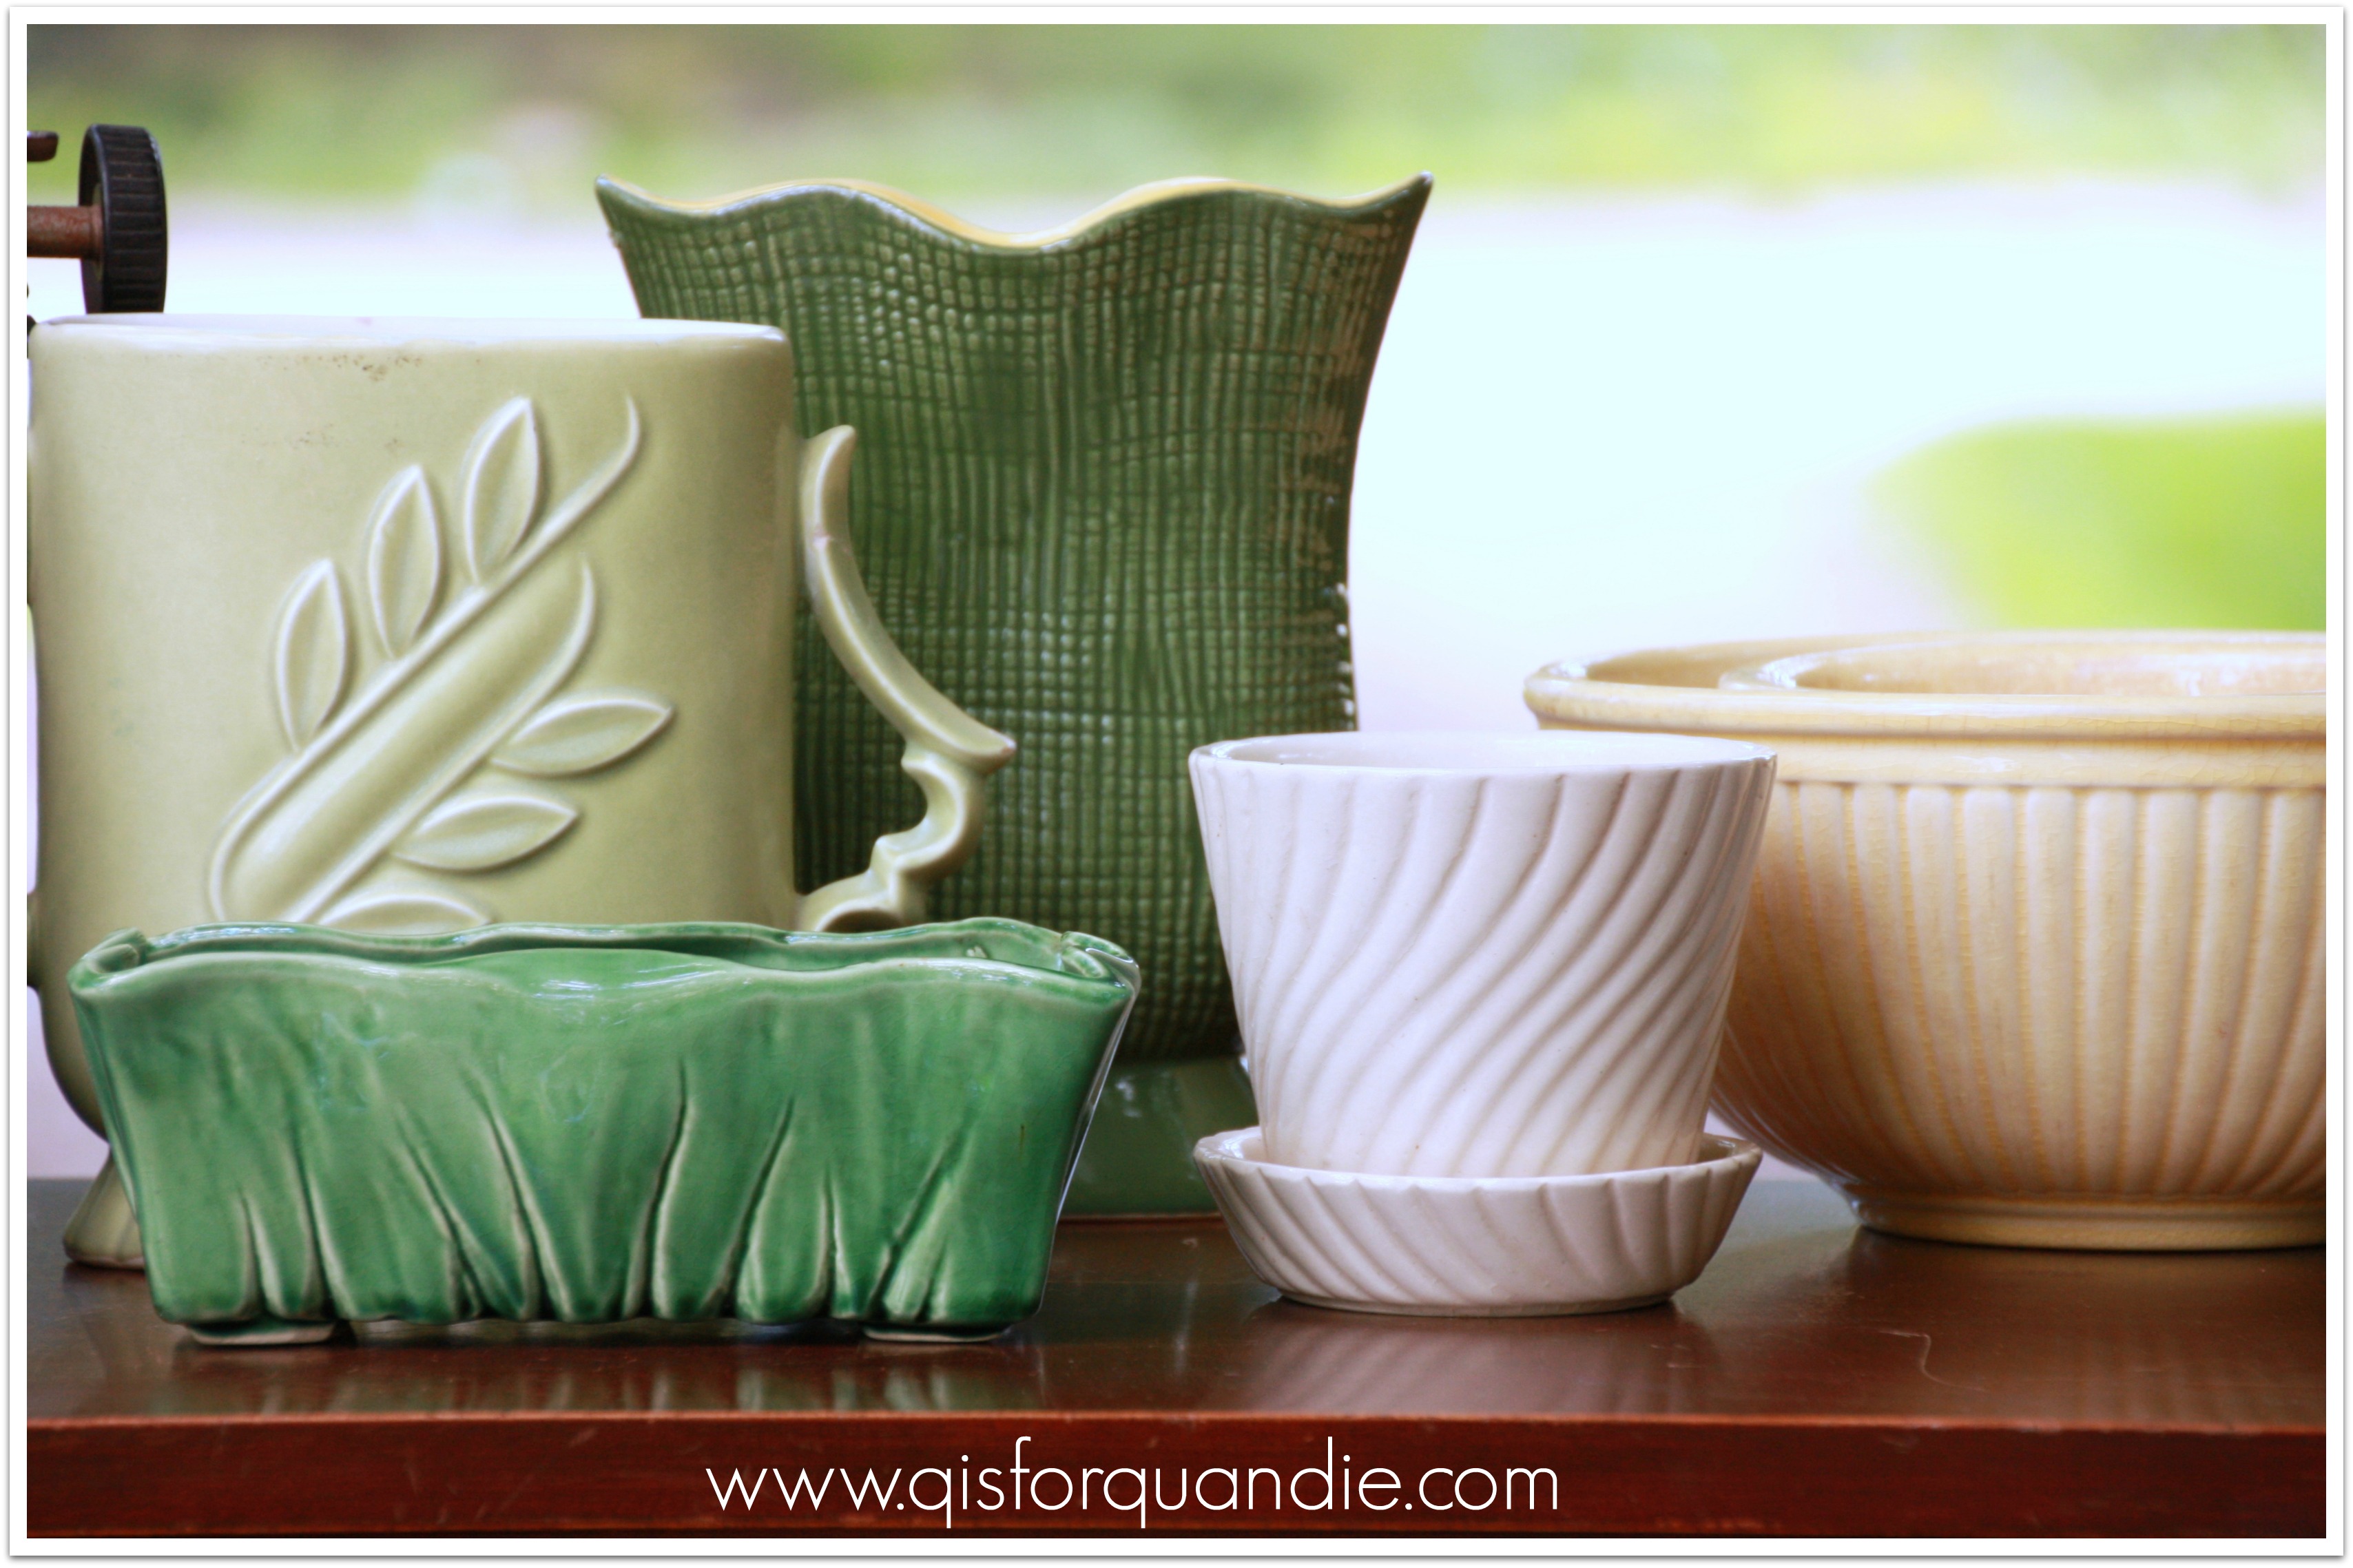
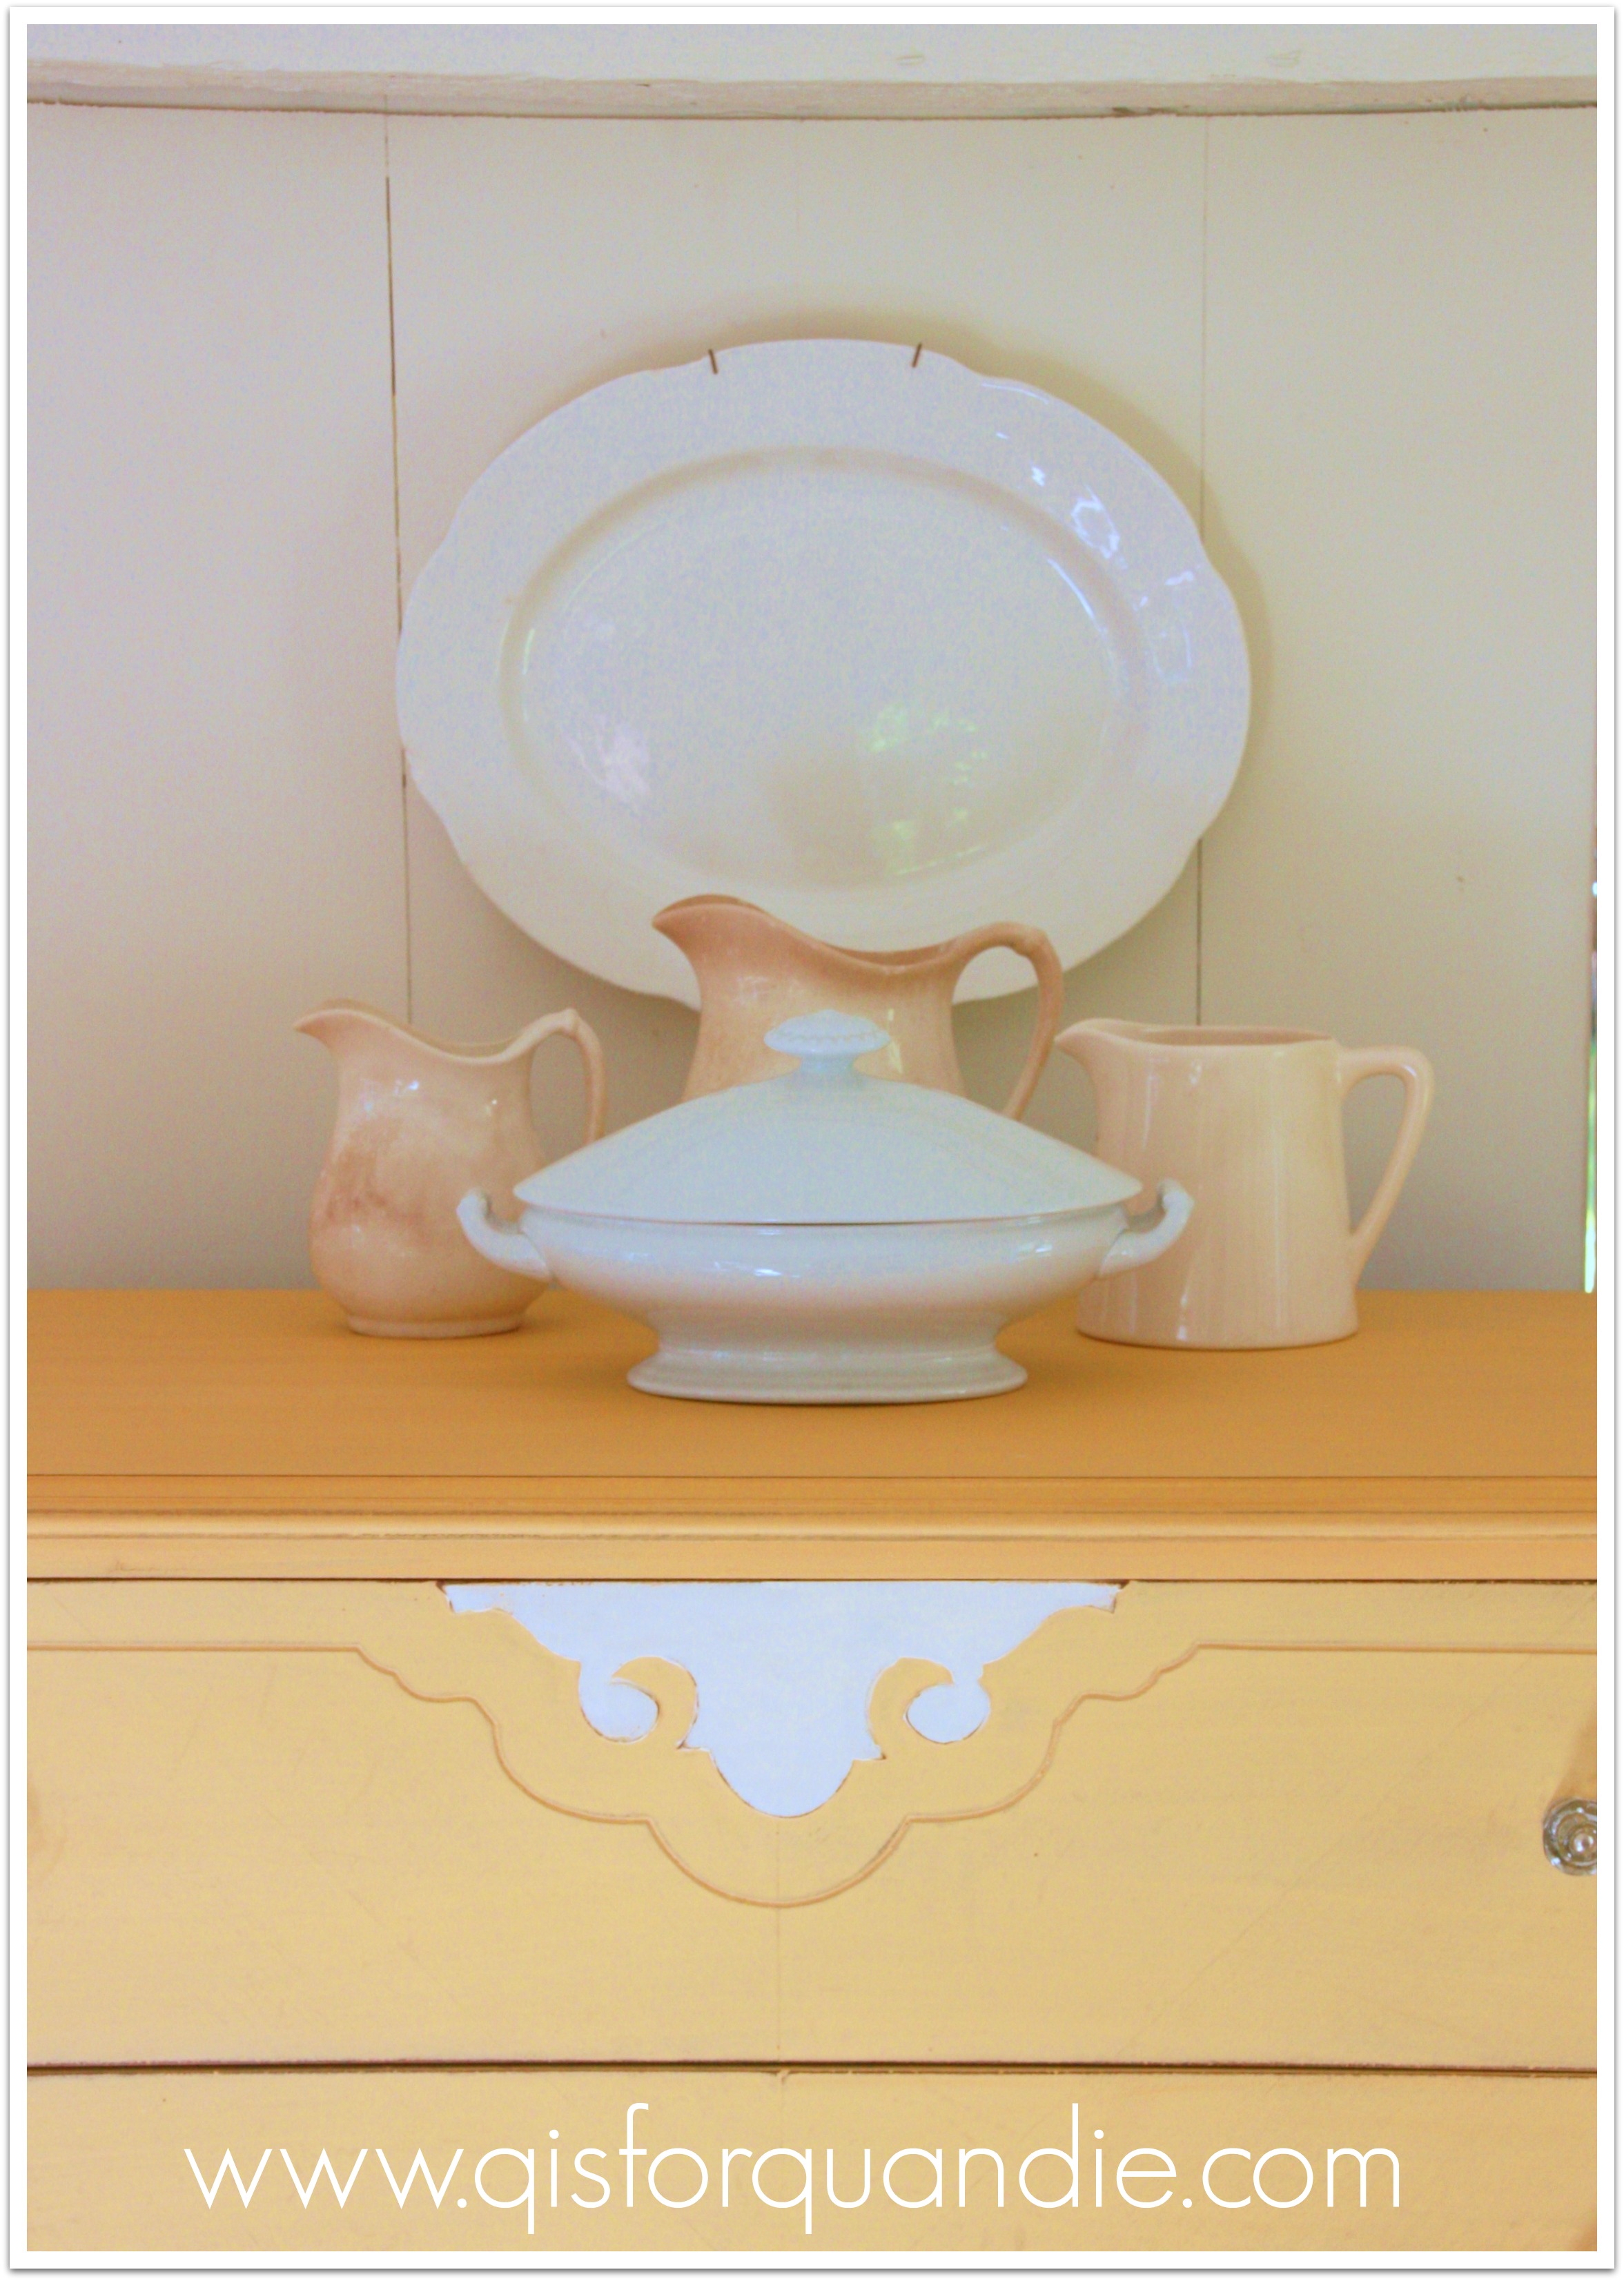
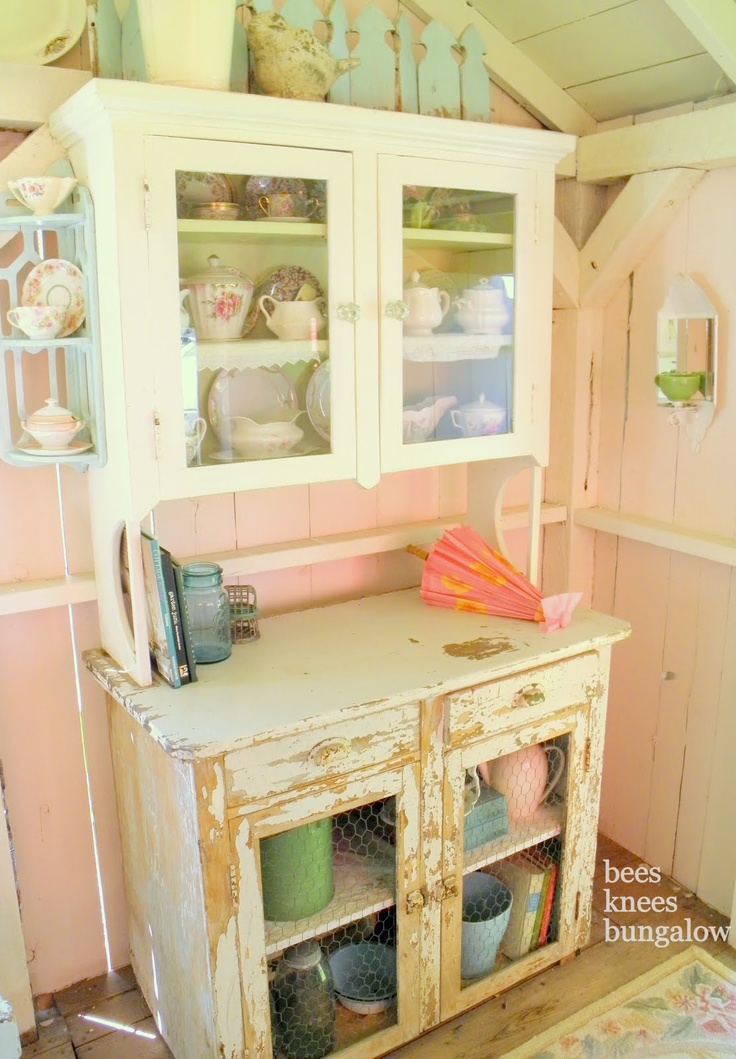
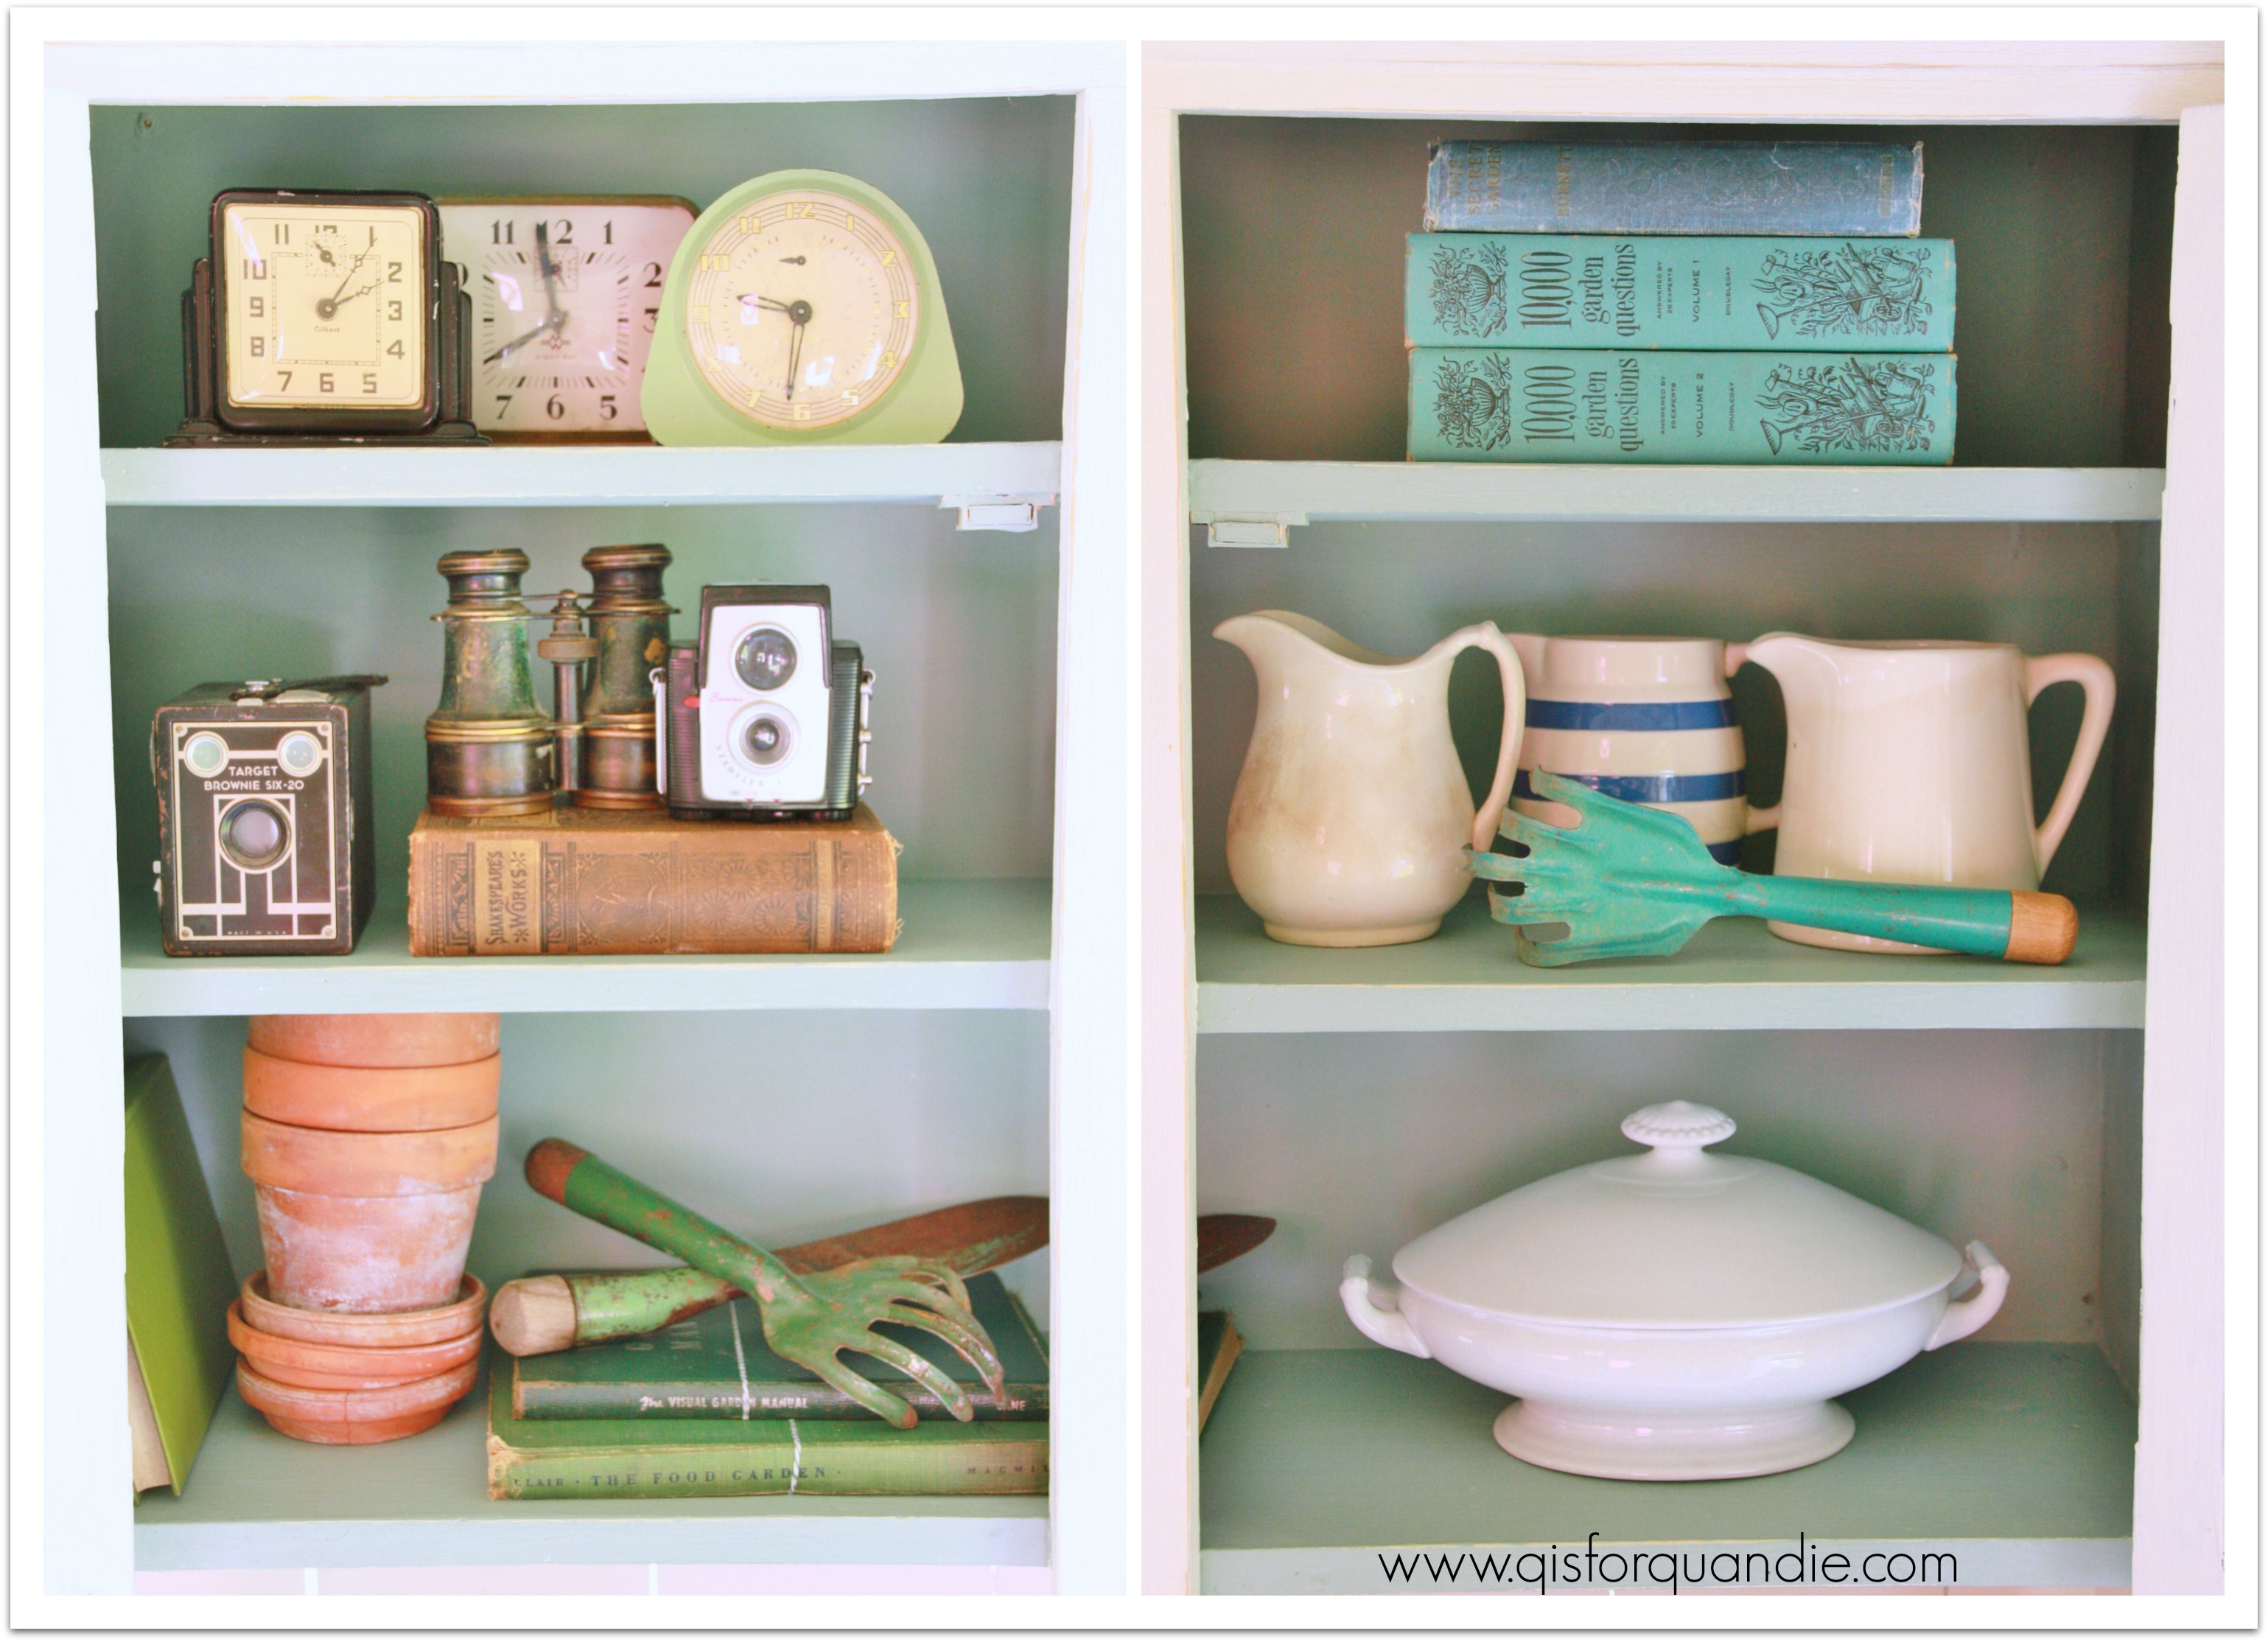
I found quite a few pieces of pottery.

highland park pottery

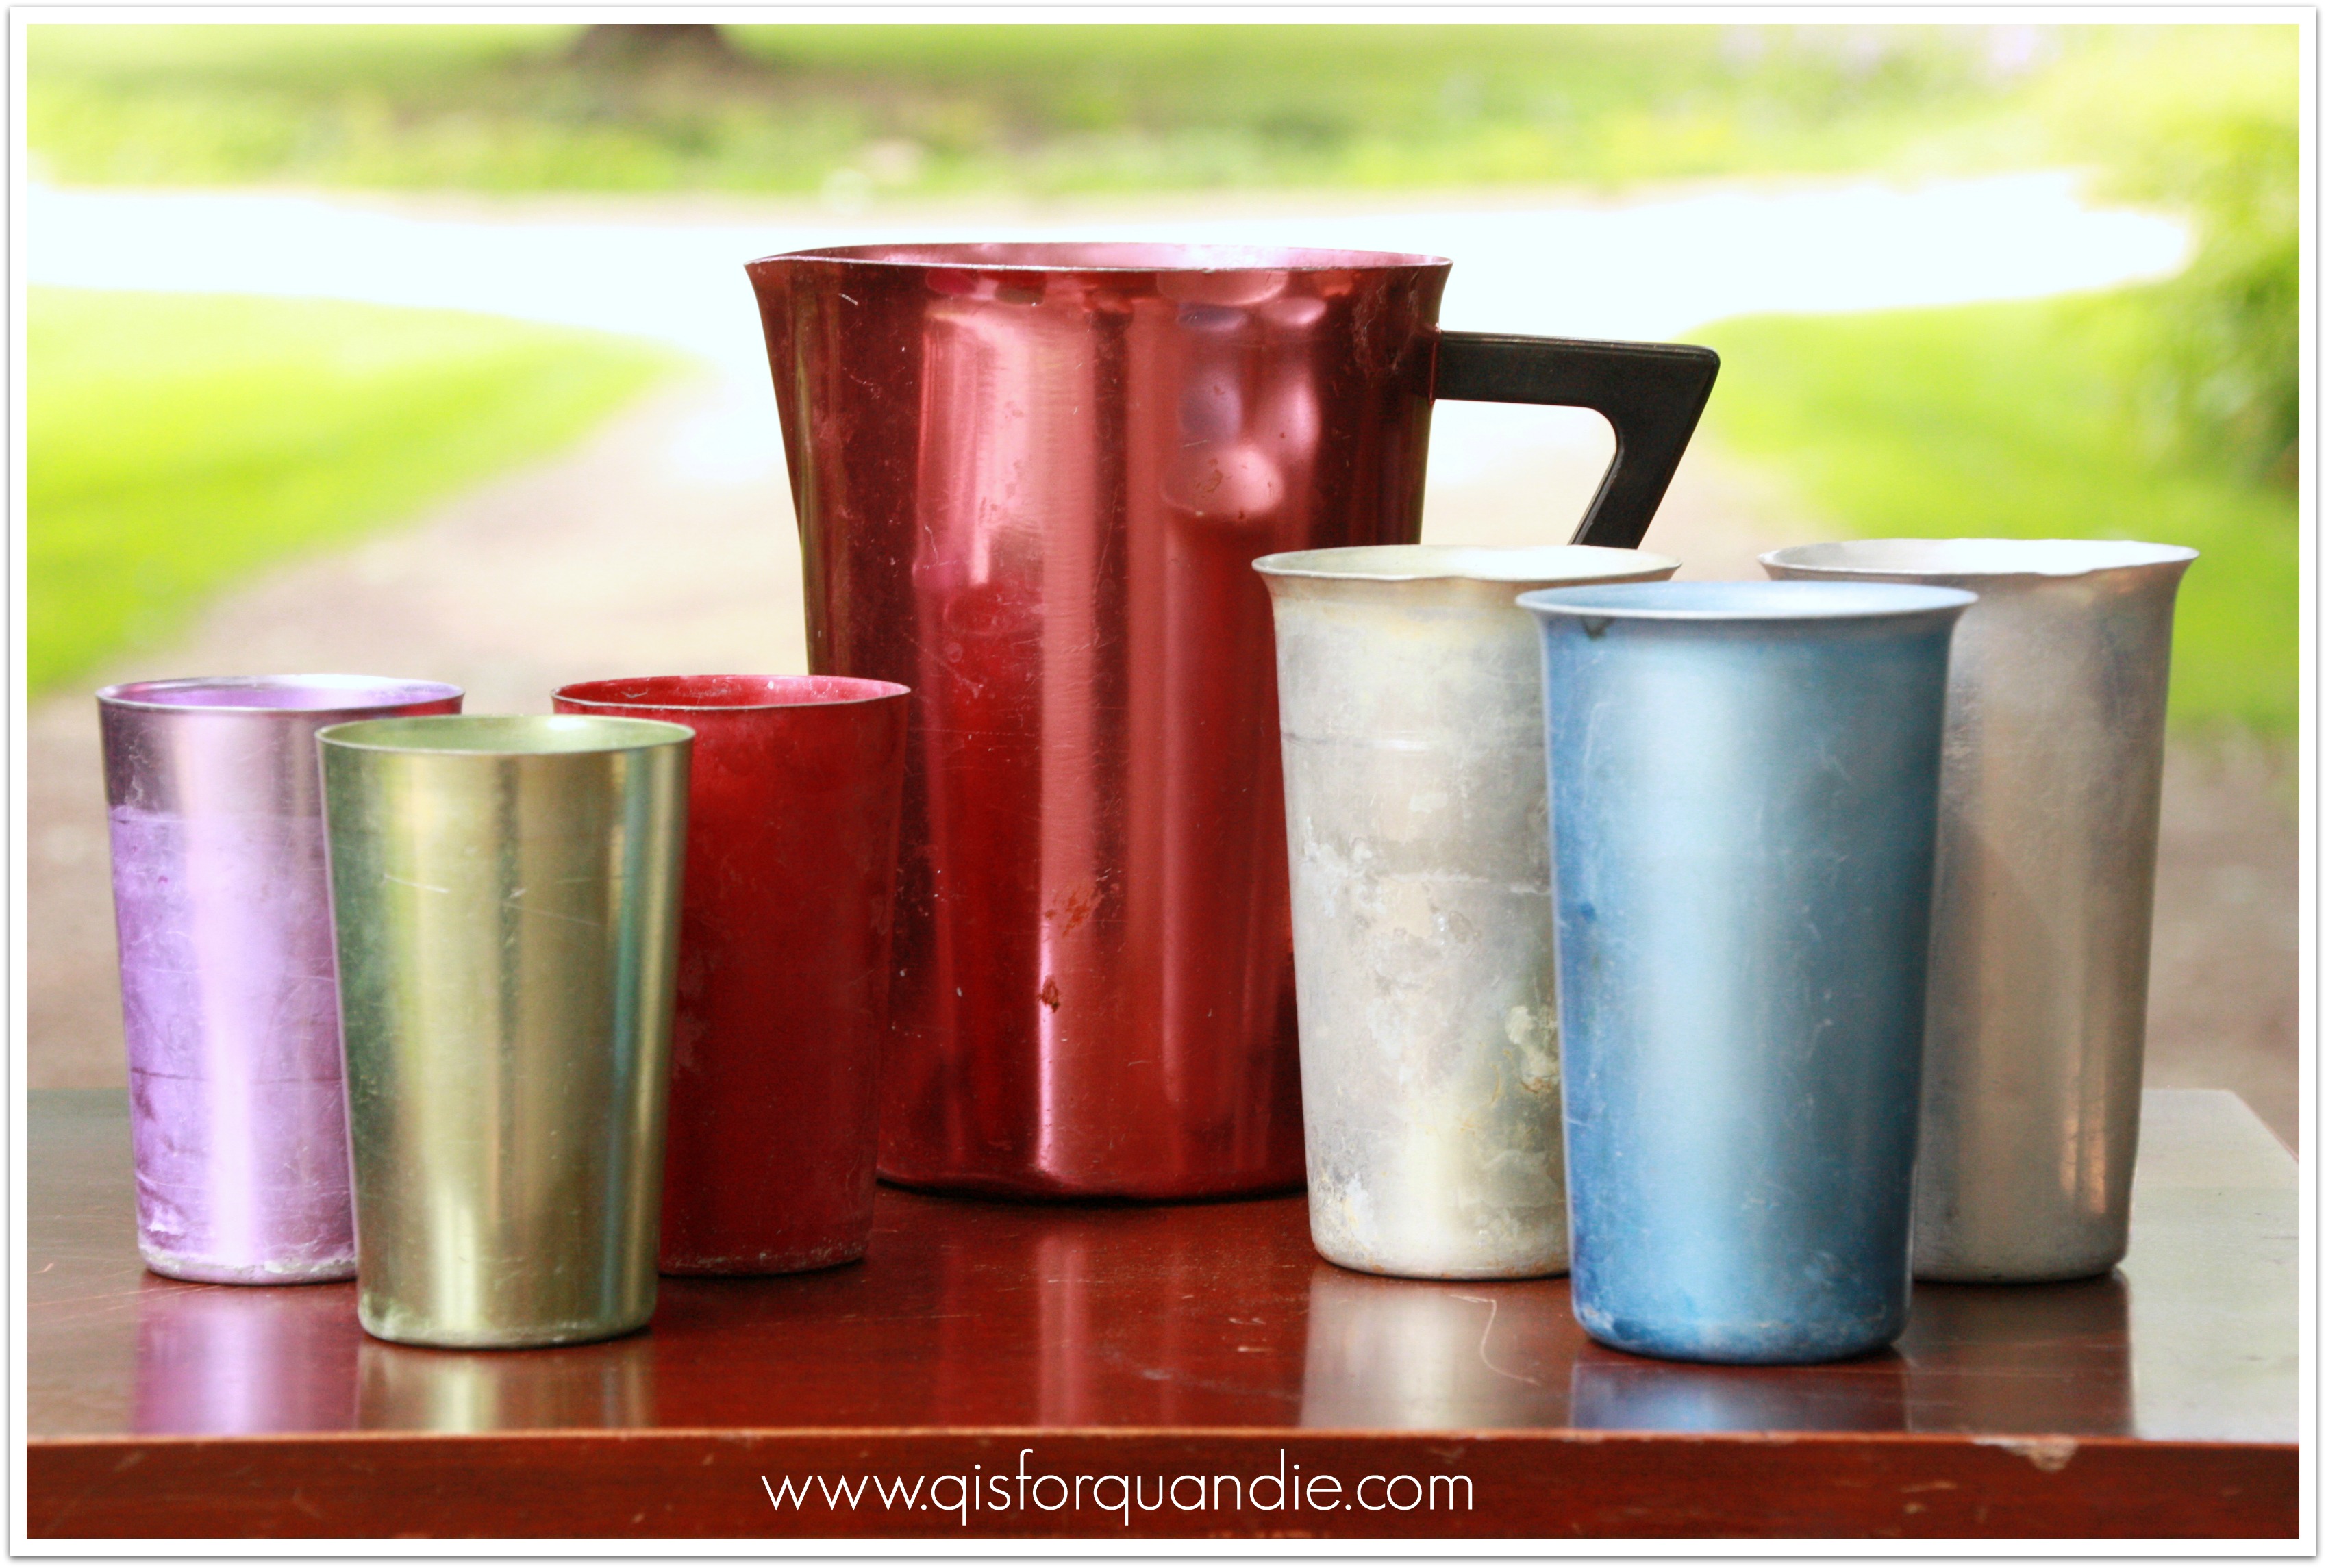
And I love these old metal glasses.  My grandpa used to make us root beer floats in these when I was a kid.  I can still remember how cold that metal used to get!

highland park metal glasses

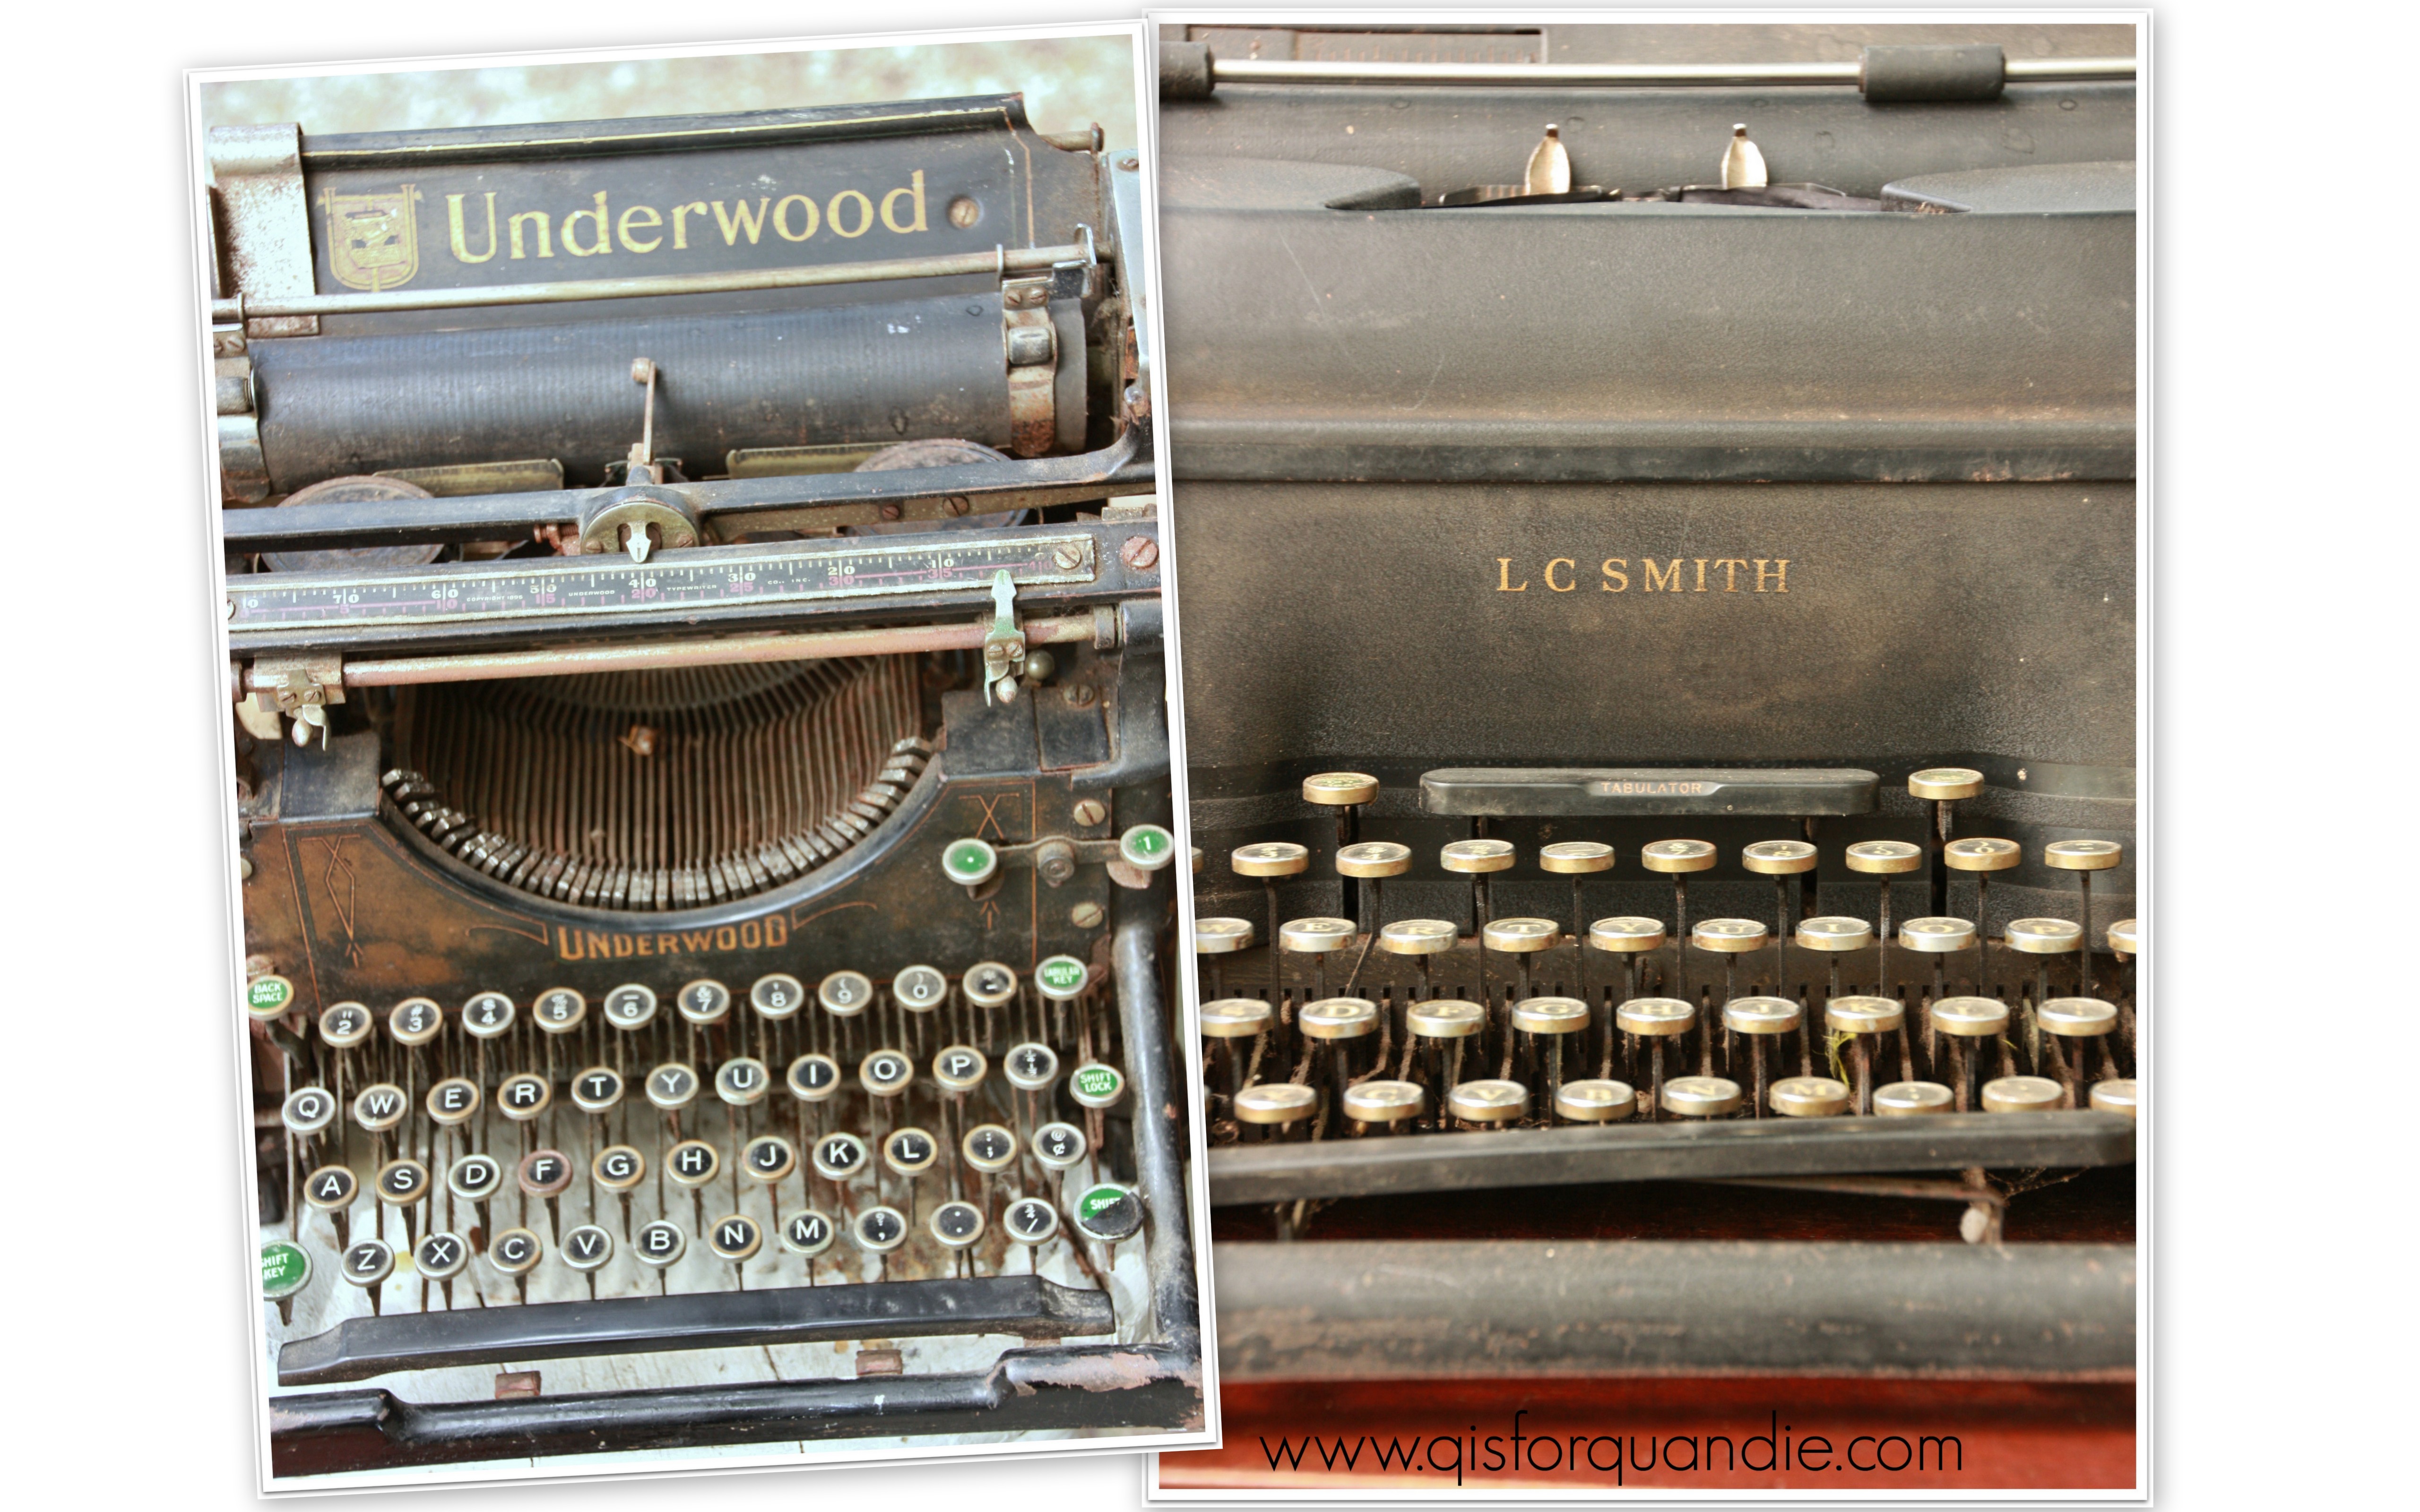
At an estate sale I found not just one, but two fab vintage typewriters.

2014 summer blog4

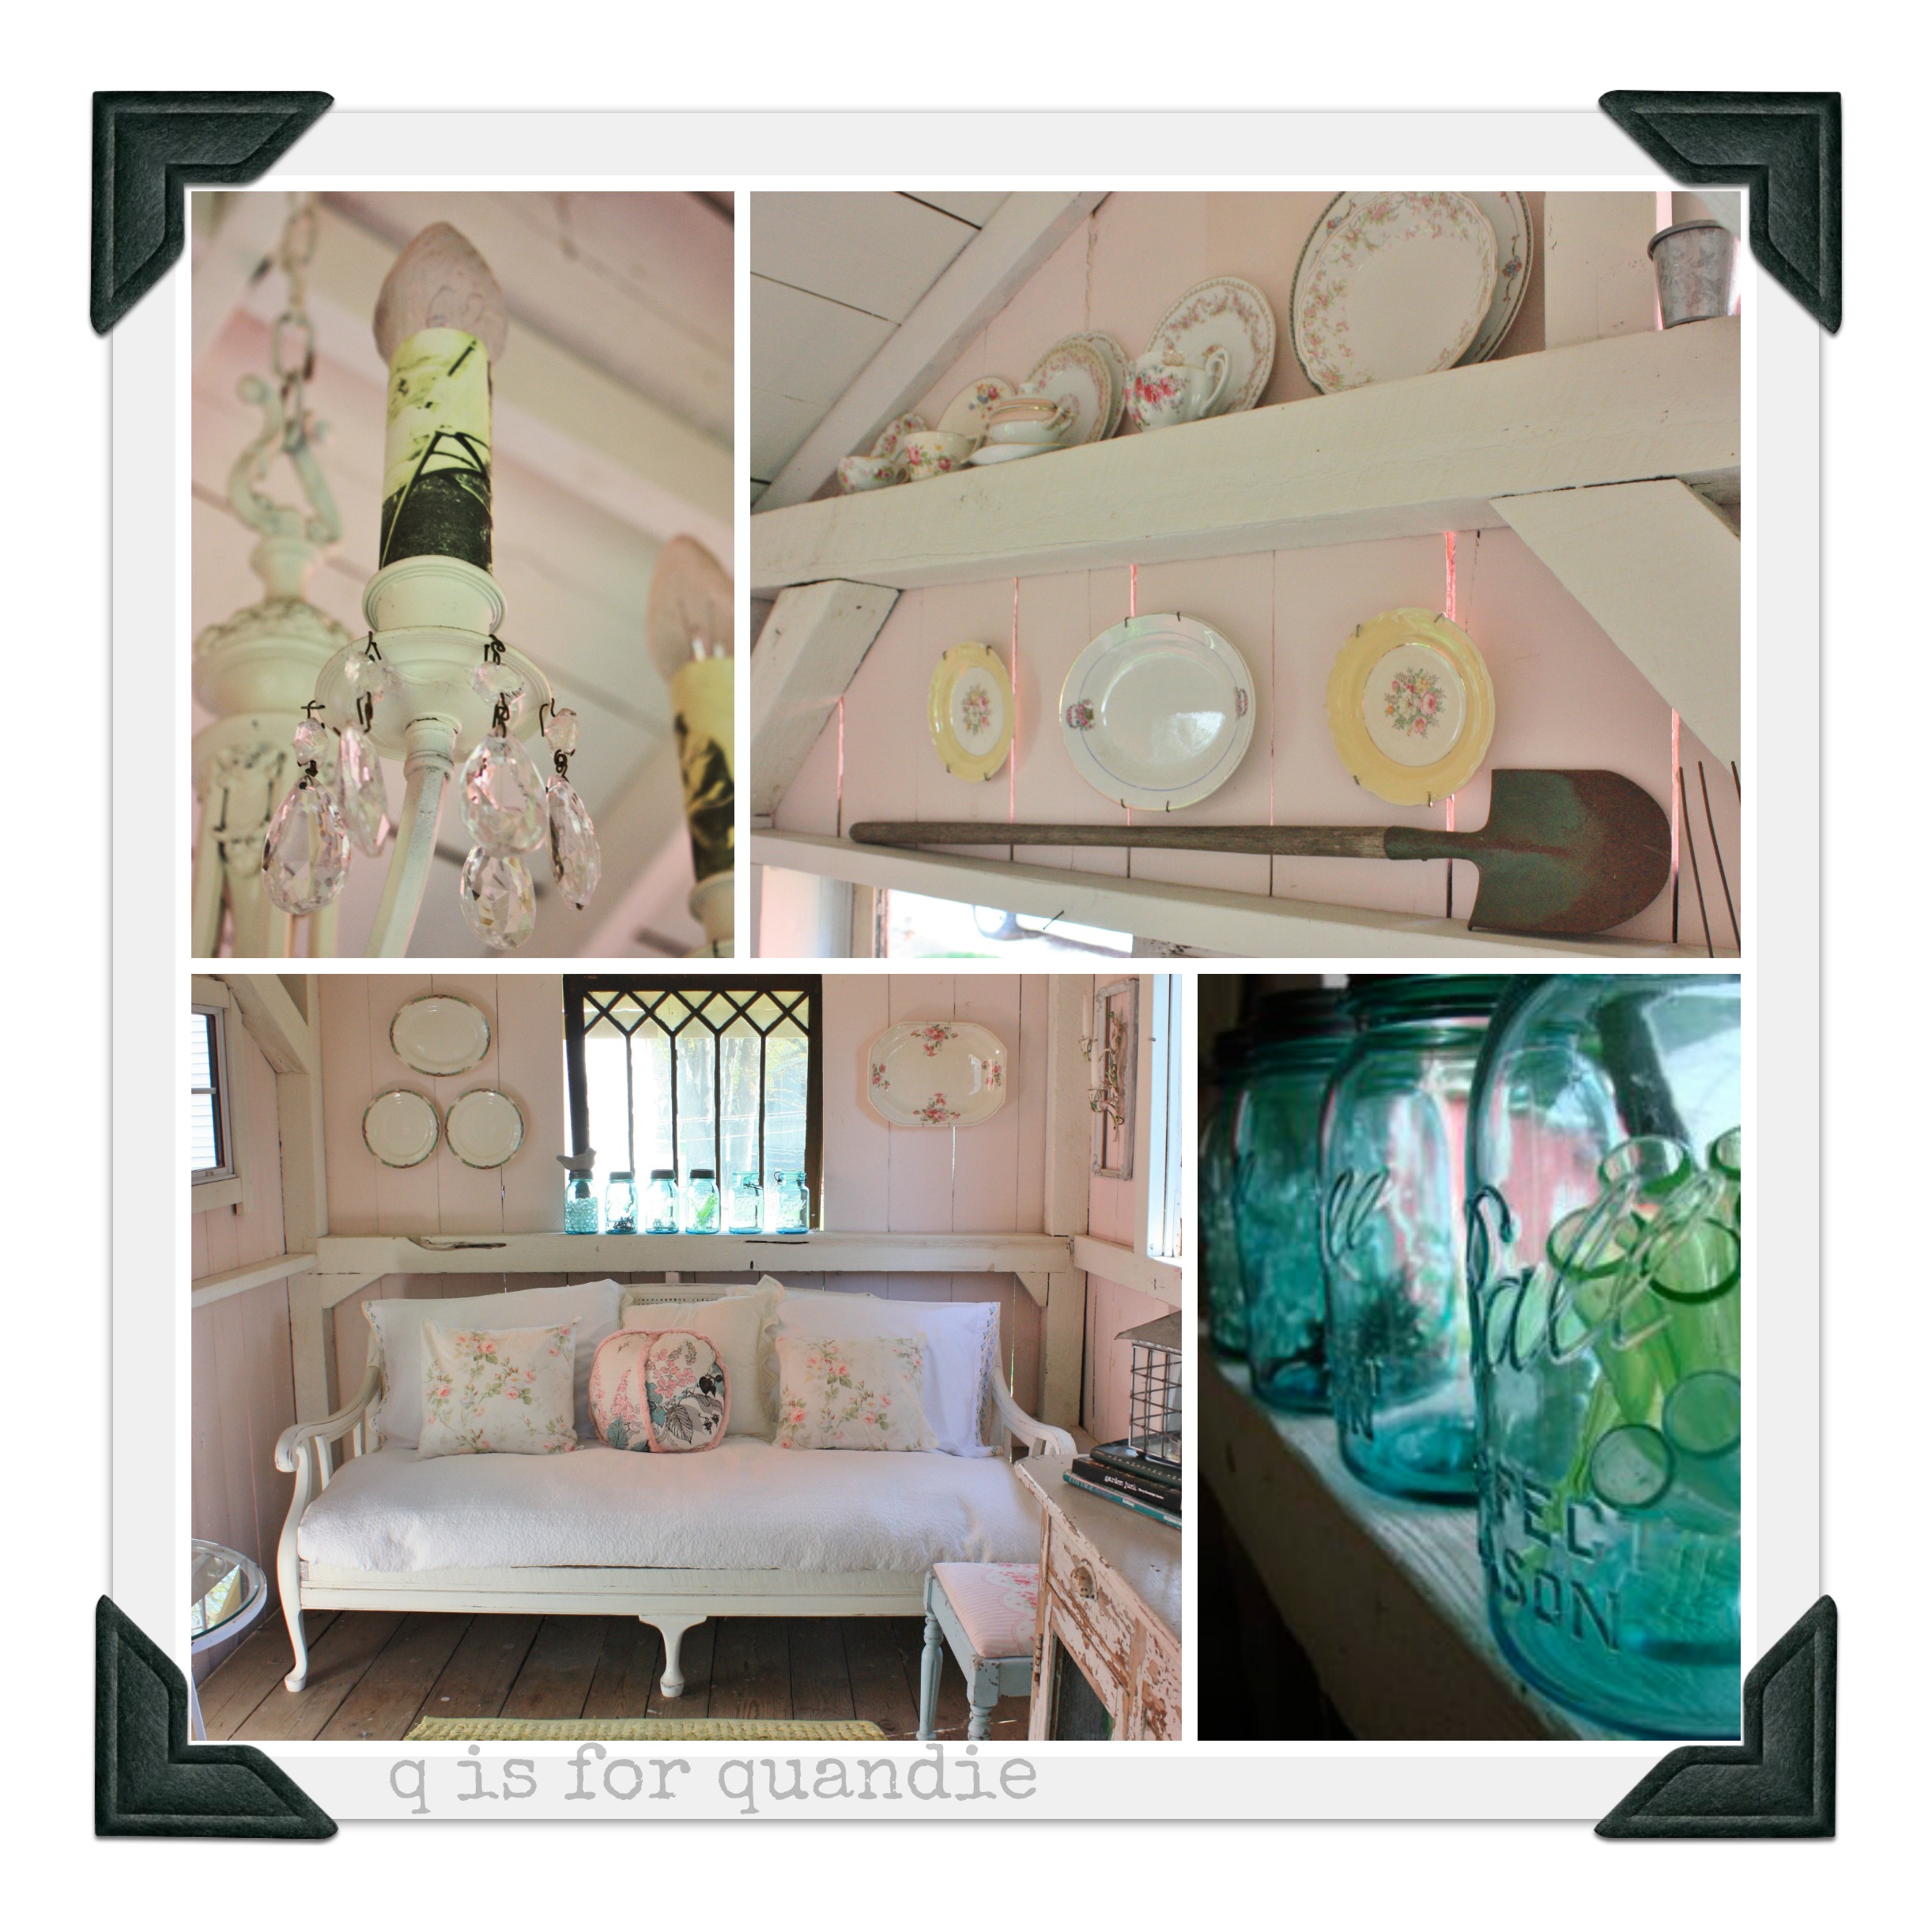
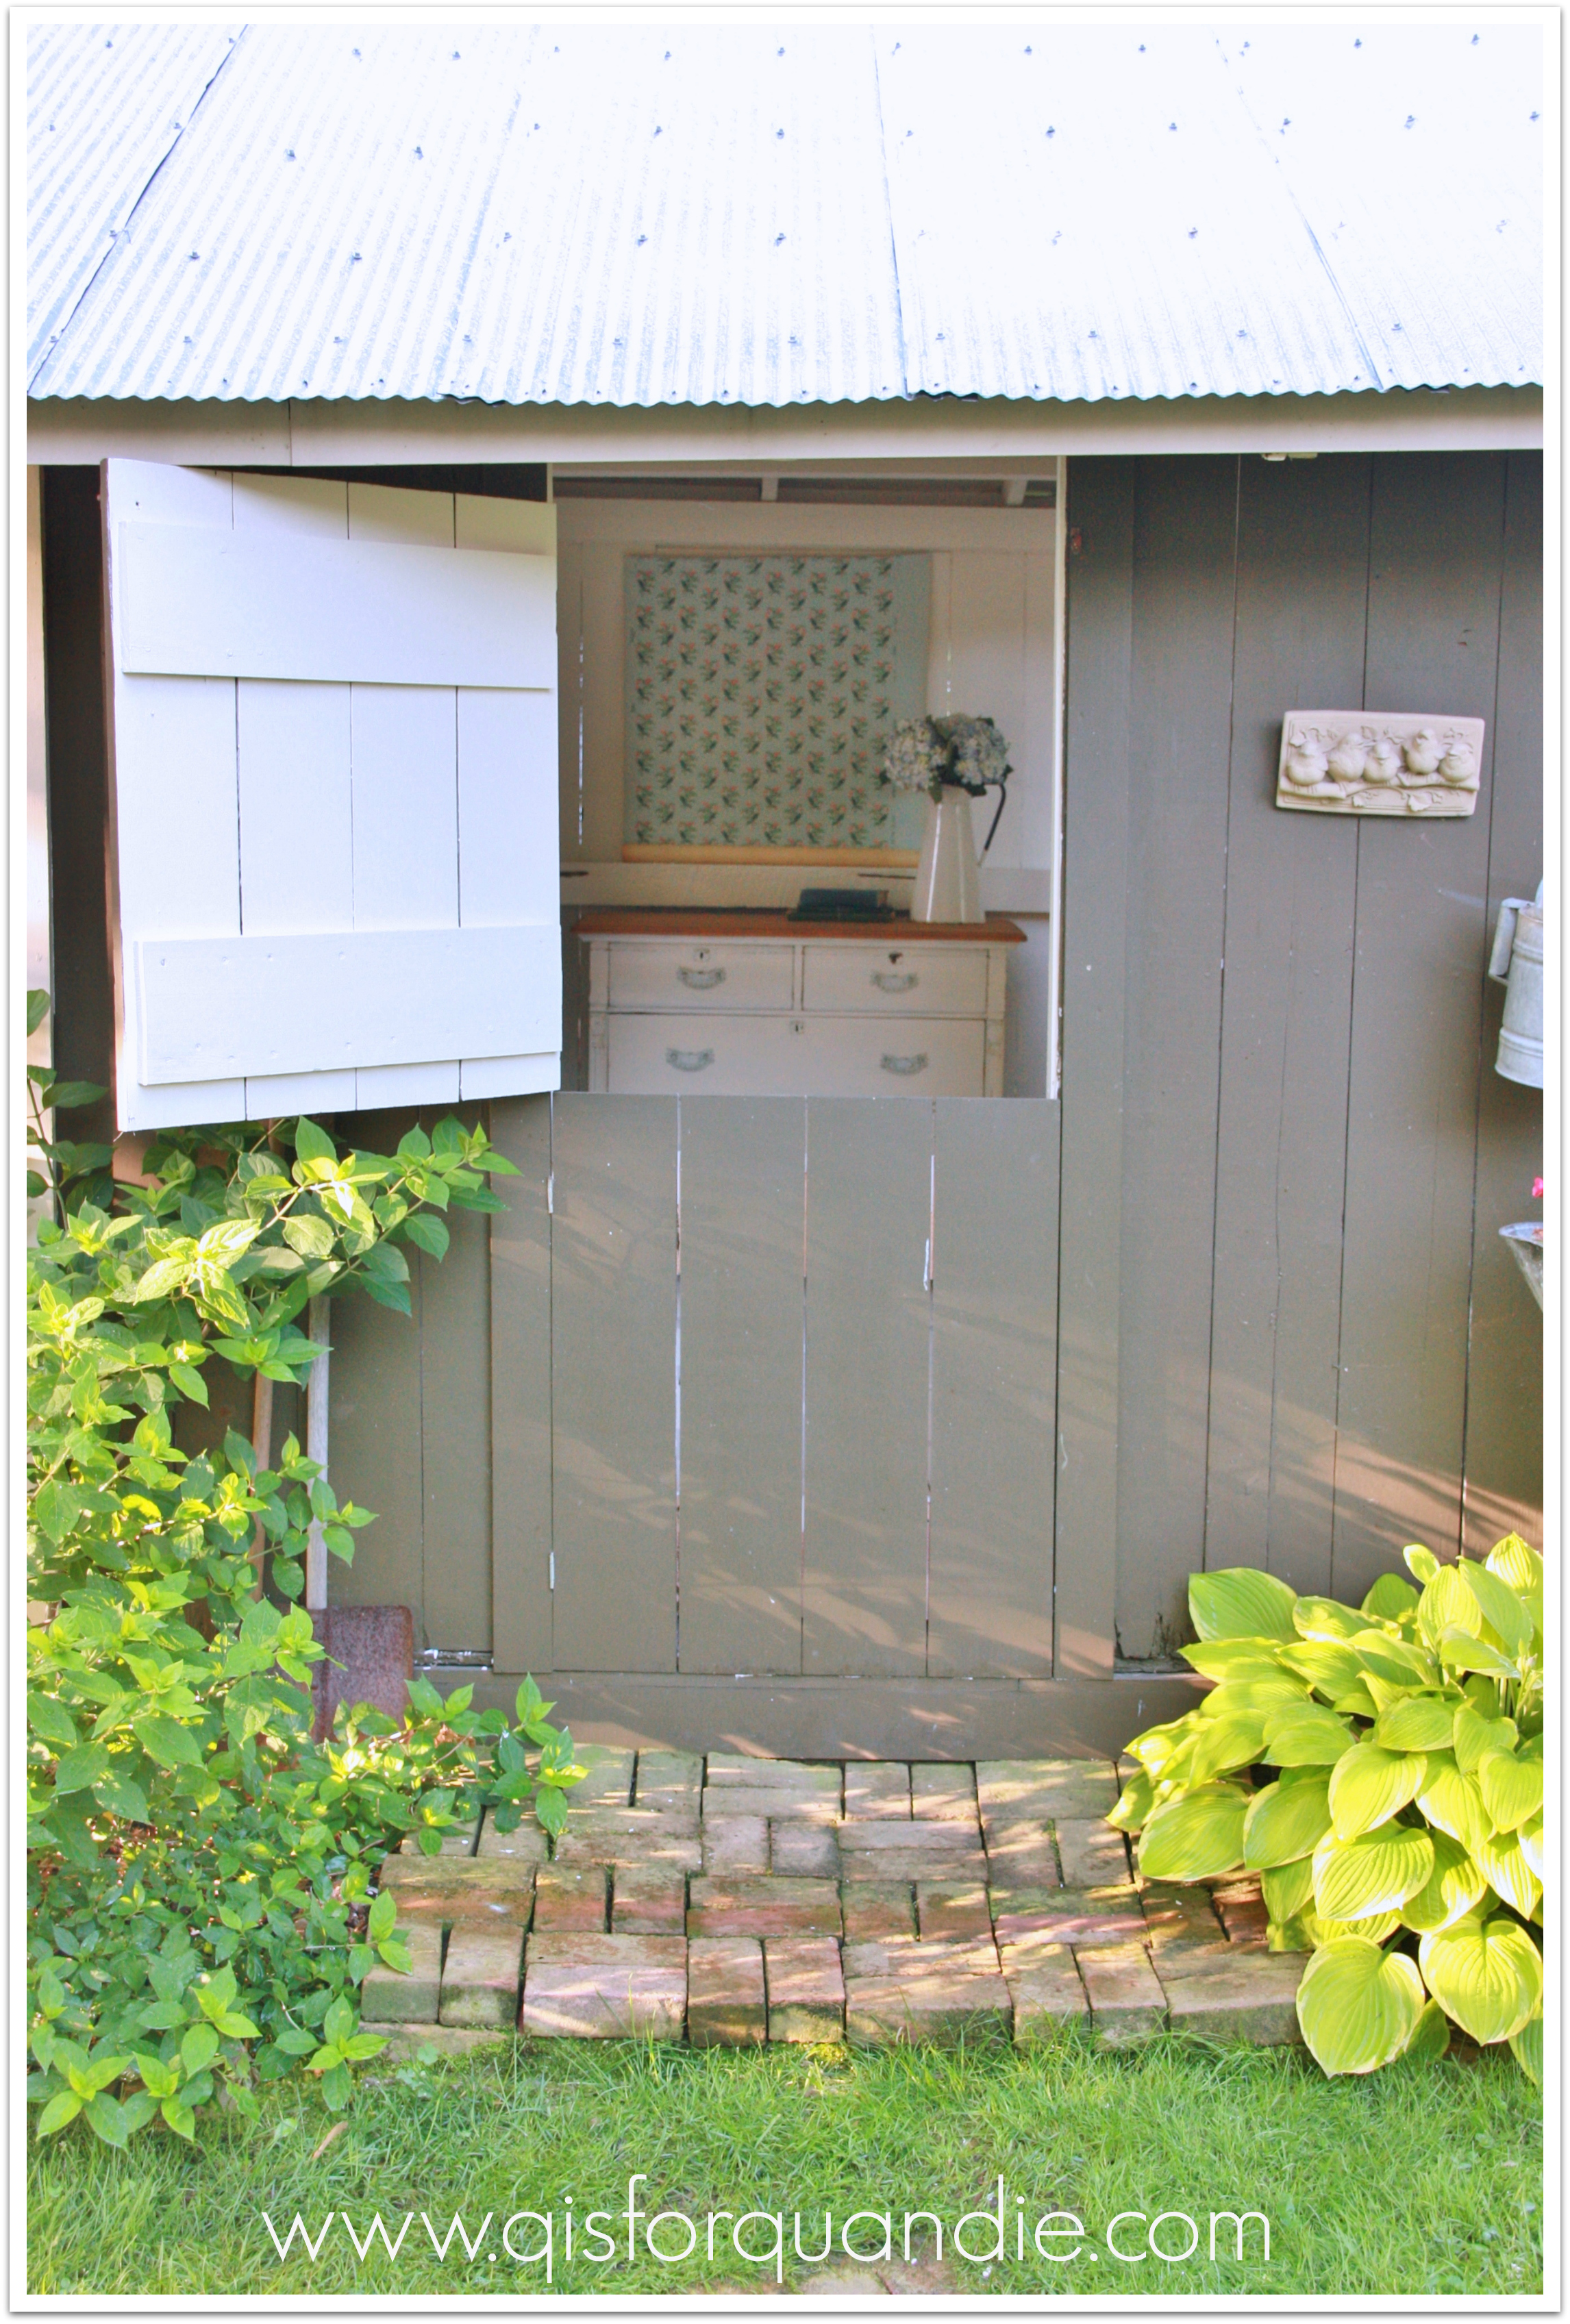
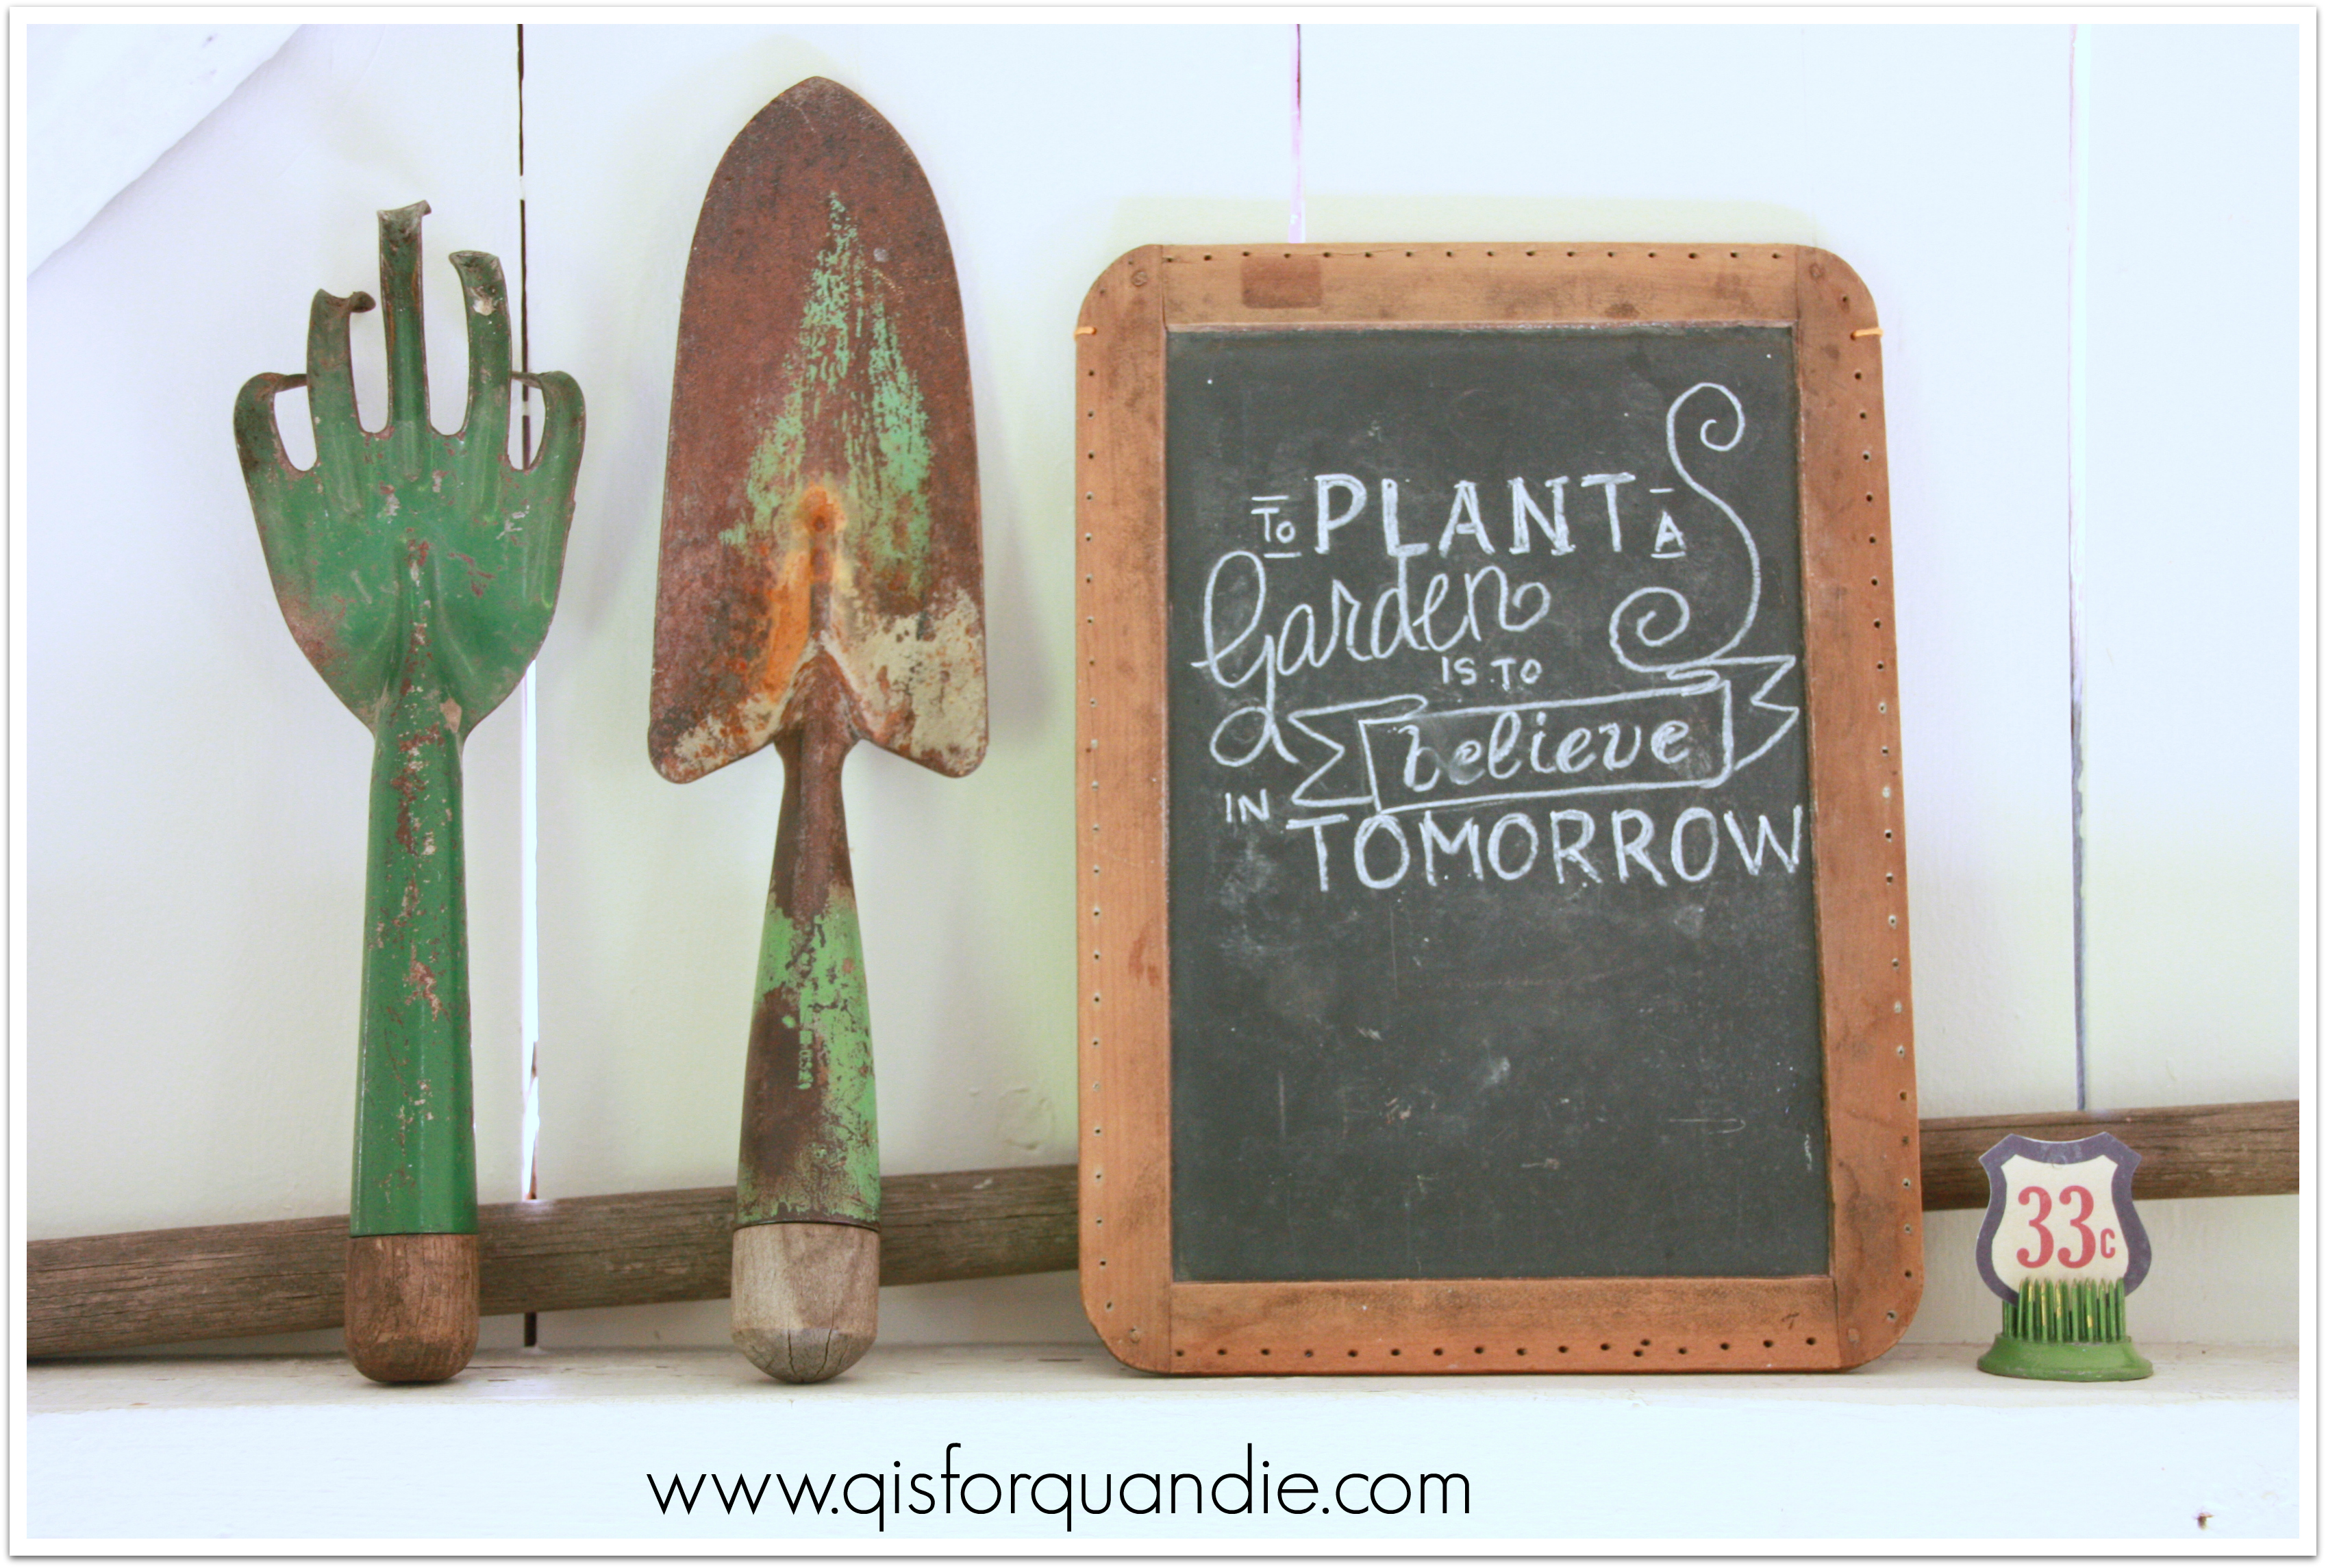
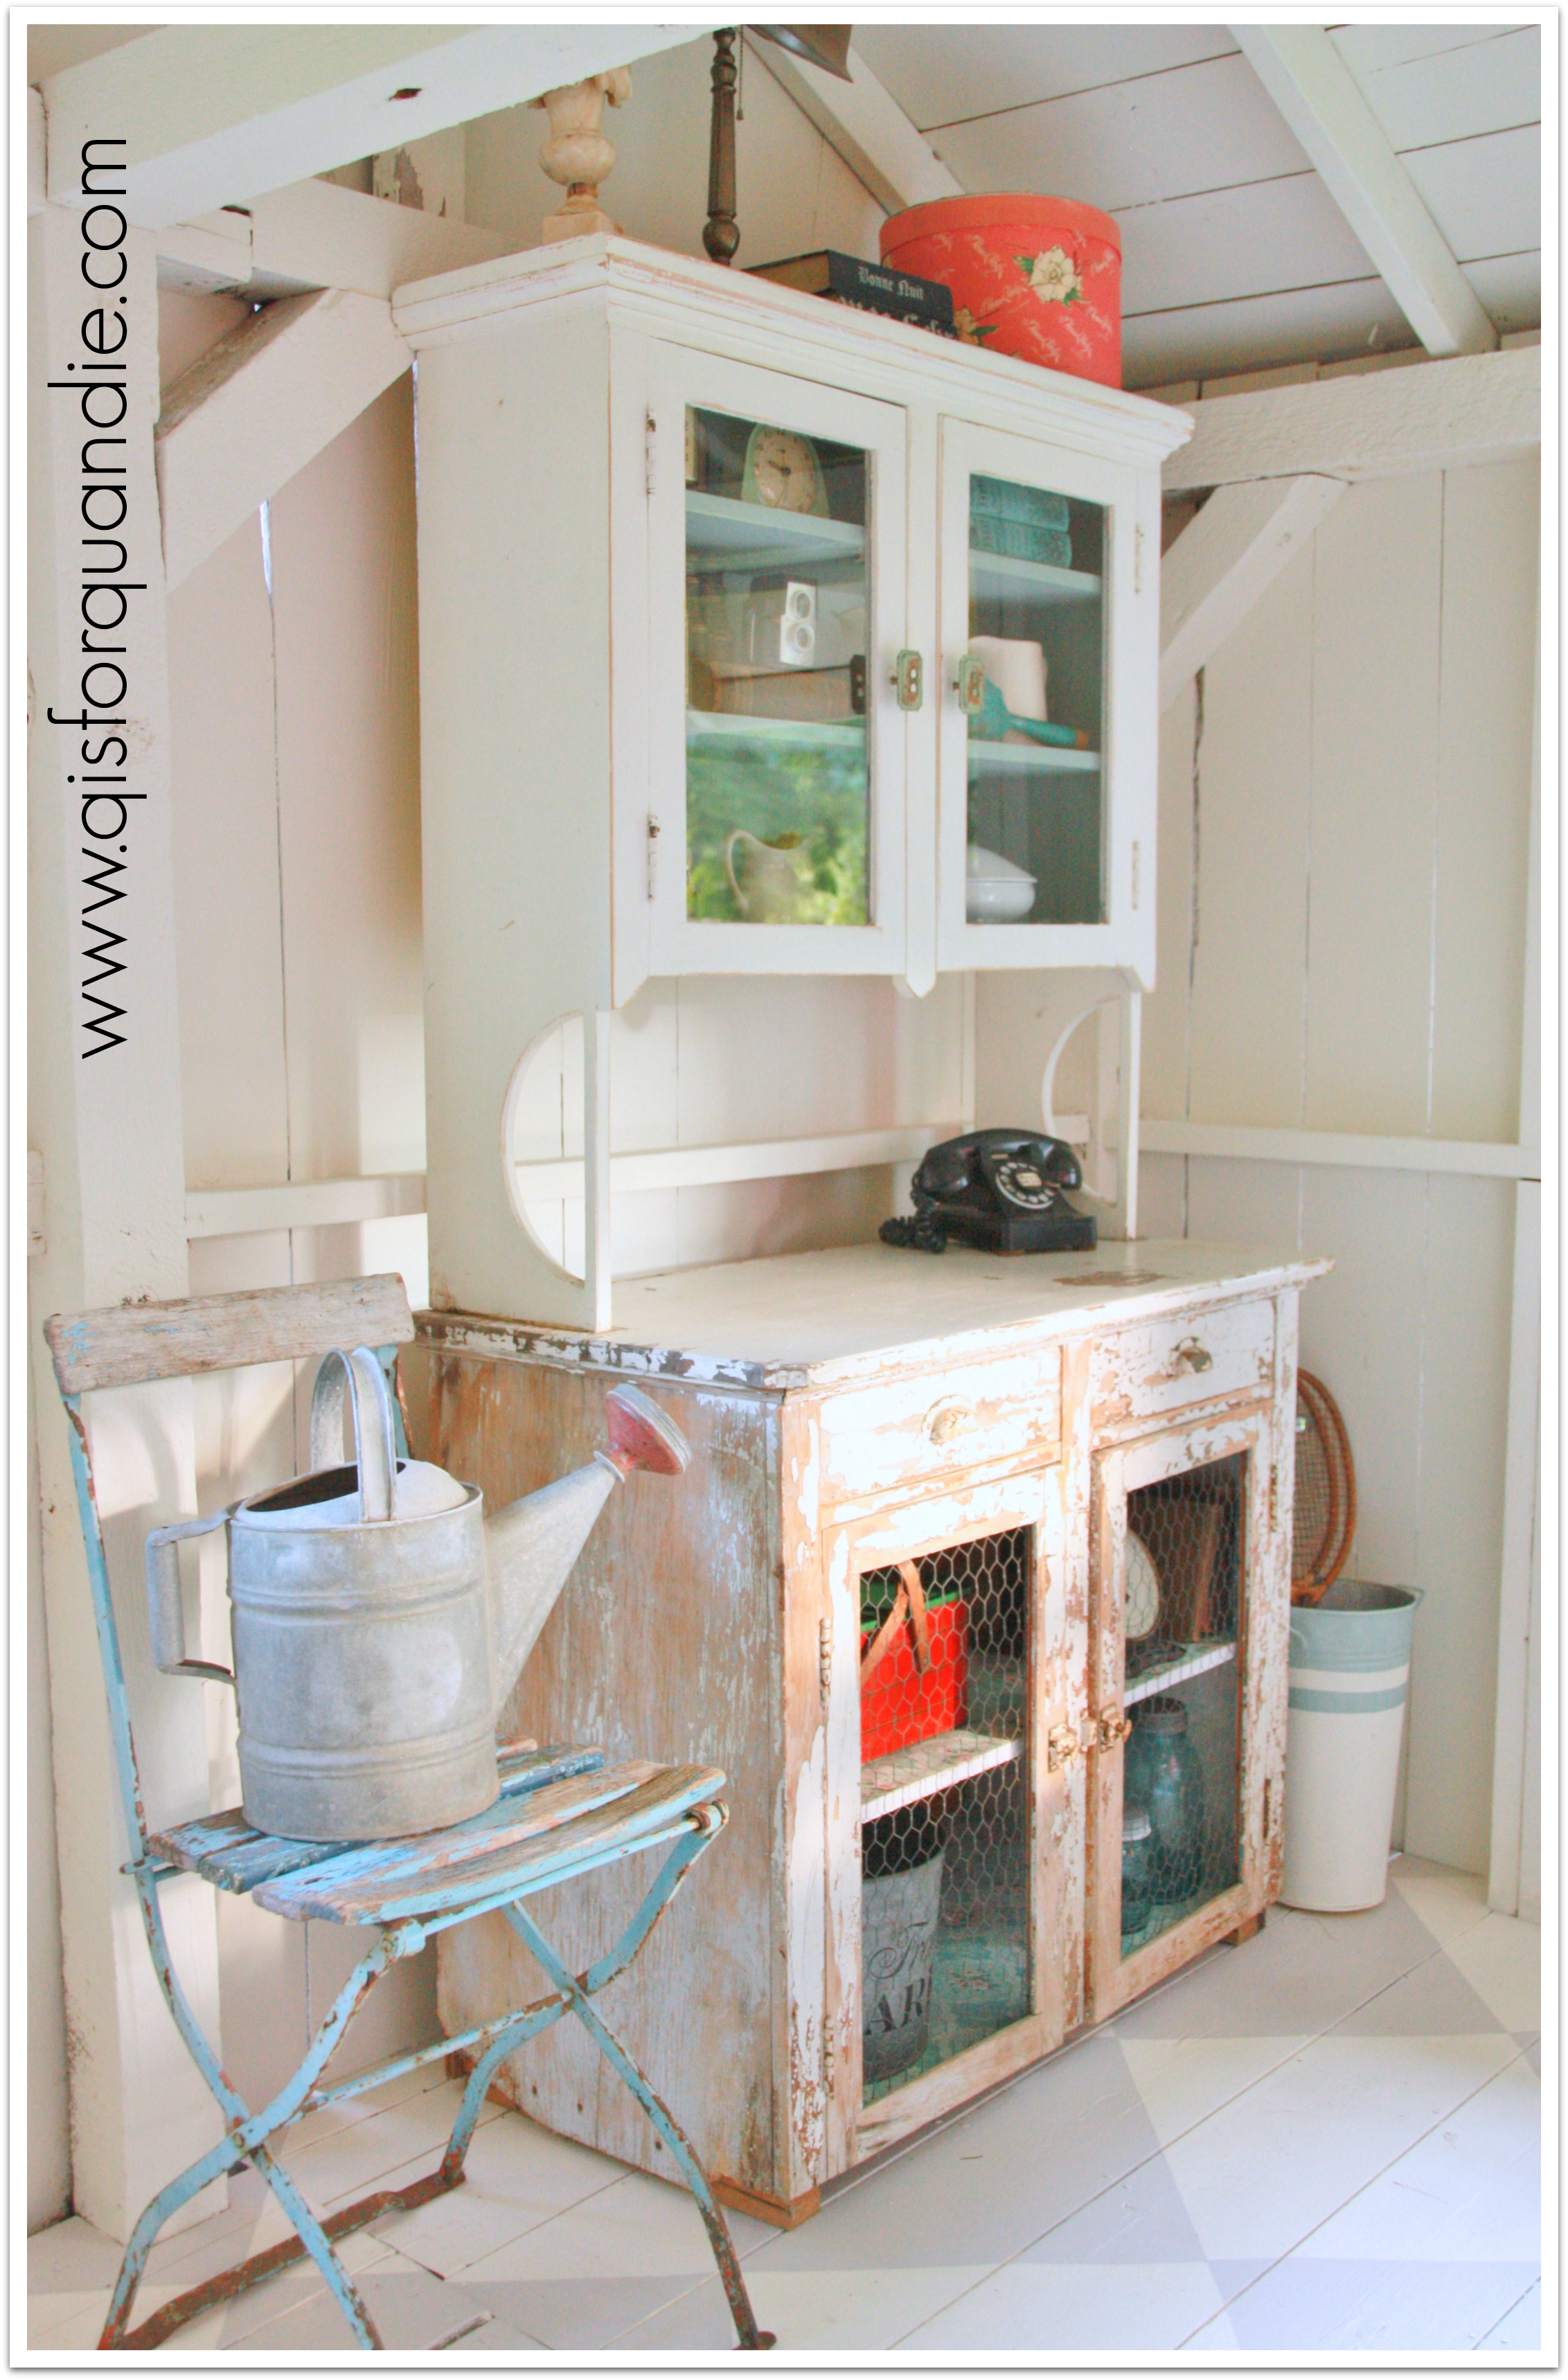
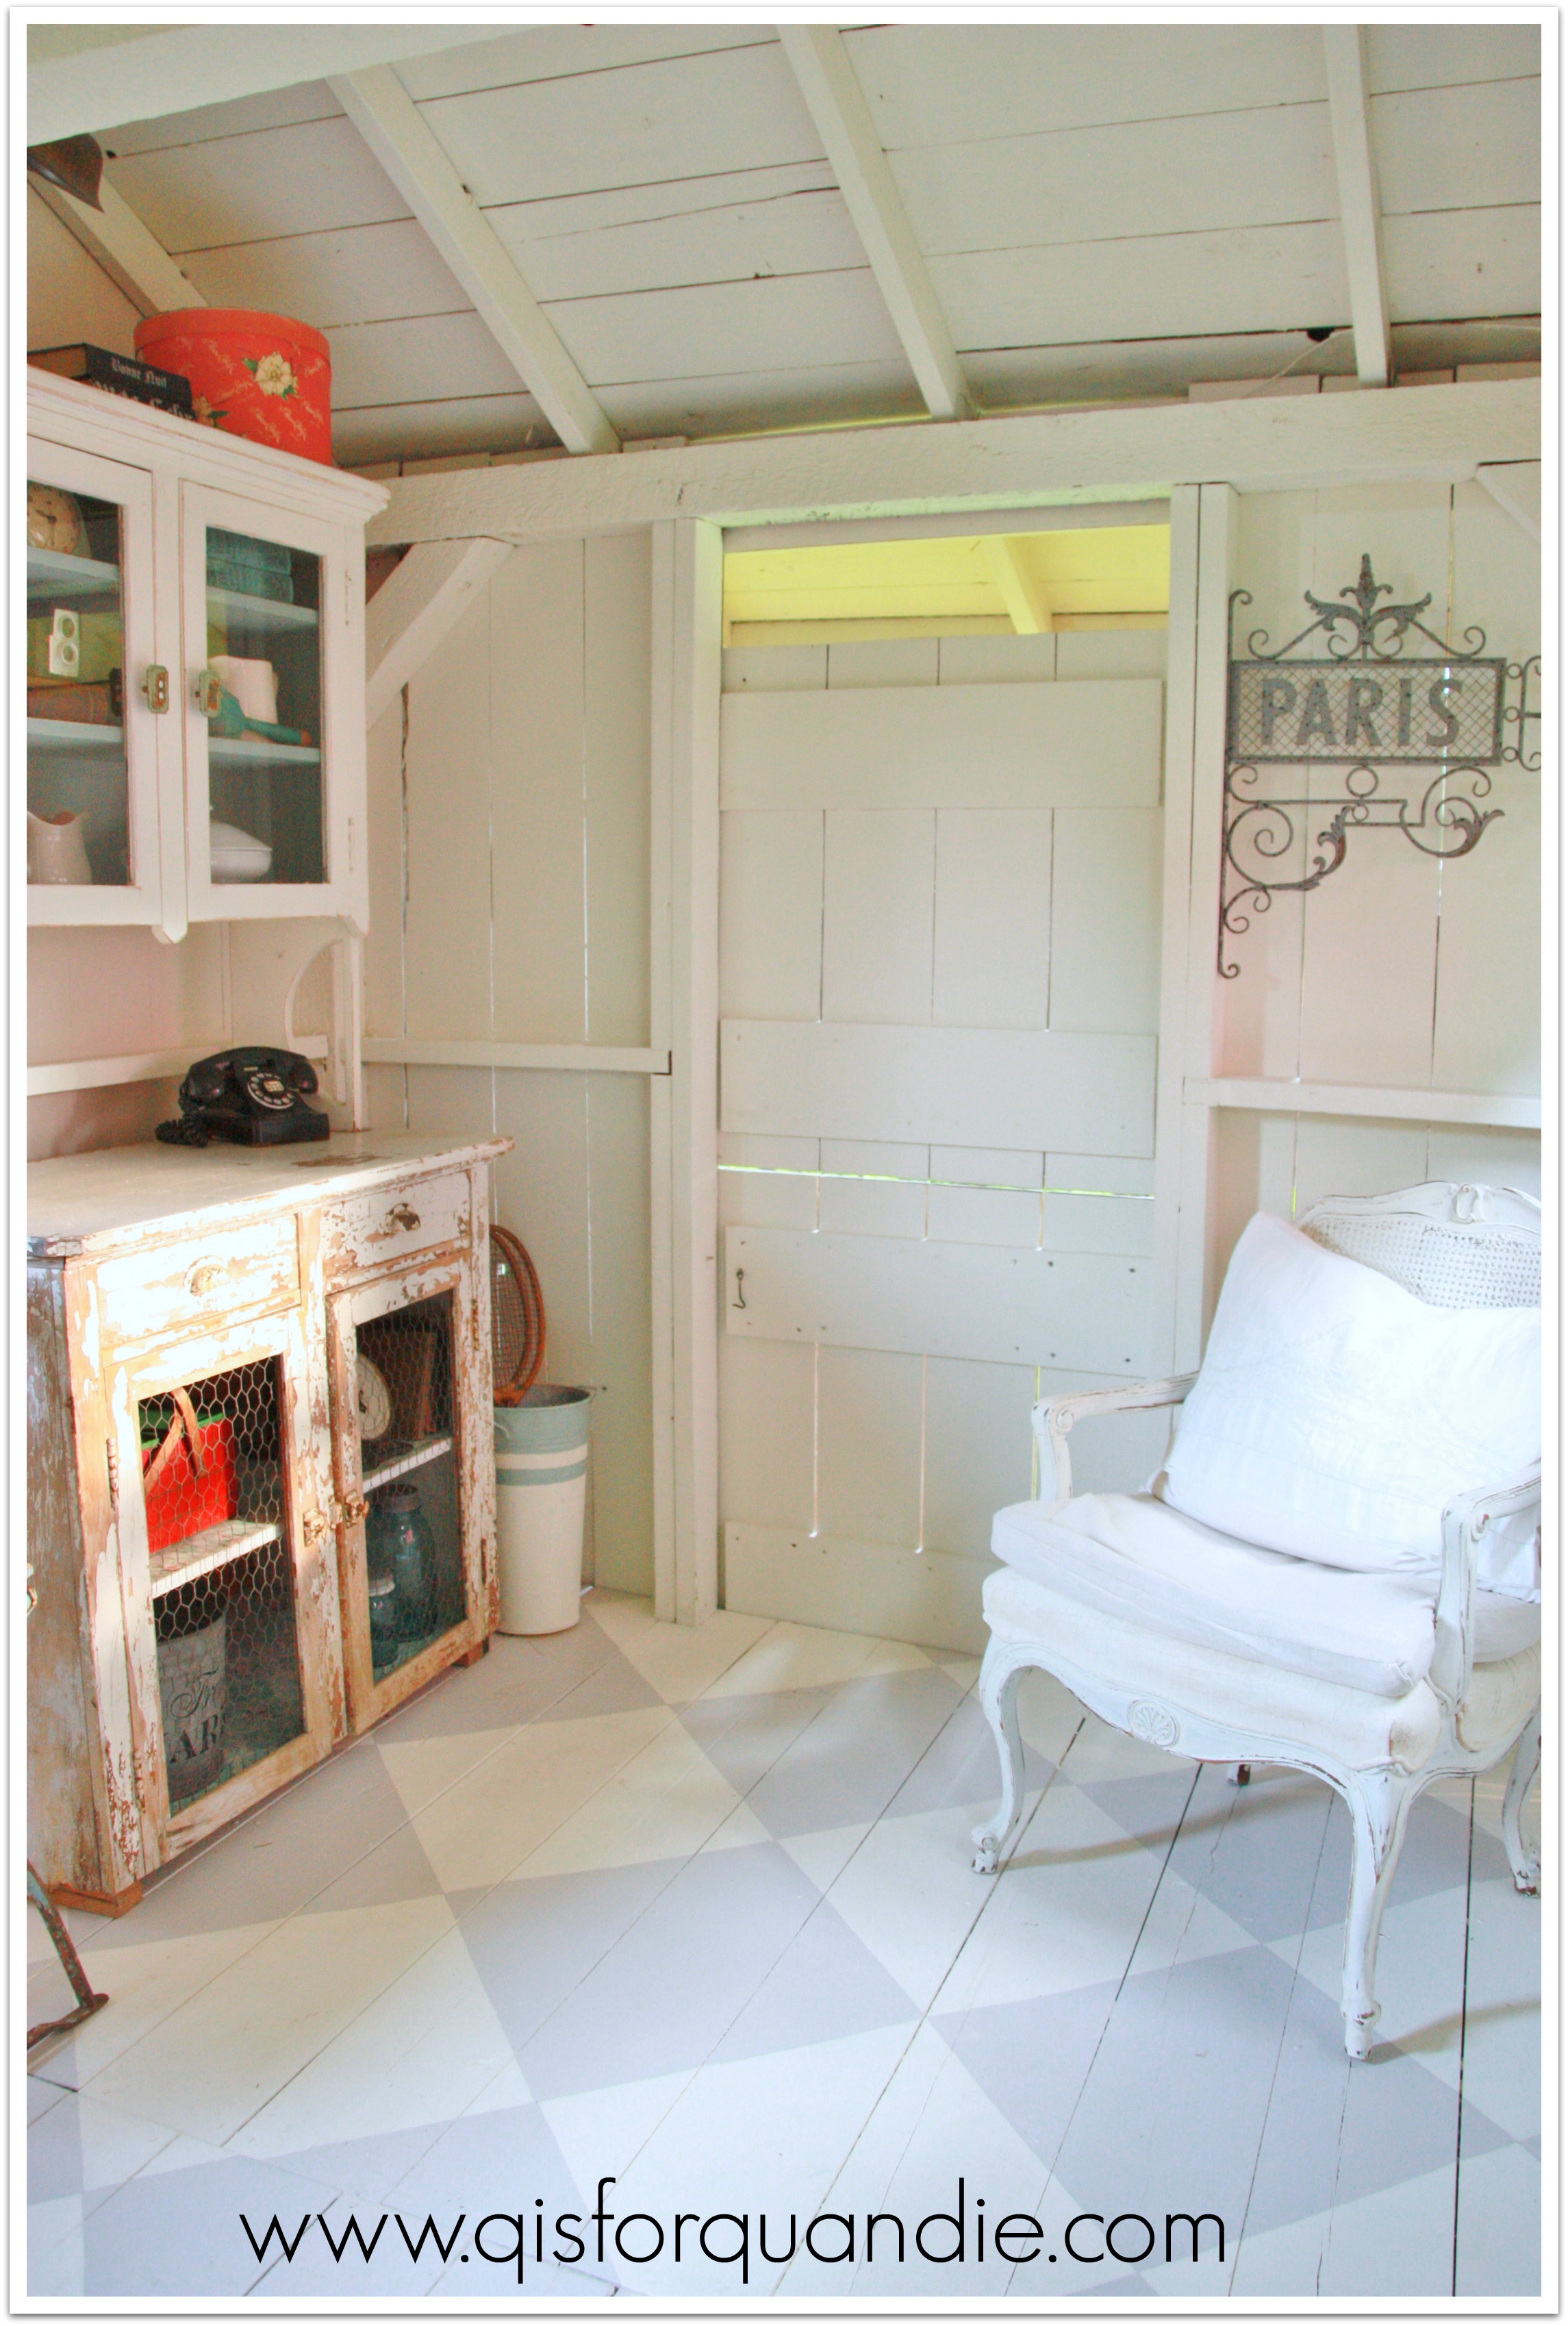
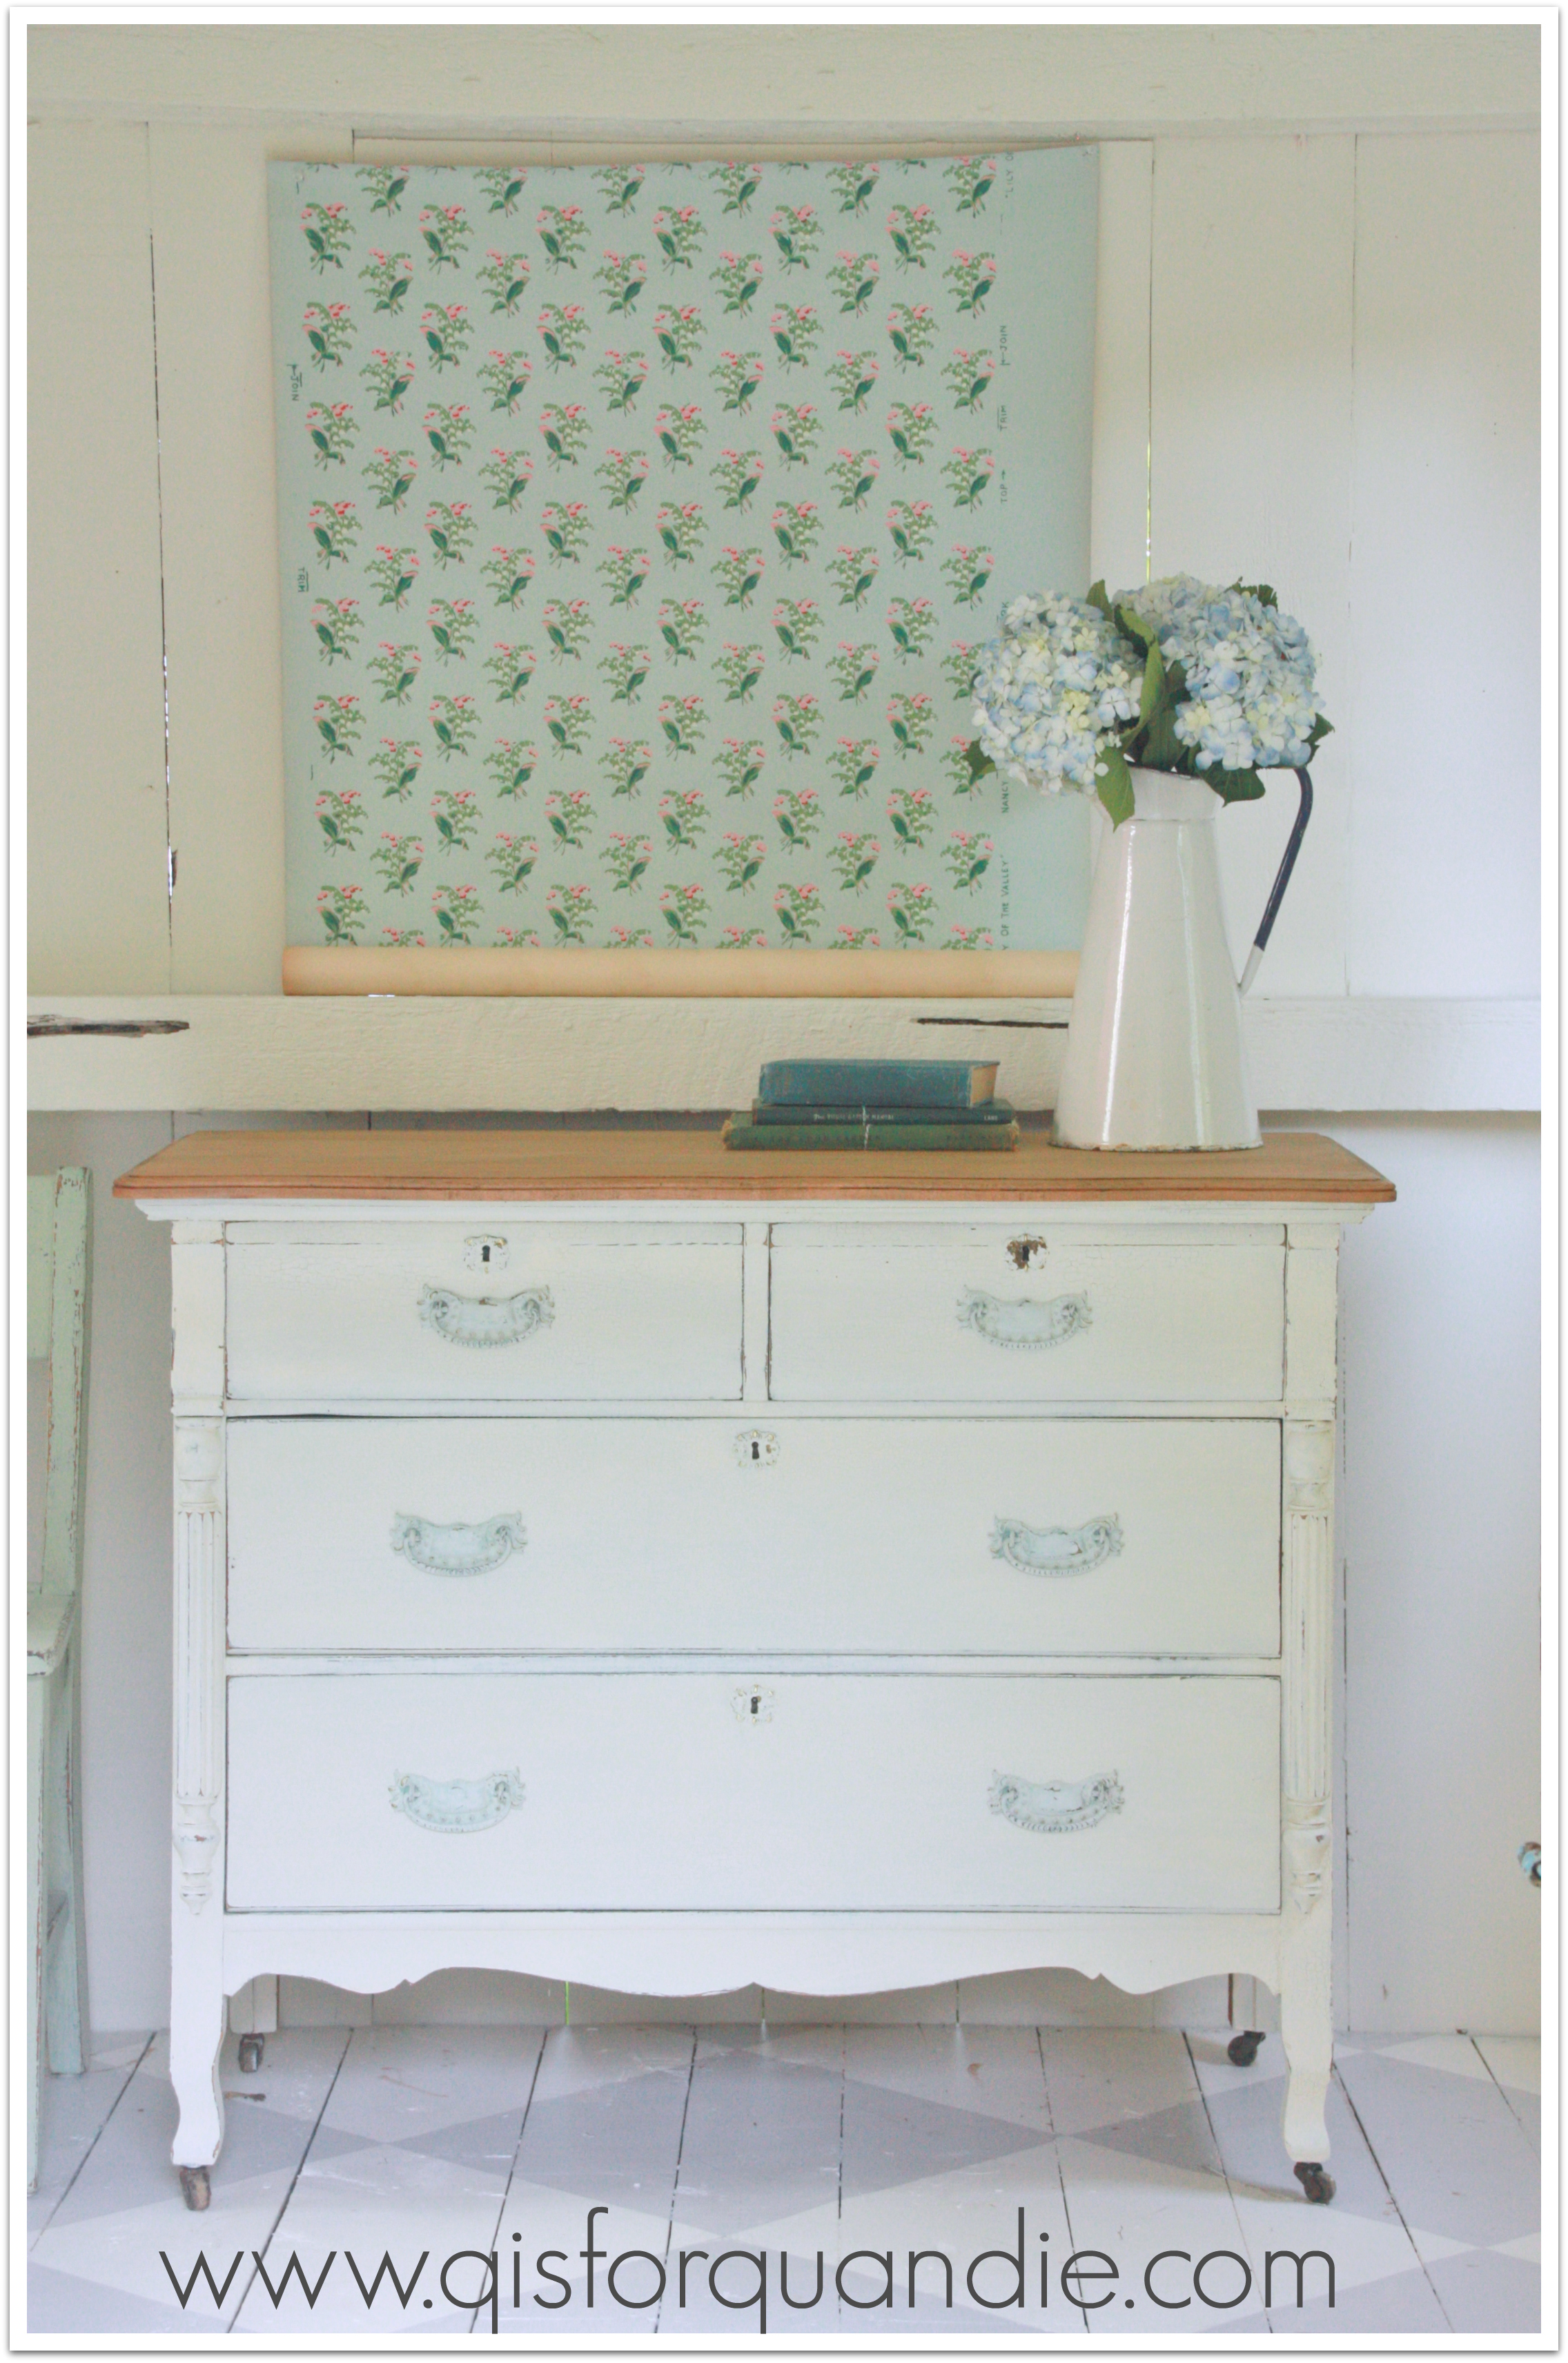
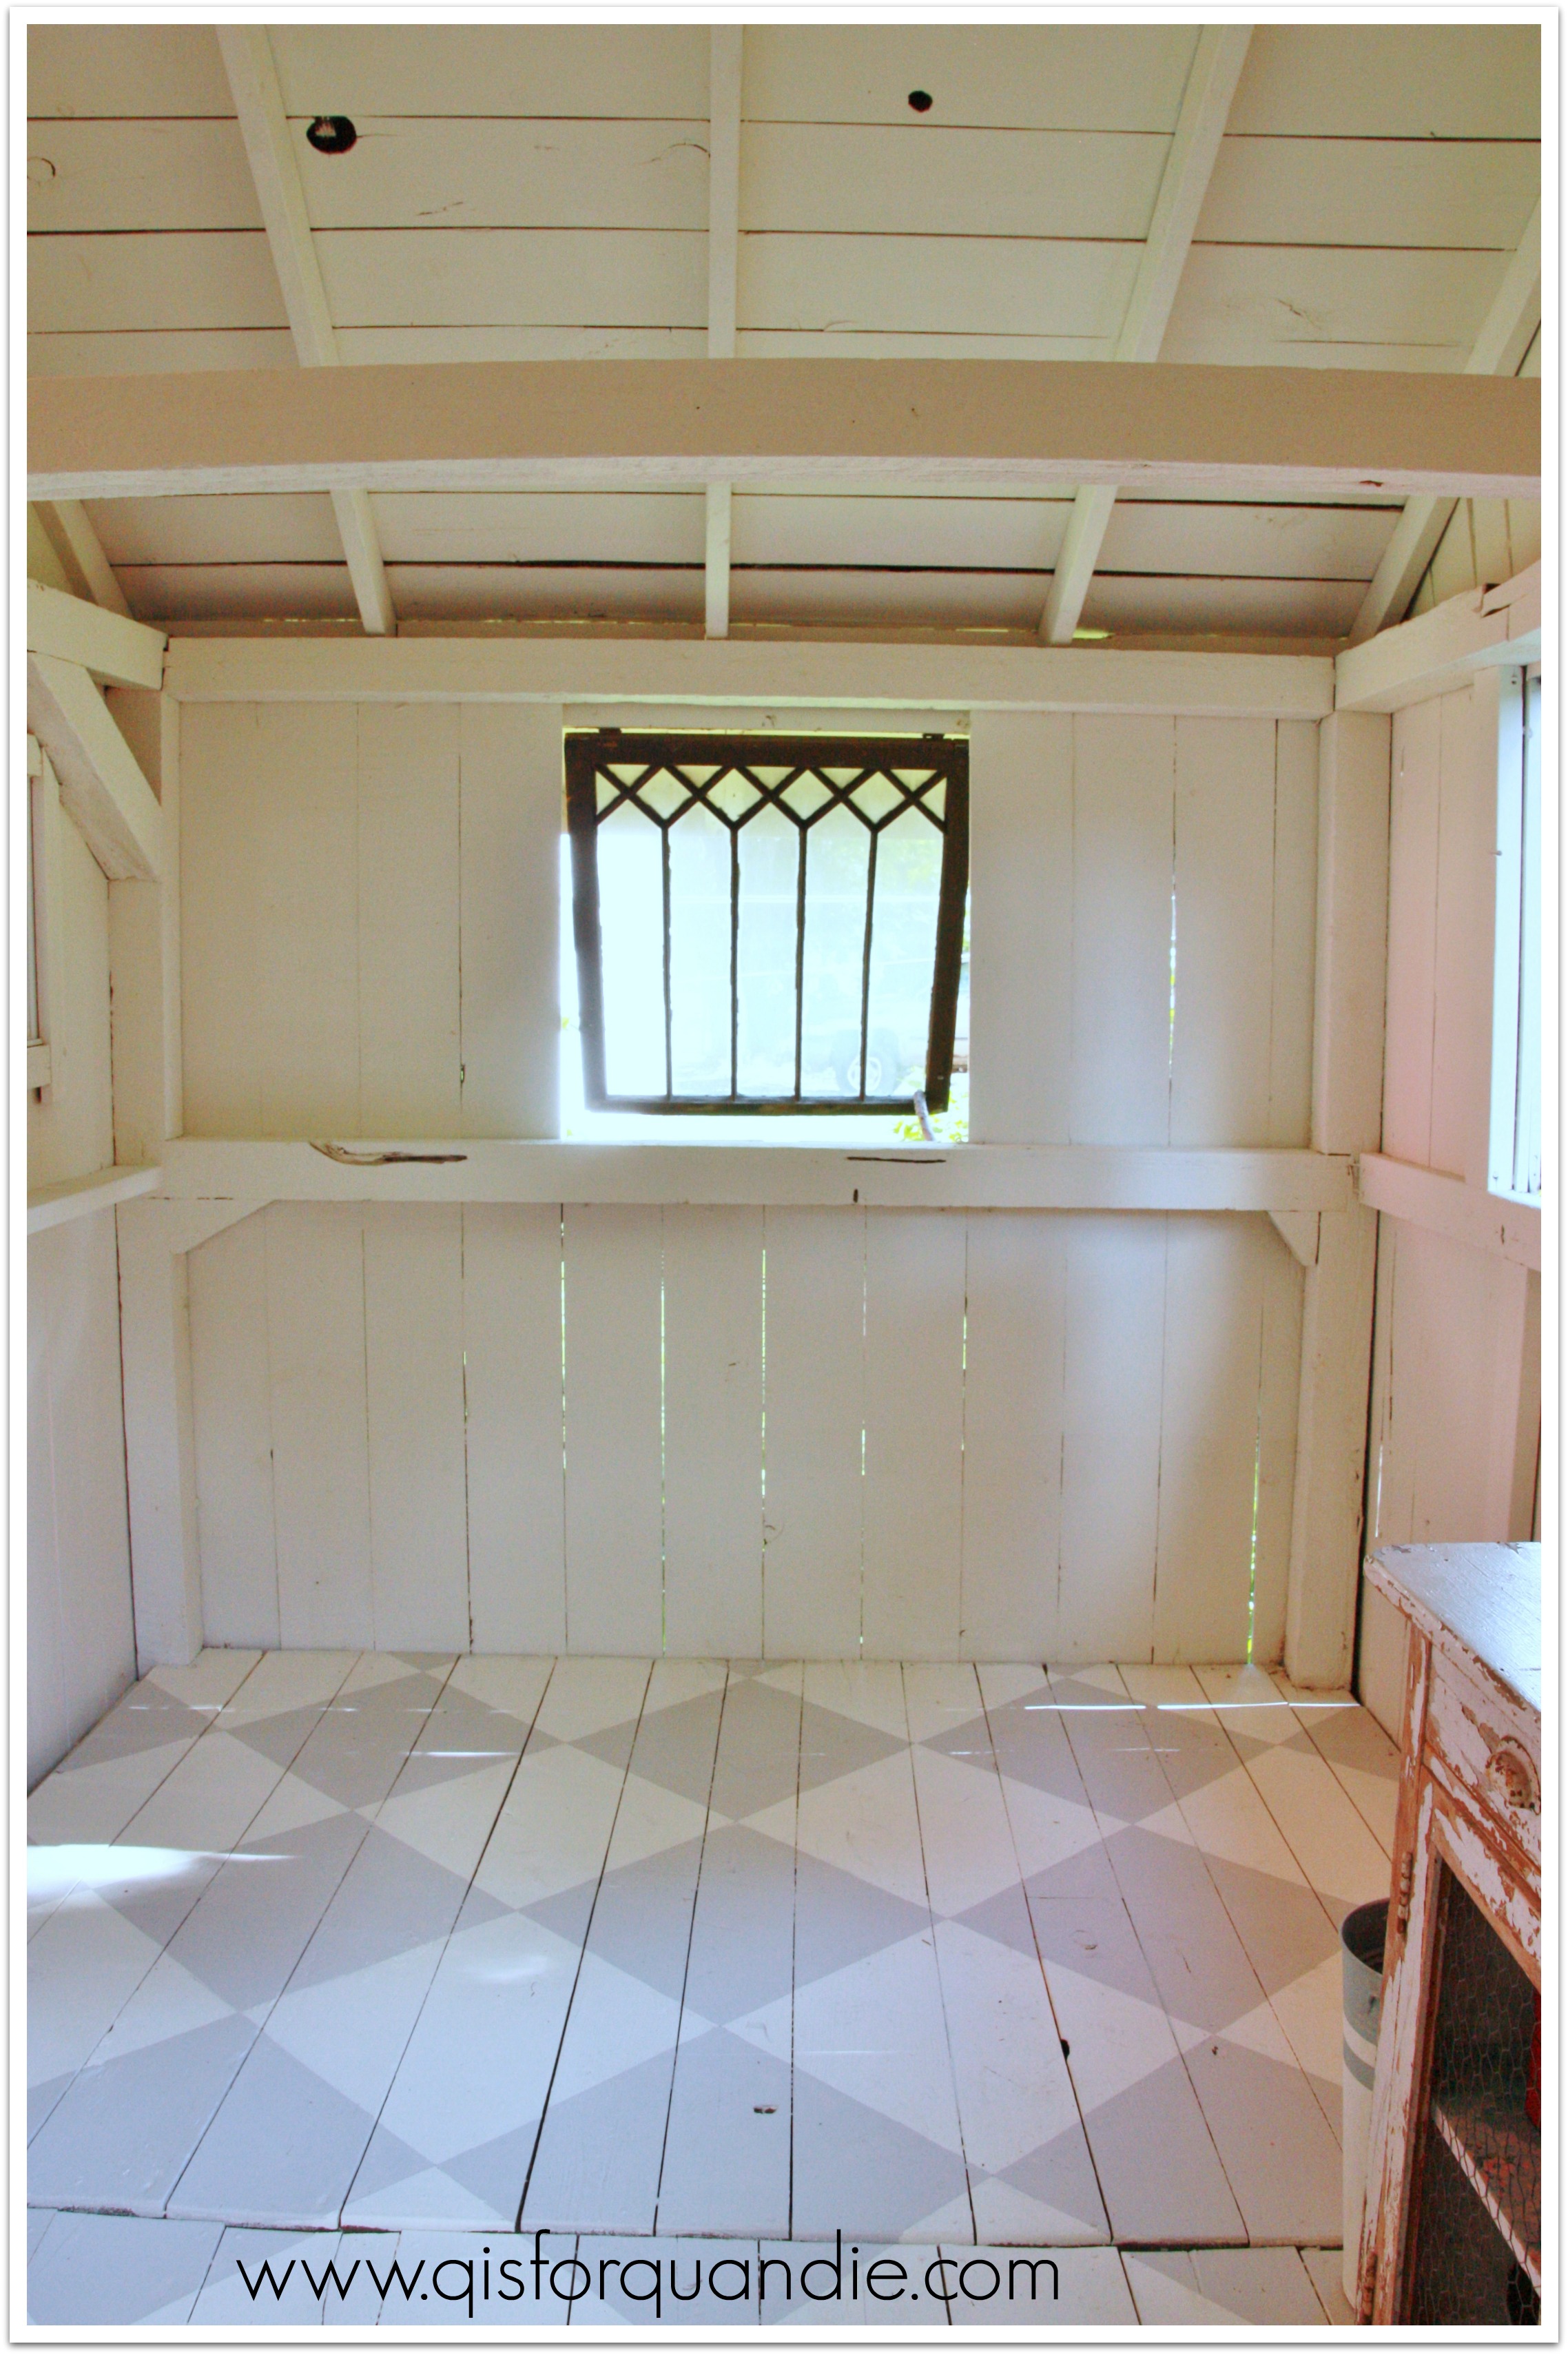
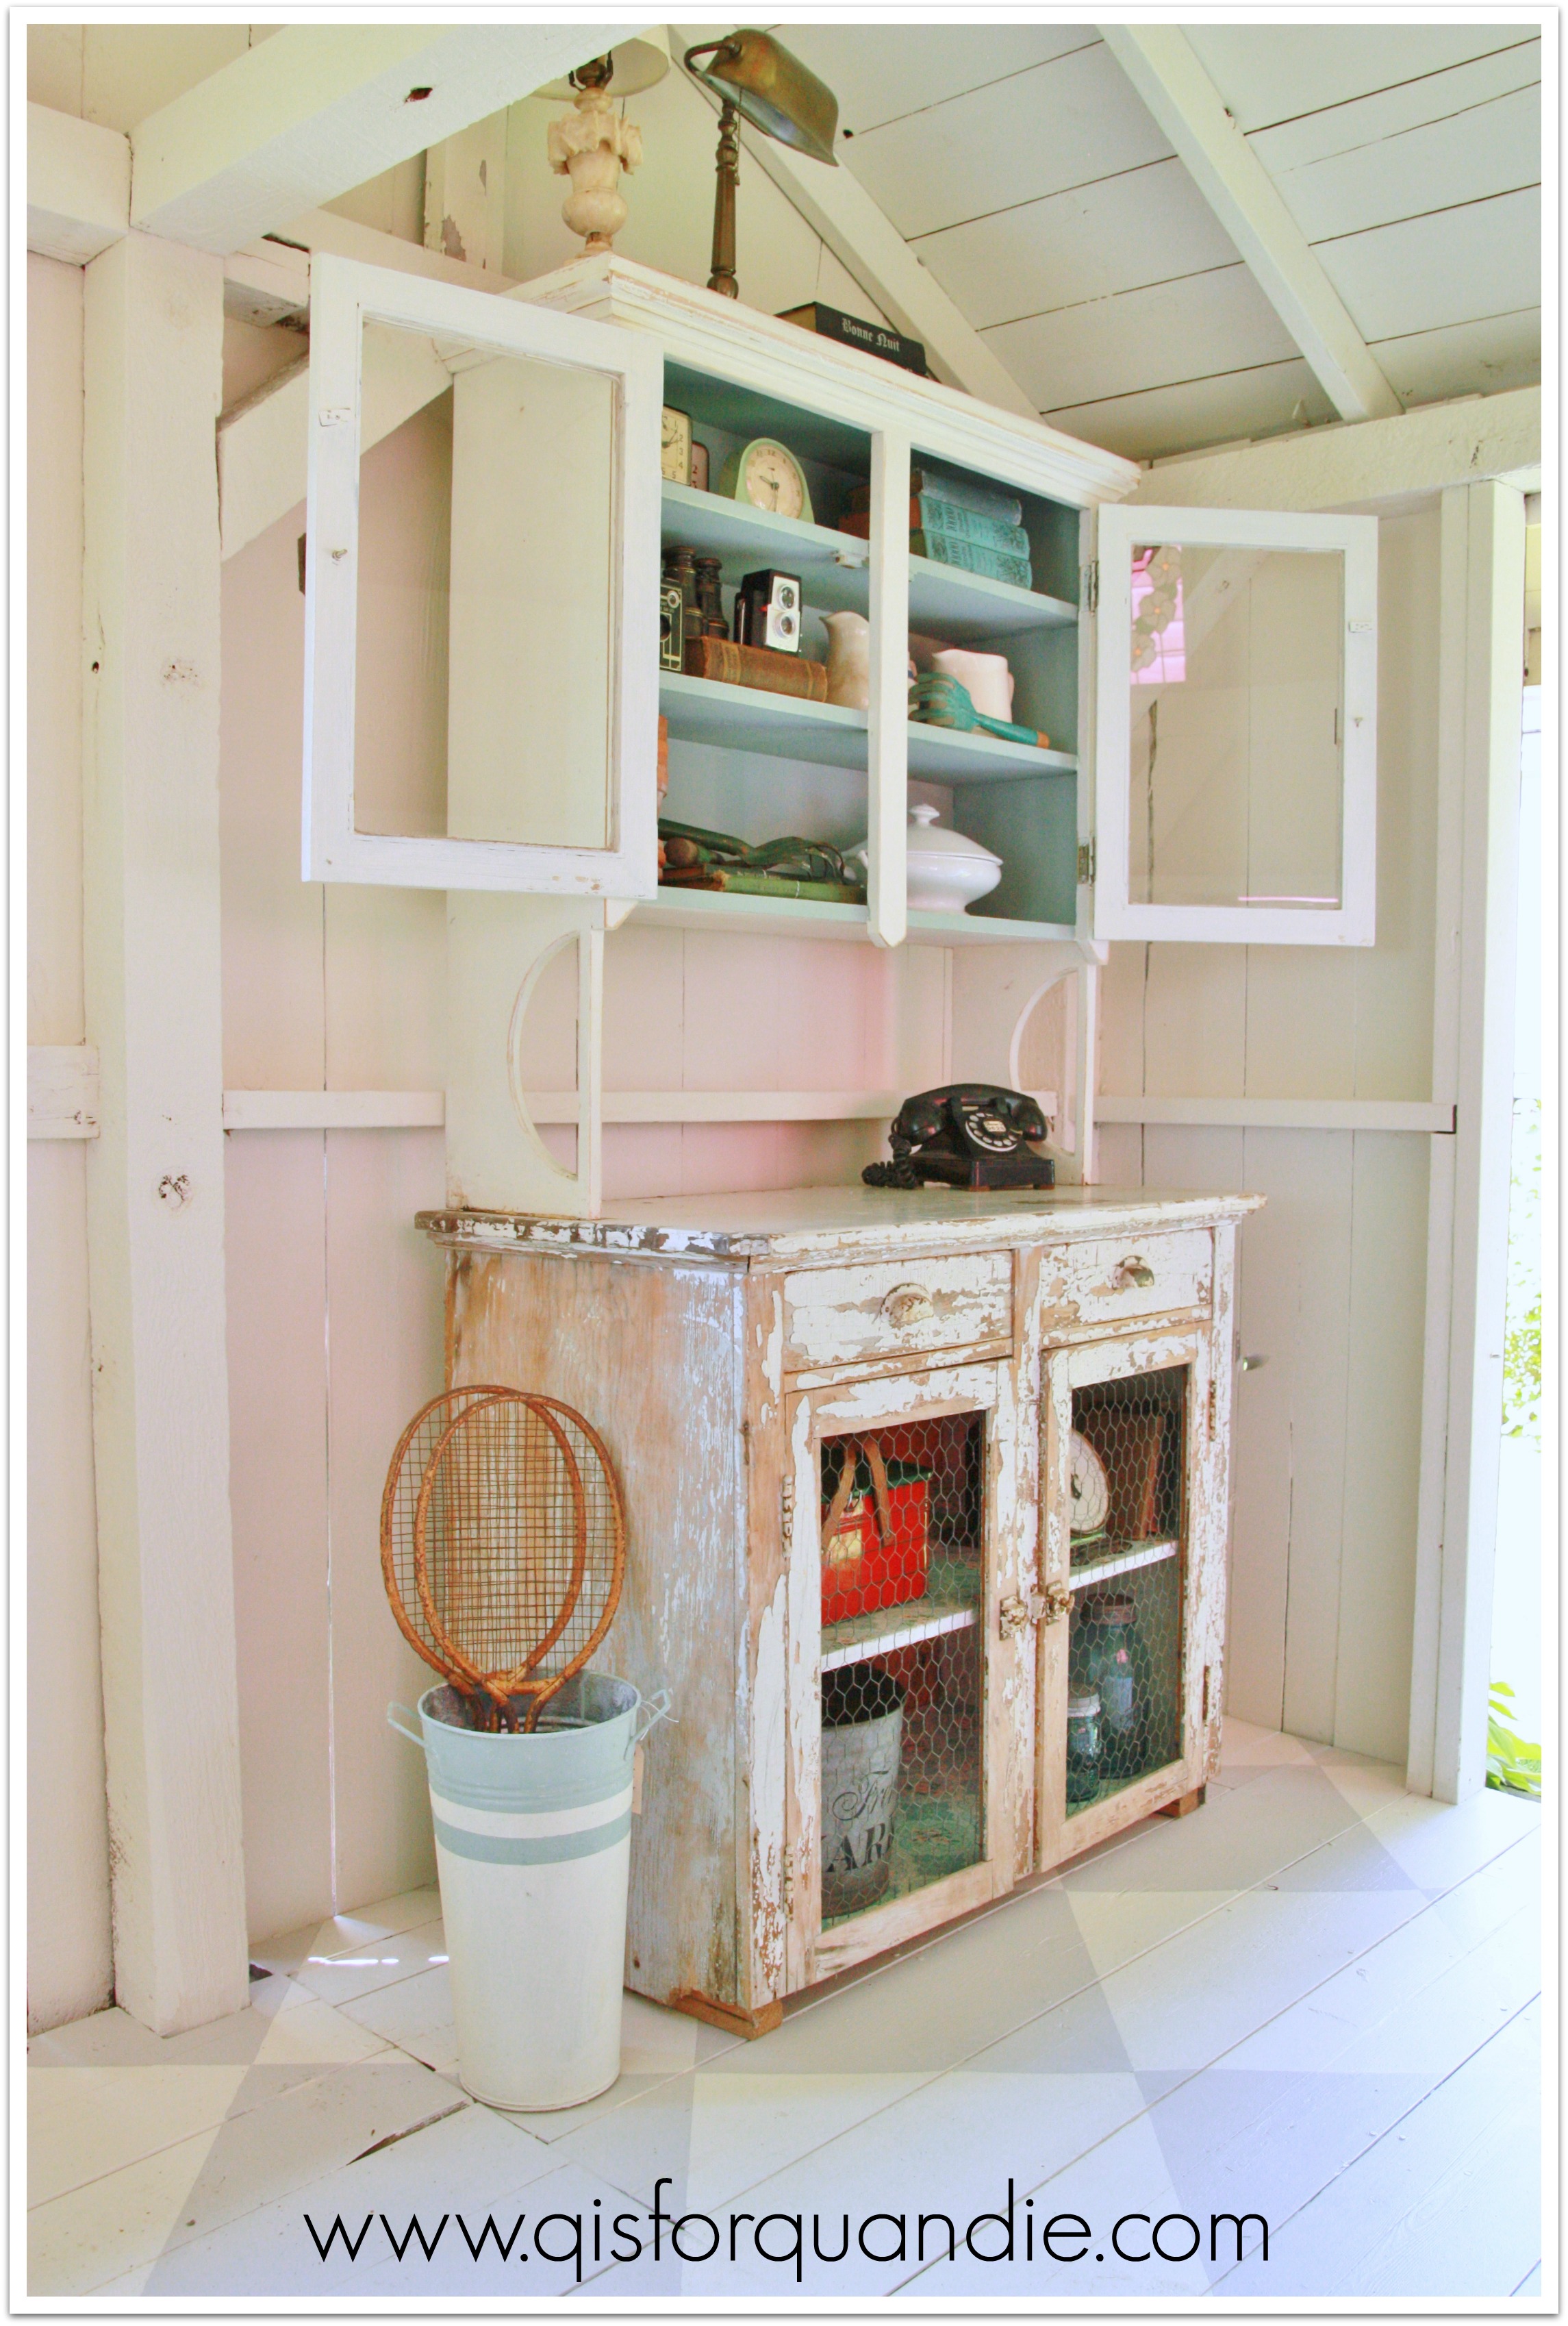
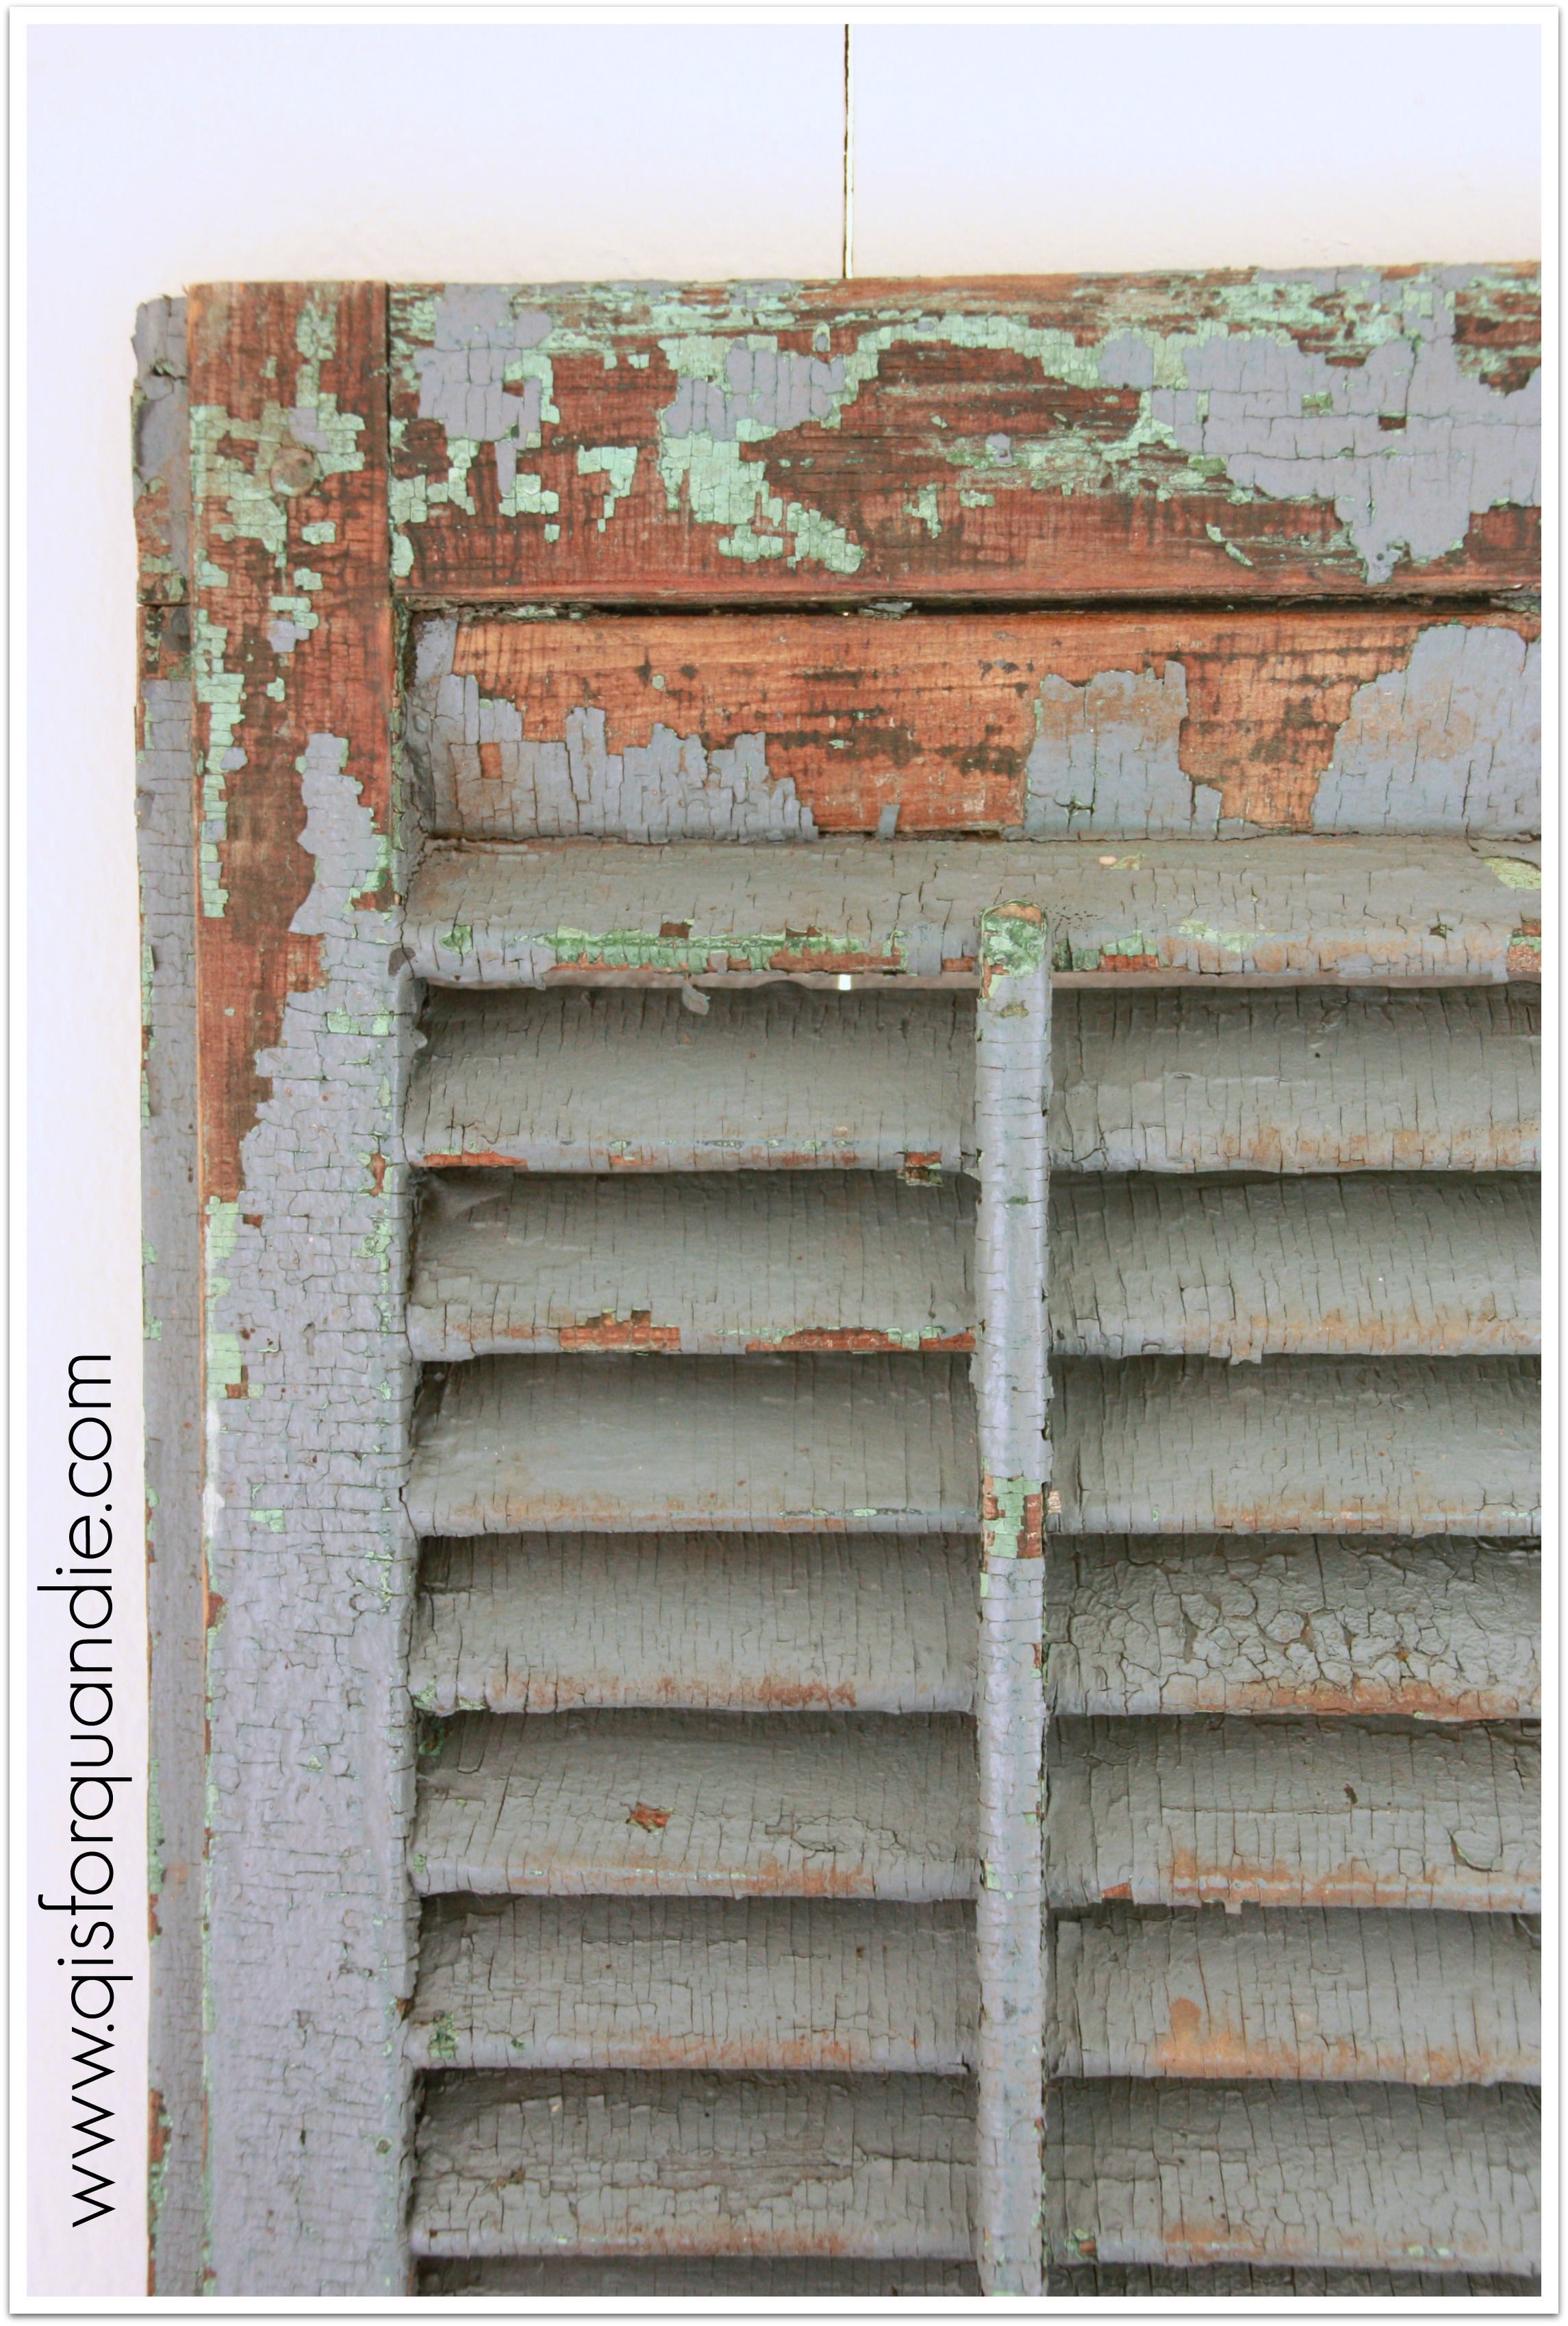
I’ll confess, I didn’t buy the pair of shutters at a garage sale.  I bought them at a cute shop on Grand Avenue.  I loved their crackled paint, and I thought they would be perfect for either side of the window in the photo cottage.  And look, they are!

2014 summer blog6
I grabbed this pair of vintage sleds because I think they make great decorations at Christmas time.

highland park sleds 3

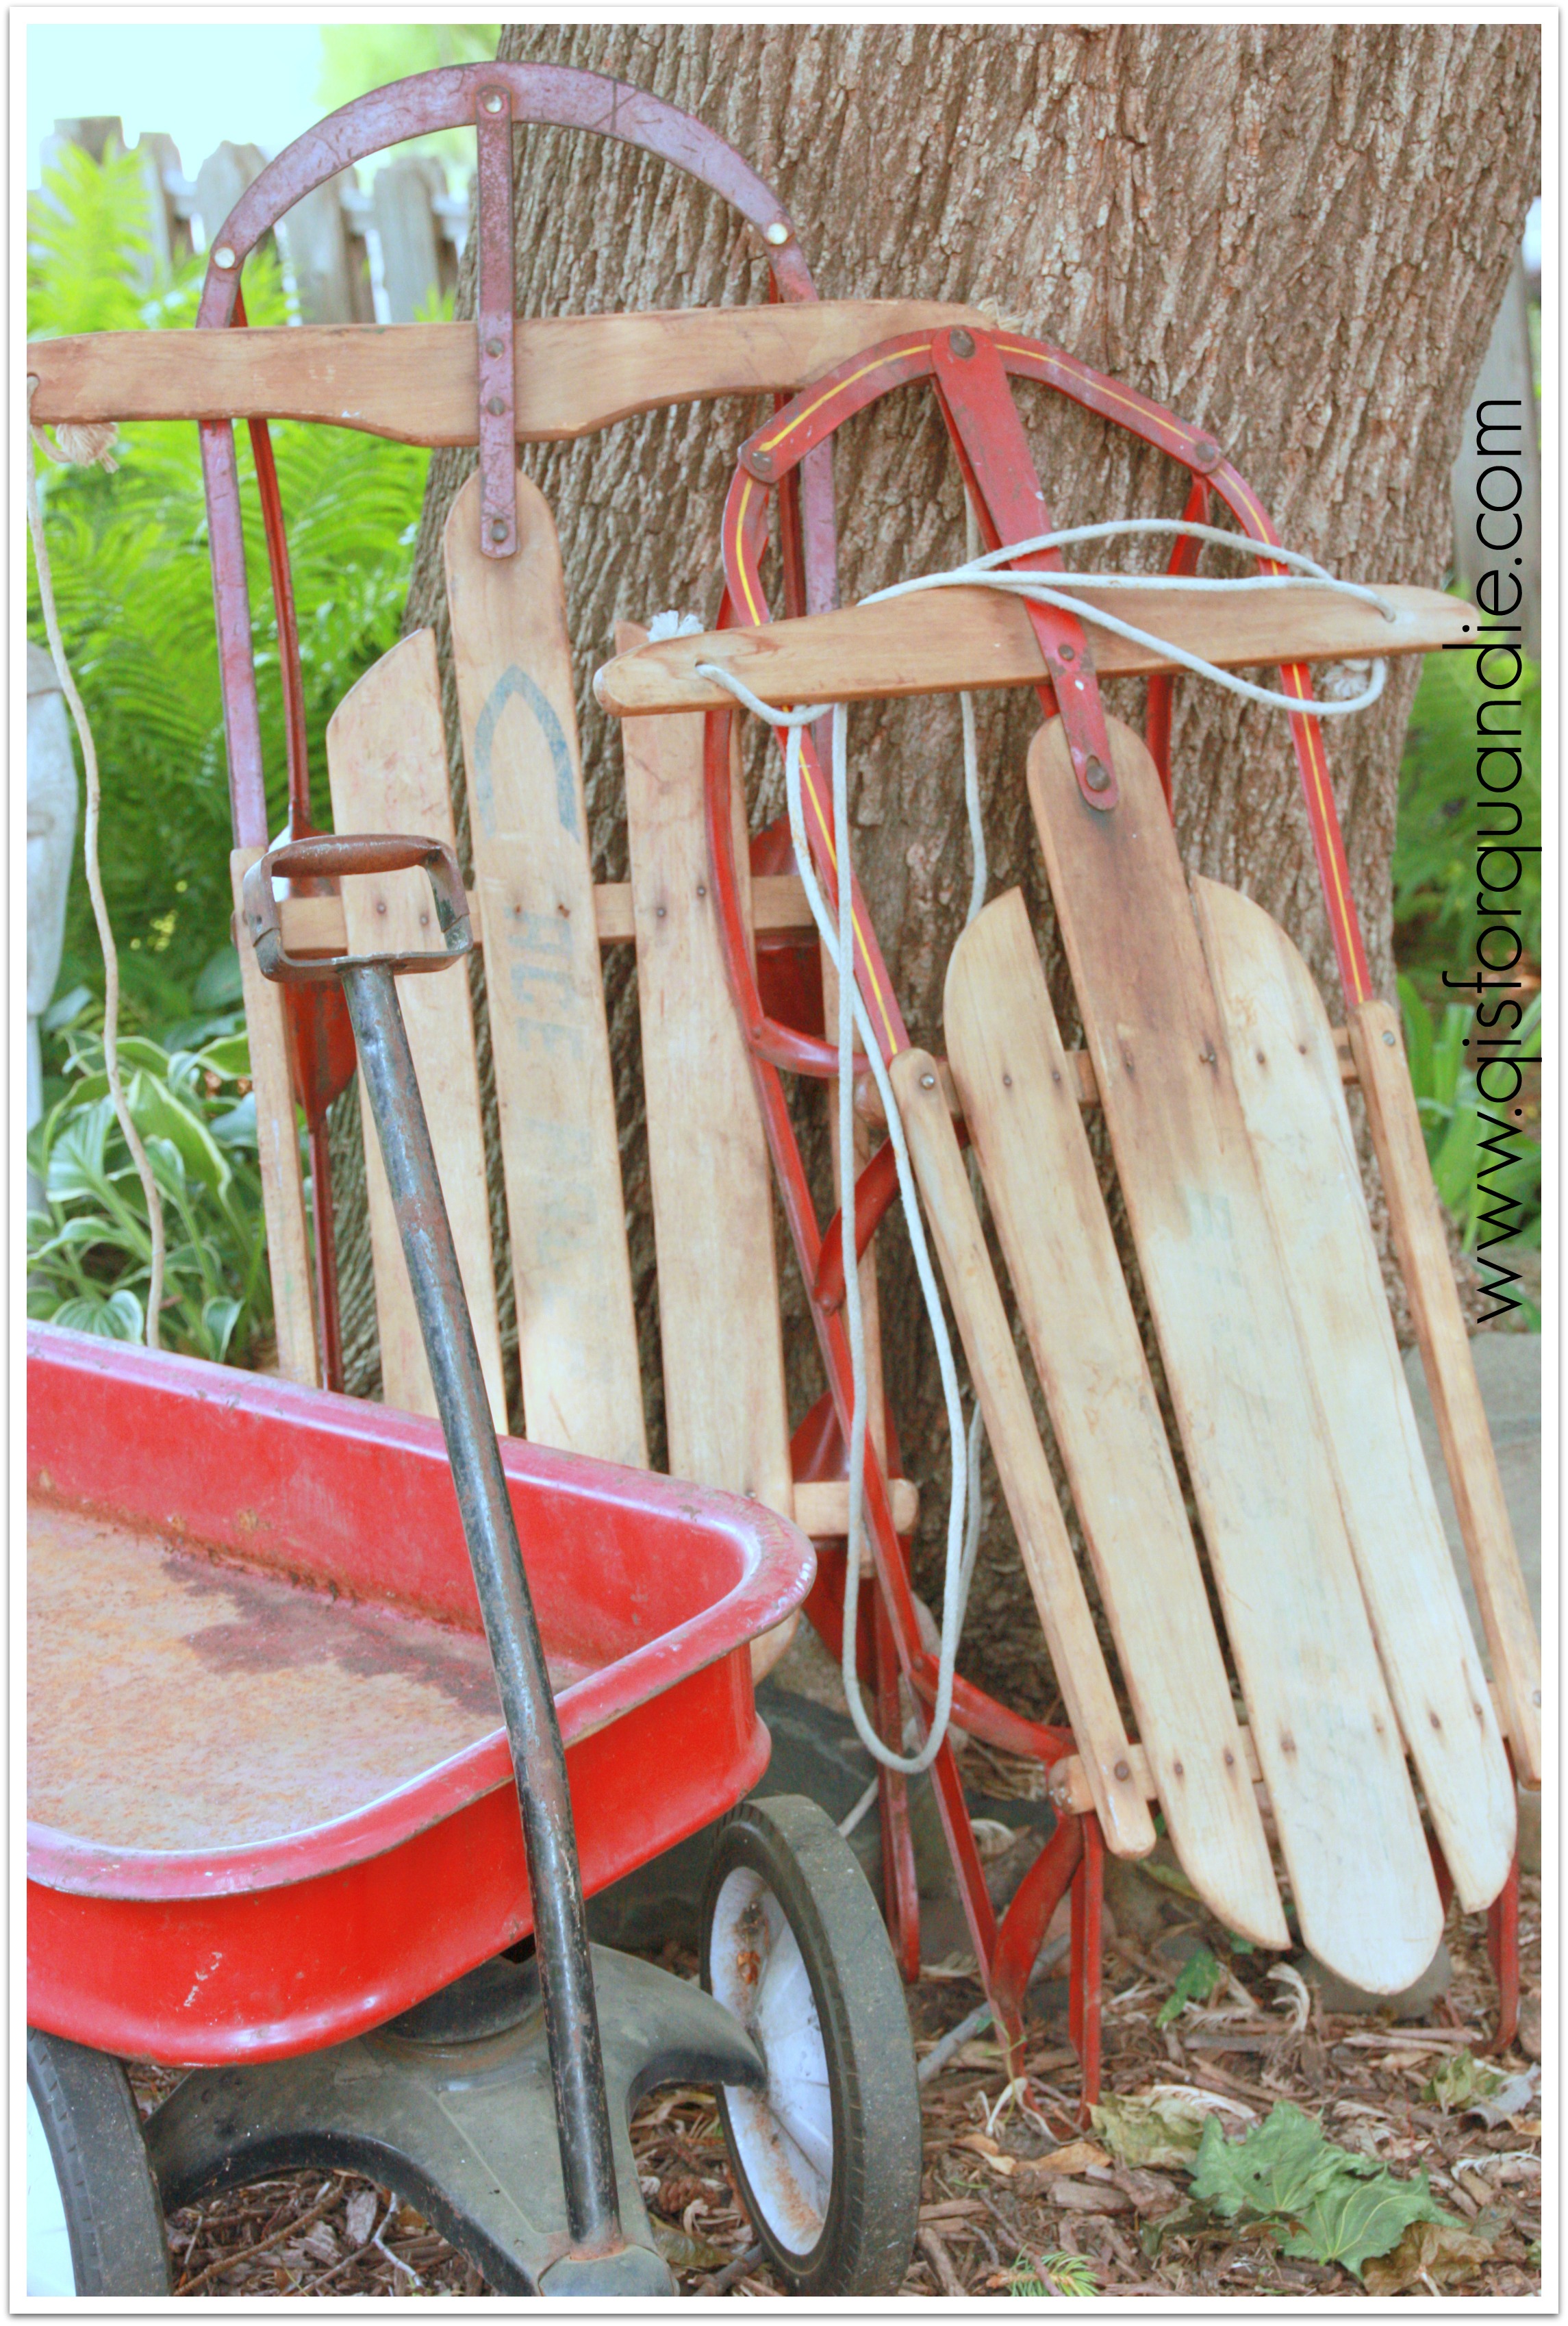
I’m debating painting on them like I did with this one last year.

painted sled

What do you think?  Would people rather I left them alone?  Or added some fun wording?

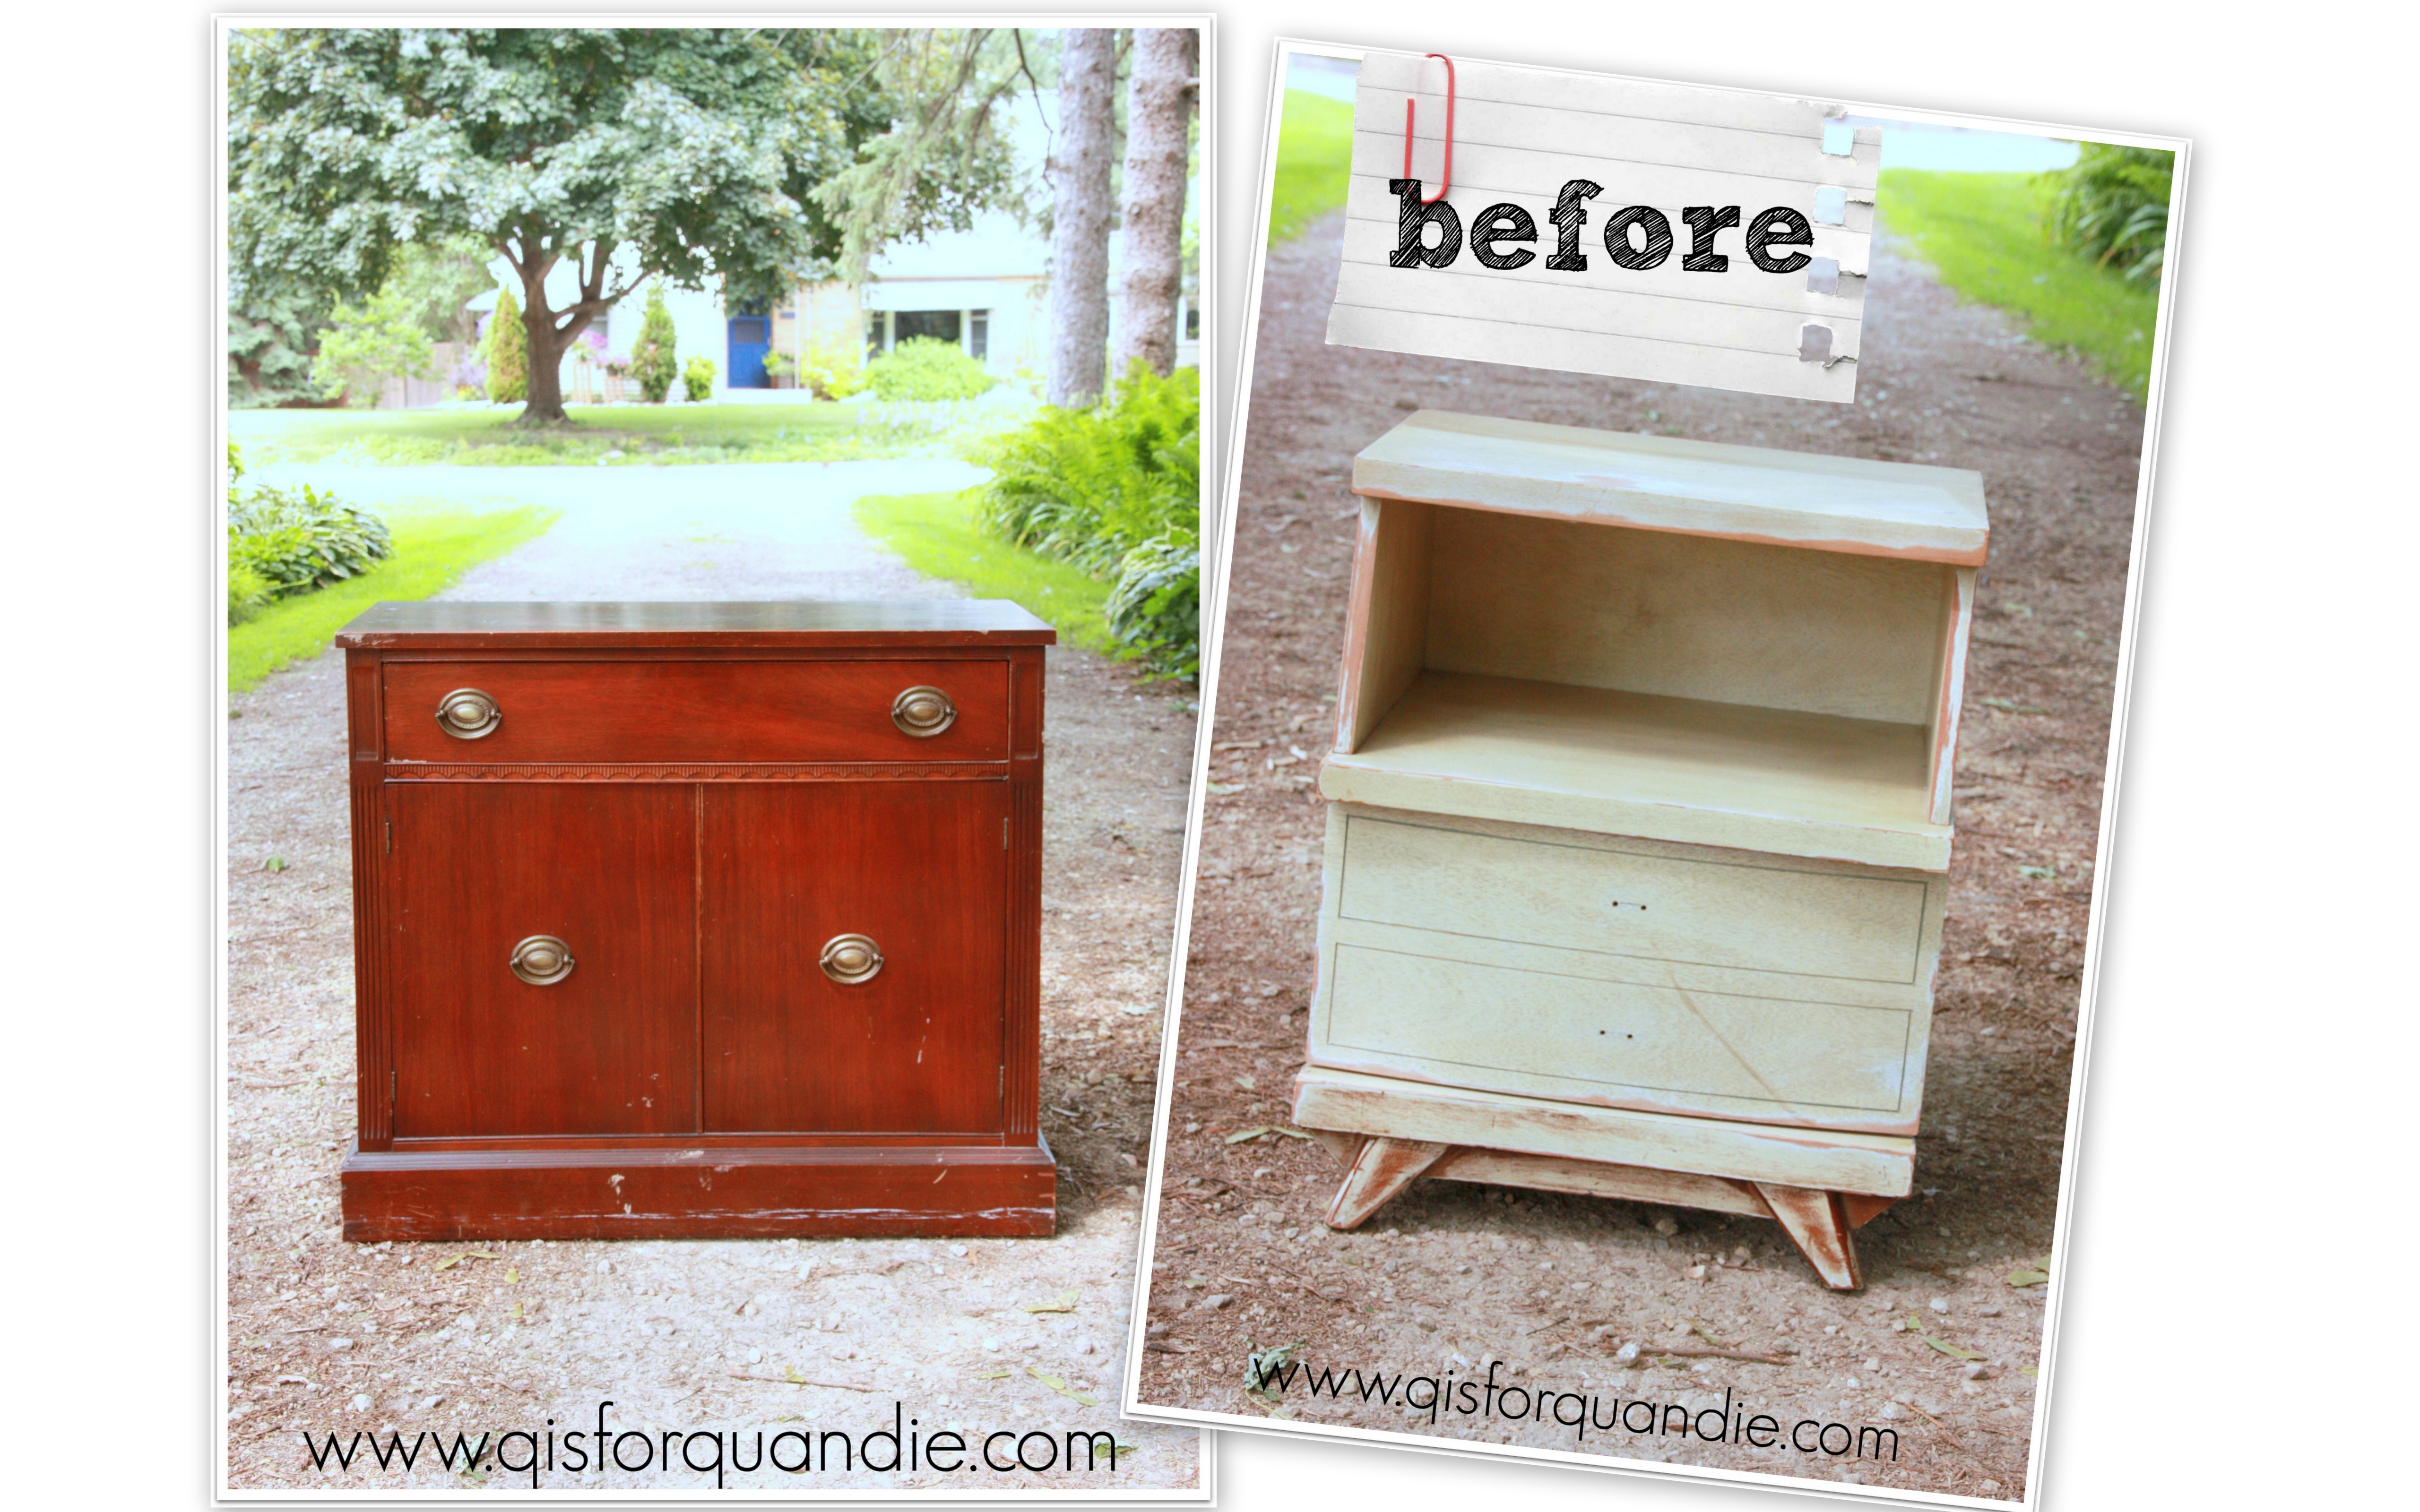
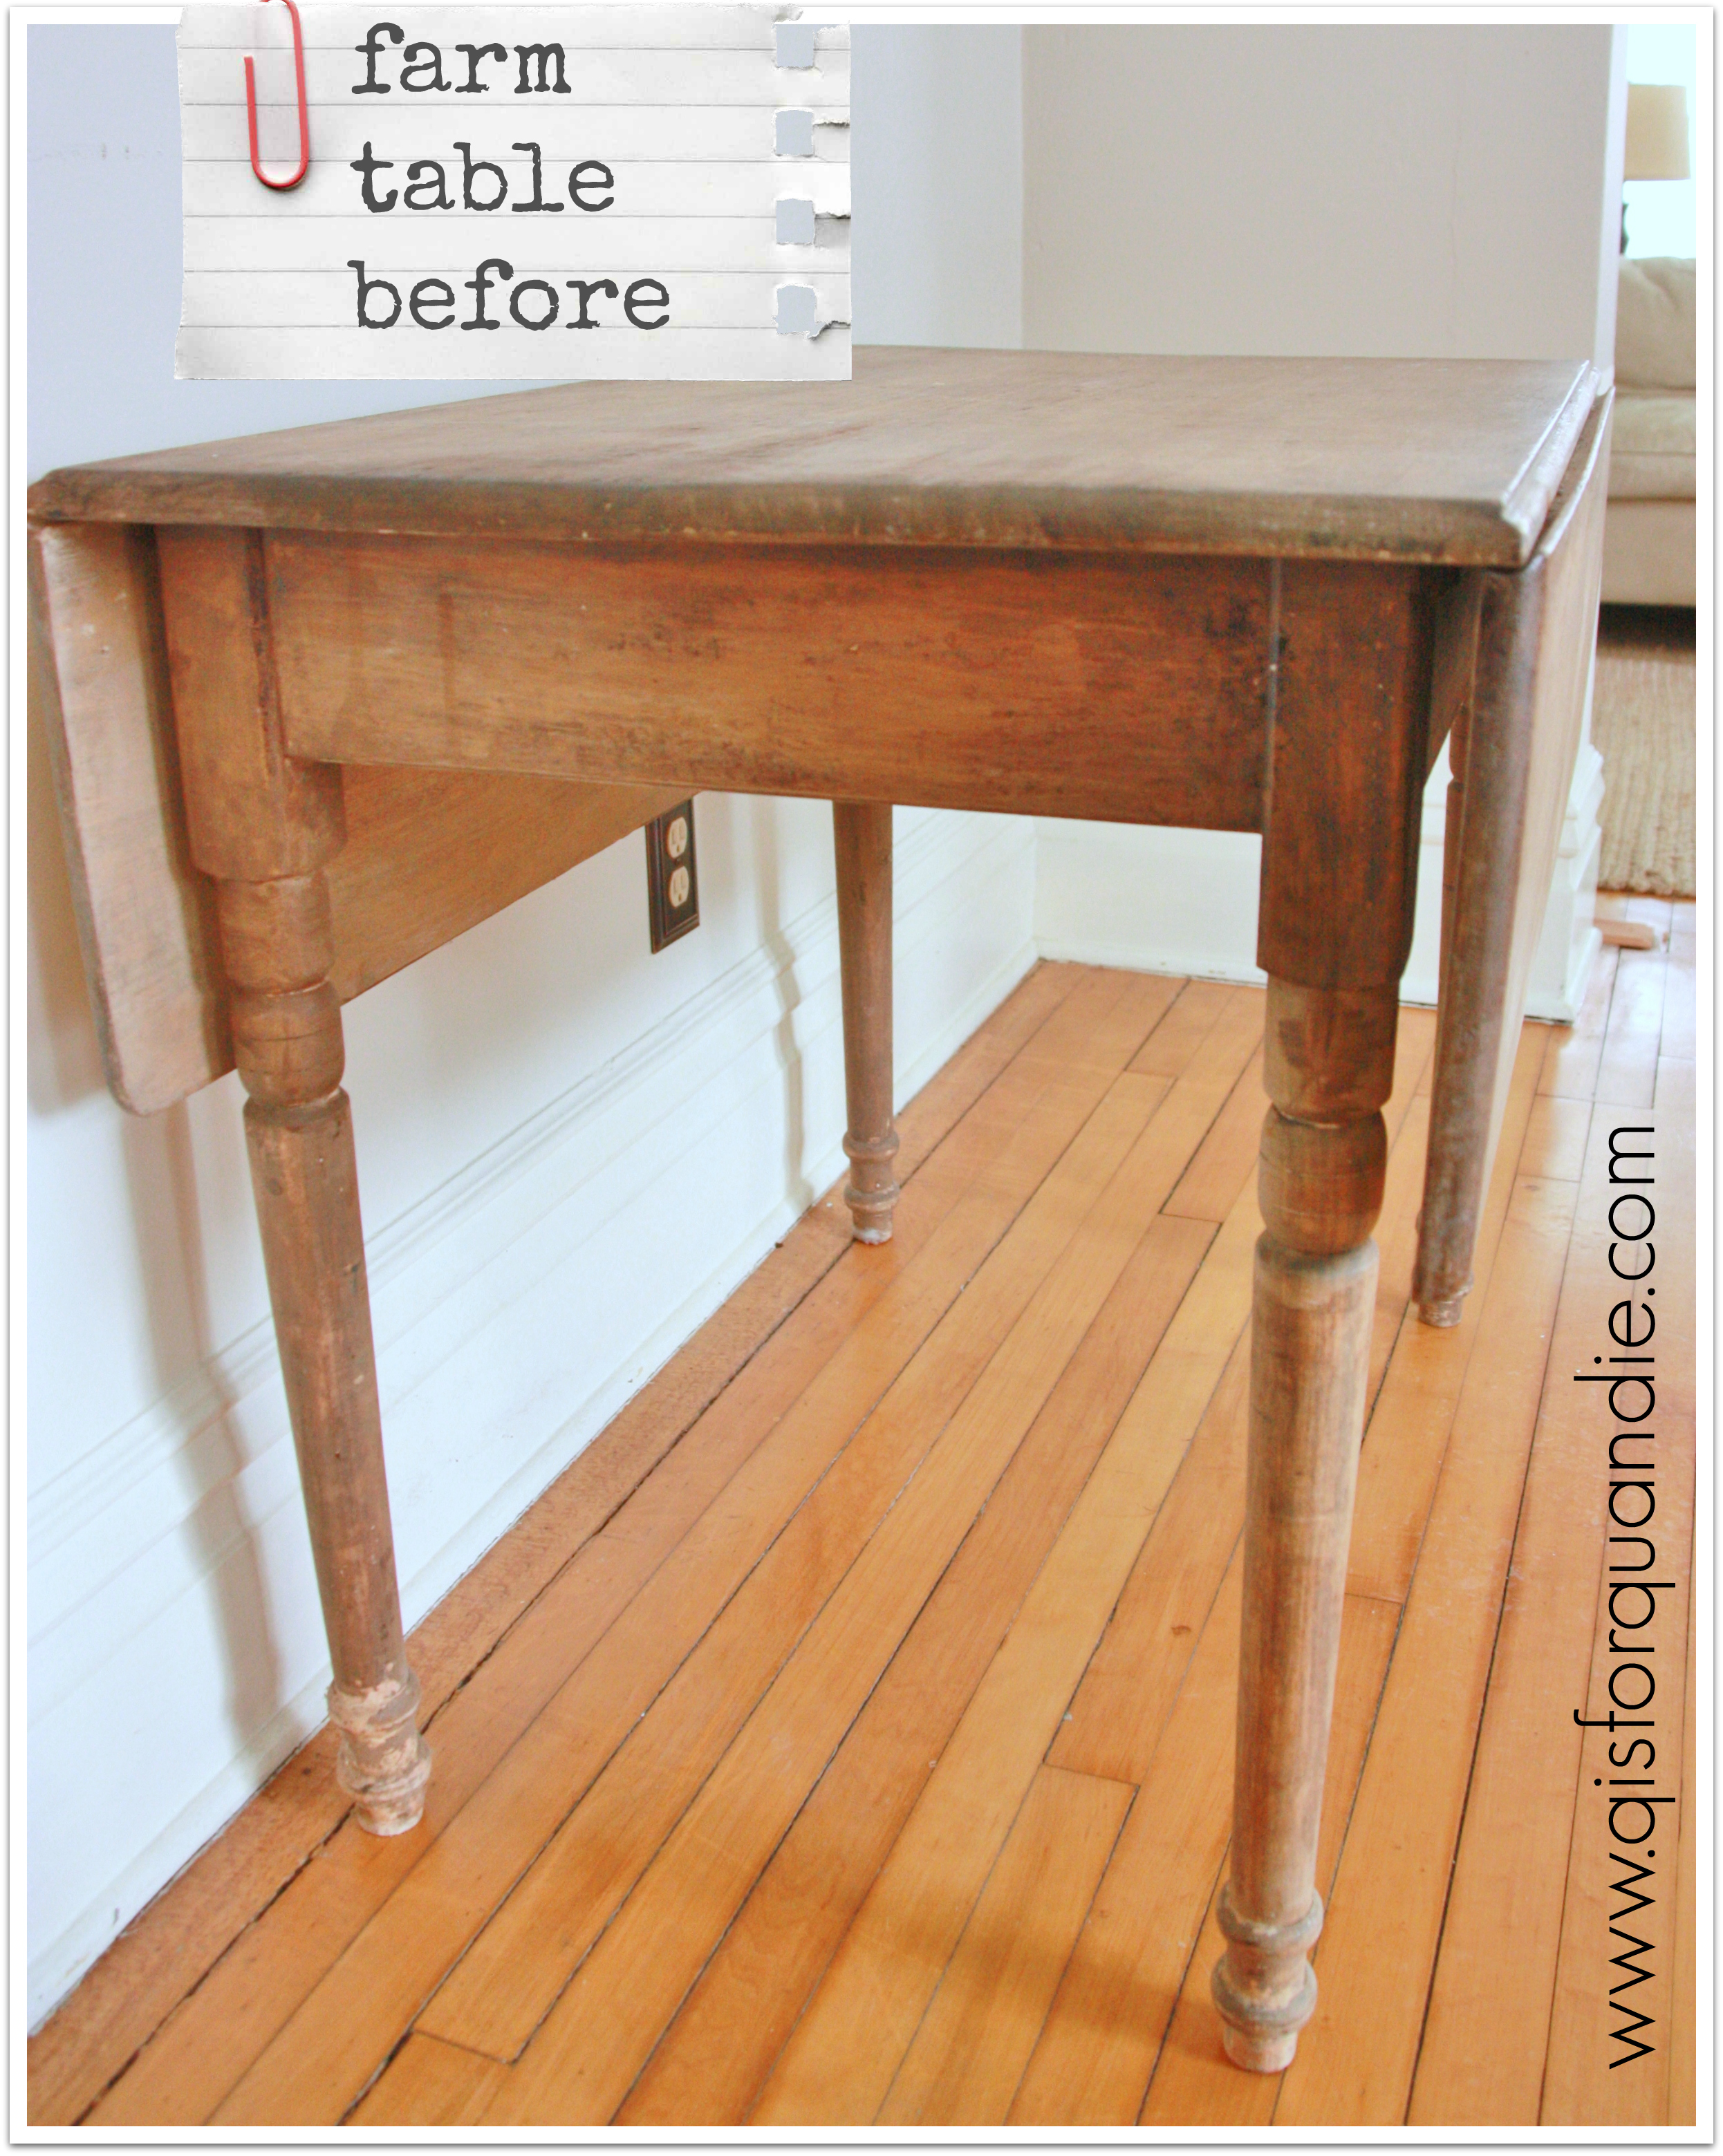
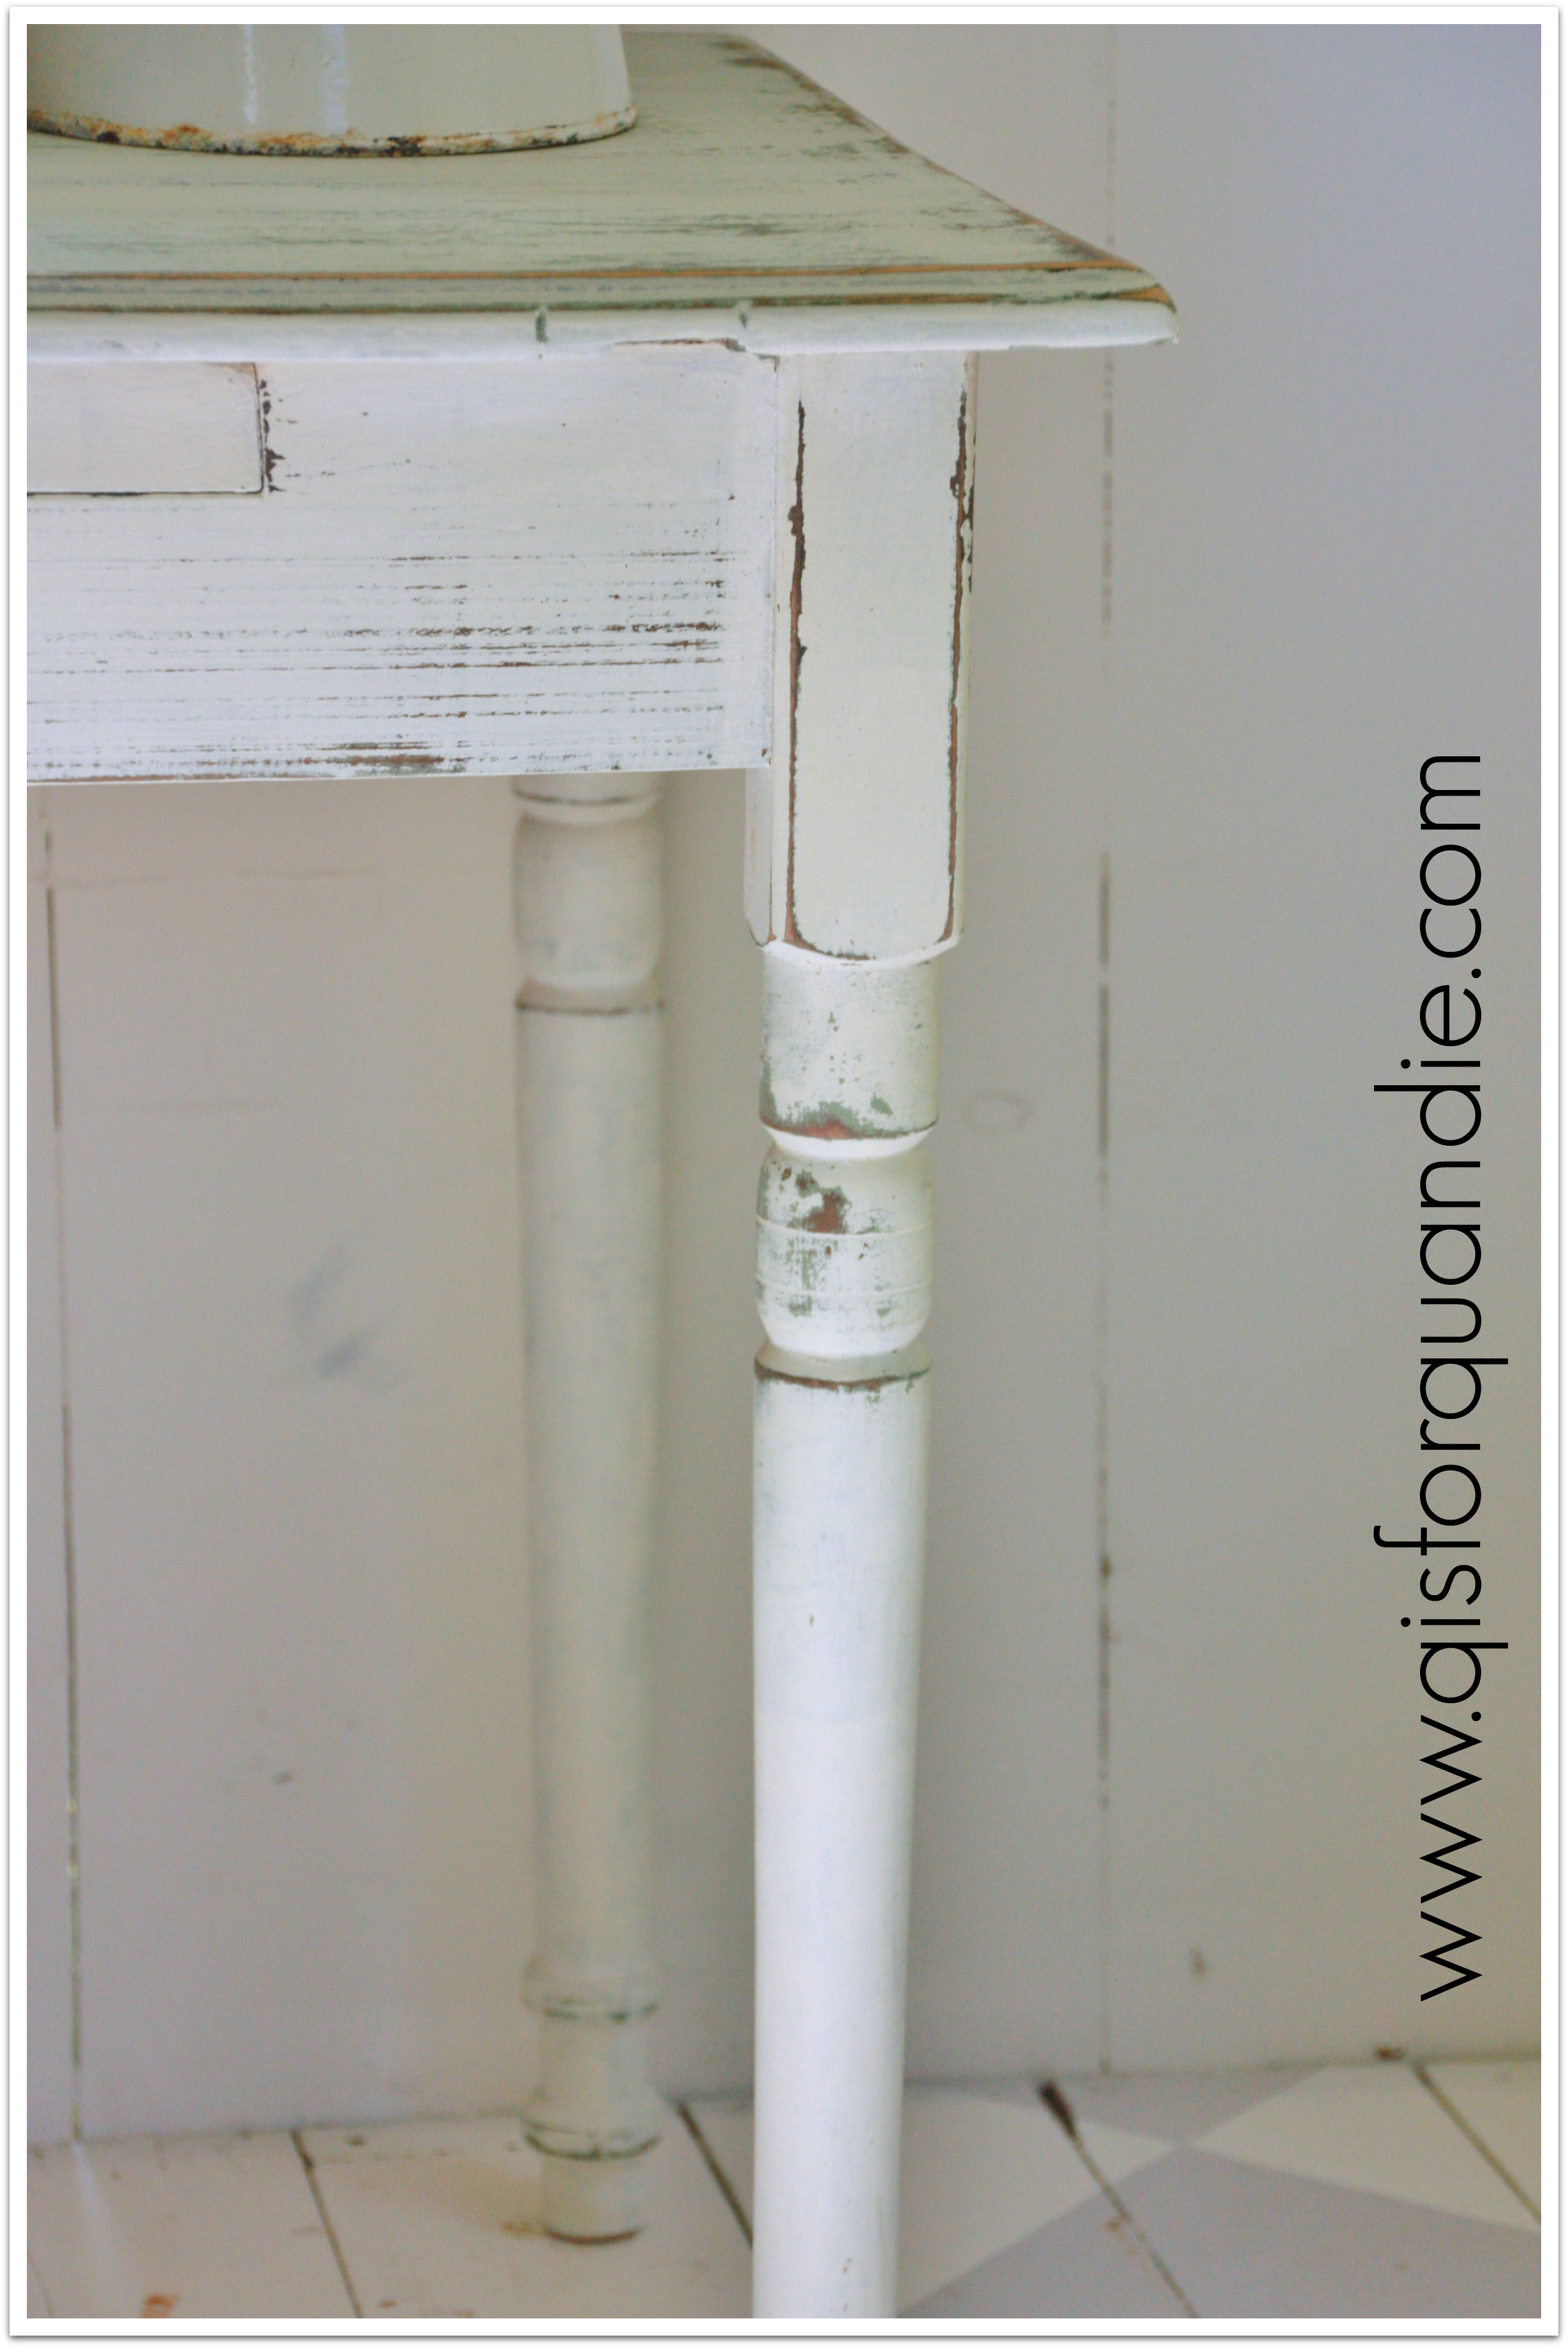
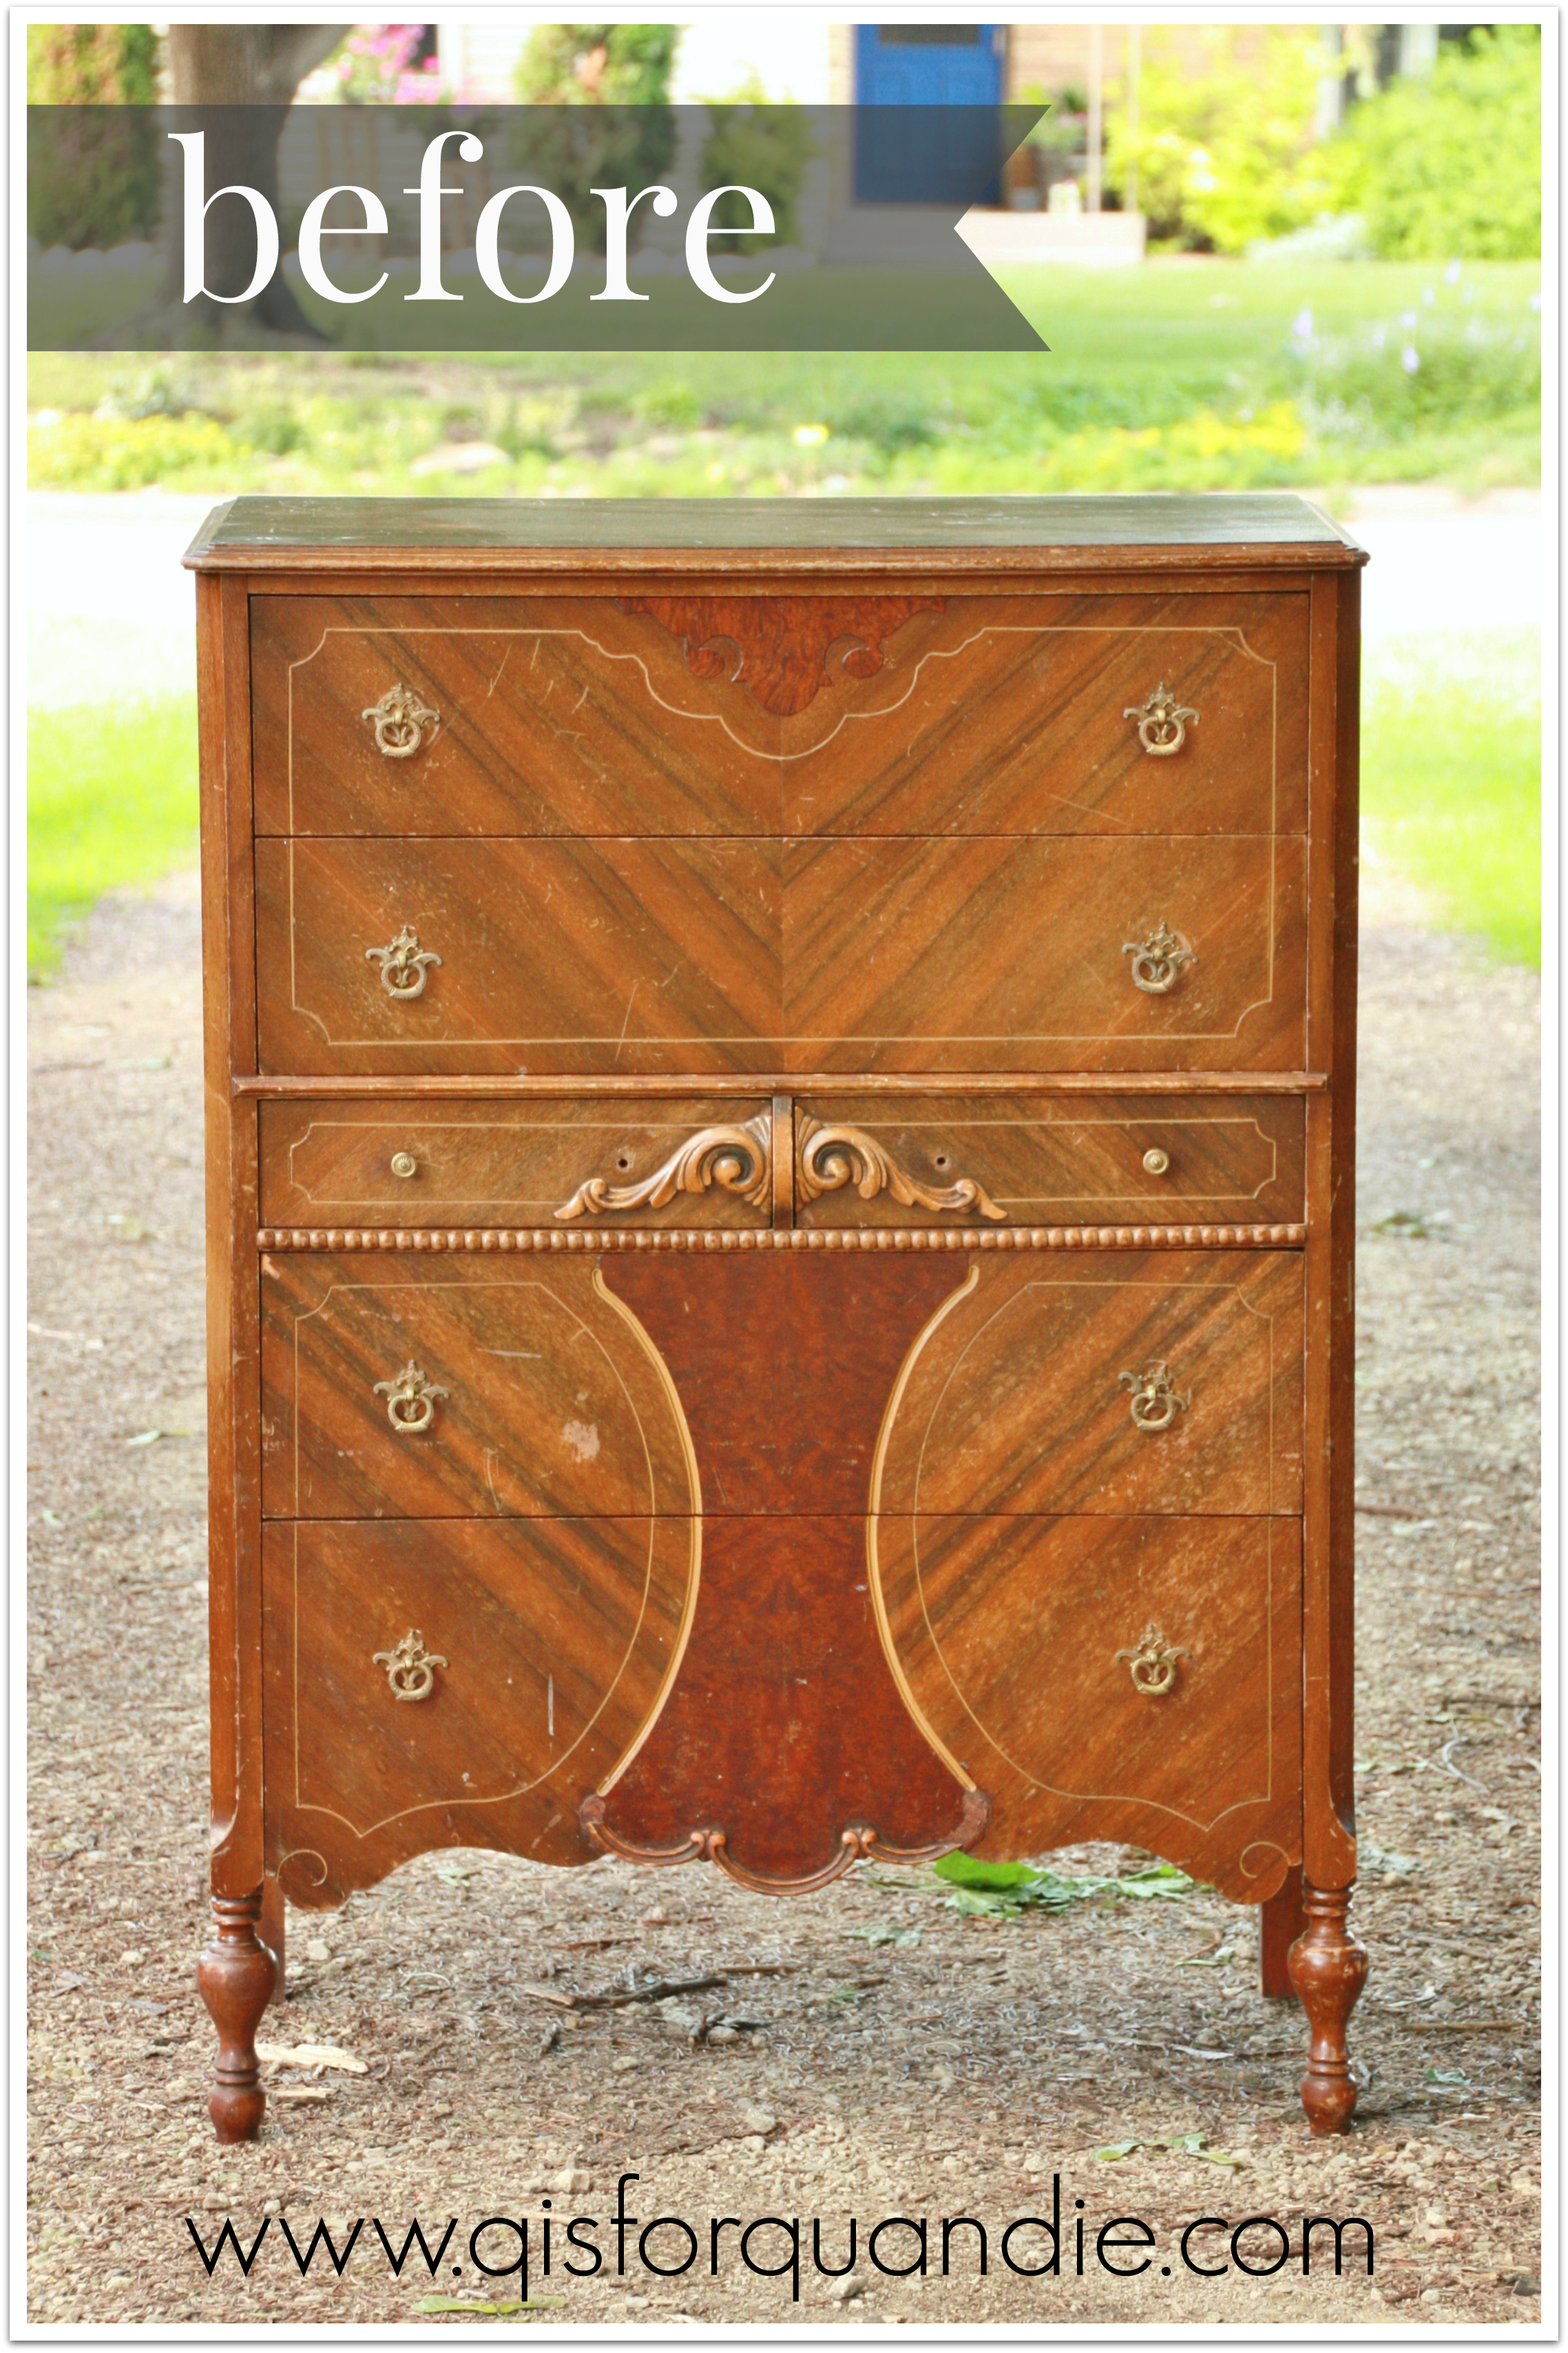
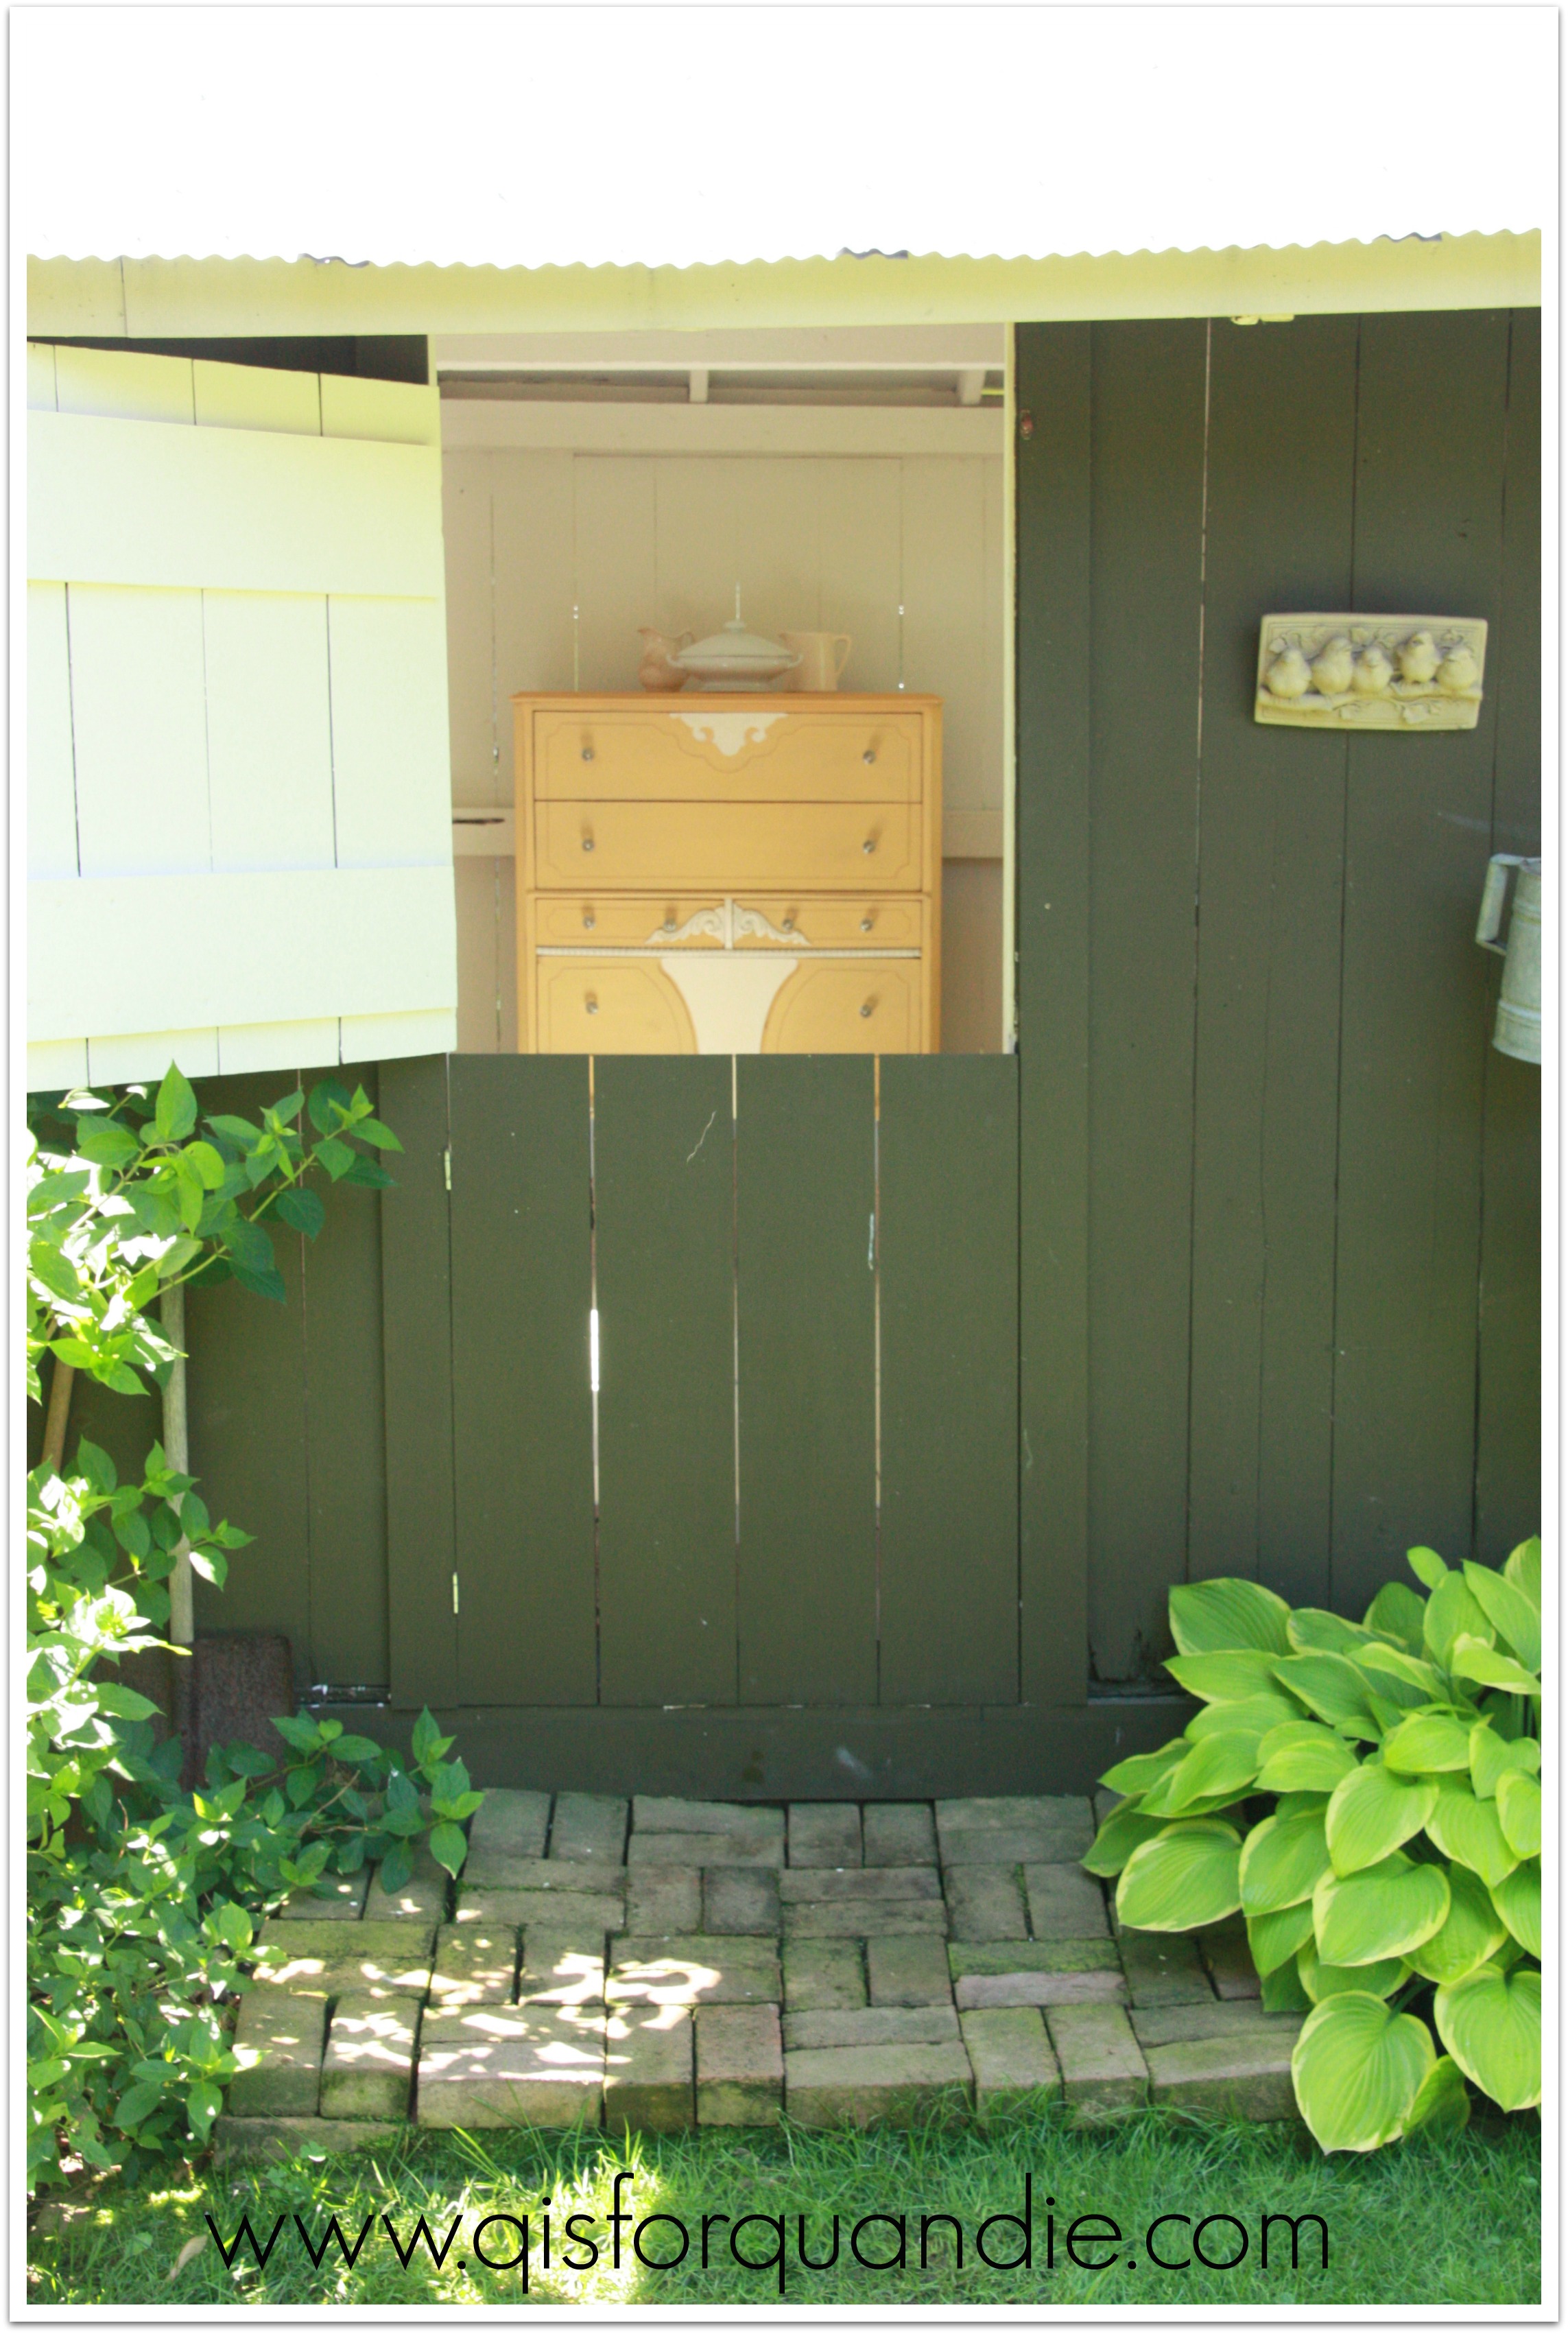
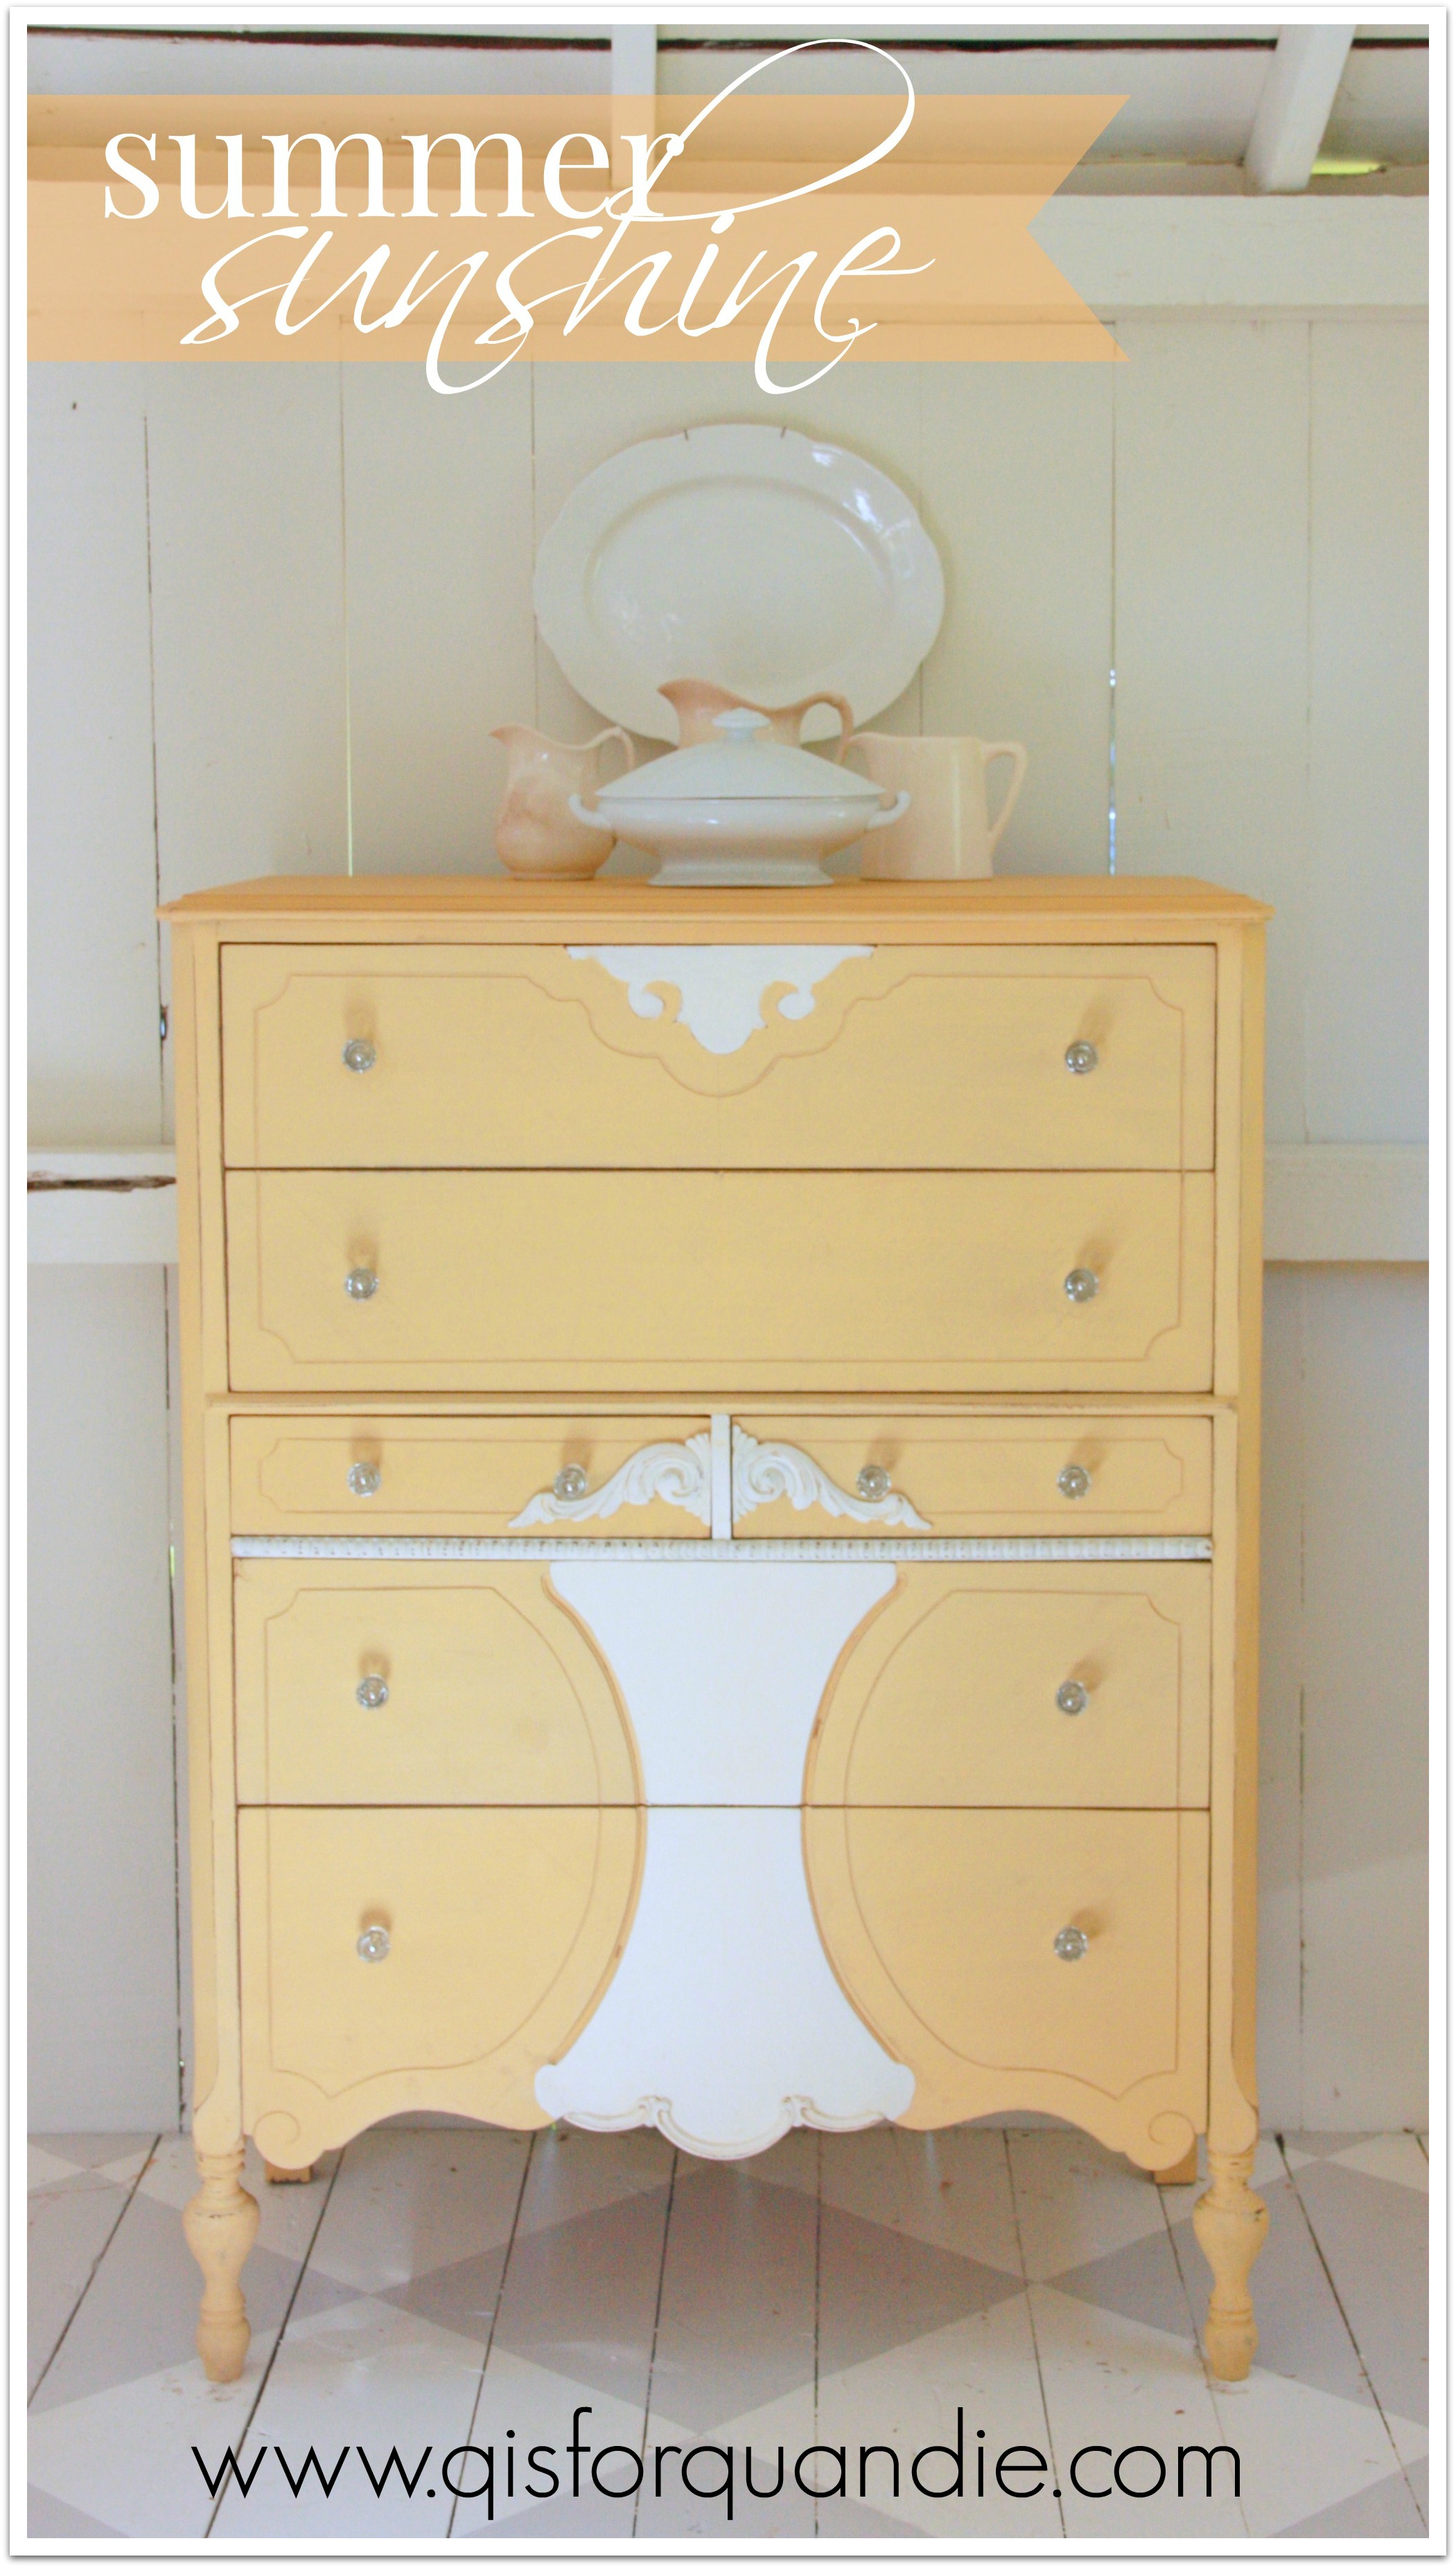
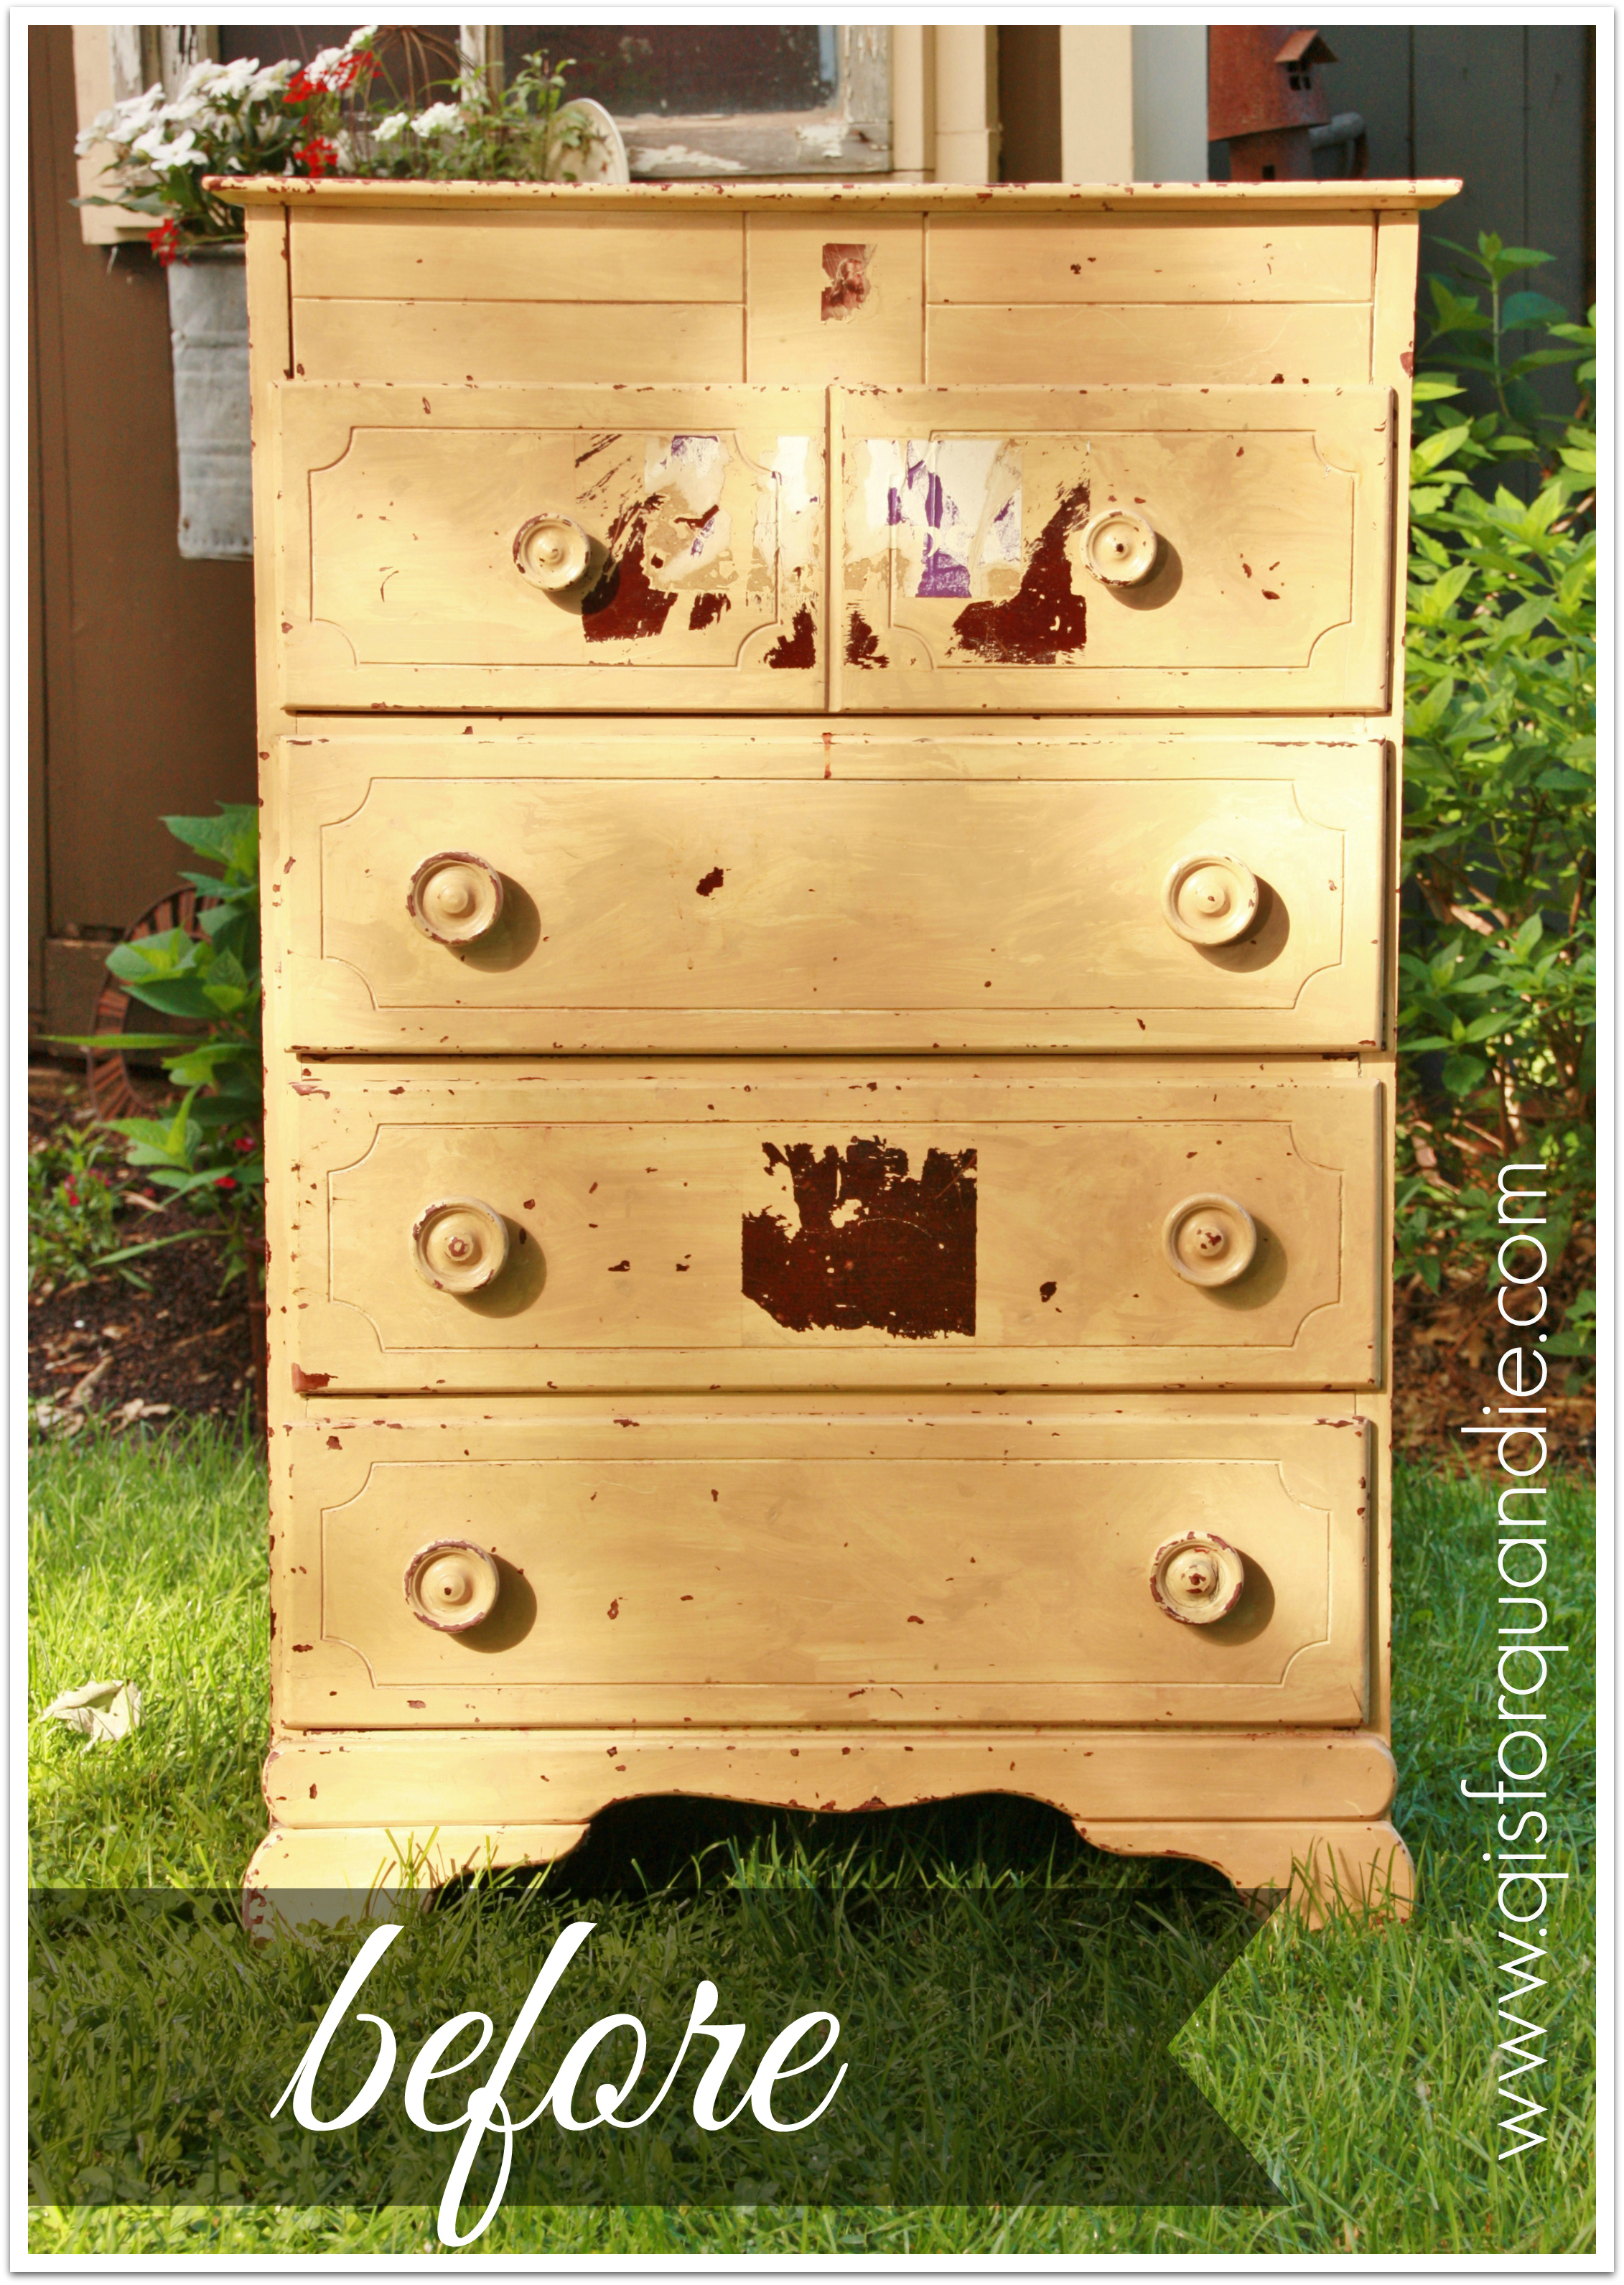
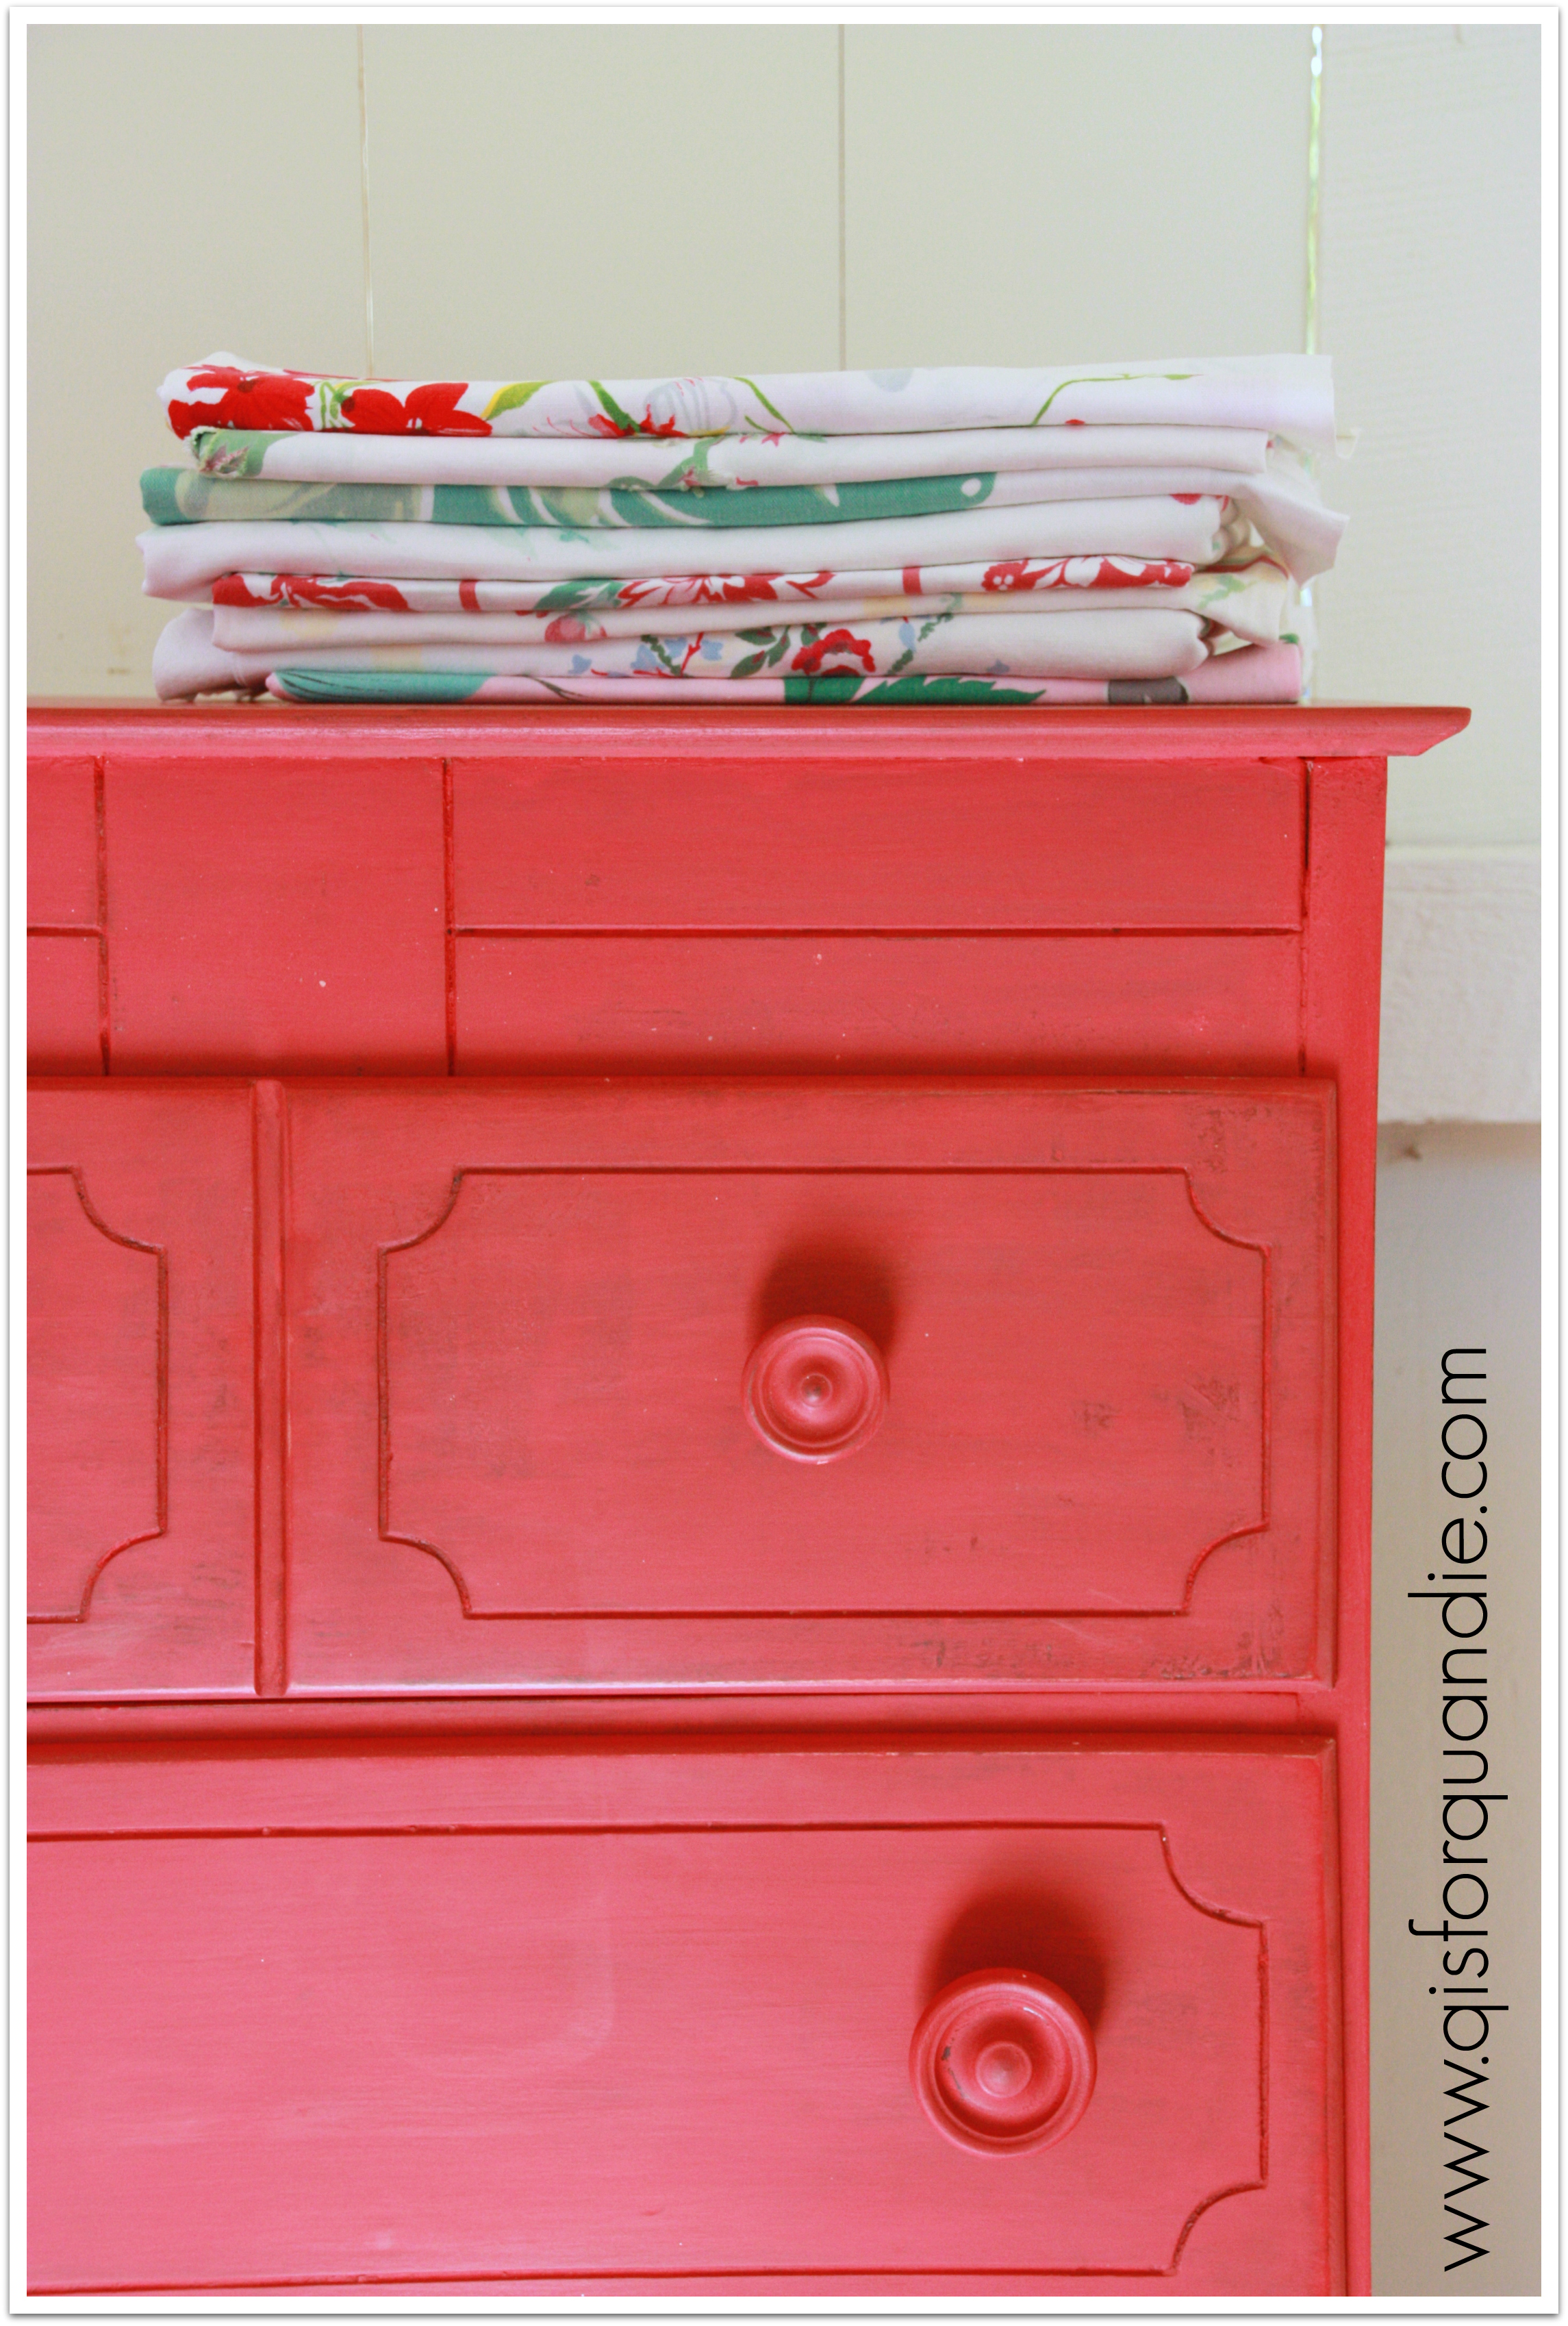
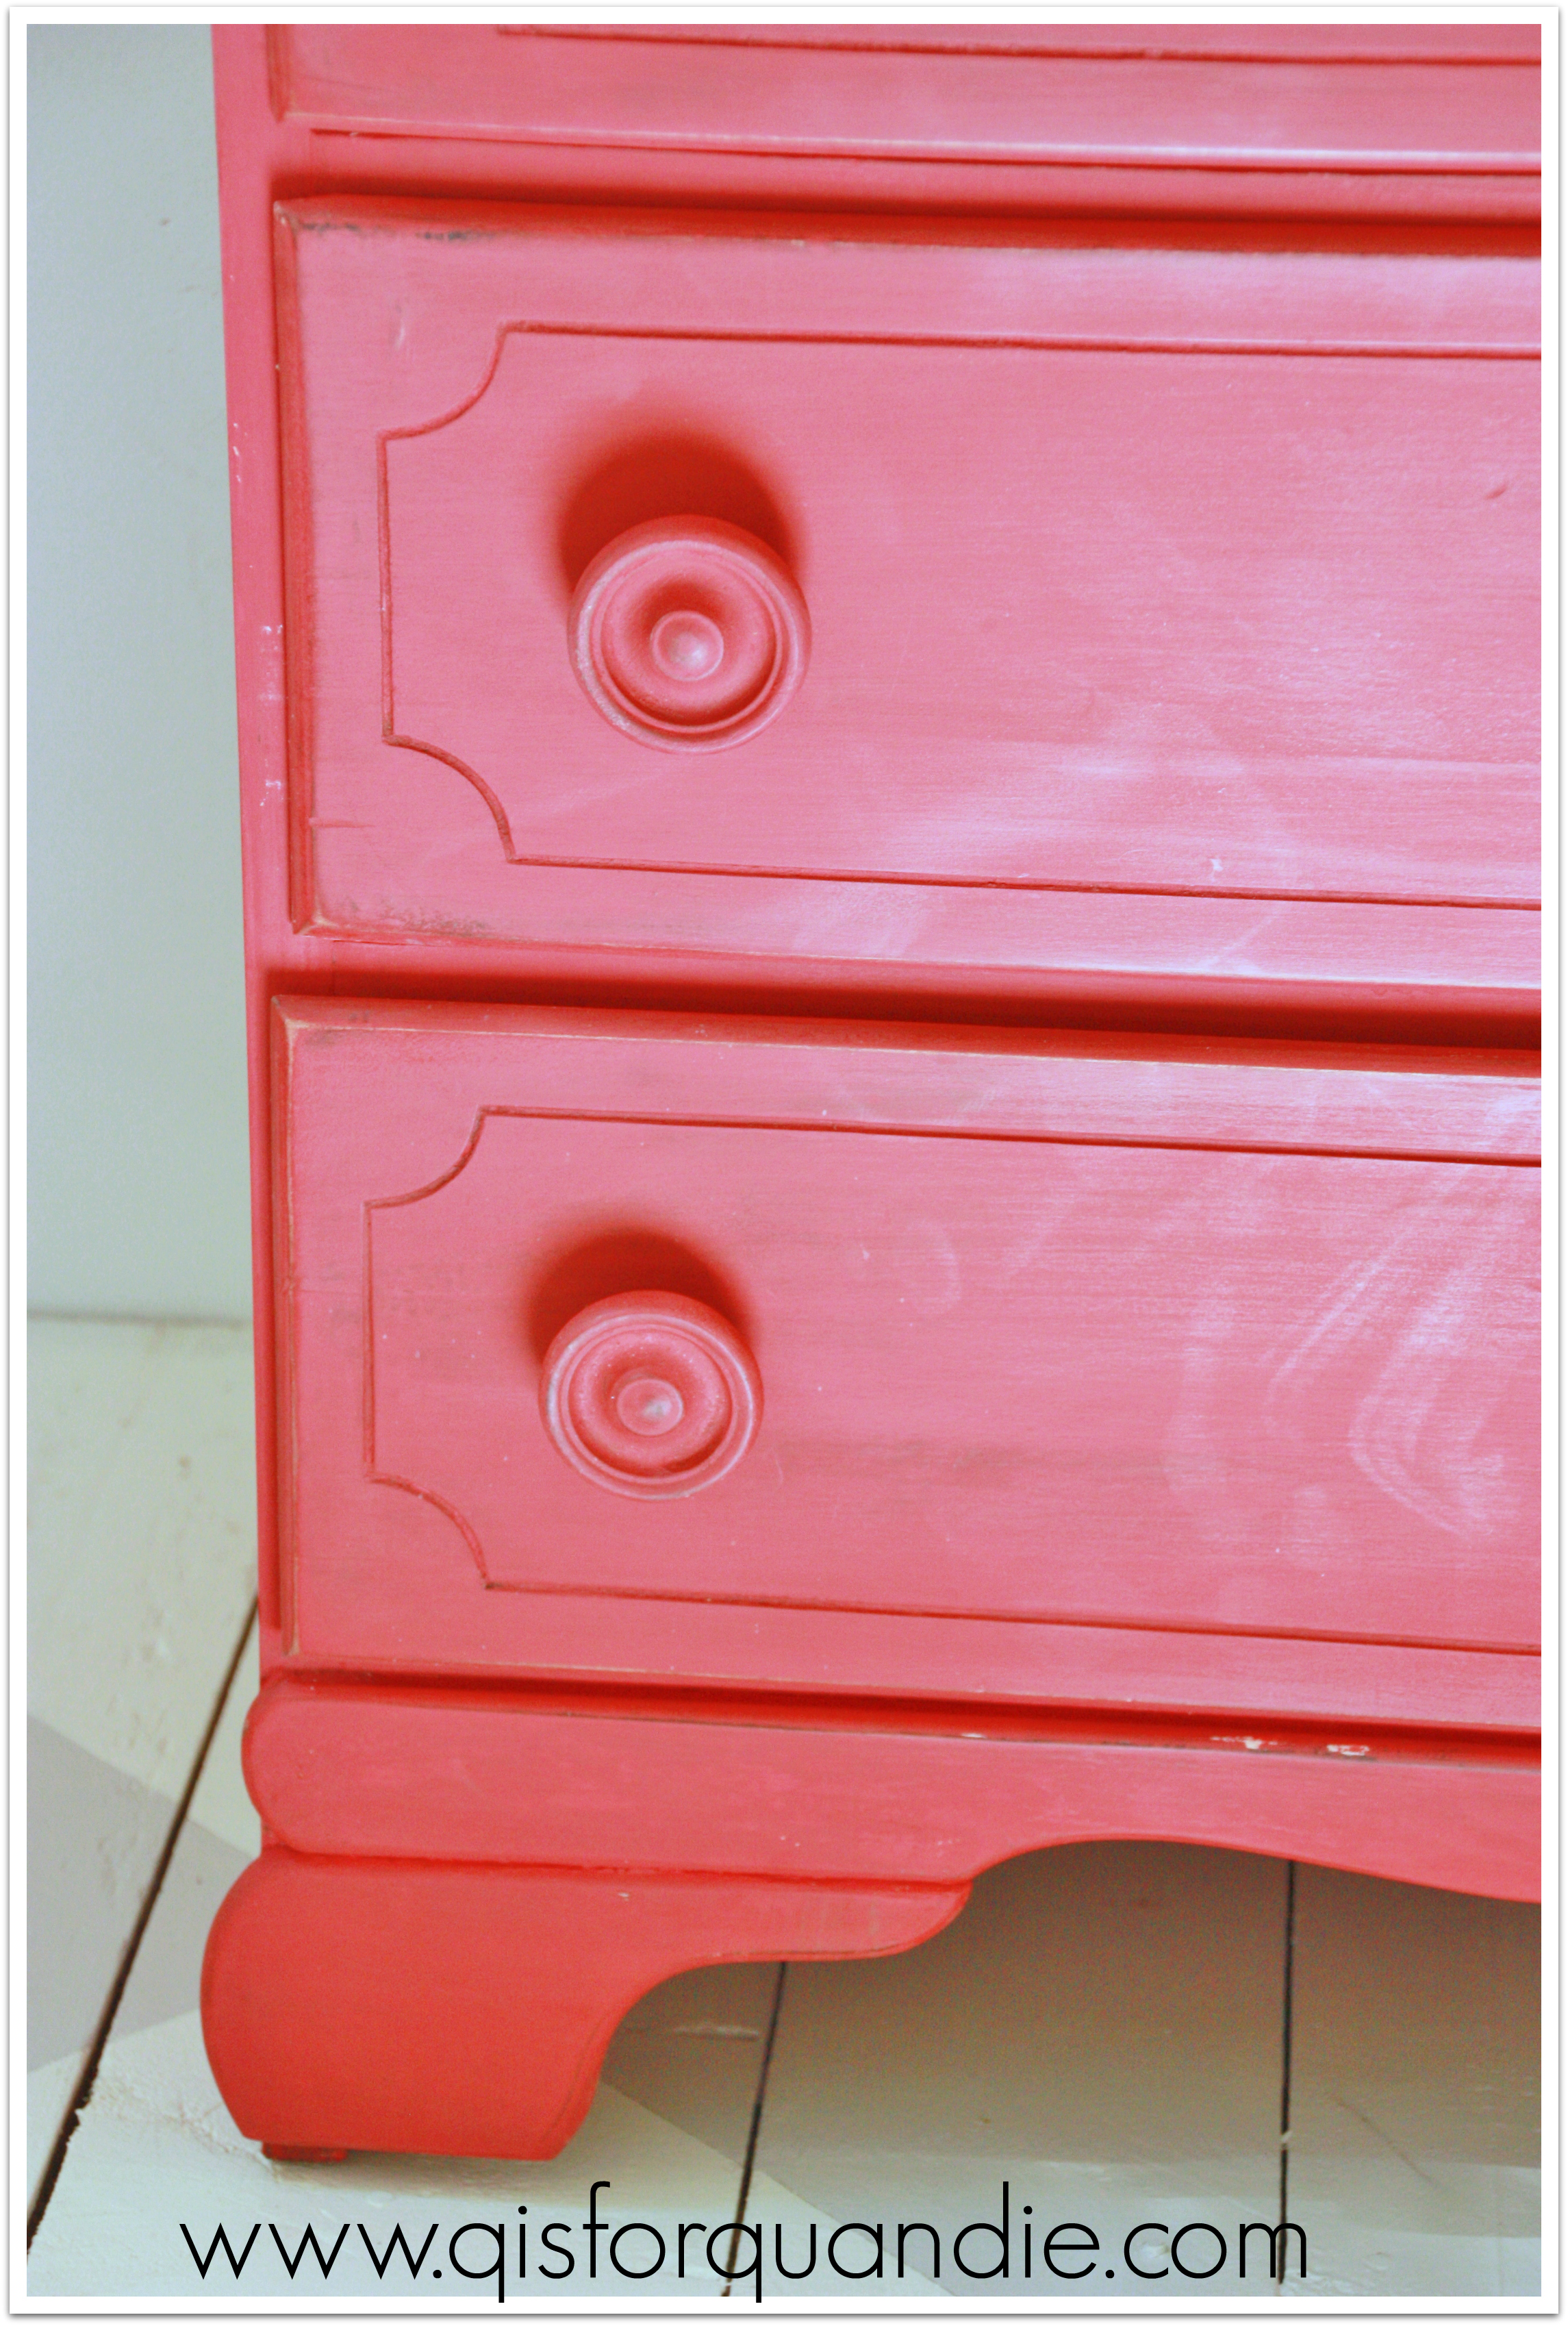
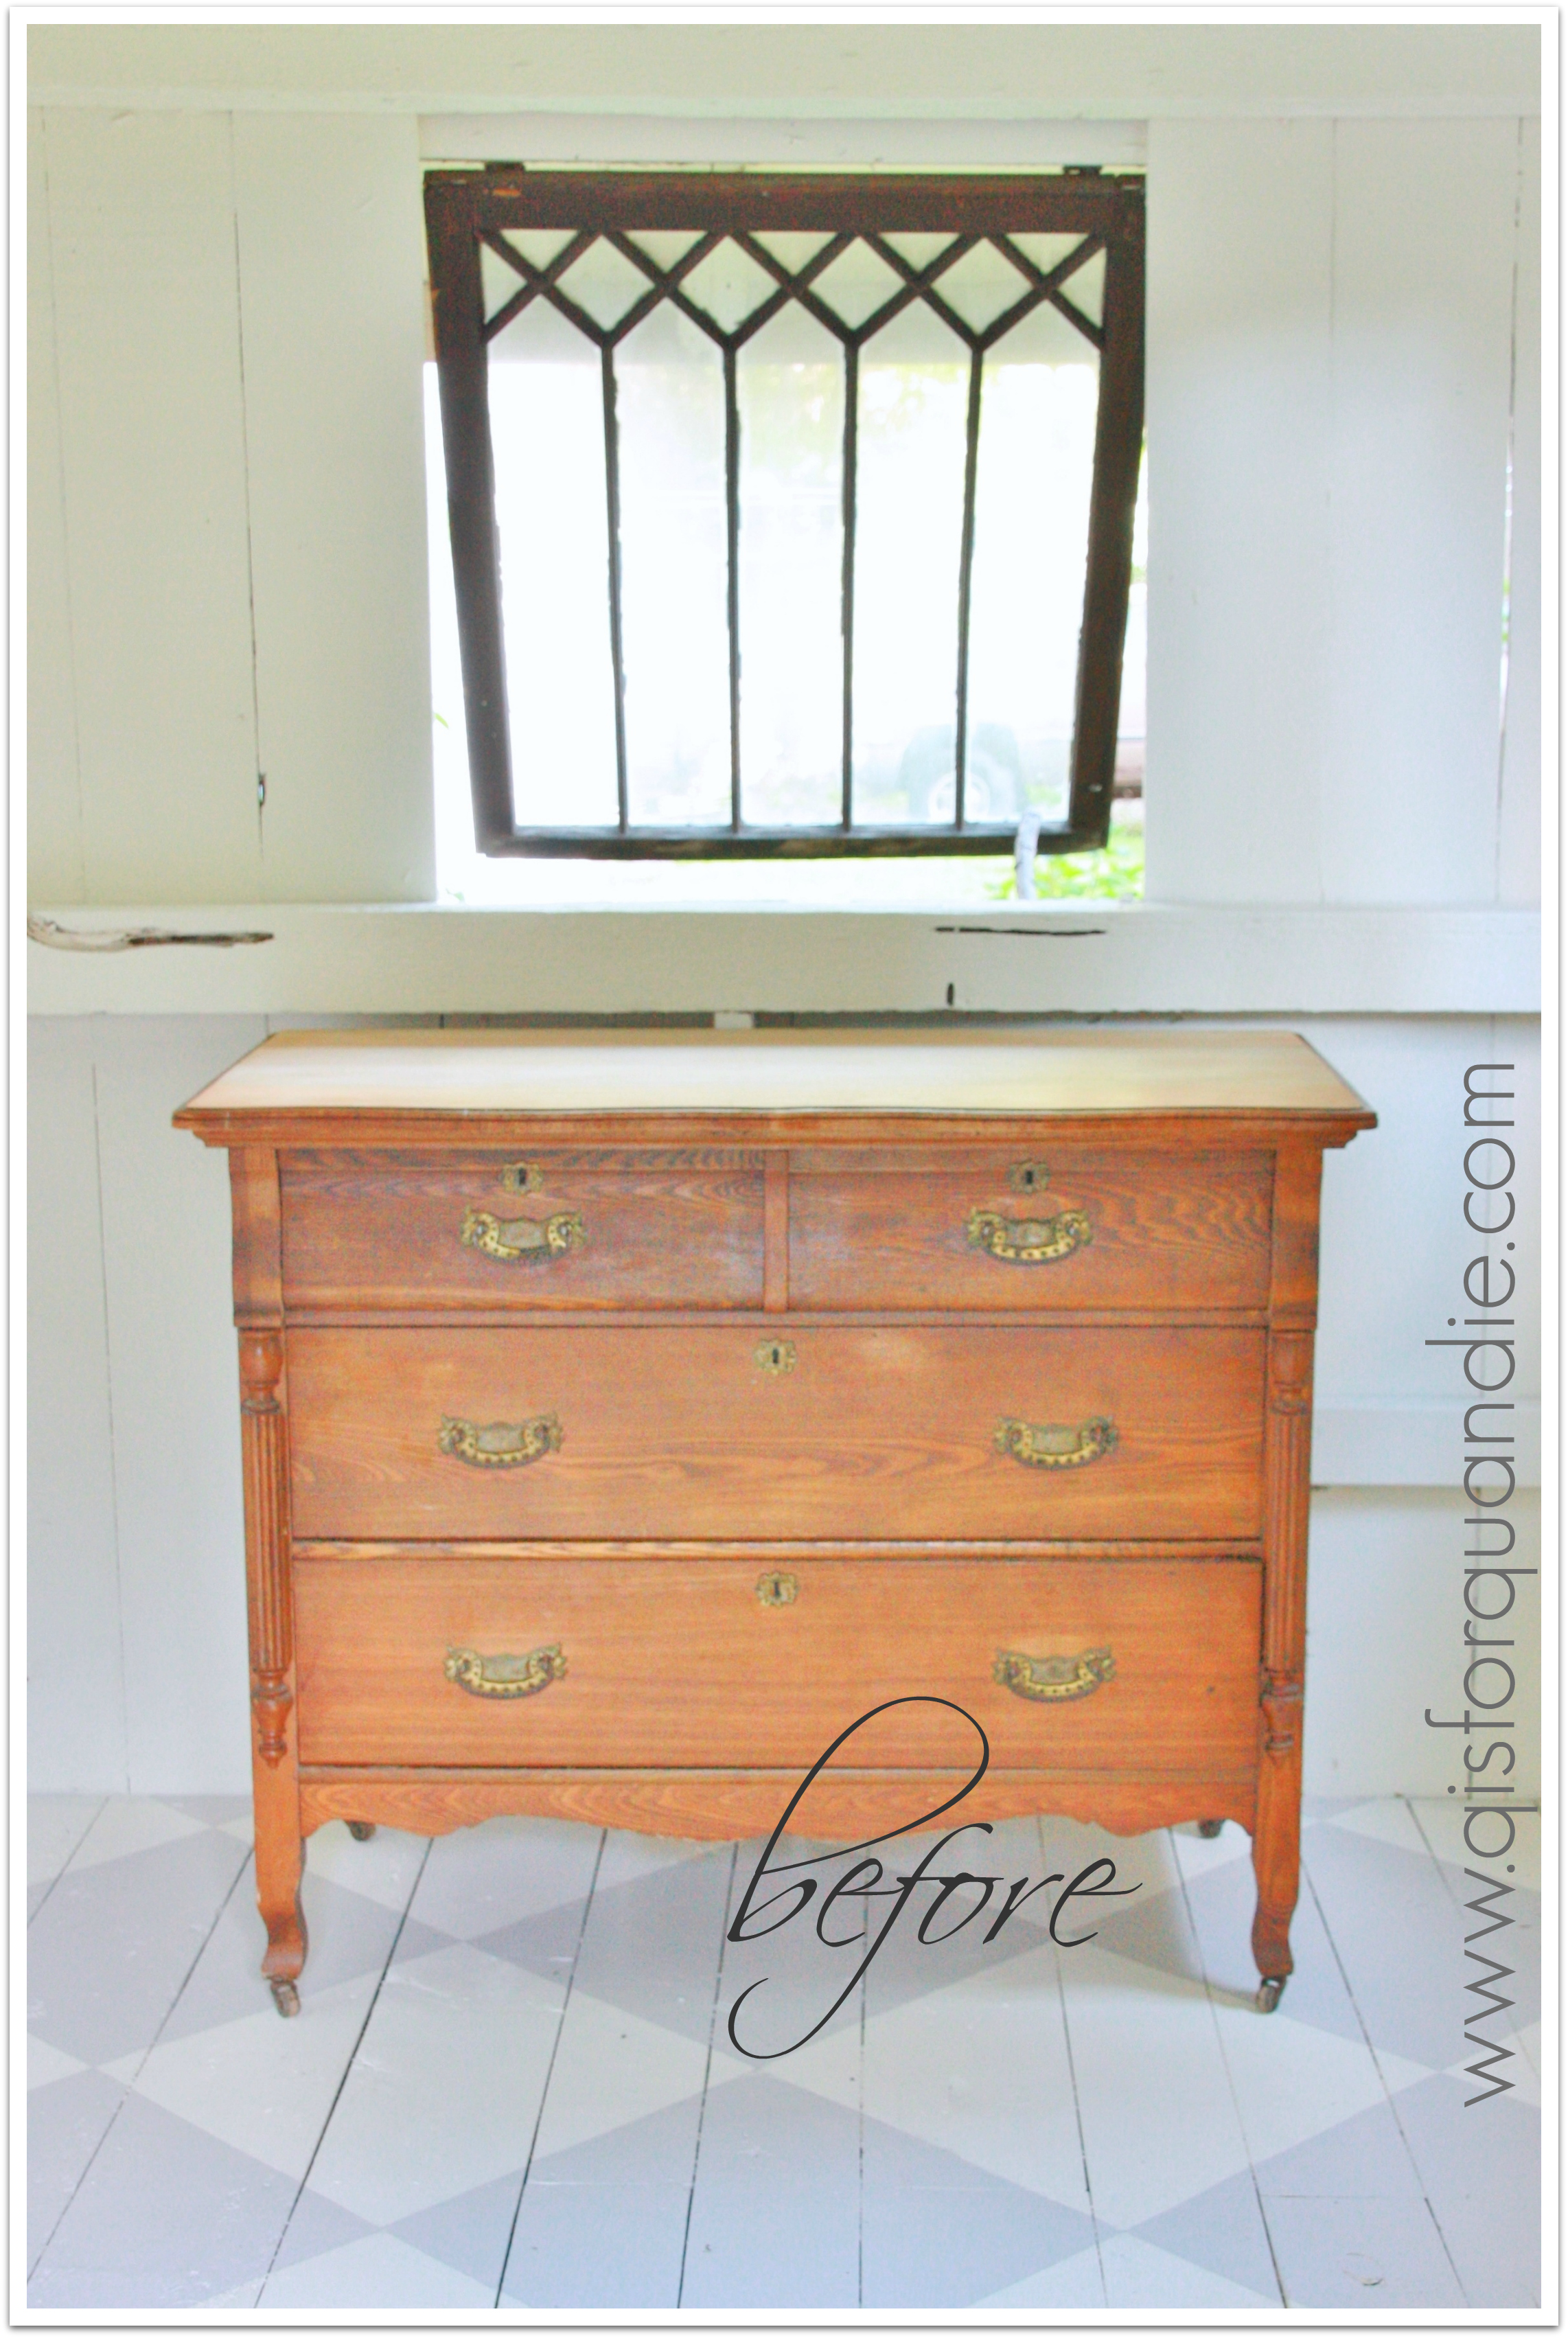
I also brought home a couple of pieces of furniture that will eventually get a makeover.  The little mid-century nightstand is already sanded and ready to be painted, but the former owner gave up before the finish line.  I love getting these pieces where someone else has already done the hard part!  Unfortunately she misplaced the hardware, so I’m going to have to come up with some great replacement knobs for this one.

2014 summer blog5

So, there you have it.  A productive day in Highland Park!

farm fresh table.

Mr. Q picked this table up in the middle of last winter.

farm table beforeTrust me when I say this picture makes it look nicer that it really was in person.  There are some big oily stains and paint splotches on the top.

I had visions of this table ending up all chippy and farm fabulous, like this one from pinterest, after a coat of milk paint.

via pinterest
via pinterest

So, I painted it with MMS milk paint in Luckett’s Green.  And all of those oil stains came right through, and half the paint chipped right off the top.  Not exactly what I was going for.

Then I did what all good ostriches do, I buried my head in the sand by throwing a sheet over it and using it as a workbench for the next six months.  But last weekend I decided to give it another go.  I added a couple of coats of MMSMP in Linen over the green.  I did not add bonding agent because I still wanted a chippy shabby result, but in a good way.  I really thought the Linen would chip as much as the Lucketts did.  I also thought the oily stains would continue to seep through, but I tried it anyway.  And for some reason, none of that happened!  Really.  I have no idea why.

So then I sanded the crap out of it and ended up with this.

farm table close up

Not quite the super shabby chippy look I wanted, but it will have to do.

farm table leg

And remember the oak chair I bought at the ‘breakfast meeting’?  I used the left over paint from the minty fresh vanity and painted the chair.

minty chairNow I have a pretty decent farm fresh table and minty chair.

minty chair and table

I think the table is more versatile without its leaves because it can become a desk.  Plus, they were seriously lacking in structural stability, so I took them off.

farm table as desk

This duo would be great tucked into the corner of a room.  Just enough space for your laptop.

It would also make a fun alternative bedside table, pair it up with something mismatched on the other side of the bed, all of the cool kids are doing that these days.

Or, go ahead and use it as a small table in the kitchen.

So many possibilities for a farm fresh table like this one.

a ray of summer sunshine.

Here is it July and I’m not sure if summer has actually arrived in Minnesota.  For those of you not local, the high temps this week were in the upper 60’s to low 70’s.  That is a little unusual, even for Minnesota.  I’m not complaining though, I kind of love it.  Perfect weather for getting stuff painted.

But, I thought I would add a little more summer sunshine into July with this gorgeous dresser.

Let’s start at the beginning, shall we?

Scrolly dresser before

 This dresser had fabulous written all over it.  Lucky for me, nnK spotted it on craigslist.  Obviously it was gorgeous in its day, but it was rather the worse for the wear.  The trim detail on the bottom had bits broken off.  There were scratches and dings everywhere.  A couple of the knobs were missing.  Really, it just wasn’t meeting its potential.

My immediate thought was to paint it aqua.  Either Annie Sloan Duck Egg or MMSMP Eulalie’s Sky.  But something about that plan just didn’t sit right.  Then, lying in bed one morning, it came to me.  Mustard Seed Yellow with Linen accents.  I had done another dresser in this color scheme for Junk Bonanza, and it was the first piece of furniture that sold.  I just knew it would be perfect for this one too.

Let’s pop on in to the photo cottage and take a look!

sunshine in cottage

The Mustard Seed Yellow is bright and cheery.  The Linen just makes the details pop.

IMG_0042

Suddenly I am craving a glass of freshly squeezed lemonade, or maybe some lemon meringue pie.

sunshine close up

How about you?

summer sunshine afterThis beauty is for sale for $245.  I’ll be posting it on craigslist later today.  If anyone out there wants a delicious pop of yellow dresser, leave me a comment and I’ll get back to you via email.

fairy crowns.

It is incredibly handy having a friend that is super creative and owns a fabulous shop and studio space in Stillwater.  I’m referring to my friend Michelle who owns Rose Mille.

The other night we got together for a craft night to make fairy crowns.  I brought the wine, my hot glue gun and an idea from pinterest, she provided just about everything else!

fairy crown 1

The idea for the wire and buttons came from pinterest, but Michelle thought to add the Dresden trim around the bottom.

It was awesome crafting with Michelle.  She knows lots of stuff and I learned from her.  This was not her first fairy crown.  Plus she has an excellent eye.  Here is her crown.

fairy crown michelle

While we were playing anyway, we also decided to make some fairy wands using some of Michelle’s supplies and her fabulous German glass glitter in black (which you can order on her website, here).

fairy wand close up

I was originally hoping the crown would work for the gargoyle, but it was a bit too large for him.

fairy crown gargoyle

I also tried it on Cossetta and on my buddha.  No dice.

fairy crown collage

But truthfully, this crown wouldn’t hold up outside anyway.

For now I think that Lulu will sport the crown.

fairy crown on lula


photo cottage final reveal.

I can’t tell you how happy I am with my decision to turn my summer house into a photo studio, now aptly named the ‘photo cottage’ (thanks Darrielle!).

I am having a great time staging my furniture makeovers in the cottage and getting great pics.  I have found that I have to time it properly.  Morning light is much better than evening light because it’s not reflecting off of my red carriage house.  Bright sunshine is best, but I can fake it a little if there are clouds.  My next goal is to research my artificial lighting options so my timing can be more flexible.  Since I have a day job masquerading as an accountant, morning photo shoots might be few and far between.

I thought I would pull the makeover all together into one final post for you.  First, a quick ‘before’ collage of the summer house.

summer house collageIt was charming and lovely, but sadly underutilized.  So let’s head on in and check out the new look!

The door handle on the cottage is an old hand held garden tool that Ken affixed to the door.  To the side of the door is my planter and watering can on a pulley.  Those poor begonias look pretty sad.  I never have luck with them!  I usually don’t buy them, but these were just such a gorgeous deep pink.

photo cottage exterior collage

photo cottage exterior

The bricks that make up the stoop are from an old brick patio that used to be in front of my deck.  We pulled them up a while back to make the patio larger and we replaced them with flagstone.  I saved the brick and have been using it to edge my gardens and I also used it here.  Honestly, the bricks are just stacked in place.  No mortar or anything.  They have held up quite well though.

After painting the inside walls and floor white, adding a grey diamond pattern to the floor, and having Ken build a faux wall insert for the back window, I now have the perfect canvas for furniture photo shoots.

wall

And on the other side of the room, I have a cozy seating area in case I ever do want to just relax out there and read a book (ha, as if I really ever do that!).  Plus, I finally came up with the perfect spot for the Paris sign that I purchased from Curious Sofa.

photo cottage chair

You may recognize the chair.  It was a makeover from last winter.  I brought it to Junk Bonanza, but there were no takers.  I also had it out for my Carriage House Sale, but again, no go.  Sometimes things are just meant to be mine!  This chair is quite comfy too, especially with the added pillow which is covered in one of my favorite vintage monogrammed pillow cases.

photo studio pillow close up

I used the space above the window to display some of my chippy green garden tools.

photo cottage slate and tools

And across from the chair is the cupboard for storing my photo props.

photo cottage cabinet

For a little better perspective, here is a shot of that entire side of the cottage.

photo cottage north wall

It’s not a large space at all, but it has just enough room to make a perfect stage for freshly revamped furniture!  I know I will get a lot more use out of this space now.  You are sure to see a lot of it on q is for quandie!

photo cottage linen white

seeing red.

A while back my pal Cathy texted and said she picked up a FREE dresser for me!

Woo hoo!  Free!

Then she dropped it off.

Cathy's freebie beforeYikes.  No wonder it was free.  It came complete with a horrible paint job and some half removed stickers.

Then I got the brilliant idea that this would be a good candidate for attempting to strip paint.  You may remember that learning how to strip was my goal for this summer (not that kind of stripping, get your mind out of the gutter).  So far I have mainly just stripped varnish and stain, not paint.

After all, this dresser has decent bones, and those knobs are rather fab so why not give it a go?

All I can say is, wow, what a mess.  I didn’t take photos because it was so disgusting and messy, I didn’t want to go anywhere near it with a camera.  It took three passes with the stripper to get the paint off.  Everything was covered in paint/stripper goo.  My tools, my driveway, my apron, my shoes, my legs.  Egads!  And after all of that, the stain underneath that paint was one of those horrible red bleeding stains.  No amount of paint will cover that stuff.

Well, when you can’t beat ’em, you just paint ’em red.

cathy's freebie final

This is Miss Mustard Seed milk paint in Tricycle.  I waxed with a custom blend of clear wax and dark wax.

There are still shadowy areas in the finish that are a result of that stain bleeding through mostly on the top drawer front.

cathys freebie close upBut that just adds to the character of this one.

Those knobs are pretty cute, and the base definitely has some charm.

cathys freebie bottom

This dresser would be great in a kids room, or maybe in a mudroom or laundry room for a pop of color.

Cathy's freebie closeupI’m passing the savings on to the buyer with this one and pricing it at a mere $125.  If you need a cute red dresser, leave a comment and I’ll get back to you with an email.

P.S.  After a very productive weekend, the finished pieces are piled up like cord wood.  I’ll be posting something fab every day this week.  Stay tuned!

crackled linen dresser.

Mr. Q and I picked up this beautiful antique dresser on the other side of the city a couple of weeks ago.

crackled linen before

The seller was a very nice gentleman, but as soon as we stepped inside his house I knew he wouldn’t be happy that I was going to paint it.  It was probably because the house was full of lovingly refinished antiques.  Lots of shiny wood.  Everywhere.

I wasn’t going to mention that I would be painting it, but he asked me outright what I was going to do to it, and since it was already loaded in the truck at that point, I figured it was safe to admit that it would be painted.  Sure enough, his response was “oh, I wish I hadn’t asked!”

I should have kept his contact information though because I like to think that he would be happy with the end result.  True, it’s painted, but I got the most lovely crackled finish on this one.  I feel like it almost looks more authentic painted than it did with its former semi-shiny poly finish.

crackled linen dresser

What originally drew me to this piece was this trim on the sides.  I knew it would just pop with a little paint and distressing.

crackled linen side detail

The top of this dresser was already stripped when I got it, and it looked so nice that I decided to just wax it.

crackled linen top

The body of the dresser got a base coat of Miss Mustard Seed milk paint in Eulalie’s Sky, followed by two coats of MMSMP in Linen.  I was hoping for some chipping to reveal the base coat, but got very little.  You can see it peeking out just a little in some spots, but it is subtle.

I finished with MMS furniture wax.

crackled linen side angle

I also painted the hardware.  That is milk paint, and I did not use the bonding agent.  So, as you can see, milk paint will stick to metal.  Not always!  But in this case it did.  All I did to prep the hardware was wash it with dish soap and a toothbrush.  Not only did this dresser have all of its drawer pulls, but it even had all of the keyhole escutcheons.  That is extremely rare with most of the stuff I work with (in other words, lower priced pieces, lol).

crackled linen close up

I staged this guy with some lovely hydrangea that I picked up at my local Bachmans.  I wish I could say these grew in my garden, but no.

crackled linen staging 2

I added some vintage wallpaper as a backdrop for my first photo shoot.

crackled linen wallpaper close up

Then I thought perhaps I should try some shots with the window.

crackled linen window backdrop

Now I have managed to provide myself with another conundrum.  With window, or without?

crackled linen collageBoth lovely.  At least I think so.  What do you think?

This lovely antique dresser is for sale for $245.  Ooops, this one is sold.


minty fresh.

If you are a Miss Mustard Seed follower (as I am), you’ll have seen her recent post about inventing a new minty color for her friend Layla.

minty fresh mustard seed

It was great timing because I had also recently pinned this fabulous minty chair.

photo via pinterest
photo via pinterest

And I was contemplating a fresh new color for the vanity table I was about to paint.  You’ll remember this vanity, I posted about it many moons ago and said I needed to get around to painting it.

workshop veneered vanity

Well, I finally got around to it.

vanity minty fresh

I don’t know what I was waiting for.  I could say that I was waiting to find the time, but the really honest answer is that I knew I had to deal with some veneer issues and that was holding me back because repairs aren’t my favorite thing to do.  I like to just get on with the painting.  In the end, the repairs were really simple and didn’t take much time at all.  I simply removed all of the remaining veneer from the decorative scrolly bits at the bottom of the drawers on each side.  It came off very easily.  The scrolly bit on the left side of the mirror was a bit more work.  Ken had to rebuild a portion of it and then I had to do some gluing and patching.

But once all of those little tasks were completed, I was able to get to my favorite part.  Painting.

vanity close up

I used Miss Mustard’s recipe for Layla’s Mint, but then I added a little extra Eulalie’s Sky.  I wanted my mint to lean a bit more towards the aqua end of the spectrum.

For clarification, or if you are trying to match it, here is my exact recipe using Miss Mustard Seed milk paint:

vanity recipe

This made more than enough paint for the vanity.  But when I am custom mixing like this, I always err on the side of extra paint.  I know it would be difficult to match it exactly with a second batch if I run out of paint, and this would be a serious bummer.  I plan to use the excess to paint an oak chair, and I can always add a touch of something more if I don’t have quite enough for the chair.

OK, so, enough of this babbling.  What do you think?

Once again I did not get any chipping, bit I did get some great crackling.

vanity crackle

  I should back up and explain that I was painting this vanity in the Carriage House during a thunderstorm.  So we are talking some major moisture in the air.  The milk paint was not drying nearly as quickly as it did in the middle of winter inside my heated house.  So when I had painted the entire thing once, and realized the drawers I started on still weren’t dry, I got out the blow dryer.  I know that blow drying leads to crackling, but this piece was starting to crackle even before the dryer came out.

vanity thy name is mint 1

You may also have noticed that there is vintage wallpaper peeking out from underneath this piece.  I thought it would add a touch of fabulosity, but I was hoping it would be a little more noticeable.  My friend Sue says it’s sexy to have just a little bit showing like this, so I’m going with that!

vanity wallpaperI have some more of this wallpaper left and I think it’s gorgeous.  I’m sure it’s going to make its way onto another piece of furniture in the future.

Meanwhile, this minty fresh vanity is ready to go!

minty fresh vanity

Wait!  One last thing.  Did you notice?  My first real photo shoot in the new studio.  I’m loving that floor!  And the faux wall is perfect behind the vanity (a window would have been very strange).  If you are wondering how I took this shot without appearing in the mirror, it was a combination of cirque du soleil style contortion-ism and being able to open the lower half of my door while leaving the top half closed.  Those Dutch doors are very handy!

when is a window not a window?

When is a window not a window?

window

When it’s a wall!

wall

Abracadabra.  It’s a window again.

window

The solution to my rear window conundrum?  To have Ken build a faux wall that I can put in and take out on a whim.

How cool is that?  I can have my cake, and eat it too!

wall

That Ken is so clever.  He built an insert to match the existing wall that fits just inside the window opening.  Then he added little handles on the back so I can slide it into place easily from behind the shed.  He also added a hook to the window so I can hook it up and out of the way when the “wall” is in place.  The window, by the way, was already on hinges at the top.

wall insert

I’m so happy with this solution.  When I want to take photos of furniture I have the option of a solid wall backdrop, or a window backdrop.  And one day, when I get tired of revamping furniture for a hobby, I will still have the fab window in my shed.

Coming soon, some ‘minty freshness’ followed by a wrap up post showing some final photo studio ‘after’ pics.  Stay tuned!

fab furniture photo studio, cabinet.

Remember the old cabinet that was in the summerhouse before I began transforming it into a photo studio?

summerhouse cupboard beforeWell, there is a bit of history behind this cupboard.  When we moved into our house, the bottom half of this was in the Carriage House and it was pretty filthy and beat up.  Not that I mind beat up, but I can do without filthy.

The top half of it was in the kitchen.  That’s why the top half is so freshly painted.  It fit perfectly on top of the radiator, and the radiator itself was enclosed by a faux cabinet bottom that made it look somewhat like a piece of furniture.  Except the bottom part was poorly constructed, and it had terrible doors with inserts that were meant to let the heat flow out.  And a horrible formica top.

So, when we revamped the kitchen, we decided to remove it all and just add a small shelf to the top of the radiator, see …

kitchen radiatorMuch better.

Anyway, when we removed the upper cabinet, it occurred to me that maybe it would fit on the shabby cabinet that was out in the Carriage House.  Not only did it fit, but it appeared to be original to the piece.  There are grooves in the lower cabinet that perfectly match the upper cabinet.  I was bringing them back together again!

I moved it into the summer house and it has been there ever since.

OLYMPUS DIGITAL CAMERA

As part of my photo studio revamp, I decided to clean it up a bit and use it to store photo props.

I knew that adding a little vintage wallpaper here and there would up the fab factor.

studio cabinet drawers

So I ordered some from Hannah’s Treasures on Etsy and then added it inside the drawers.

studio cabinet drawers 2

 And I ordered some more from Rosies Wallpaper on Etsy and added it to the lower shelves.

studio cabinet inside

If you’ve noticed that the glue along the front edge isn’t quite dry, please ignore that.  I’m too impatient and it is so humid here today that it just isn’t drying on my time schedule.

studio cabinet inside full

You’ll notice that I used different wallpaper on the shelves from that in the drawers.  Yeah, I know.  I could have matched them, but what would be the fun in that?  This way I get to enjoy two fabulous vintage patterns.  Also, before I move on, I have to say that both of these Etsy shopkeepers were fab.  I received both of my orders within days and they were packaged very nicely.  The colors on their Etsy page were spot on, and the paper was in excellent condition.  I was impressed (and I am in no way being compensated for this tidbit, just wanted to give them credit where credit is due).

As you can see below, I also repainted the interior of the top section with Annie Sloan’s Duck Egg.  I knew it would work beautifully with the vintage wallpaper.

studio cabinet empty

I also changed out the hardware on the upper cabinet.  It did have some very nice glass knobs, but I wanted something a bit more rustic looking, so I switched them out for these.

studio cabinet hardware

Next came the fun part, filling it up with photo props!  I’ve been accumulating a pile of photo props for a while.  I’d like to not have to remove everything from my house each time I stage a piece of furniture.

studio cabinet angle

At this point, you are probably thinking to yourself “hey, wait a minute, I thought those walls weren’t pink anymore?!”  They aren’t.  This is one of two things, either a reflection from the giant wall of my red Carriage House which is right behind me while I’m taking this photo, or a reflection off the red shirt I had on.  I’m going to have to work on this problem.  Do you think Mr. Q would be OK with a plan to paint just that one side of the Carriage House white?

But meanwhile, the cabinet is full of my photo props with room for more as I find them.

studio cabinet interior

studio cabinet inside lower

So there you have it.  A slightly revamped cupboard full of vintage fabulousness.

studio cabinet full

Next up; how Ken and I deal with that back wall!