Welcome to the next installment of our house tour series. Today we’re visiting the kitchen.

If you’ve been reading my blog for any length of time you’ve probably figured out that I don’t really cook. You’ve wondered how I can find the time for a full-time job, plus a blog, plus furniture painting? Well, the answer is, I don’t cook. OK, maybe that’s not the full answer, but it’s certainly part of it. Any cooking that takes place at our house is usually done by Mr. Q, and occasionally even by my sister.
That being said, having a gourmet kitchen is pretty low on our list of priorities. We are very happy with having a mostly functional kitchen instead. We have the basics; a stove, a microwave, a sink, some cupboards and a fridge. None of which are fancy or expensive. And in case you are wondering, no, we do not have a dishwasher. But who really needs one for just two people who rarely cook?
But you know what? Let’s stop here and put this kitchen in perspective by hopping into the time machine and heading back to 2006. This was another of my domino effect decorating projects. It started out with a plan to put in a new sink and counter tops, re-paint the cupboards and walls and tile the floor. But it ended up morphing into something a little bit bigger.
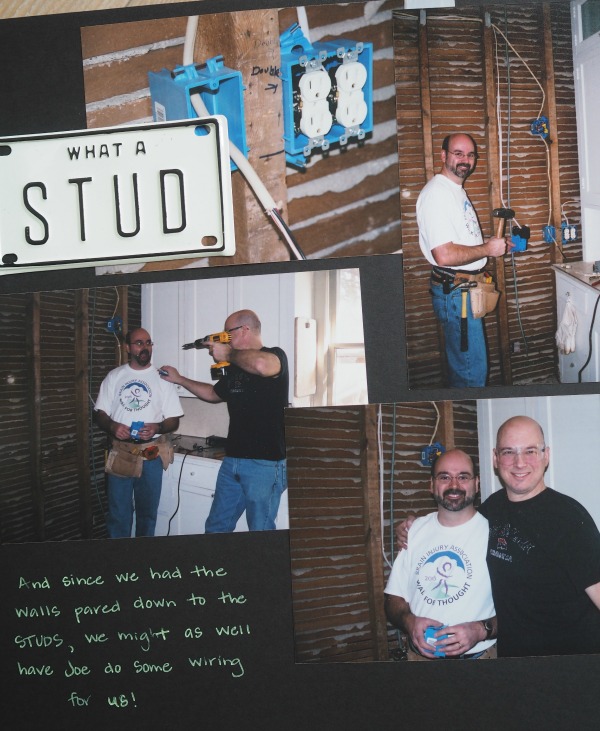
To begin with I started out by removing the existing wallpaper in preparation for painting only to find that the lower half of the walls were covered with a thin layer of hardboard. When we pulled that off, we discovered that the board had been put in place as a quick fix for plaster walls that were in really terrible condition as evidenced by this old page out of my ‘home redecorating’ scrapbook.

At that point my friend/picker/co-worker Sue and her husband kindly offered to help us remove the plaster so we could put up sheet rock instead. Looking back, I still can’t believe how generous that was of them. I’m pretty sure I had no idea what we were getting ourselves into.

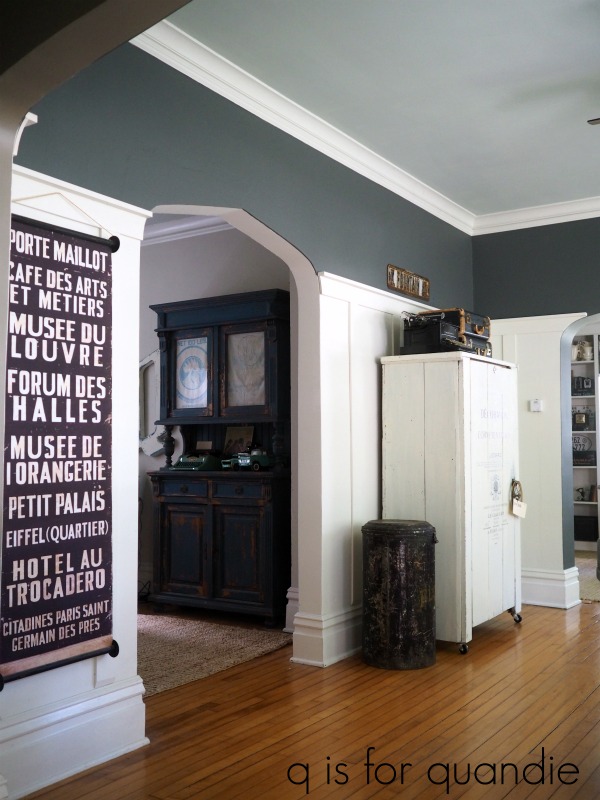
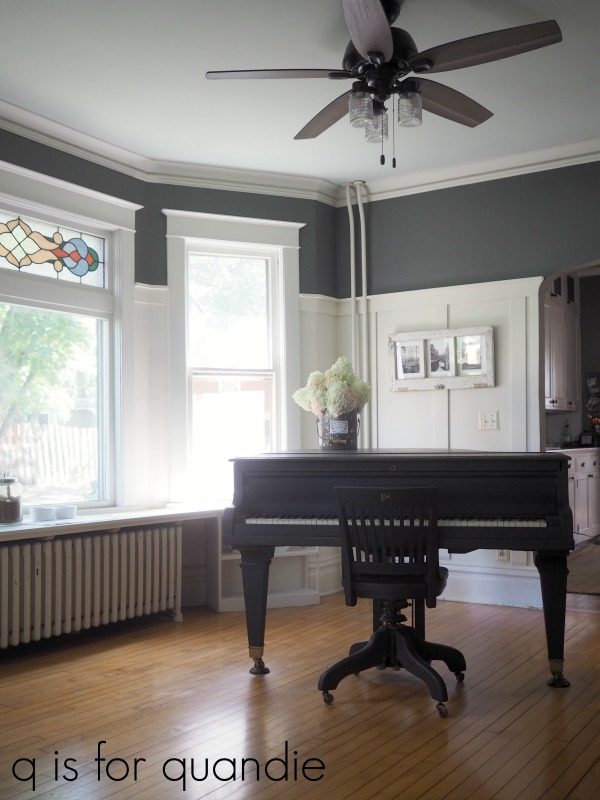
That lead to the next unexpected decision, to open up the wall between the kitchen and the piano room. You see, Sue’s husband accidentally got a little carried away with the sledge hammer and went right through that wall to the other side.
Rather than panic, we decided that it was sign that we should open up that wall and I’m still grateful to this day that he did that. This change added much more light to the kitchen and really just opened up the entire first floor of our house.
Since we had the walls down to the studs, at that point it made sense to update the wiring in the kitchen and why not put in some counter top lighting as well, right?
Luckily Mr. Q’s brother Joel was able to help us out with that.
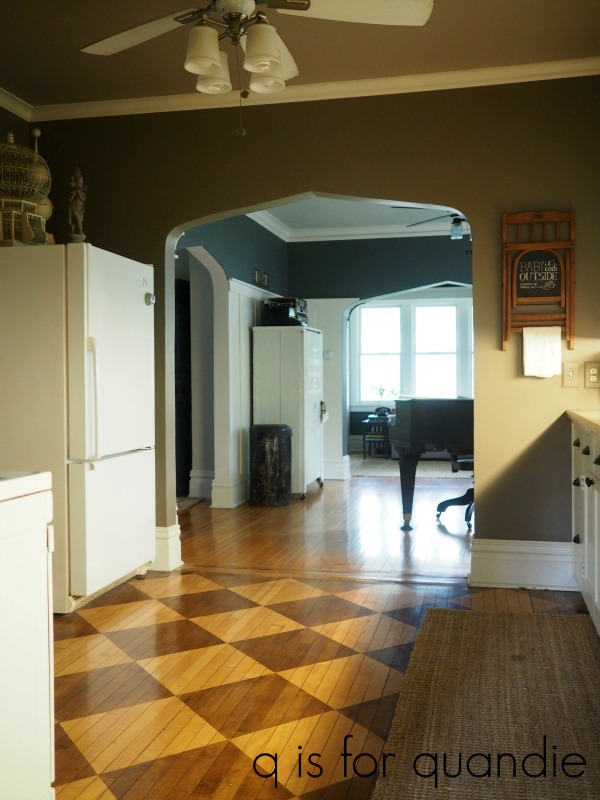
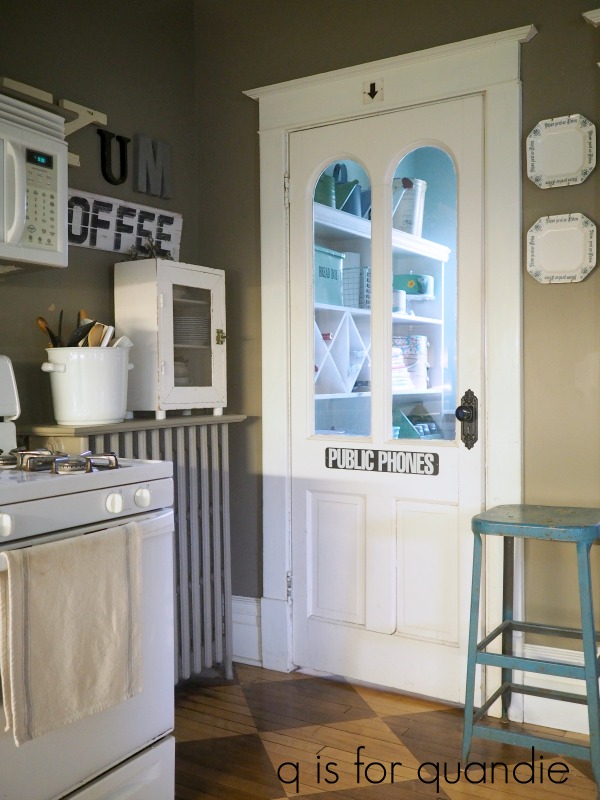
We had also planned to rip up the linoleum and do a ceramic tile floor instead. We had even purchased all of the tile. However, when we pulled up the linoleum we found wood floors underneath. So instead we had the wood floors refinished in a checkerboard pattern.
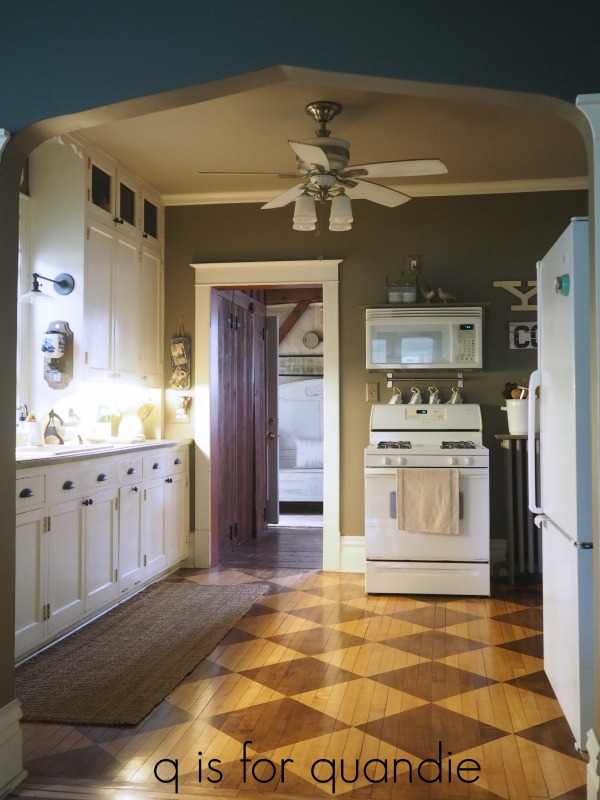
The dark squares are stained and the light squares were left natural.
We hired various people to do most of the rest of the difficult work including sheet rocking the walls and ceiling, and putting in that new arched opening to match the other existing arches in the living room. Plus putting in new counter tops, a new sink and faucet and tiling the back splash.
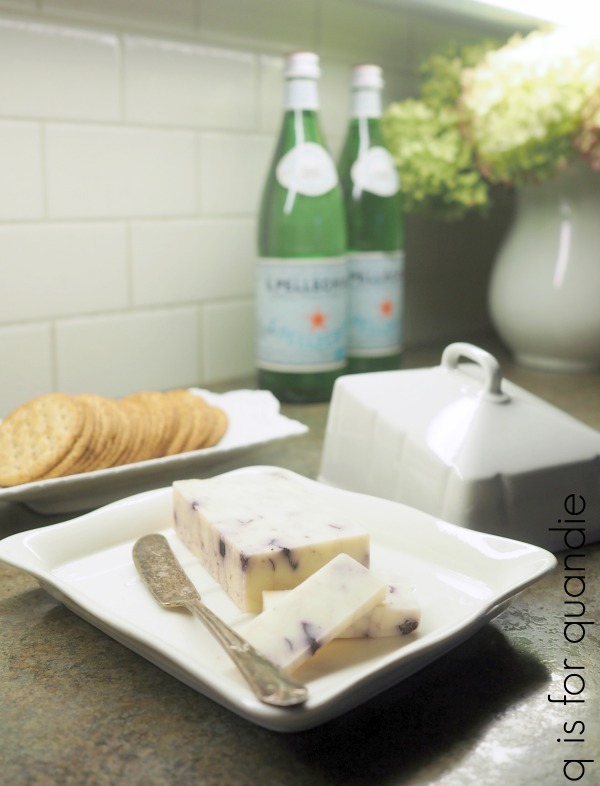
I still love the simple white subway tile back splash 13 years later. It’s a timeless classic that works really well with the age of our home.
We also purchased new appliances back then, and as I’m writing this blog post I realize that means our kitchen appliances are all 13 years old too. Yikes! They’ll probably start dropping like flies soon.
We have just the one wall of cabinets and we never even considered replacing them. Doing so would be expensive and I like the charm of these originals. They are in really good shape considering they are over 100 years old. I did switch out the knobs though.

They badly need to be repainted at this point though, maybe I’ll get to that next summer. Next time around I’ll likely use Fusion paint for its durability.
Those cupboards at the very top originally had solid doors. We cut out the inserts and replaced them with chicken wire. Since they are up so high it was never practical to store anything we needed to be able to access on a regular basis up there. So it made sense to make them decorative instead.
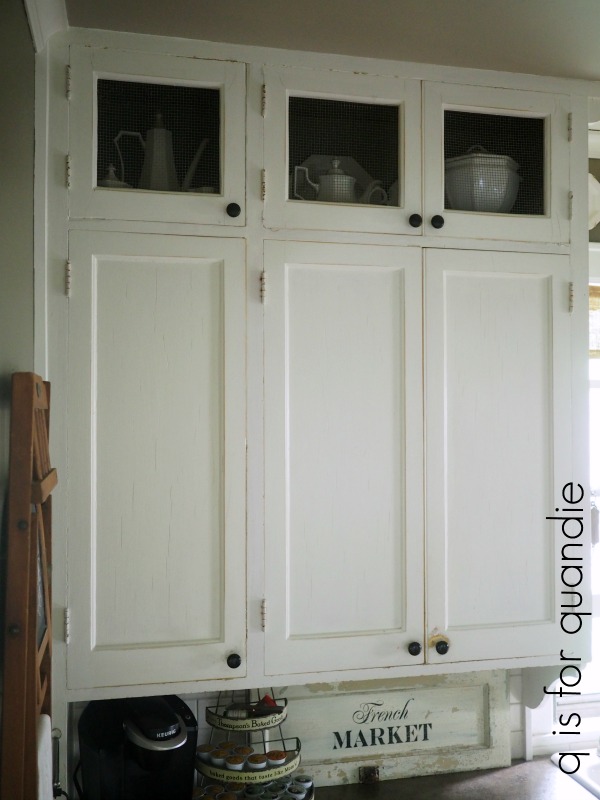
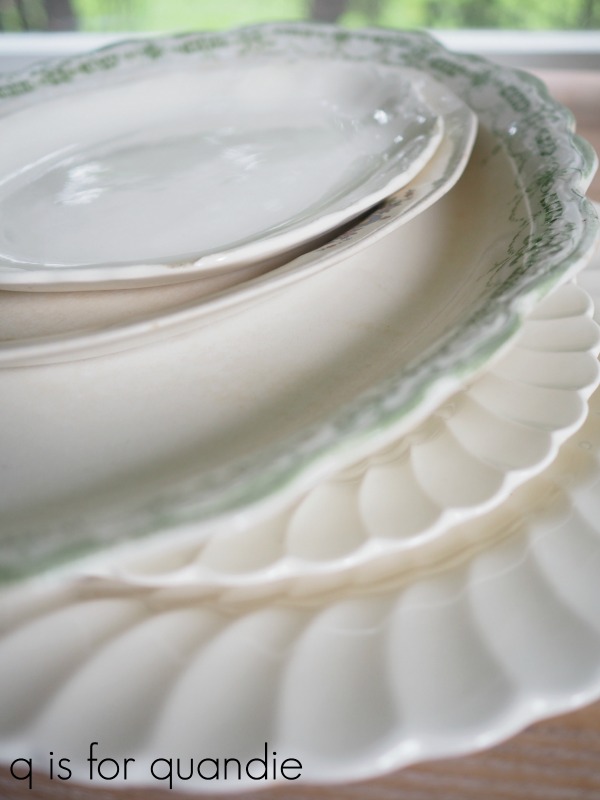
I have them filled with white (not all of it is technically ironstone) china serving pieces.
The rest of the decorative details were up to me and as per usual there are a lot of garage sale finds in this room. That sisal runner in front of the cupboards was purchased at a garage sale and it’s the perfect size for that spot.
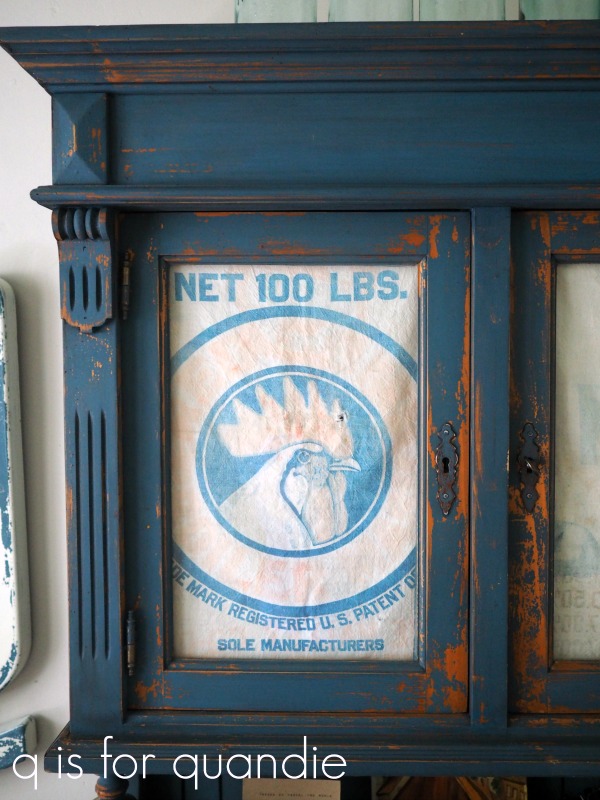
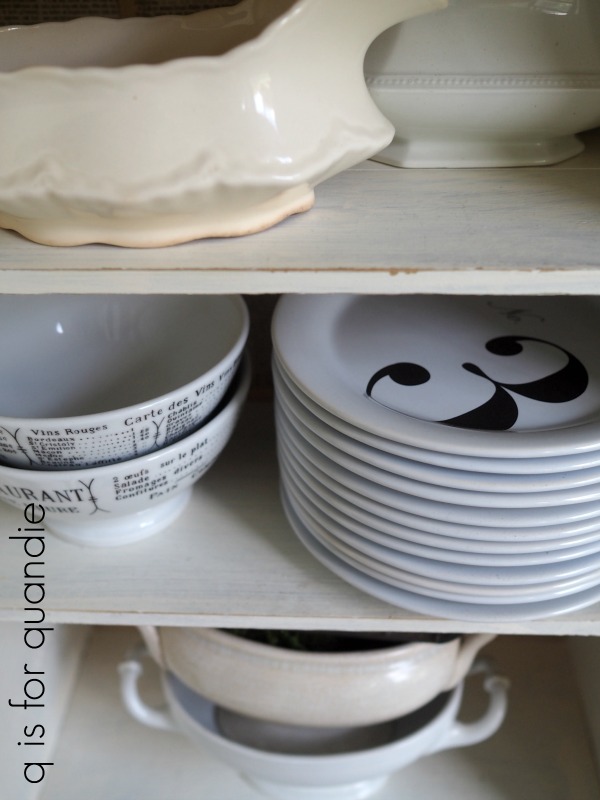
The little cupboard above the radiator by the stove is also a garage sale find.
I keep some of my favorite dishes inside including my french cafe au lait bowls, my numbered plates from Target and a couple of ironstone pieces.
My favorite garage sale find in the room though is the pair of plates hanging on the wall between the pantry door and the bathroom door.
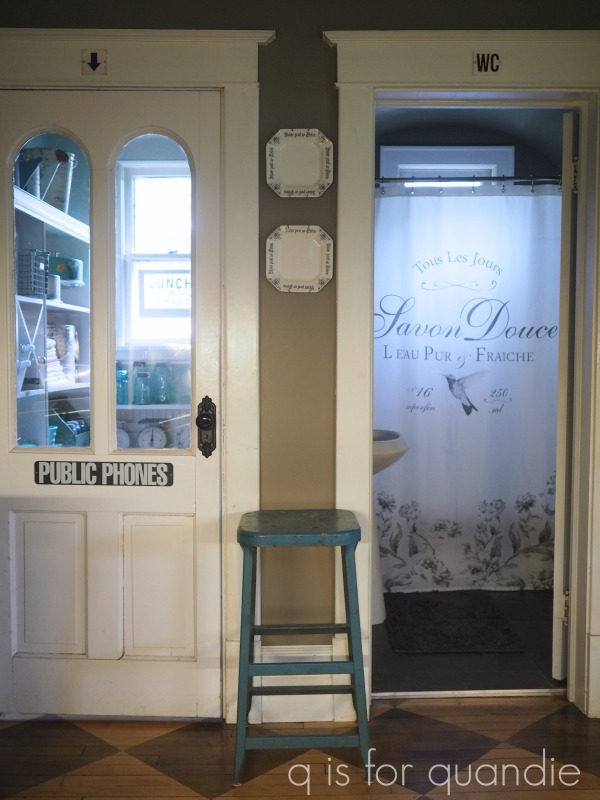
I’ve learned that these are Norwegian cheese plates. I had found an article once that said the writing on them roughly translates to ‘treat the cheese nicely’, but I’ve since lost track of that article.

If any of you out there reading this know anything about these plates, I’d love to hear it.
Anyway, I paid just $1 for these plates and the man selling them said they had belonged to his Norwegian mother. I love them, and even though they didn’t come from my own Norwegian grandmother I still treat them as though they did … and I also always treat the cheese nicely too 😉
Be sure to check back next Wednesday when we’ll take a look behind that pantry door!