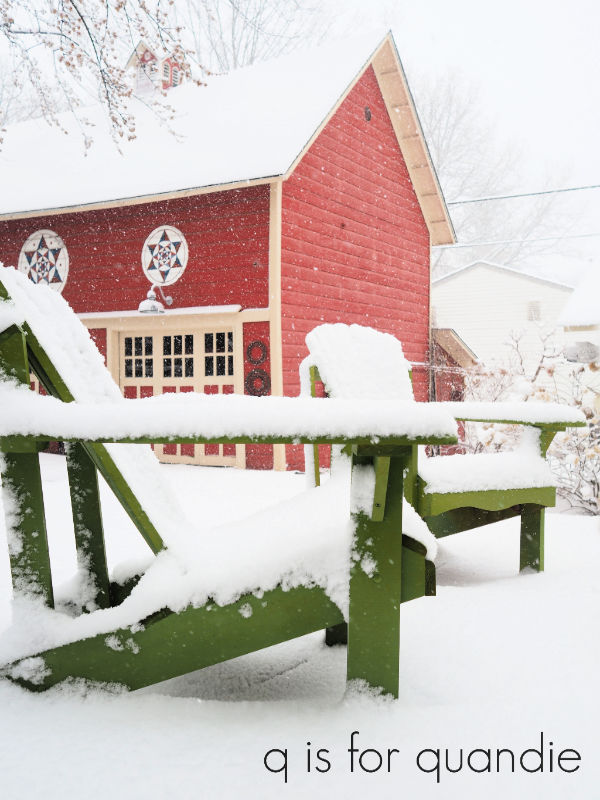
Well here I am, like many of us, stuck at home. I’m very fortunate to be able to do some of my regular day job work from home, and I’m still going in to the office every few days to take care of things I can’t do at home. Aside from that, I’m trying very hard to do my part and comply with the Stay at Home order here in Minnesota. The basic tenet of our Stay at Home order is that one should stay at home when at all possible.
For me, that means that for the time being I’m not buying or selling furniture via Craigslist or Facebook Marketplace. If you’ve been reading my blog for long, then you realize that furniture painting/blogging is just a side gig for me. It doesn’t pay the bills or put food on the table, I have the day job for that. So in my case, I feel like I should avoid those transactions for now.
However, it’s important to note here that I do not think everyone has to be doing this. I say more power to those who are finding ways to practice ‘social distancing’ while still working their businesses. Reclaiming Beautiful (the brick and mortar shop where I sell on consignment) is posting their furniture pieces online and having some success with selling by appointment (check out their Facebook page here to see what they have).
But in my case, I’m going to try to continue to work with things that I already have on hand. Of course, it’s a tad ironic that I started working my way through my stash of projects several months ago before we’d even heard of COVID-19. In hindsight, I should have kept buying furniture to stock up instead, because then I would have plenty to work on now.
Instead, I’m having to dig deep for projects to work on.
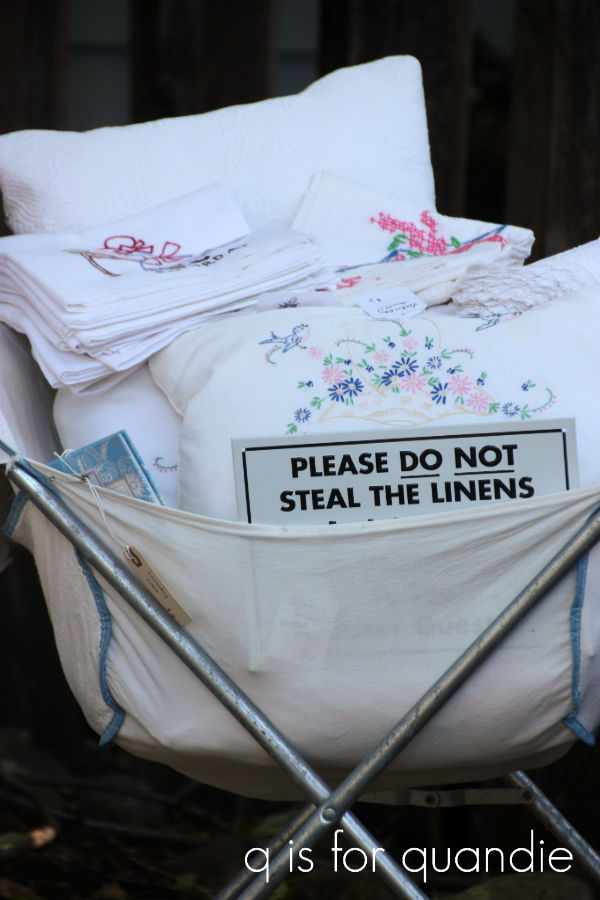
When Victoria mentioned that she was sewing napkins in her comment last week it reminded me that I had a stash of linen napkins that I’ve been meaning to dye (thanks again for sparking that idea Victoria!).

Ding, ding, ding. The perfect project to complete while ‘staying at home’.
So I grabbed some Dixie Belle paint in colors that I thought would be pretty on napkins.

I ended up choosing Mermaid Tail, Antebellum Blue and Honky Tonk Red. That last one was meant to be Peony, but I grabbed the wrong jar. However, as you’ll see in a few minutes, that worked out OK because I ended up with a pretty pink anyway.
Before getting started, I googled a few YouTube videos and blog posts about how to dye fabric using chalk paint. As generally seems to be the case when researching online, I got some conflicting info. So I tried to sort through the tips based on my previous experience with actual dye (I dyed lots of these vintage linen napkins back in the day using actual fabric dye).
Let’s run through the basic process first.
Step 1: Wash the napkins in hot water. This may or may not be necessary depending on the item you are dying. Since I was using vintage linen napkins that looked as though they hadn’t been washed in decades, washing seemed like a good idea. Another thing to note here, choose a natural fiber like cotton or linen. Polyester can only be dyed with specially formulated dyes.
Step 2: Fill a wash pan with luke warm water and then add your paint. Stir well, making sure that the paint is fully dissolved and mixed in with the water. If you have clumps of solid paint in your water you will get dark spots of paint on your fabric. You should use approximately 1 part paint to 20 parts water. I don’t think I used quite enough paint because I followed conflicting advice to use just one tablespoon of paint. As you’ll see shortly, my color ended up very pale.
Step 3: Add the napkins, still wet from being washed. This is another conflicting piece of advice from my google results. Some people added dry fabric, some added wet. When I used fabric dye back in the day, I always put items in wet, so I went with that approach.
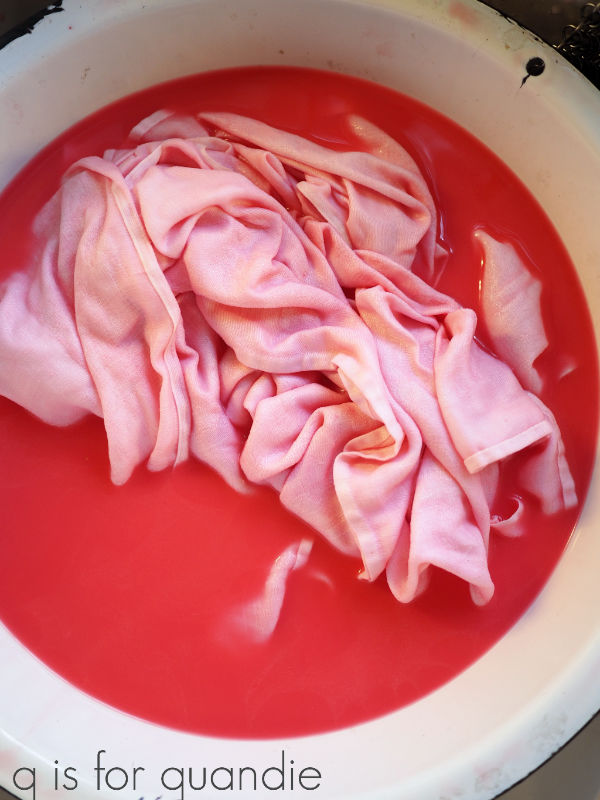
Step 4: Swish the fabric around for about 5 minutes or so. Again, this is another step where I read conflicting instructions online. Some said to leave it absolutely no longer than 5 minutes, others said to leave it for at least 30 minutes or longer. I went with five minutes on my first batch using the Honky Tonk Red.
Step 5: Remove the napkins from the dye bath and rinse them (or not). I found that rinsing removed quite a bit of the color leaving my napkins a pale pink. Be sure to read to the end of this post to learn about the results I got without rinsing.
Step 6: Dry the napkins in your clothes dryer using high heat to set to set the color.

Step 7: Press the napkins using high heat to make doubly sure the color is set.

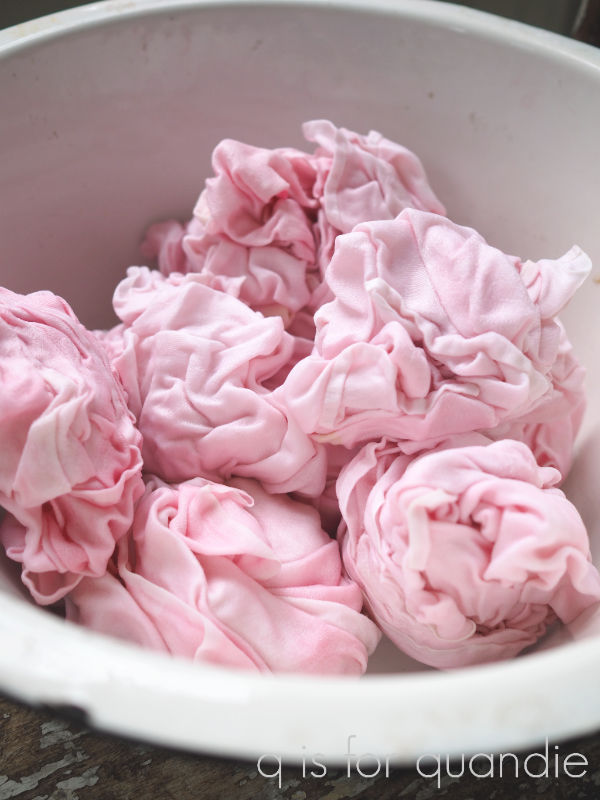
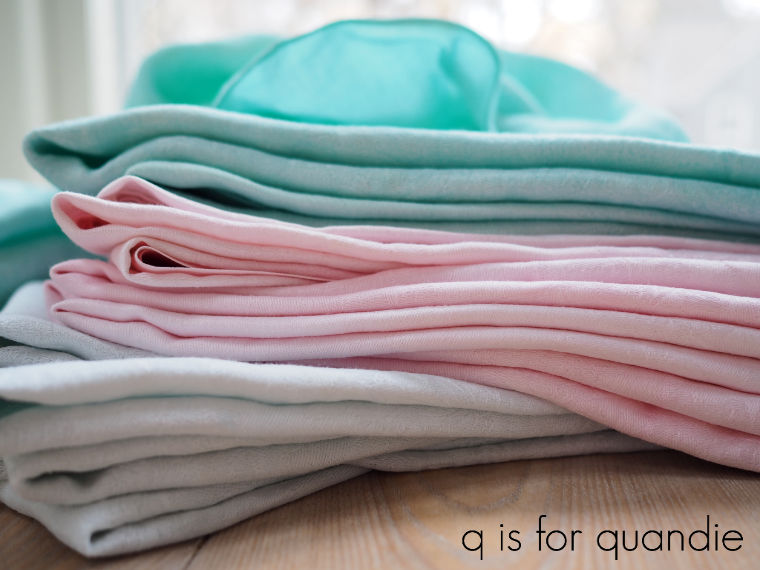
This was my first batch, and they turned out quite pretty. If you keep in mind that you’re going to get a very pale version of the paint color, you will be happy with these results.
Also, keep in mind that hand dyed fabrics will have inconsistencies in the color. But that’s part of their charm.

I followed the same process for my second batch, but used Dixie Belle’s Antebellum Blue as the color.
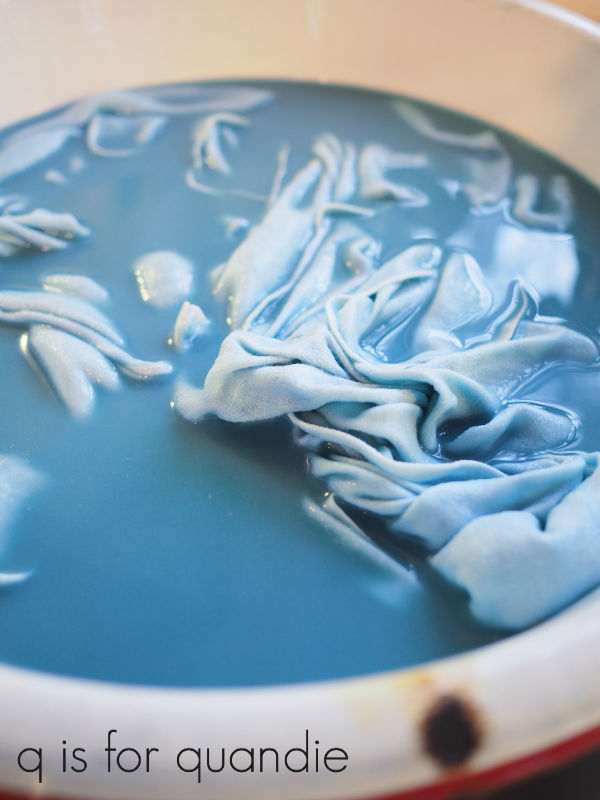
Again, the resulting color was quite a bit lighter than I expected. You can see how dark the paint color is in the spoon.

But the napkins ended up being a beautiful pale blue.
Things pretty much went off the rails with the third batch I tried using Mermaid Tail.

It sure looked pretty in the water. But this time I wanted to try to retain more of the color so I decided not to rinse. I was going to throw them in the dryer to set the color, but Mr. Q was worried I’d end up with paint in the dryer. So I opted to try line drying them without rinsing, then setting the color with the hot iron. That was pretty much a fail. Line drying them left an obvious line of darker color where the napkin was hanging across the line.
I decided to cut my losses at this point and try washing out the color and starting over. I can verify that if you don’t set the color with heat, most of it will wash out.

So it was back to the drawing board after that. The second time around I put the napkins into the dye bath dry, added quite a bit more paint to the water (closer to the 1 part paint to 20 parts water), and shhhh, don’t tell Mr. Q but I didn’t rinse them. I wrung them out and then threw them in the dryer.
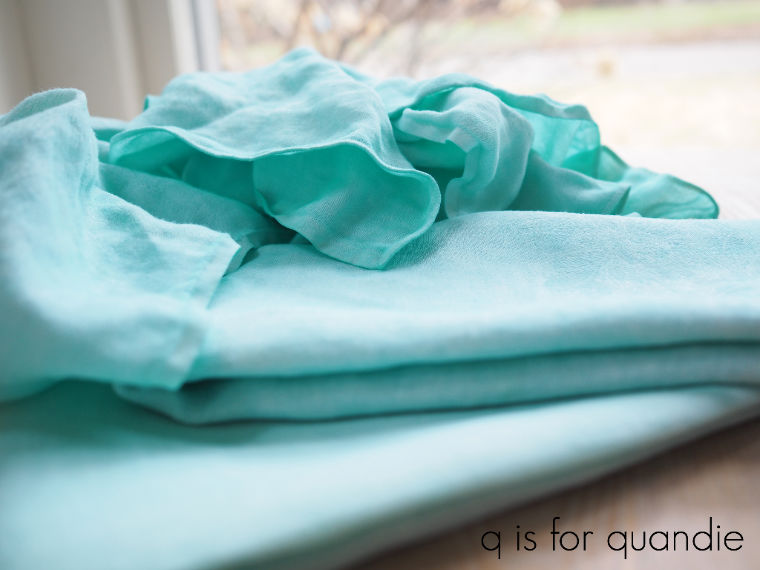
Eureka! We have a winner! They turned out gorgeous.
However, they did leave a film of Mermaid Tail paint inside my dryer. Ooops. Luckily it wiped right out using a damp cloth. But keep this in mind if you decide to try it at home. You will need to clean out your dryer immediately afterwards.
If you’re stuck at home and looking for a fun afternoon craft project, I highly recommend experimenting with dying fabric using chalk paint. To recap, for best results, wash and dry your fabric first, use 1 part paint to 20 parts water luke warm water, agitate while soaking for about 5 minutes, ring out excess water but don’t rinse, dry with high heat and then immediately wipe out your dryer. Got that?
I’m curious, have any of you tried it? Got any tips for the rest of us?
As always, thanks to Dixie Belle Paint Co for supplying the paint for this project. Please note that many of the local Dixie Belle Paint retailers are still available to ship paint, or they may be offering curb-side pick up. You can find your local retailer here. If you don’t have a local retailer, you can also order Dixie Belle products here. Dixie Belle Paint Co is continuing to ship orders as well.


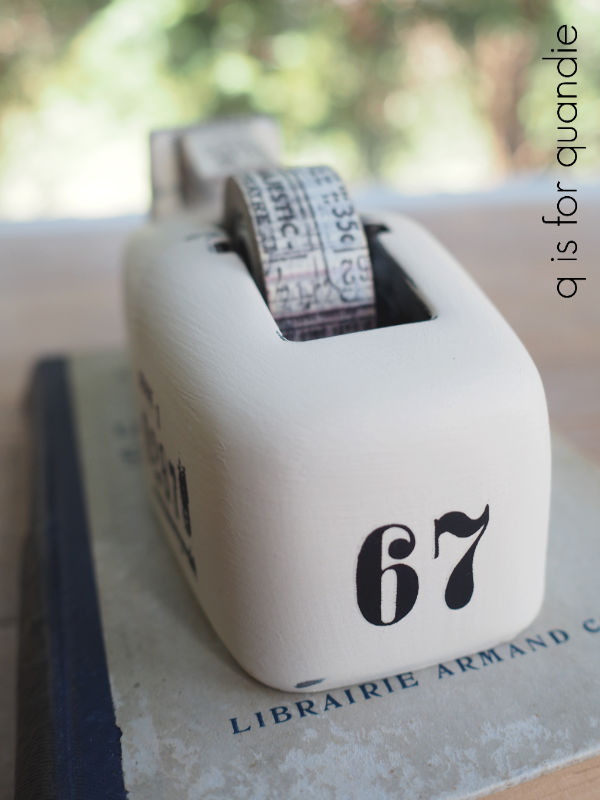


 Now I’m no longer sure I want to take this tape dispenser in to my office at the day job after all. Maybe I’ll just keep it at home as a handy dispenser for washi tape.


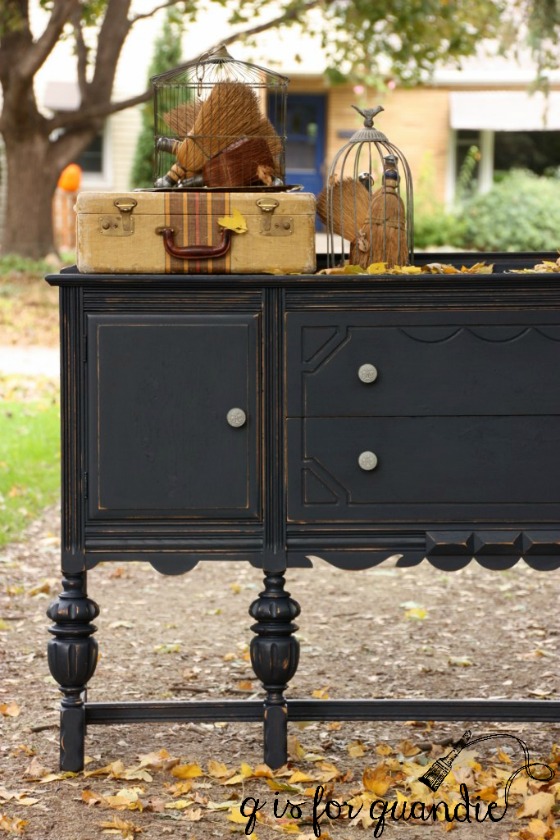


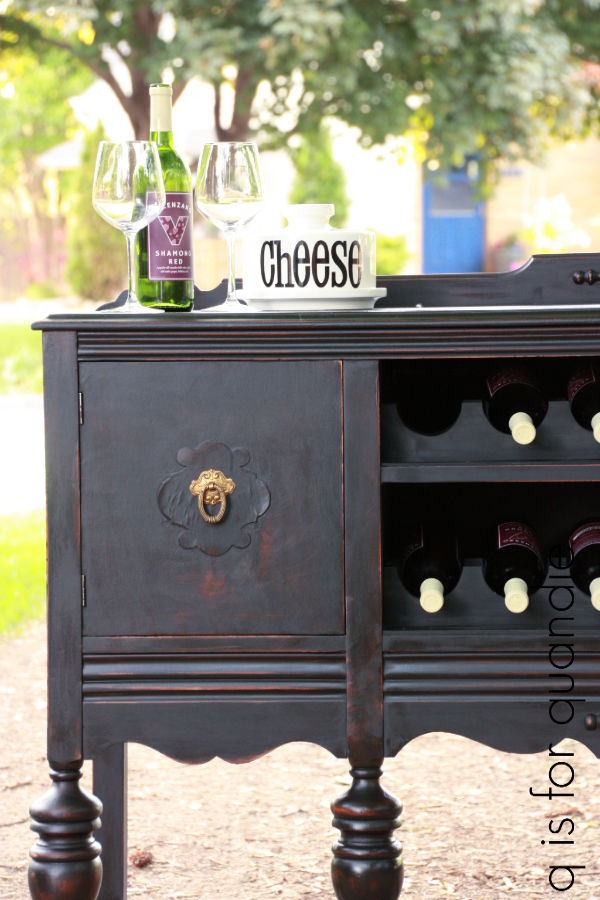
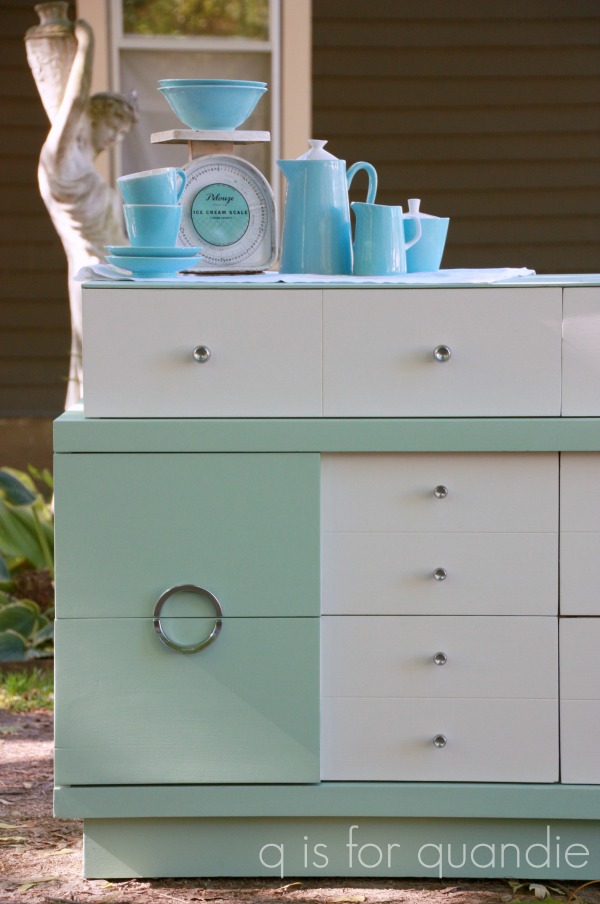
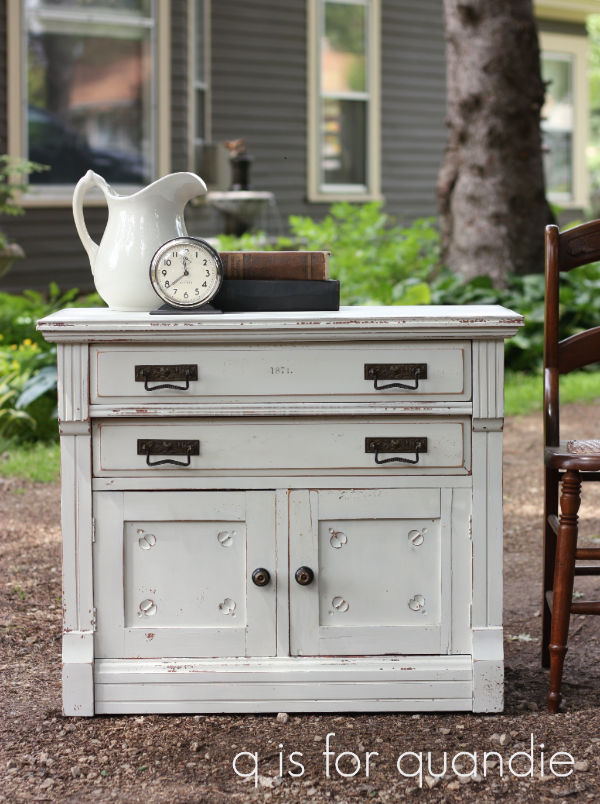
 I loved it so much that I painted two more buffets in Kitchen Scale.
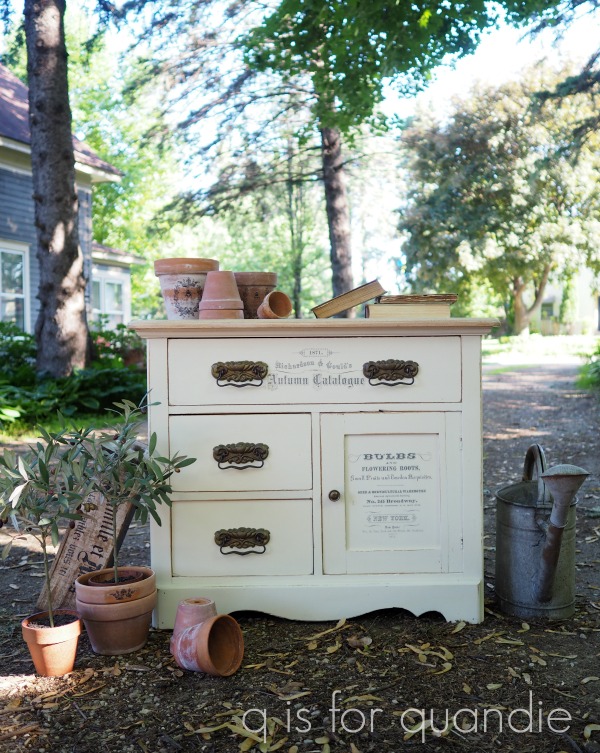
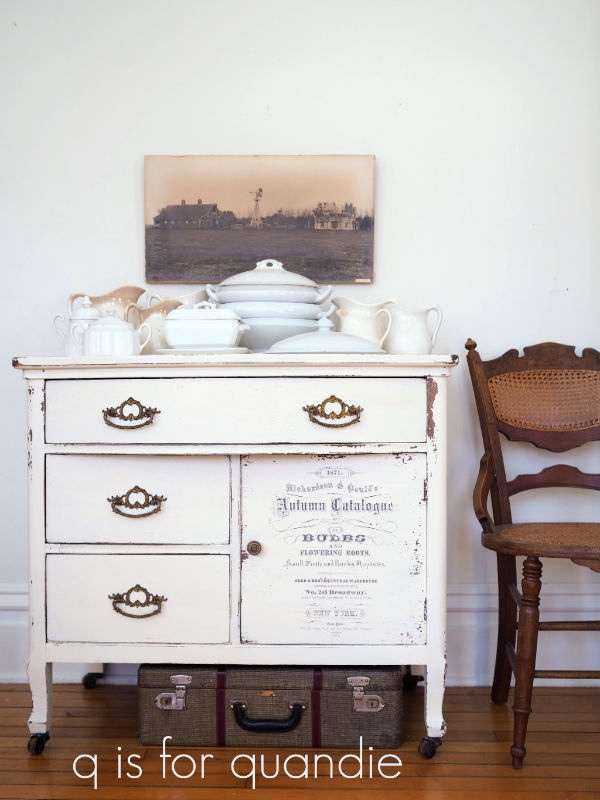
 Plus this was back when I first started blogging and my photo skills were in need of practice. So, I don’t feel like my pictures did this one justice.


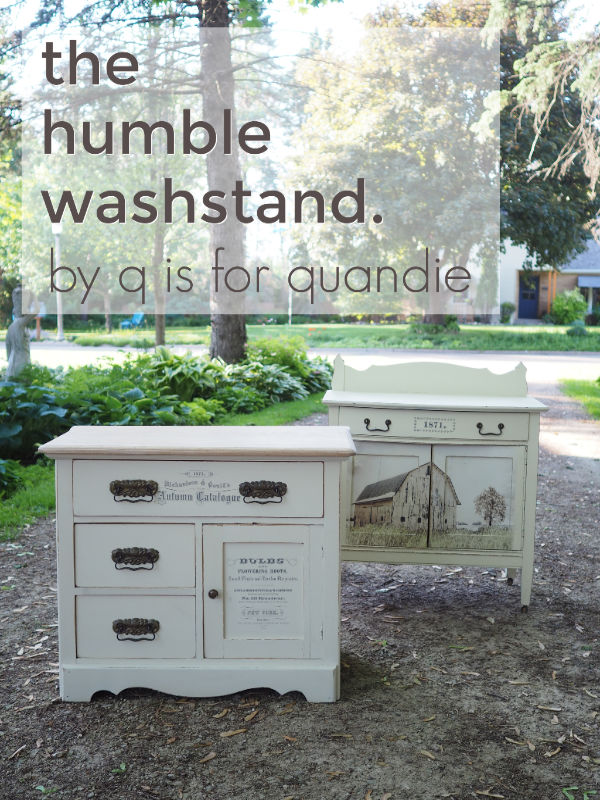


 As always, thanks to my blog sponsors Dixie Belle Paint Co and re.design with prima for providing many of the products used on these washstands.