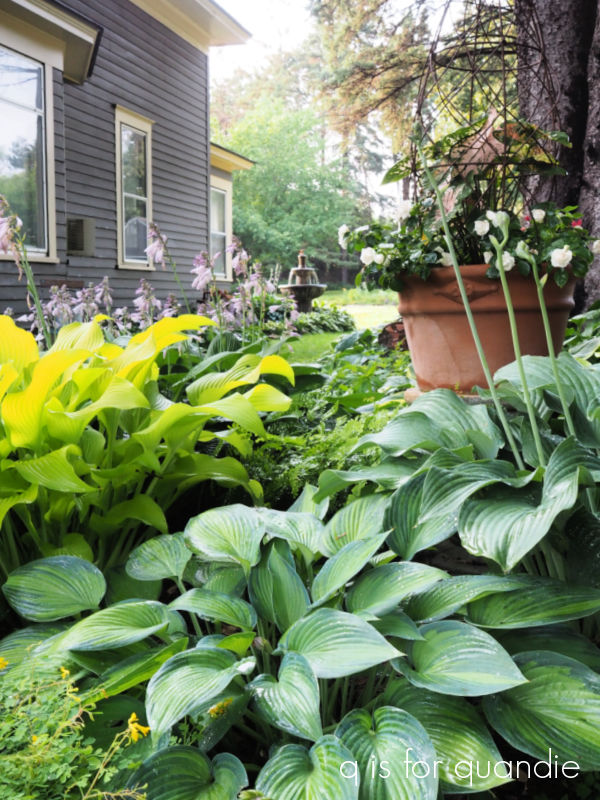
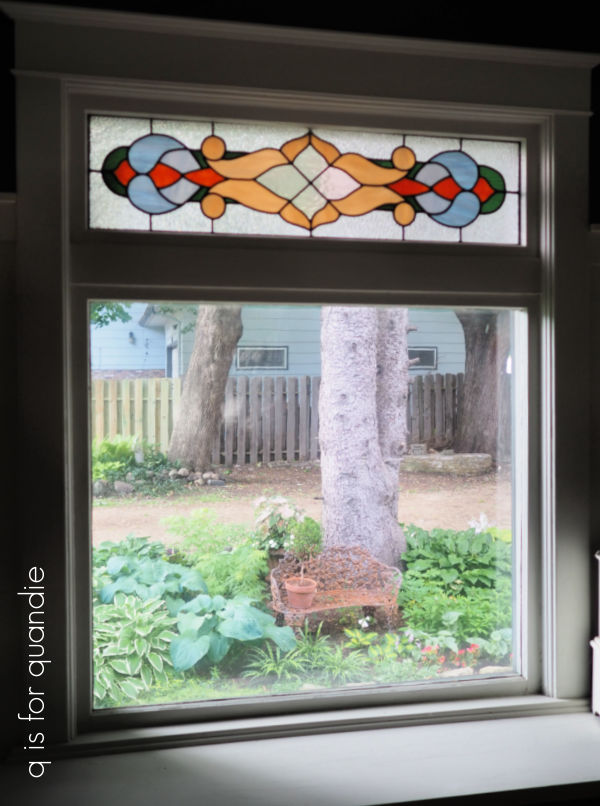
Good morning from the garden!
Before I get into this morning’s post, I wanted to share some disappointing garden news.
Do any of you recall the beautiful row of trees on my neighbor’s property line that I shared last fall?

I’m talking about the brilliantly colored orange/red trees (I believe they are some kind of maple) in the background of that photo (not the yellow foreground tree). There was a line of five or six of them all the way down the property line. And they were simply stunning in the fall. I mentioned how much I loved seeing their fall color in a post last year.
Well, yesterday we spent the day listening to chain saws and the occasional crash as each tree came down. And now all but one of the trees are gone. Such a bummer.
The property they were planted on is a double-wide lot, and it was sold recently. Apparently the empty lot itself was split off and now someone is going to build on it.
Unfortunately, this is how things can go when you don’t own 20 acres or so immediately surrounding your property. Neighboring home owners can remove trees at will, and lots can be split up and built on if there’s room.
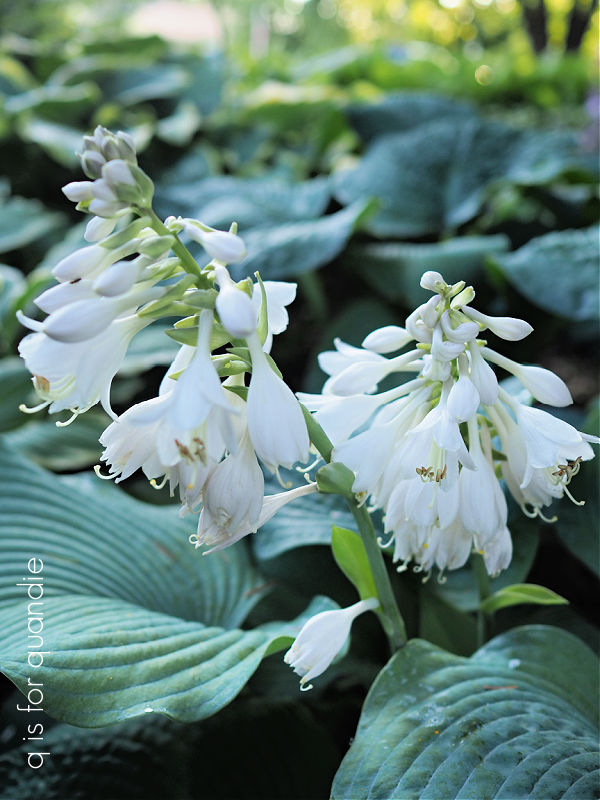
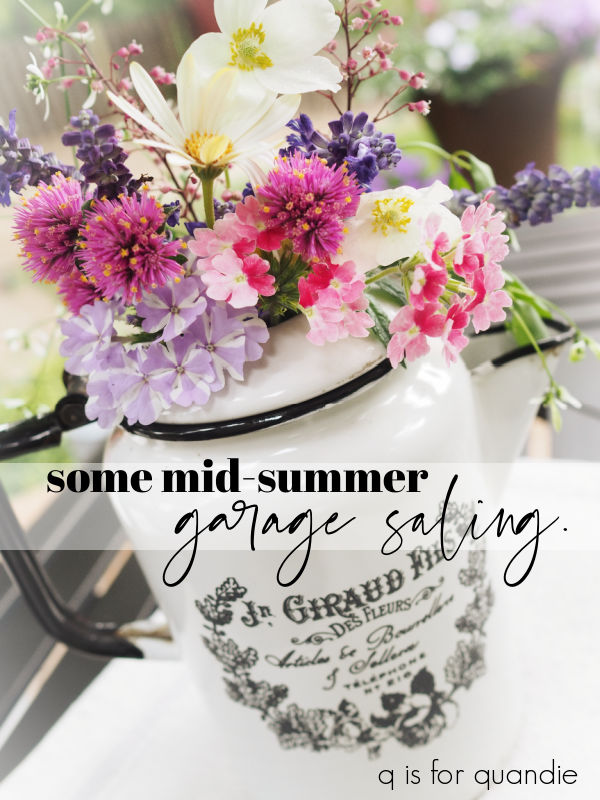
The loss of those trees coincides with what I like to call the August slump. I always start to lose steam in the garden about now. By mid-August, lots of things are starting to look a bit tired out. The peonies are getting powdery mildew, the lawn is dried out, the trailing verbena is getting leggy and those darn Japanese beetles are going full throttle.
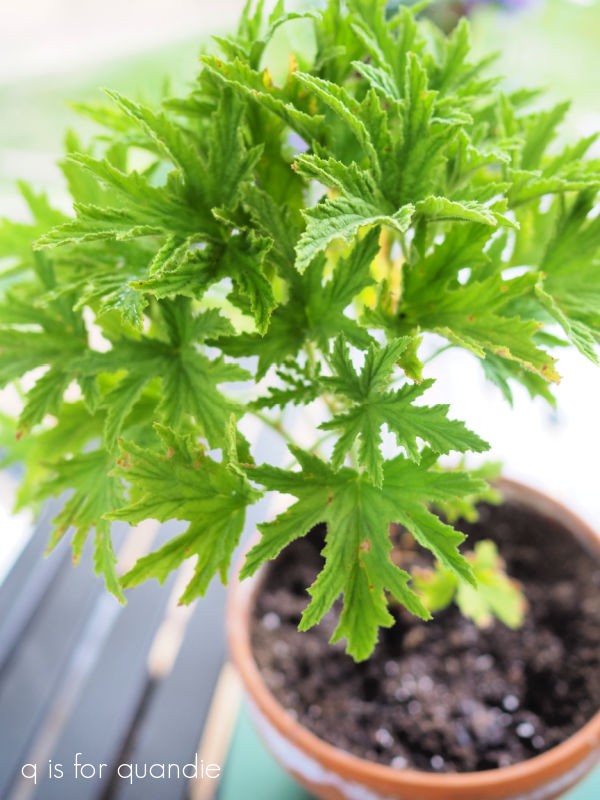
I’ve been attempting to grow hollyhocks successfully for years, and this was the first year that I got one to actually bloom.
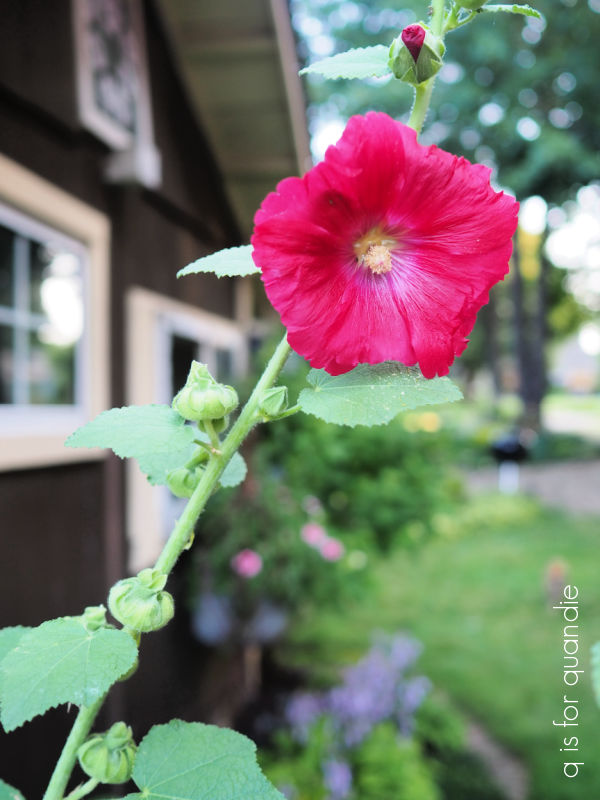
It looked great last month, but little did I know that Japanese beetles LOVE hollyhocks!
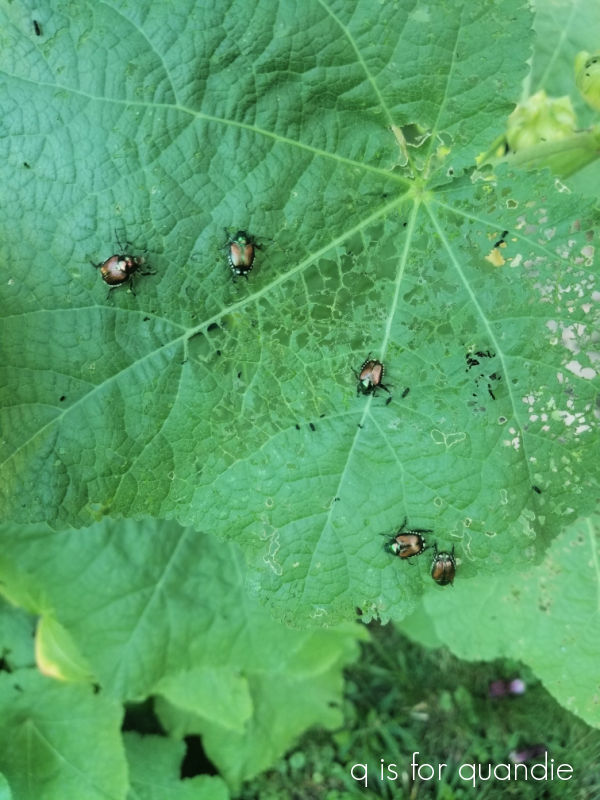
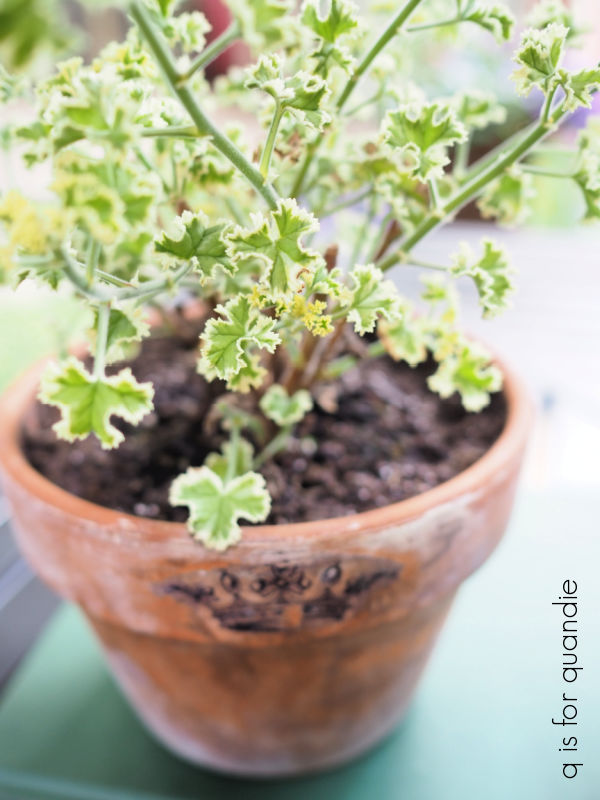
I have had to go out and knock dozens of beetles off the plant into a bucket of soapy water in the last couple of weeks. I finally gave up the other day and just pulled out the entire plant. I’ve decided the hollyhocks just aren’t going to work for me.
That has pretty much been my strategy for dealing with Japanese beetles, pull out the plants they love. So far I’ve pulled Virginia creeper, roses, and a wild grapevine out of my garden, and now a hollyhock. I’m just hoping they won’t go for my crab apple next.
I’m sure some of you have also experienced a garden slump now and then, and one way to motivate yourself to get back out there is to get inspired by others. So as requested by a couple of you, here’s a list of some of my favorite garden vloggers on YouTube.
First up, of course, is Garden Answer. Seeing as they have 1.78 million (yes, million!) subscribers, I’m guessing that many of you have already heard of this one.

Without a doubt, this is the vlog I watch the most. Probably because they post a new video every day! When you have 1.78 million viewers, and your vlog is the full time job of husband and wife, and several full or part-time employees, you can pump out enough content to post every day.
I really enjoy Laura’s vlogging style, and her gardening style. I learn a lot about new varieties of plants from watching this vlog. I also get ideas for plant combinations that might work for me. I do admit that watching the massive, and very pricey, projects they undertake may not be everyone’s cup of tea. They recently added a gorgeous pond to their property that would cost at least $80,000 or more (although it sounds like most of the parts and labor were gifted to them). And I can’t even imagine how much their Hartley greenhouse cost. Even some of their ‘smaller’ projects, like adding a row of gorgeous concrete urns that probably cost around $1,000 each are out of reach for most of us.
So if you can’t look past that sort of thing, this might not be the right garden vlog for you.
Instead I’d like to recommend the next garden vlog on my list, The Impatient Gardener.

Erin’s garden is much more realistic for most of us, as is her lifestyle. She has a day job, she does all of her gardening herself on evenings and weekends with only occasional help from her husband, or as she likes to call him “Mr. Much More Patient”, and while she does get some promotional items free, most of her garden projects would be within the realm of possibility for the average person. I also like that she is in Wisconsin in a zone 5b, not quite my own zone 4b, but not too far off.
That brings me to my next vlog, Wyse Guide.

Kaleb has taken over his grandparent’s farmhouse where he gardens right next to cornfields in Iowa. In addition to gardening, he also includes baking, cooking and other lifestyle content on his vlog. As you may know, I don’t really cook, but I’m tempted to try some of his simple recipes.
I also like that he gardens on what is a much more realistic level for most of us. His garden style leans a little bit more modern (think succulents, agave, and native plantings) than mine, but he also focuses more on foliage than flowers, which I can relate to.
I would consider those my top three garden vlogs, but there are a couple of others that I watch on occasion starting with Gardening with Creekside.
Jenny and her husband own a garden center in North Carolina. Probably the main reason I don’t watch her as much as some of the others is because she grows quite a few things that won’t grow in my zone. That being said, she gives lots of practical advice. I learned what a hori hori garden knife is from her, and now it’s one of my most used garden tools.
I also occasionally check in with The Southerner’s Northern Garden, mainly because he loves hydrangeas as much as I do.

I have to chuckle a little bit over this one because he calls his a ‘northern garden’, but he gardens in southwest Ohio in zone 6 … so not quite as northern as my own garden.
He recently moved to a new house and left behind his established garden, so he is starting over from scratch. I think it will be interesting to watch his progress and see what he does with a blank slate.
So, if you feel like you’re in a bit of an August garden slump, check out a few of these vloggers and see if they can’t motivate you to get back out there.
And if you have some favorite gardening channels on YouTube, please share them in a comment. I could use some more inspiration to help get me out of the August slump myself!