my barbie wore chanel.

Or at least I thought it was just as nice, if not nicer, than Chanel.

barbieMy grandmother knitted these Barbie outfits for me.  I had several, but this is the only one I preserved.

It was the 60’s.  I thought I had an incredibly chic wardrobe for my Barbie.  Heck, I still think this is an incredibly chic ensemble.  Can’t you just picture it on Jackie O?

A little back story about my grandparents on my mother’s side; my grandmother was 42 years old when my mother was born.  Yikes!  Right?  I believe my grandparents considered her quite the surprise. Anyway, by the time I came along my grandmother was already 66, and she passed away while I was still in school.  We lived in Chicago when I was younger, my grandparents were in Minneapolis.  All of these factors meant that I didn’t really know her that well.

But I do know that she was very handy with a needle, whether it was knitting, crochet or needlepoint.

In addition to my fantastic Barbie outfits, she made this darling crocheted dress for my mom when Mom was little.

2014 summer blog24

Look at this picture of my mom, doesn’t she look like she is about to get into some mischief?

so sweet mom in sepiaMy mom was born in 1940, so these photos had to be taken right around WWII.  I know that my mom remembers rationing from those days.  I’m sure that the easiest way to come up with a special dress for my mom was to make one from nothing more than a ball of yarn.

These pictures were probably taken a little earlier, when my mom was just a toddler.  Can you see her peeking out of the window behind my grandparents?  And on the right is my mom with her older sister, Marilyn.

2014 summer blog25

I’m afraid that grandma’s skill with a needle was not passed down to me.  I did a little cross-stitch back in the day, but I never learned to knit or crochet.  I’ll hang on to these mementos as they remind me of a much simpler time when Barbie’s wore home made Chanel and people made do with what they had.

another golden oldie.

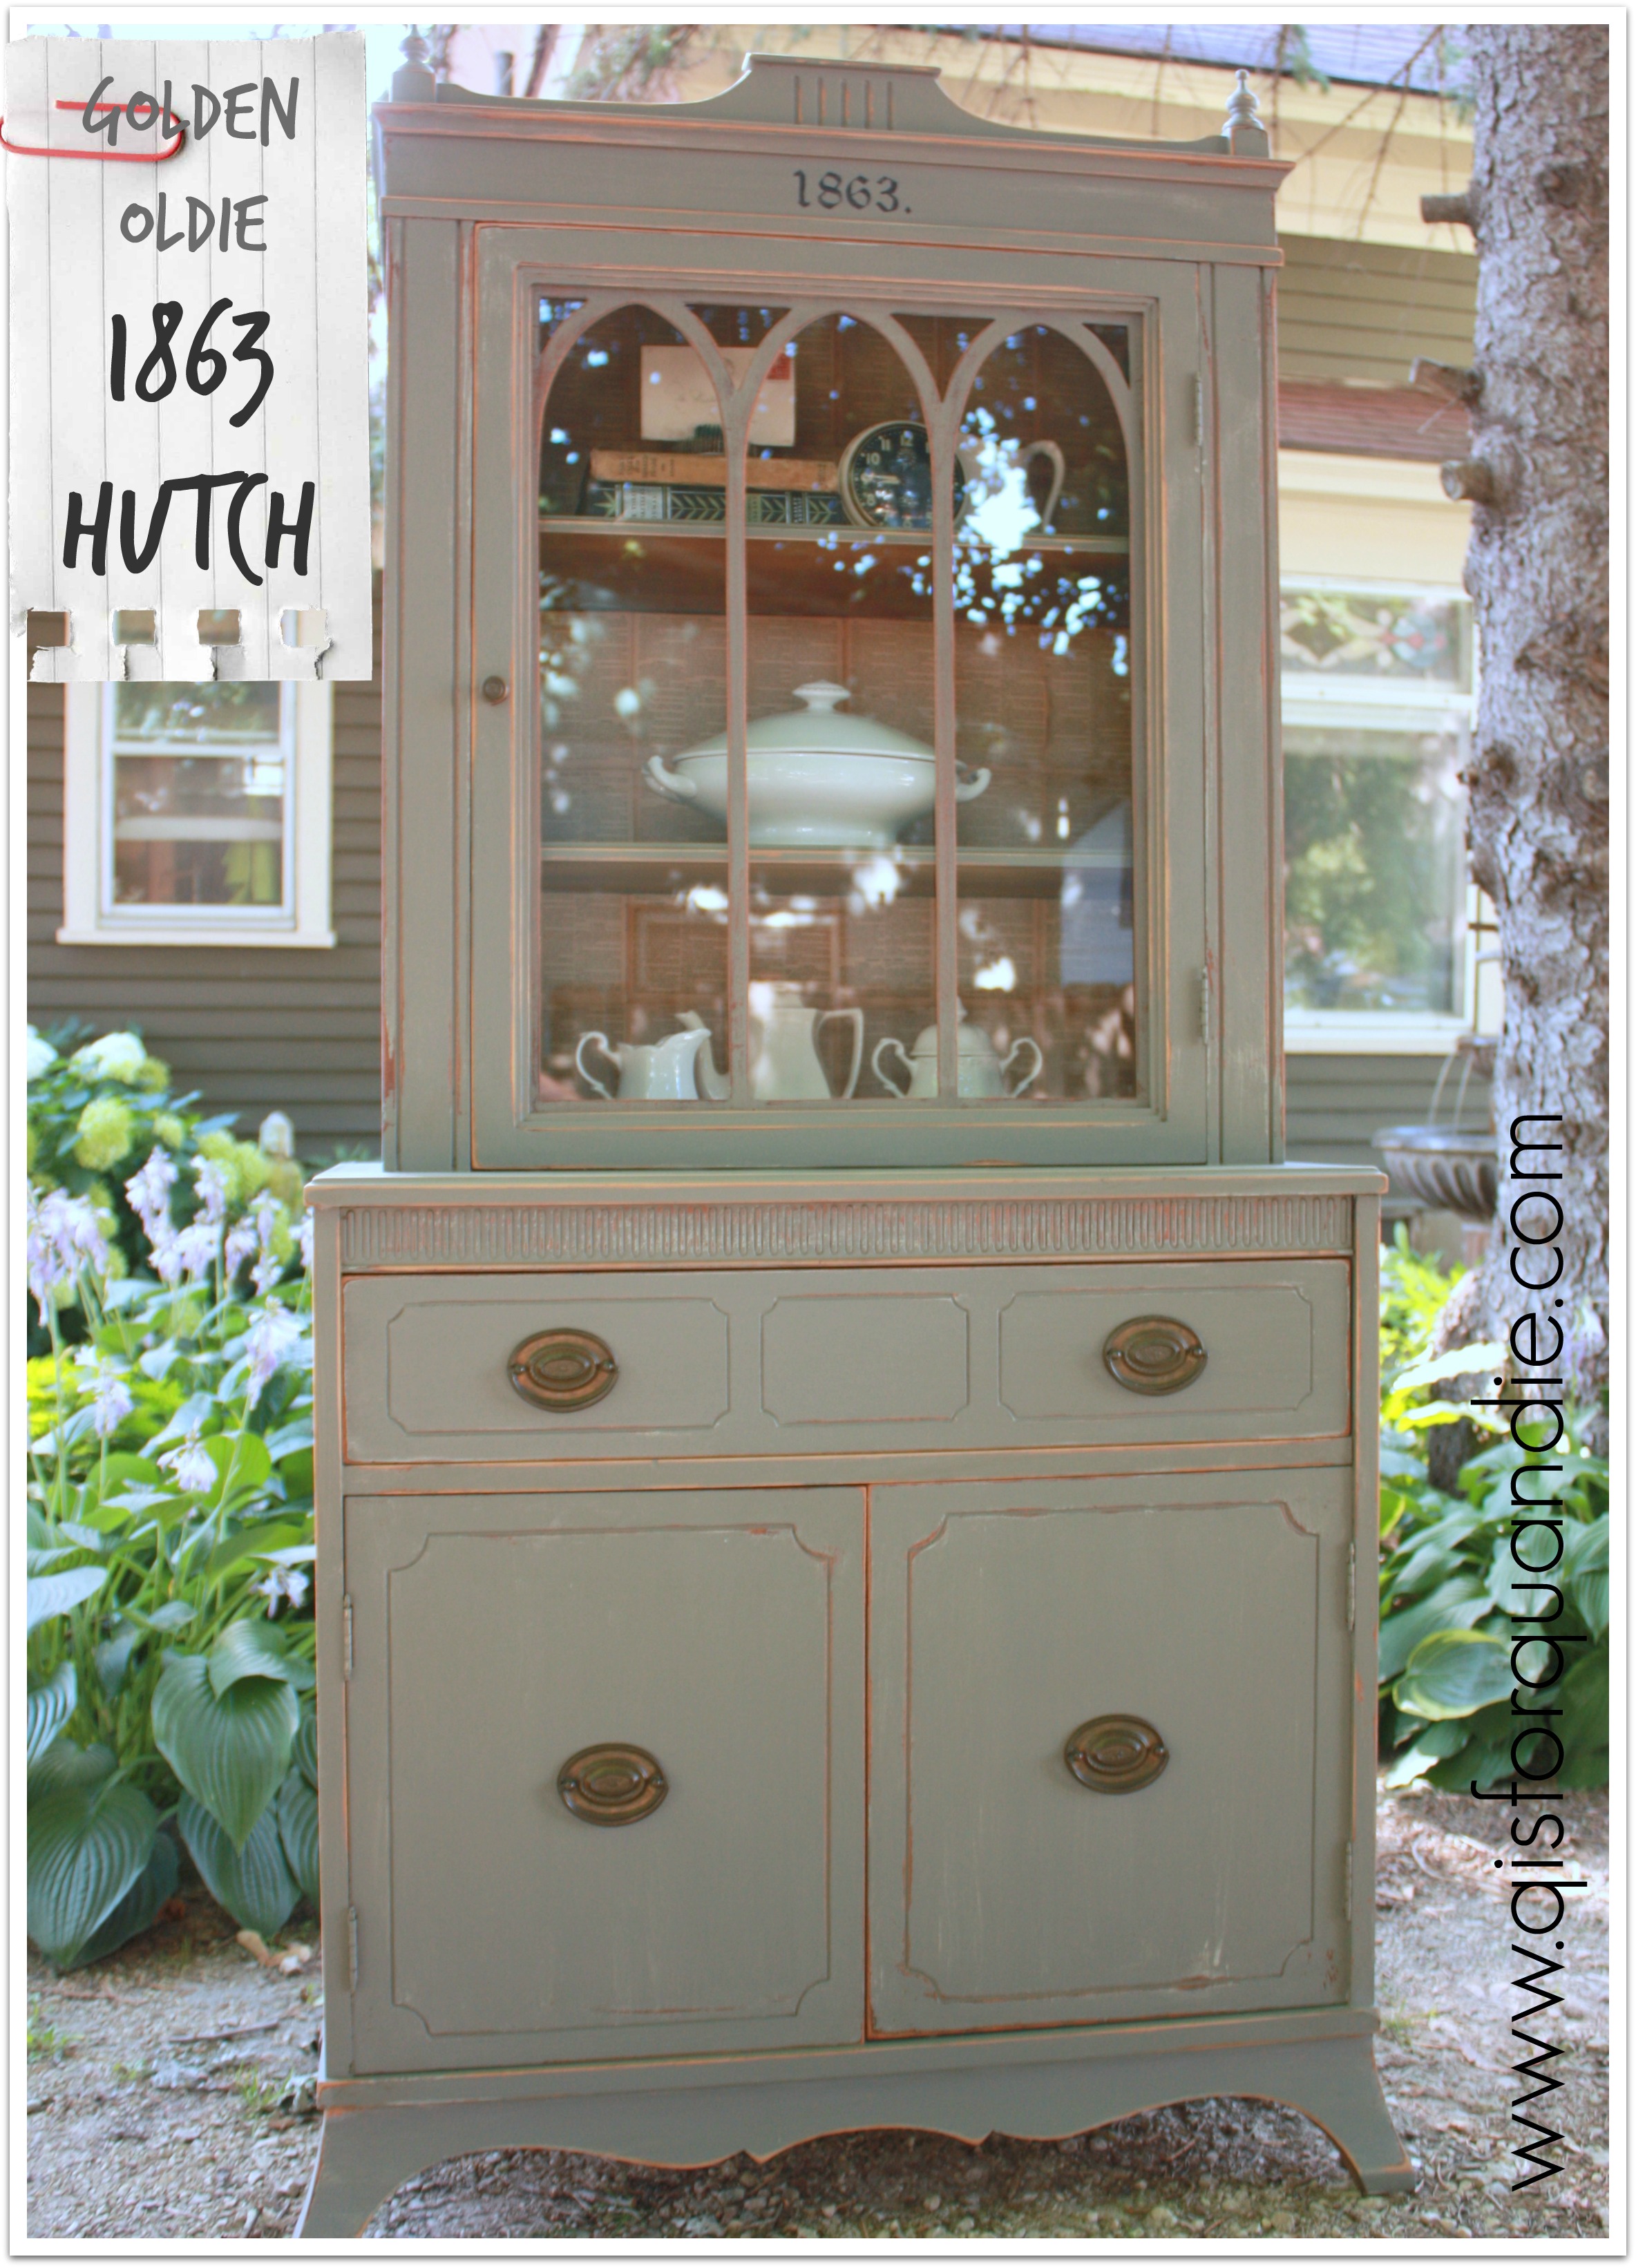
I painted this gorgeous hutch last summer.  I wish I had a ‘before’ pic for you!  I knew the moment I saw the craigslist ad that this would be gorgeous painted.  It wasn’t horrible, but it was rather outdated looking in its original state with a rather orange-y stain.

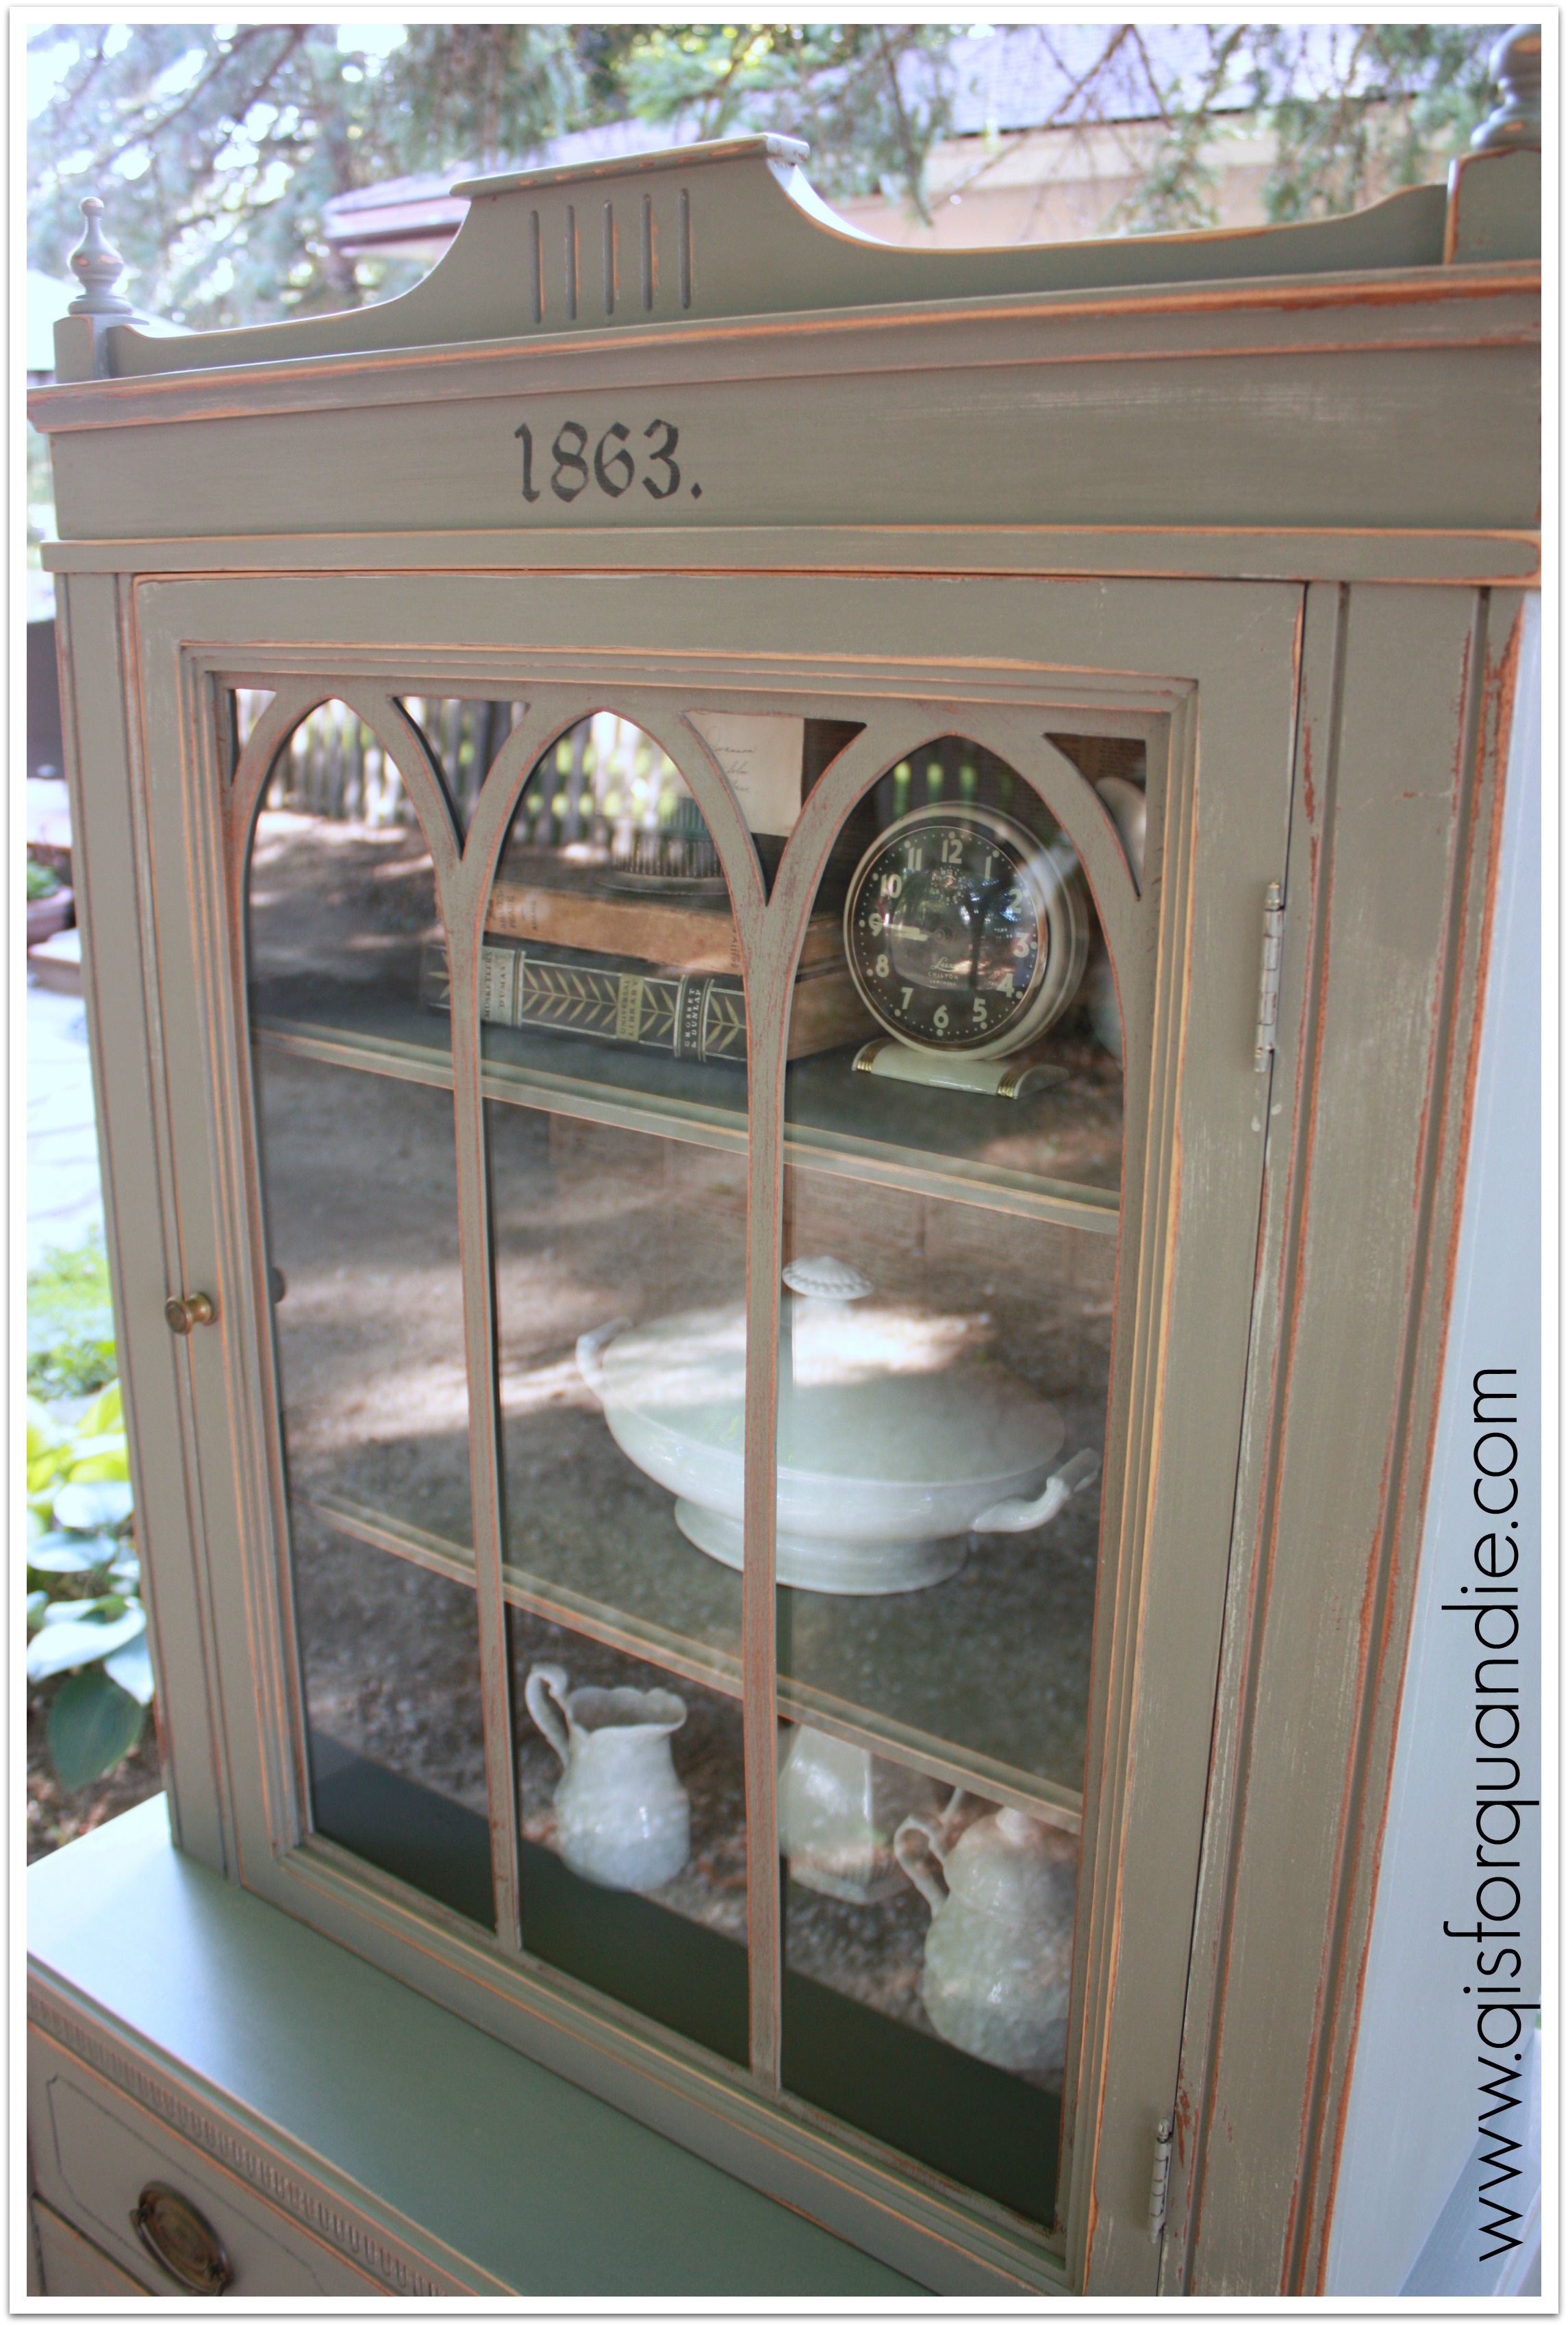
1863 hutchI loved the Gothic arches in the glass door and the detail at the top of the cabinet.  I have to admit, this is still one that I look at and think “why didn’t I keep that?”

1863 hutch door

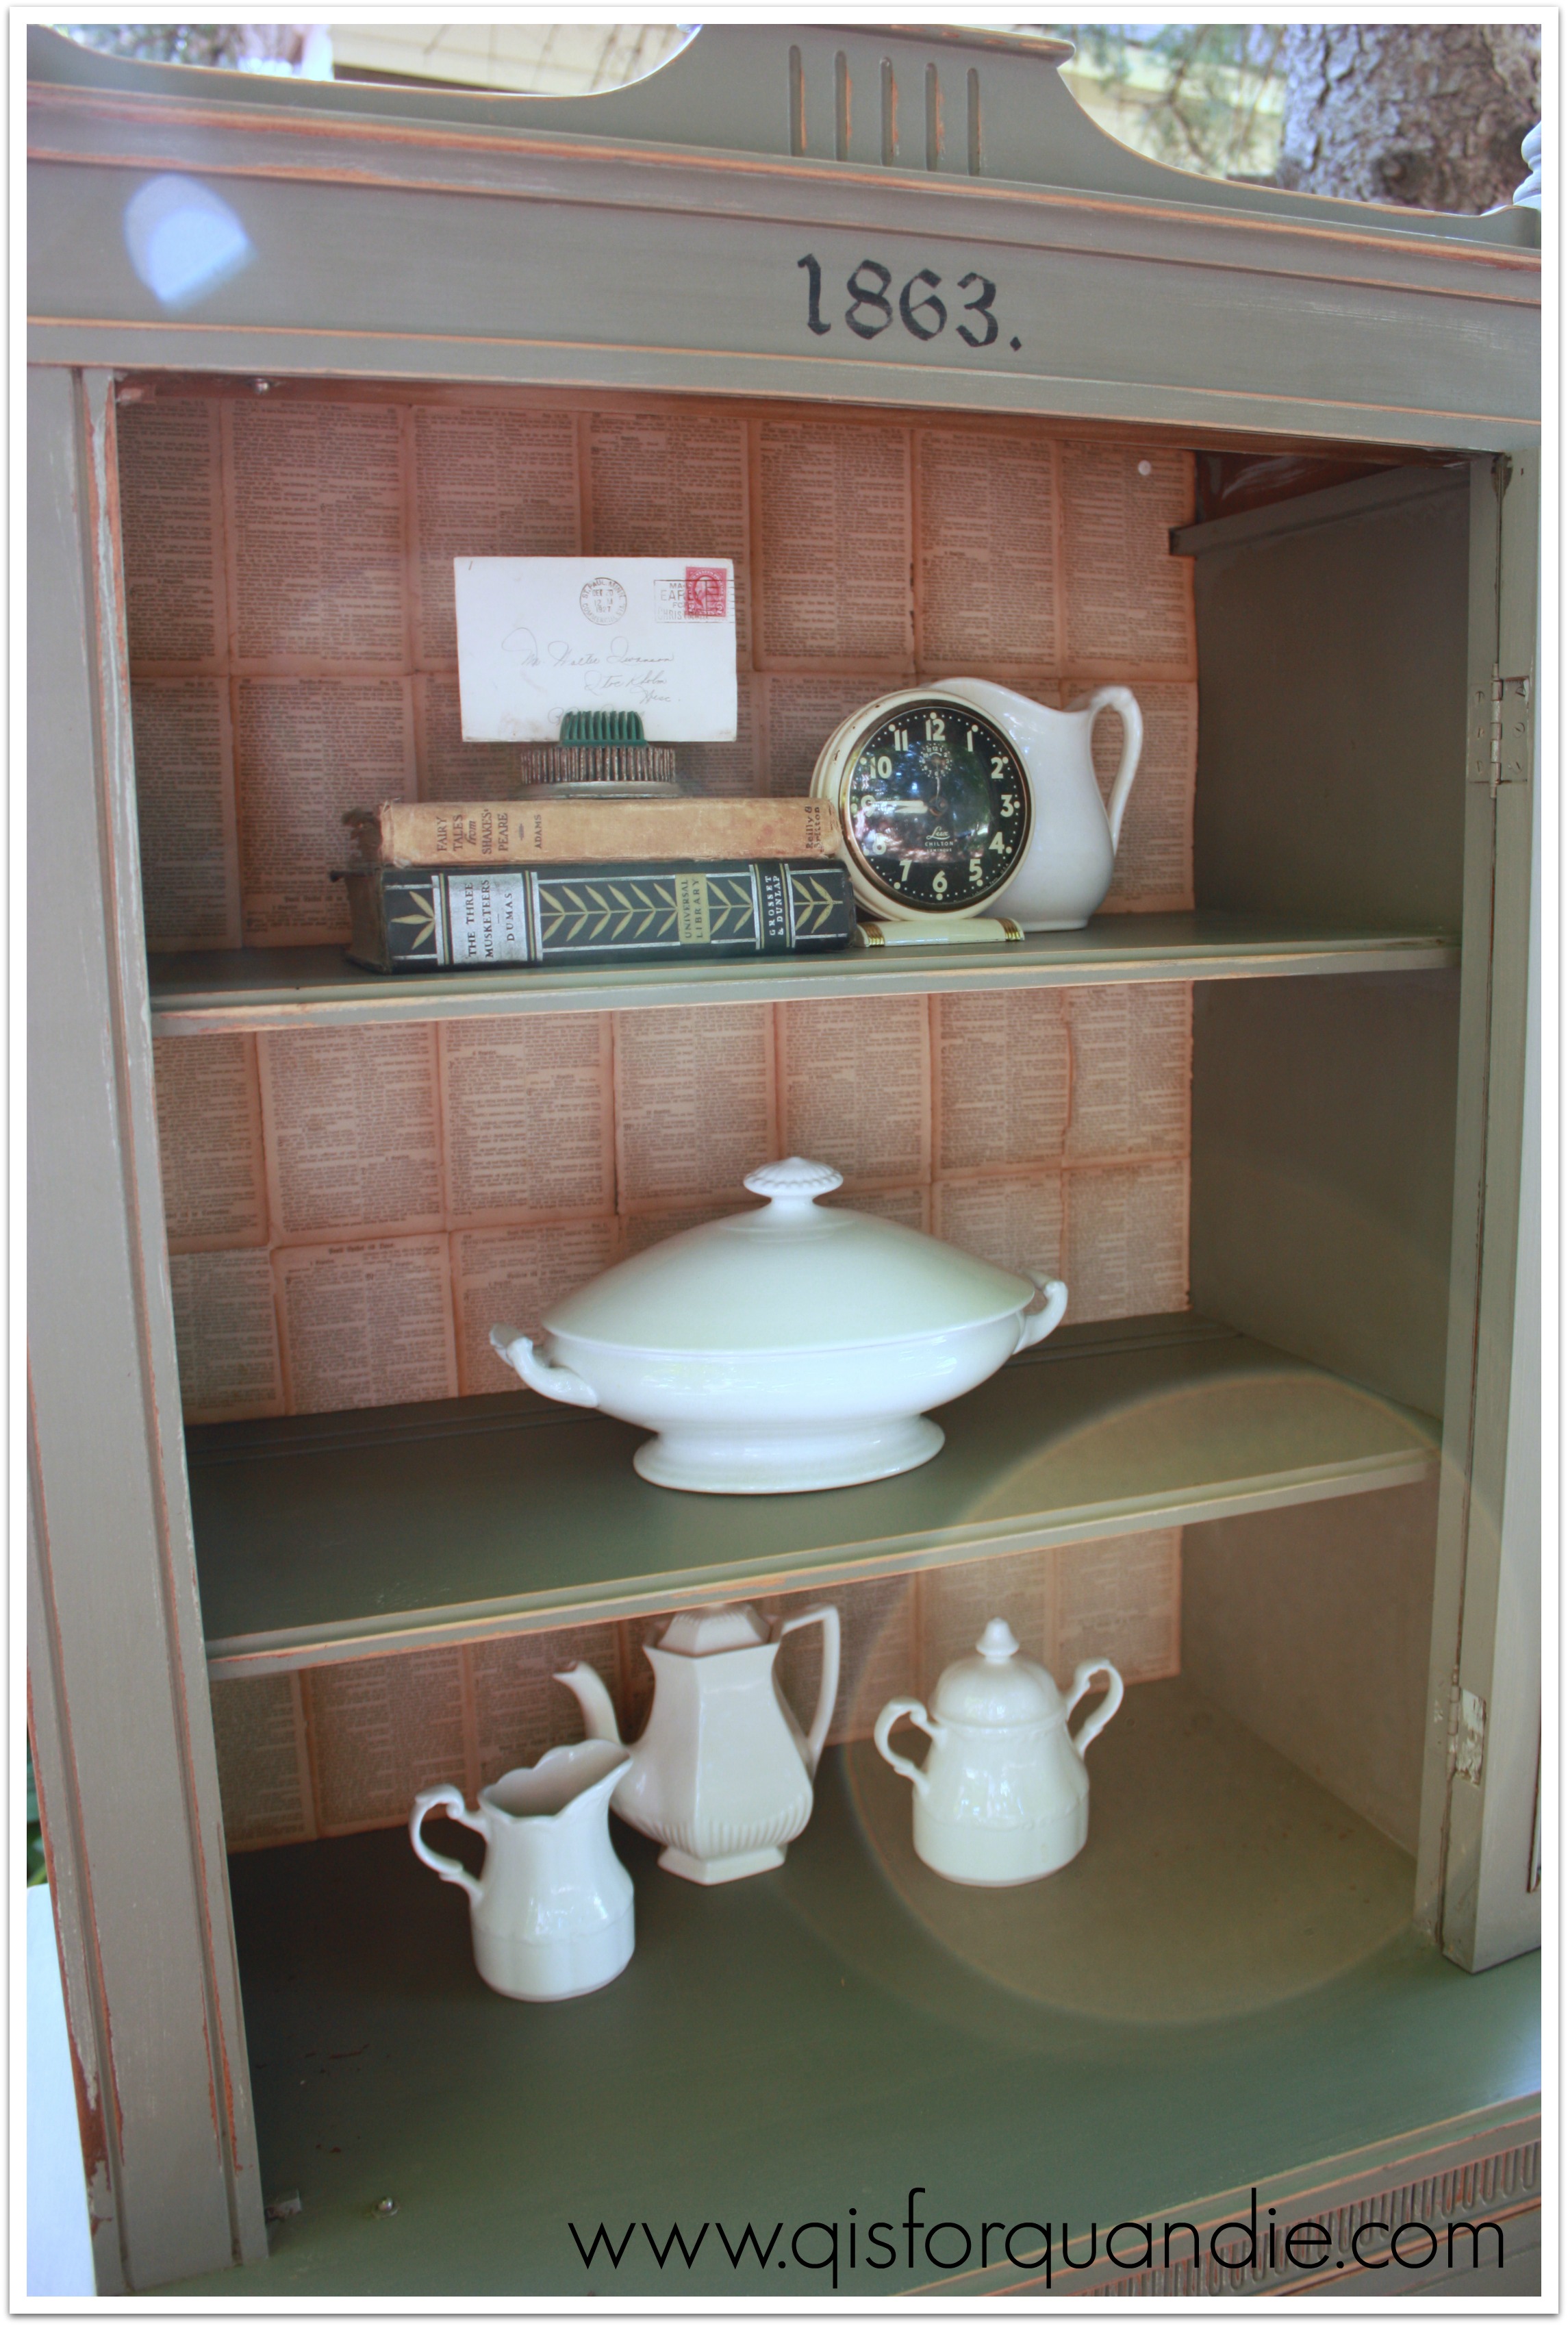
You can see that I lined the inside with pages from an old Swedish bible.  I hand painted the ‘1863.’ at the top.  It’s not a stencil, I just printed the image off my computer, traced it onto the cabinet using tracing paper, and then painted it in with a small brush.

1863 hutch interiorYep, she was a beauty.  I sent this one up to the Round Barn and it is long gone.  Sniff, sniff.

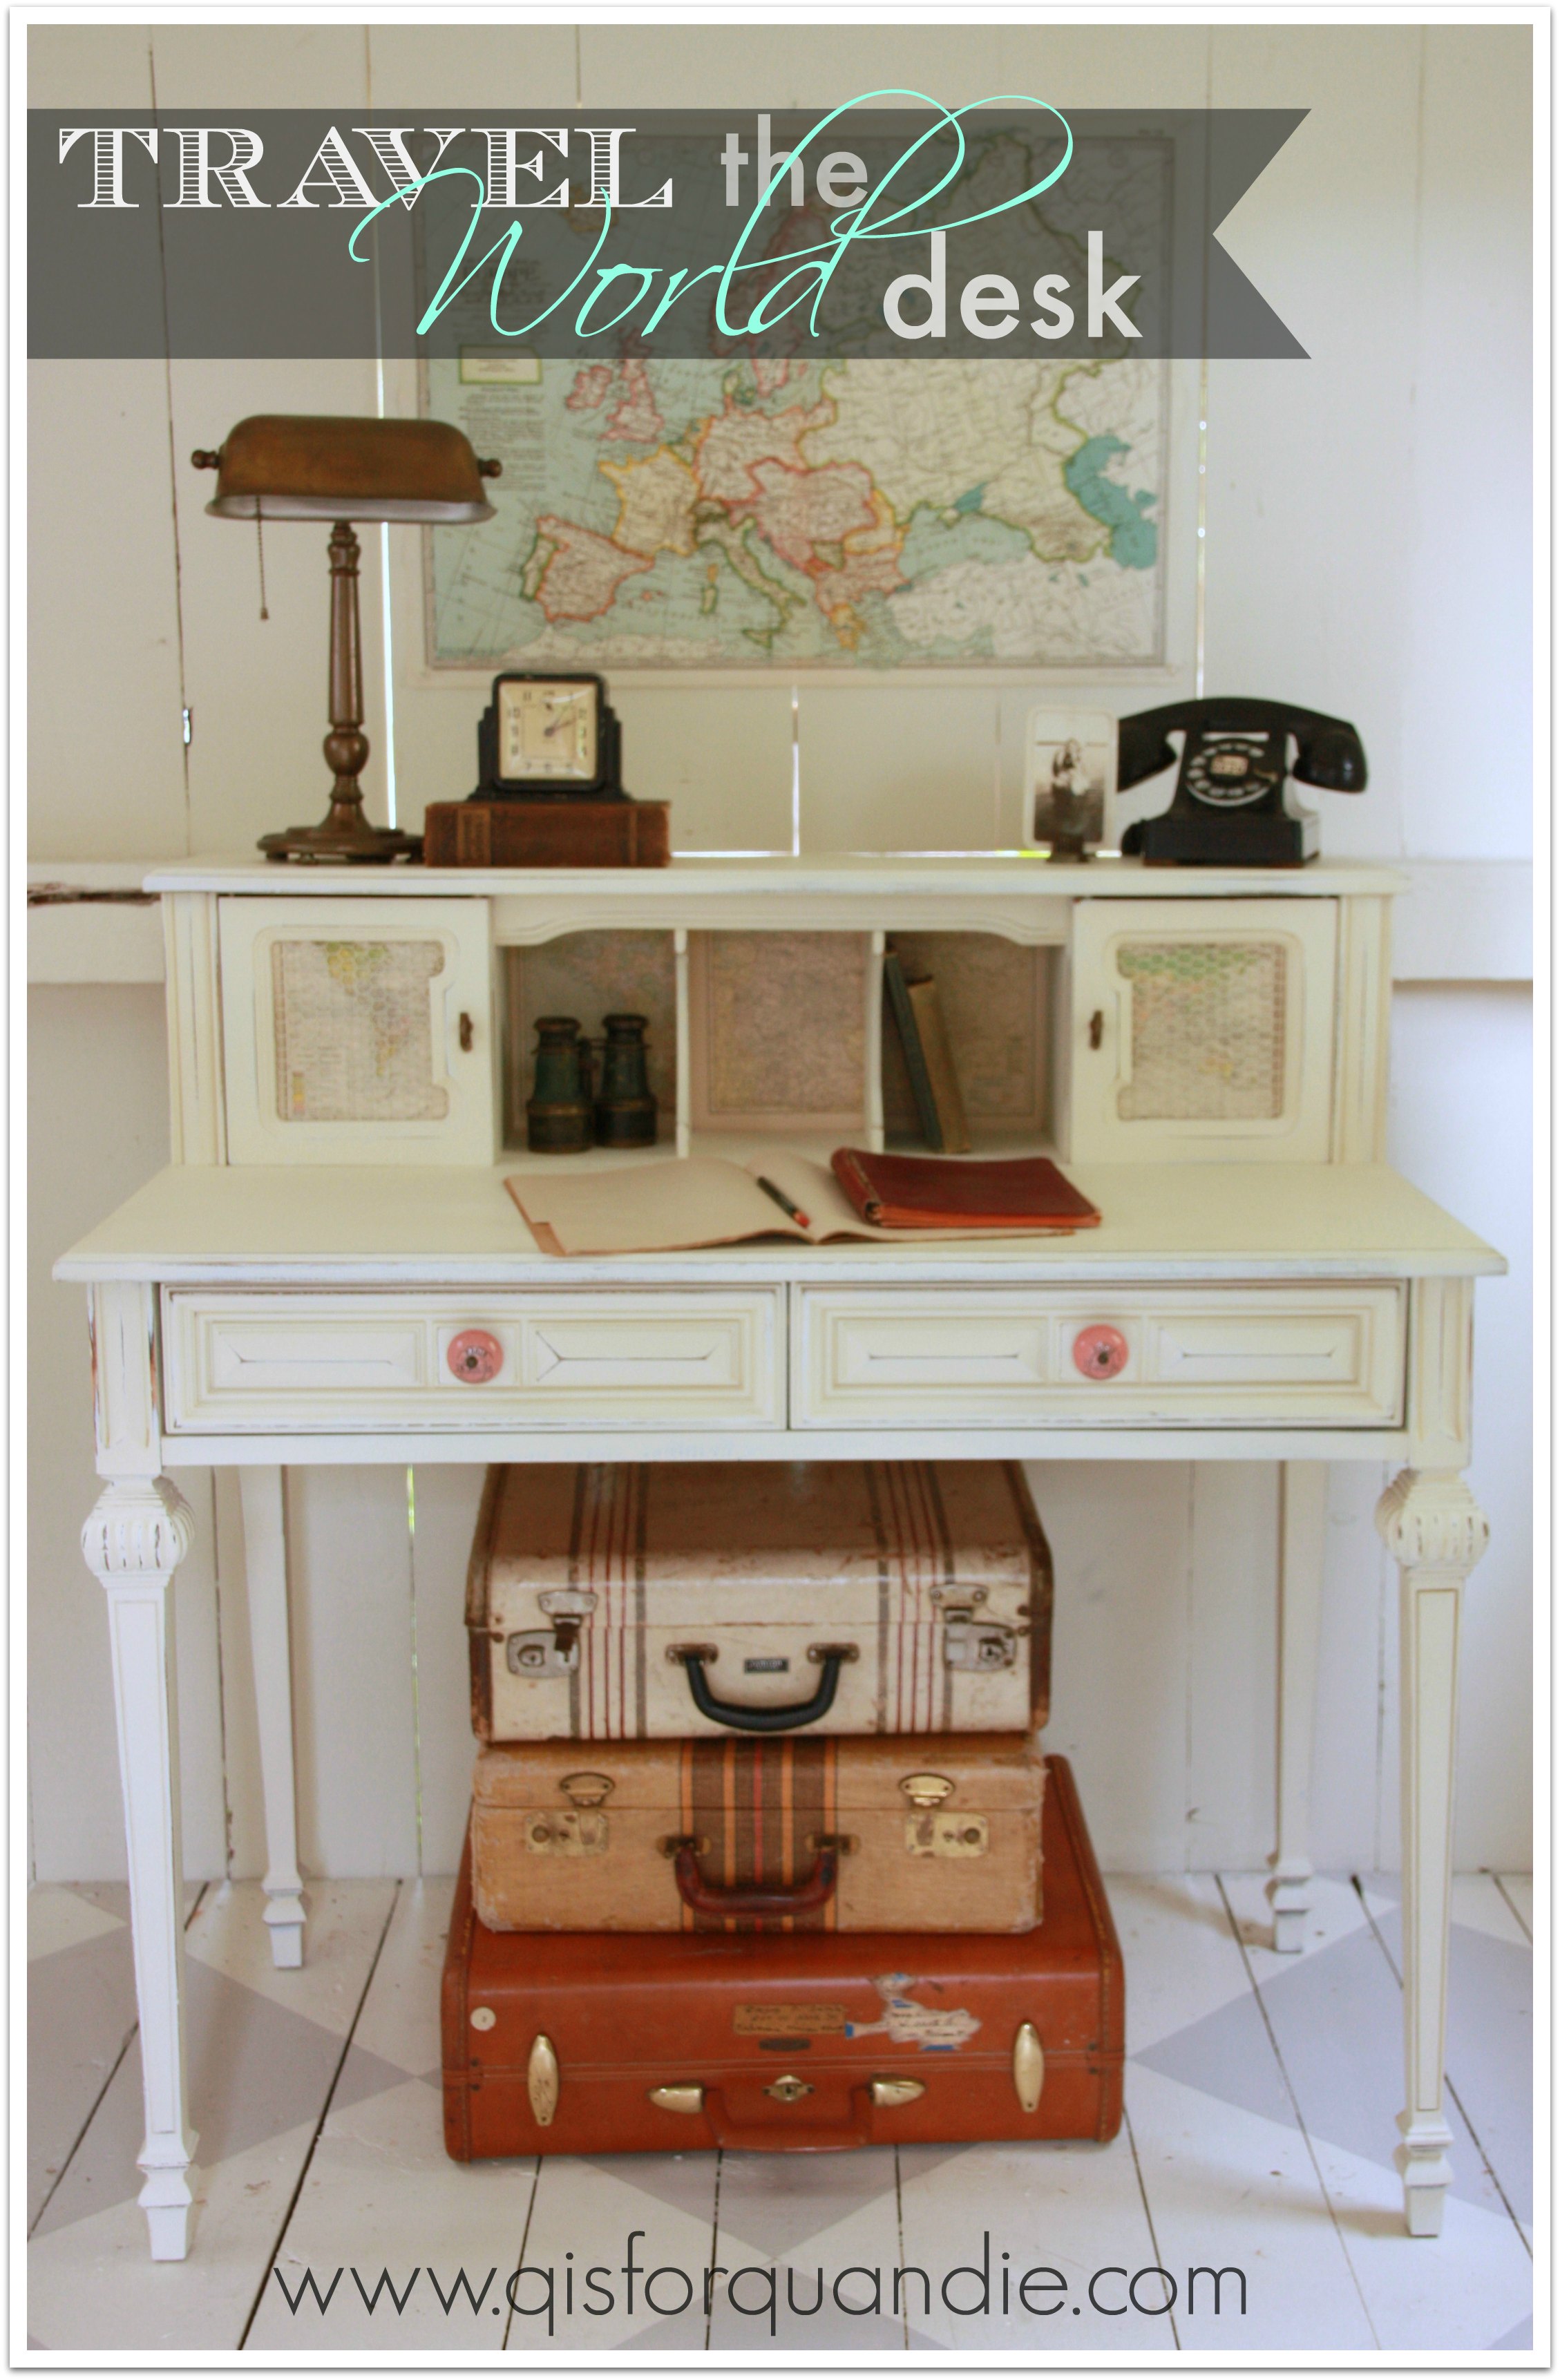
travel the world desk.

I didn’t plan to carry on with the travel theme, it just sort of happened.

travel desk quoteAnd I don’t normally do custom work, but this particular job was obviously meant to be.

One of my fave customers came by to pick up the Duncan Phyfe buffet, and as she was getting ready to leave she just happened to ask if I had any desks.  She was looking for a specific style, and showed me a pin from pinterest.  It is a unique style, and it was just an amazing coincidence that I had a very similar desk on hand.  I’m sure she totally expected me to say no.

It was tucked away in the creepy lean-to storage area of the Carriage House waiting for inspiration to strike.

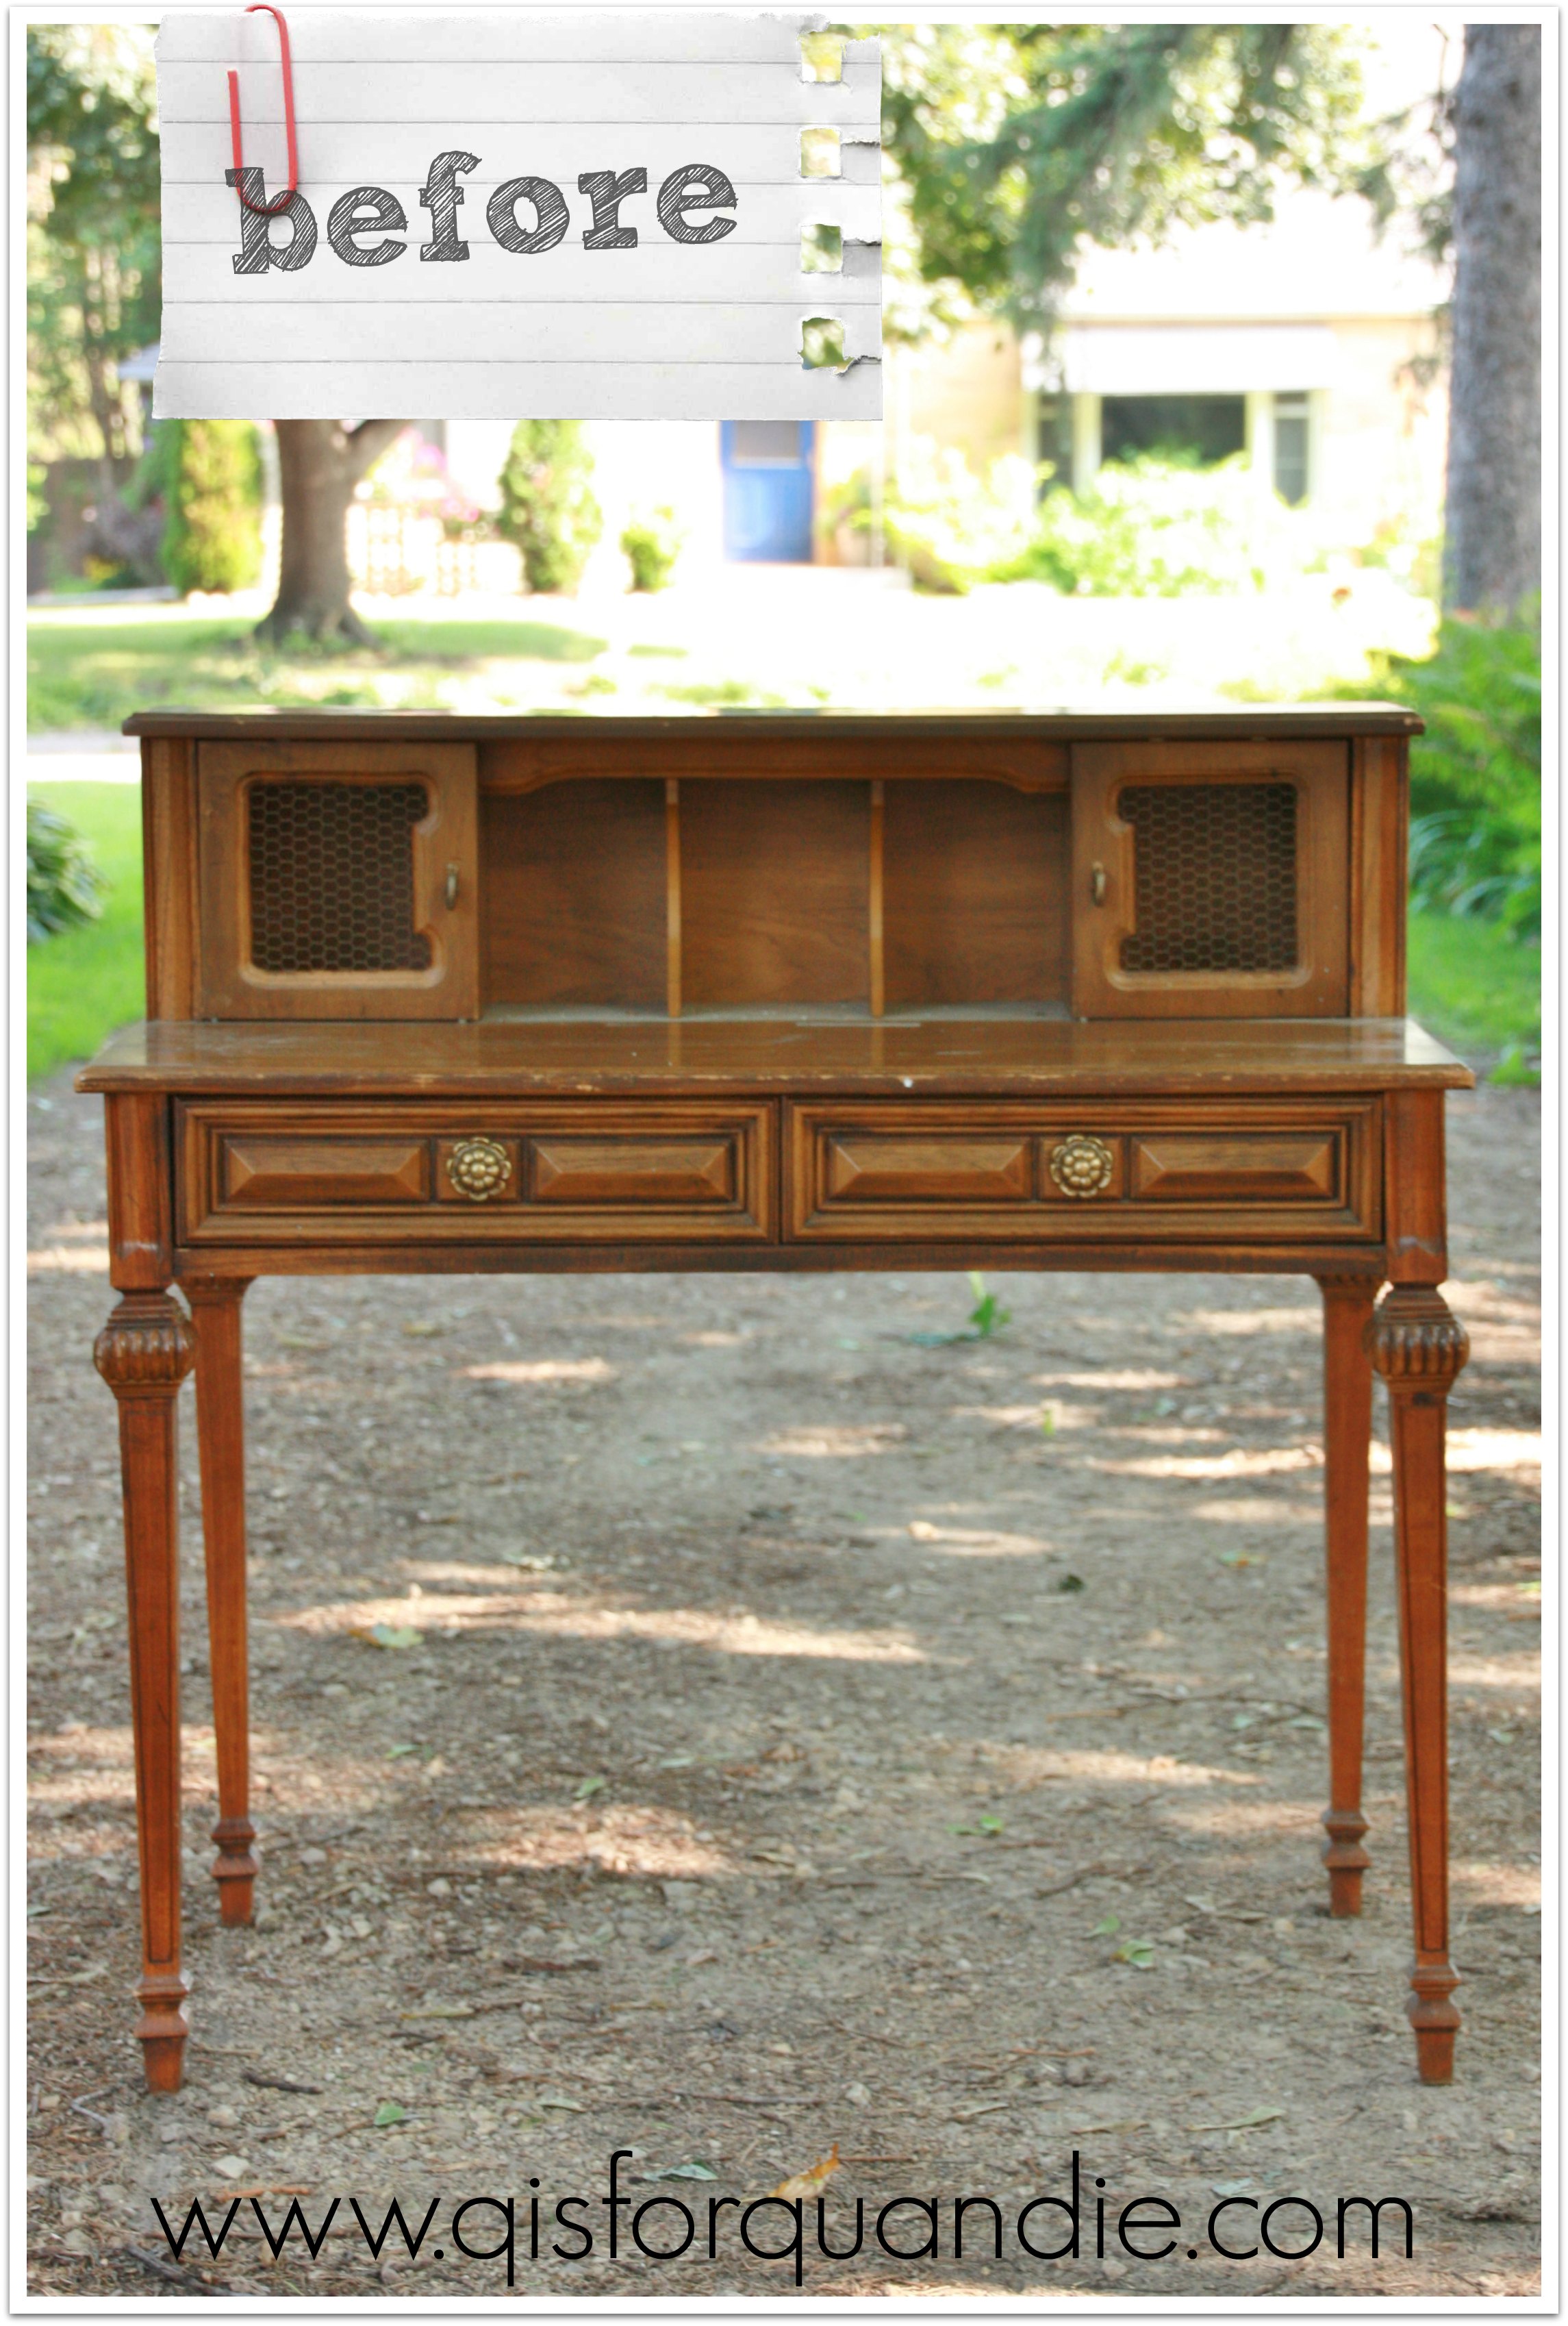
travel desk before

As you can see, she had to have amazing powers of imagination to see that this could turn into something fab.  She also had to brave potential spiders and bad lighting.

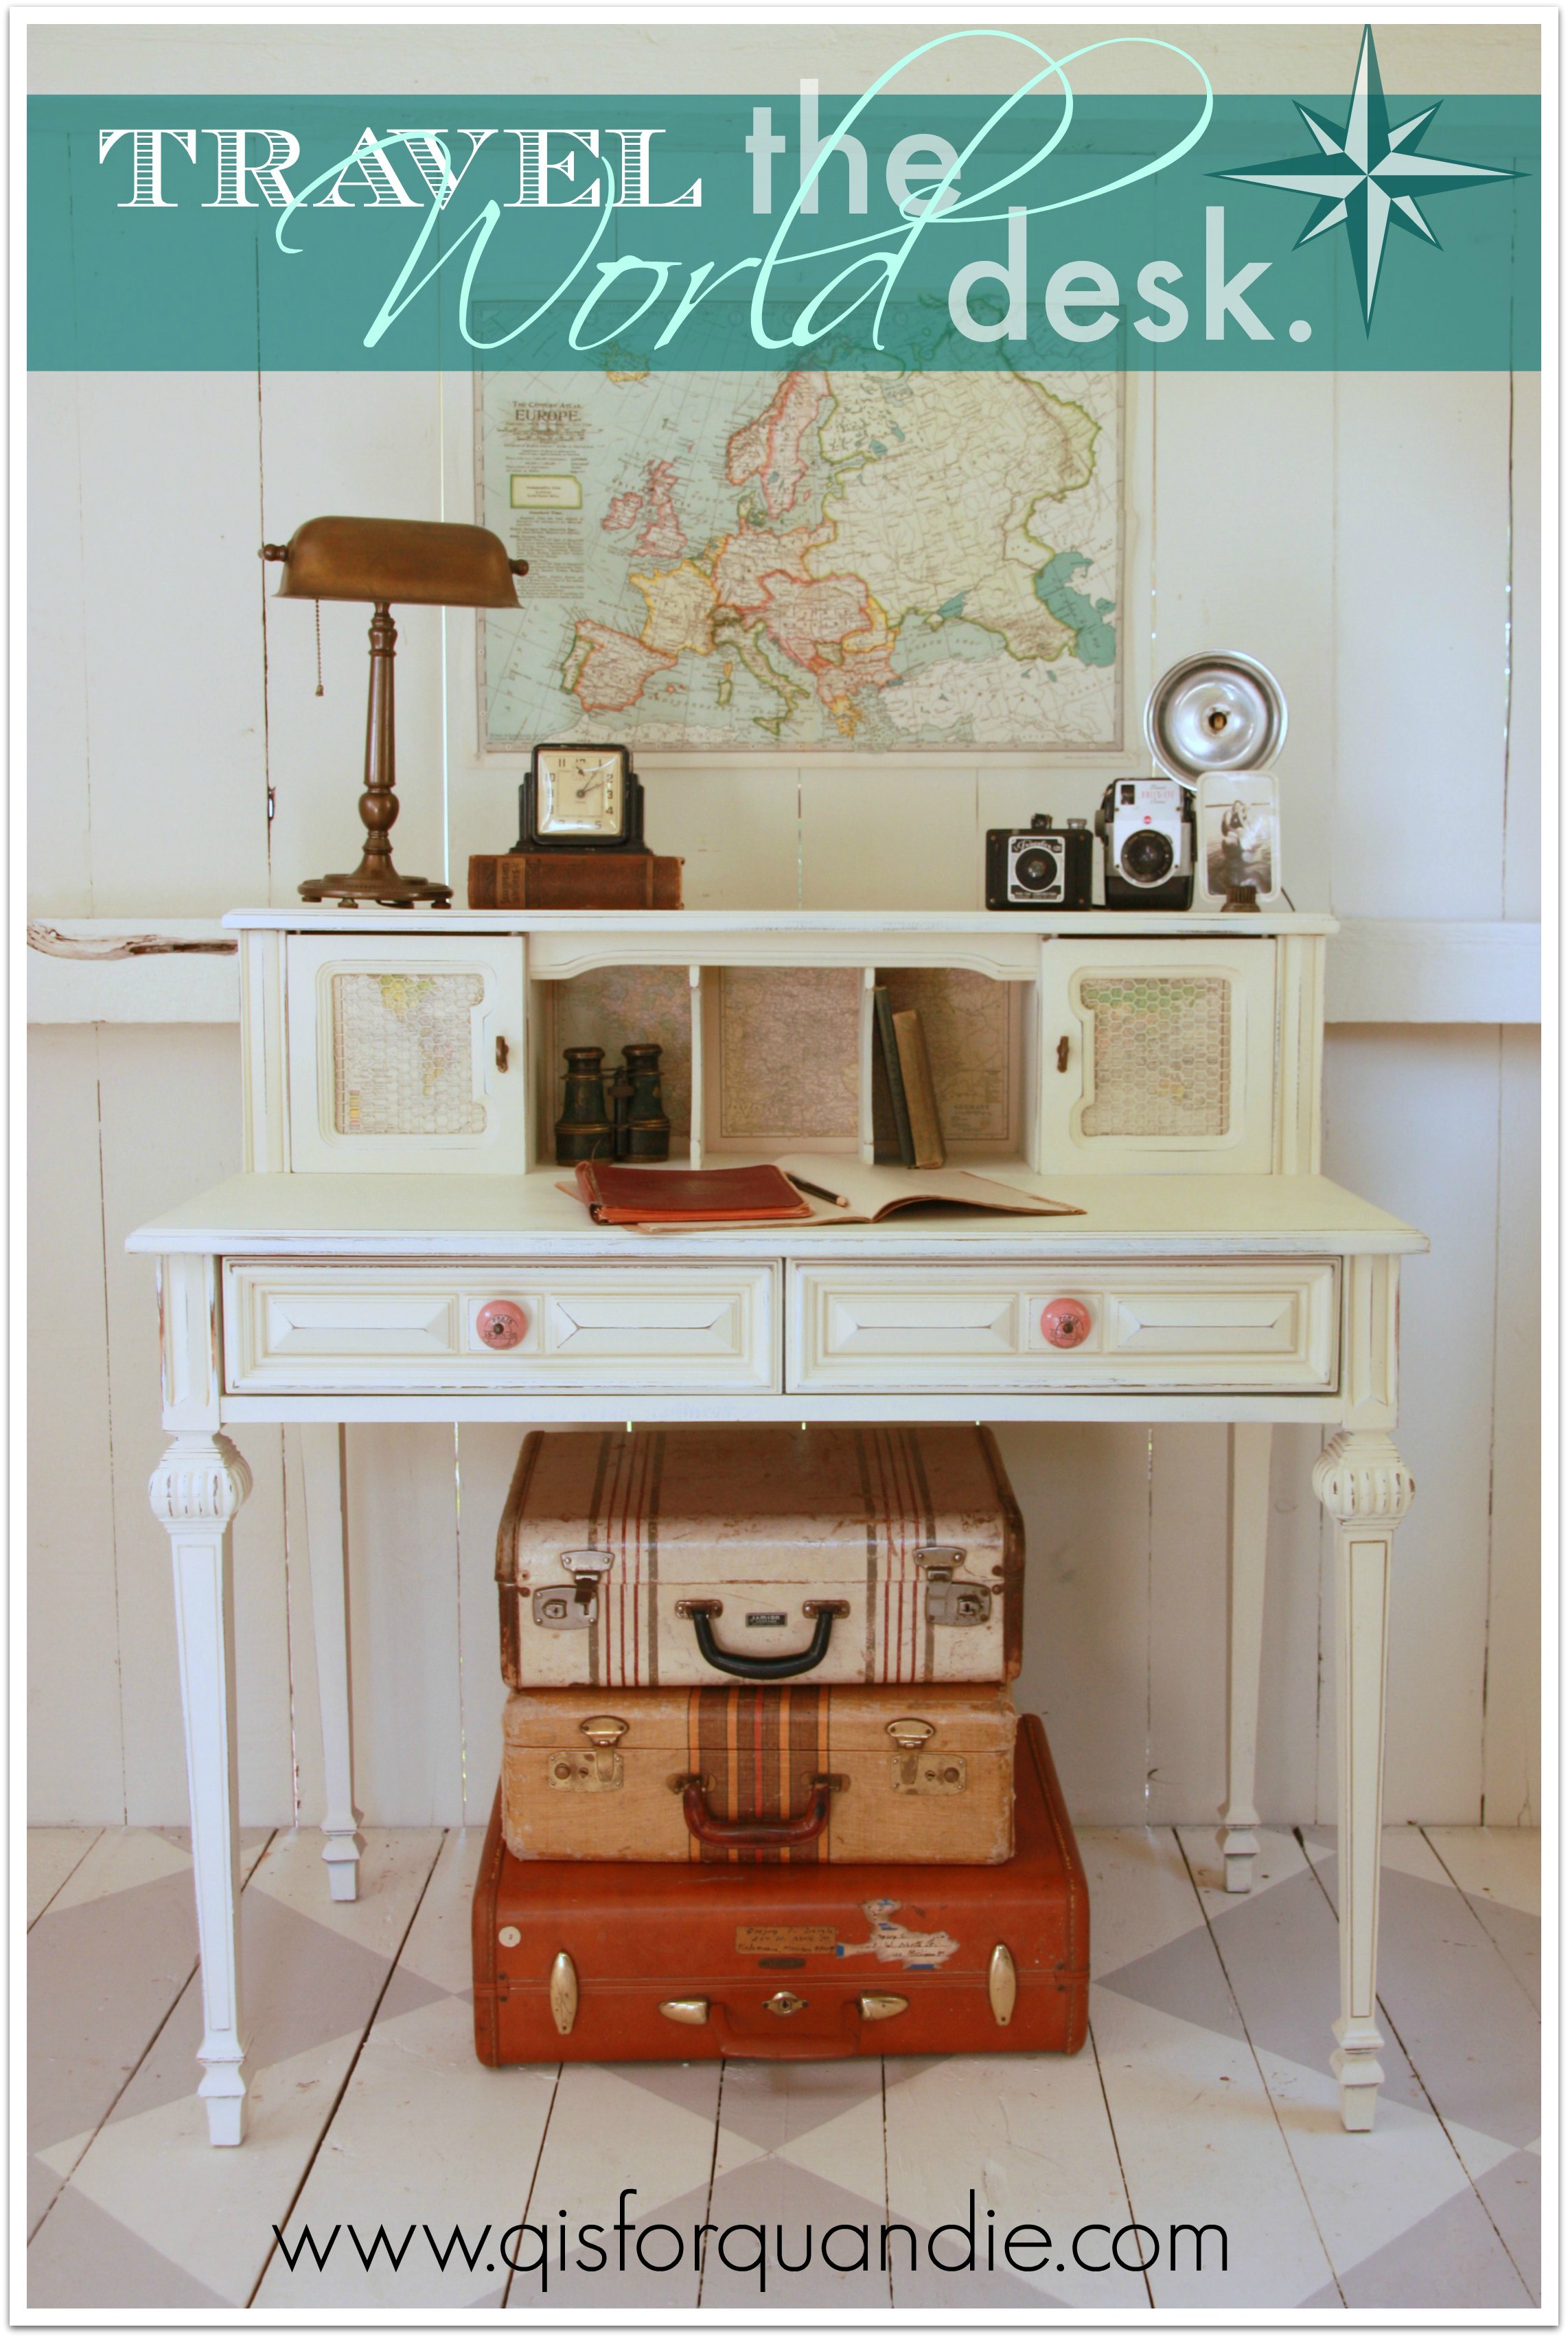
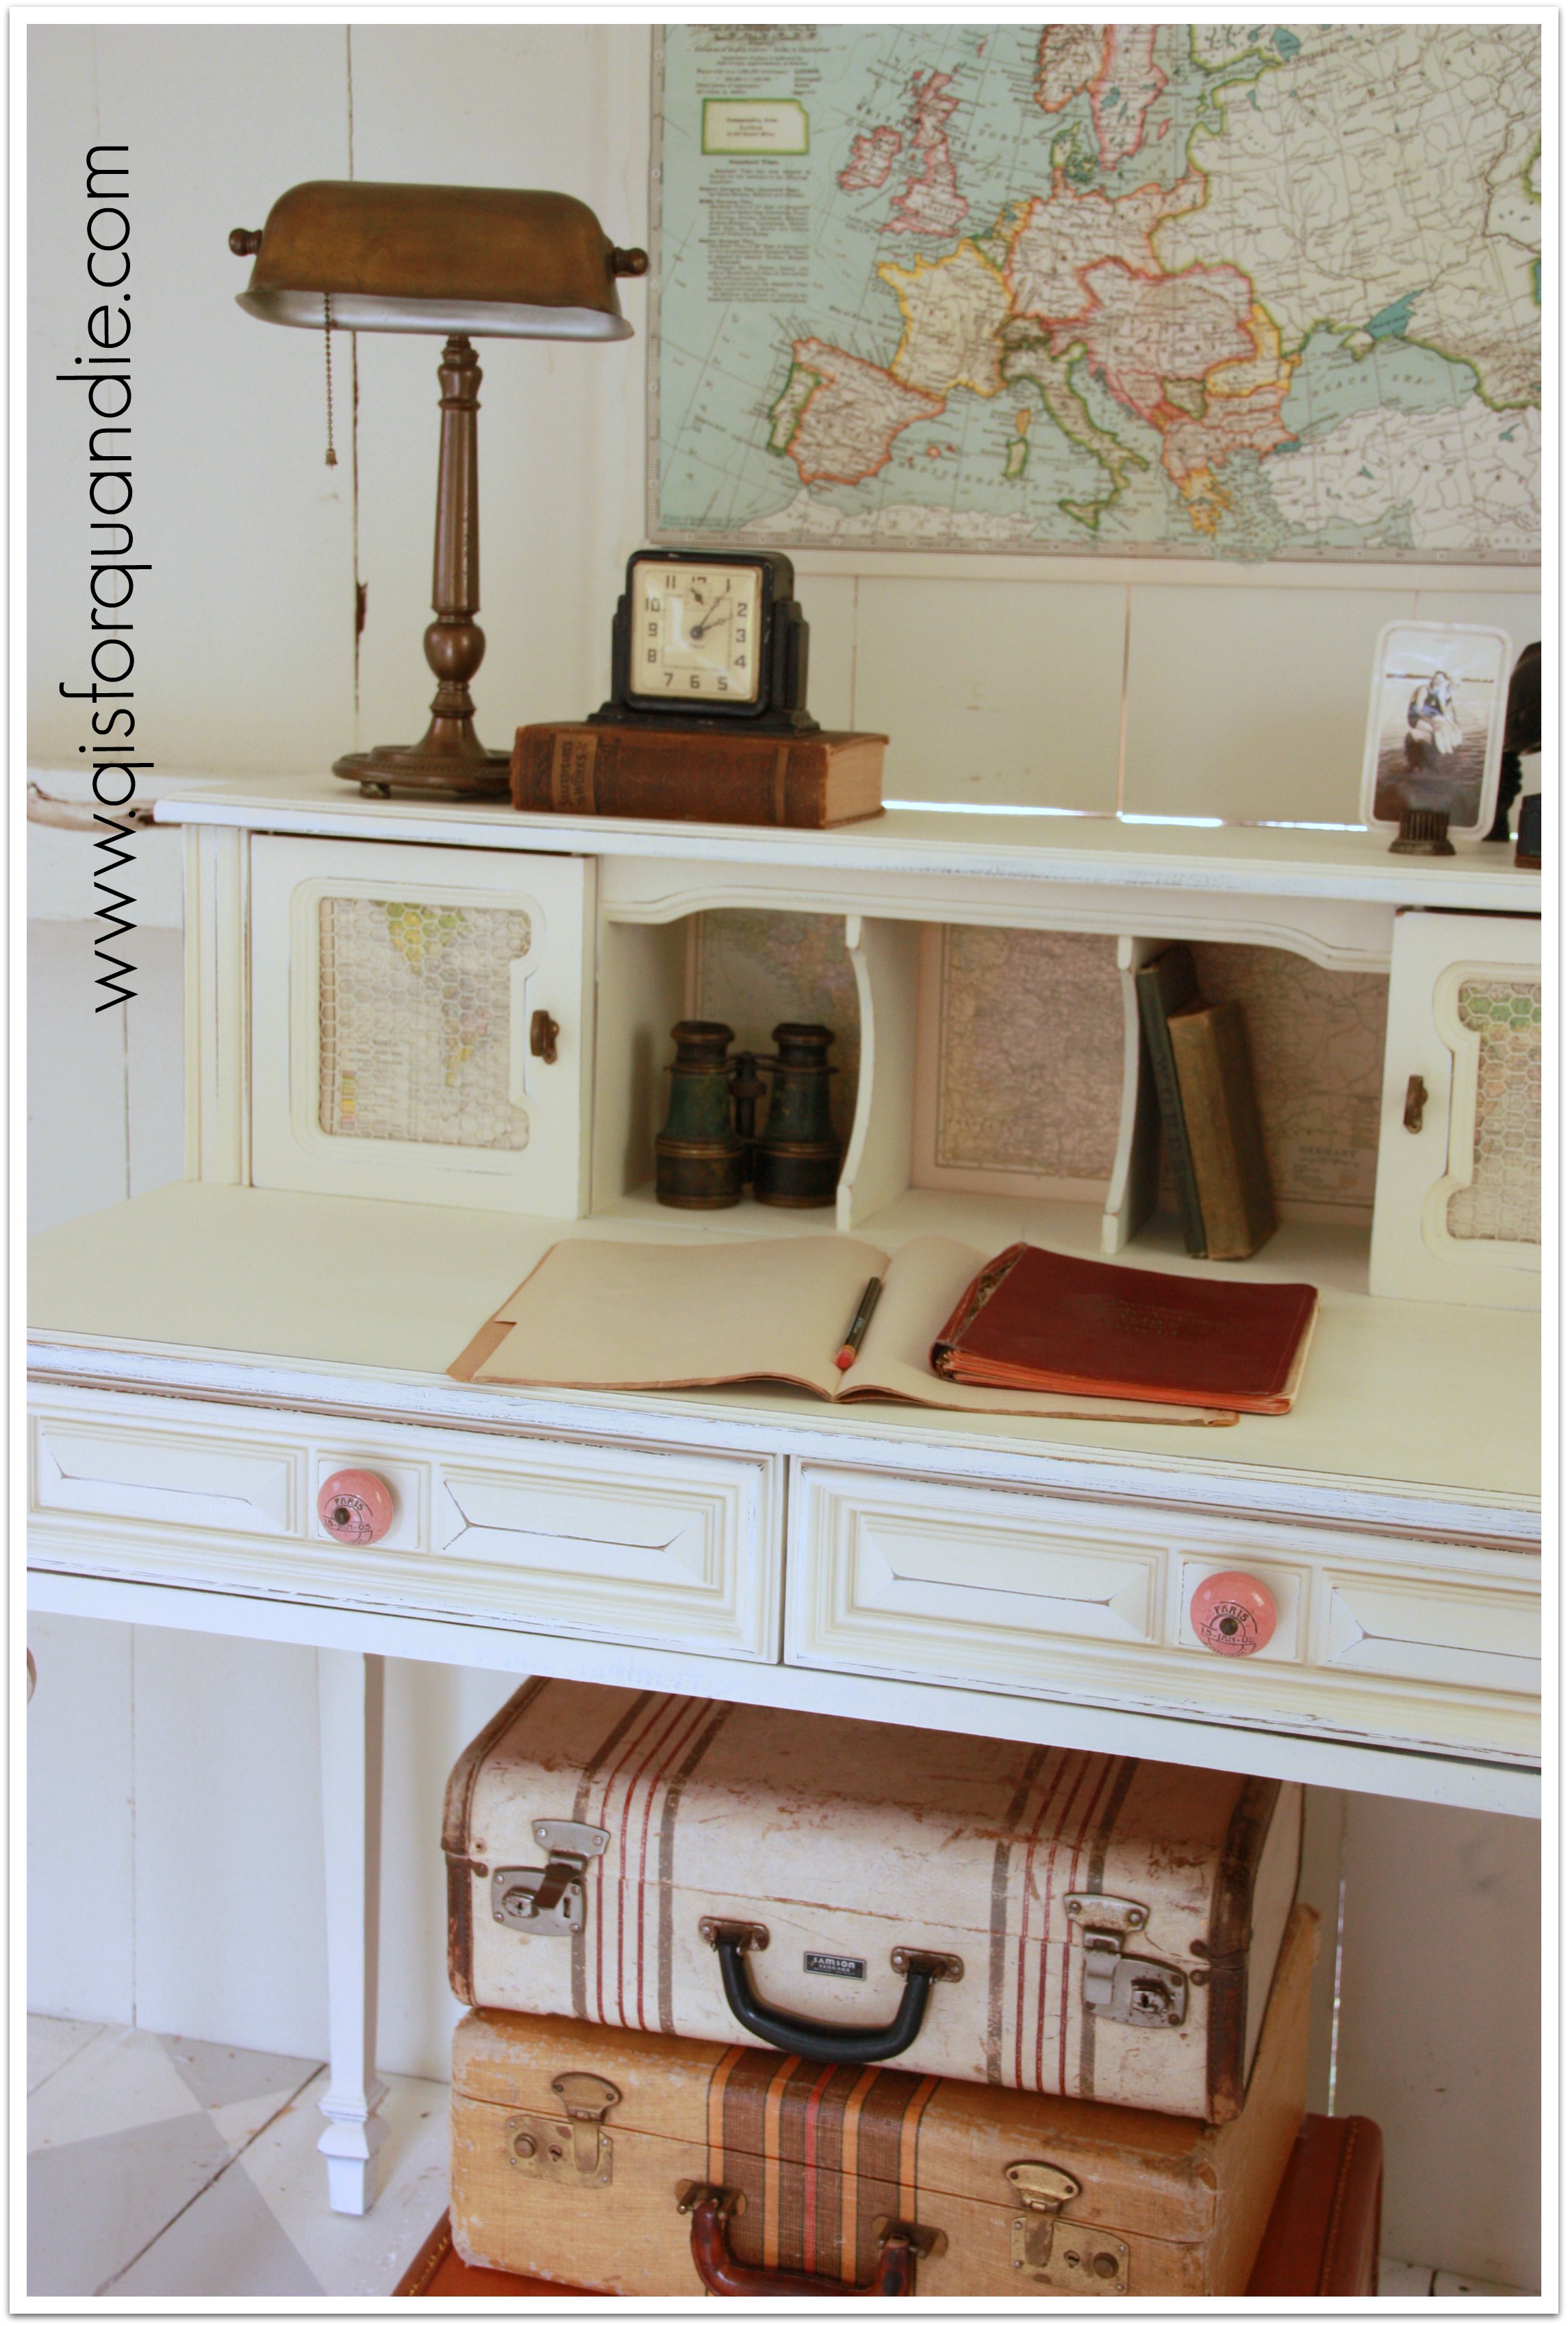
She told me that I could do what I wanted with it as long as I painted it white.  I had been thinking of white anyway, so I was more than willing to bend my ‘no custom work’ rule.  And here is the result.

travel desk title
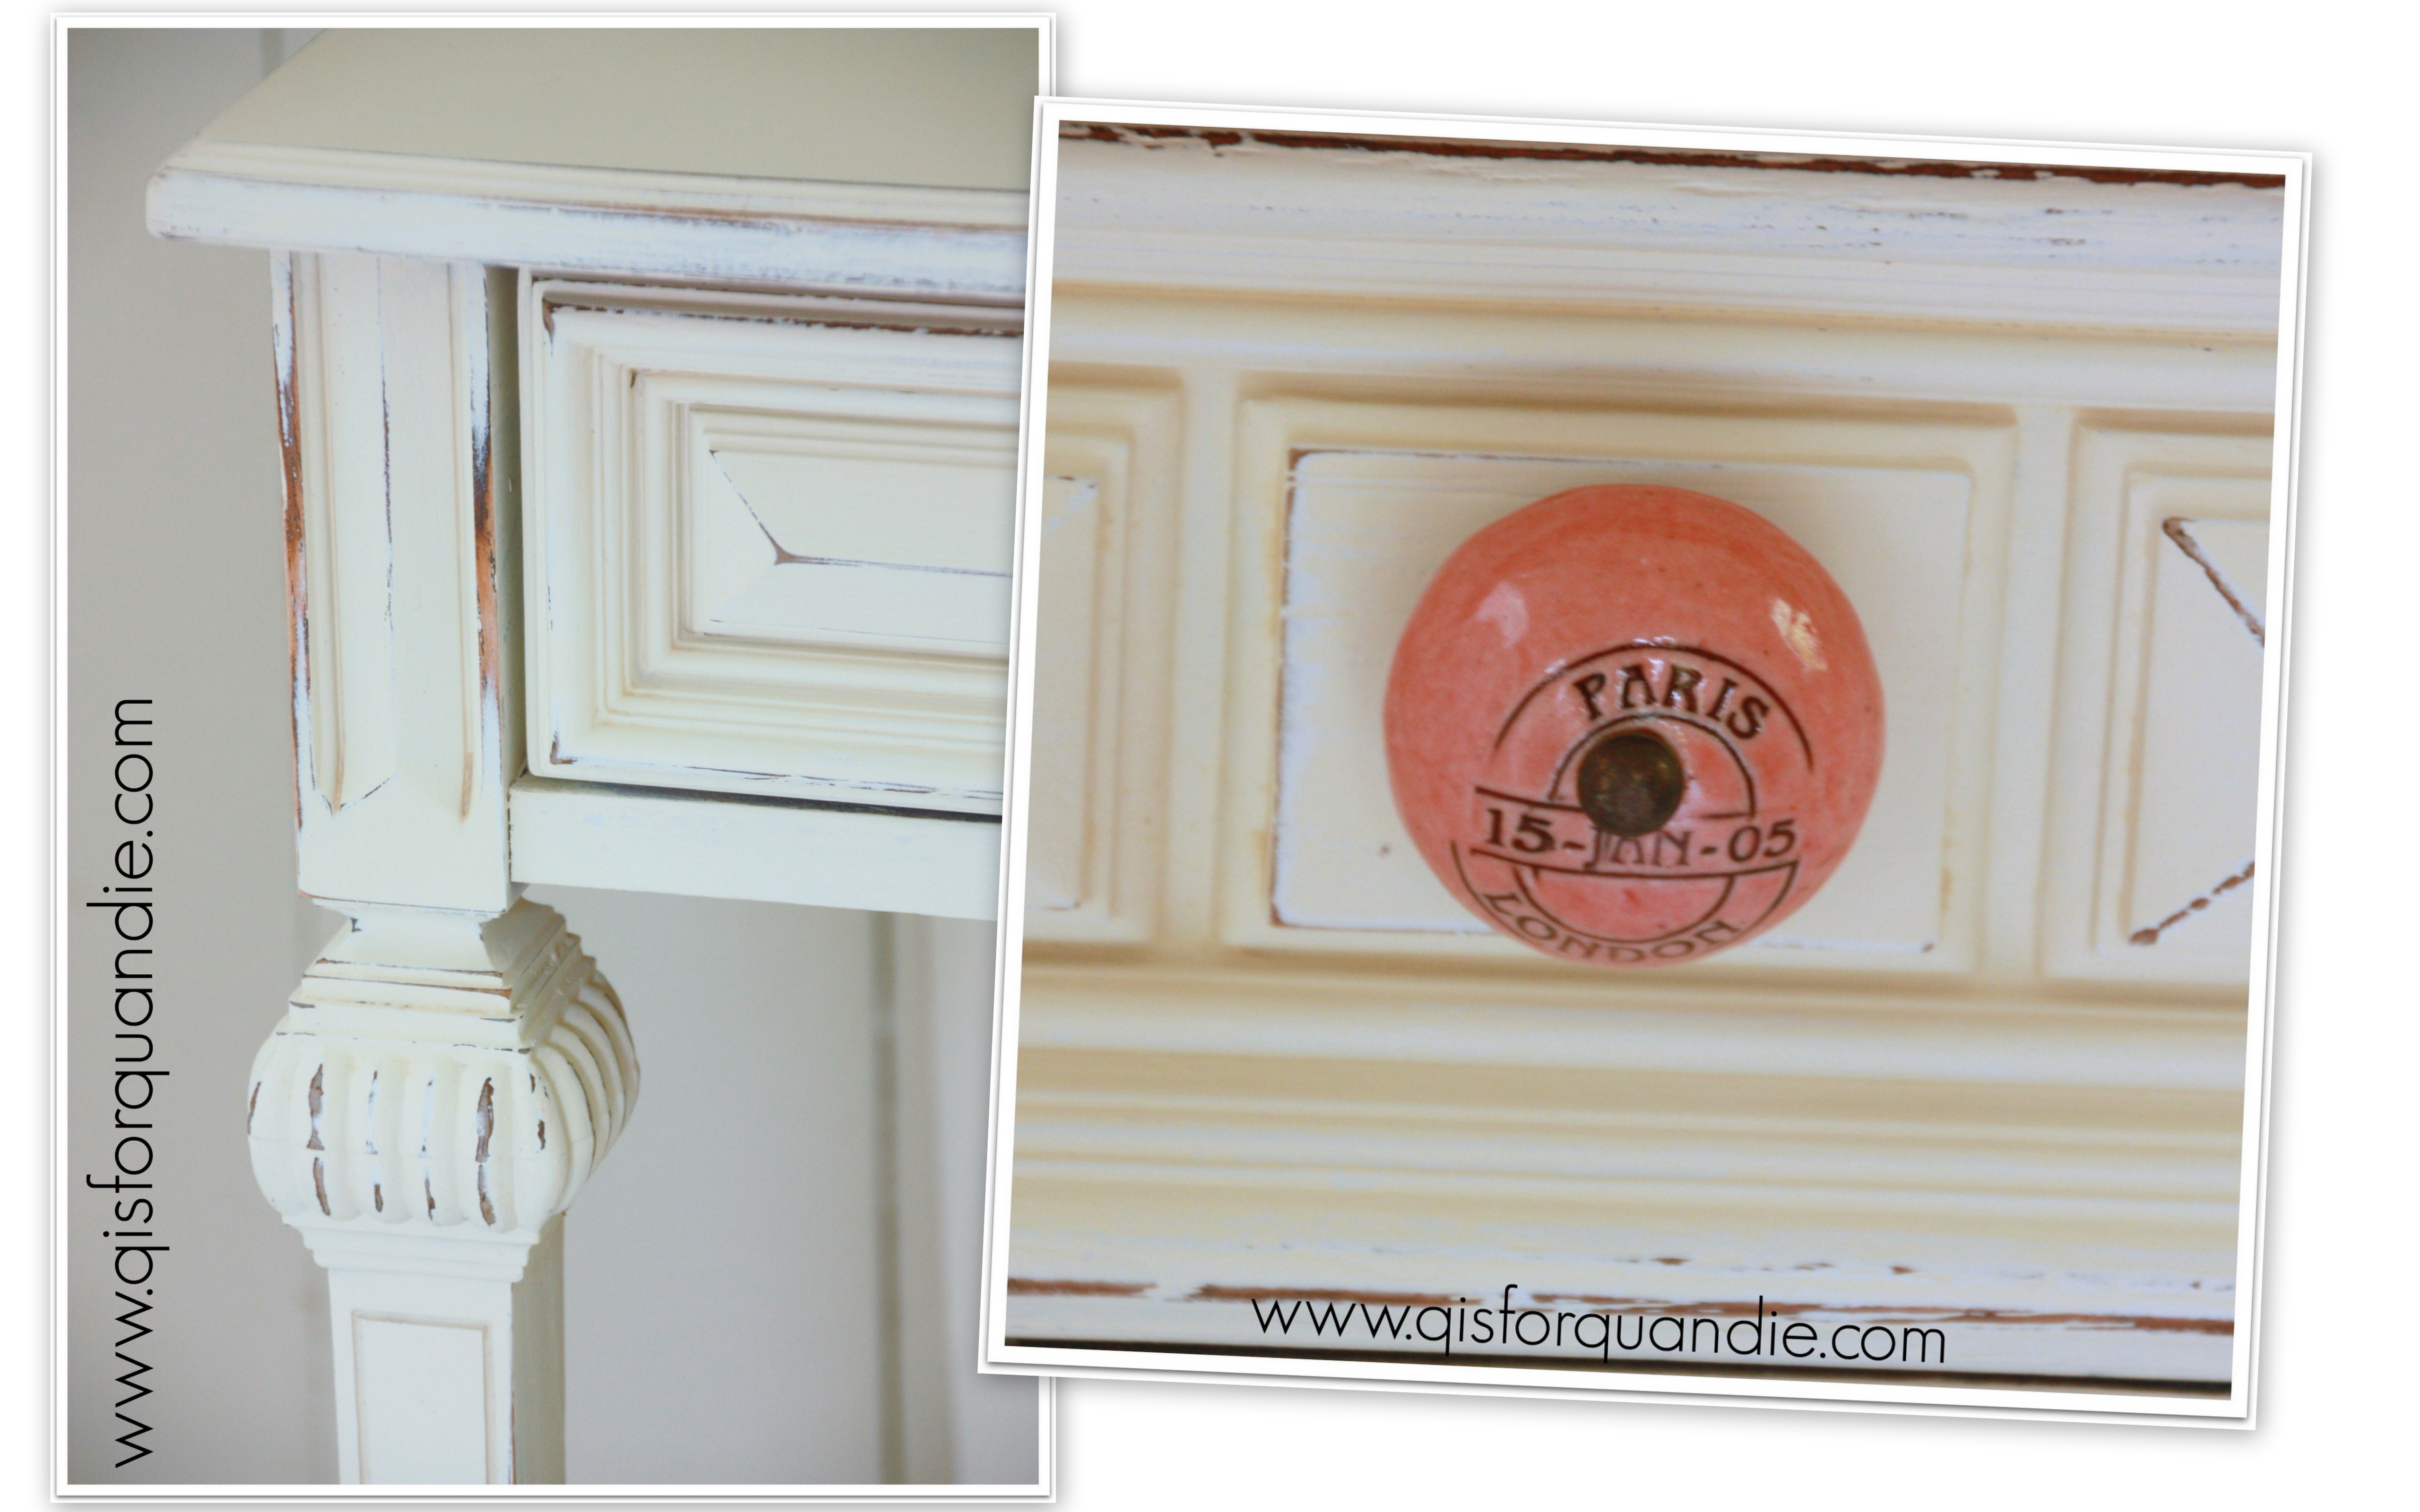
I’ve had the pair of pink knobs around for a while, and I thought they’d be a nice pop of color on the desk.  If you look close, you can see that they say PARIS and LONDON on them.

2014 summer blog18

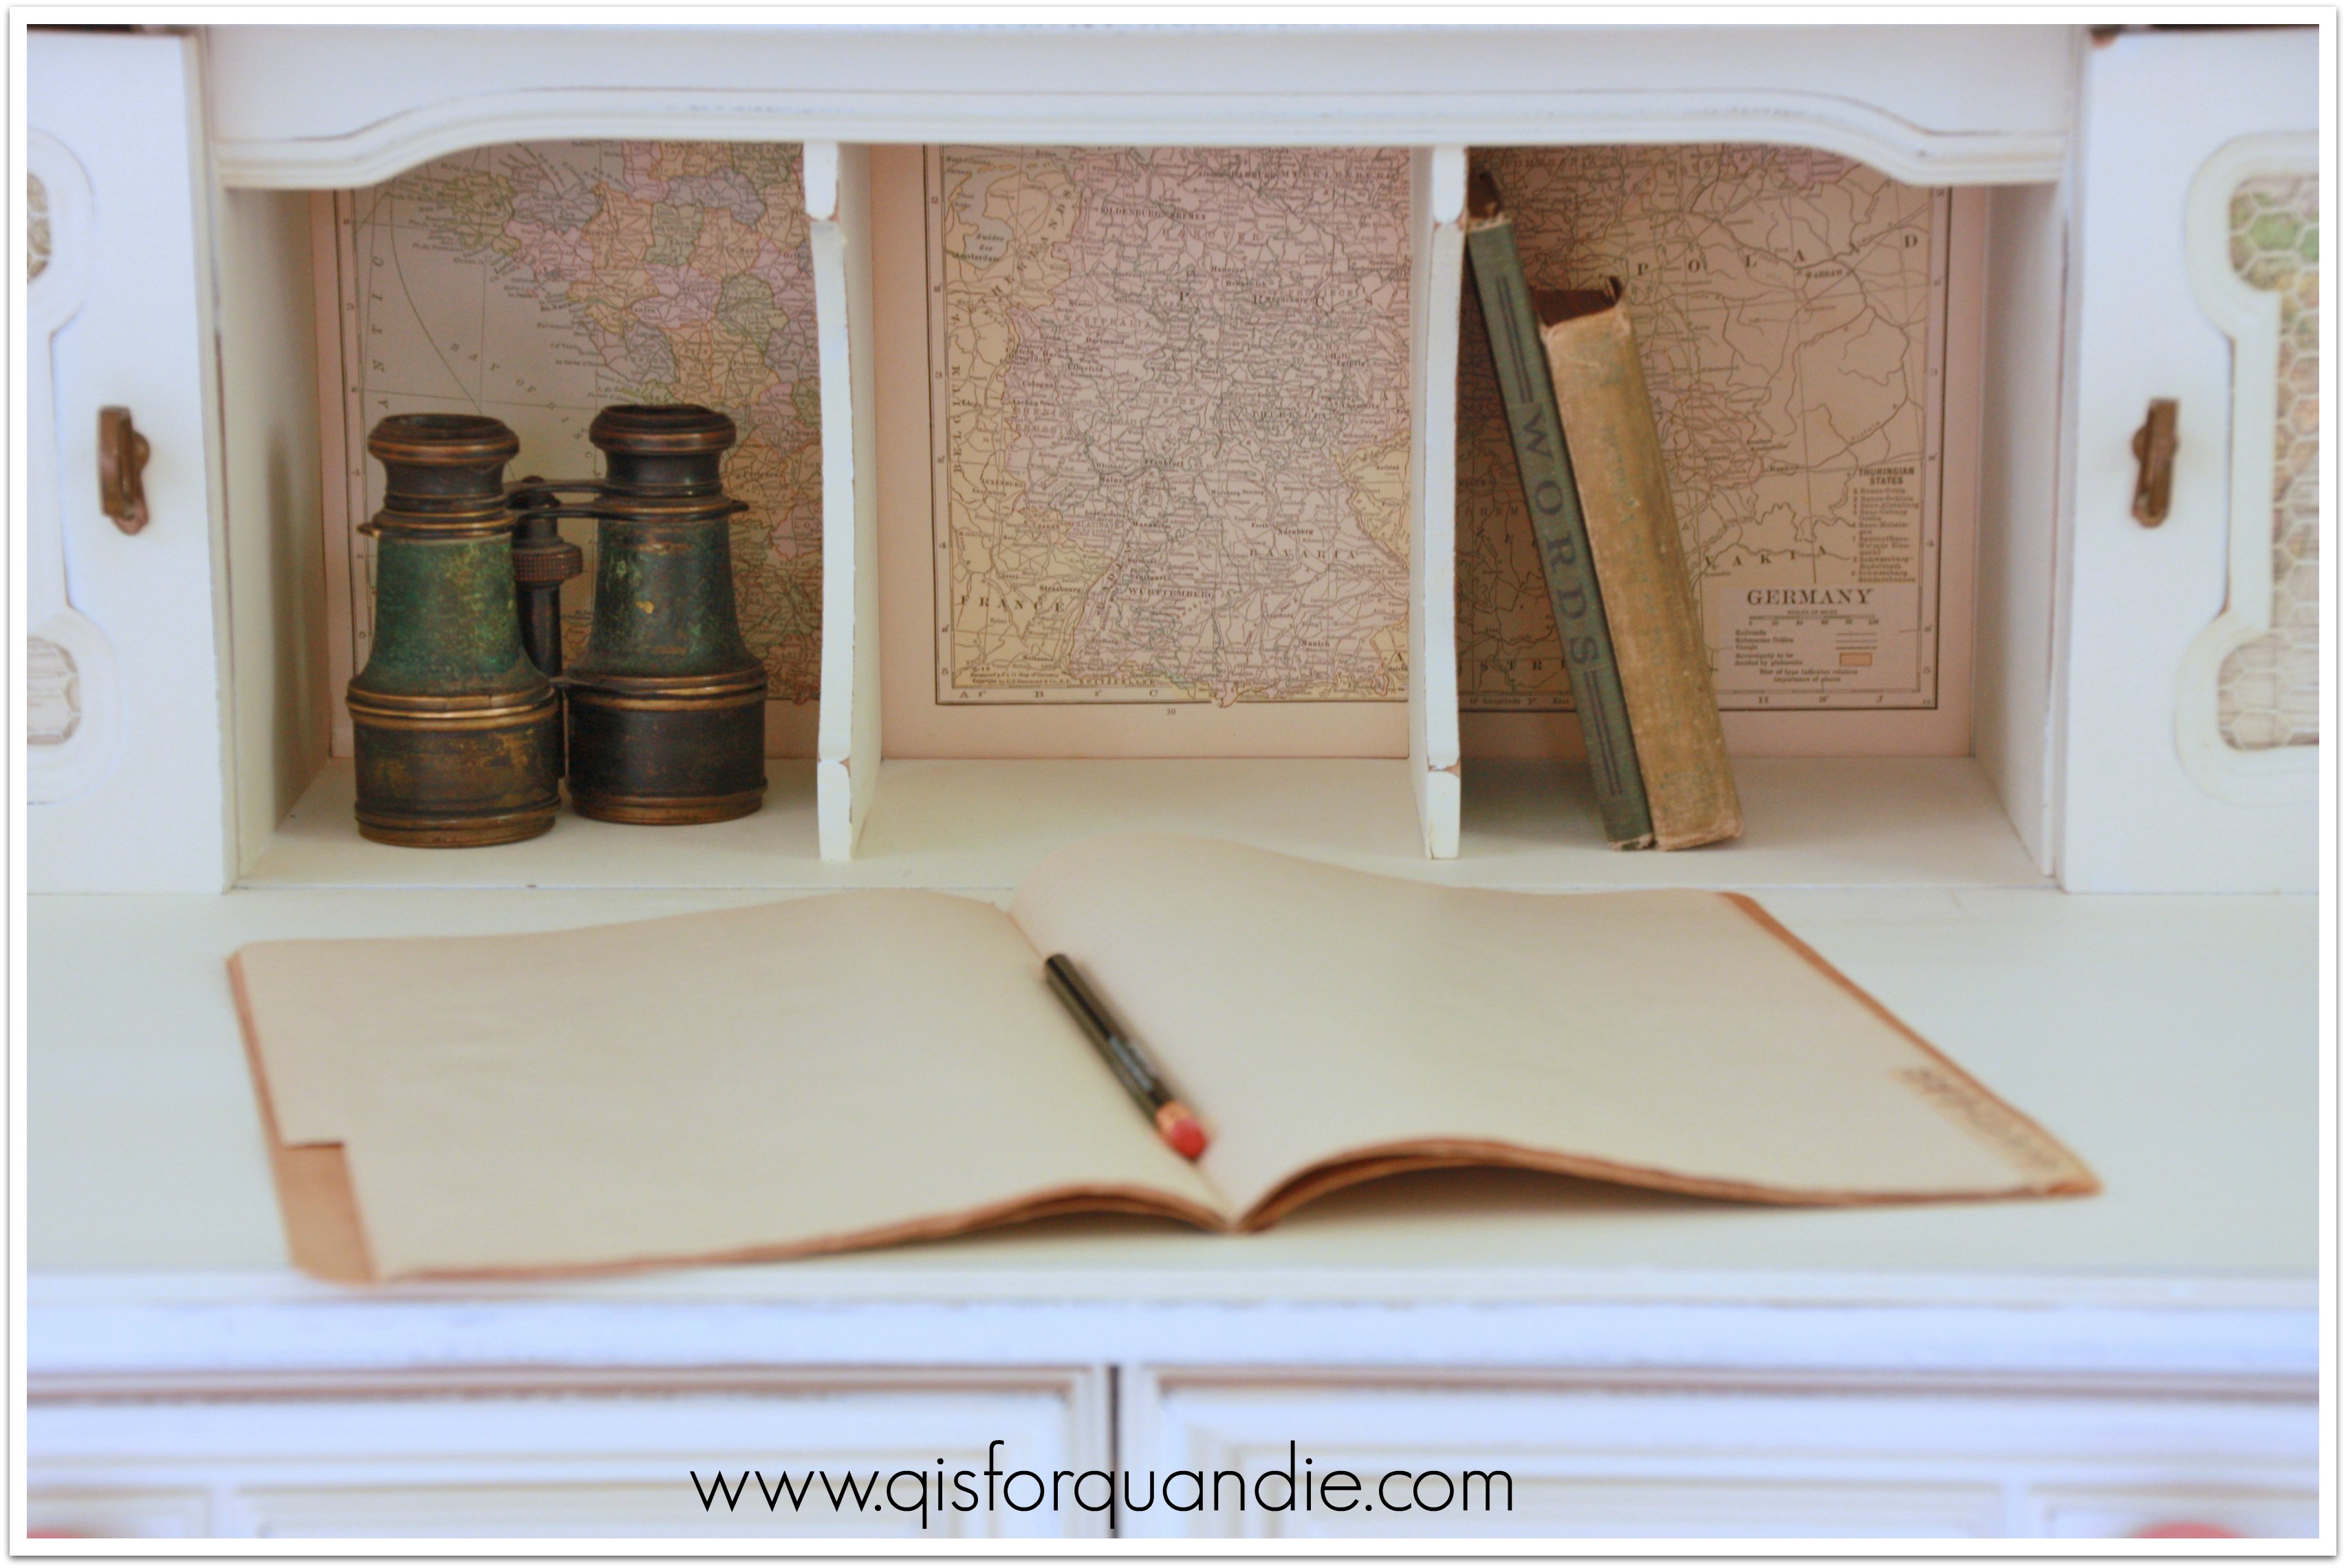
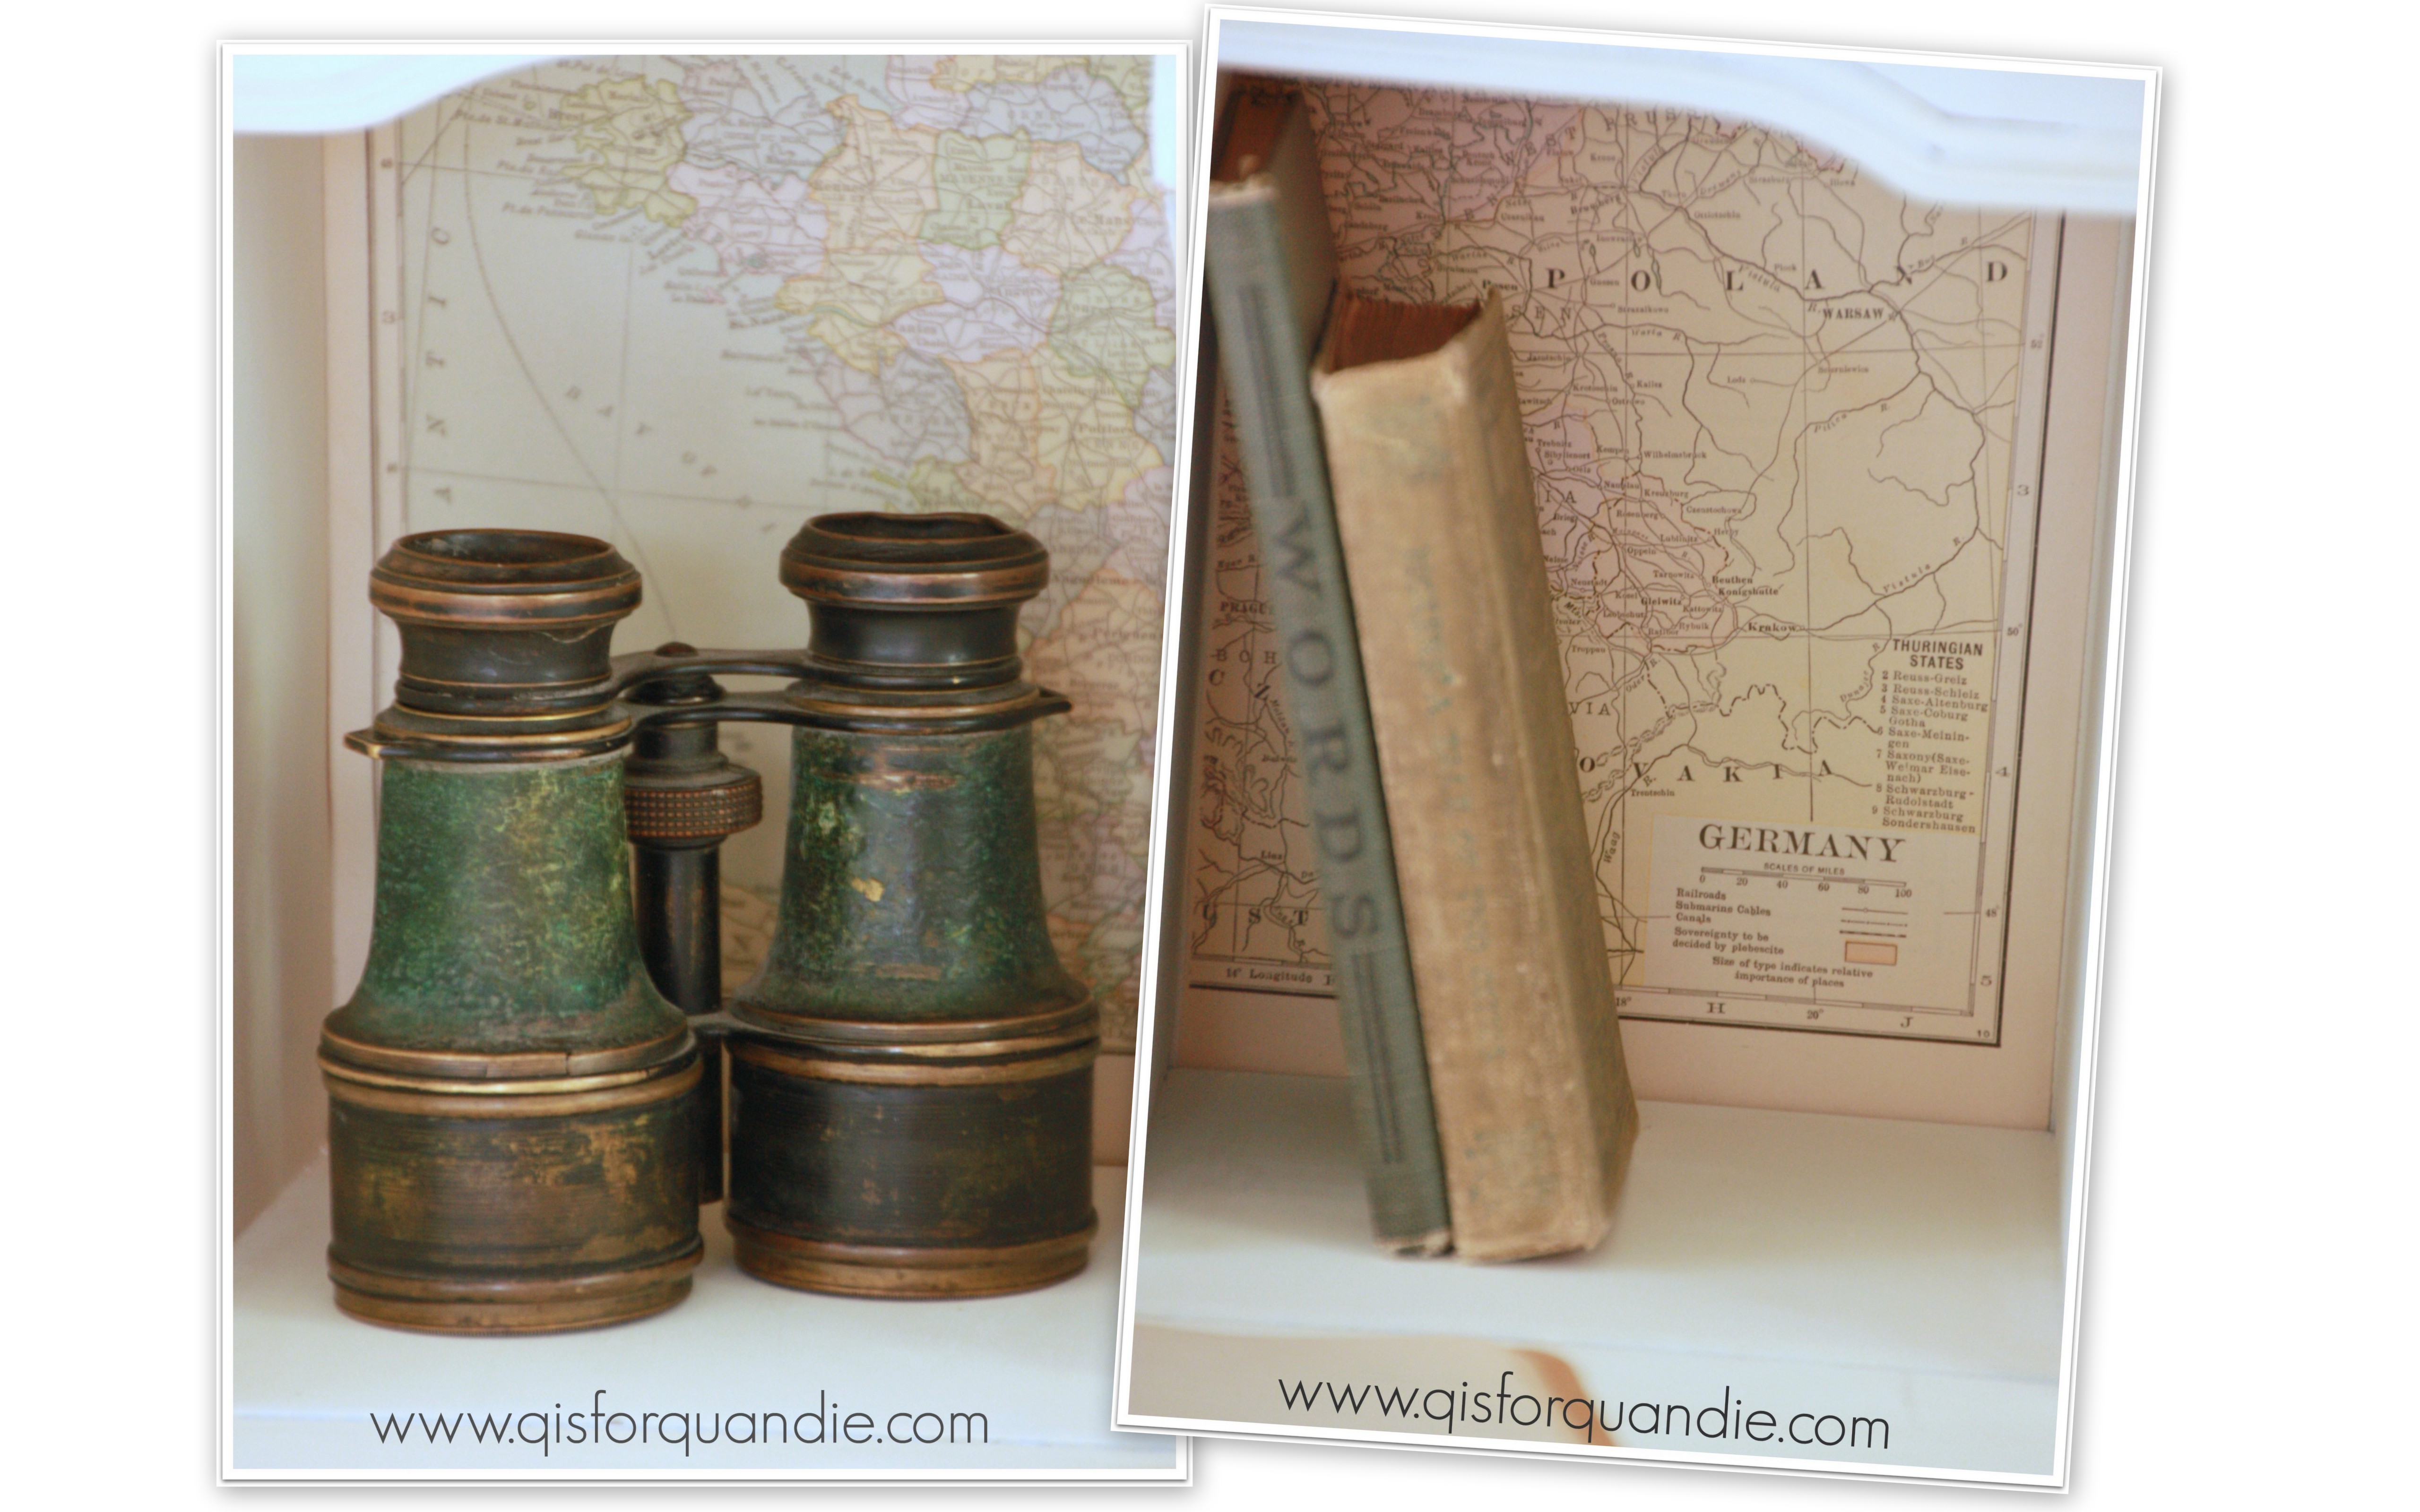
I knew I wanted to put some sort of vintage paper at the backs of the cubbies, and the knobs inspired me to use old maps.

travel desk cubbies

2014 summer blog17

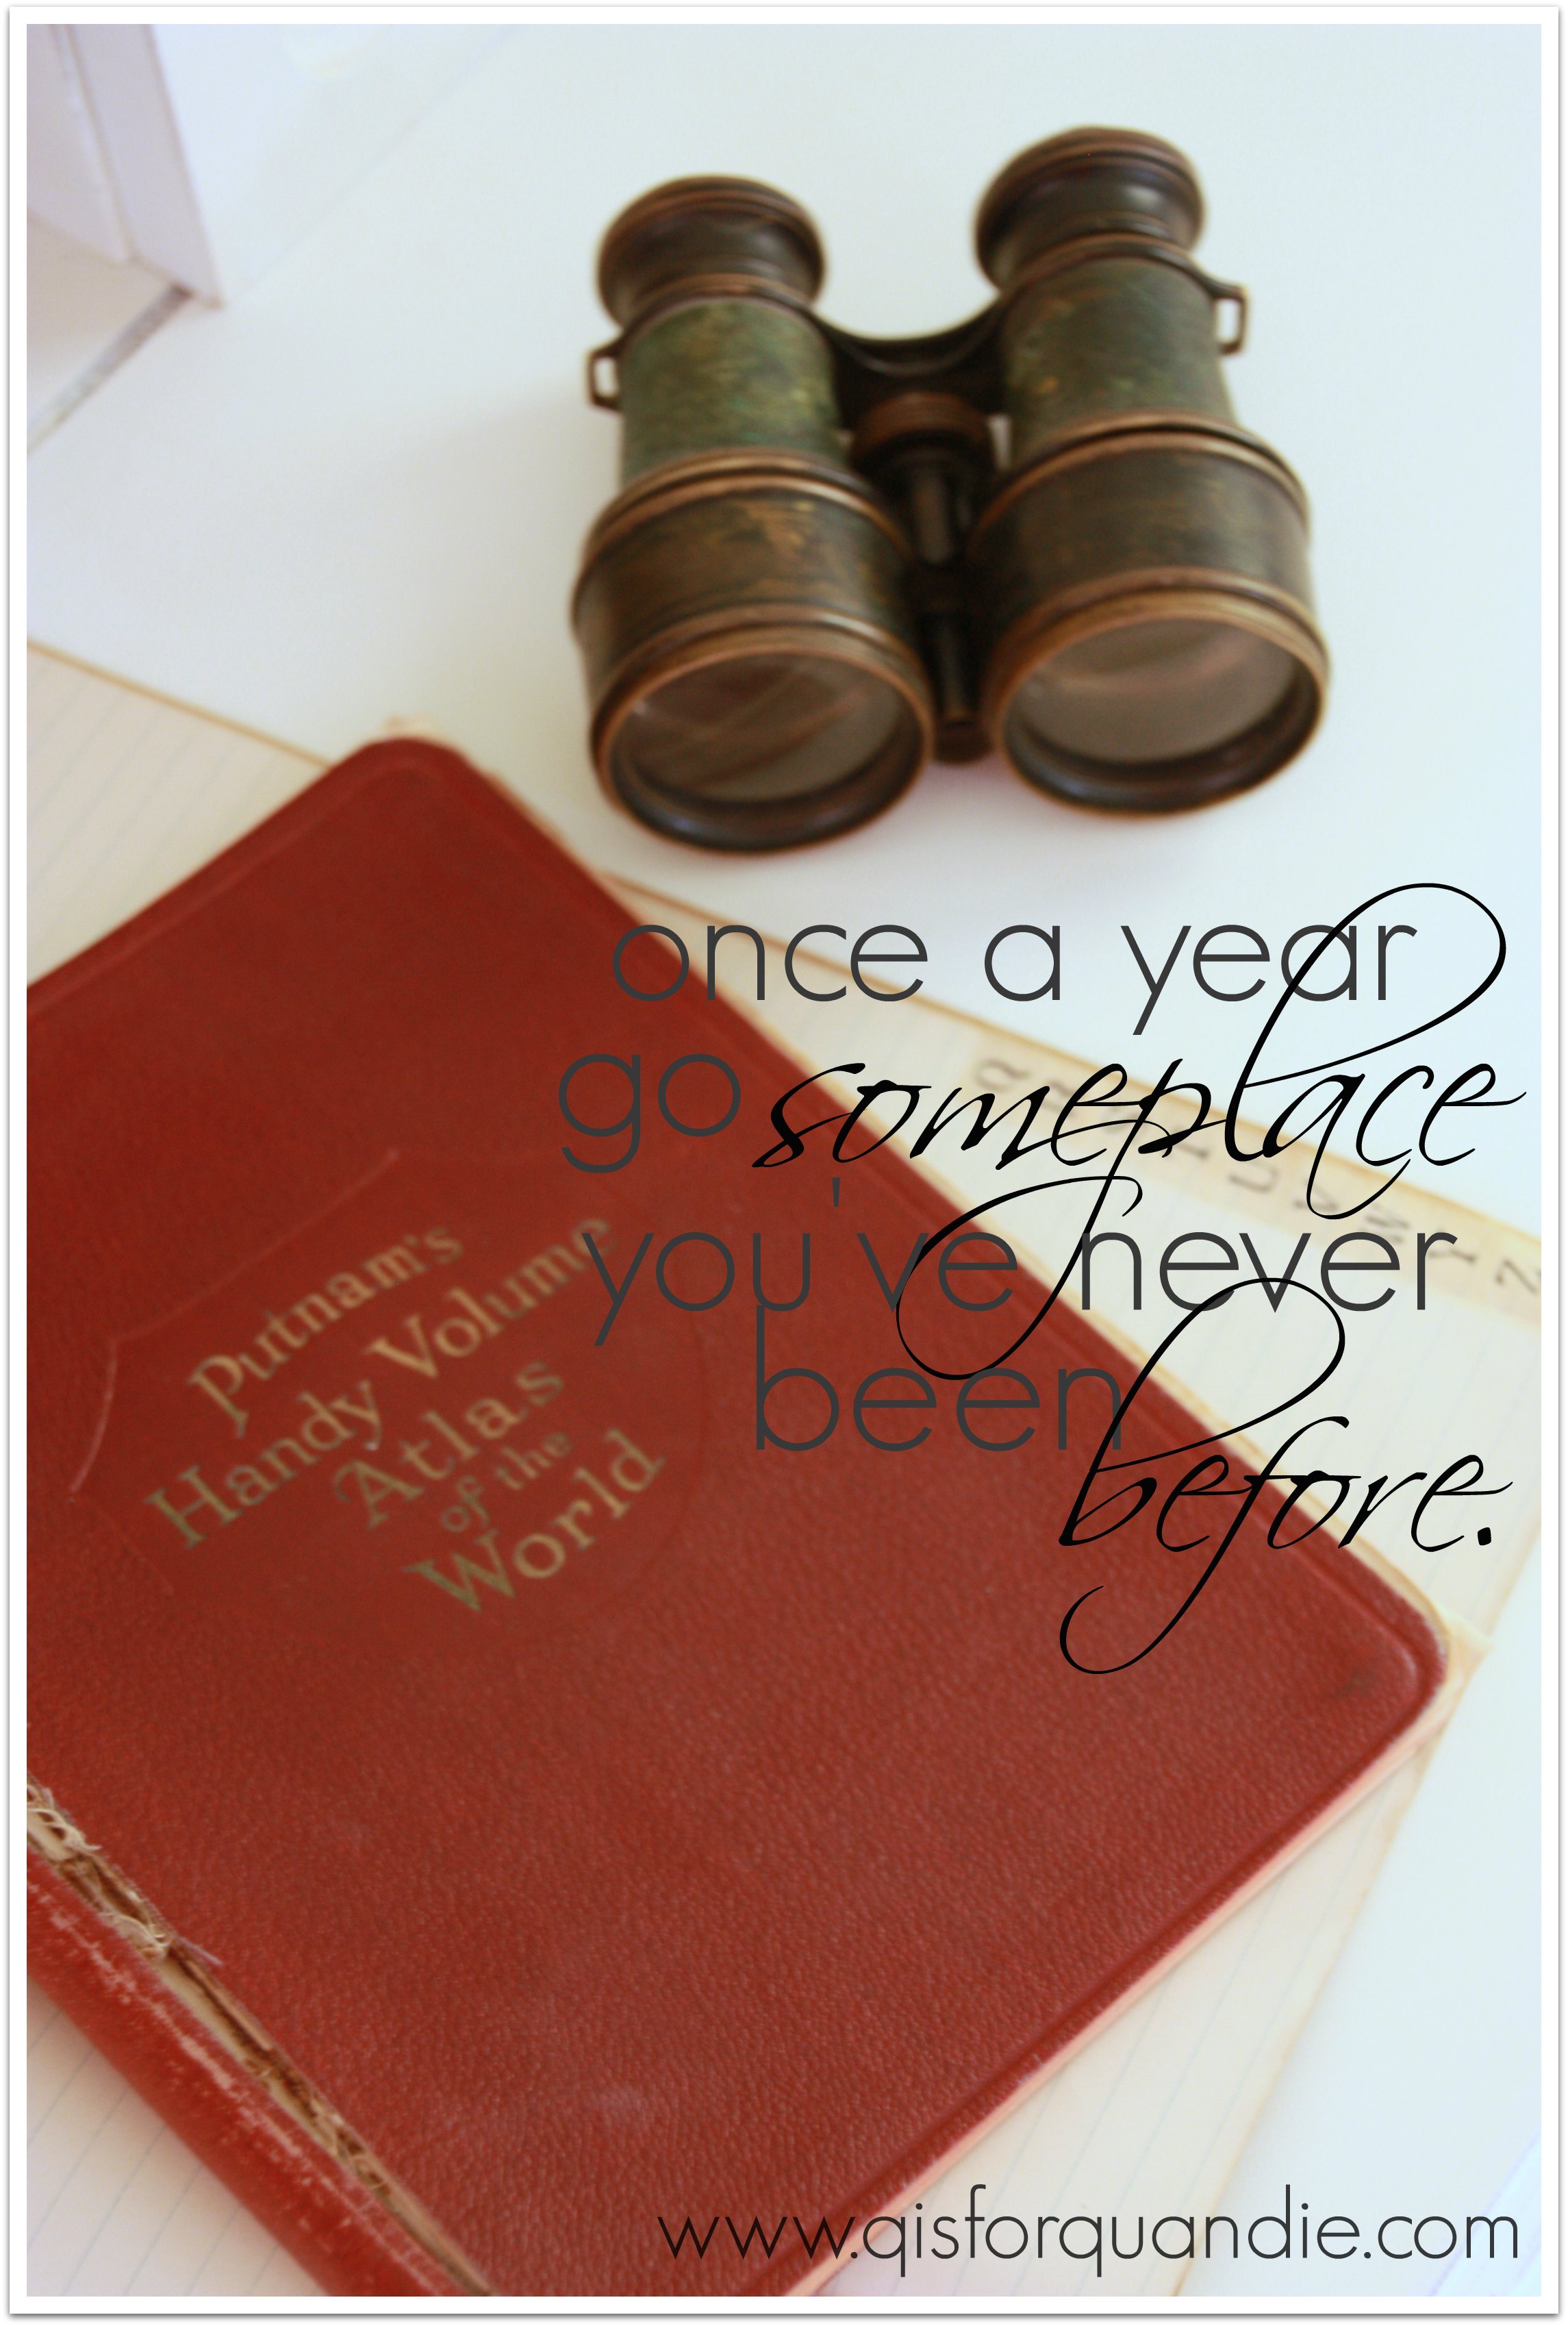
The maps came out of the Putnam Handy Volume Atlas of the World from 1922.

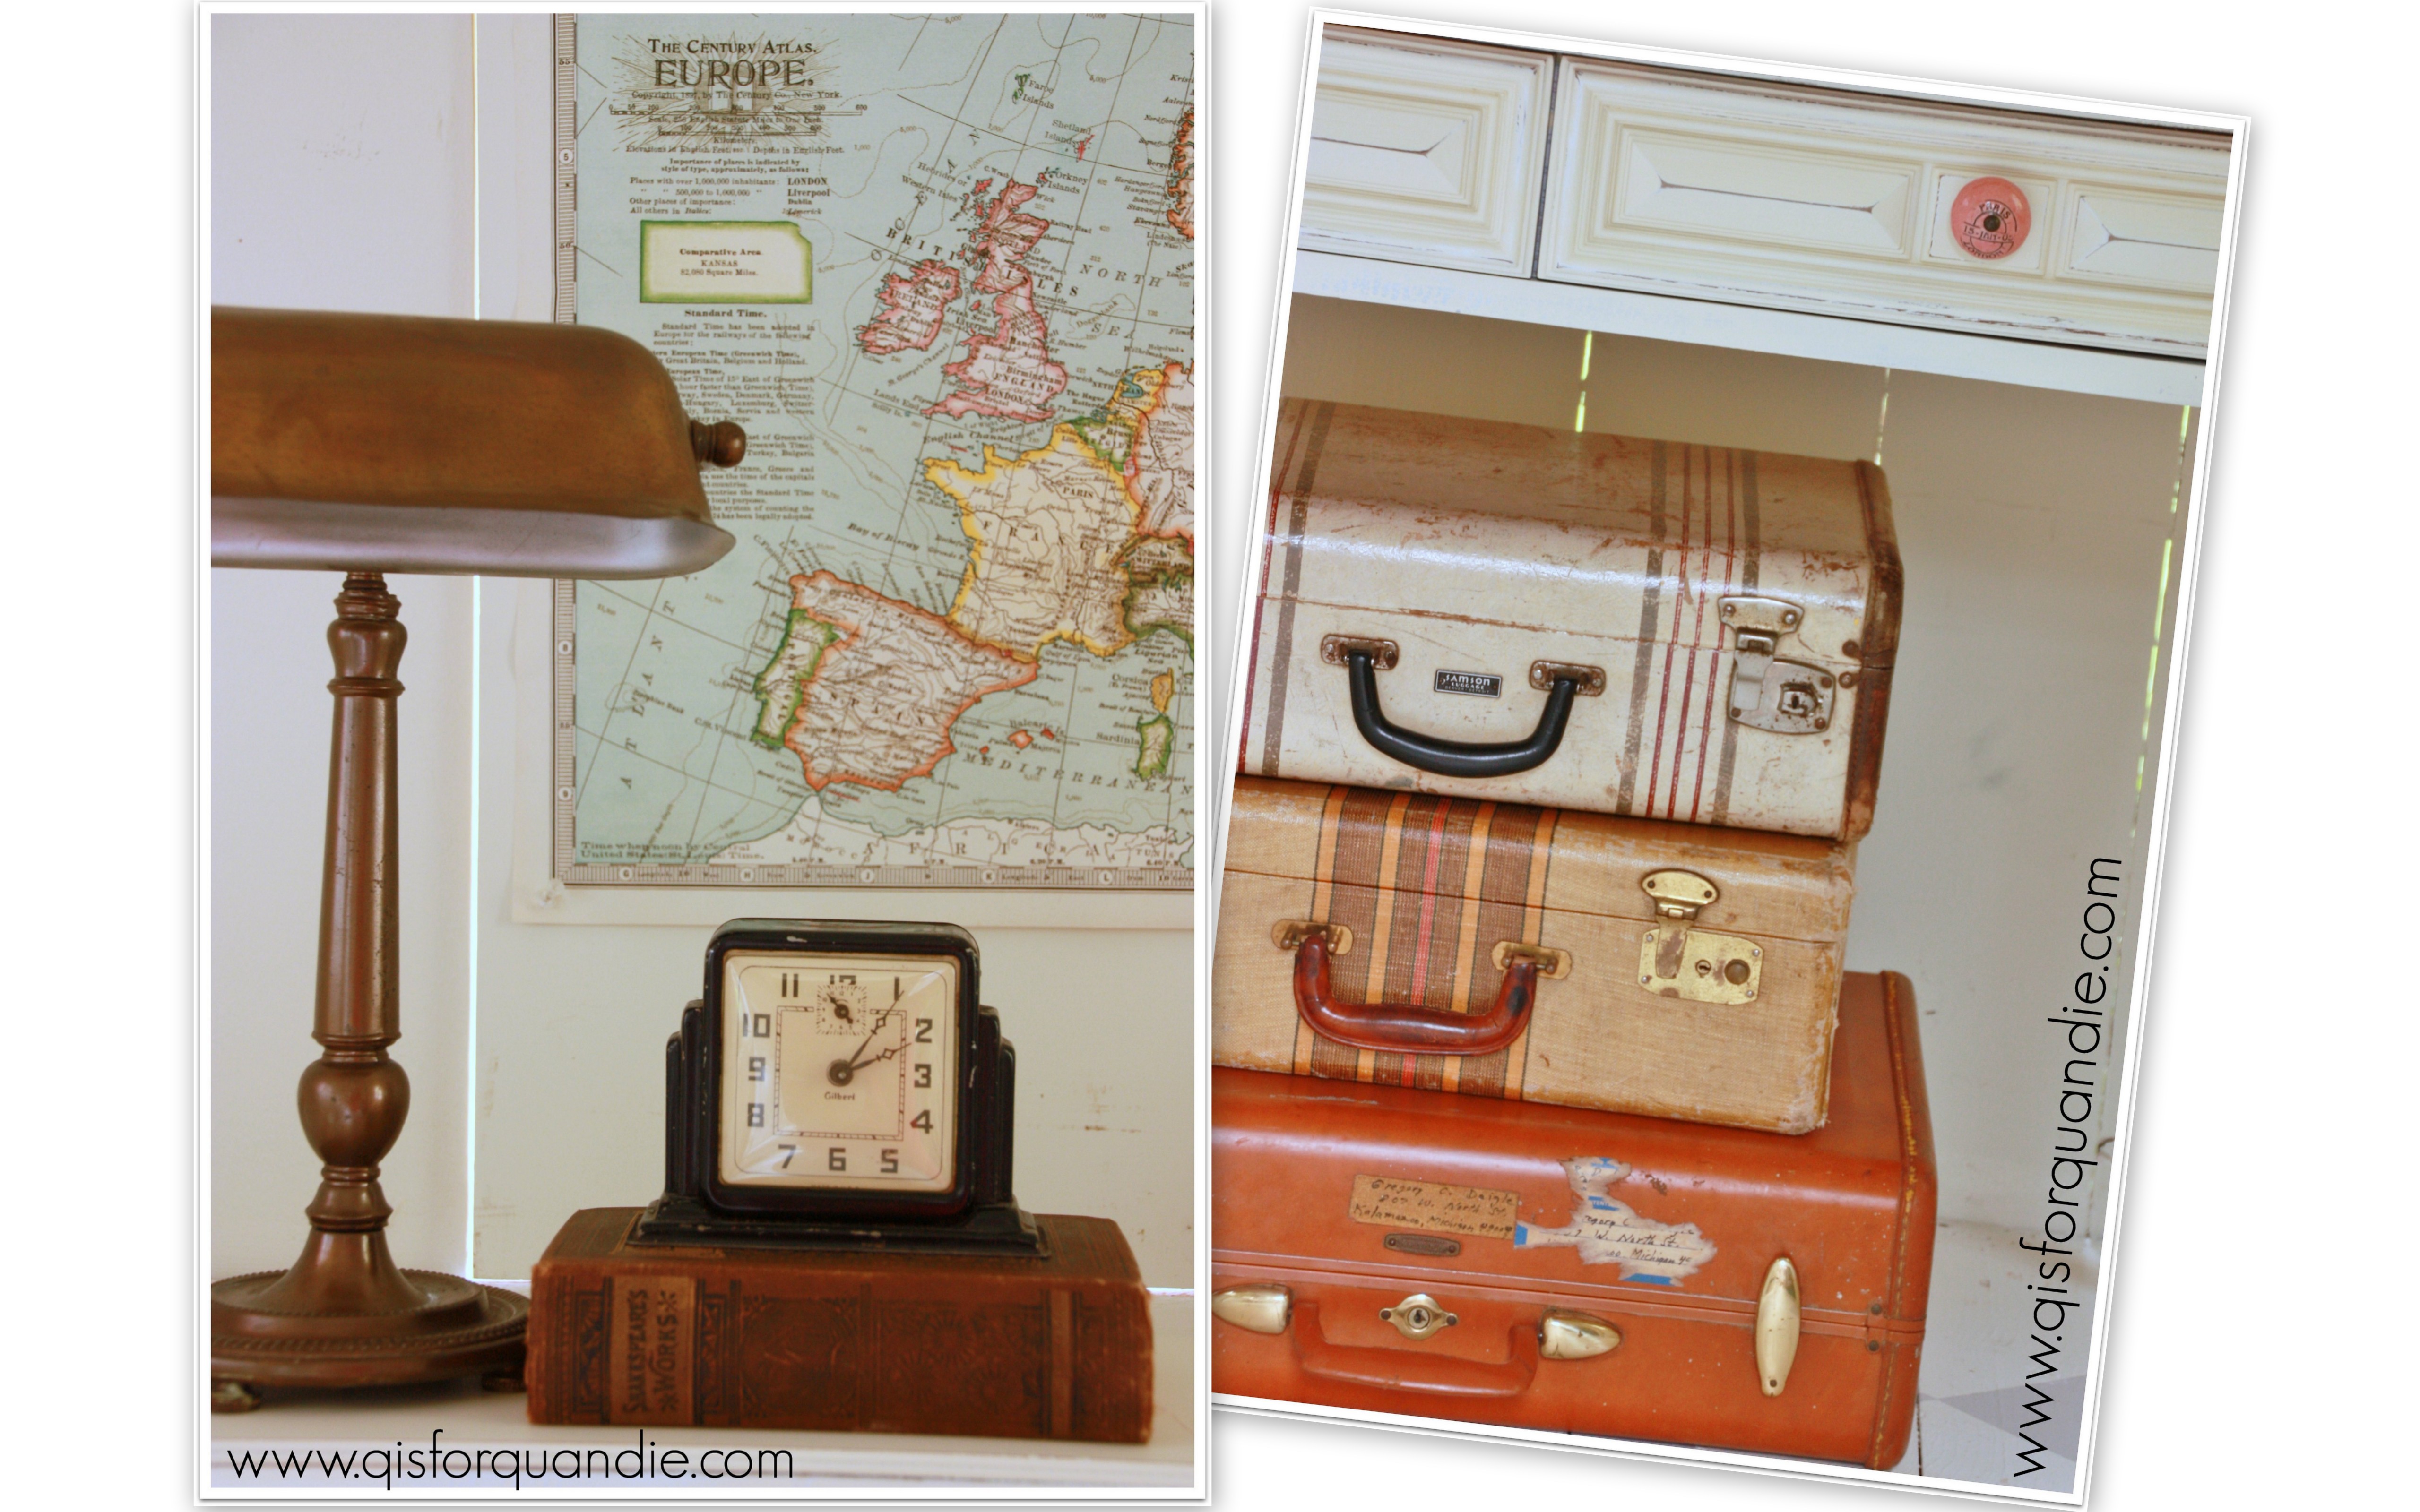
I picture a young woman from the 1920’s sitting at this desk planning her grand tour of Europe.  She has her Europe map hanging on the wall, and her luggage is piled up and ready to go.

2014 summer blog19

She’s making notes about the Doge’s Palace in Venice and Notre Dame de Paris in her journal.  Perhaps she’ll visit the Leaning Tower of Pisa, and hopefully the Tower of London.  Handsome Italian men will try to sweep her off her feet at the Spanish Steps in Rome.

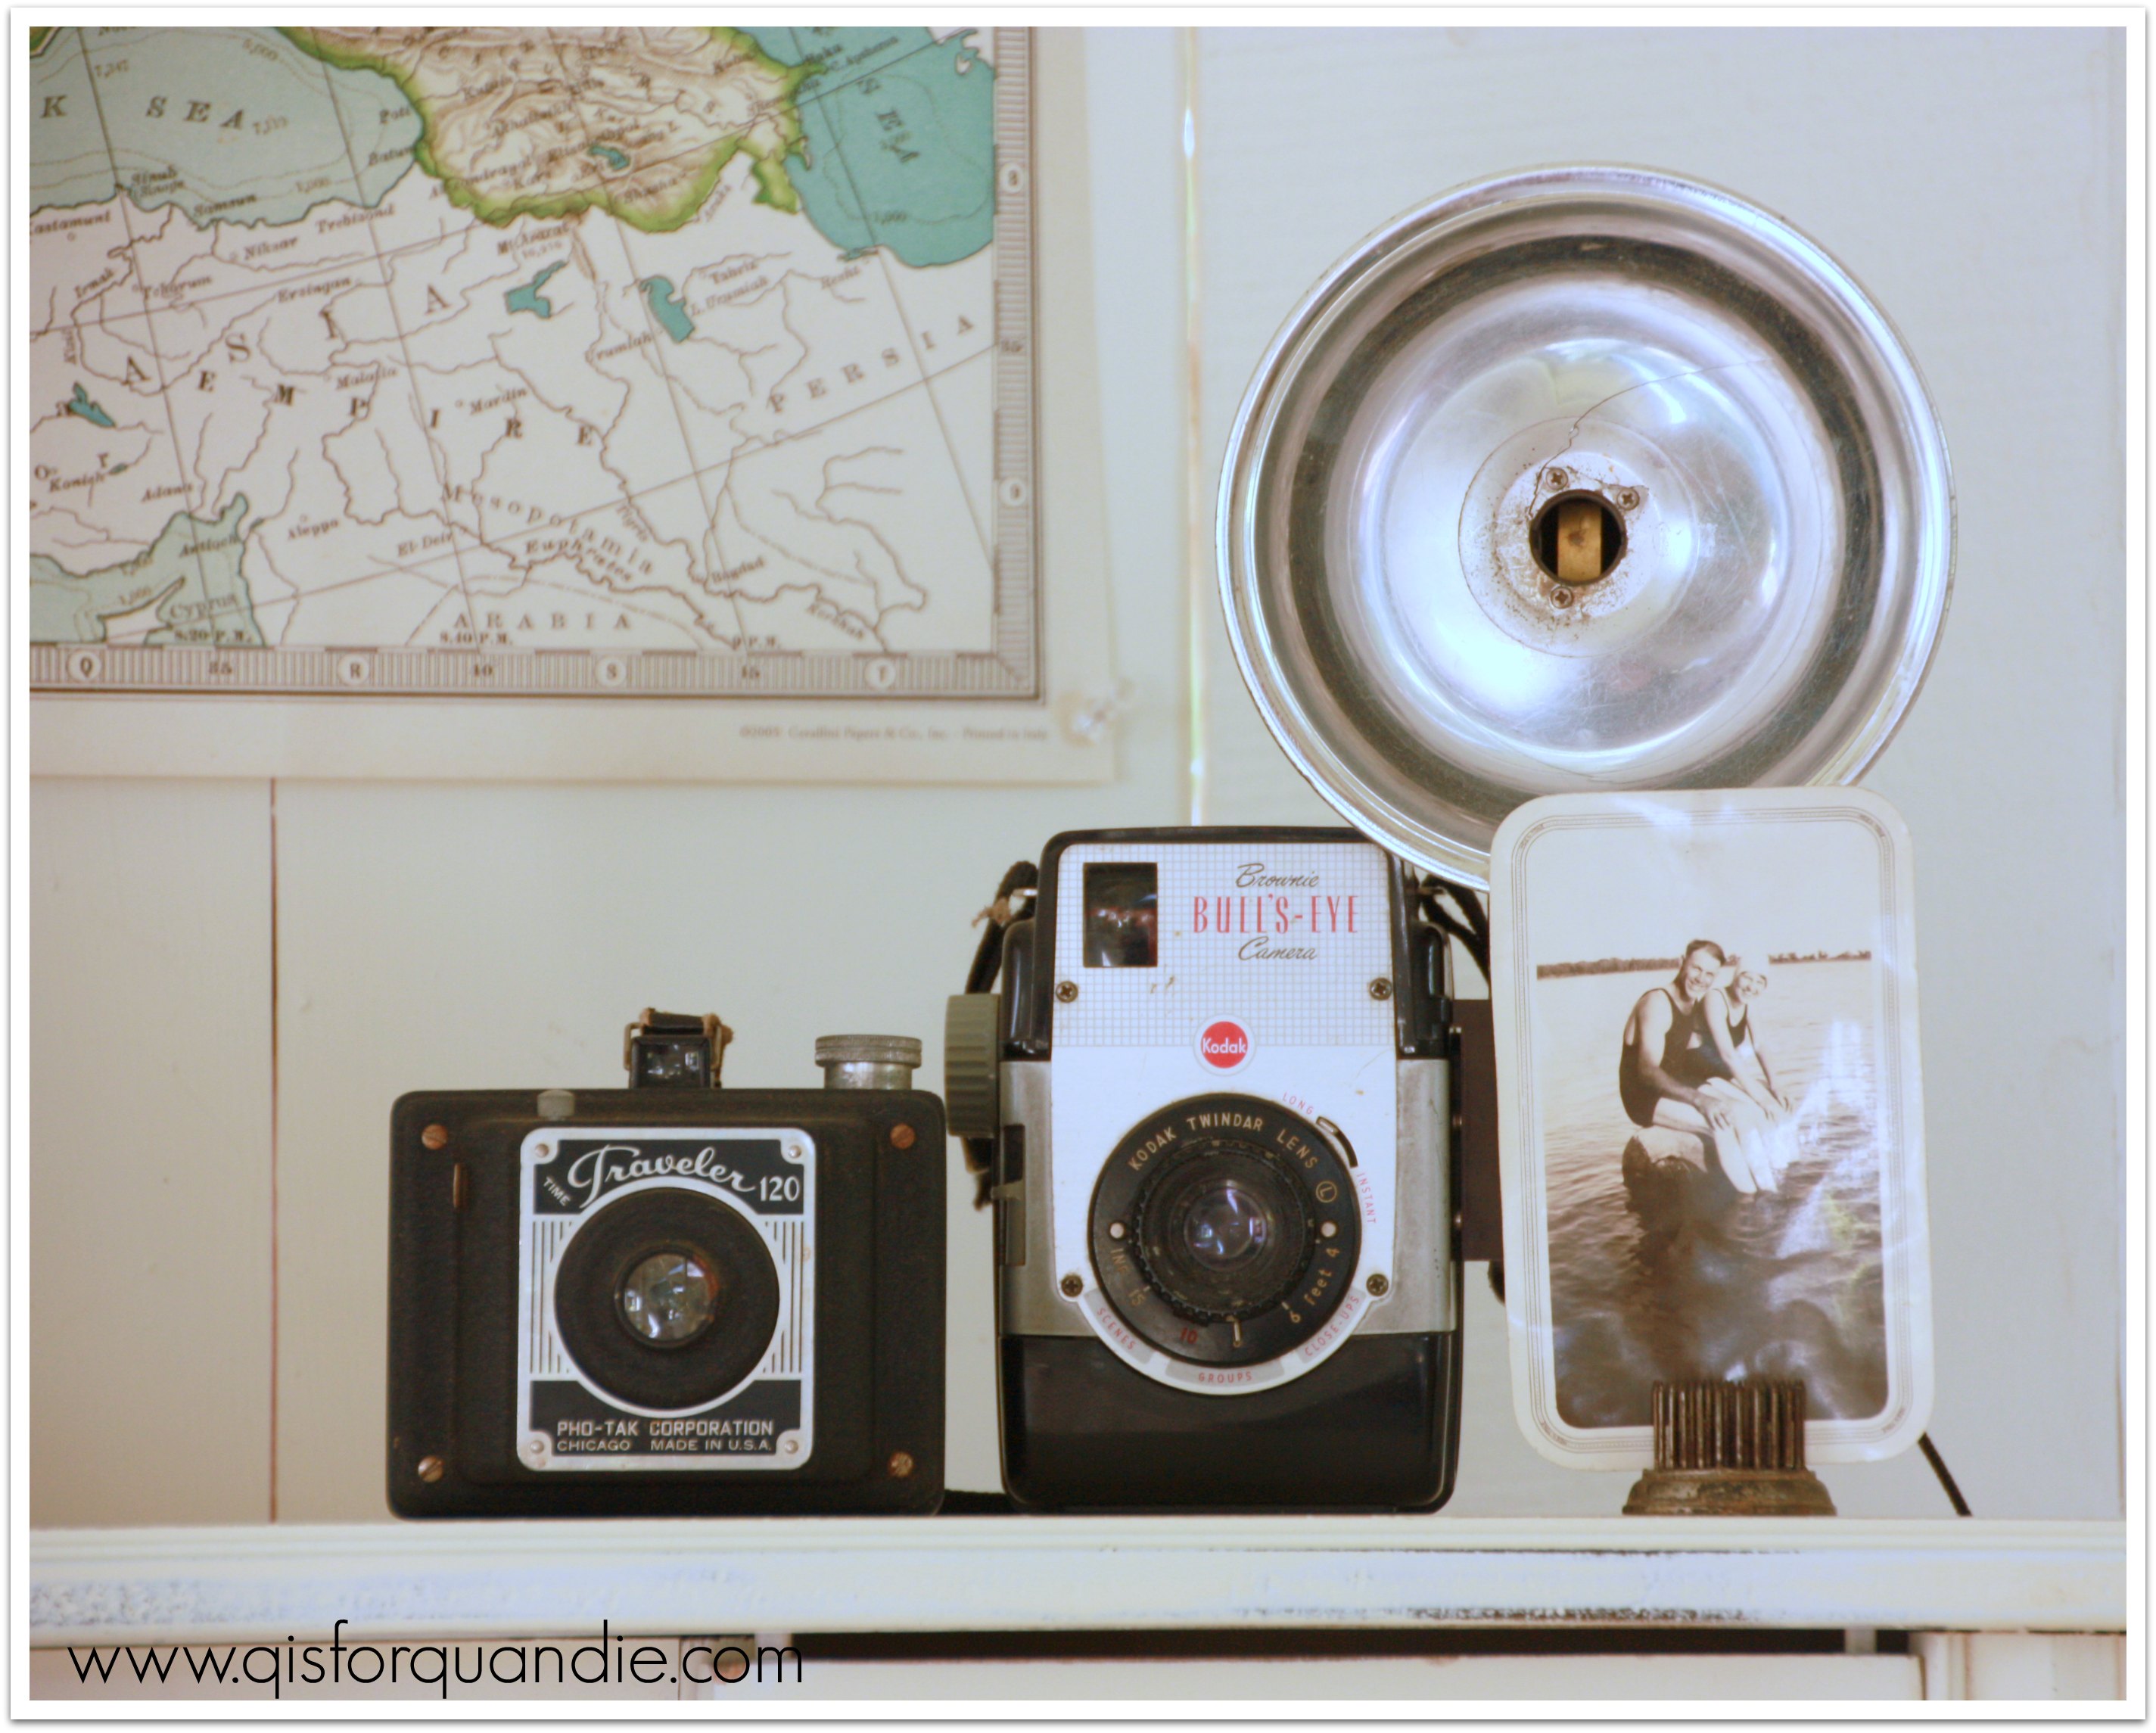
She has plenty of film and her cameras are ready to go.

travel desk cameras

I hope that this desk inspires some travel, or at least a sense of adventure in its recipient.

travel desk on angle

 Don’t you sort of wish you had a trip to plan now?

my travel gallery.

Everybody loves a good gallery wall, right?

I like the mixed media type walls, with items other than just framed stuff.  Like a giant letter or maybe some ceramic antlers.  But for my own gallery walls I just went with my own travel photos and a related wall quote.

travel gallery quote

My upstairs hallway was the perfect location, but it is fairly narrow so I couldn’t add anything that would stick out too far.  Encountering ceramic antlers in the middle of the night could be quite dangerous in this spot.

travel gallery

The door on the right leads to Mr. Q’s study, the door on the left is the master bedroom … and behind door no. 5?  The guest room.  Why is the door numbered?  I numbered all of my doors on a whim one time.  The upstairs doors still have their numbers.  And can I just take a moment to say, I love my doors.  Super heavy, original six panel doors.  Over time I have switched out most of the knobs to black or white vintage enamel.

Anyway, when I decided to do this, I began by stockpiling black frames at garage sales.  They are easy to find, and usually pretty cheap.  I still have more black frames on hand and hope to get more pictures soon to add to my gallery.  You could also find basic black frames at Goodwill on the cheap.

travel gallery doors wallI suppose I could have done something fancy, like lay all of the frames out on newspaper first and arrange and re-arrange until I was happy with the layout and then use the newspaper to line up the nail holes on the wall.  But no, that would be way too much work for me.  Instead I just started in the center and worked my way out.  Not perfect, but I’m happy with the outcome.

All of the pics were taken by your’s truly.  I love, love, love travel photography.  Did I mention, I love it?  Thank goodness Mr. Q is up for wandering around a foreign city without a goal in mind other than finding fab things to photograph.  As long as we occasionally stop for coffee, he is game.  Mr. Q and I put a lot of miles on our feet when we travel and we know from experience that getting lost is the best way to see a new city.

2014 summer blog12

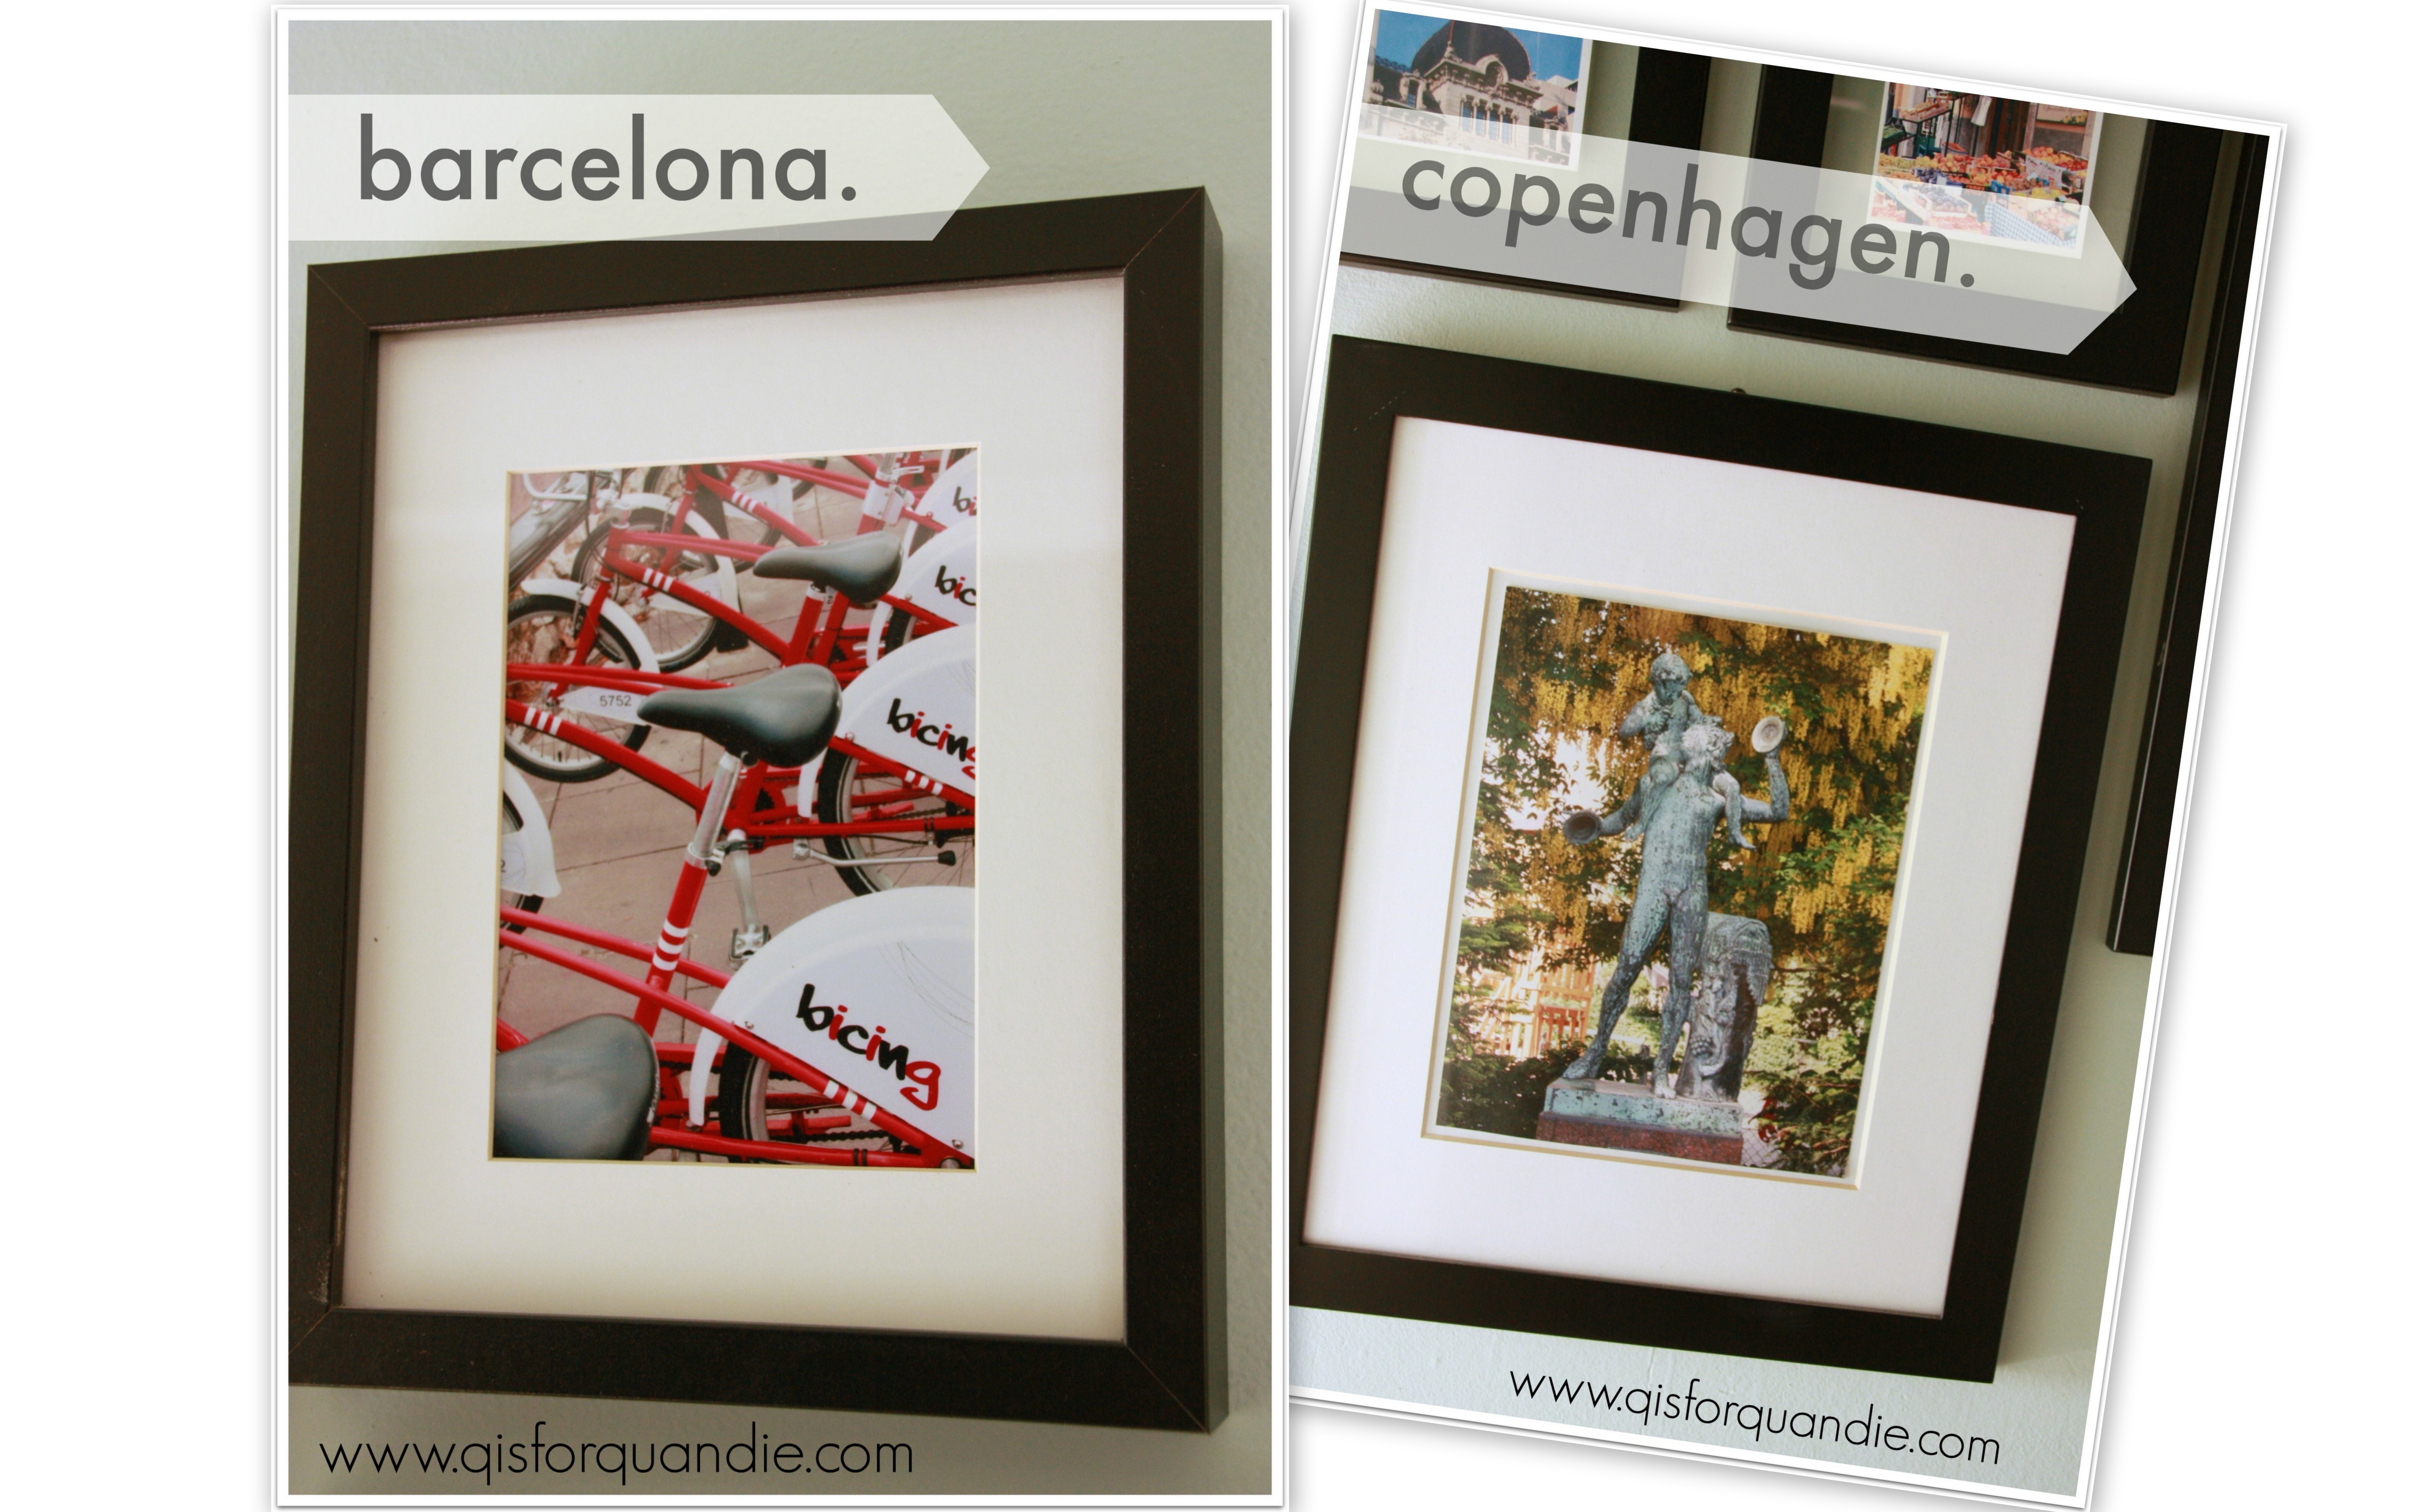
 Both Barcelona and Copenhagen are fantastic cities to get lost in.  We were in Copenhagen in springtime and these fabulous trees with hanging yellow blossoms were everywhere.  I don’t know what they are, but they were amazing and they looked gorgeous behind this verdigrised statue.

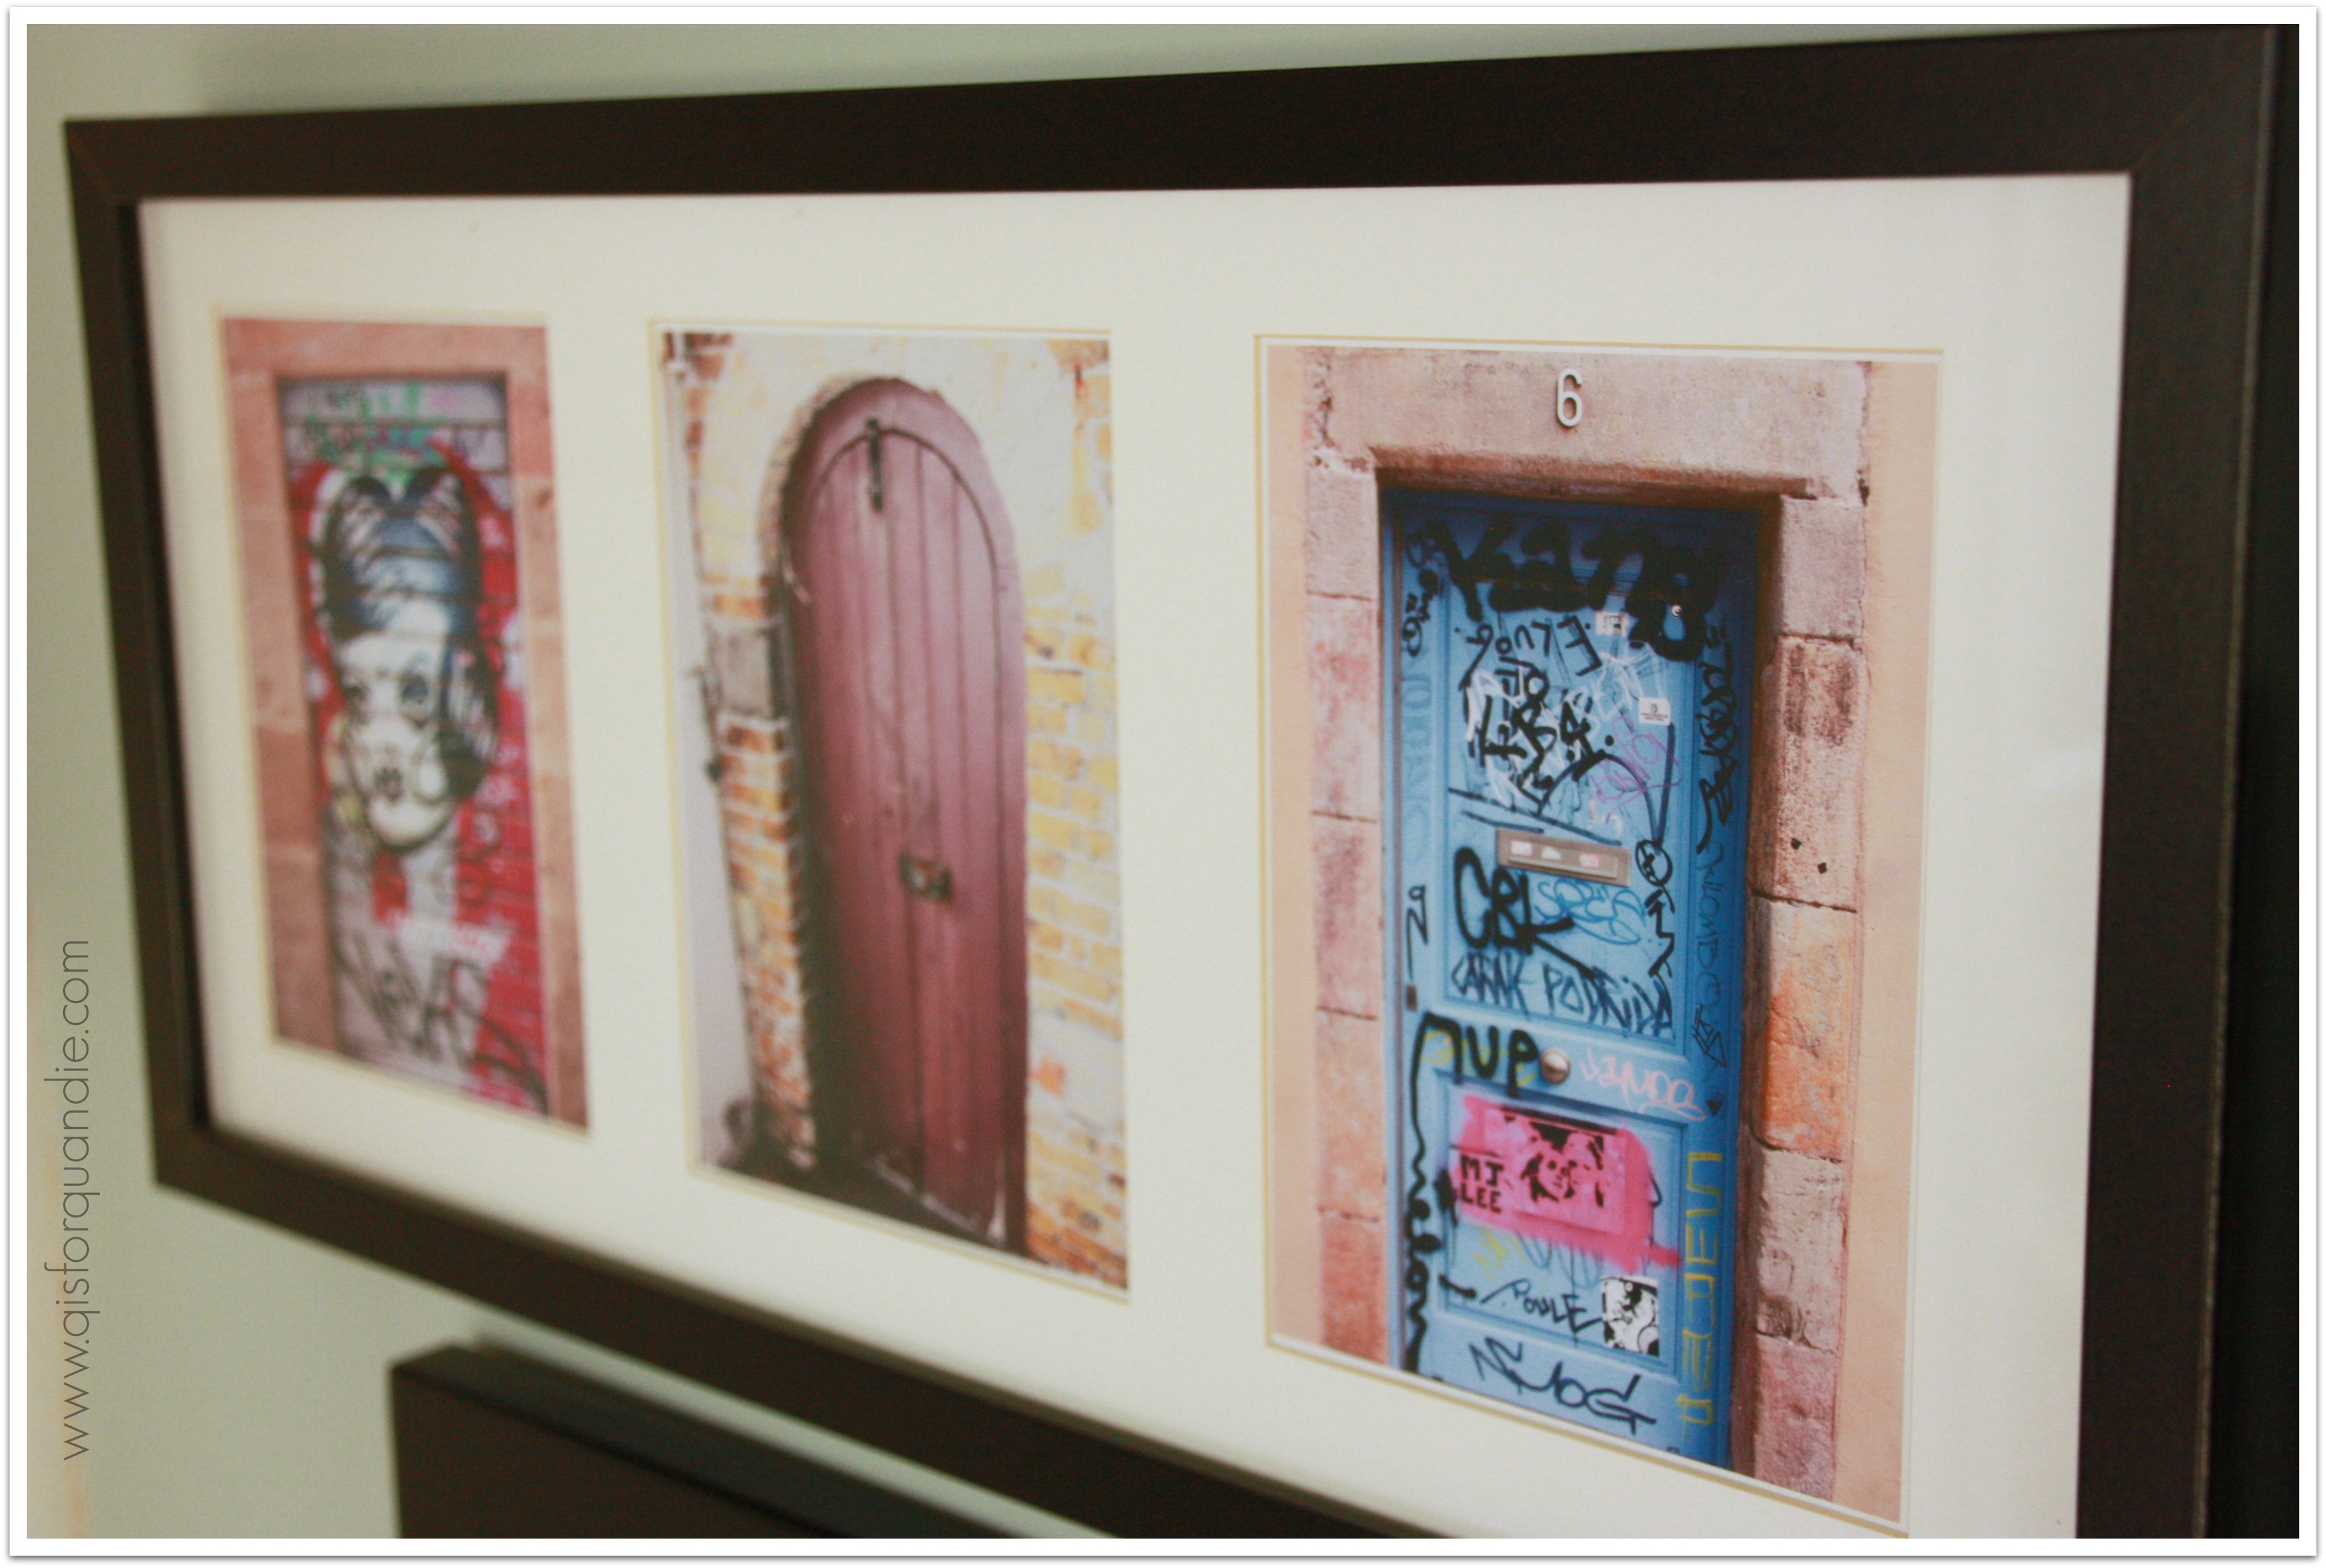
travel gallery doorsThese doors were all in Barcelona.  I love graffiti, it has such a raw, urban feel to it.  And I also love taking photos of doors, so these doors were perfect for me.

2014 summer blog13

Tangier has some great doors too, and it also had this fantastic motor scooter/cart.  We hired a private guide in Tangier, because the Medina in Tangier is probably one place you really don’t want to get lost.

We went to a wedding in this church in Puerto Vallarta.  One of Mr. Q’s co-workers was from there and he invited us down for his wedding.  The church was fantastic and filled with history and the reception was a blast.  It was held in a big park, but there were tables with linens and candles right out in the open and it was a gorgeous night in February.  Each table had several bottles of tequila and bowls of limes and we were serenaded by a mariachi band.  As you can imagine, much fun was had by all!

travel gallery wall

The red mailbox with the “GR” on the front is in Gibralter, and the fruit stand is in the Cinque Terre.  The photo with the canal in it at the upper left was taken in Prague.

Although I didn’t keep track of how much this gallery wall cost, I am sure I never paid more than a dollar or two for each frame.  I printed the photos myself, so yes the paper and ink cost me something.  But overall, this was a pretty budget friendly way to make a big impact as long as you don’t factor in the actual cost of the travel!

As you can see, I have filled the walls nearly right down to the baseboard.  I think this helps up the fabulousity factor.

travel gallery window

If you are a budding photographer, I recommend you do your own gallery wall.  Take some great shots, print them out and fill up a wall in your house!

succulents are the new black.

In the last couple of years it seems like succulents have become very trendy.  There are so many varieties, and the colors and textures are pretty fab.

succulents

So I admit it, I jumped on the succulent bandwagon, but in a small way.

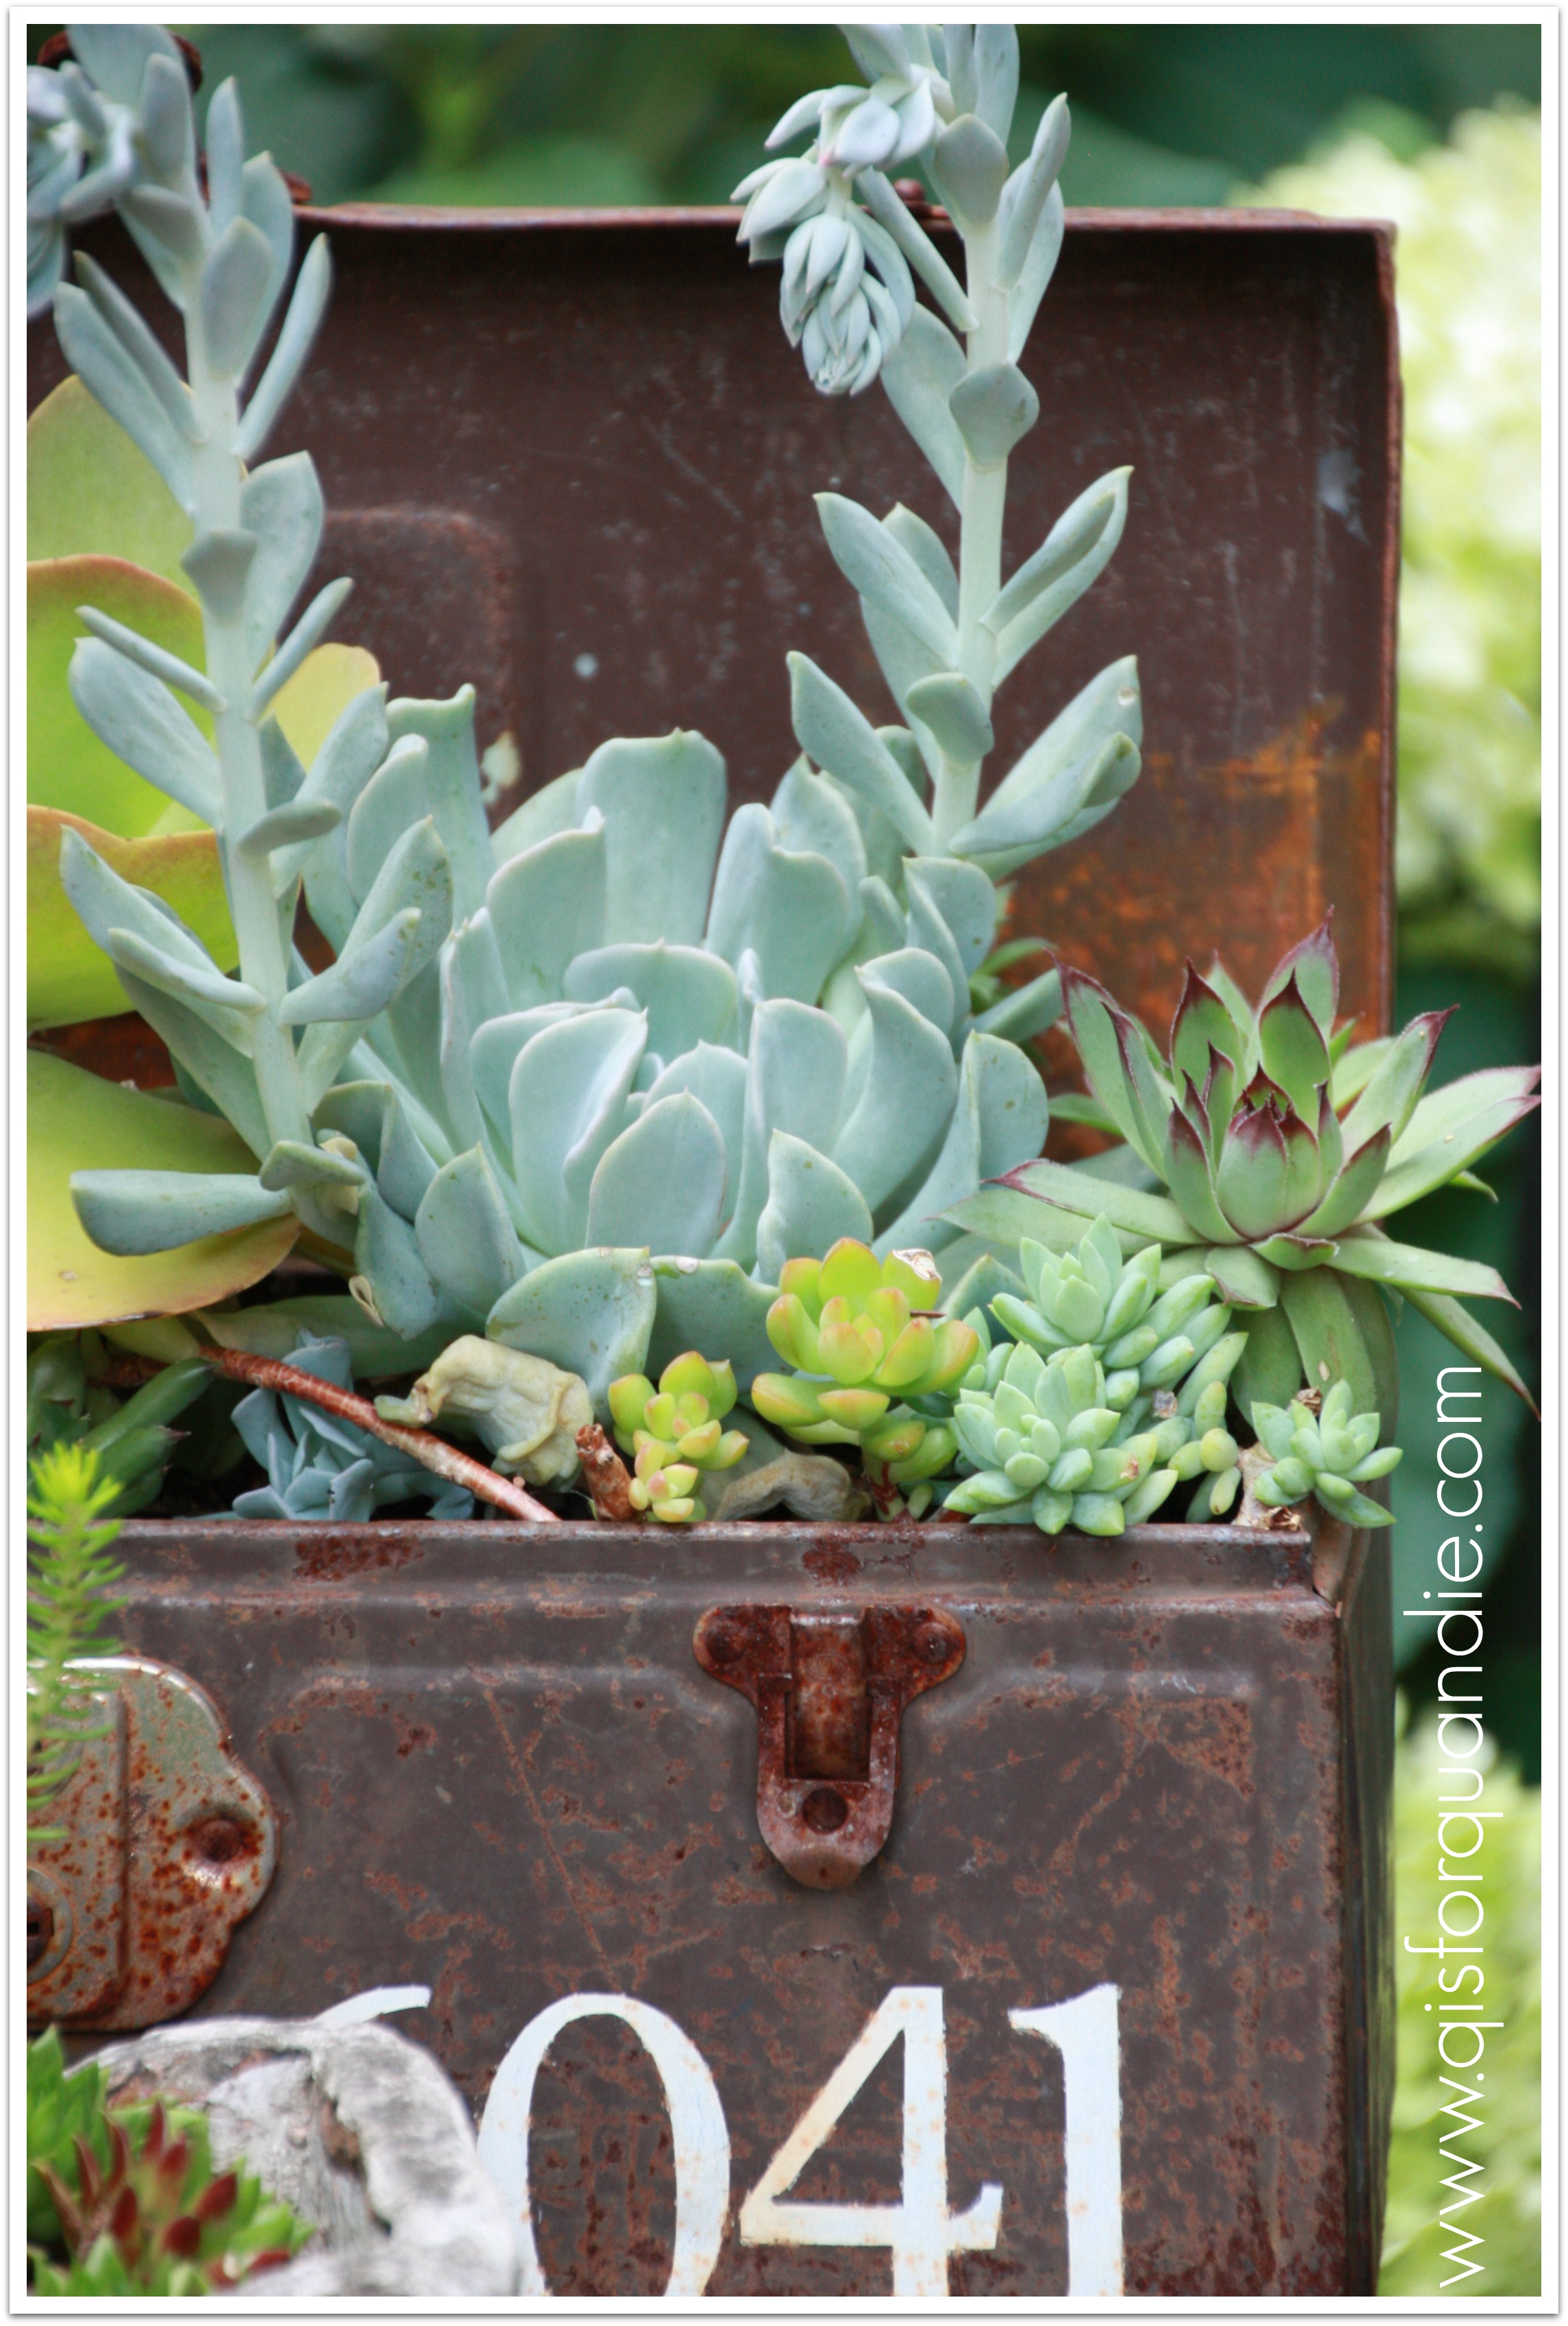
succulent toolboxI love rusty old metal toolboxes, don’t you?  I decided this one would make the perfect container for some succulents.  First, I stenciled my house numbers on it.  I used my Cricut machine and made my own ‘stencil’ using contact paper.  After cutting out the numbers, I just removed them and kept the rest of the contact paper.  I adhered it to the metal toolbox, and then just used white spray paint to paint the numbers.  I thought it would hold up well against the elements since this planter stays outside in the summer.  This is its 3rd summer, and as you can see it’s getting pretty rusty, but the paint has held up well.

succulent toolbox closeup

I punched some holes for drainage in the bottom of the toolbox using a large nail and a hammer.  I just pounded the nail through the metal in several different spots.  Fancy people might use a drill for this part of the process, but the nail and hammer worked pretty well.  Your planters especially need drainage if they are going to be outside.

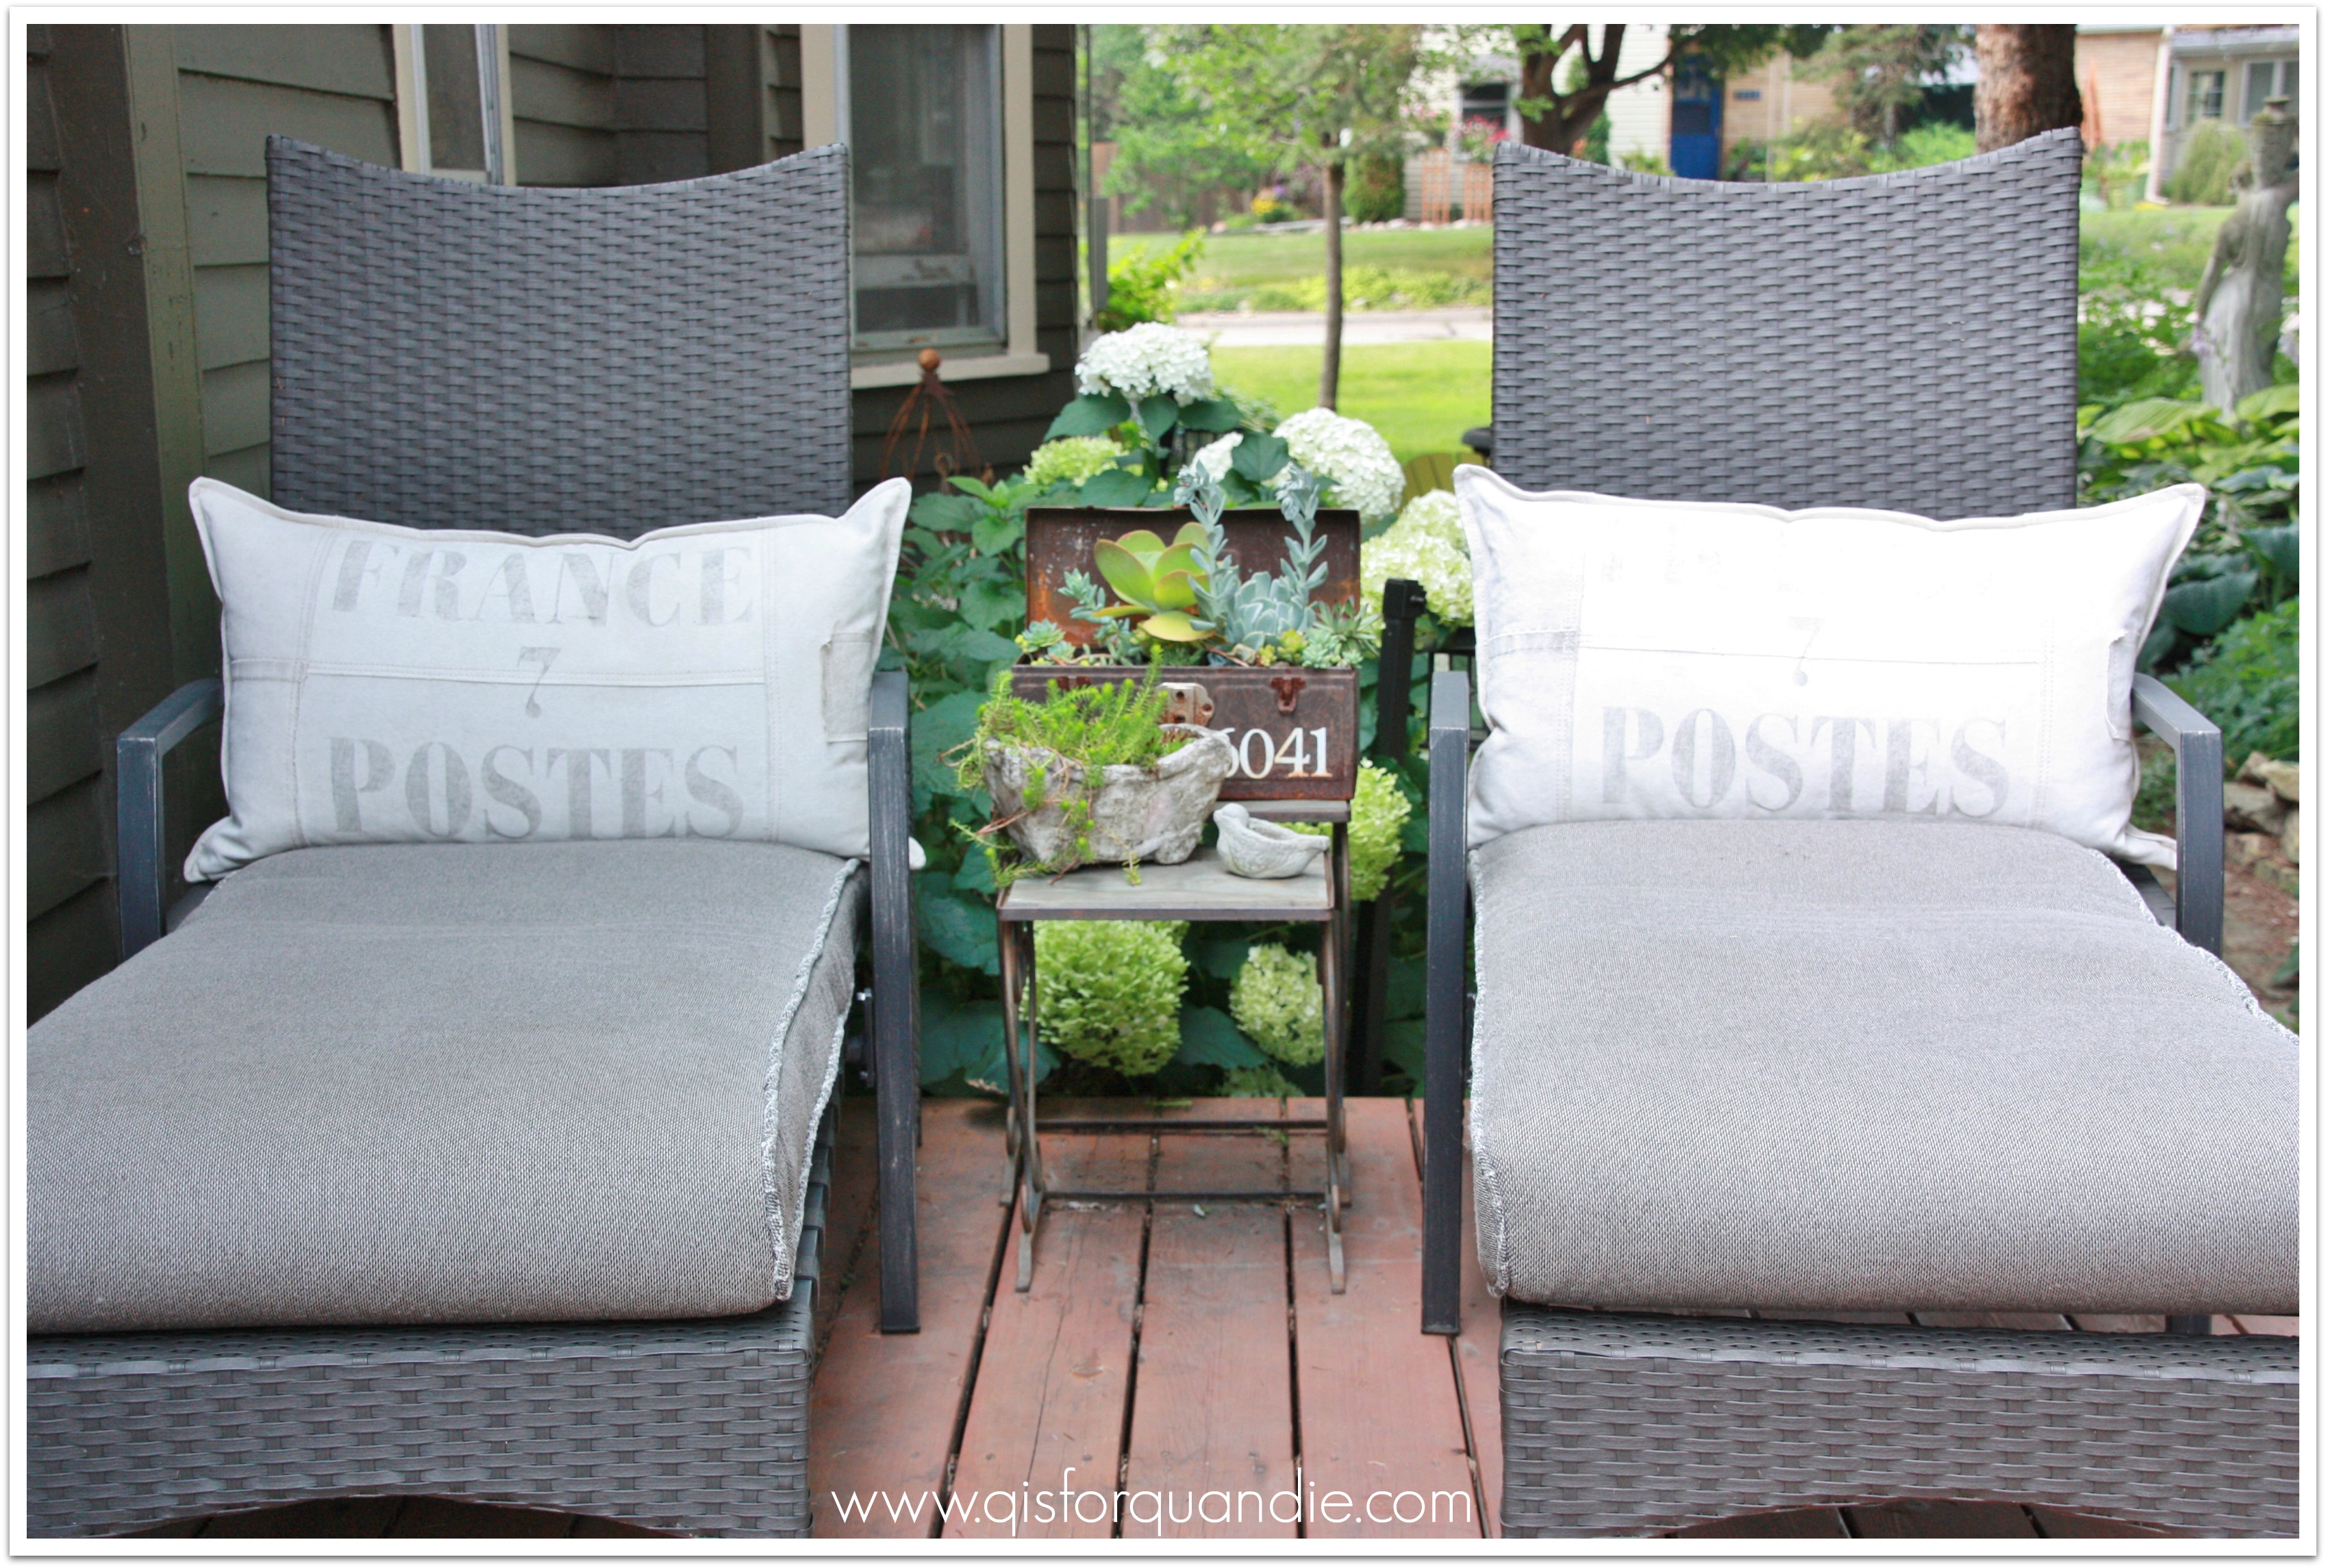
I keep this on the deck between my lounge chairs (and that is one of my Annabelle hydrangeas back there behind the chairs).

succulents on the deck

This is an awesome spot to sip a glass of wine and look at some of my favorite decorating books.

succulents with bookThe pillow covers came from Restoration Hardware, and I bought them on clearance.  I don’t usually pay Restoration Hardware prices for stuff unless it’s on sale.  This patio furniture came with some very blah pillows when I bought it, so it was nice to upgrade them to something a little more ‘me’.  I’m a little embarrassed to admit that I am completely obsessive about not leaving the cushions out unless we are using them.  But hey, we’ve had this furniture at least five years now and the cushions still look great and this is why!

succulents on deck close up

How about you?  Have you jumped on the succulent bandwagon and planted some of your own?

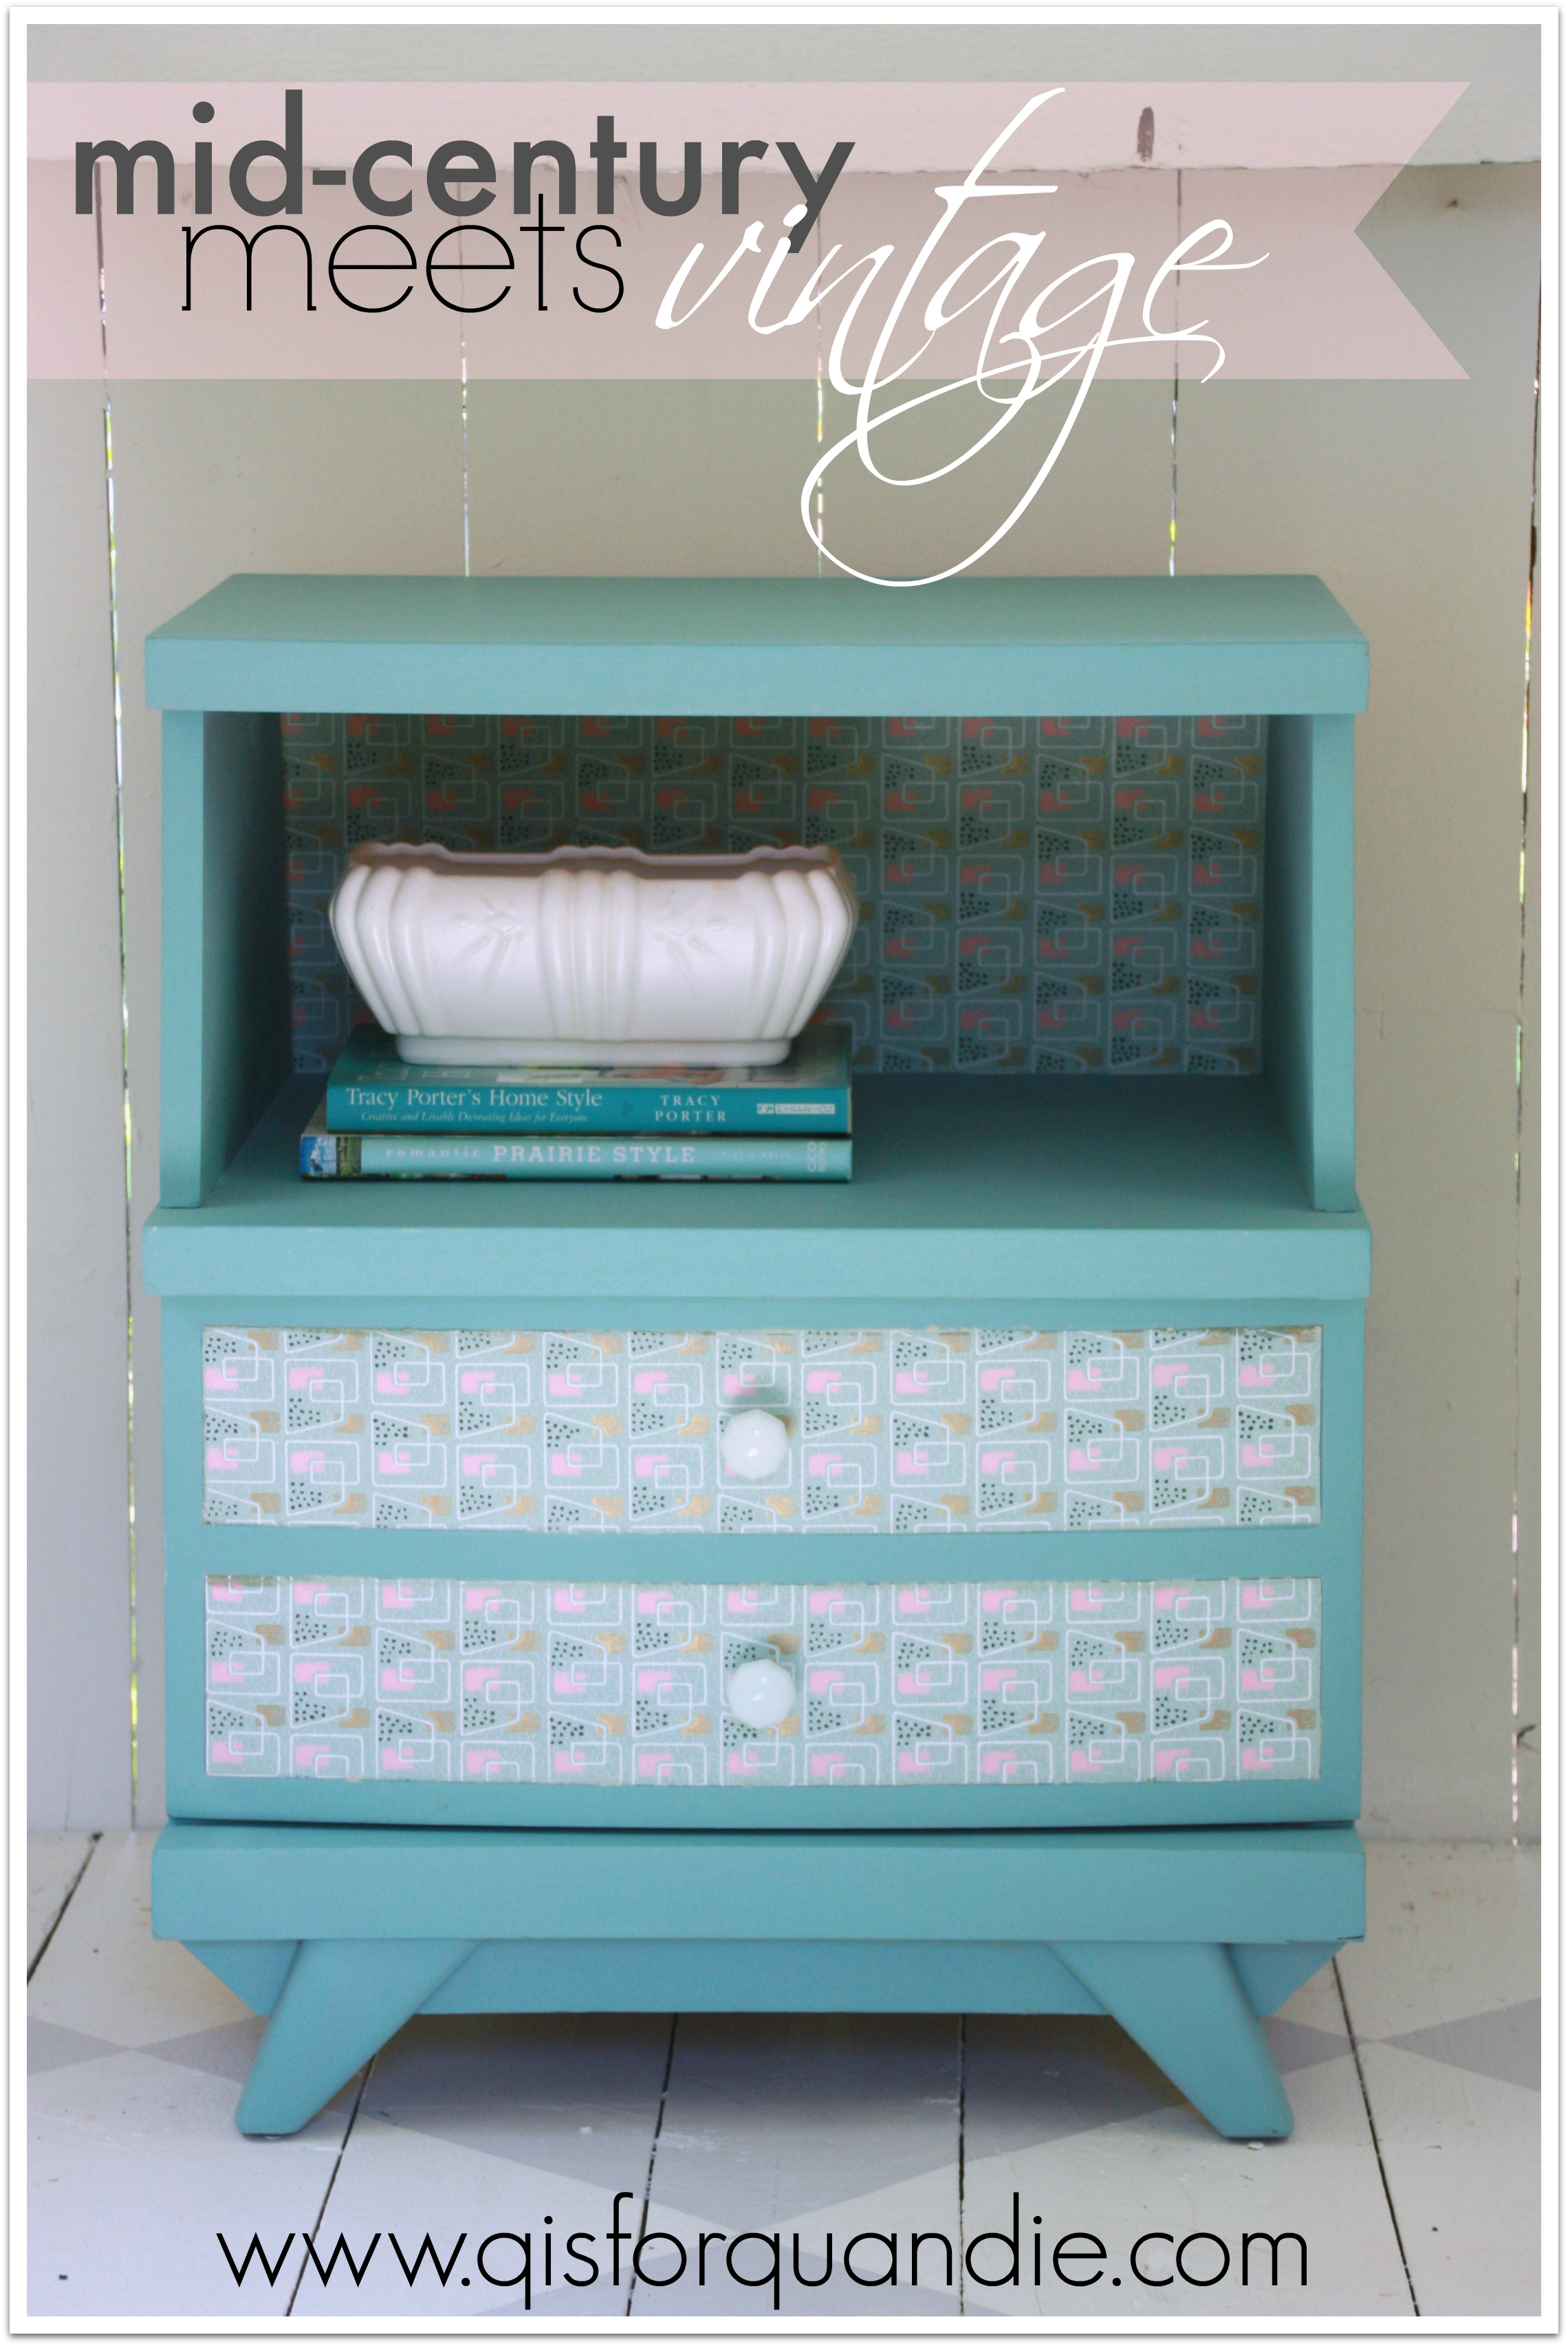
mid-century meets vintage.

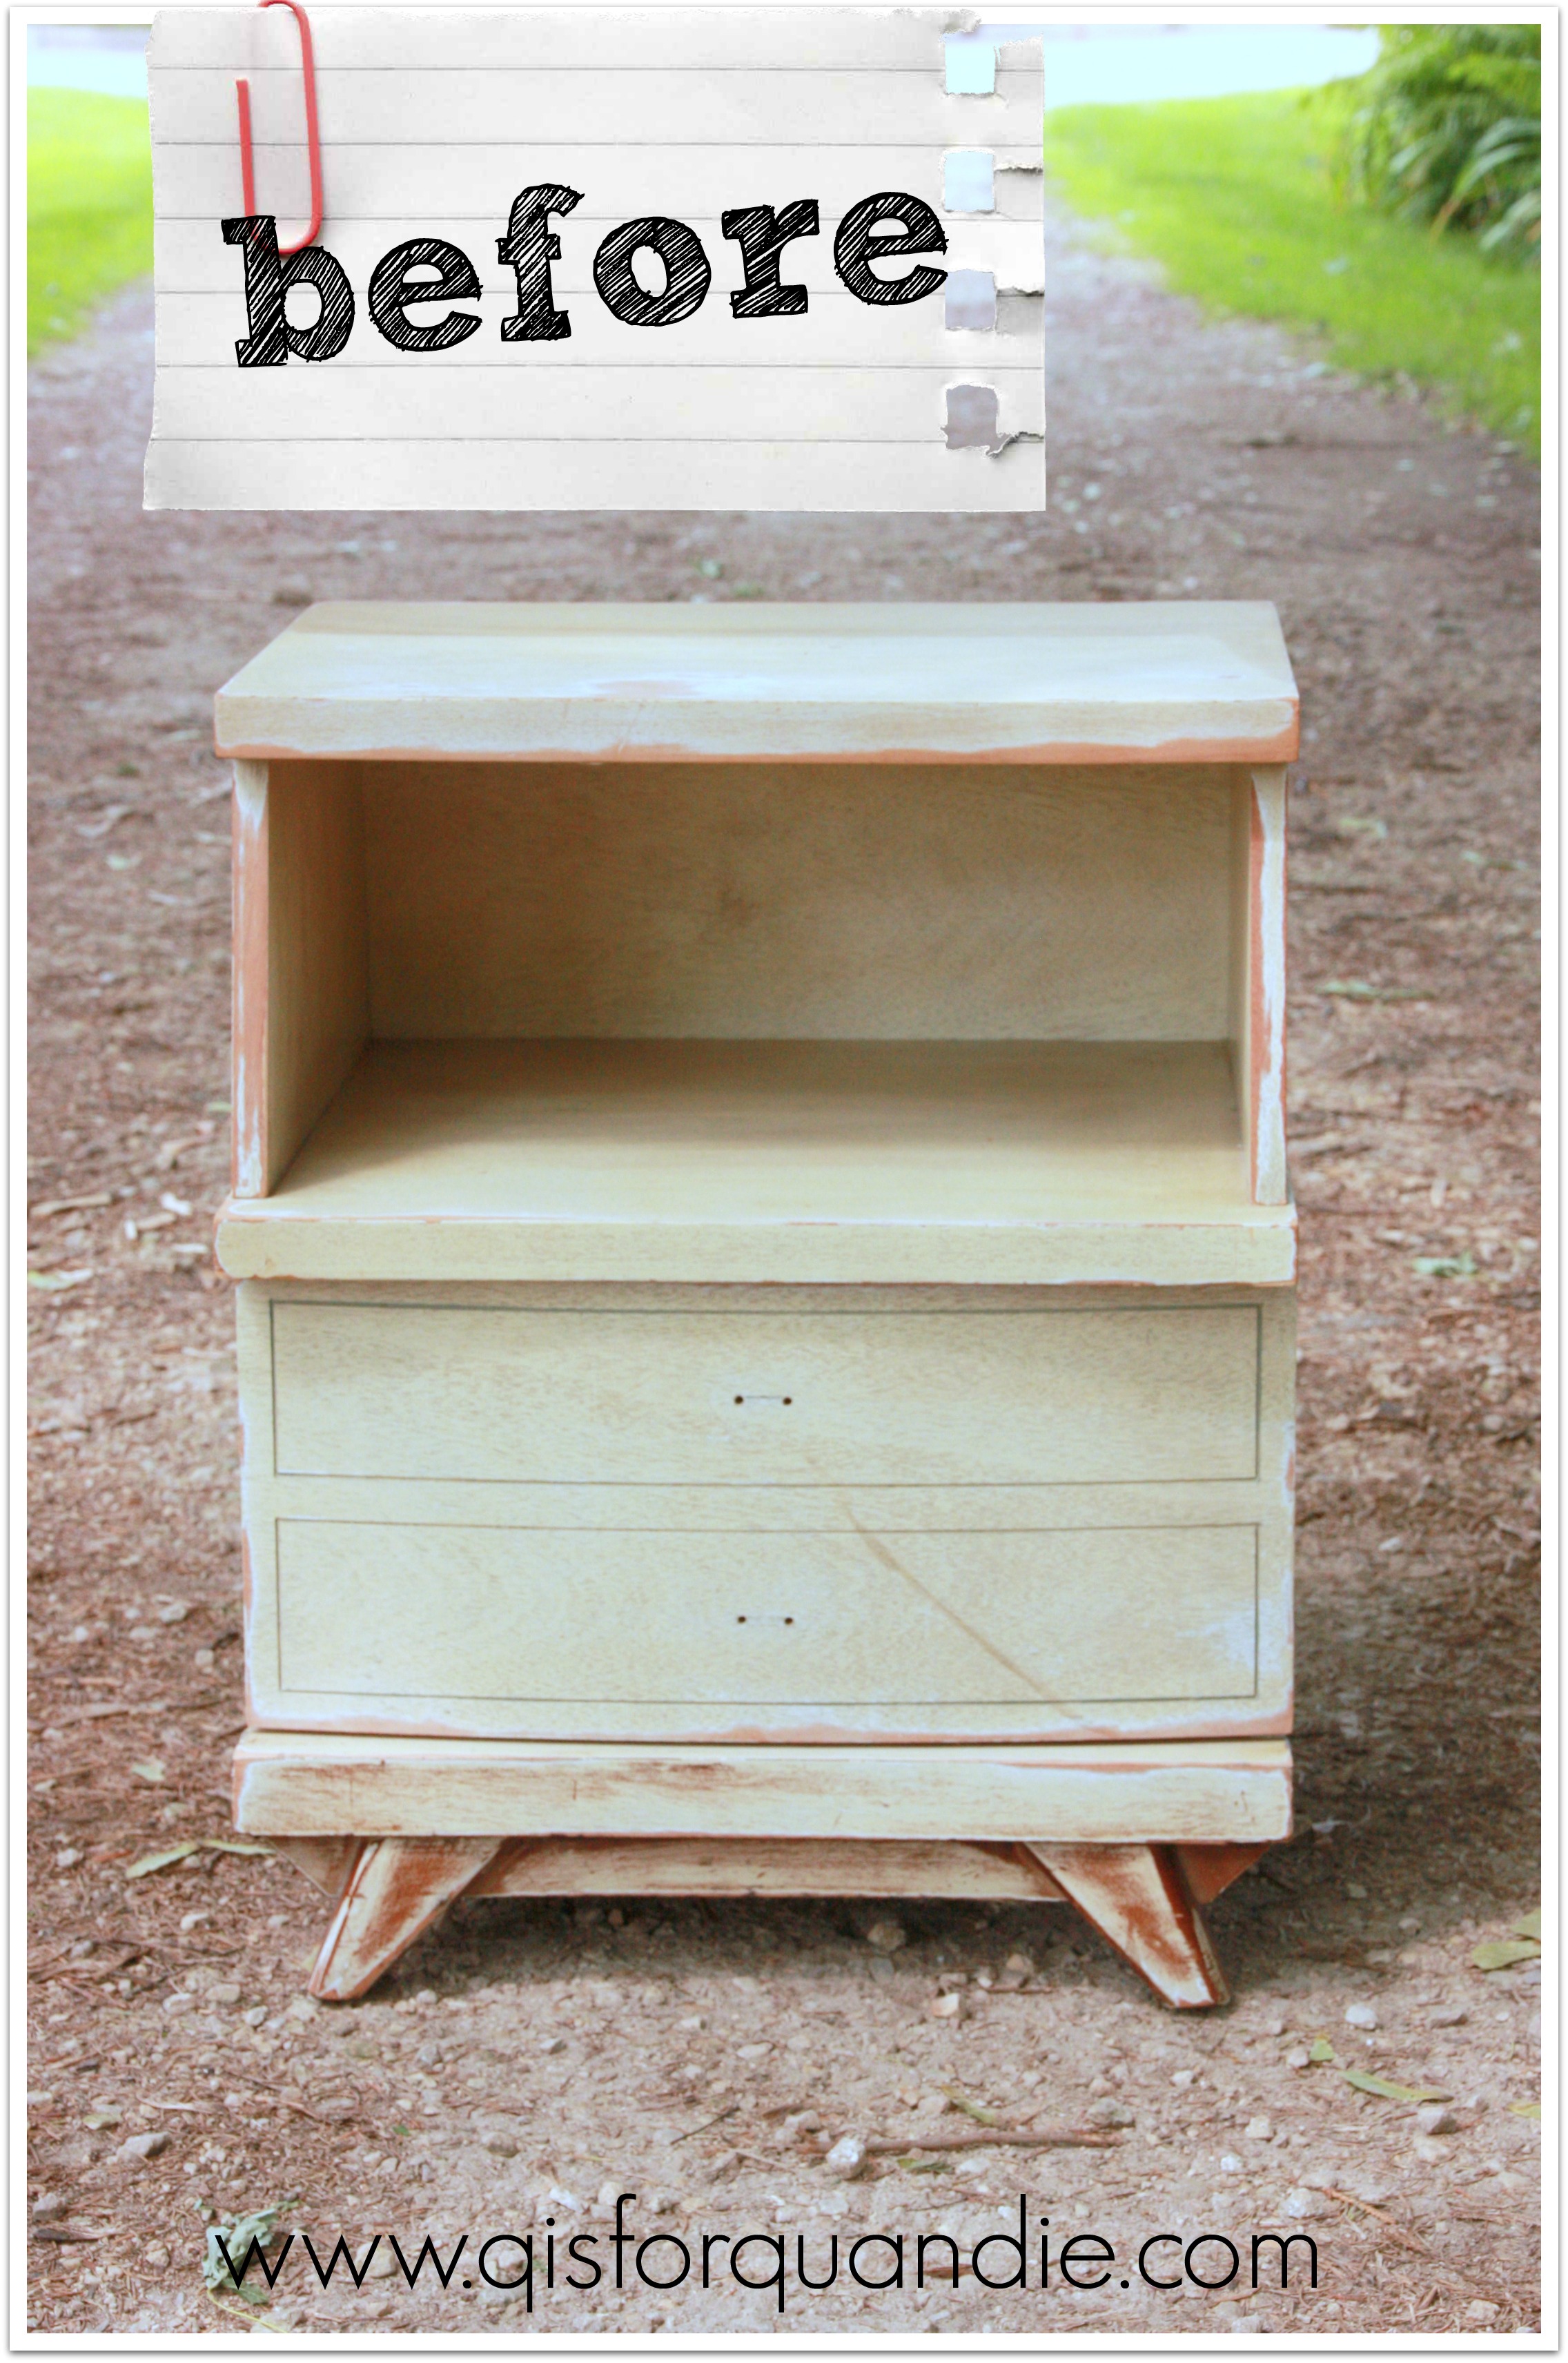
I picked this nightstand up at the Highland Park garage sales.  It was pre-prepped for me, meaning the person selling it had intended to refinish it herself, but she never completed it.  She had sanded it and removed the knobs (unfortunately, she didn’t have them anymore).

highland park mid-century before

It was so nice of her to take care of the boring parts of the process for me!  All I had to do was focus on the creative, ie. fun, part.

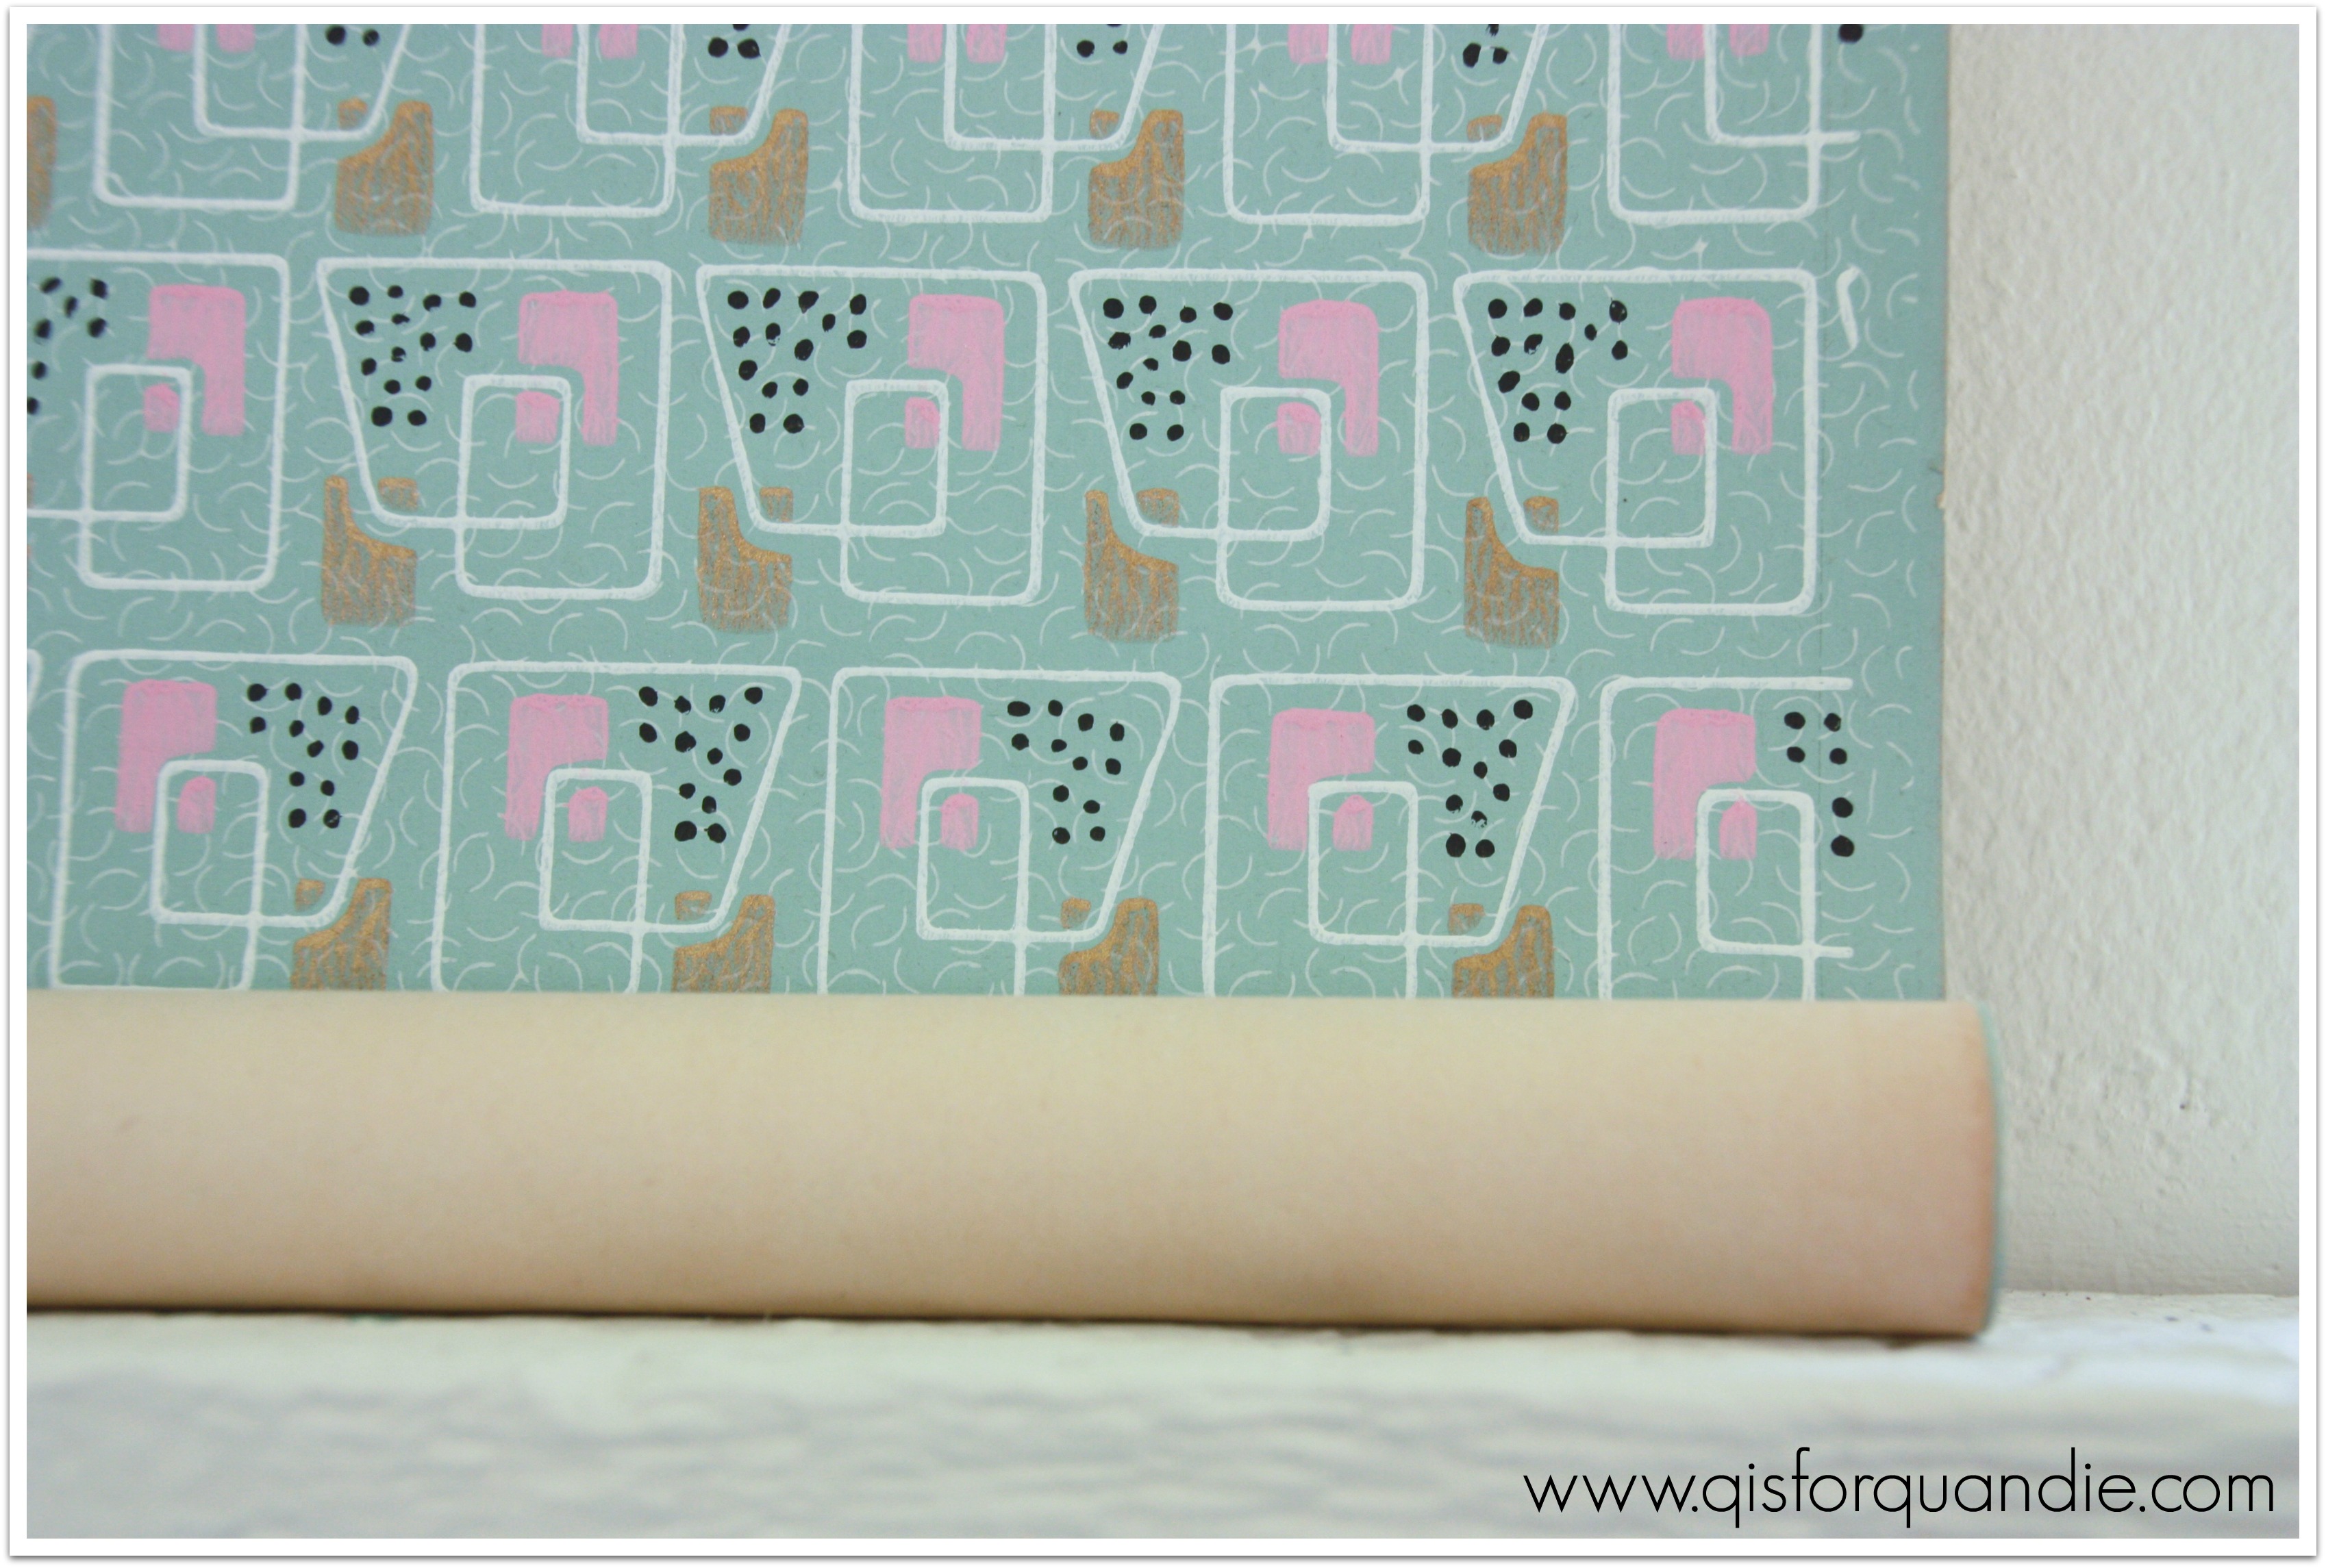
A while back I made a trade with my friend Michelle.  I found some darling mid-century Italian tole wall sconces at a garage sale that I knew would be perfect for Michelle, and I had been admiring a roll of fab mid-century wallpaper that she had stashed in her studio.  An easy trade.

Provence wallpaper

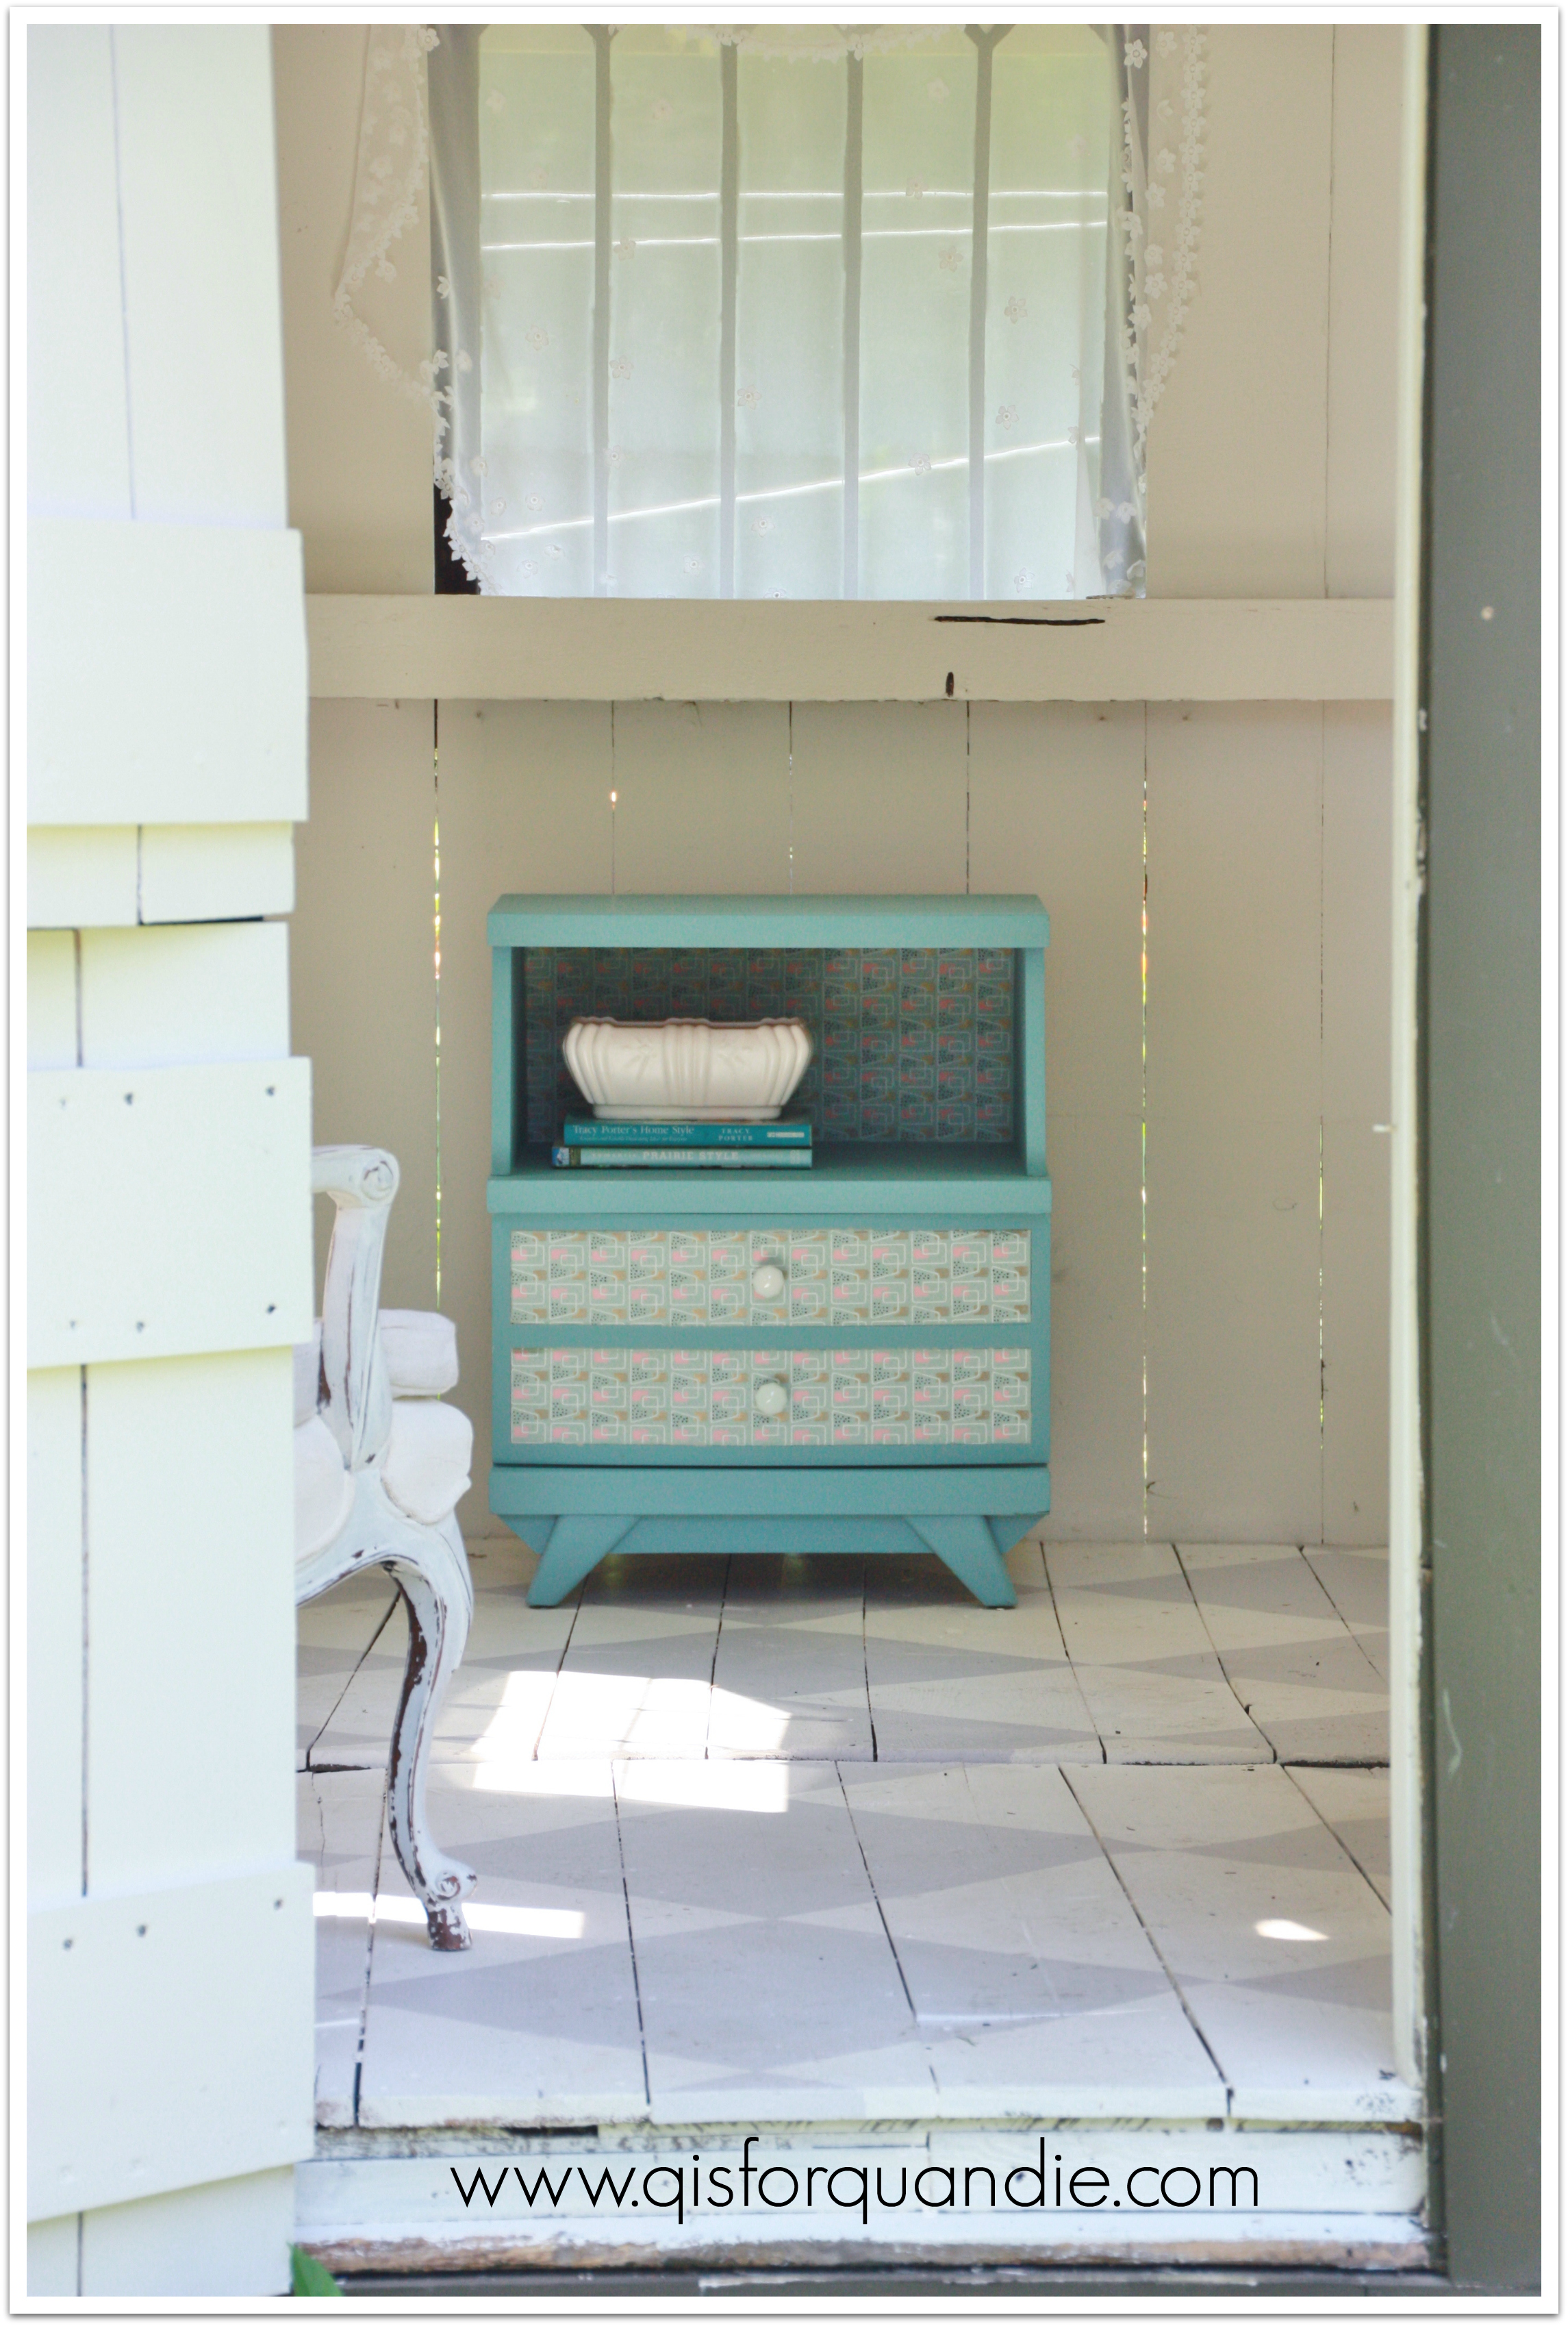
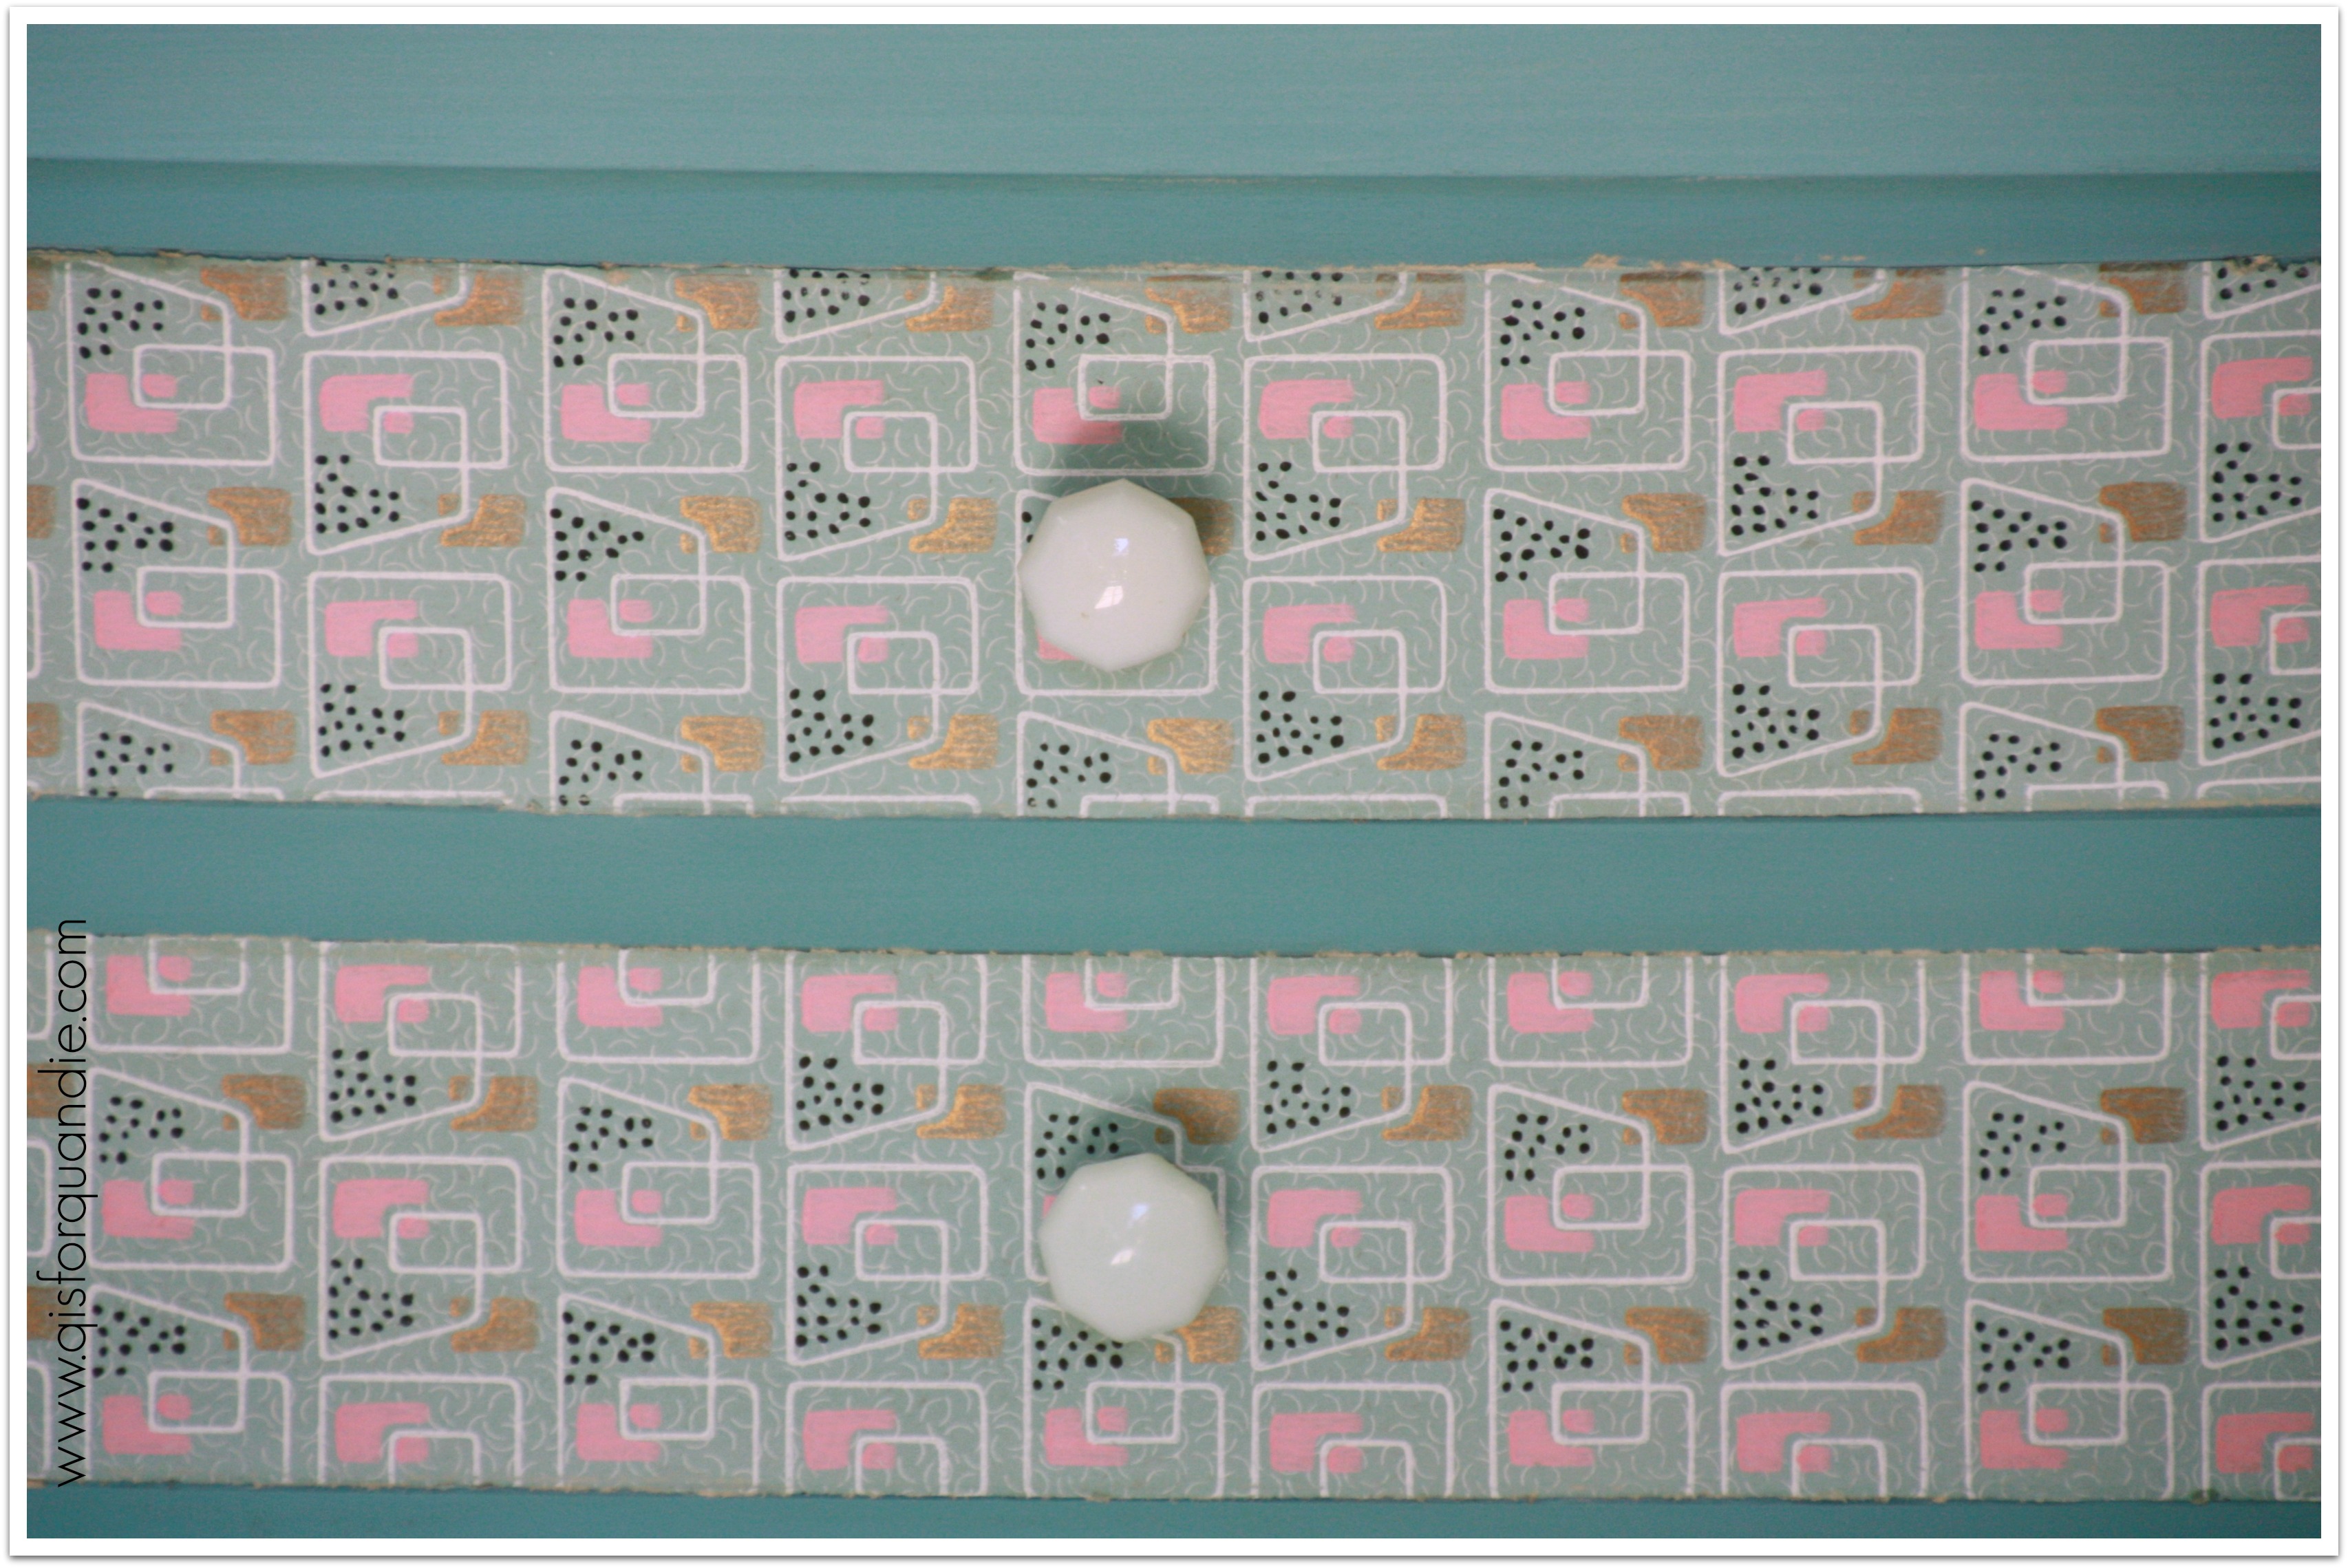
What I love about this wallpaper?  The colors are perfect, aqua, pink and white with that little touch of metallic gold and black.  Feminine, without being flowery.  Geometric all-over pattern that isn’t difficult to line up.  It’s perfect for my needs.  I was hanging on to it just waiting for the right mid-century piece to use it on.  And I knew this nightstand was it.  So let’s pop into the photo cottage and see how it turned out!

Provence nightstand in cottageYep, pretty fab, right?

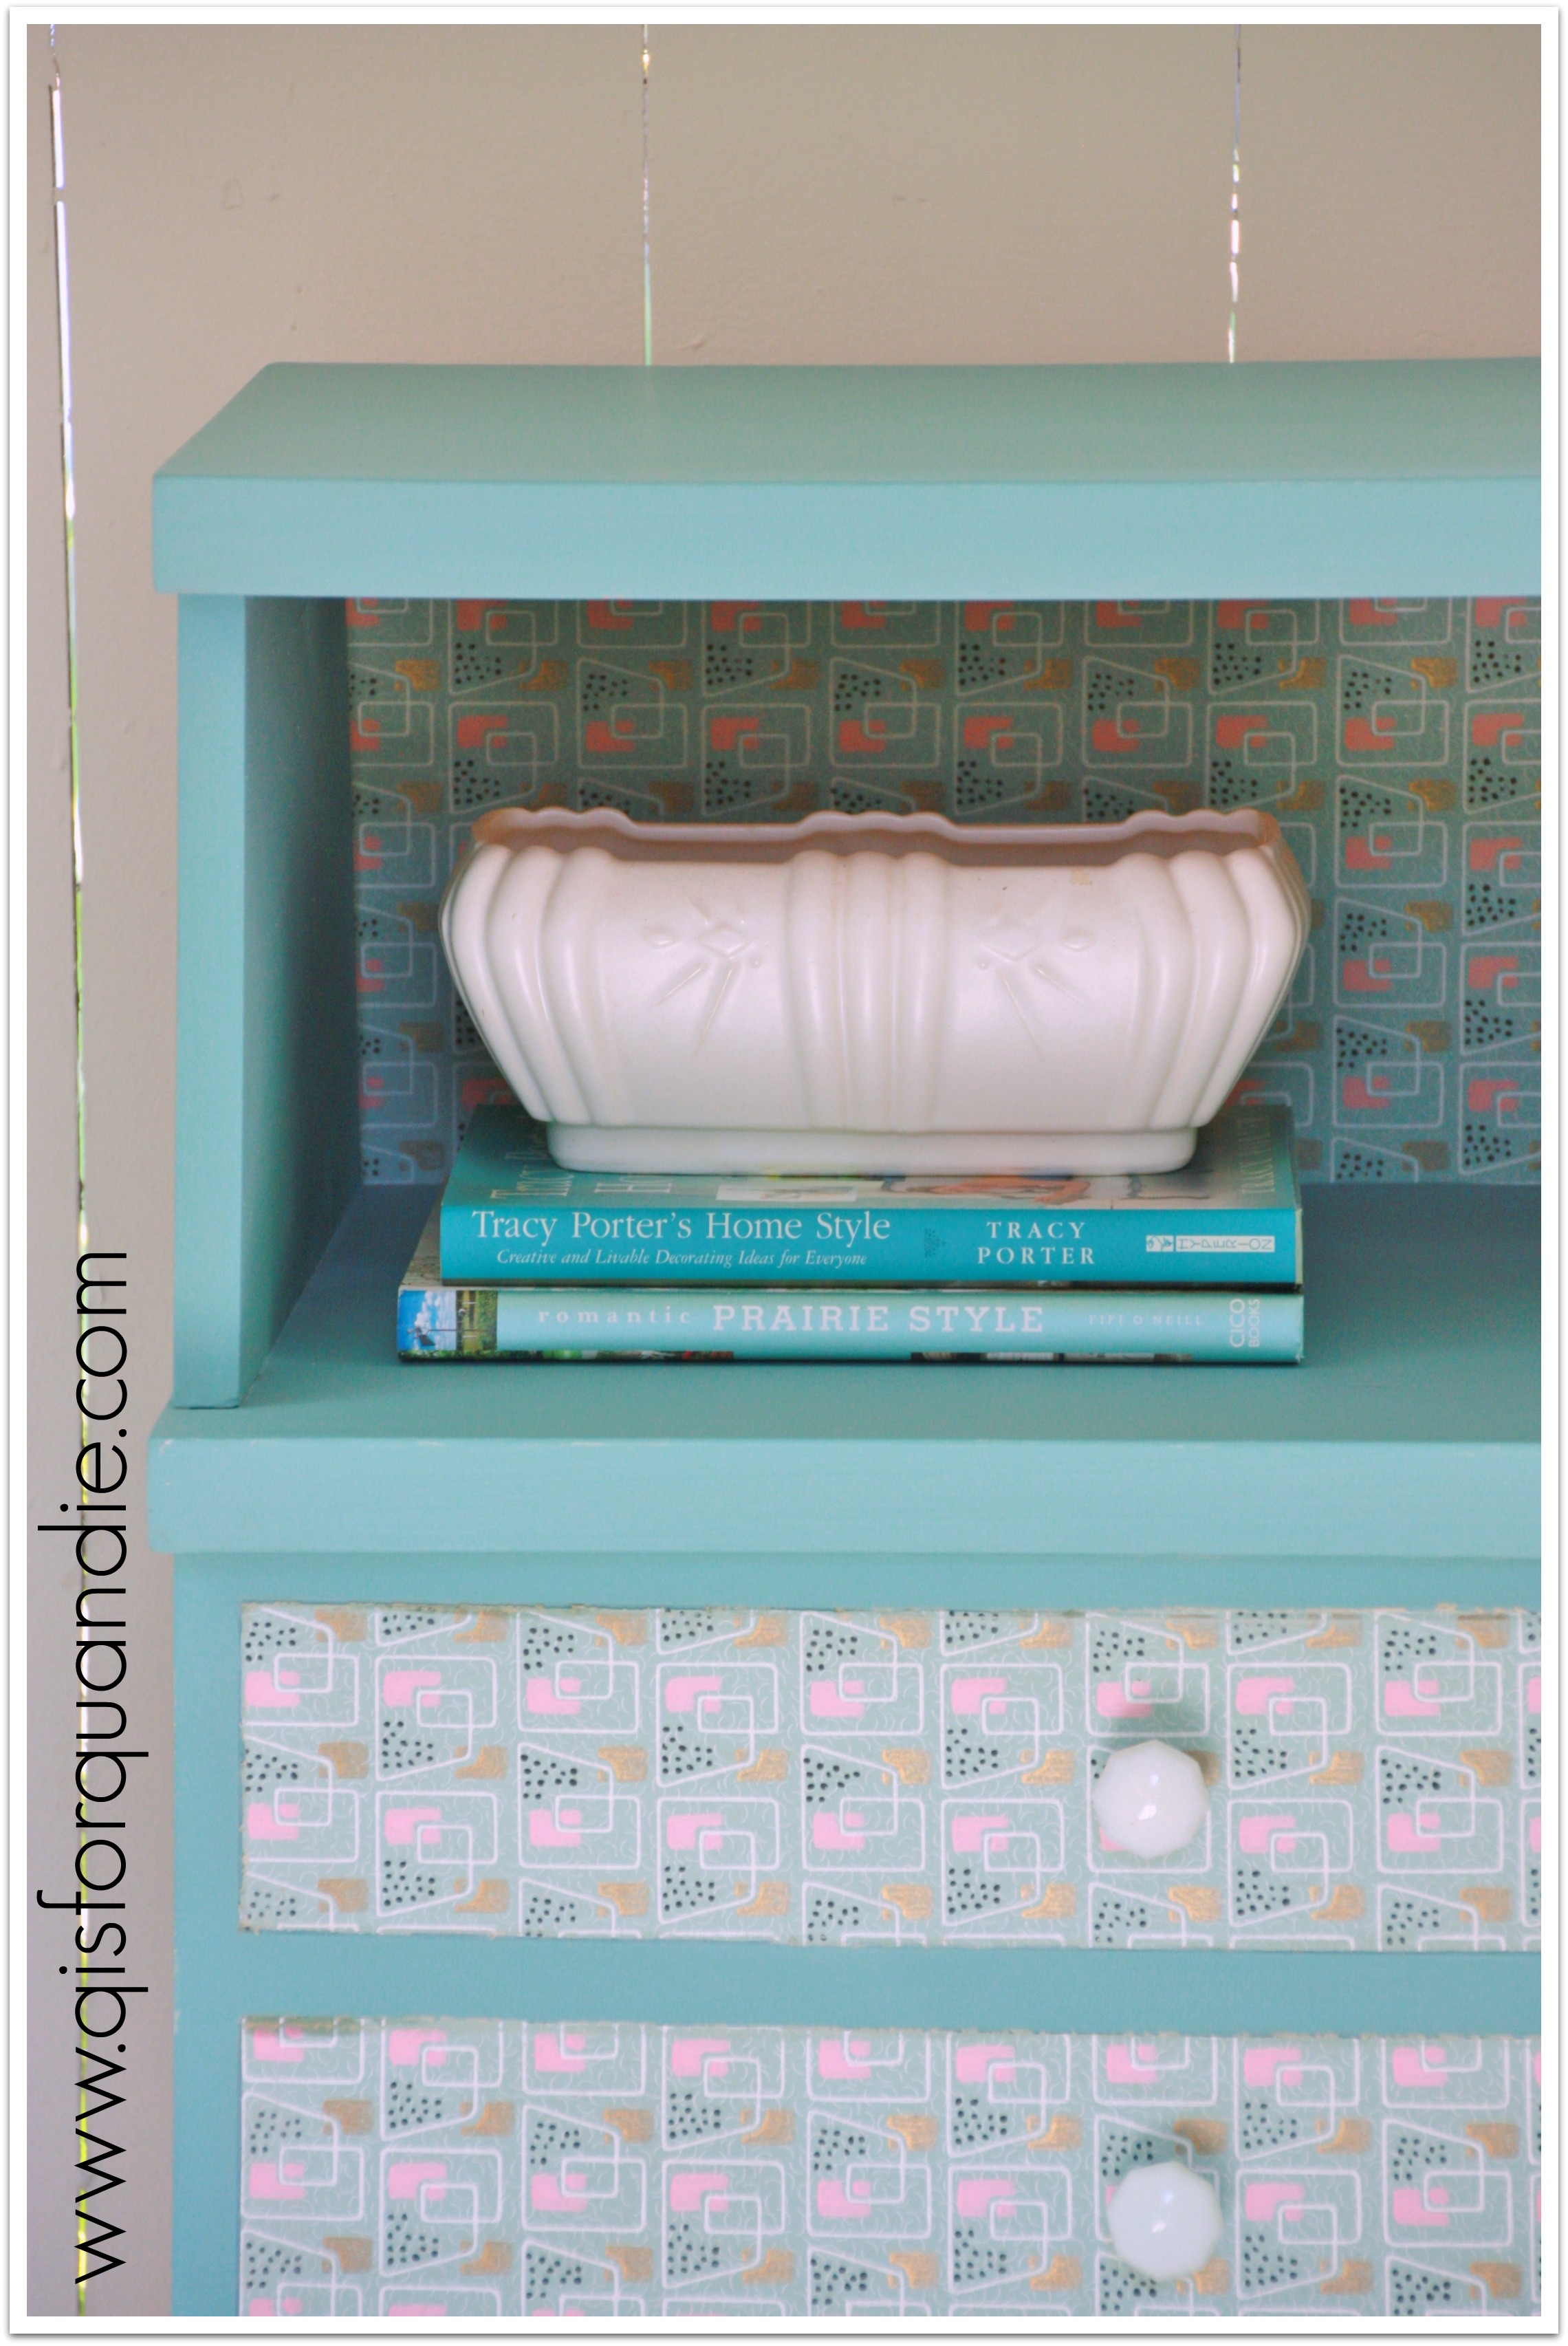
Provence nightstand close up

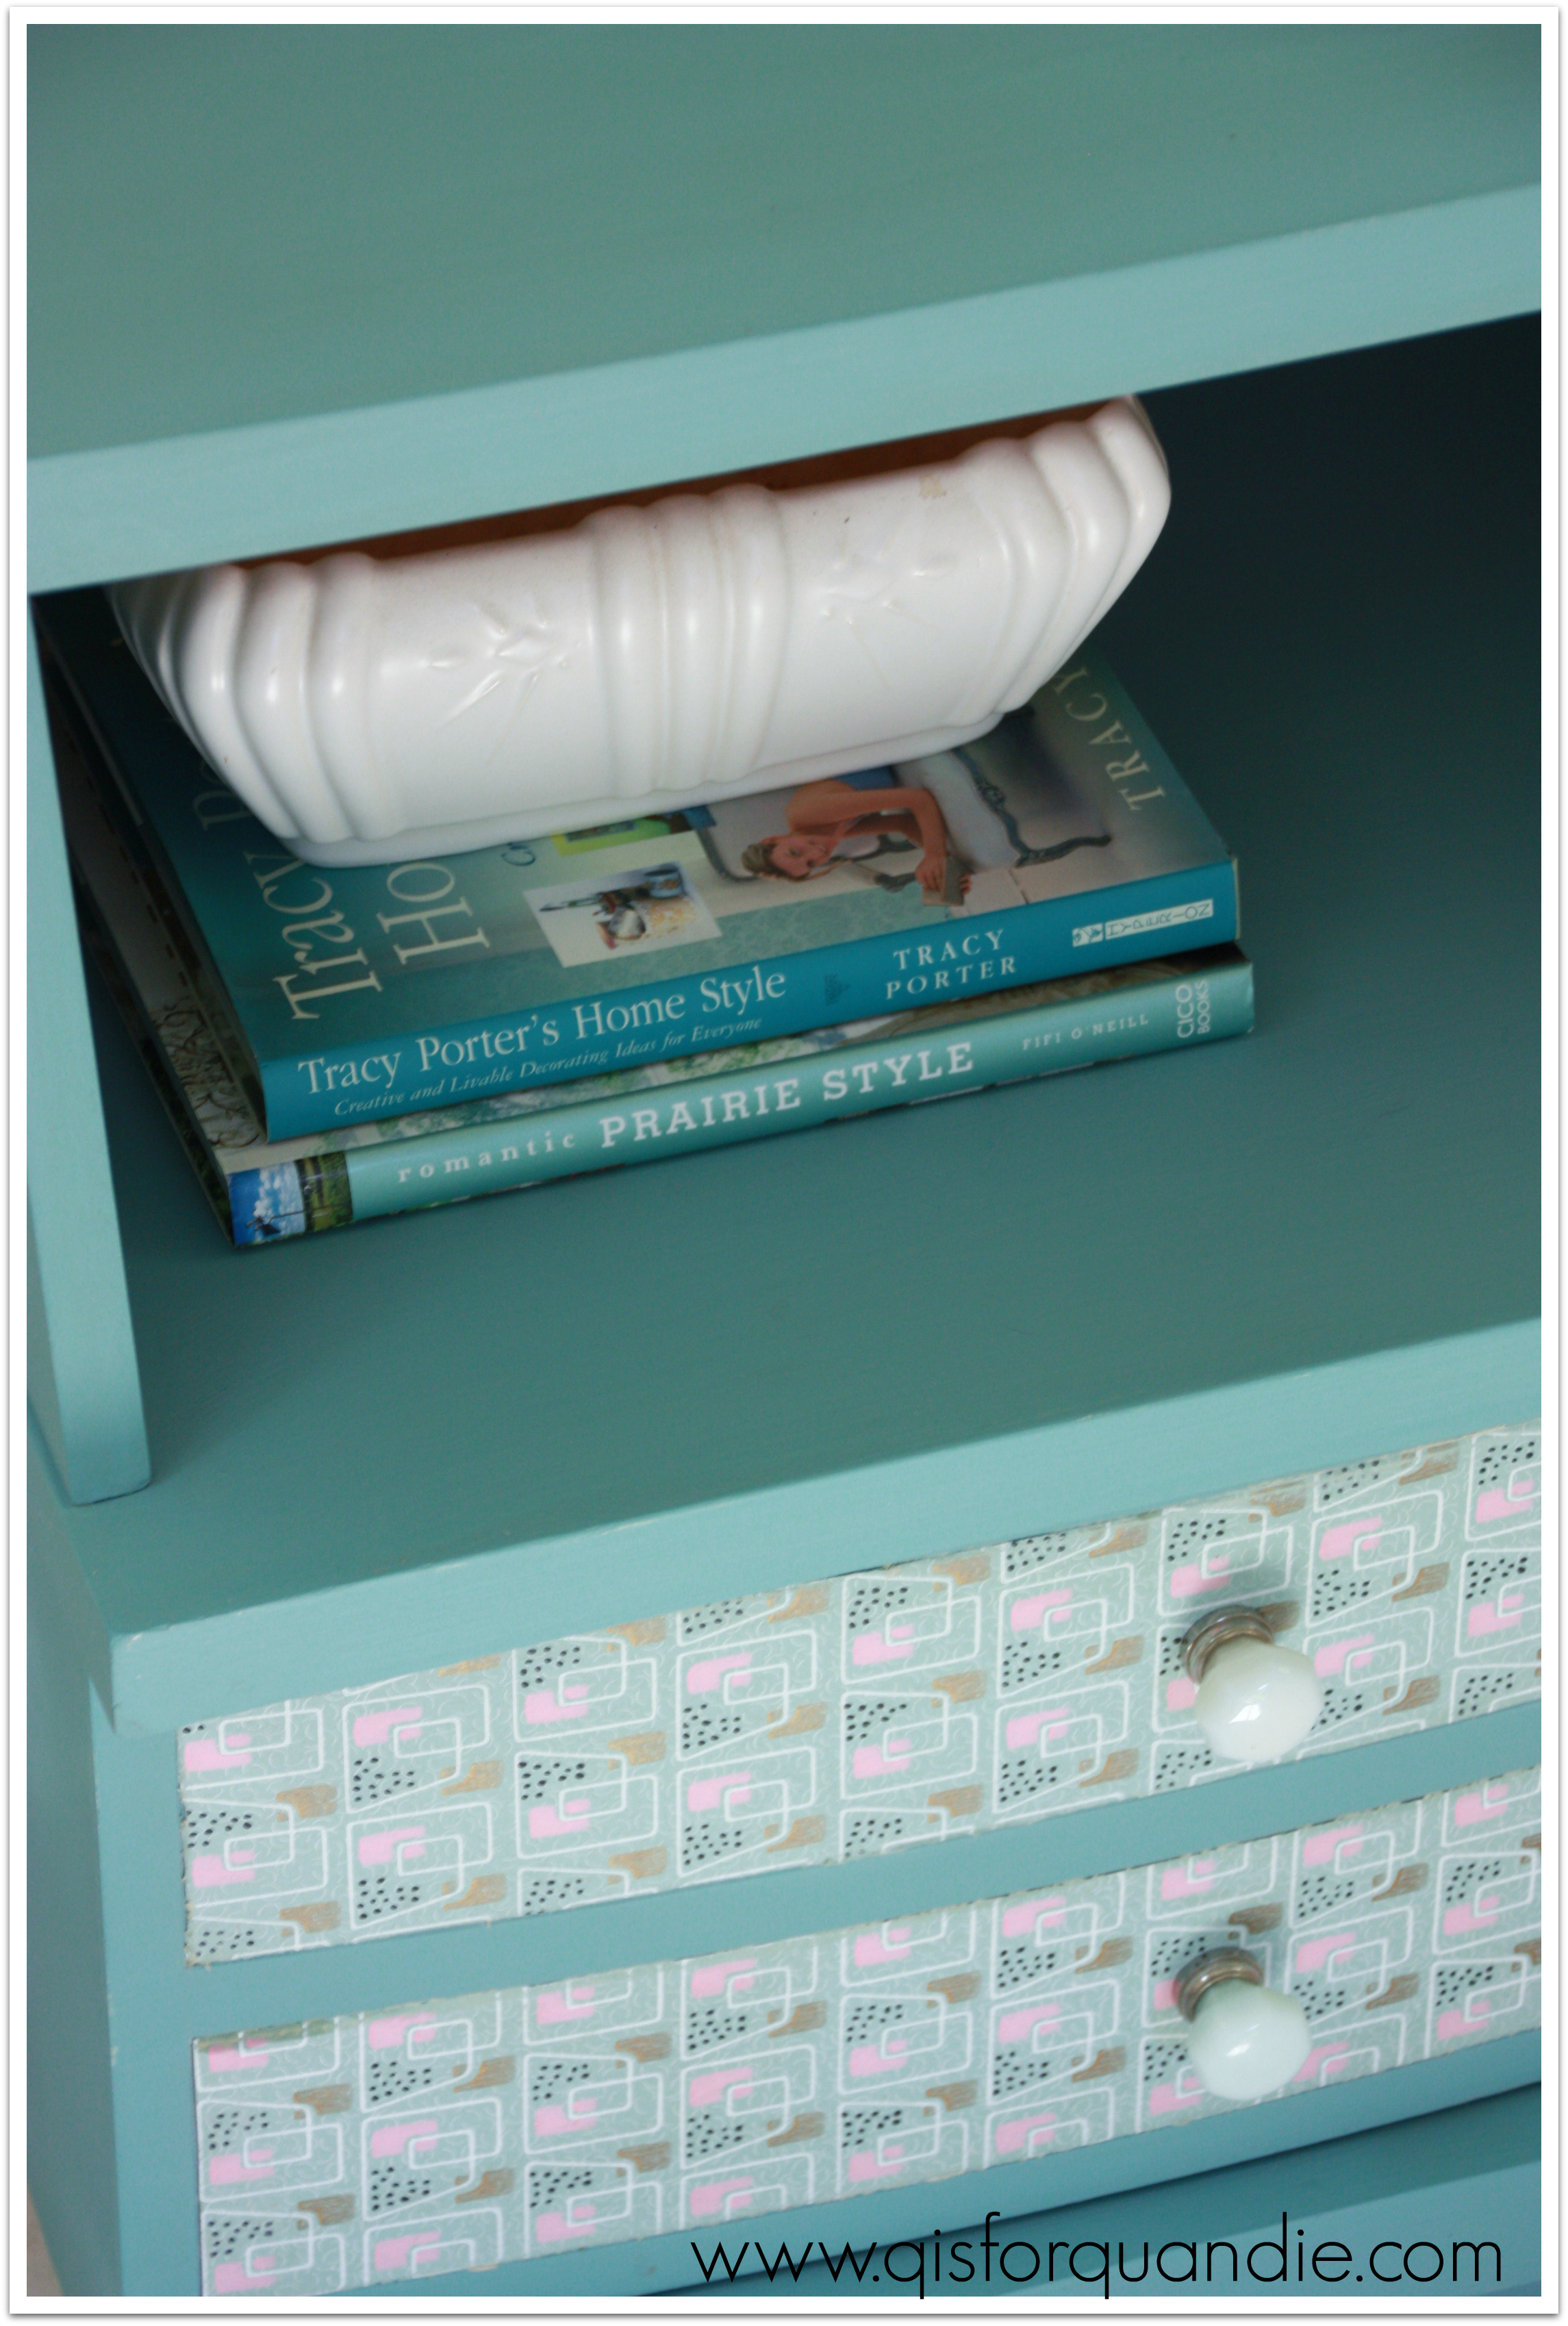
I painted this with Annie Sloan’s Provence.  Then I added the wallpaper to the back of the cubby area, and the front of the drawer.

Provence nightstand on angle

A couple of my friends really pushed me to find a more classically mid-century knob for this piece, but after perusing Etsy and finding the knobs I liked to be rather pricey, I opted to go with some vintage milk glass knobs that I already had on hand.  They aren’t typical mid-century.  They were not stark white, but had a bit of an aqua tint.

Provence nightstand knobs

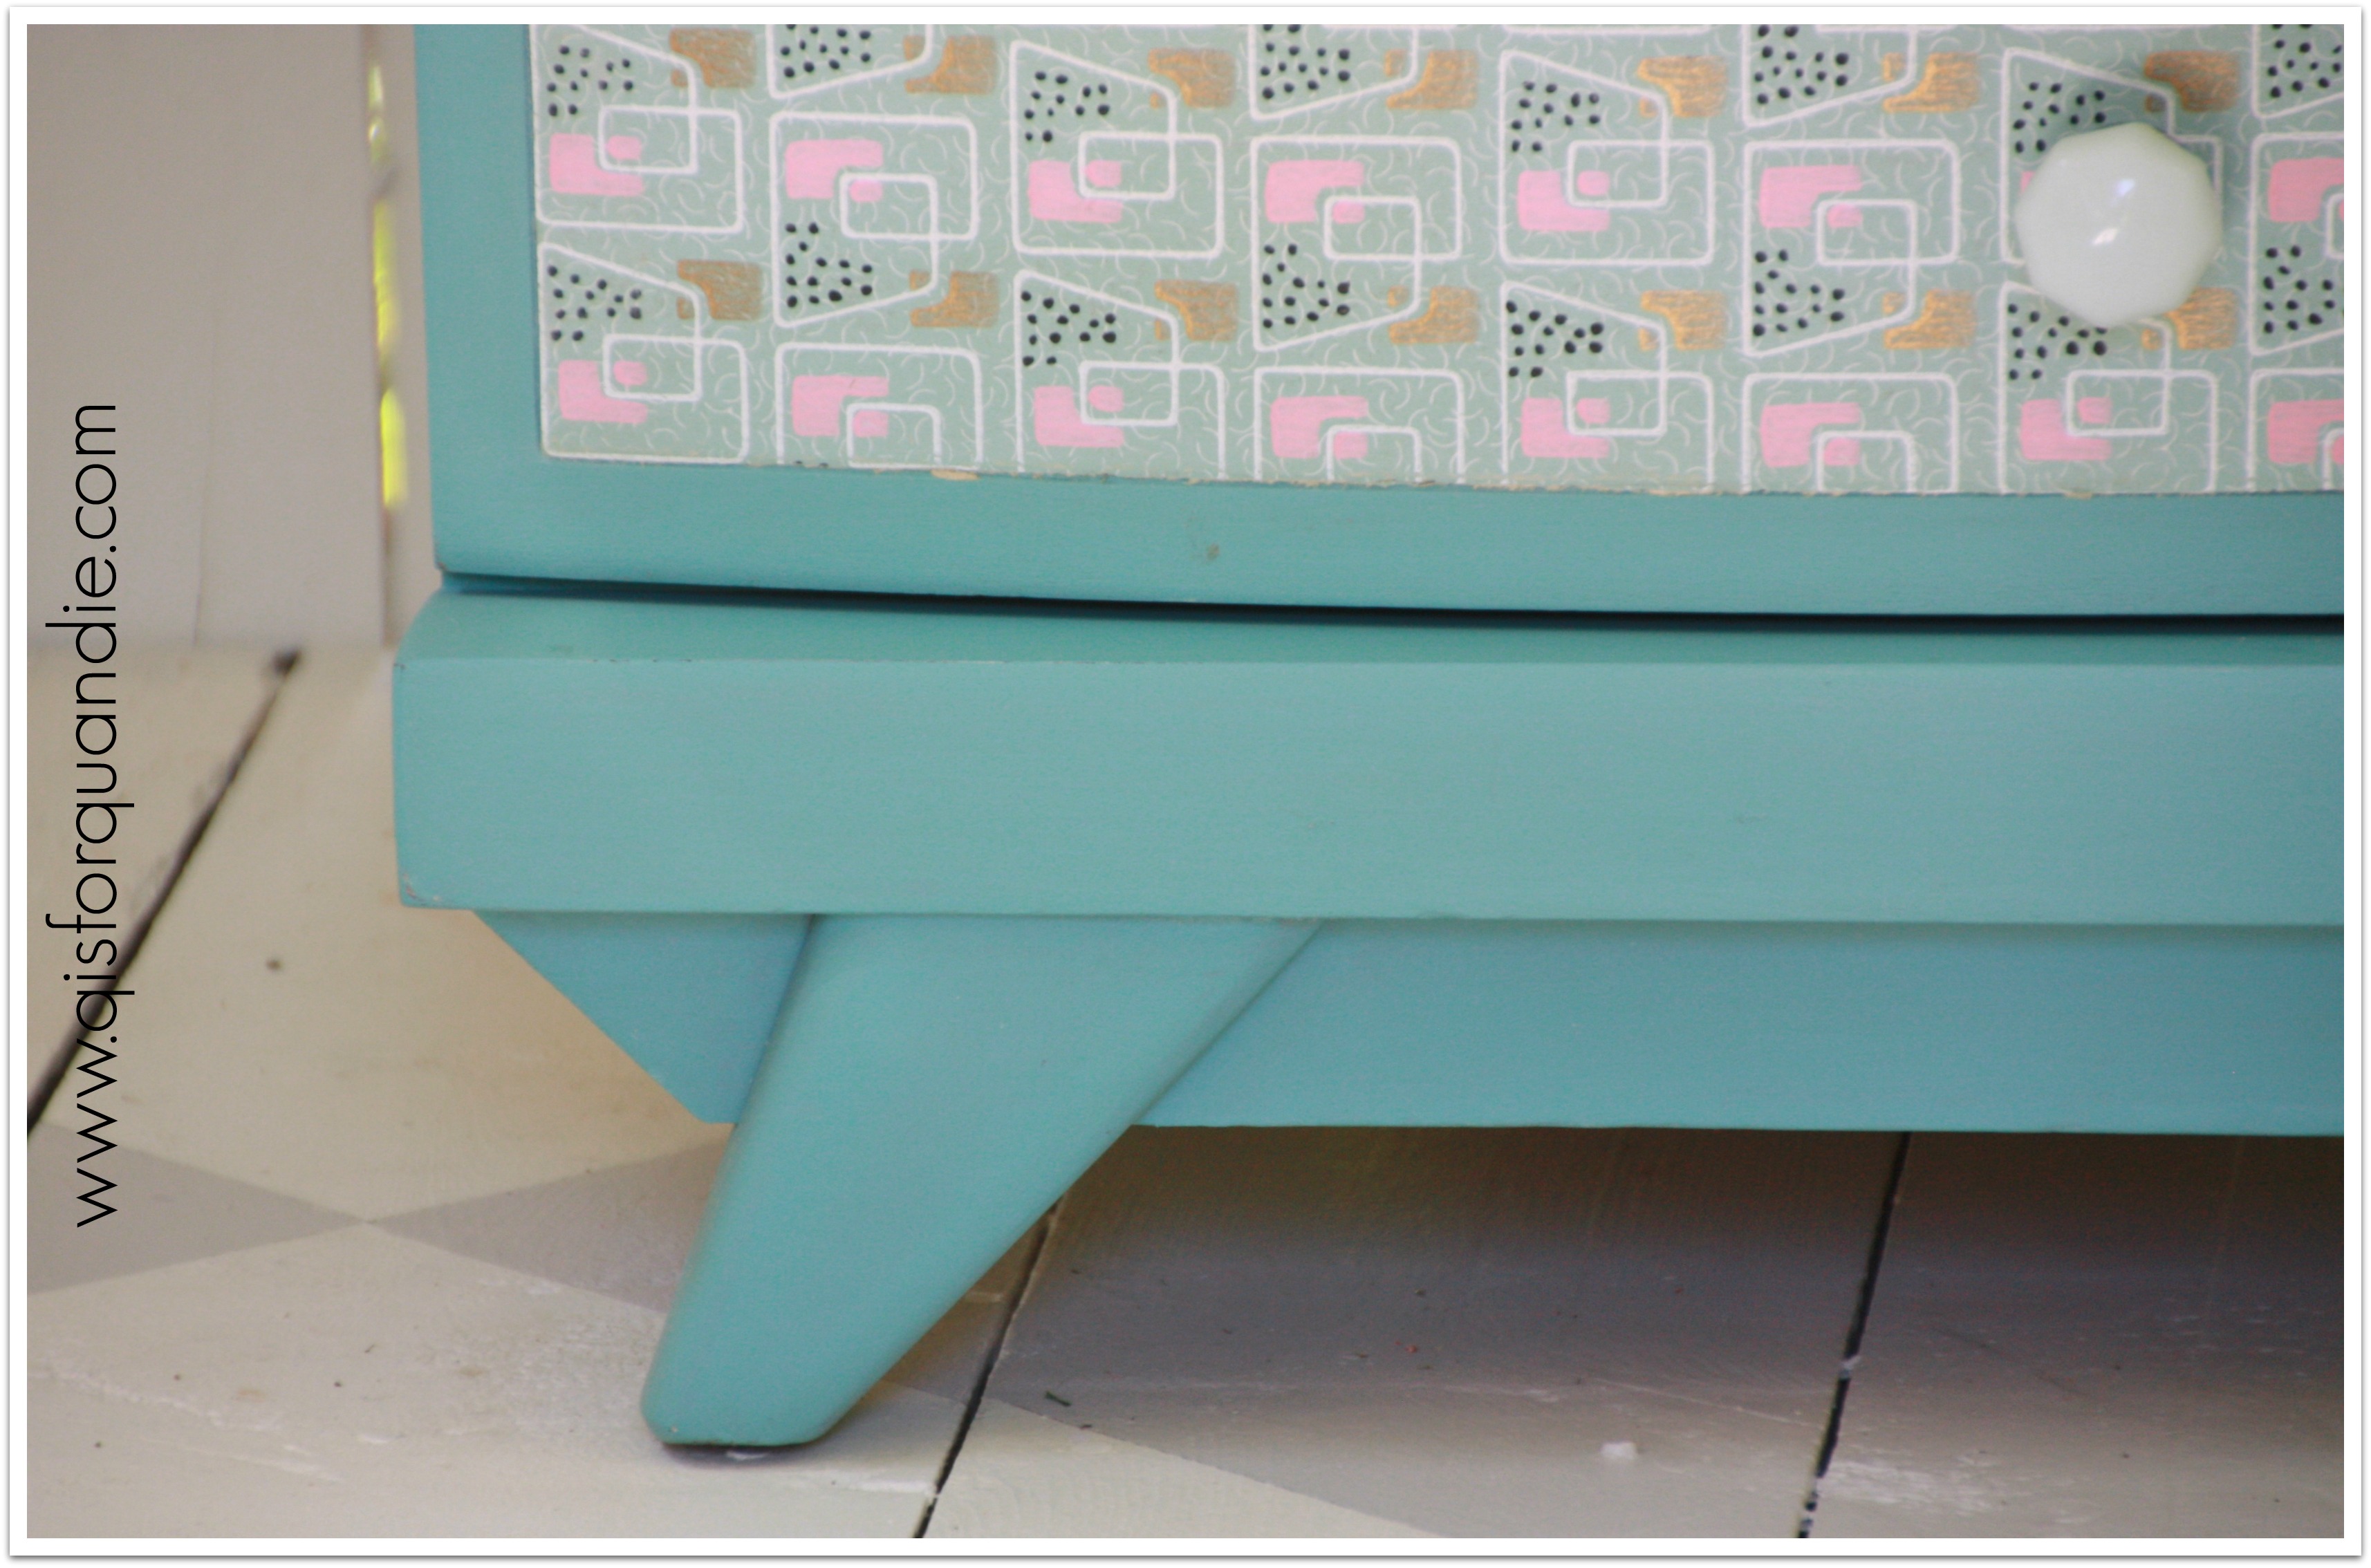
Classic mid-century base.

Provence nightstand base

 I think the combination of the very mid-century style of the nightstand, the mid-century wallpaper and vintage milk glass knobs comes together nicely to create a ‘mid-century meets vintage’ look.

Provence nightstandI’ll leave you with one last b & a.

Provence nightstand before and after

 What do you think?  A good combo of mid-century and vintage?

golden oldies.

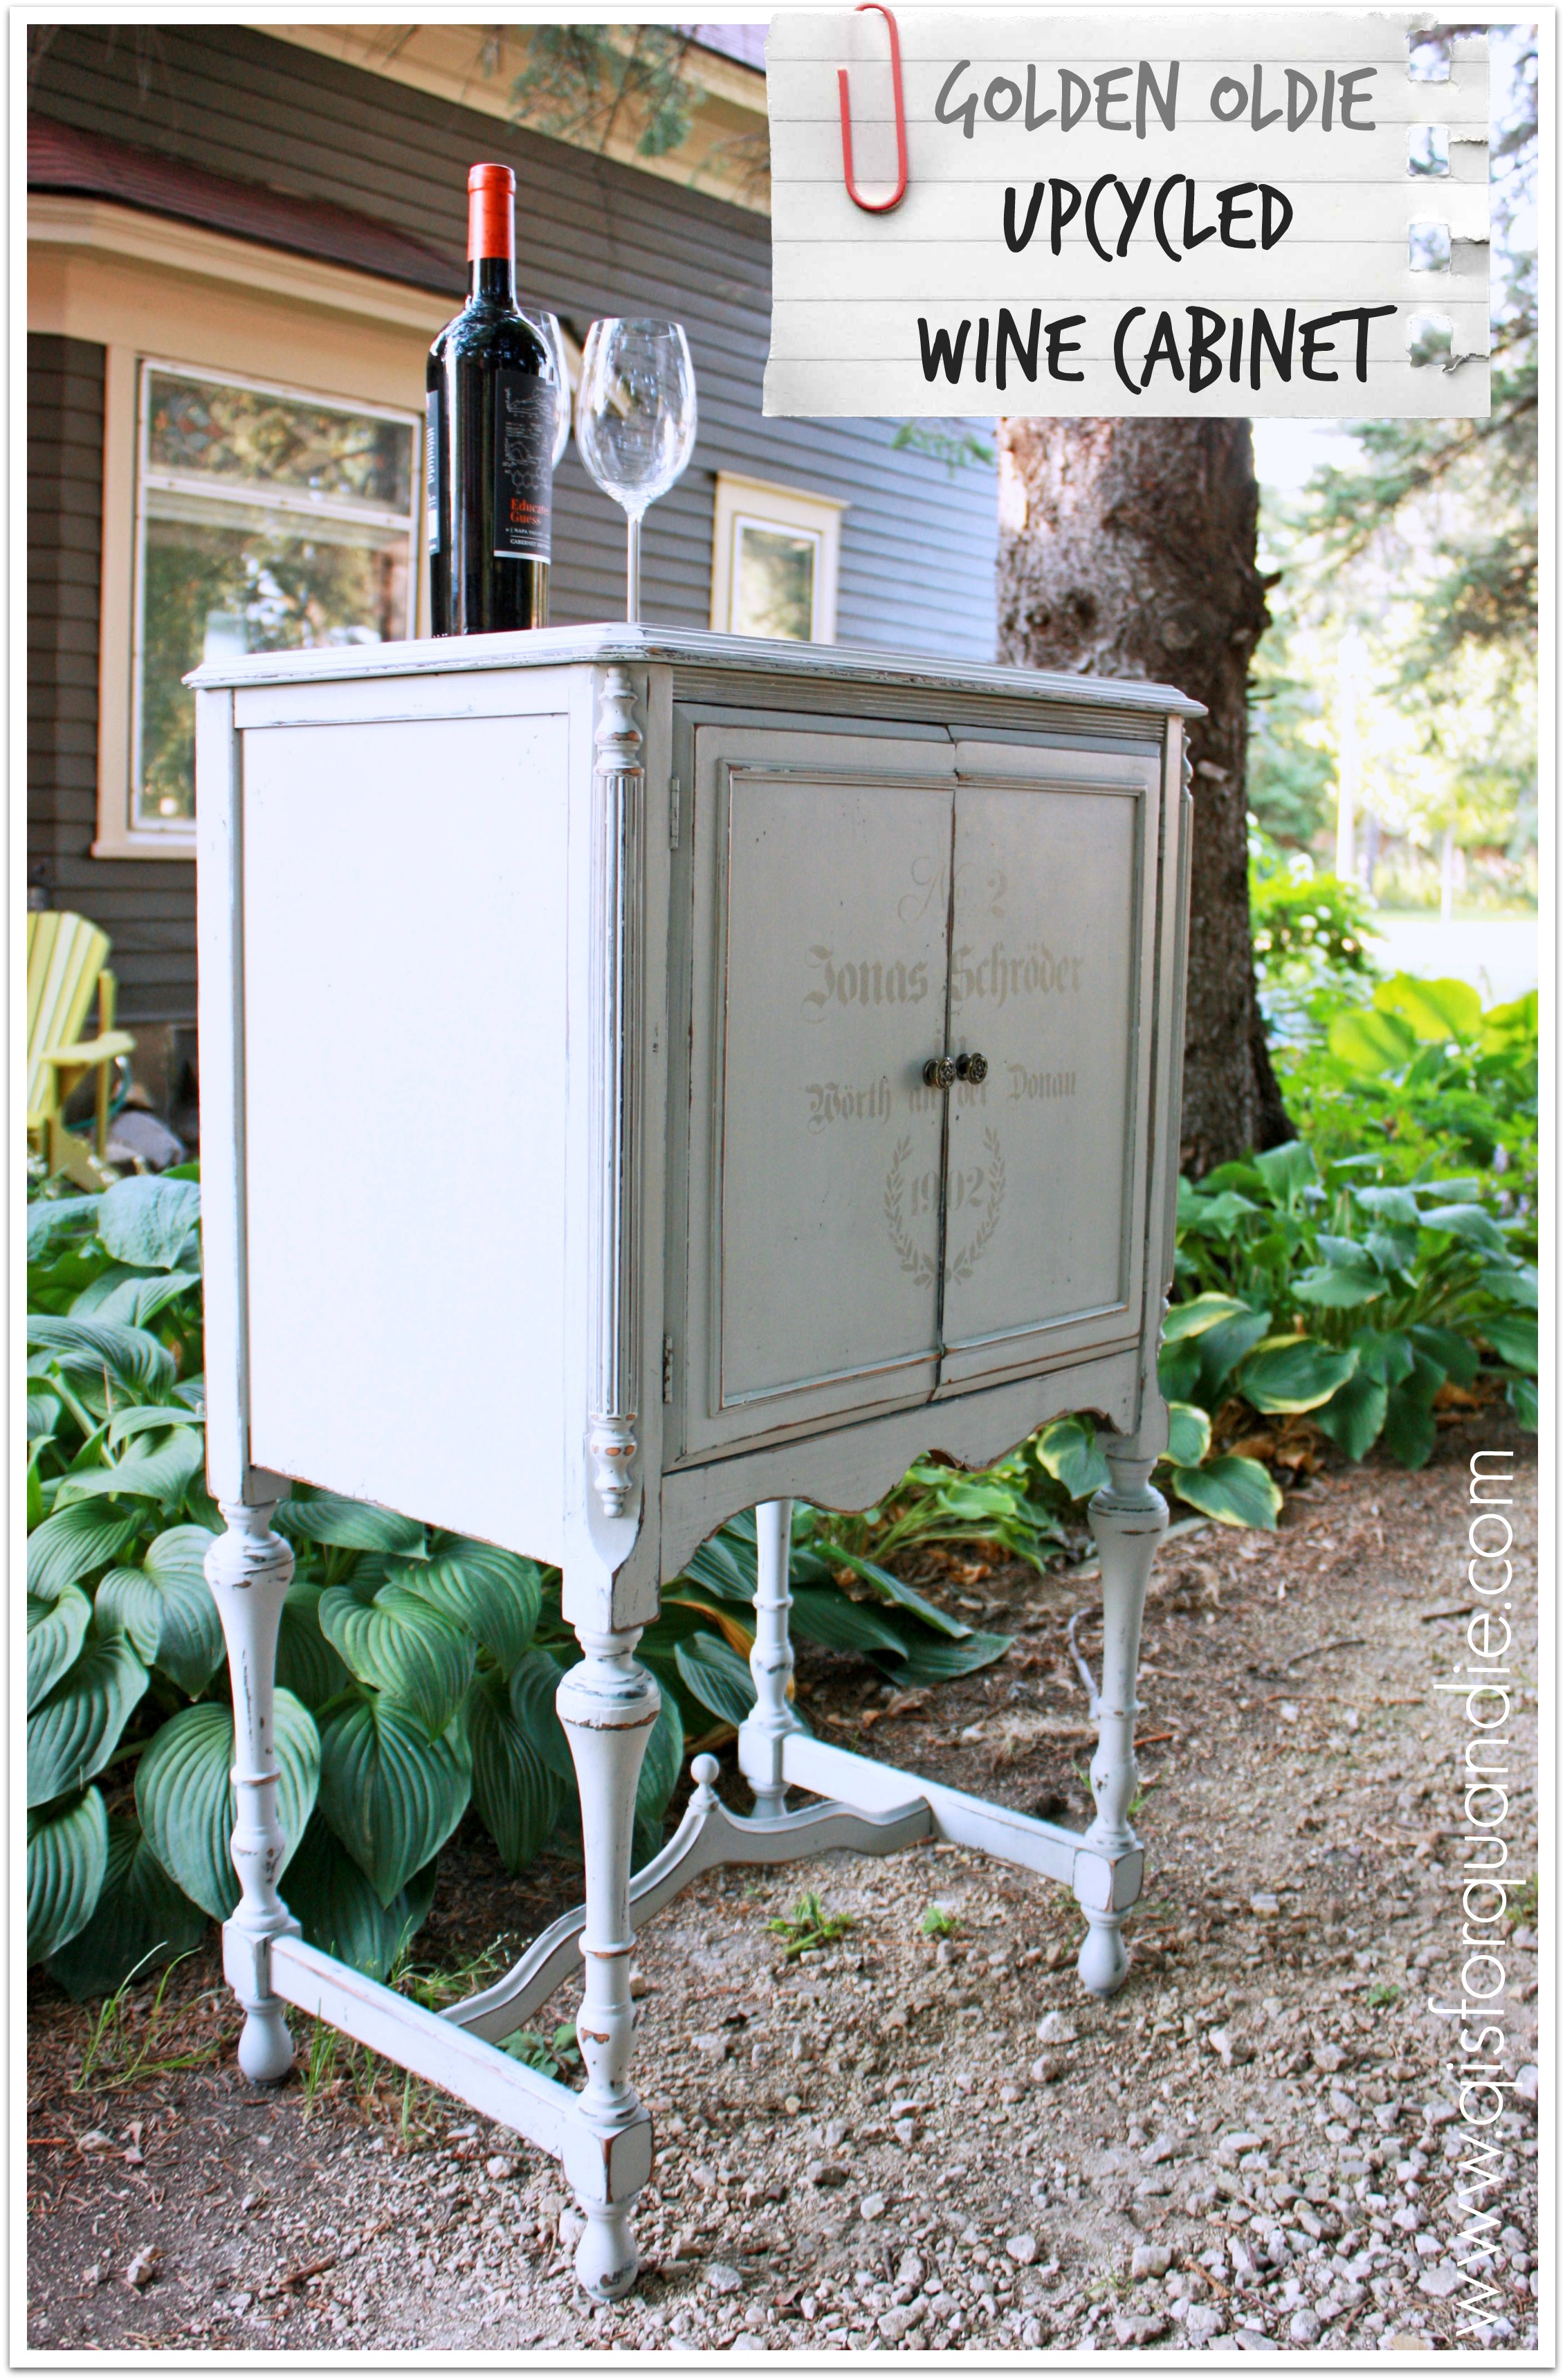
Since deciding to spend Saturday sitting beside my bff’s pool drinking special Fresca’s (that’s Fresca with vodka, don’t knock it til you try it, it is very refreshing), I’ve been feeling guilty because I don’t have any fabulous new content for the blog.  I have several projects underway in the Carriage House, but none are quite finished.  I didn’t want to bore you with another gardening post (although I do have one coming soon).  So I came up with a brilliant plan!  I’ll begin a new ‘column’ on the blog sharing some of my furniture rehabs from the pre-blog days.

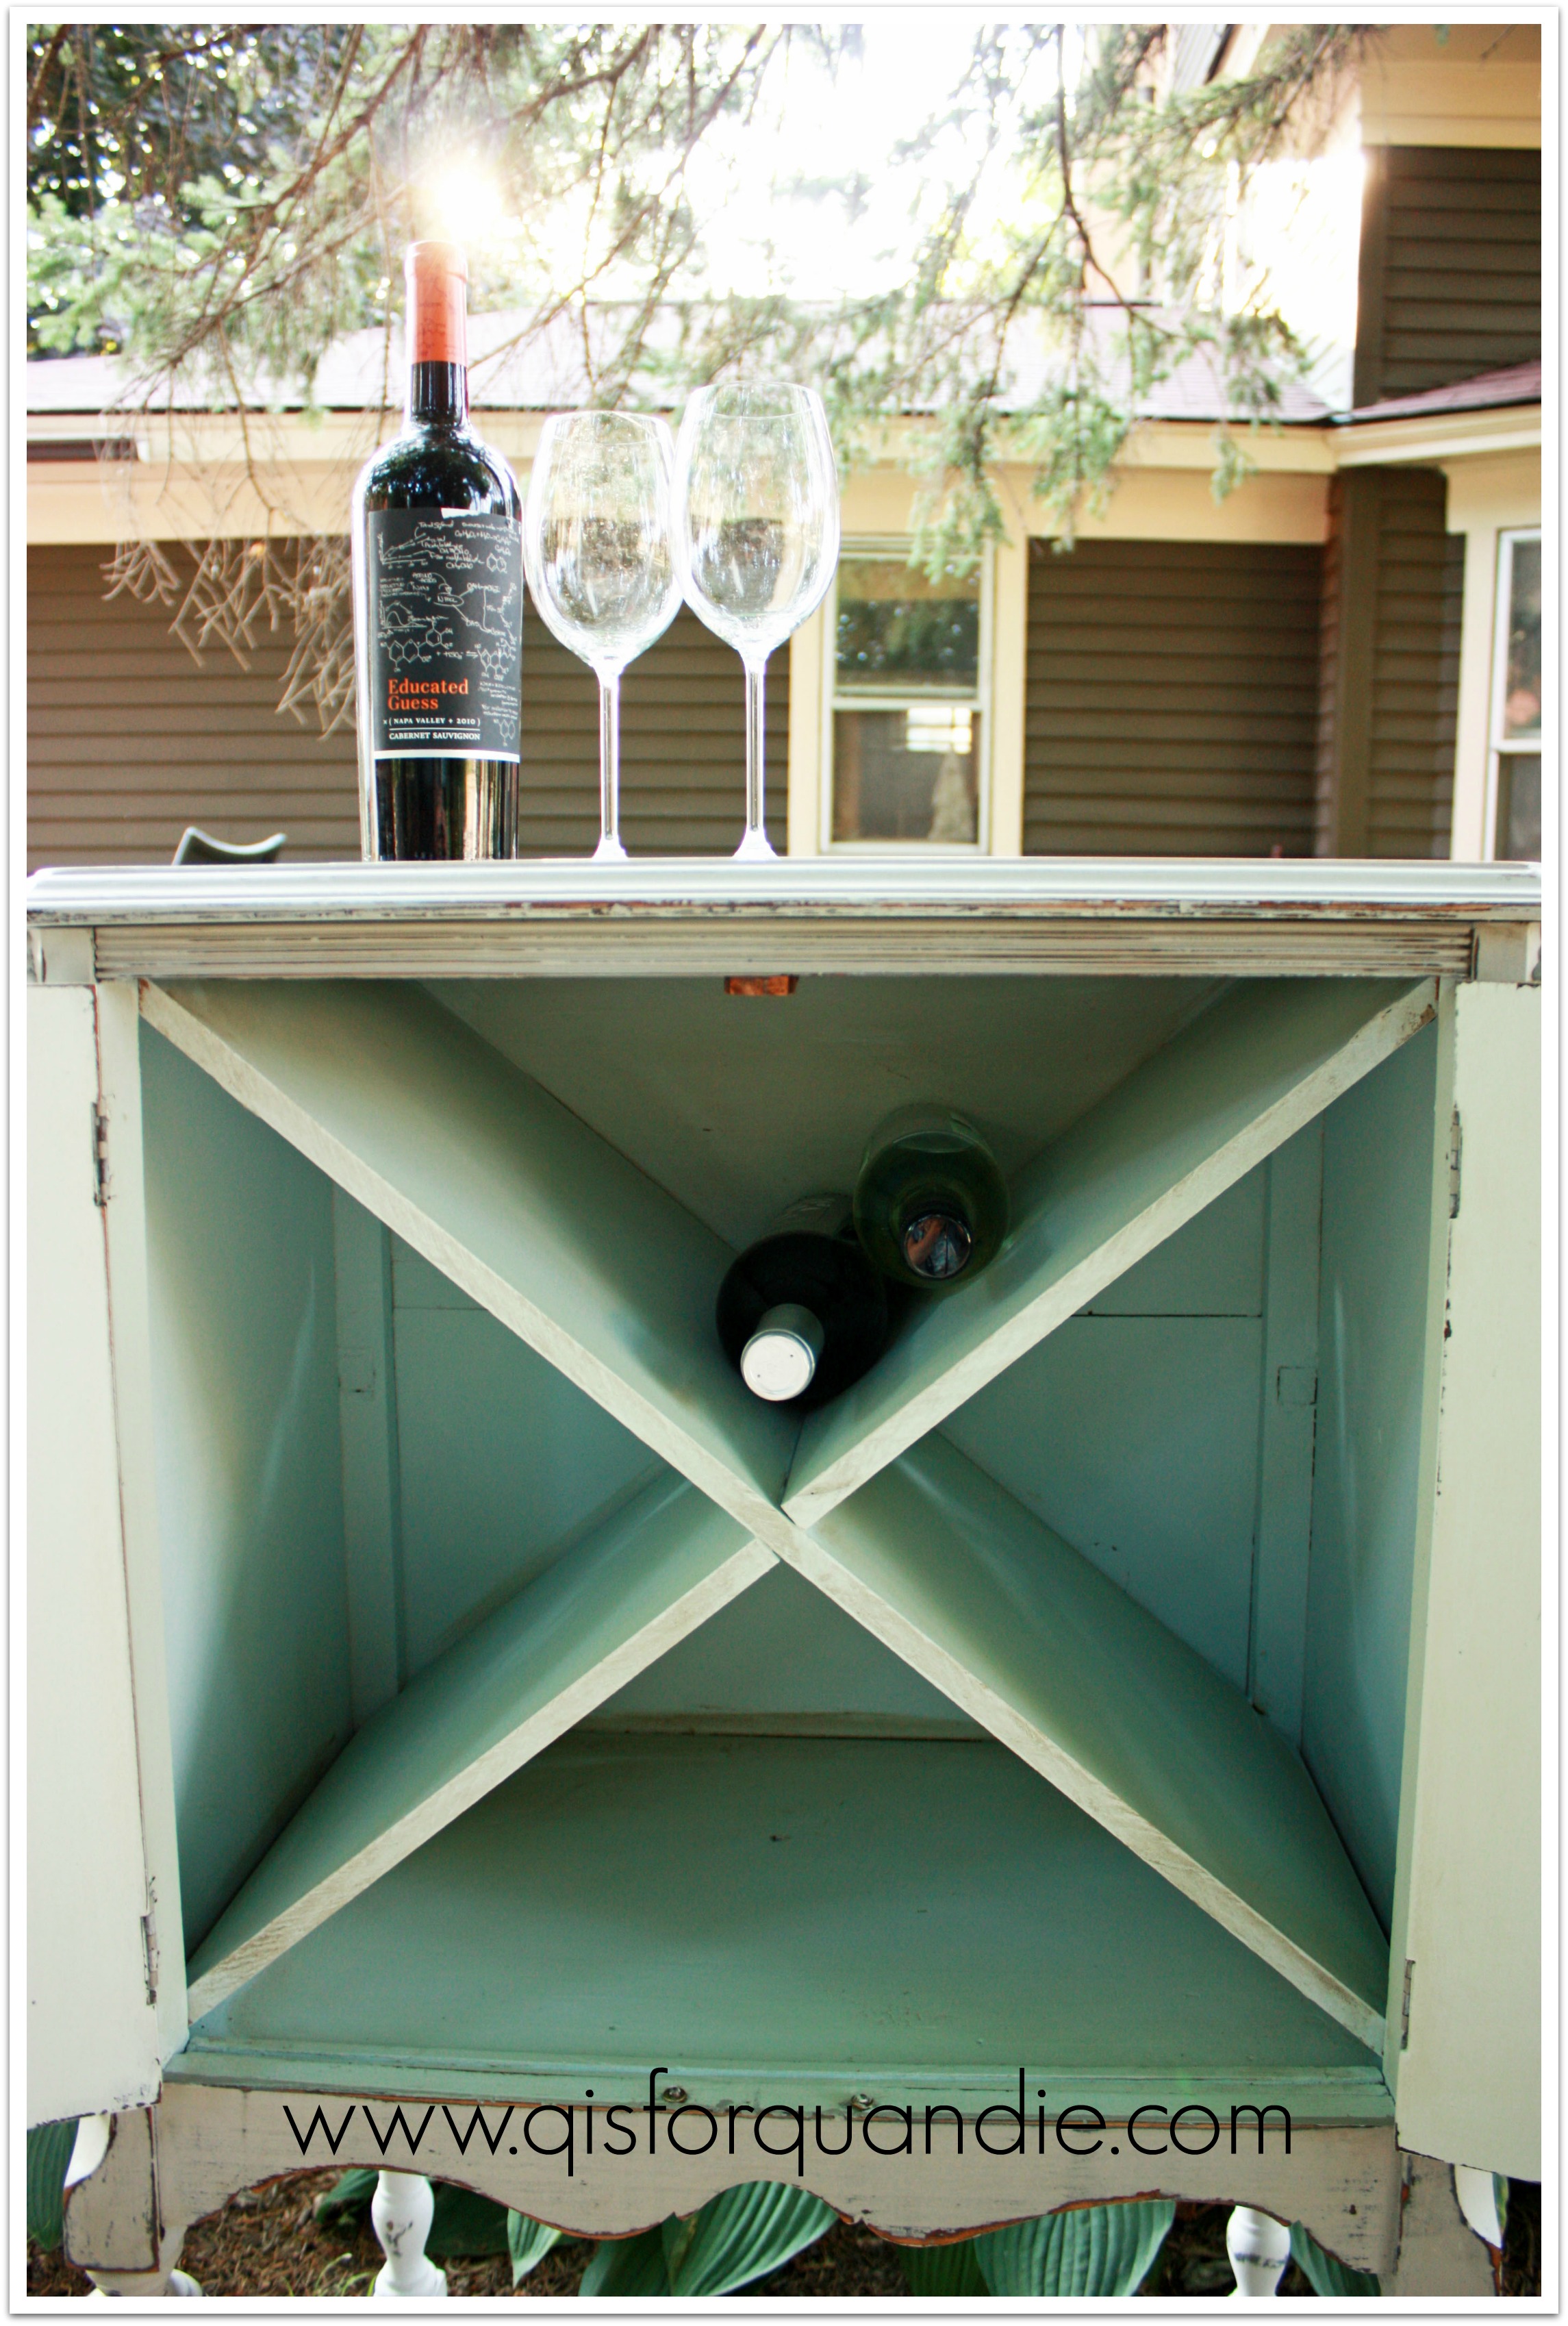
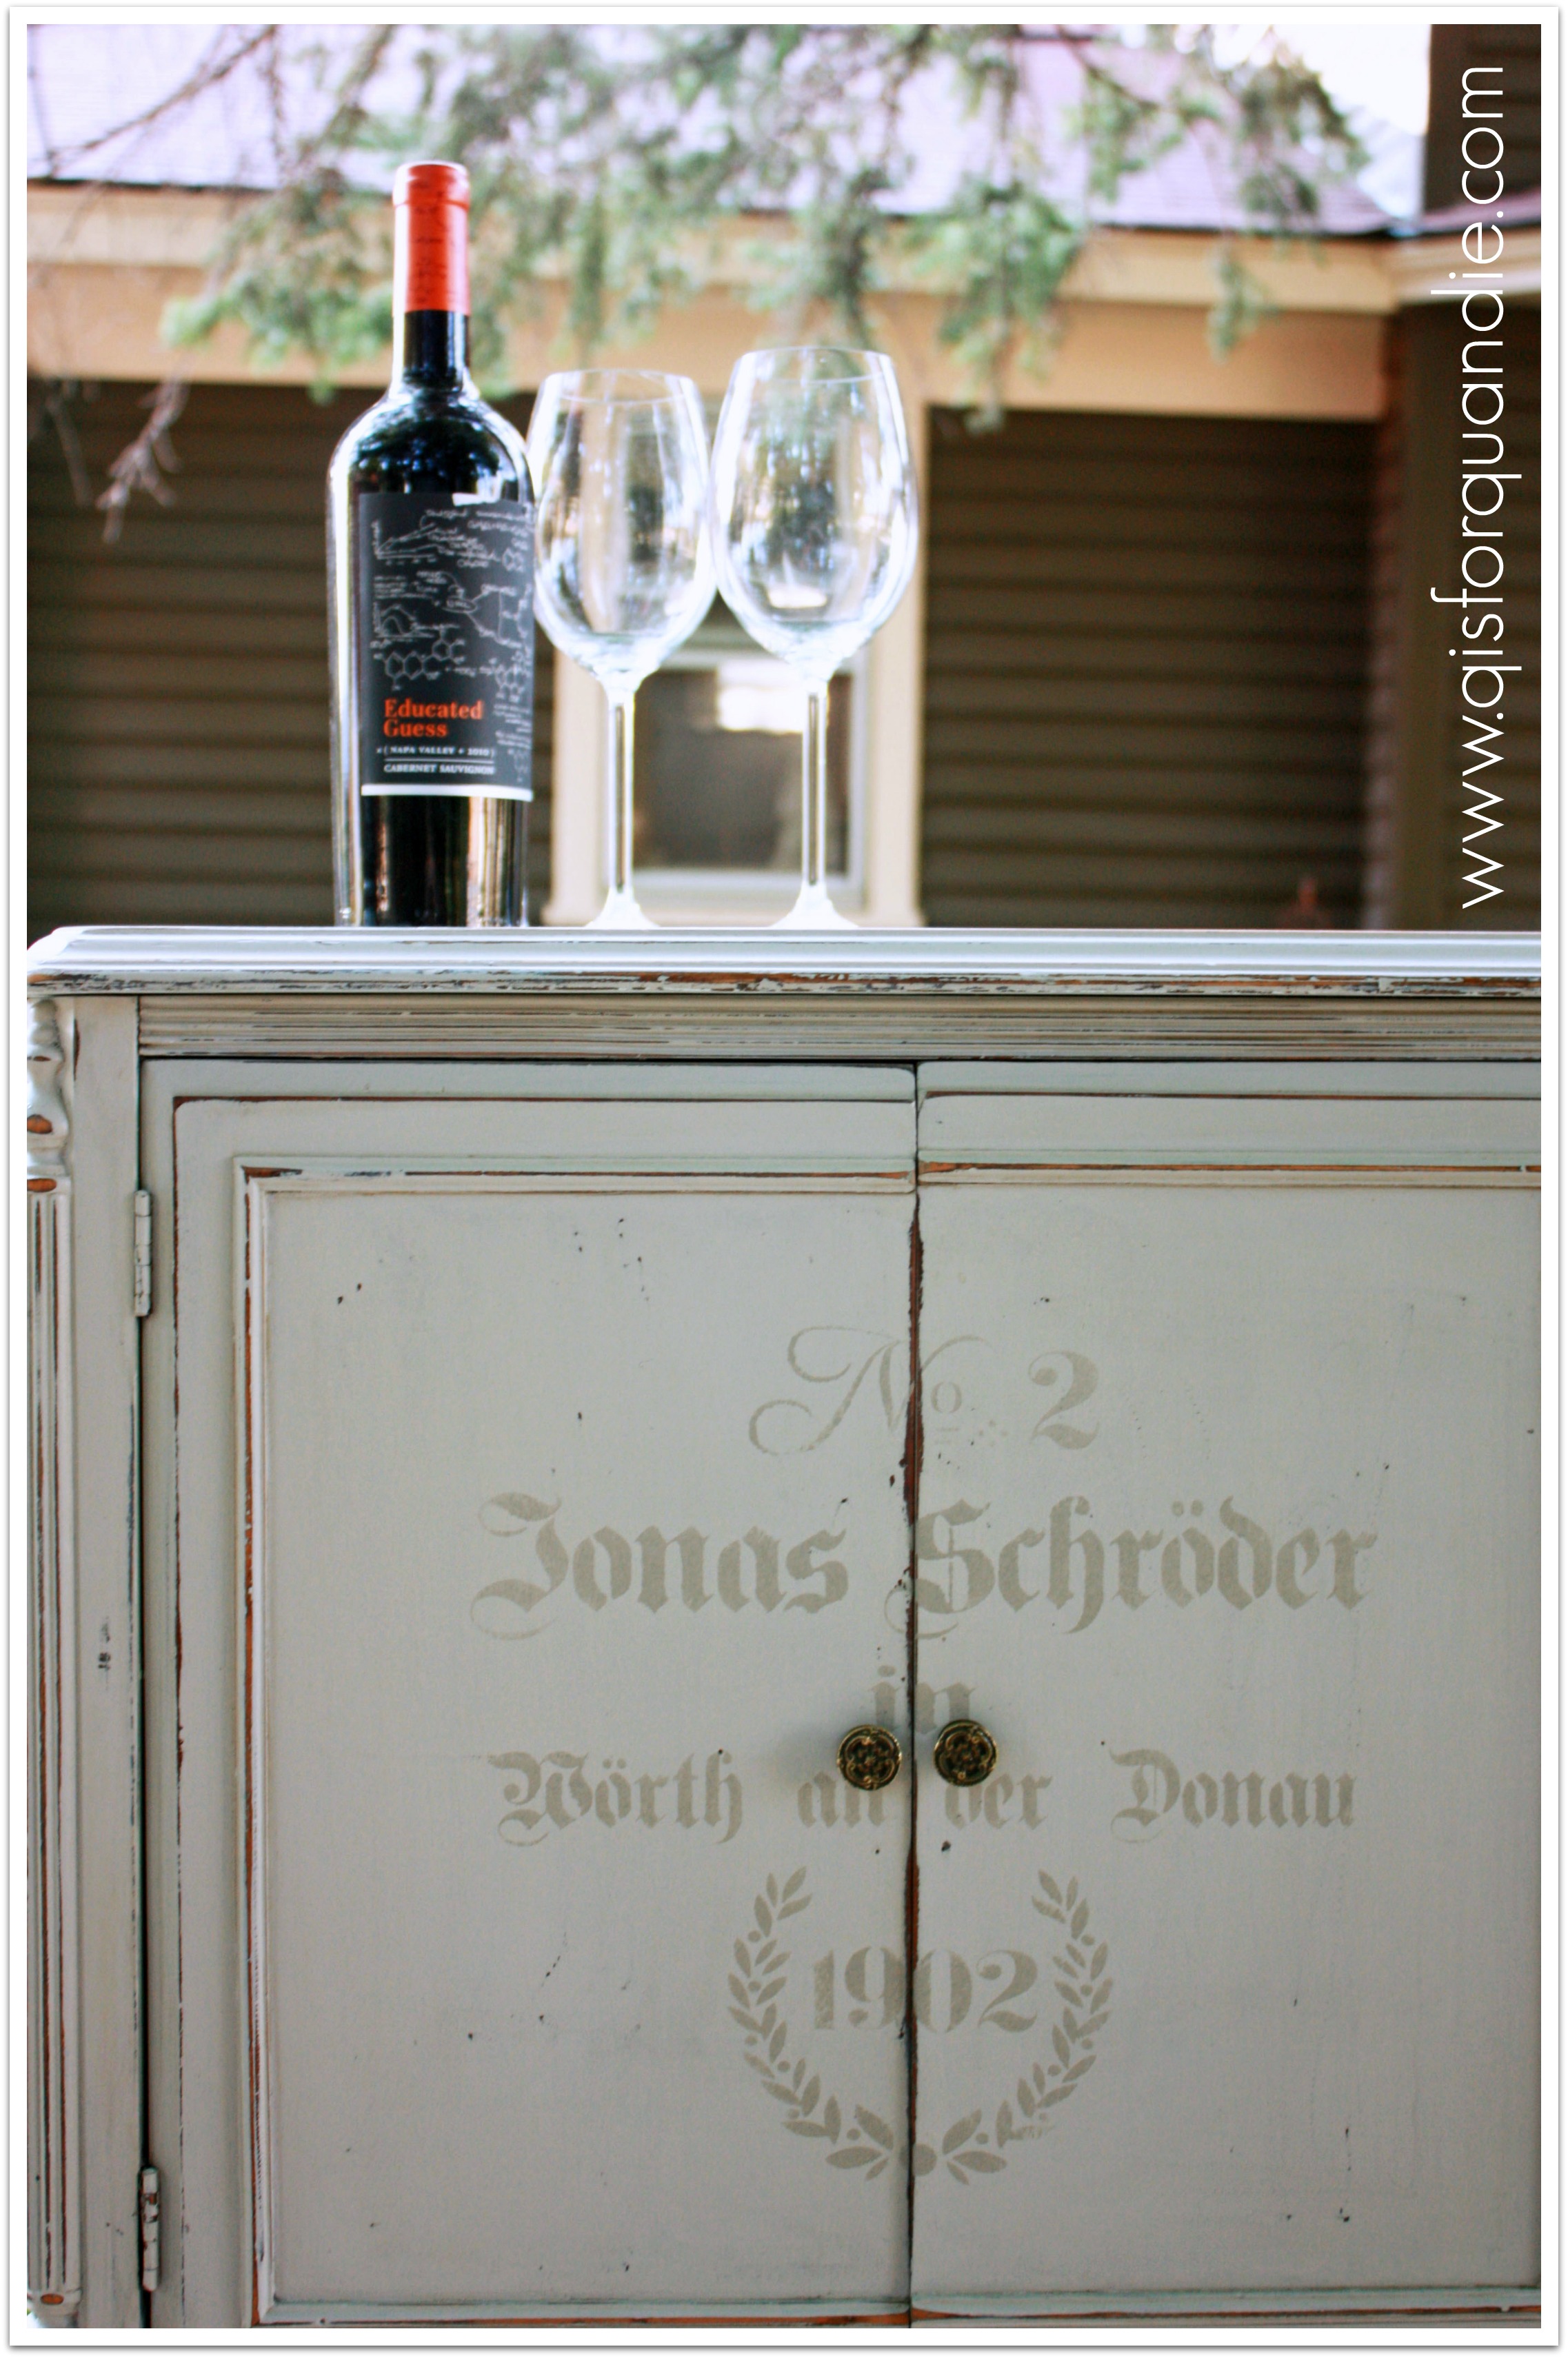
I’m starting with this darling radio cabinet that became a wine cabinet.

upcycled wine cabinet

Unfortunately, prior to the blog I often neglected to take before pics.  But this was your basic gutted radio cabinet.  It was empty inside and was open in the back.  Originally there would have been a huge radio inside (‘cuz back in the day, they were huge.  Remember when we thought boomboxes were portable, ha!)?  I think there may have been a turntable inside as well because the top opened.

I bribed Ken into helping me with this one, probably with wine.  He built the shelves which were modeled after the wine storage in my pantry (which he also built).  He was able to tuck them into place with the top off.  Once that was done, he attached the top permanently using dowels and glue.

upcycled wine cabinet interior

I tested this out and one could store over two dozen bottles of wine in here.  Not bad.

I used one of my fave stencils on the front.

upcycled wine cabinet close up

Back in the day, I mainly painted with homemade chalk paint.  Basically flat or satin latex mixed with Plaster of Paris and a little water.  I had great success with it, and I still use it some times.  It won’t give you the chippyness of milk paint, but it is budget friendly and you have endless choices for color.

I love the detail at the bottom of this cabinet.  It needed to be glued up a bit when I got it.

upcycled wine cabinet bottom detail

So the next time you see a beat up radio cabinet at a garage sale (or heaven forbid, at the curb), think outside the box and turn it into wine storage!

upcycled wine cabinet collage

a water feature.

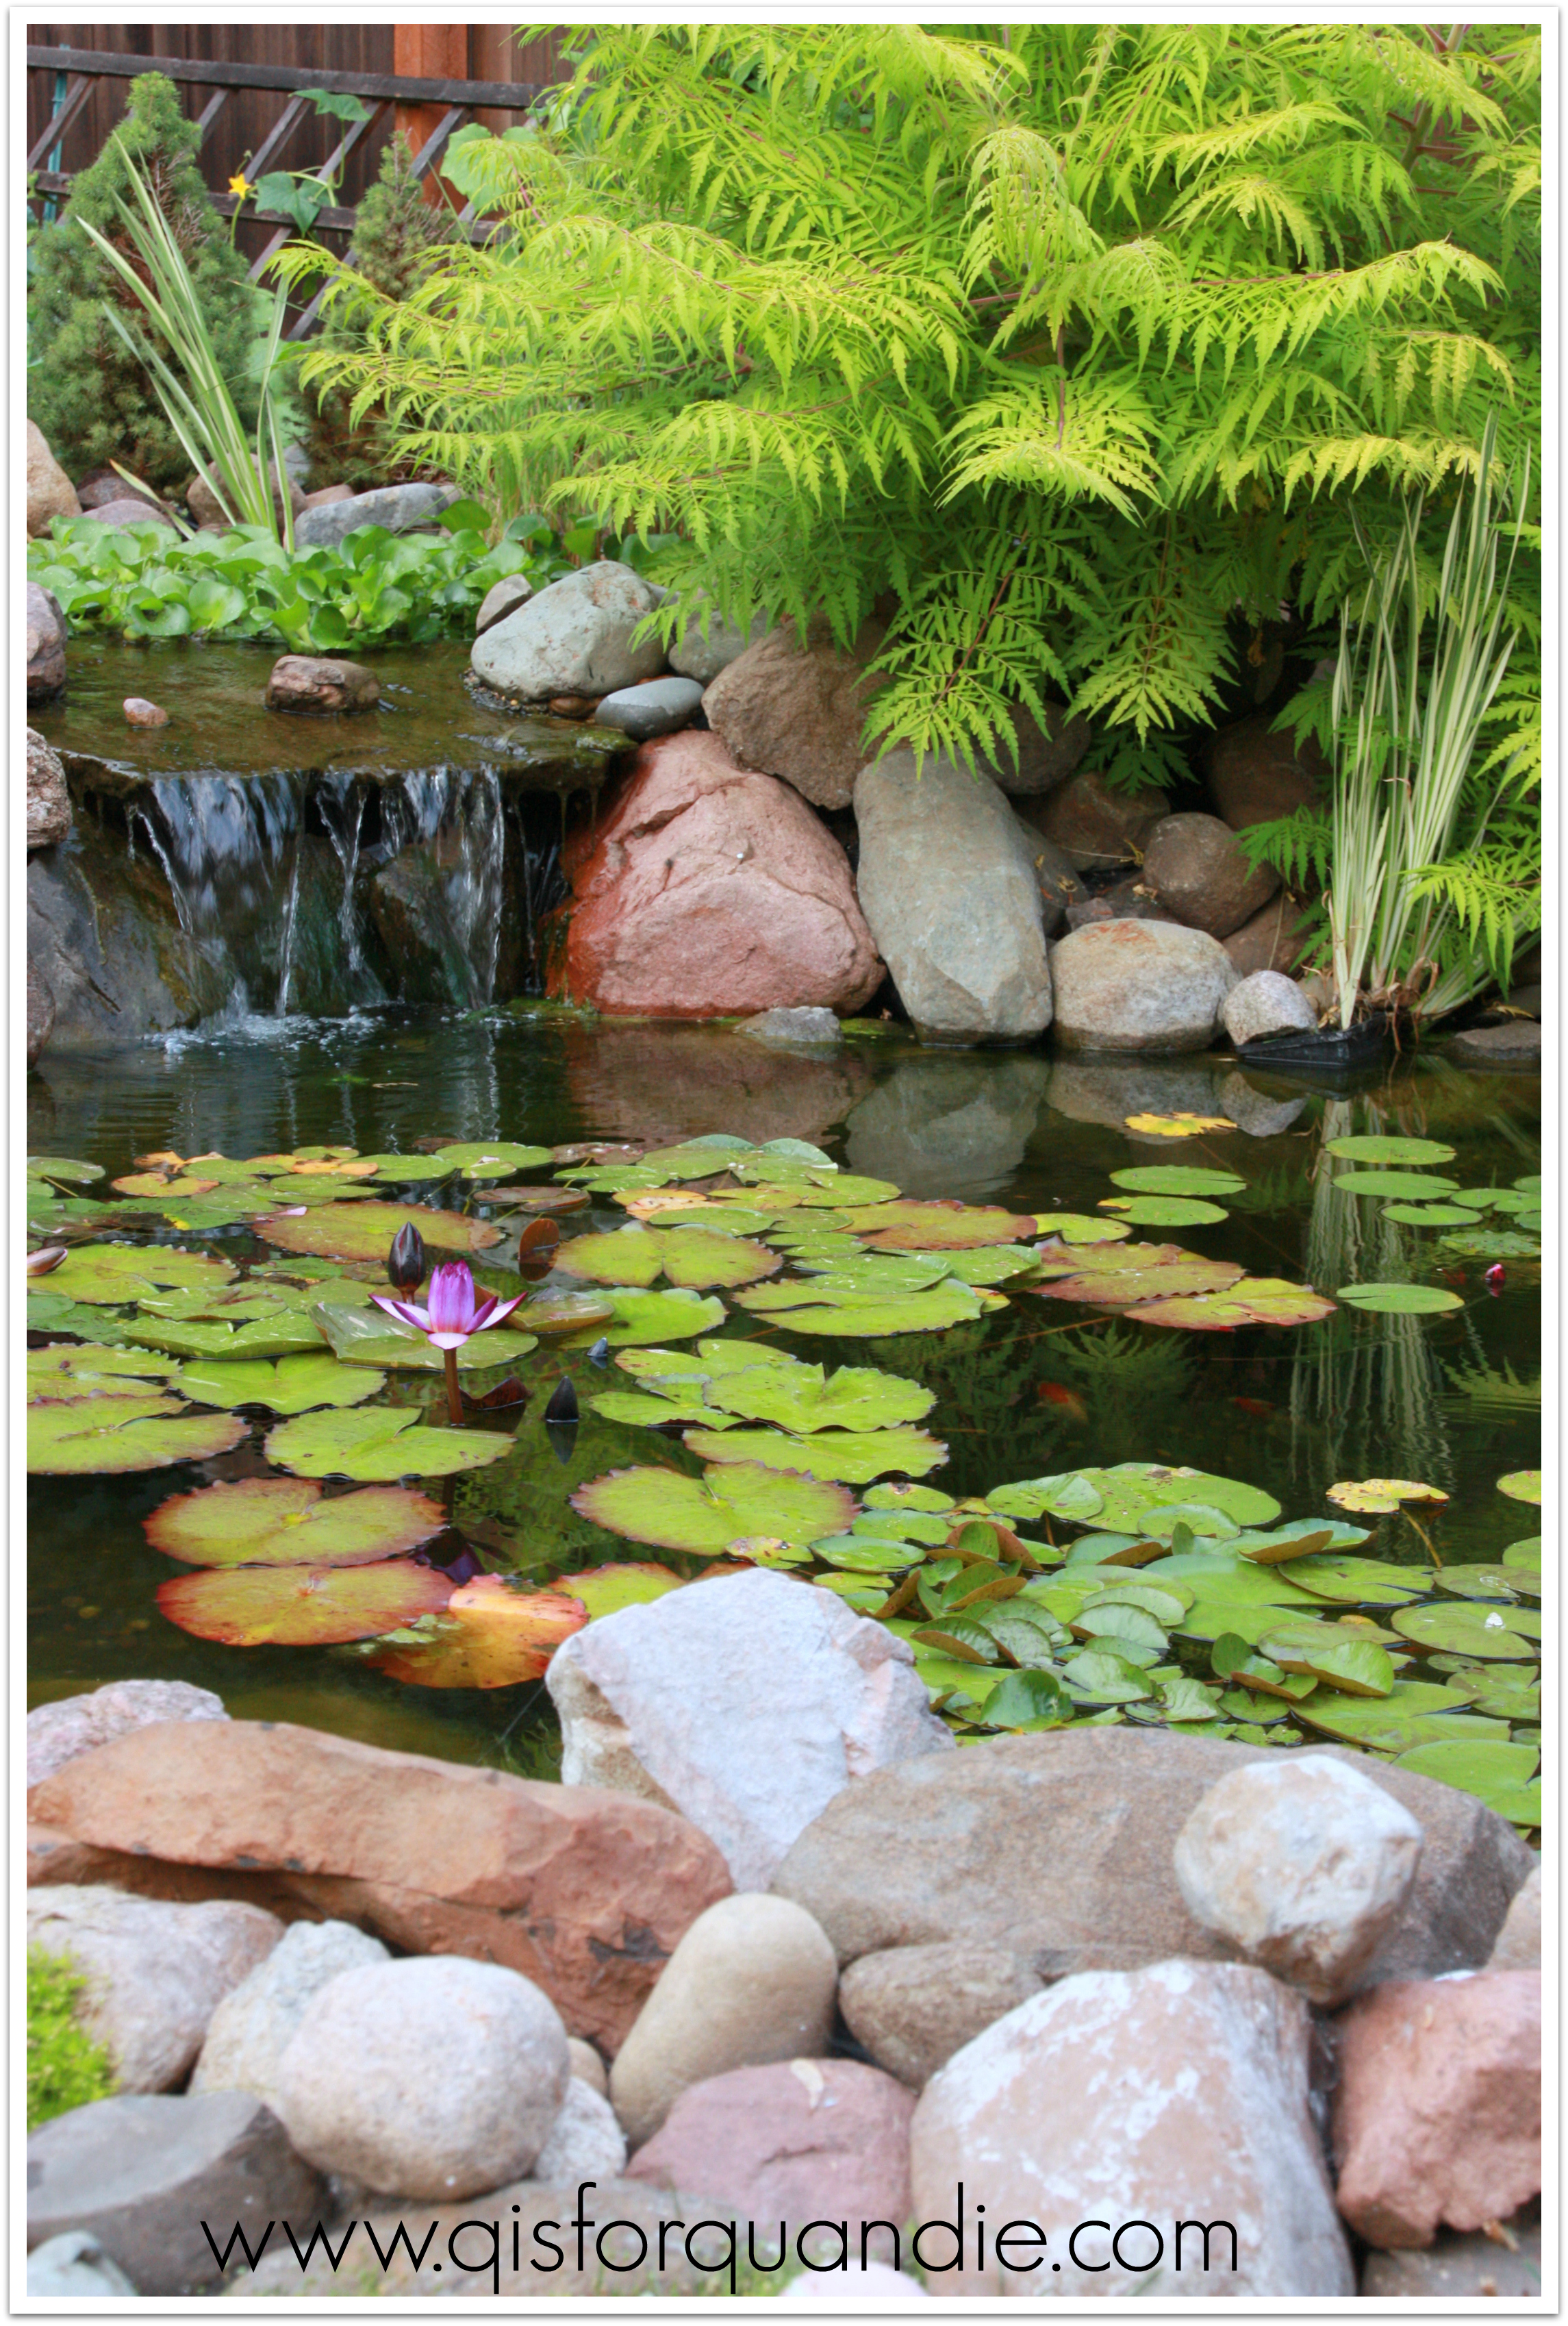
Personally, I think adding a faux pond to your garden is extremely hard to pull off.  So, I’ll admit, I was a bit skeptical when my neighbor Karen (a.k.a. nnK) told me she was putting in a pond.  They just often tend to look … well … fake.

I should have known better.

nnk running waterShe insisted it would look good, and she was right.  Sometimes on really hot days I am tempted to dangle my feet in this pond.  I keep telling her she should have made it just a tad bigger so I could float a lounge chair in there.

nnk pond

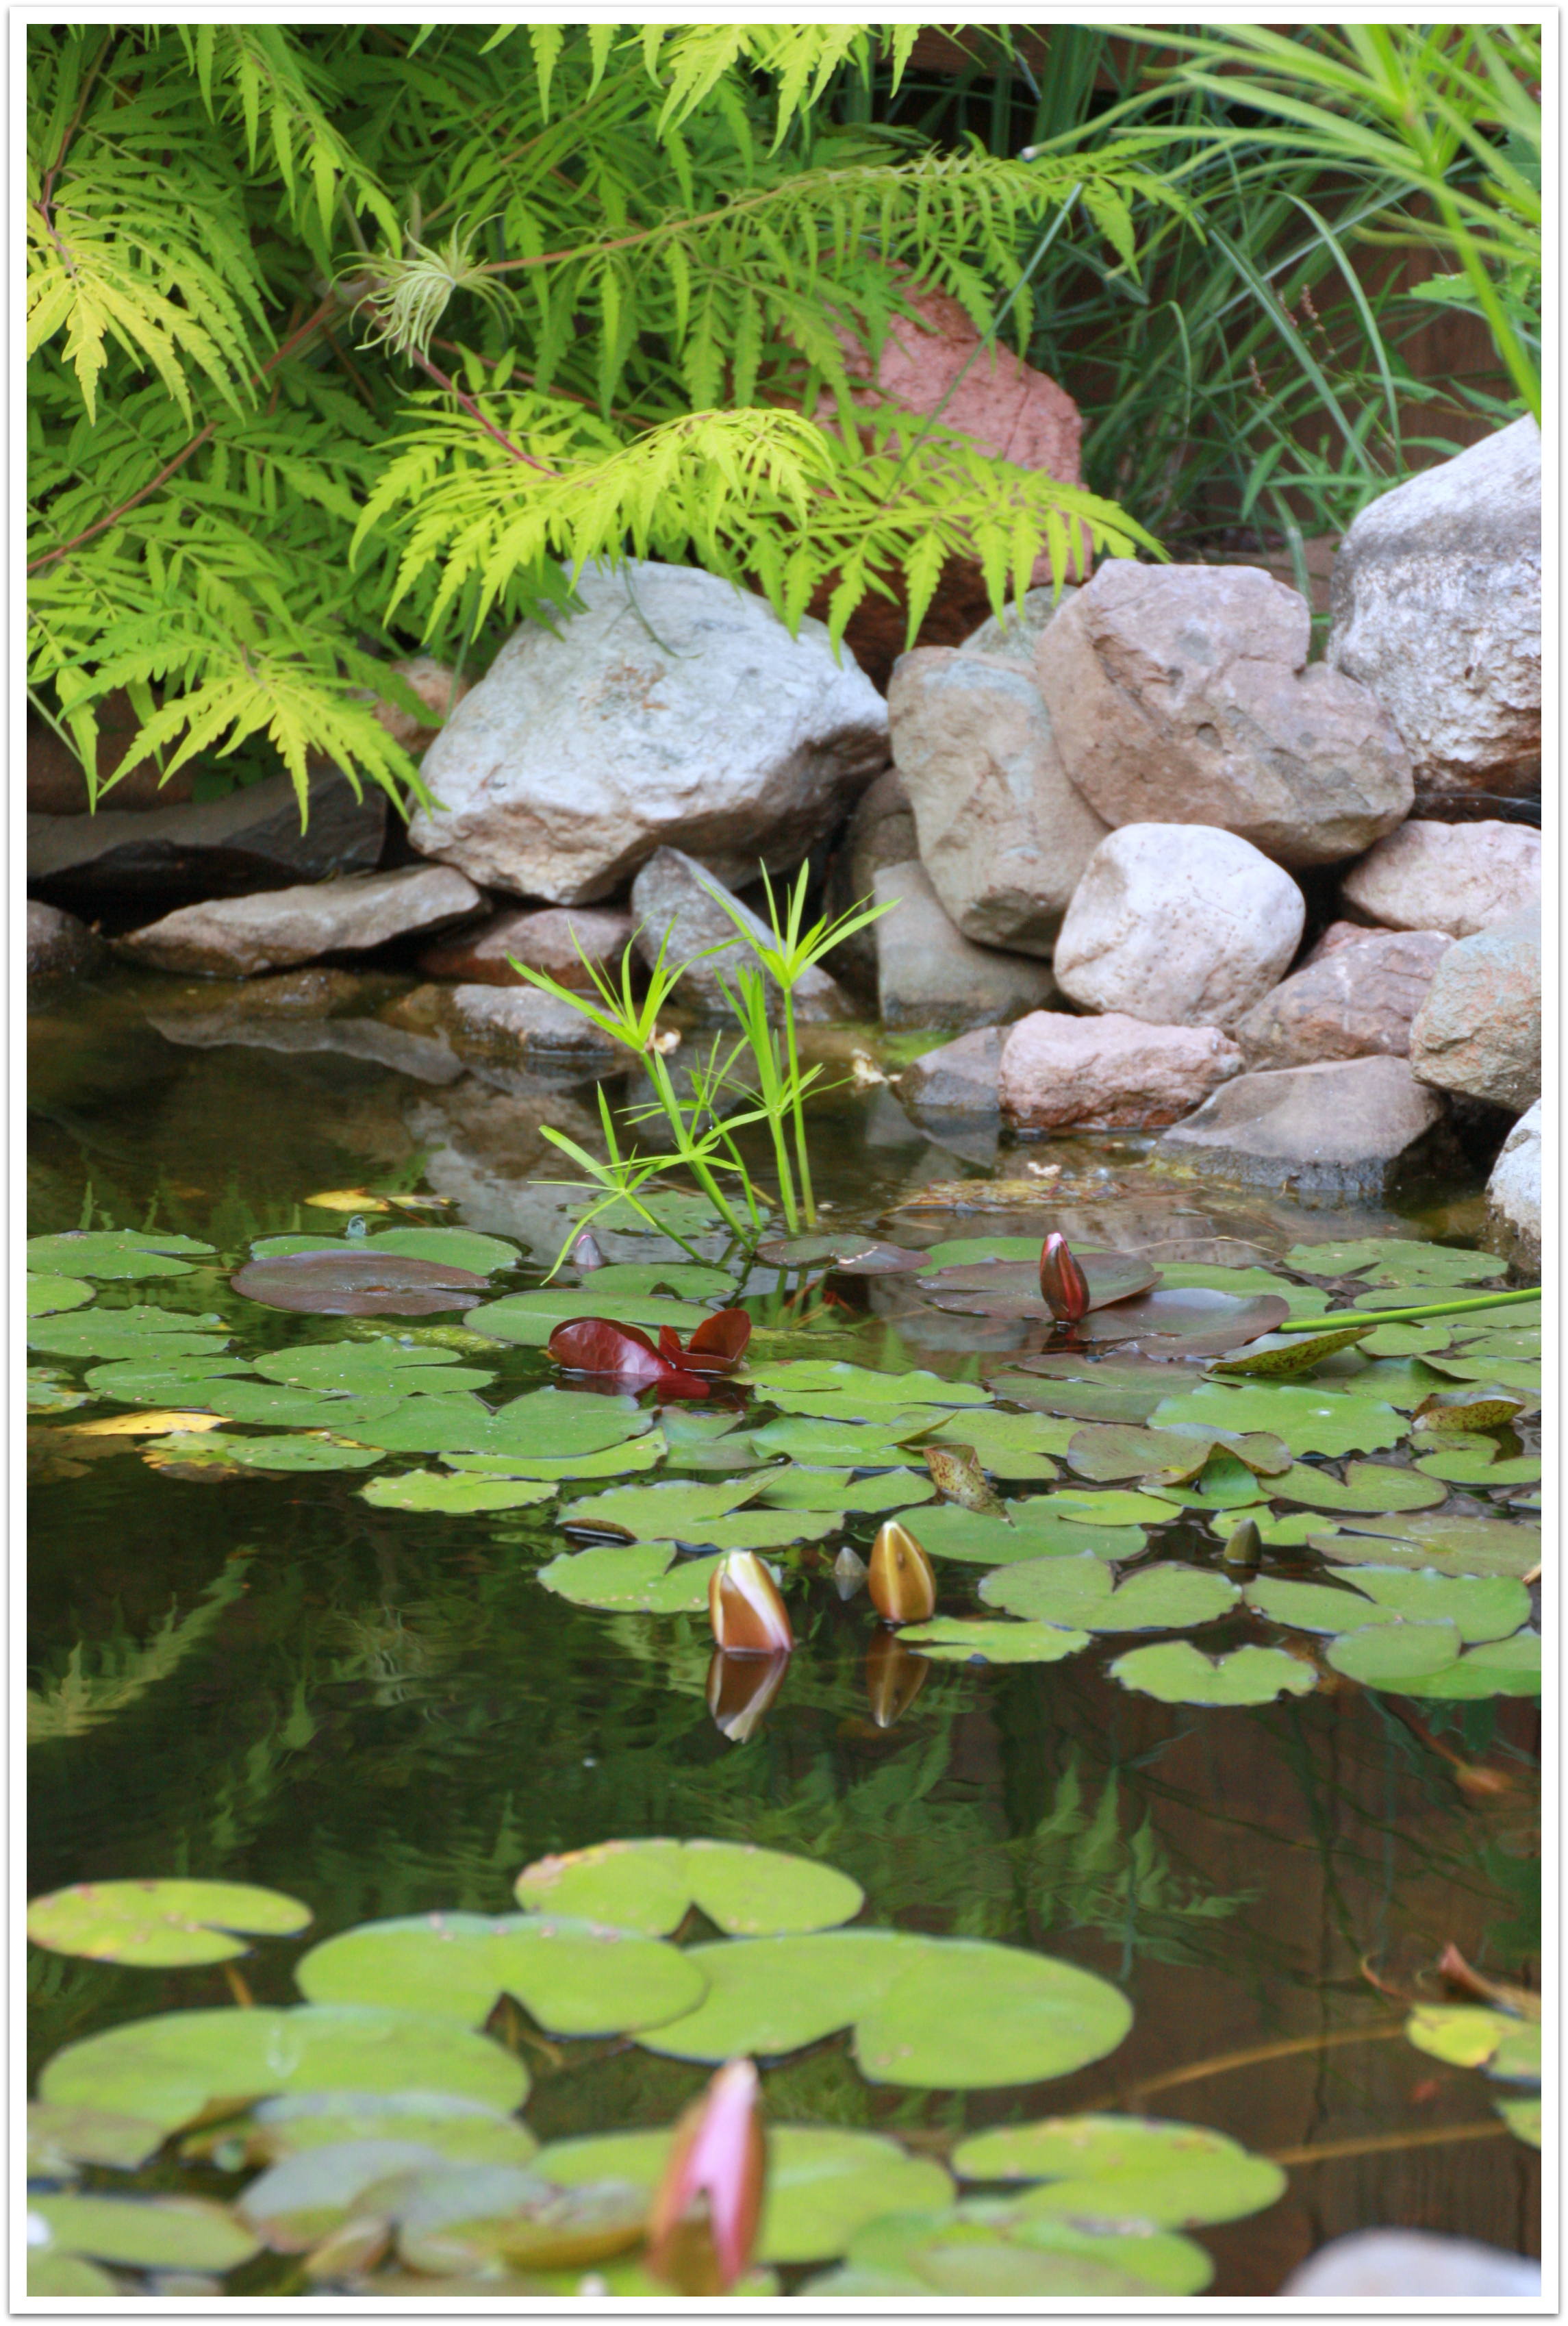
The Tiger Eye sumac in the back is perfect.  The way it sort of overhangs the rocks and water looks very natural to me.

She’s got quite a few fish in the pond.  And luckily this particular water bird can’t really eat them.

2014 summer blog8

I think part of the reason nnK’s pond looks so natural is because she used field rocks and tried to make it look like a typical Minnesota pond, not like some sort of mountain stream or waterfall.

nnk water plants

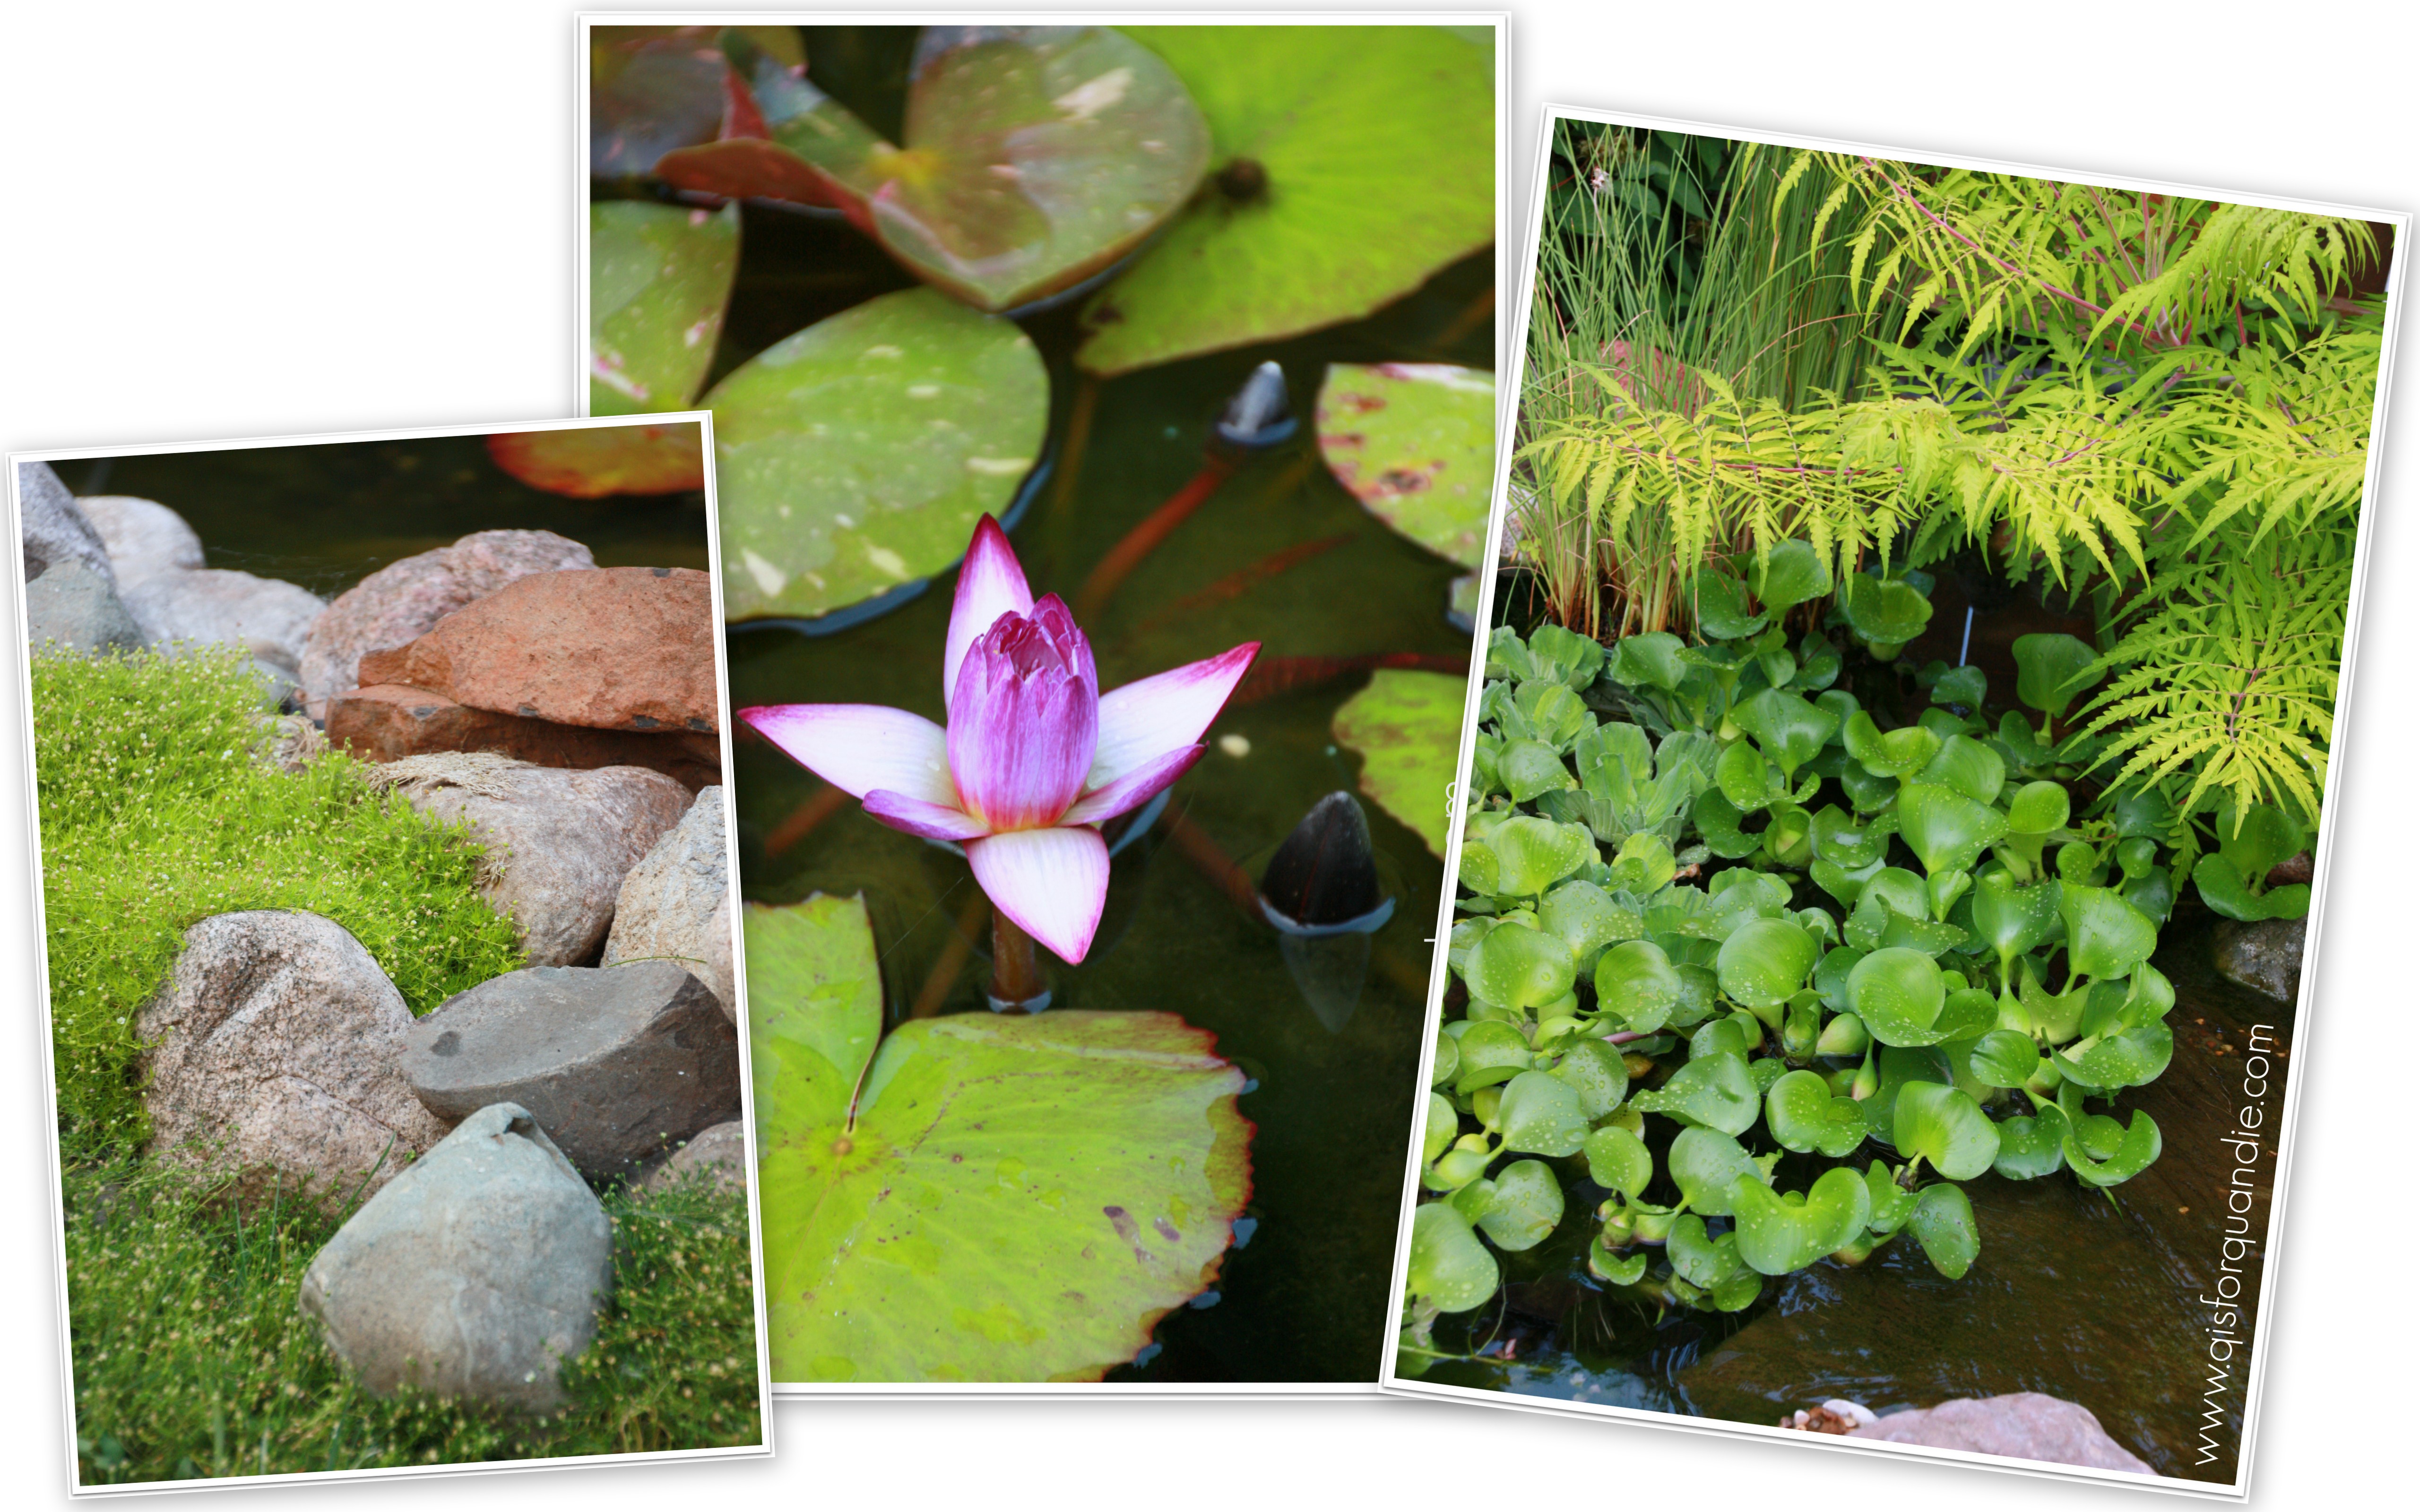
Another thing working in her favor are her plant choices.  They all look native, and there are lots of them.  Sparse plantings would not look as lush and fabulous.

2014 summer blog9

 I love the way she has moss and other plants growing around the rocks.

If I paid attention, I’d be able to tell you how she added a bog to help filter the water and how that works, but when she tells me that stuff I just nod my head a lot and pretend like I understand.

nnk bog

Oh, and in case you are wondering, I’m pretty sure the fish come in the house for the winter.  She could add a small heater and leave them in the pond, but she says that would cost a small fortune, so she just has a giant fish tank in the basement for them.

If anyone is thinking about adding a pond, nnK is a great resource.  Let me know and I’ll hook you up.

the master bedroom.

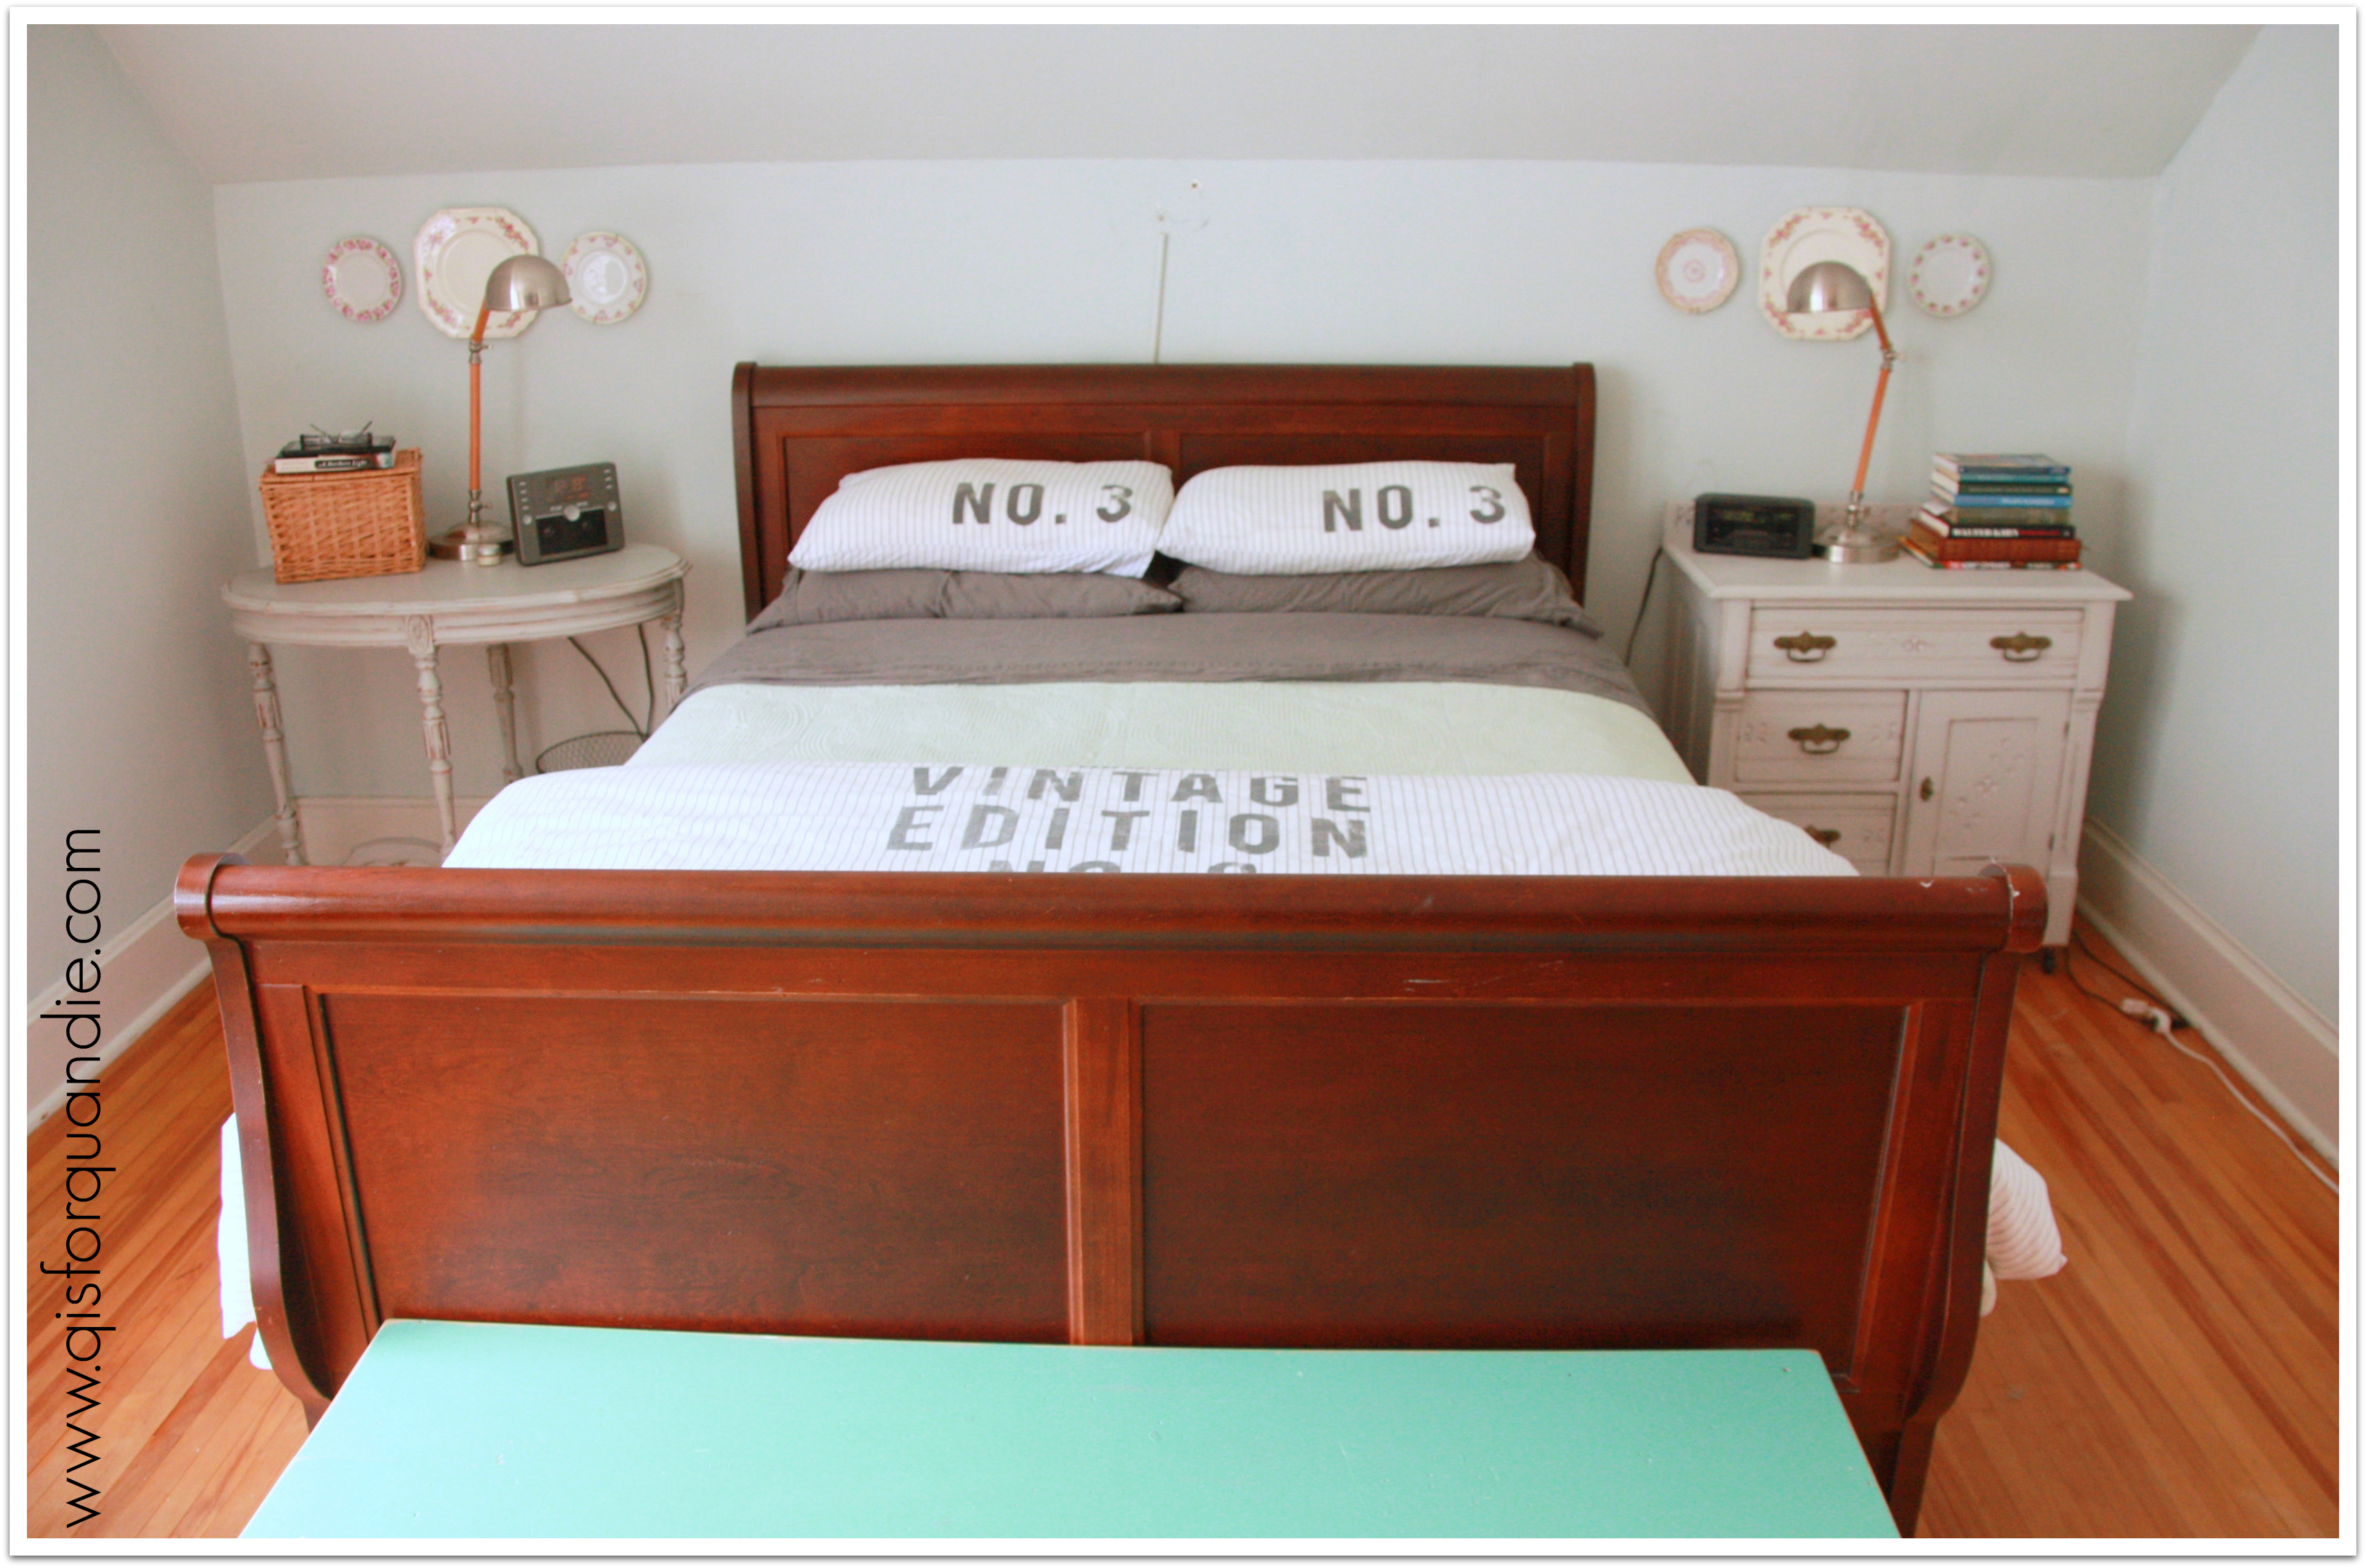
I’ve held off on showing pics of my master bedroom on q is for quandie simply because when I look at it, I see all of the things I want to change.  You see, the last time I updated the room I had some cockamamie idea that mixing vintage and space age would be a sophisticated juxtaposition of old and new.  Maybe it would have, if I had done it well … but instead I just put in some stainless steel modern fixtures.  I liked it for a while, but it grew old quickly.  I’ve removed a lot of the modern, but I still need to make some more changes.

But recently I decided, what the heck, I’ll share it anyway.  A lot of the changes I want to make are probably a ways down on the priority list.  It could be awhile.  So, I’ll show it to you as is.

mb east wall

Technically, the Q casa is a story and a half.  For those of you not up on house lingo, this means my upstairs is not a full story and all of the rooms have these quaint slanted ceilings.  I feel like this picture makes them look really low, but they aren’t.  Mr. Q and I are both tall, and we don’t hit our heads while getting into bed or anything like that.

I would love to do something with this wall behind the bed to make it more of a feature wall.  Perhaps add an all over stencil, a fabulous wallpaper, or even a wood plank wall.  Of all of these options, a stencil would be easiest and cheapest, a wood plank wall would be most fabulous, but least likely to ever get done.   And seeing as my bff spent many hours helping me strip not one, not two, but 3 layers of old wallpaper from this room, she might want to cause me bodily harm if I decide to wallpaper again!

I’d also like to paint the sleigh bed.  I know it would be gorgeous painted, but I just haven’t gotten around to it.  Before I paint the bed though, I’d rather paint the armoire, and add a stencil to the door.

mb armoire

One of our big splurges back when we were relatively new homeowners was the ‘bedroom set’.  Back in the day, you got a set of all matching furniture.  Those of you who have read my blog for a while know how I feel about this now!  Matching is bad!  Mixing is good!

I ditched the matching nightstands that came with this set, and replaced them with vintage pieces that are both painted a pale grey, but otherwise are quite different in style.  ‘His’ is a Swedish spoon carved commode that belonged to my grandparents, ‘hers’ is a curvy legged table.

mb nightstand collage

I’ve always thought I should paint the wood parts of the lamps white.  Another small project that I never quite get to.

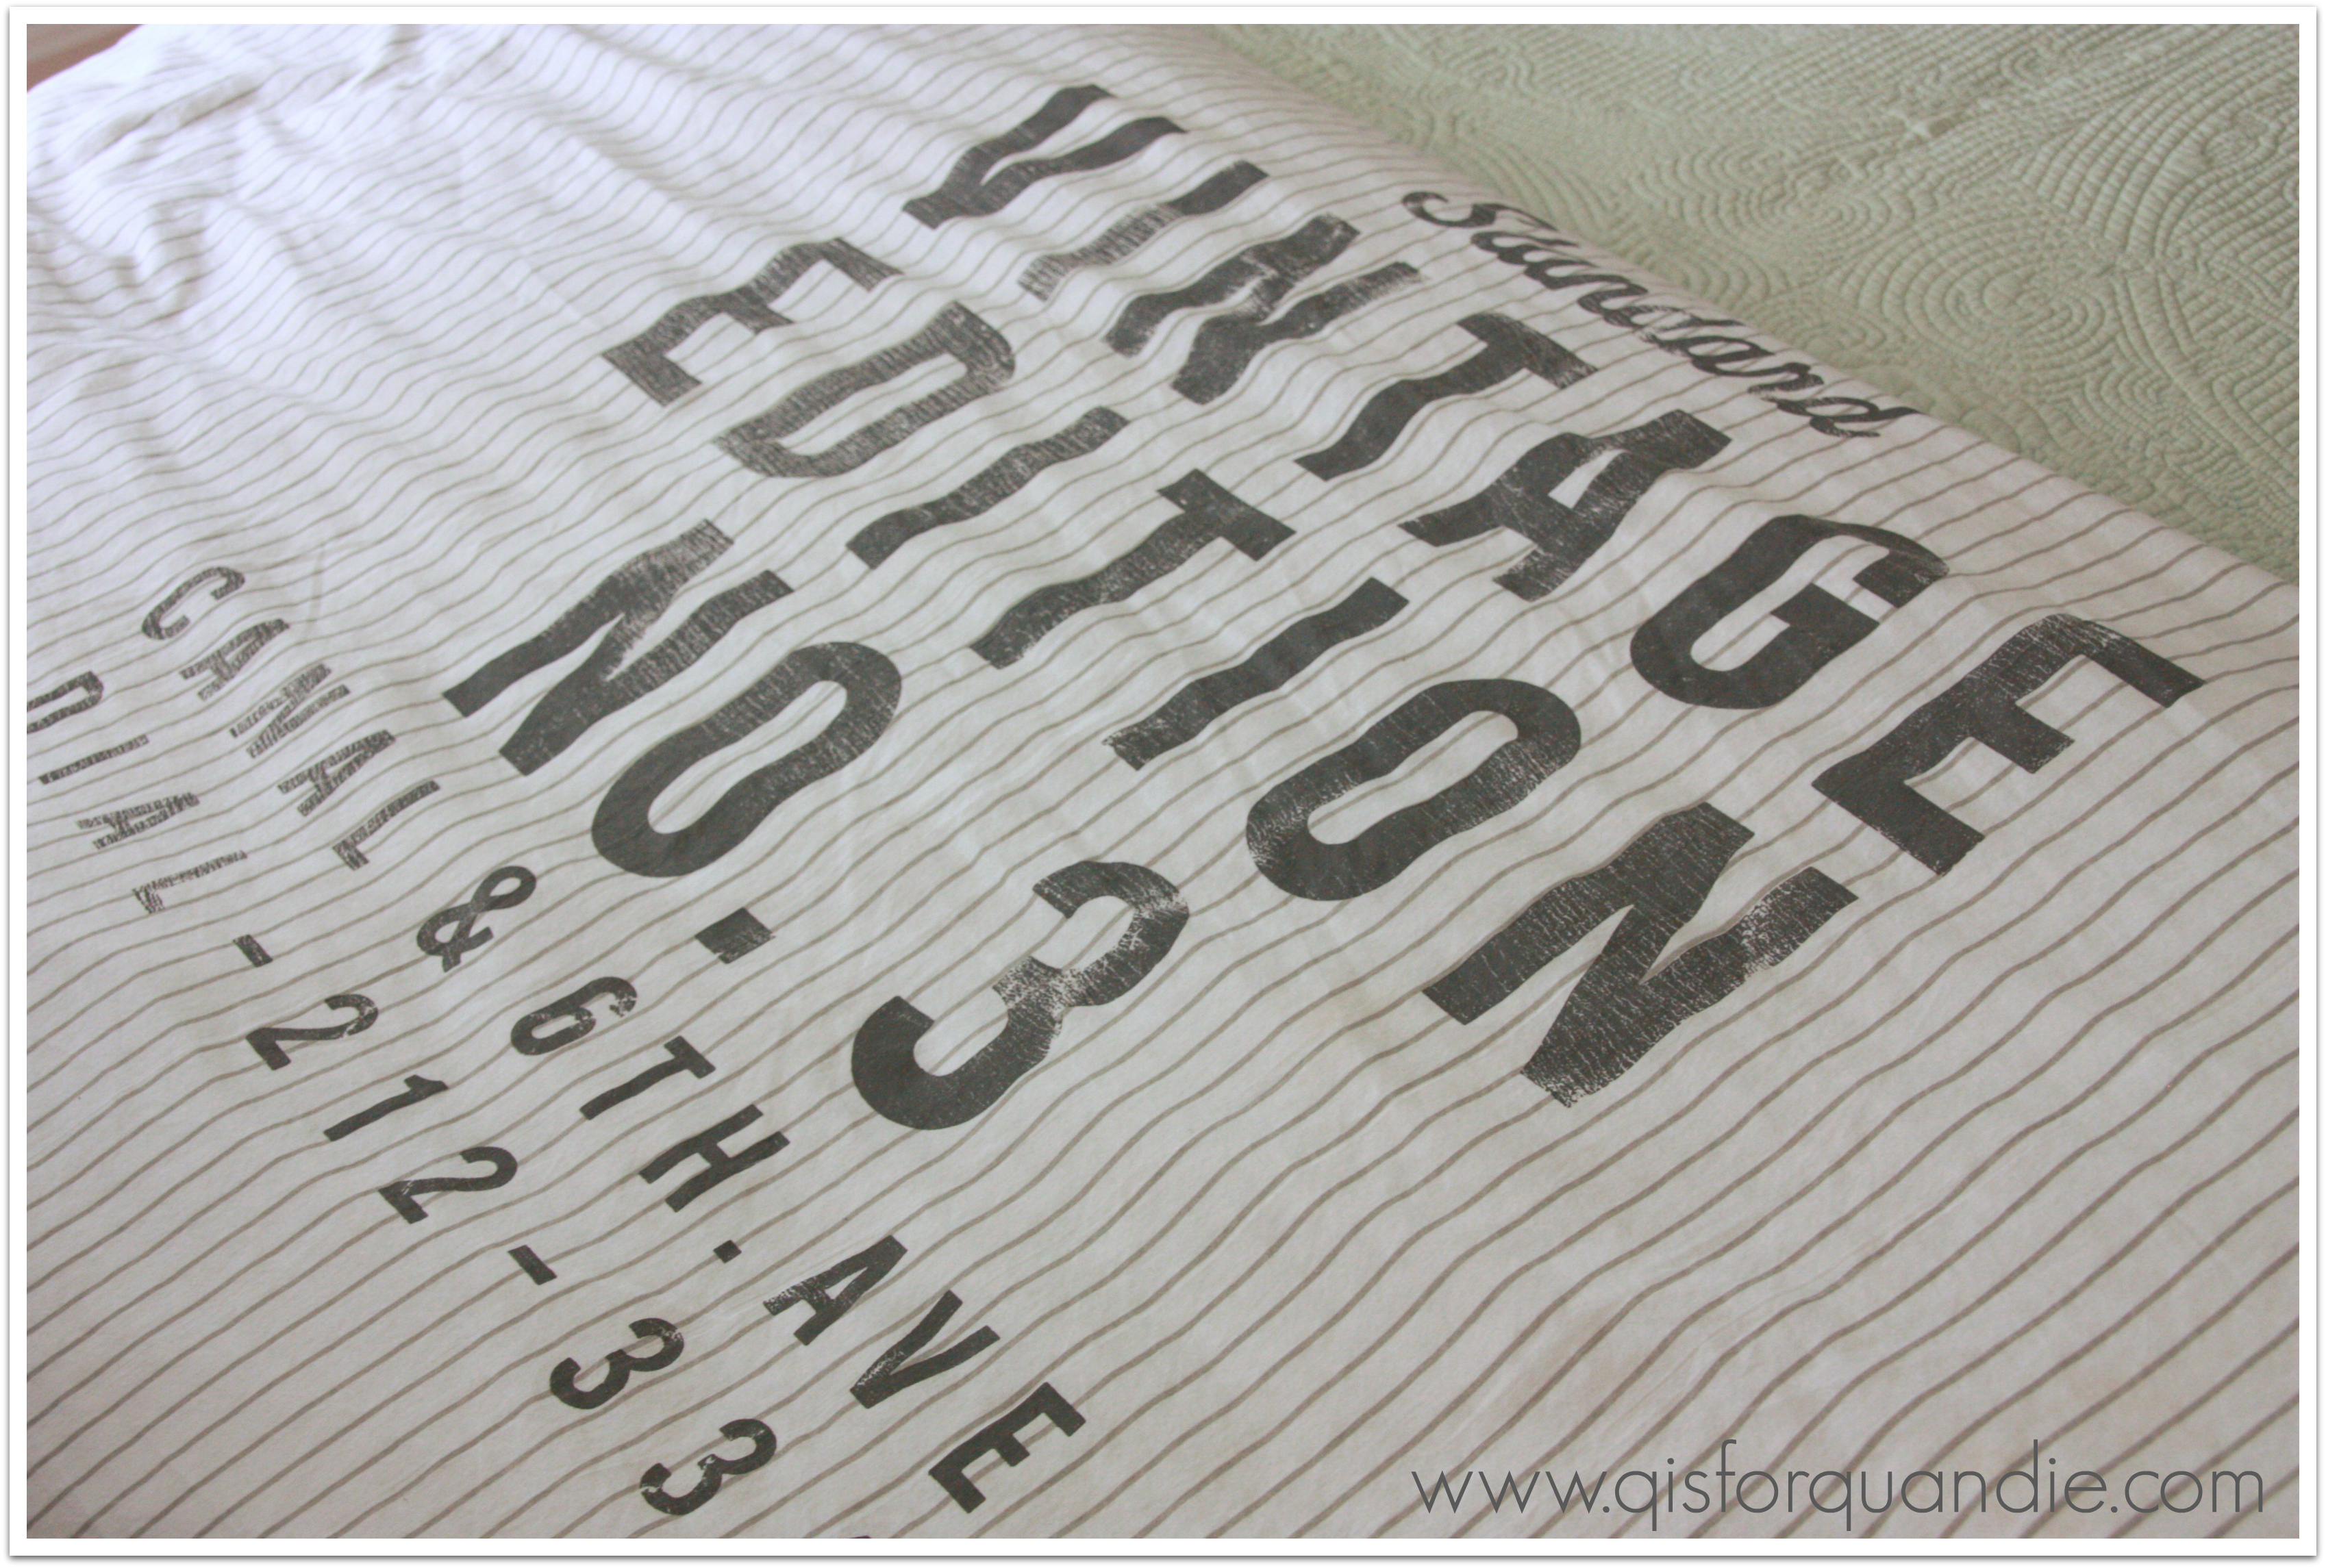
Meanwhile, I love my bedding, which came from H & M Home.  I was so happy when we were finally able to get their home products in the U.S.

mb bedding

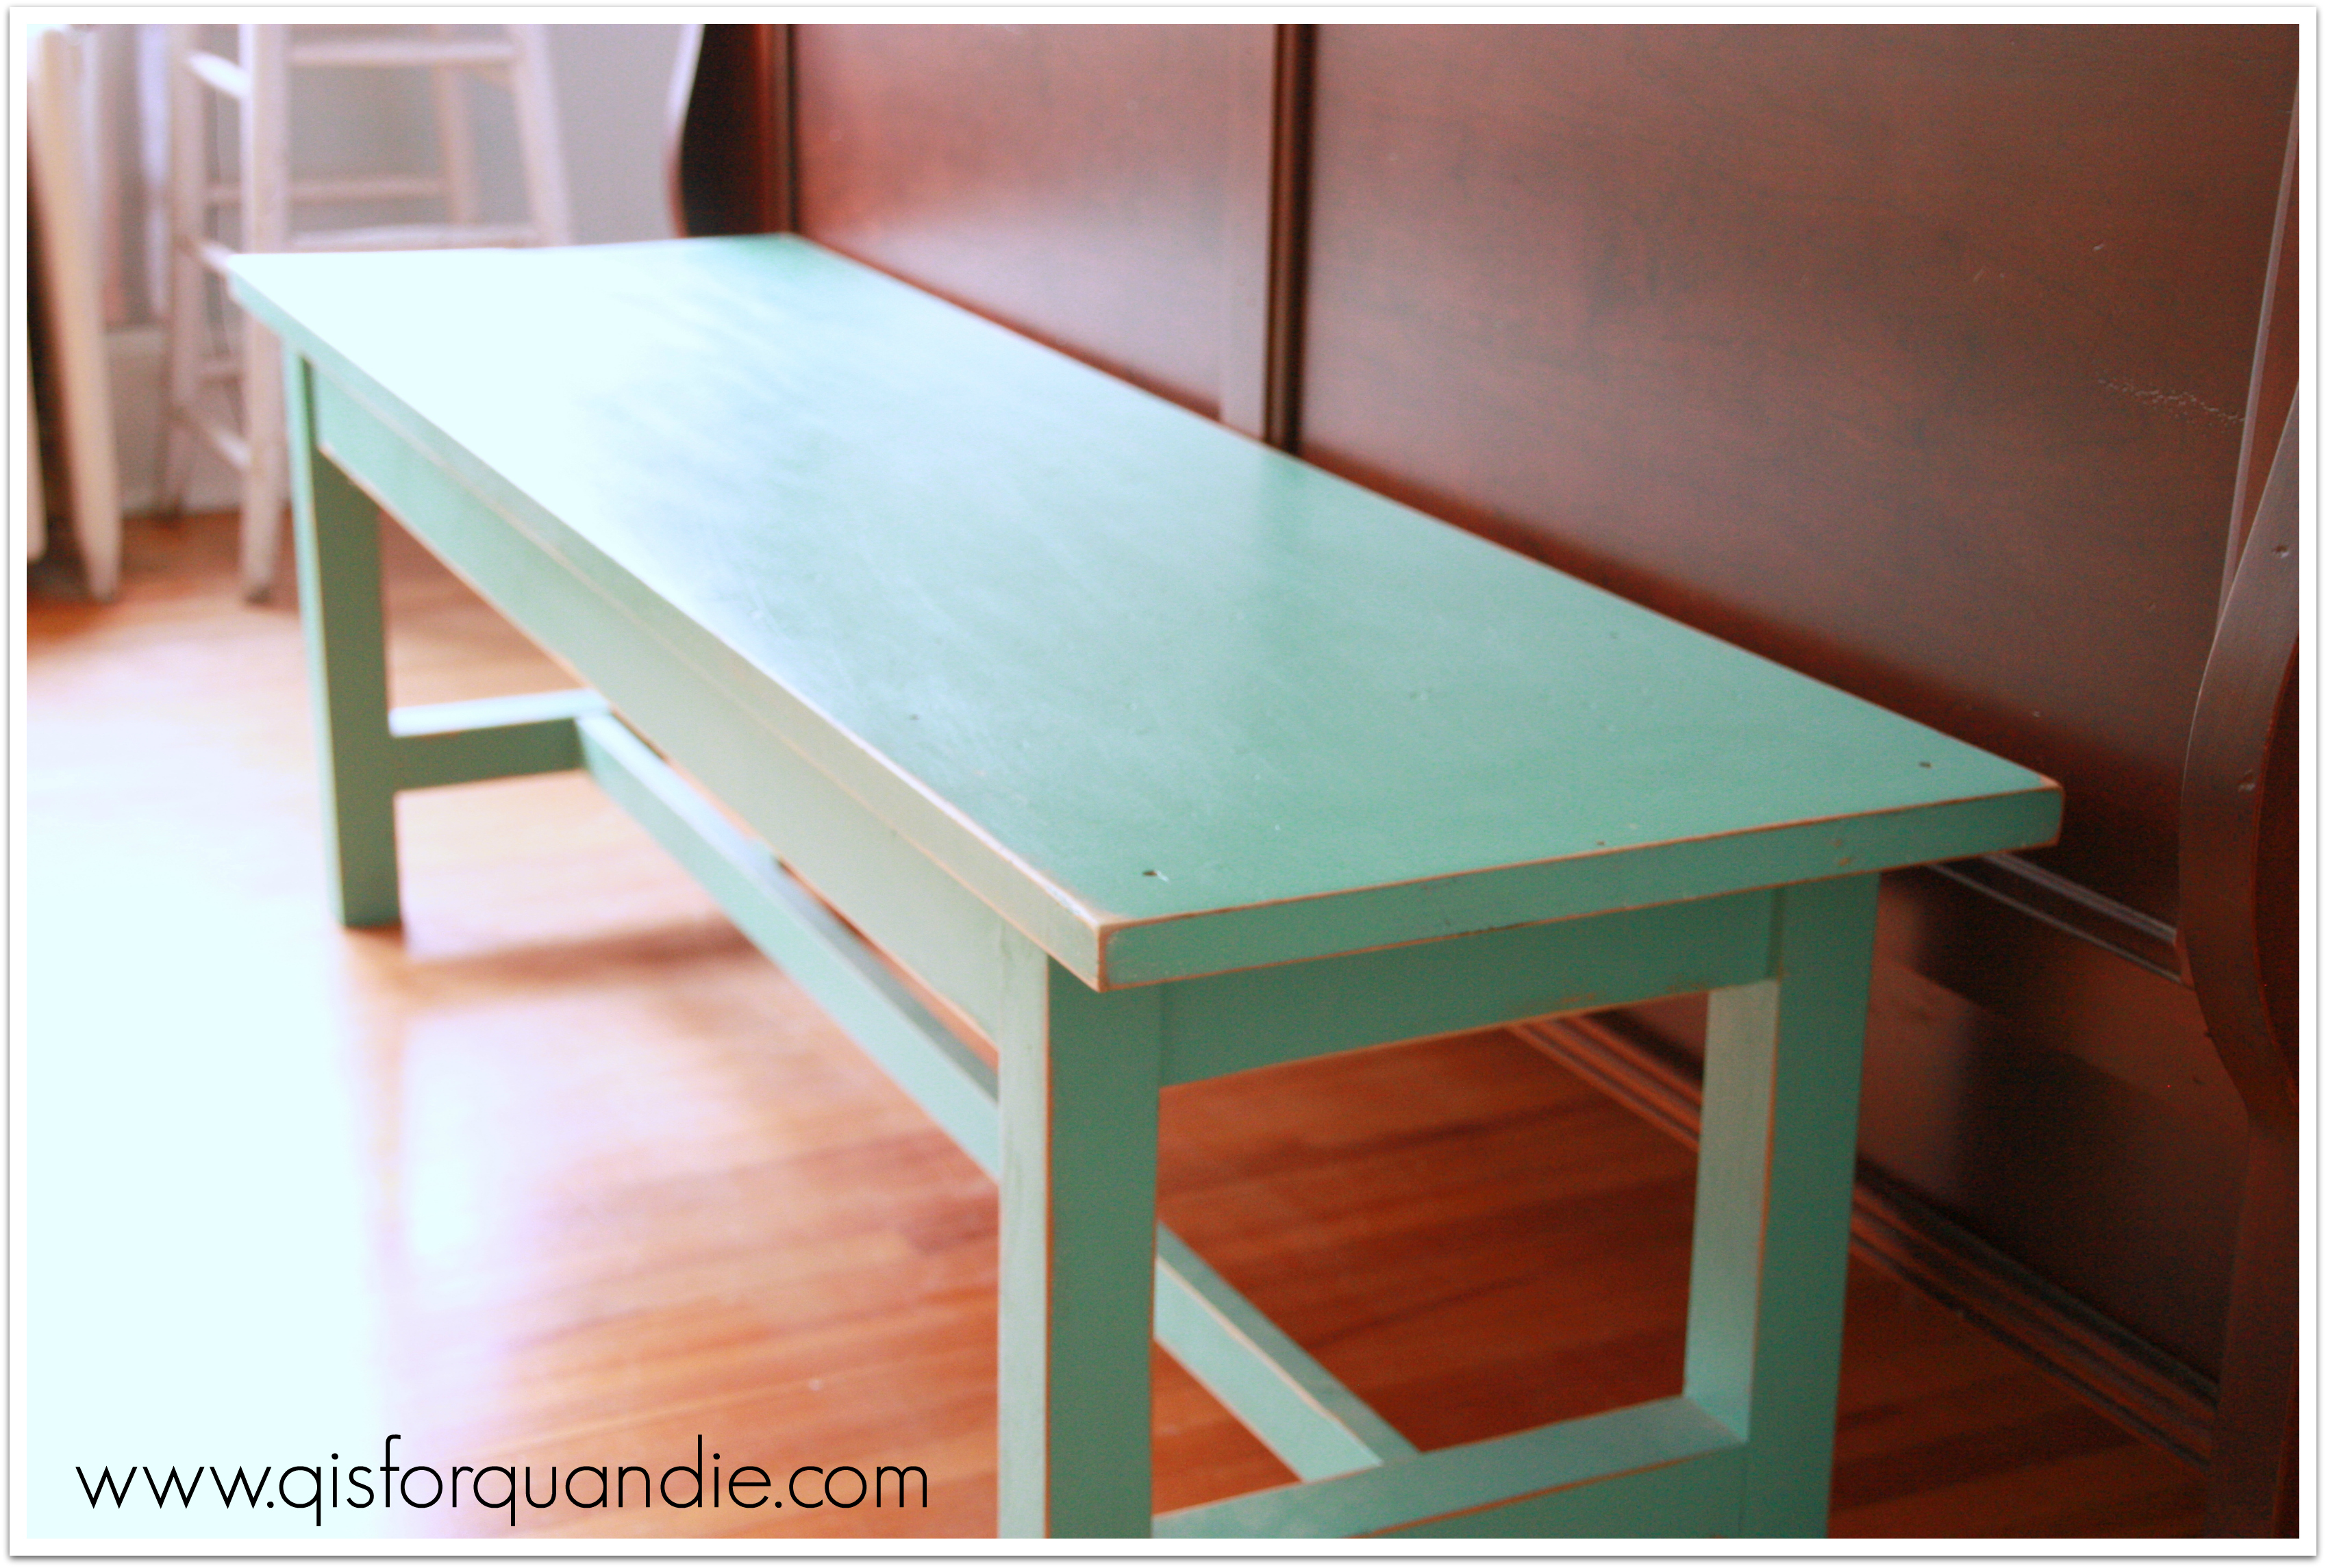
This turquoise bench lives at the foot of the bed.  I painted it several years ago.  It’s quite handy for piling up clothes that I don’t feel like putting away.

mb bench

I could use an area rug on the floor to add a little more coziness to the room.  We’ve had several different versions of rugs in this room off and on.  It’s actually a very large room, so it’s not cheap to get a rug that fills it up properly, and that’s just not at the top of the priority list right now.

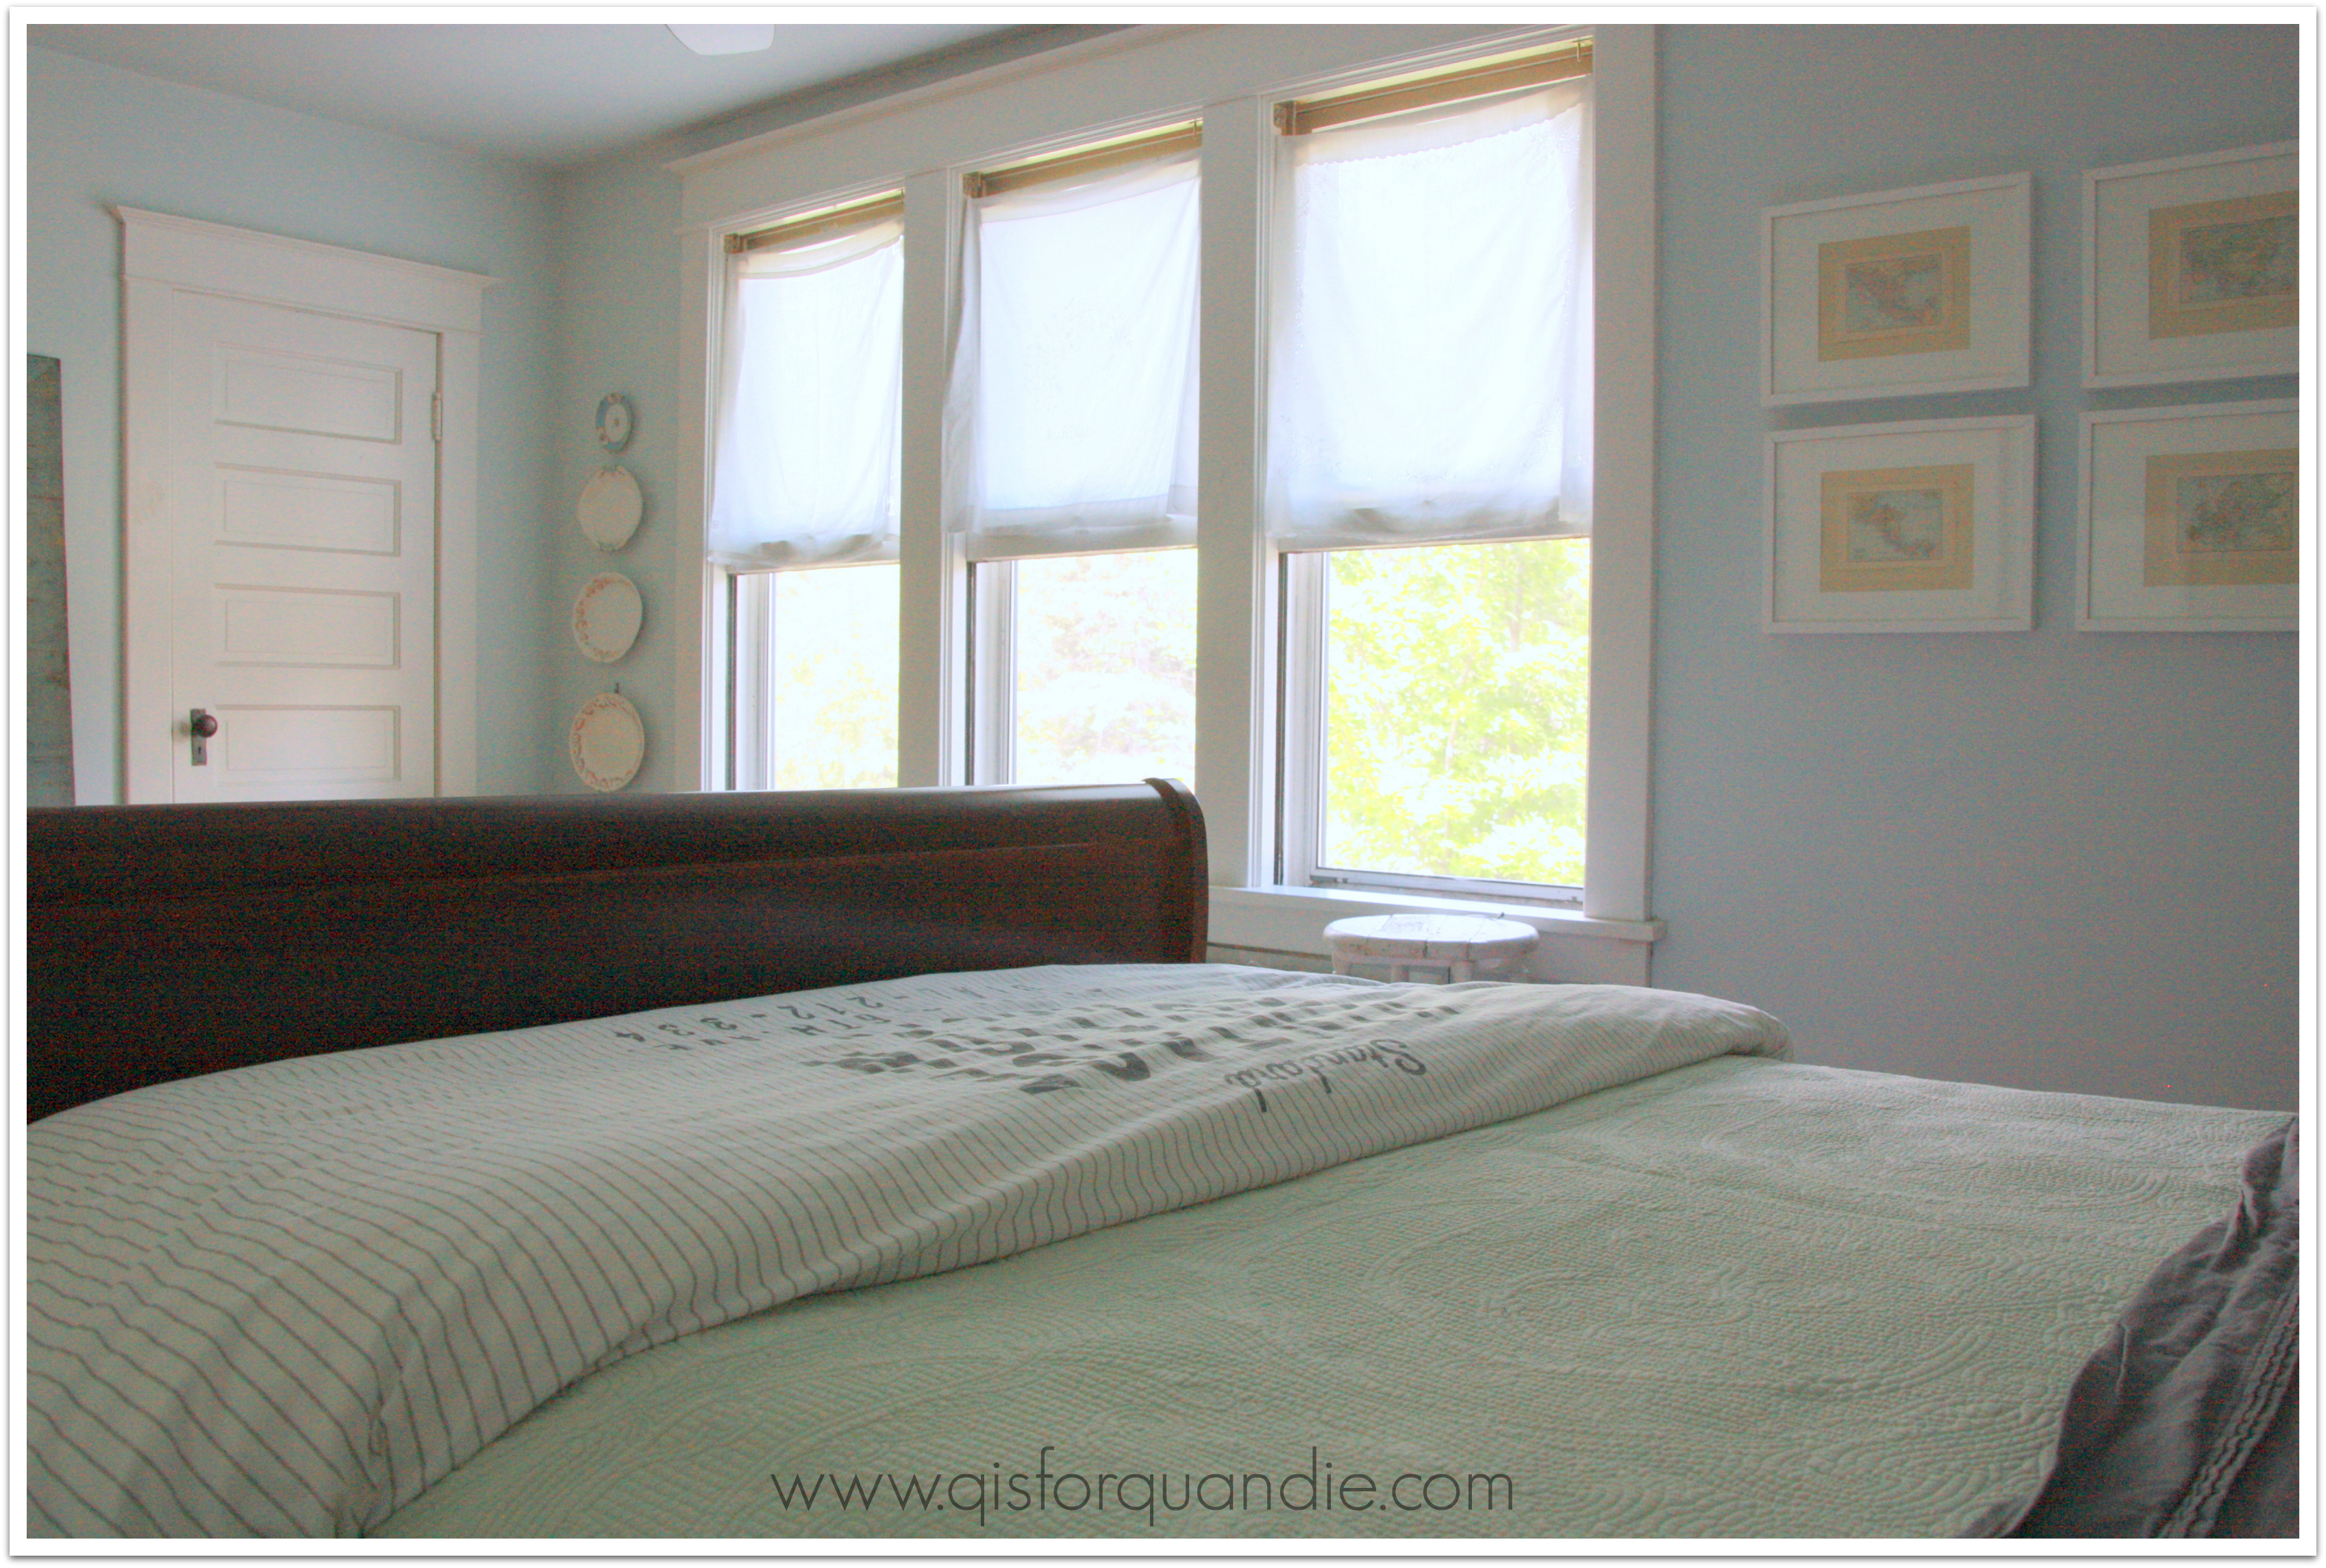
Oddly enough, the master bedroom is the room in my house that gets the absolute best light.  It faces northwest, but with 3 big windows there is always plenty of light in here.  Probably slightly wasted on a bedroom of all rooms.

mb windows

See that door back in the corner?  Yep, that’s my closet.  And it is small.  Want to live in a 100+ year old house?  Then be prepared to get creative when it comes to such things.  I only keep my current season’s clothes in there, and only my clothes.  Mr. Q gets a closet in another bedroom (which he uses as a study), and I get the guest room closet for my off season clothes.

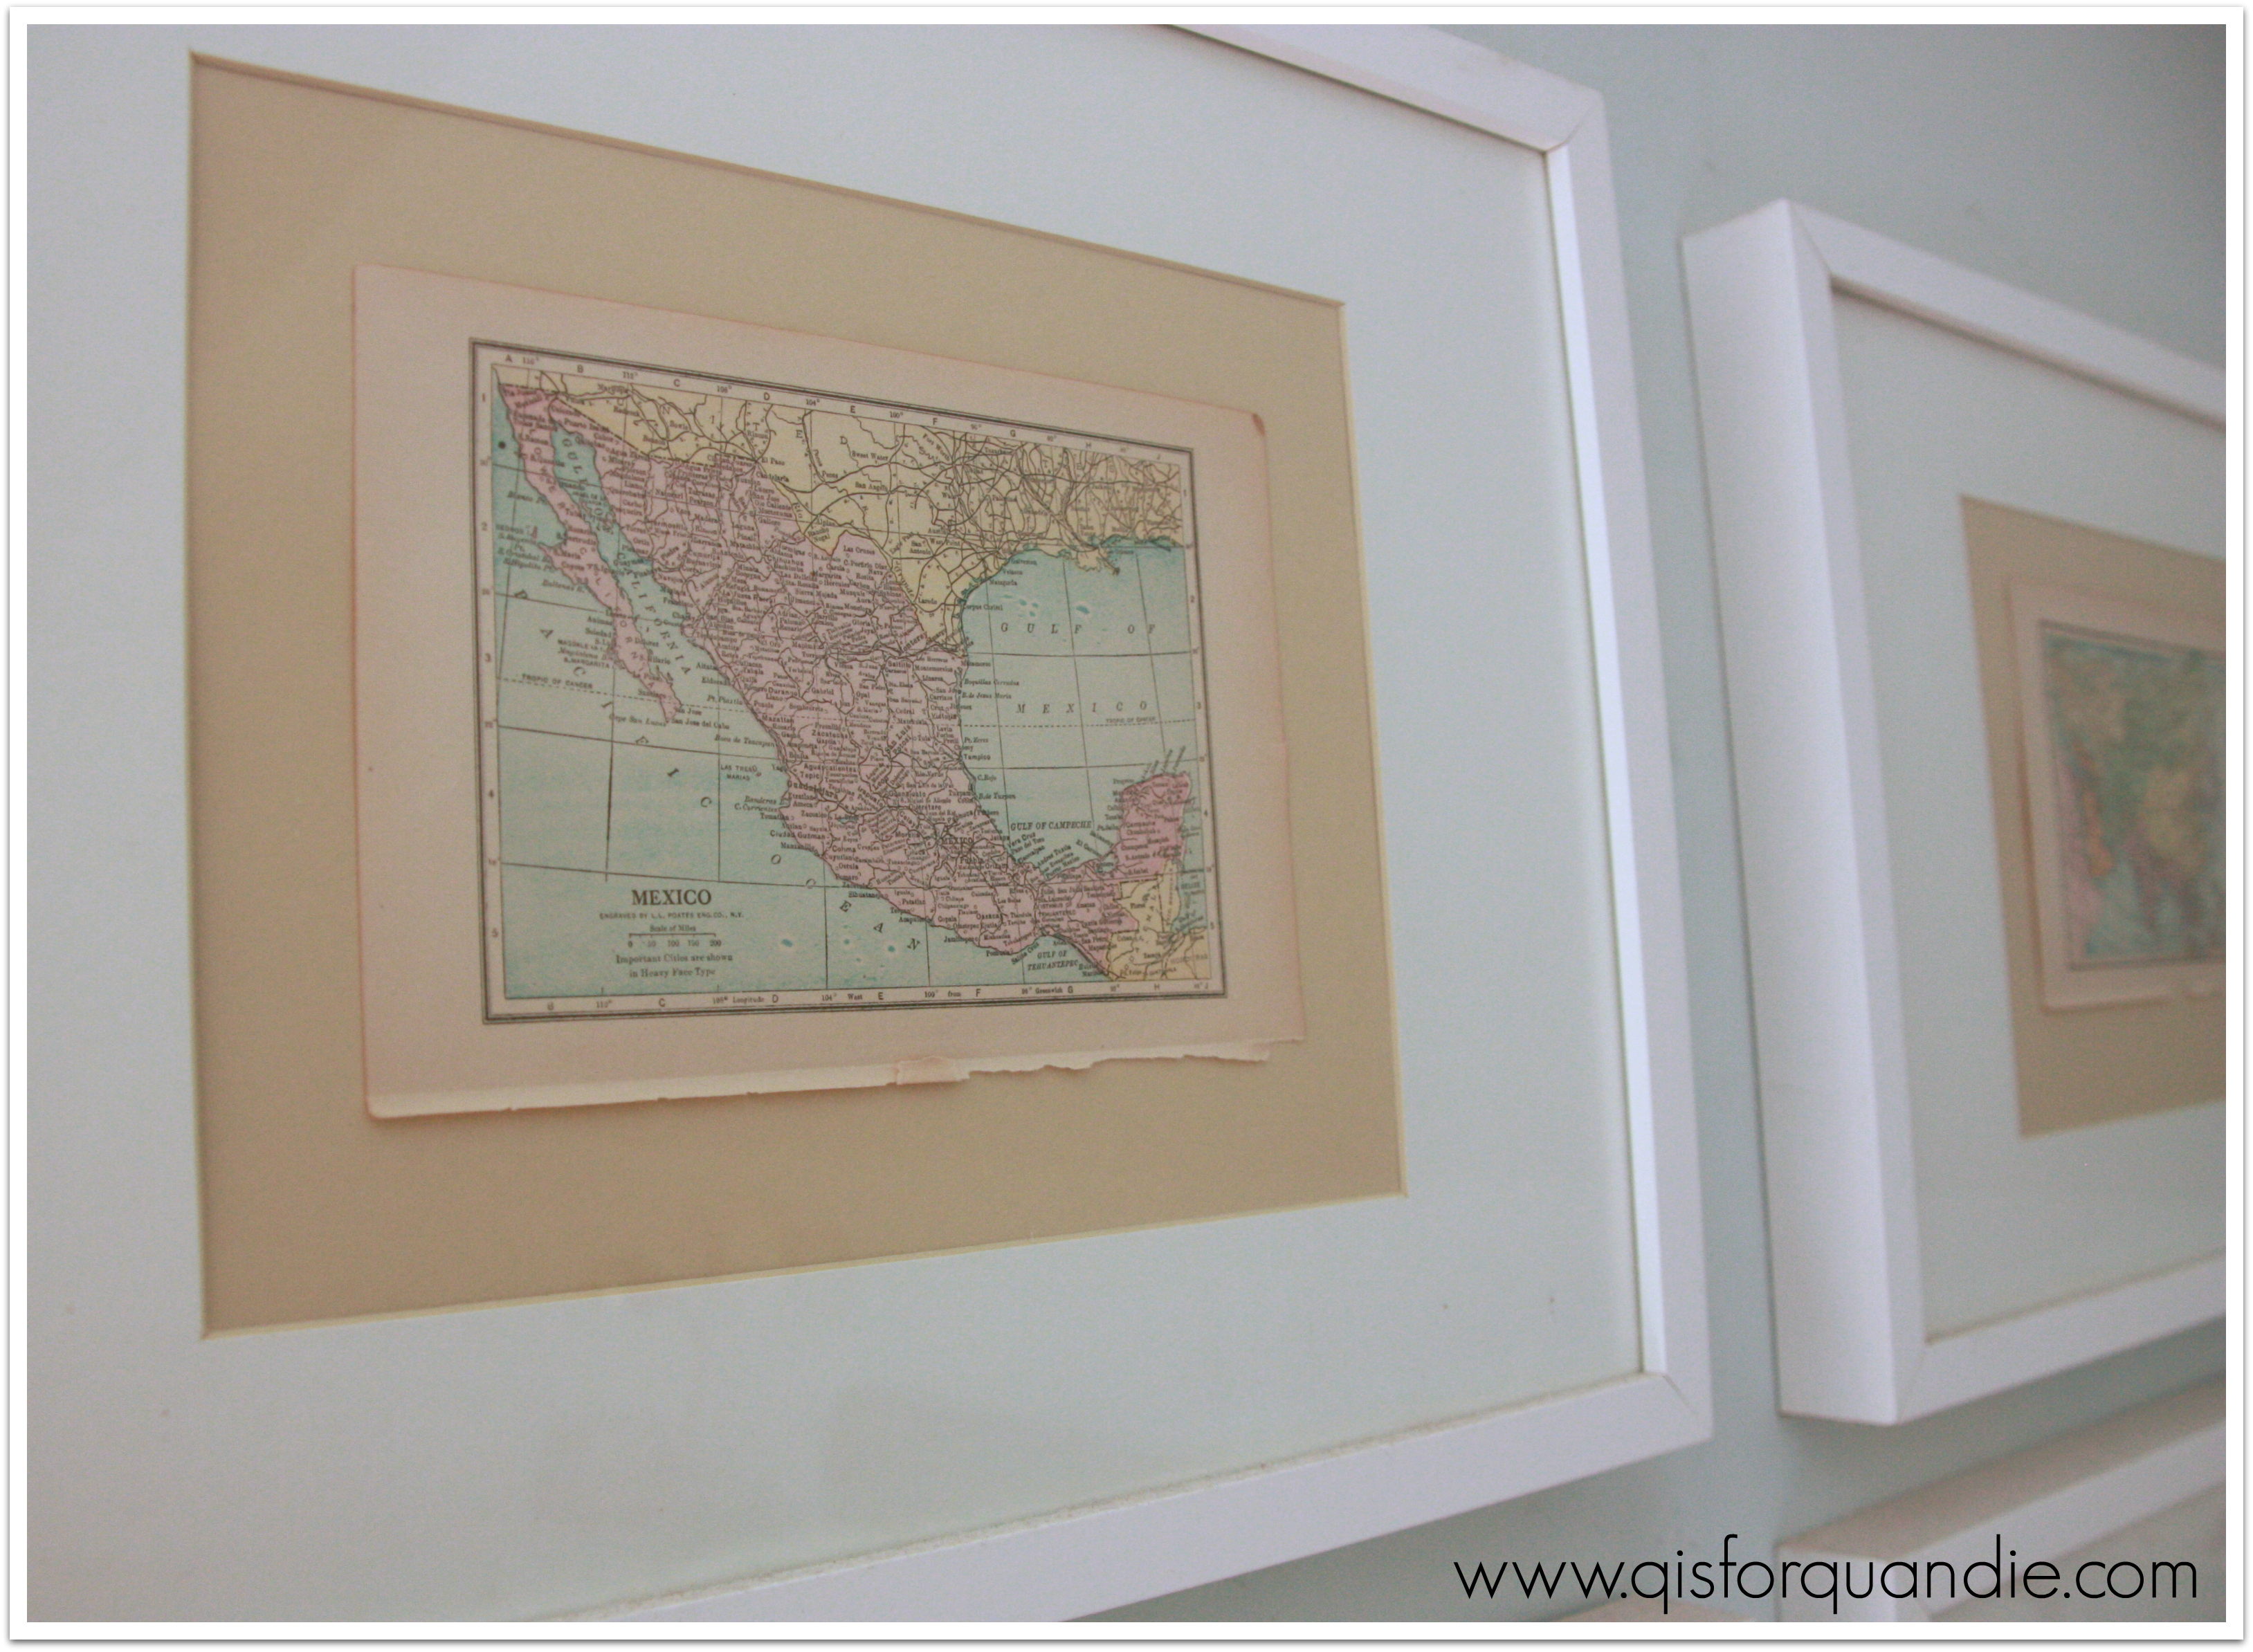
I’m not entirely happy with my current ‘artwork’ in the bedroom either.  Basically I have taken the maps from the back of a vintage dictionary and framed them in basic white IKEA frames.

mb walls

I would love to change these out for something with more presence.  These are OK, but not fabulous.

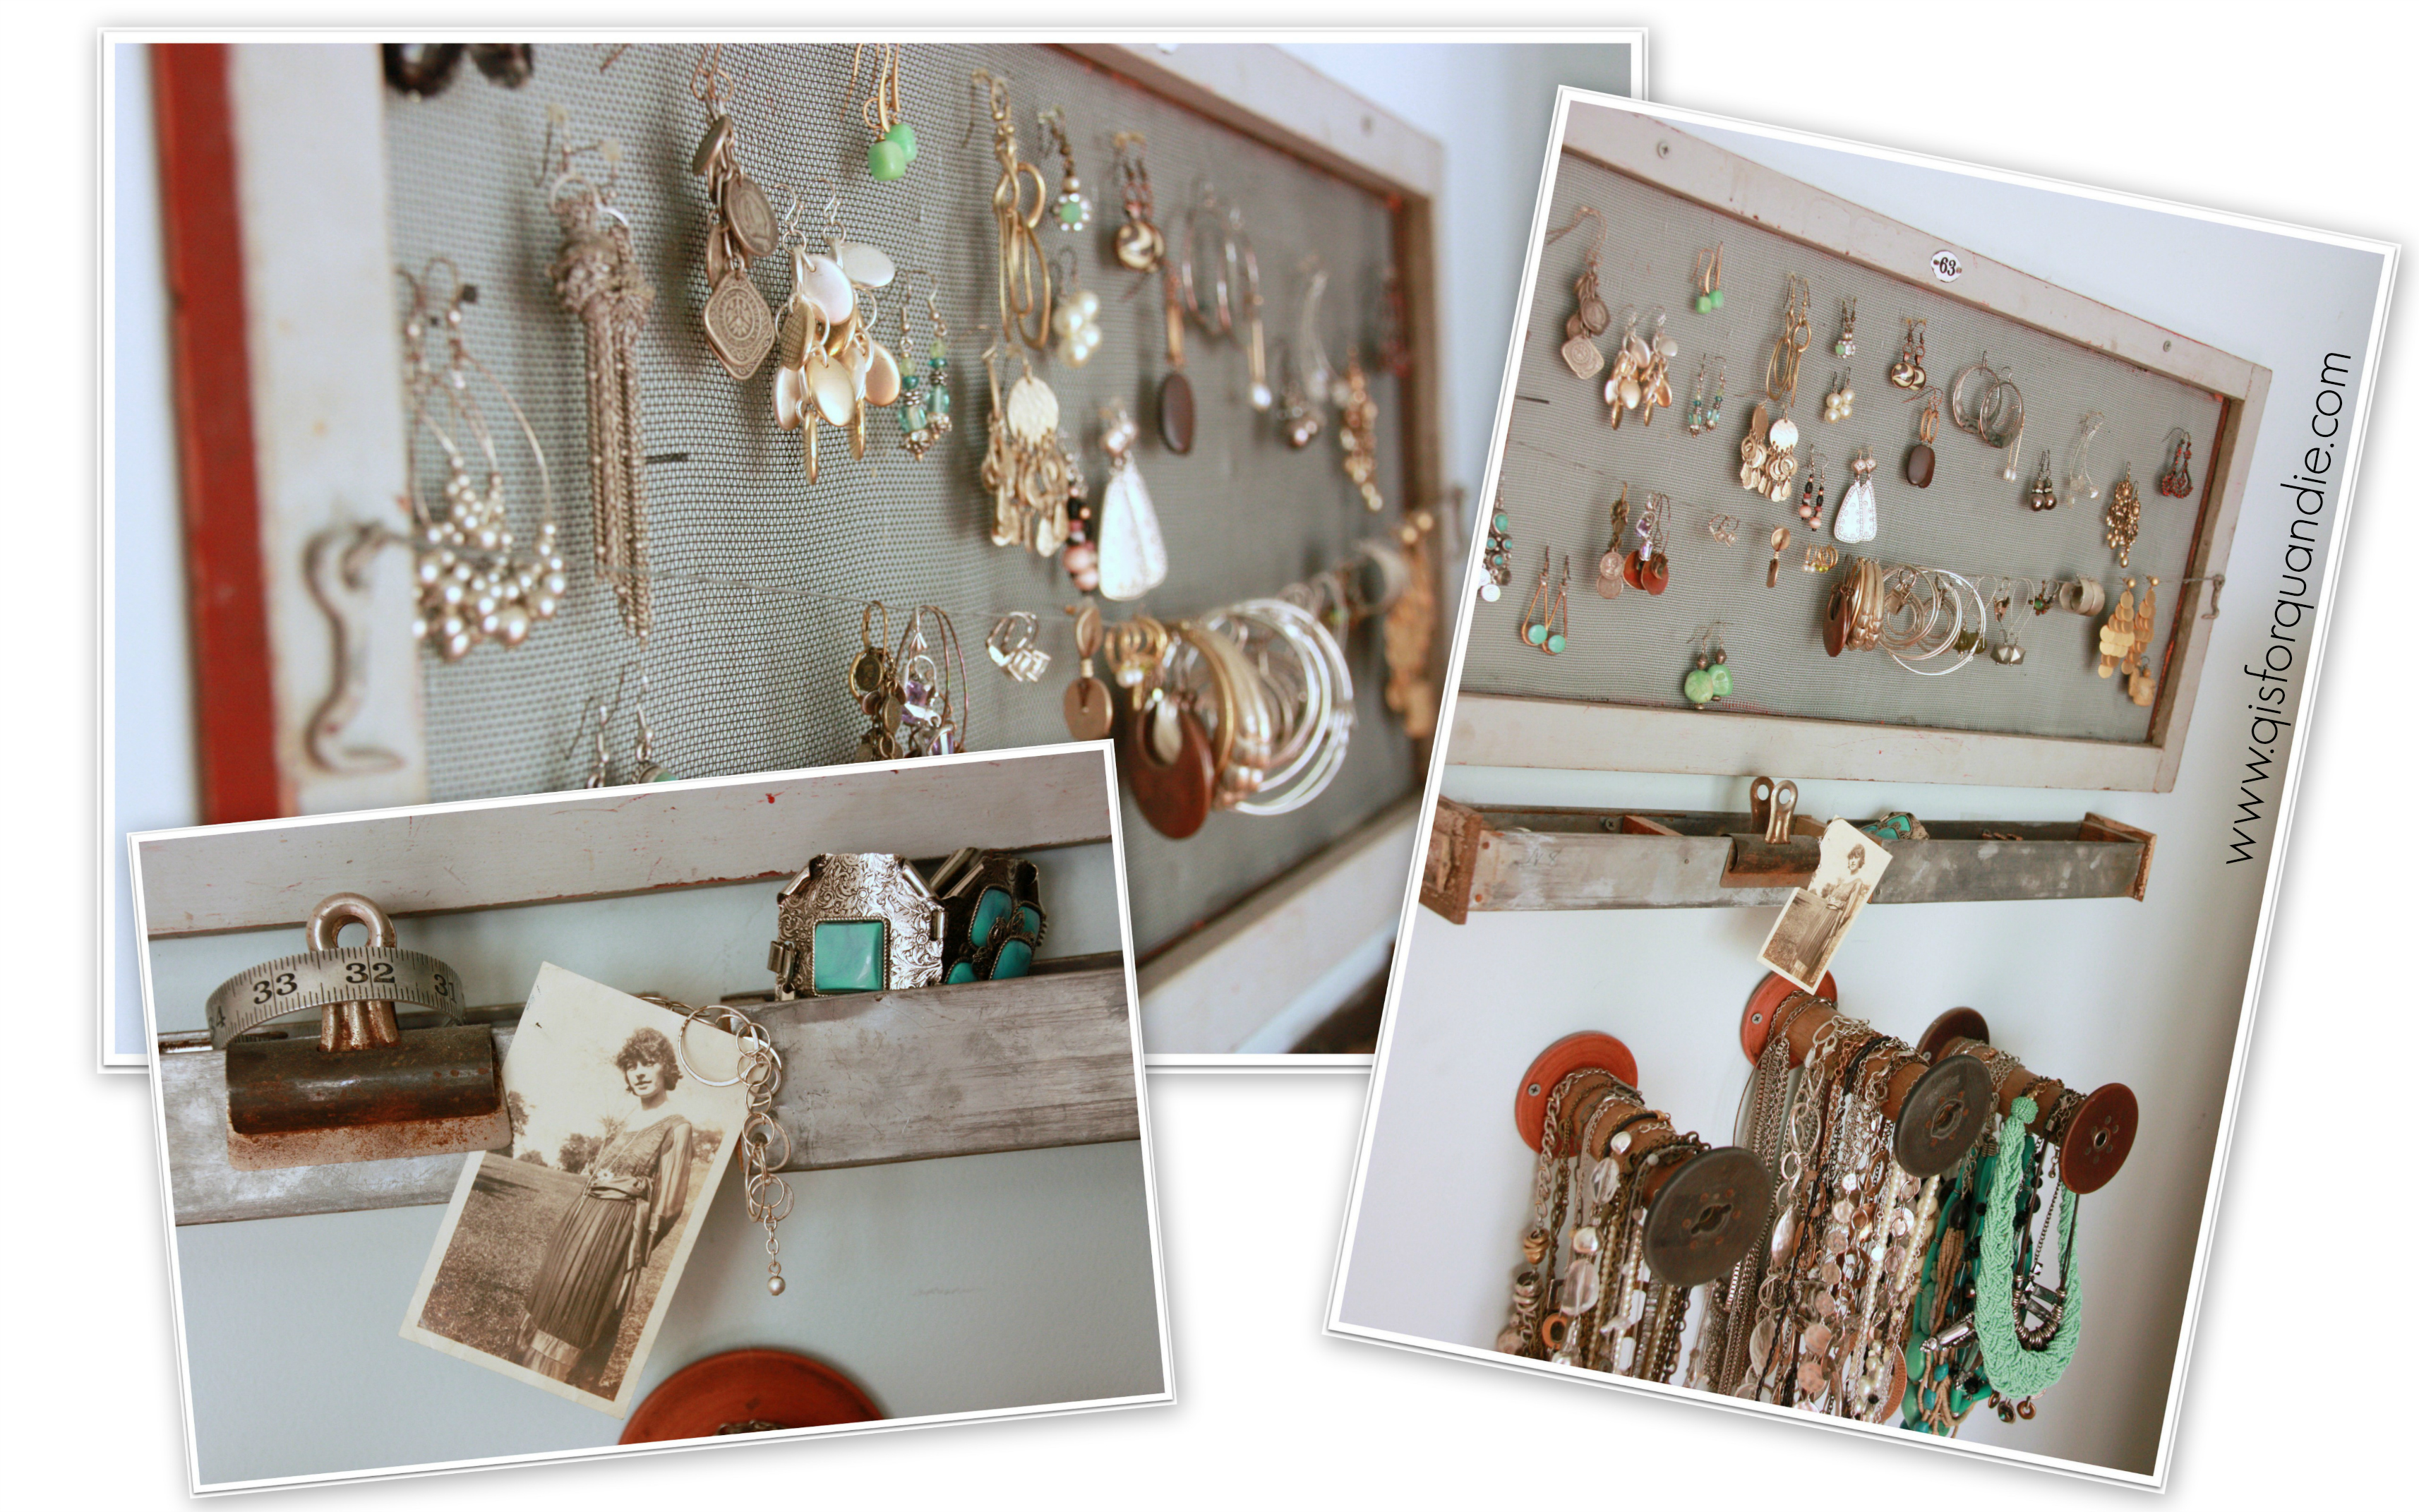
Next to the armoire is my jewelry station.

mb jewelry station collage

I used to keep all of my jewelry (and let’s face it, I love costume jewelry) in one of those standing jewelry boxes.  The problem was, I couldn’t see it at a glance and many days I just didn’t even take the time to wear it.  So I came up with this plan to keep my jewelry in plain view and right next to the door.  As I leave my bedroom in the morning, I am visibly reminded to grab some jewelry!

The earrings are on an old window screen, the bracelets and rings are in two old metal drawers that are attached to the wall, and the necklaces are held by old wooden spindles that are screwed into the wall.

mb final

Sadly, it seems that master bedrooms are sometimes that last room that gets much sprucing up because the public at large rarely sees it.  One of these days I will give it the attention it deserves … then again, I might rather spend the money on a trip to a tropical island in winter …

color blocked.

Usually when I mention to co-workers or acquaintances that I buy furniture on craigslist and fix it up, they make a pained face and mention serial killers.  As if it is somehow a horrible prospect to them that I would actually go to stranger’s homes on a regular basis.

The reality (for me at least) is that 99.9% of the people I have met via craigslist have been super nice, friendly folks.  Maybe it is because we’re talking vintage and antique furniture here.  Probably not a lot of wackos out there selling grandma’s old dresser (knock on wood, literally).

None the less, I practice ‘safe craigslisting’.  I always have someone with me when I go to purchase an item, either Mr. Q or my neighbor nnK in a pinch.  I also always make sure that someone else is around when I am having a buyer over to see a piece that I have finished.

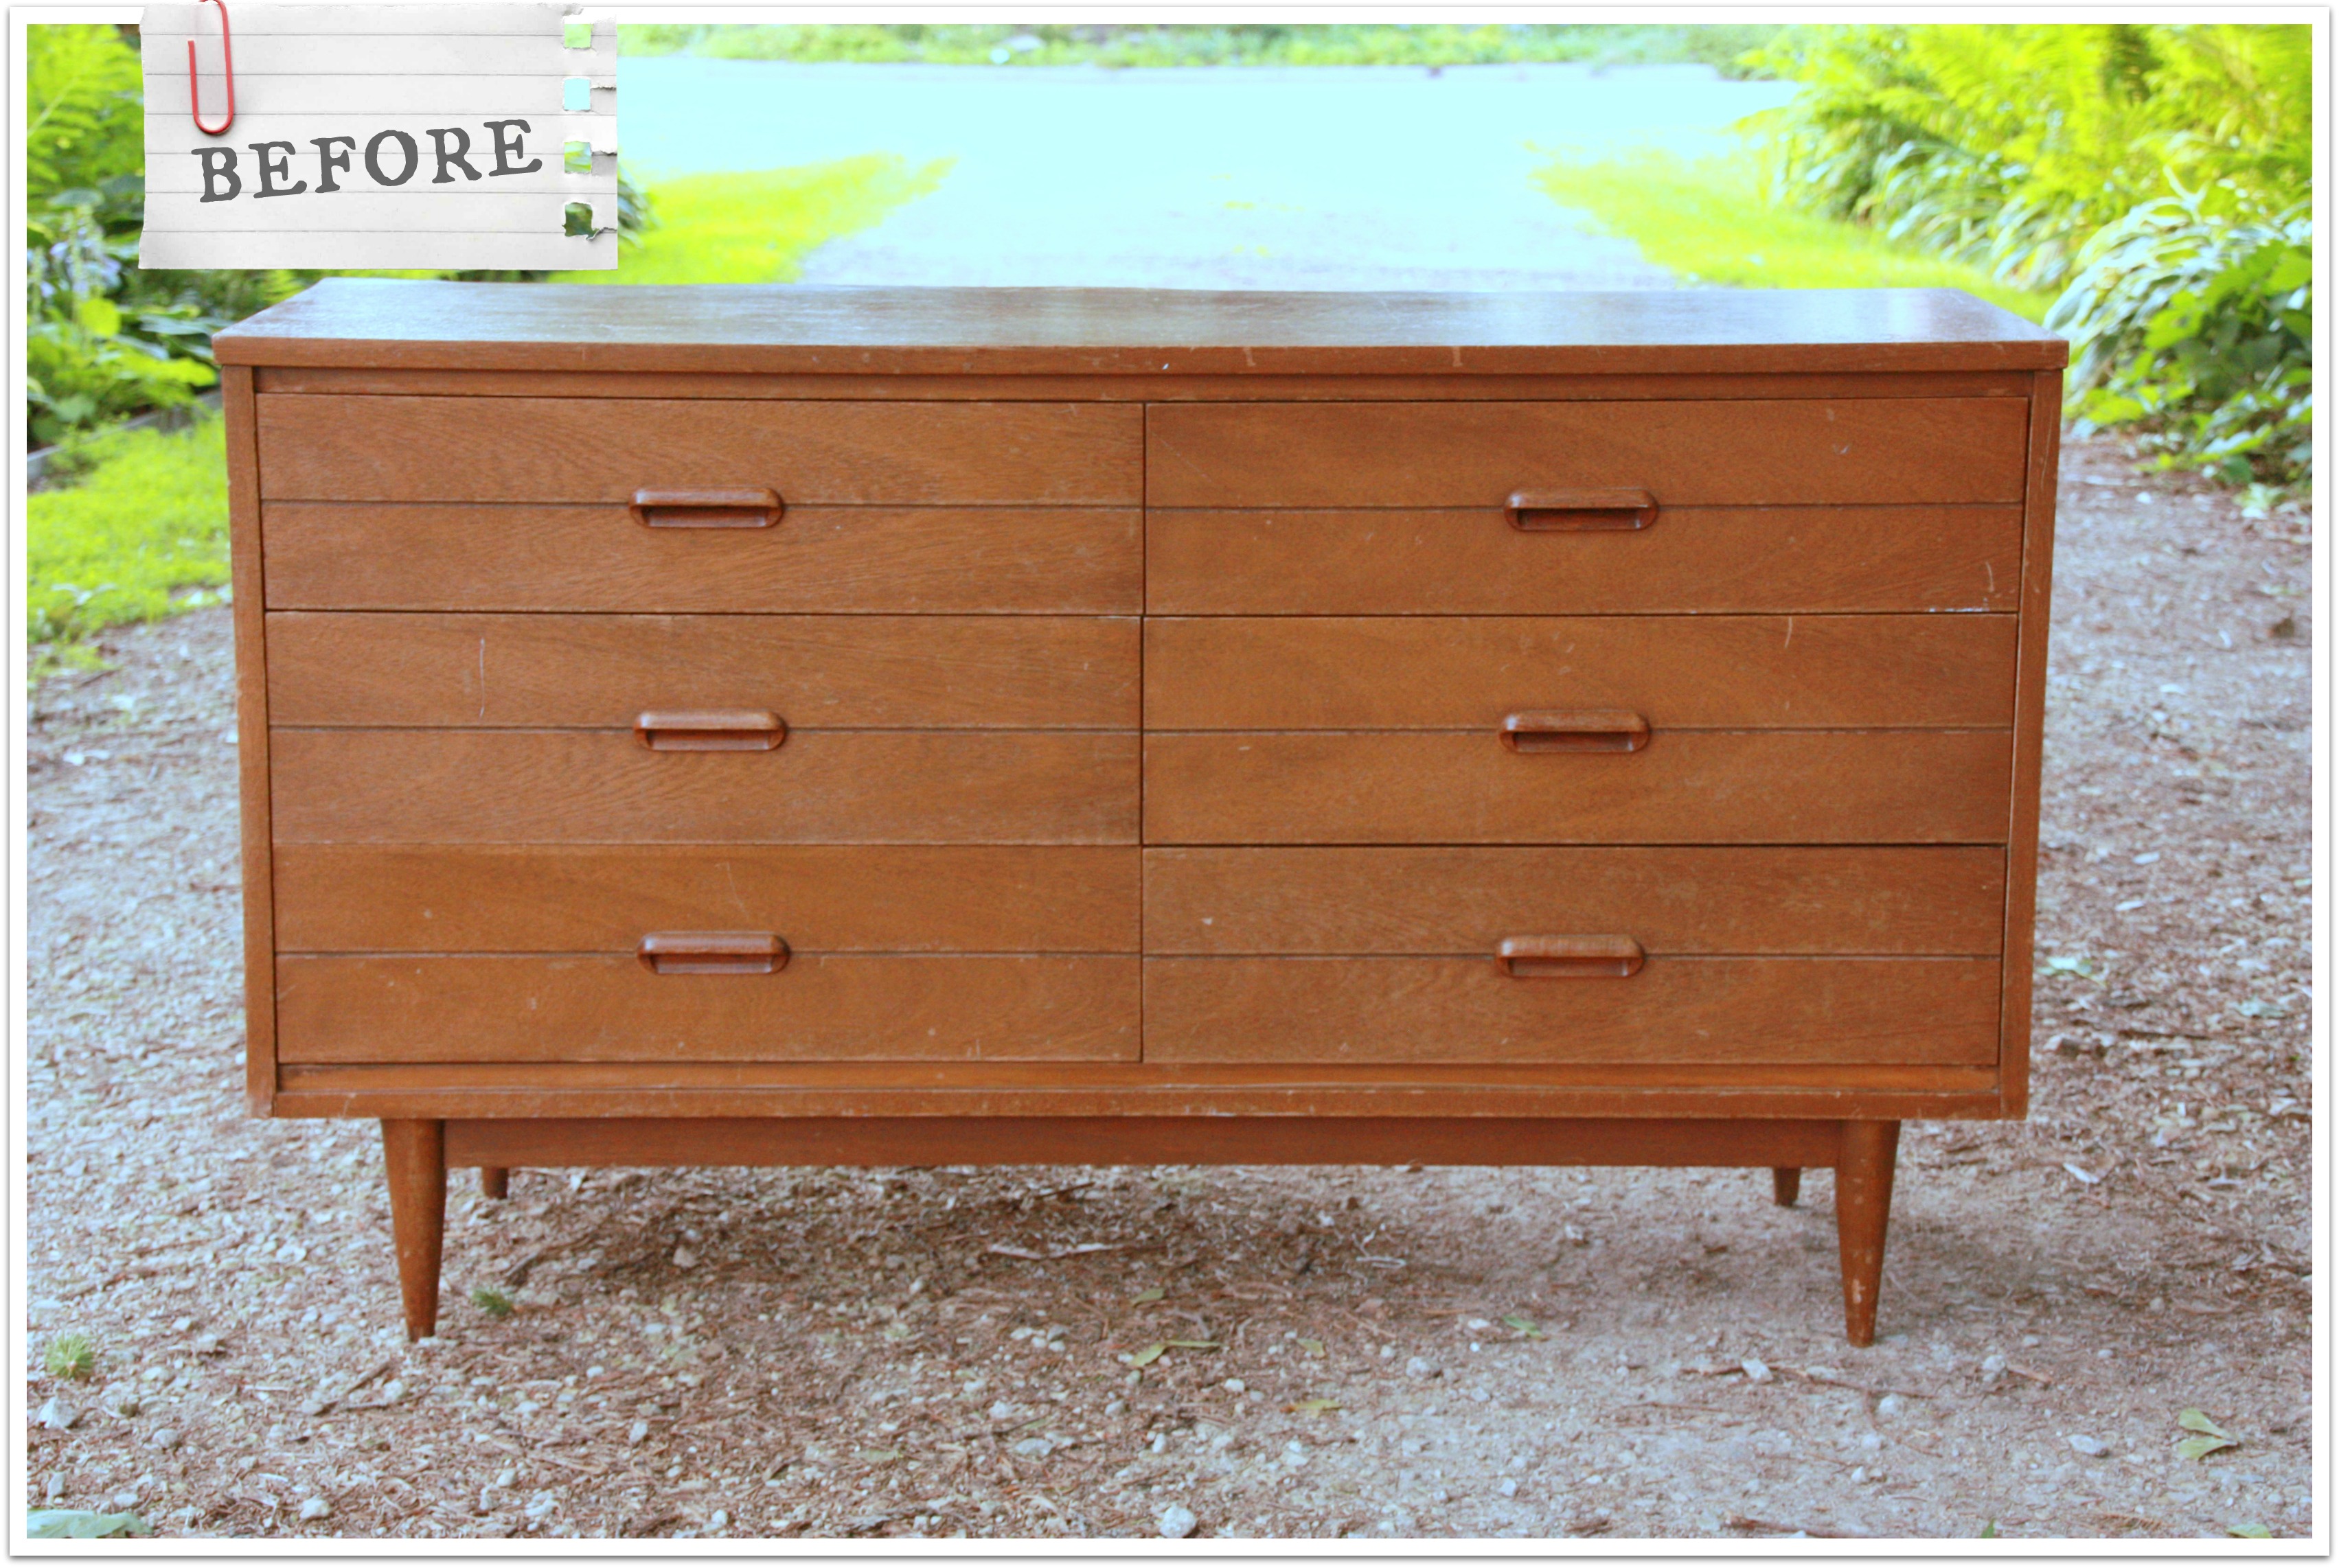
Sometimes we just really enjoy the people we meet via craigslist, and the seller of this mid-century dresser was one of those people.  He was scrupulously honest about the condition of the dresser.  He had the dresser pulled out of the garage and ready to go when we got to his house, which was immaculately maintained, by the way.  He and Mr. Q had a great time quoting old ’80’s movies.  We also learned some interesting stuff about his neighborhood off McKnight Road in St. Paul that was originally developed for employees of 3M, or as those who remember it from back in the day, ‘the mining’.

It was really just a pleasant way to spend a part of the evening, and as a bonus I got to come home with this.

color block mid century beforeFun, right?

How many of you out there are mid-century fans?

I’ll admit, I’m not really a fan in so far as I will probably never do mid-century in my own home.  That being said, I love the look in other people’s homes.

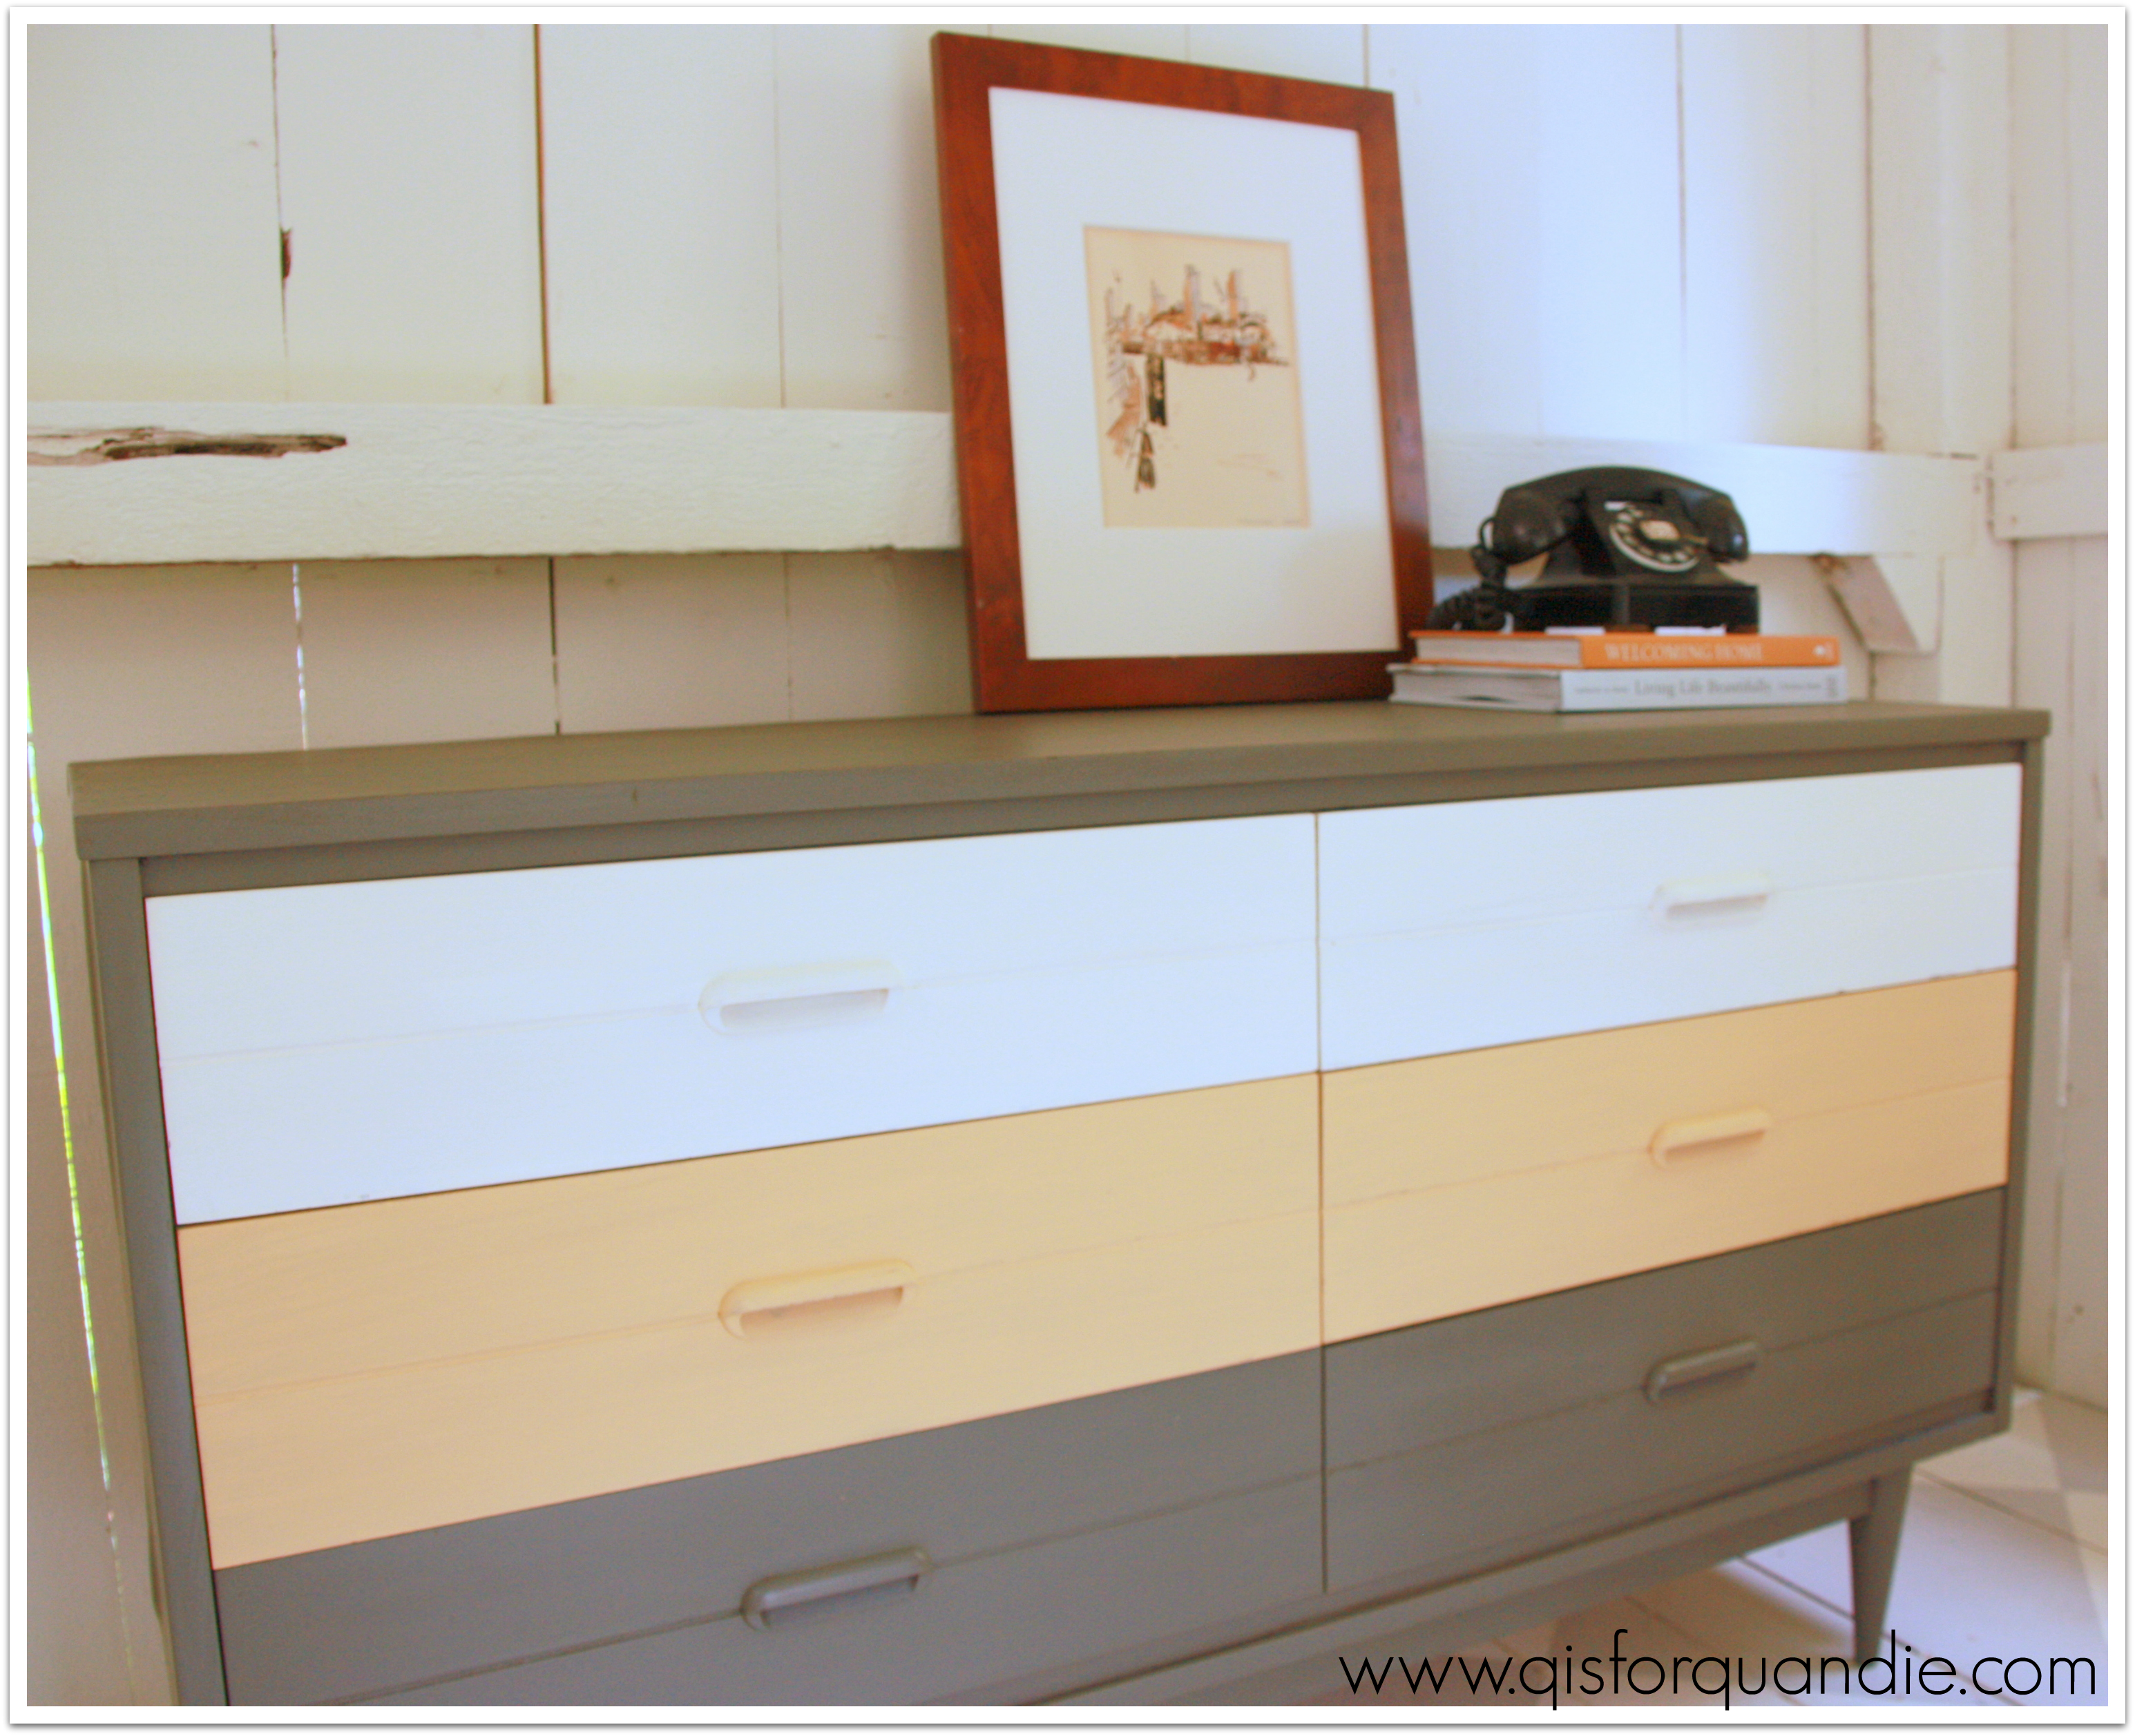
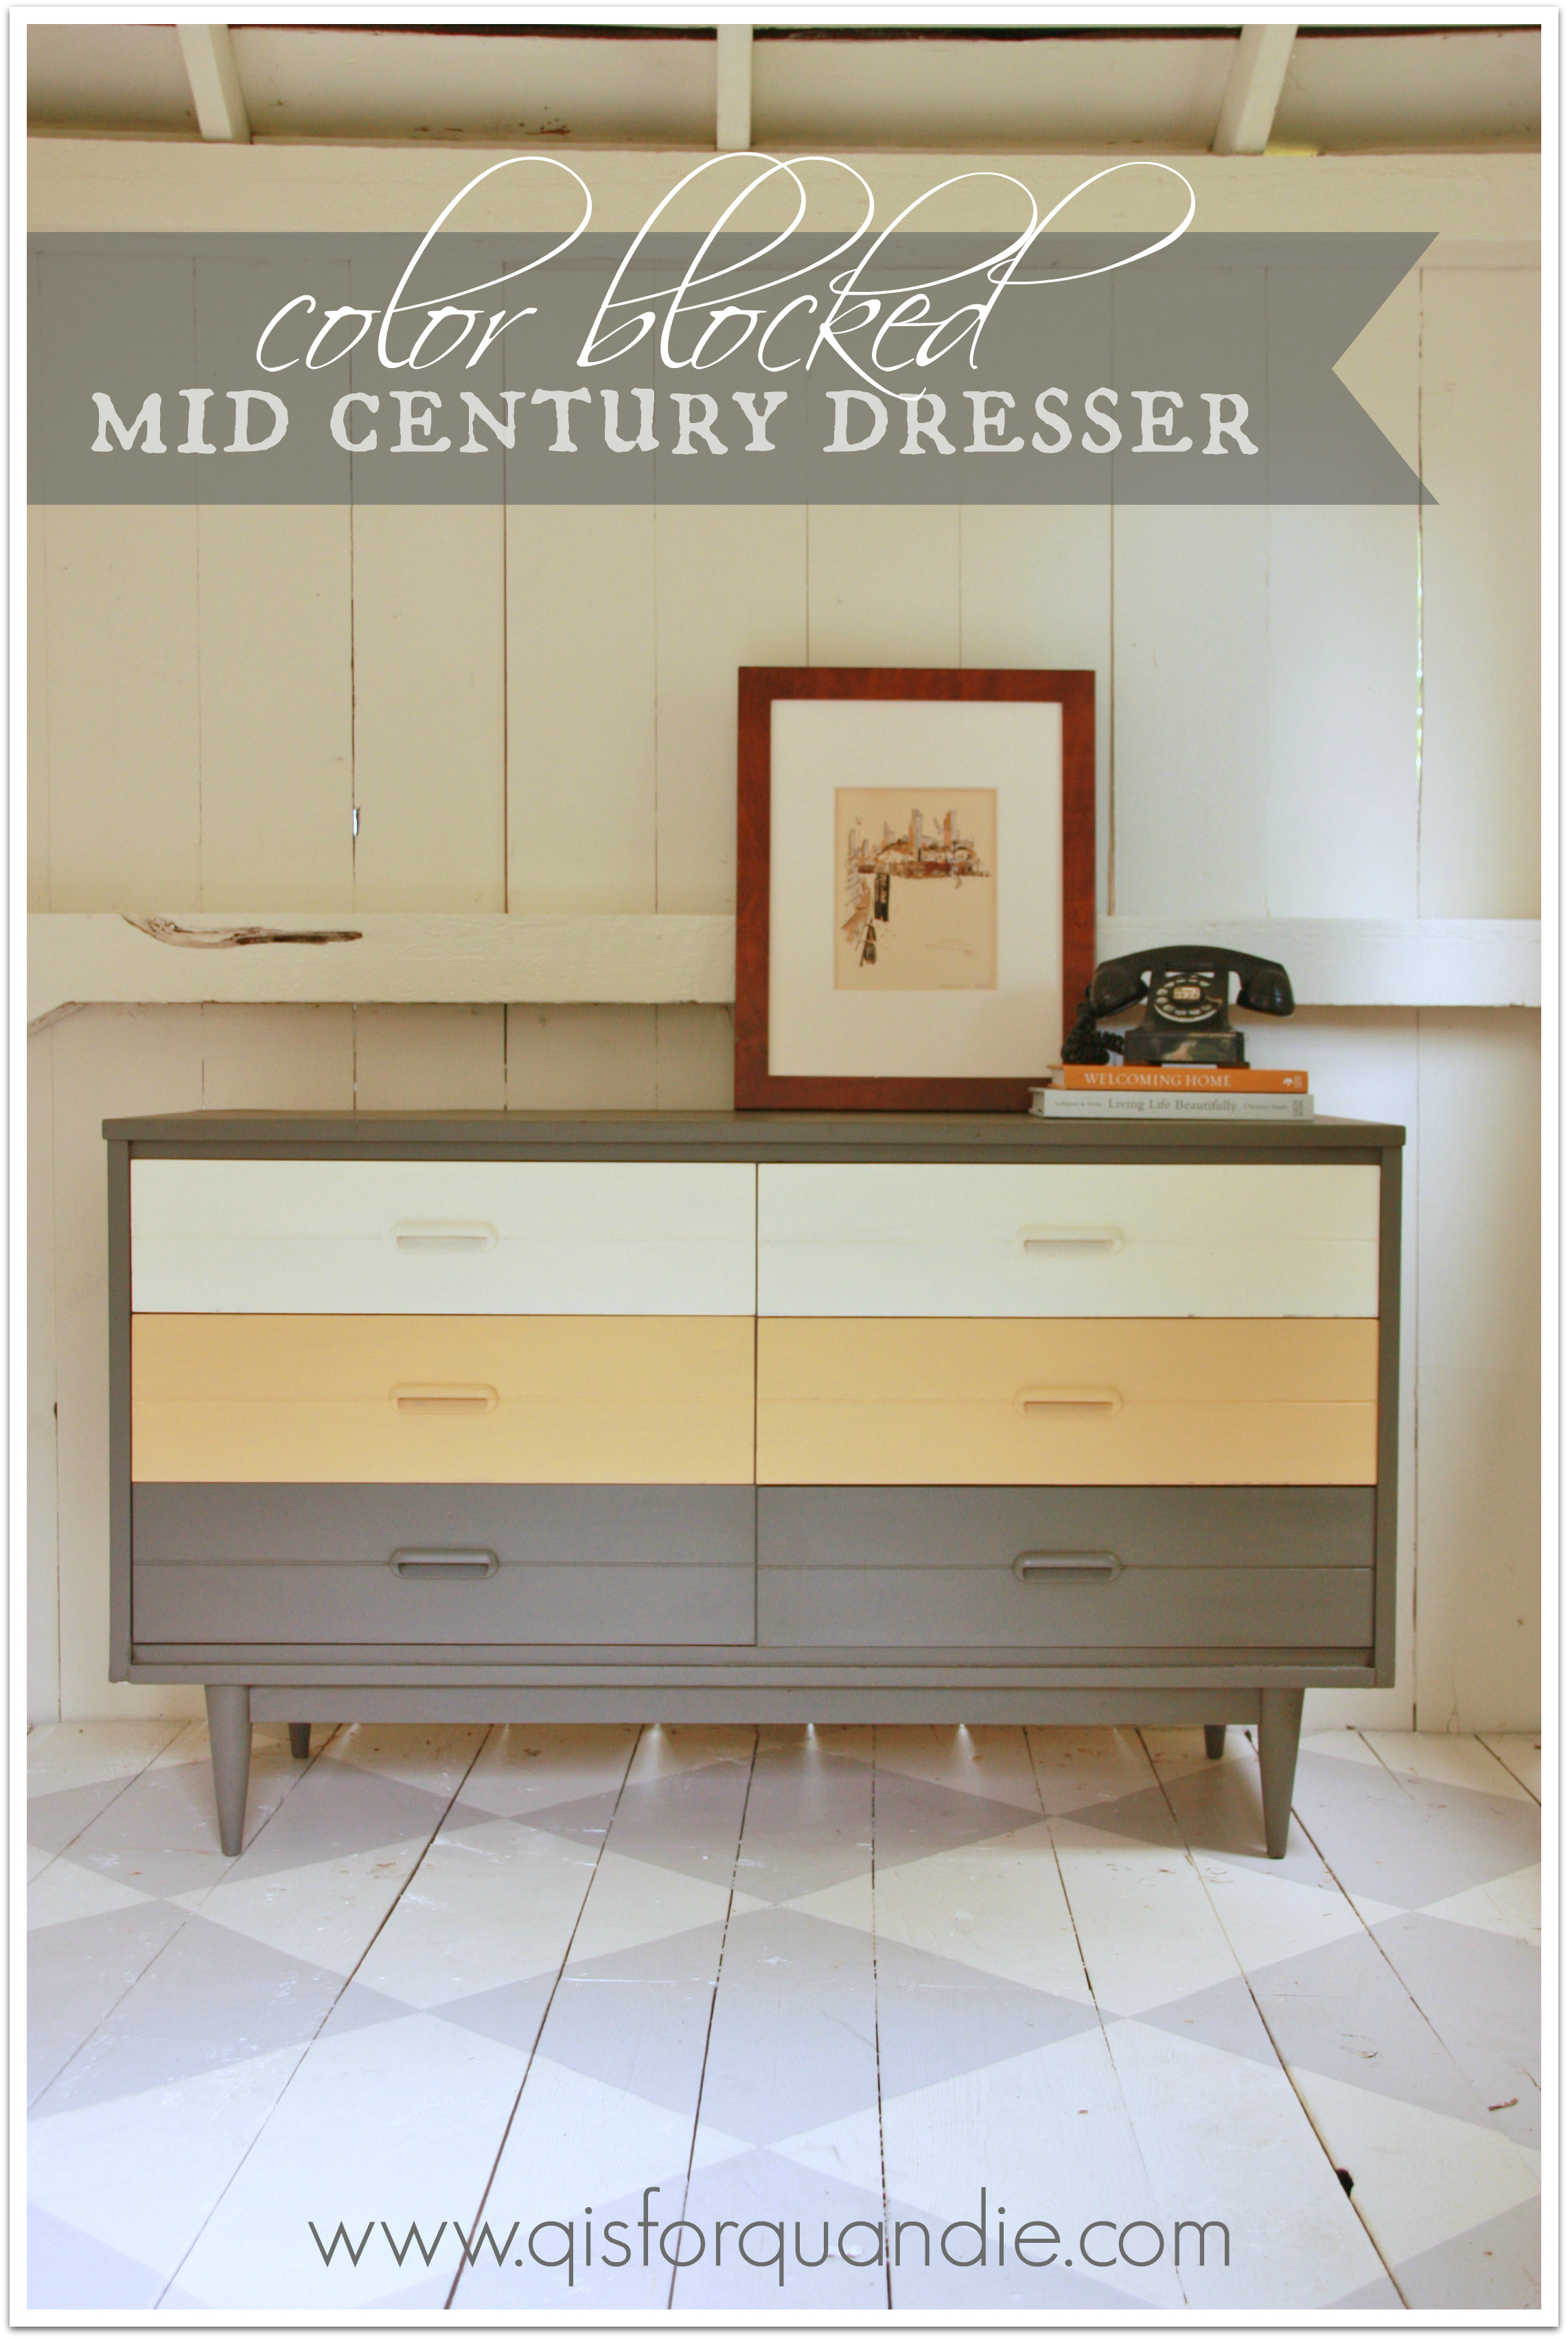
I took some inspiration from pinterest and tried some color blocking on this one.   I was going to use my standby fave color, aqua, but then I saw a dresser painted in grey, yellow and white and decided to venture a bit outside my normal color comfort zone.  And I LOVE it!

color blocking close up

I revamped this with a mishmash of products.  The grey is an ‘oops’ paint from Home Depot.  It was $2.  I mixed it with plaster of paris and water to create my own chalk paint.  I wanted a deep, rich grey and this one was perfect.  The yellow is a Behr sample.  I could have used the MMSMP in Mustard Seed Yellow because they are very close to the same color.  In fact, I could have done this entire piece in MMSMP using Trophy for the grey and Linen for the white.  However, I definitely didn’t want this one to get chippy, so I opted for homemade chalk paint for the yellow as well, and Annie Sloan’s Old White for the top two drawers.

color blocking on an angle

I used 3 different waxes on this one too.  Never let it be said that I am not detail oriented, and possibly a bit picky about my results.  The grey is waxed in a custom mix of dark Briwax and clear paste wax (the cheap stuff, SC Johnson).  The dark wax gave a little more depth to the grey and reduced the blue tint a bit.  The yellow is waxed in clear SC Johnson.  For the white however, I have found that you have to pull out the big guns to avoid yellowing your whites, and that is Miss Mustard Seed’s clear furniture wax.  Not a bit of yellowing with that one.

I had considered staging this one with some fab mid-century stuff borrowed from some friends, Mike and Meg.  They have the most fabulous ranch home that is completely decked out in classic mid-century modern.  Even all of their poolside patio furniture is collector quality mid-century.  But in the end, I was too impatient.  I wanted to catch the light in the photo cottage while I had it, so I staged it very simply with some of my own stuff.
color blocking staging

The water color was drawn by my grandfather.  I have a pair of his watercolors, and they are on the list of stuff I’ll never part with.  The book, Welcoming Home:  Creating a House that Says Hello, was written by a friend, Michaela Mahady.  Her husband, John, and Mr. Q are coffee shop buddies.  Michaela is an architect at SALA and does gorgeous work.  She and John also do beautiful stained glass work through their Pegasus Studio.

But, I digress.  The color blocked mid-century modern dresser was a fun departure from my usual style and I really enjoyed the process.  And it looks great in my photo cottage, don’t you think?

color blocked title

So, mid-century, are you in or out?  Grey, yellow and white?  You love it, or it’s not your cup of tea?