One of the best things about having my sister and niece living in Minnesota now is that they like to explore the area and Mr. Q and I go along for the ride. Last weekend we took a road trip south to visit the National Eagle Center. Apparently this is prime eagle viewing season. By the way, if you’re curious, that photo above is of Lake Pepin which is the widest naturally occurring part of the Mississippi River and is taken from the Wisconsin side looking towards Minnesota.
One of the things that my sister really loves about living here is our bald eagle population. We often see them flying overhead, and occasionally even see one perched in a tree. She gets excited every time she sees one.
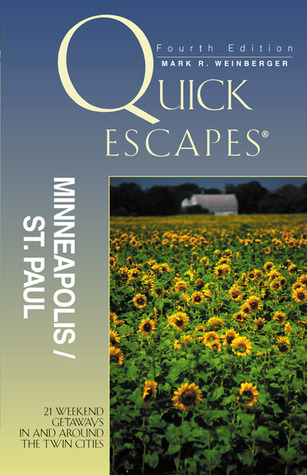
We followed the route suggested in my sister’s Minnesota guide book, Quick Escapes.
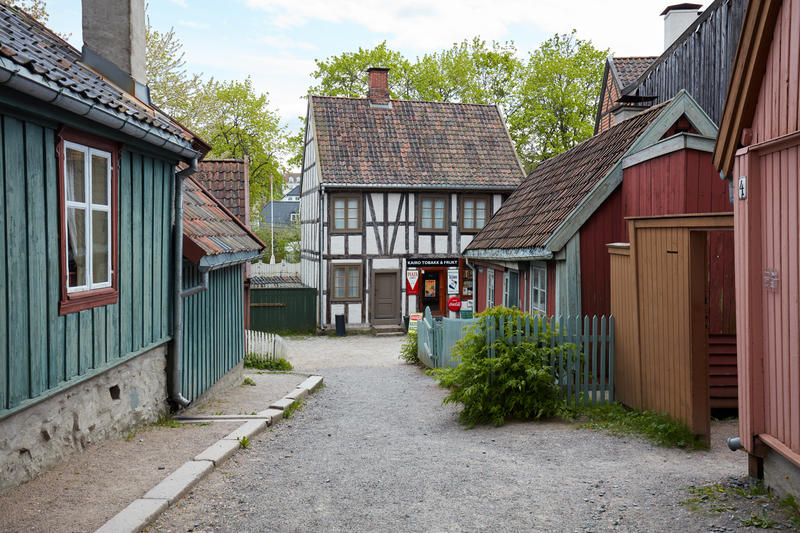
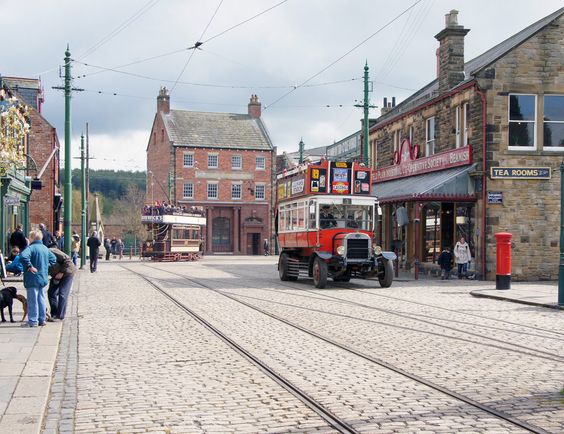
We headed south on highway 61 through the charming towns of Hastings and Red Wing about 75 miles to Wabasha.
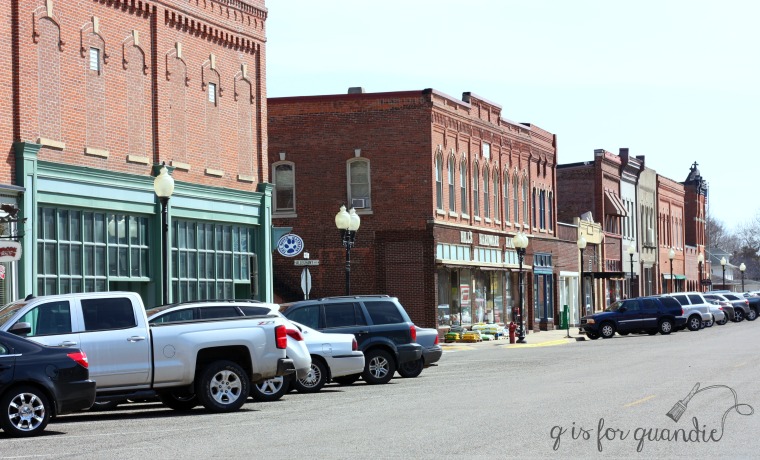
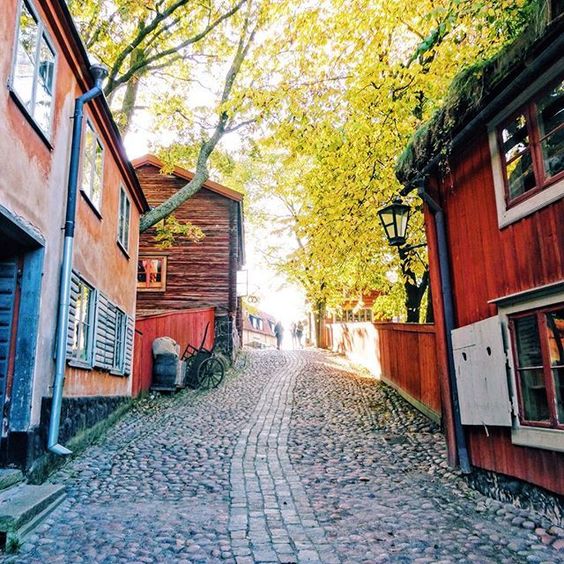
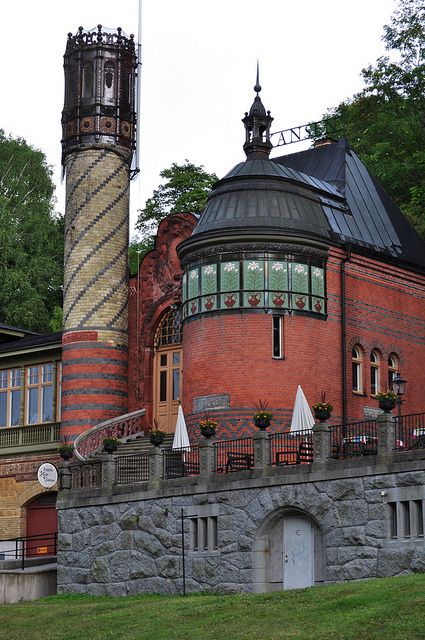
I love these old main streets with their brick buildings and beautiful ornamentation, don’t you?

We had some lunch in town and then headed over to the National Eagle Center.
There were some interesting displays with facts about eagles and other birds of prey. One thing I learned is that eagles are actually much lighter than they look. The average weight is between 6 and 13 lbs. They look big but are mostly feathers. The farther north you go, the bigger they get, so our Minnesota bald eagles are on the lighter end while eagles up in Alaska tend to be bigger and heavier. It’s a total myth that an eagle can scoop up your dog or cat and fly away with it. They can only lift about 3 lbs.
The best part about the center, in my opinion, was seeing the eagles up close and personal.
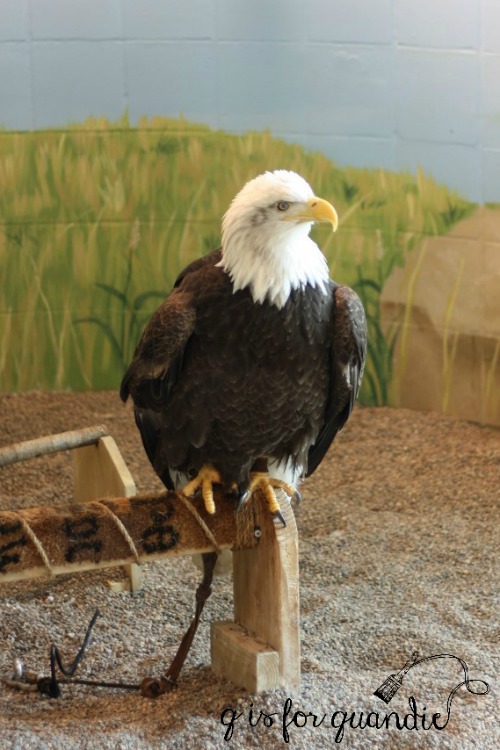
Don’t worry, these are not birds that were snatched out of the wild and put on display solely for our amusement. They are rescued animals that are no longer able to fly or survive on their own in the wild.
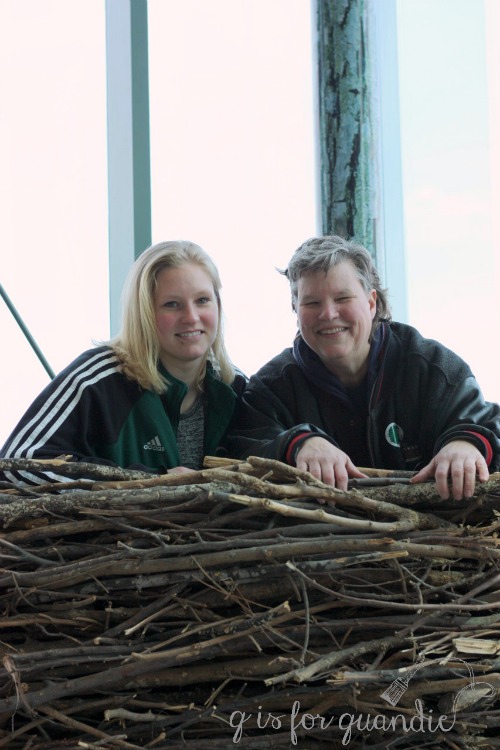
I also enjoyed taking a quick photo of my sister and niece in the eagle nest.
After leaving the eagle center, we crossed over to the Wisconsin side of the river to head north again towards home. We’d heard that this was the more scenic side, and I have to say those rumors are true. Mr. Q claims it’s only because you’re looking across at Minnesota from that side.
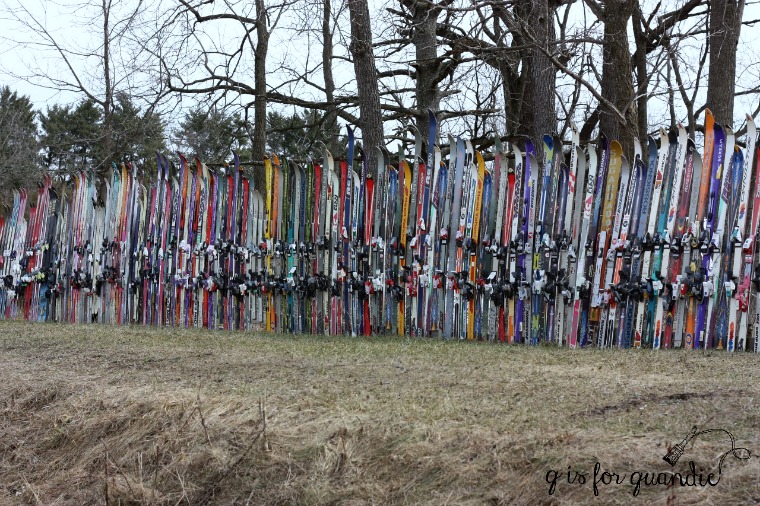
You also get to see fun things over there like this fence made out of old skis.
Since we were feeling adventurous … well, OK, maybe it was just me feeling adventurous … when we passed a sign saying “this way to Laura Ingalls Wilder’s birthplace” I convinced everyone that we needed to make the slight detour to see it.
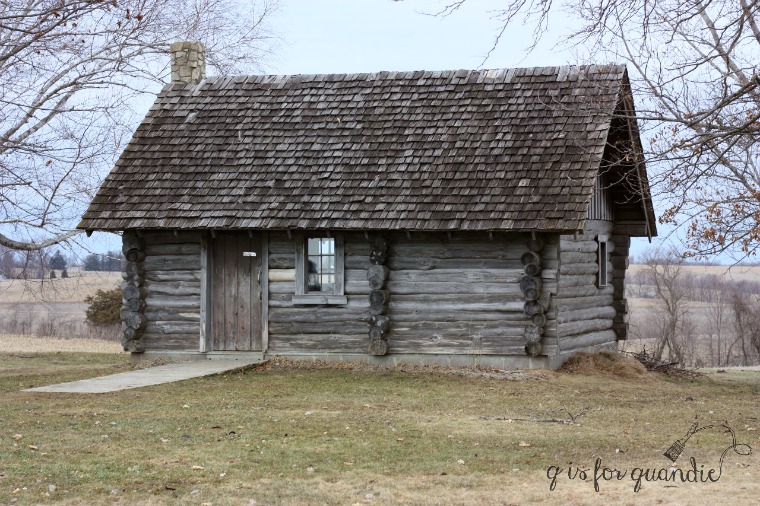
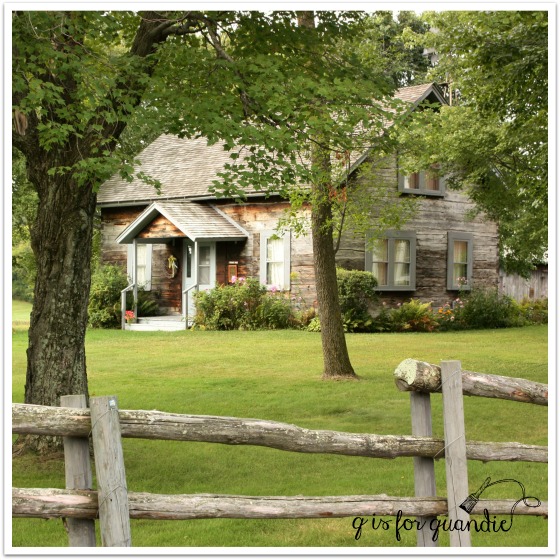
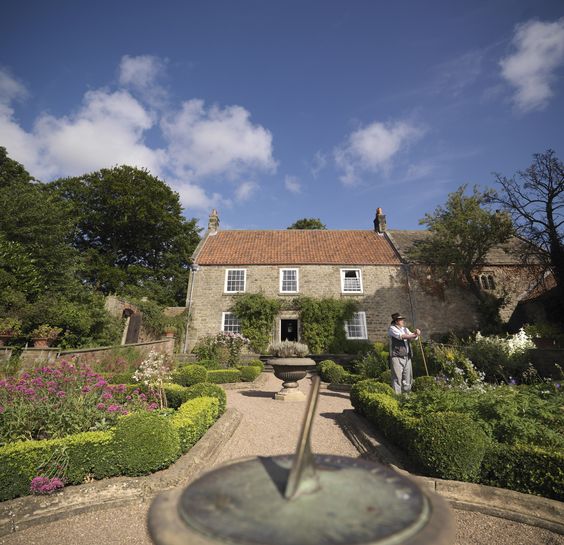
Of course this is not the actual home she was born in, it’s just a replica of her ‘little house in the big woods’. You are able to go inside and get a bit of a feel for what living in a log cabin might be like. It certainly wouldn’t be worth the trip all the way out to Pepin, Wisconsin just to see it, but if you happen to be passing by it’s a good spot to stretch your legs.
Plus, if we hadn’t made this little detour we also wouldn’t have chanced upon the Maiden Rock Winery & Cidery near Stockholm, Wisconsin. This place was pretty much deserted, I suppose it’s not really winery touring season and by the time we got there it was overcast and drizzling. However, the proprietor was pouring free samples to help warm us up. We managed to leave there with some Honeycrisp Hard Cider and some Cyser.
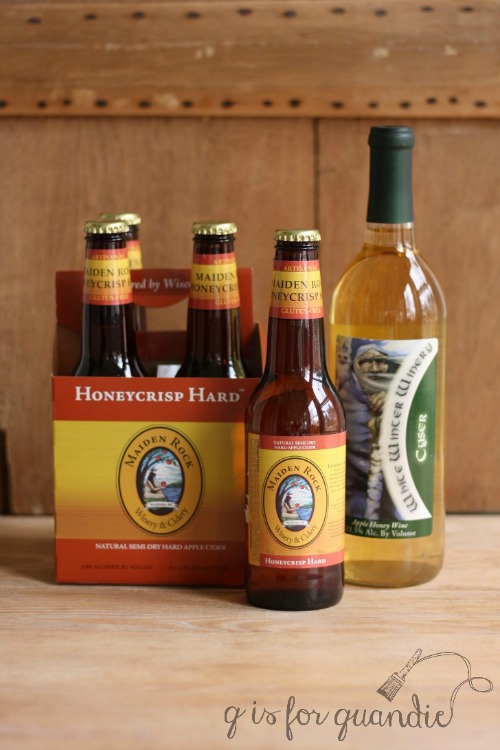
Yum!
When we finally met back up with highway 35 along the river, we had our greatest surprise of the whole trip. Although we had seen dozens of bald eagles flying overhead, it was a real treat to see them roosting in the trees along the highway. We saw so many that we lost count!
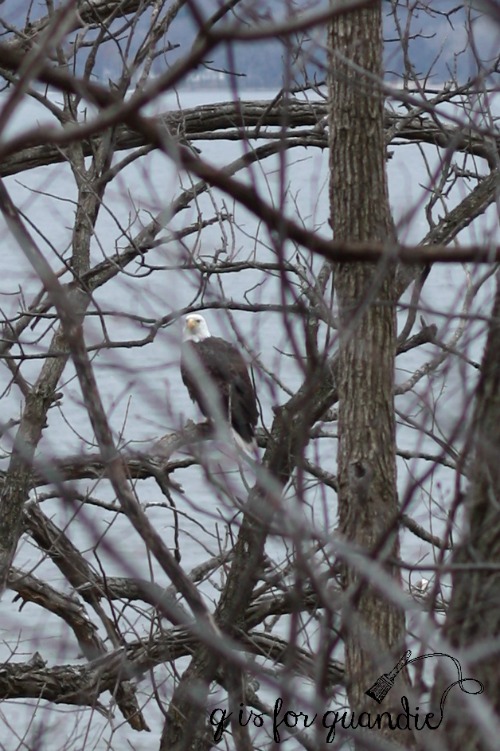
This was the perfect time of year for seeing them since there were no leaves on the trees to interfere. Ironically, after a whole day of eagle watching, we had our best view as our trip was coming to an end.
This was a great way to spend the day and I highly recommend this little road trip to any of you locals. As for the rest of you, do any of you have eagles where you are?